
Hey internet!
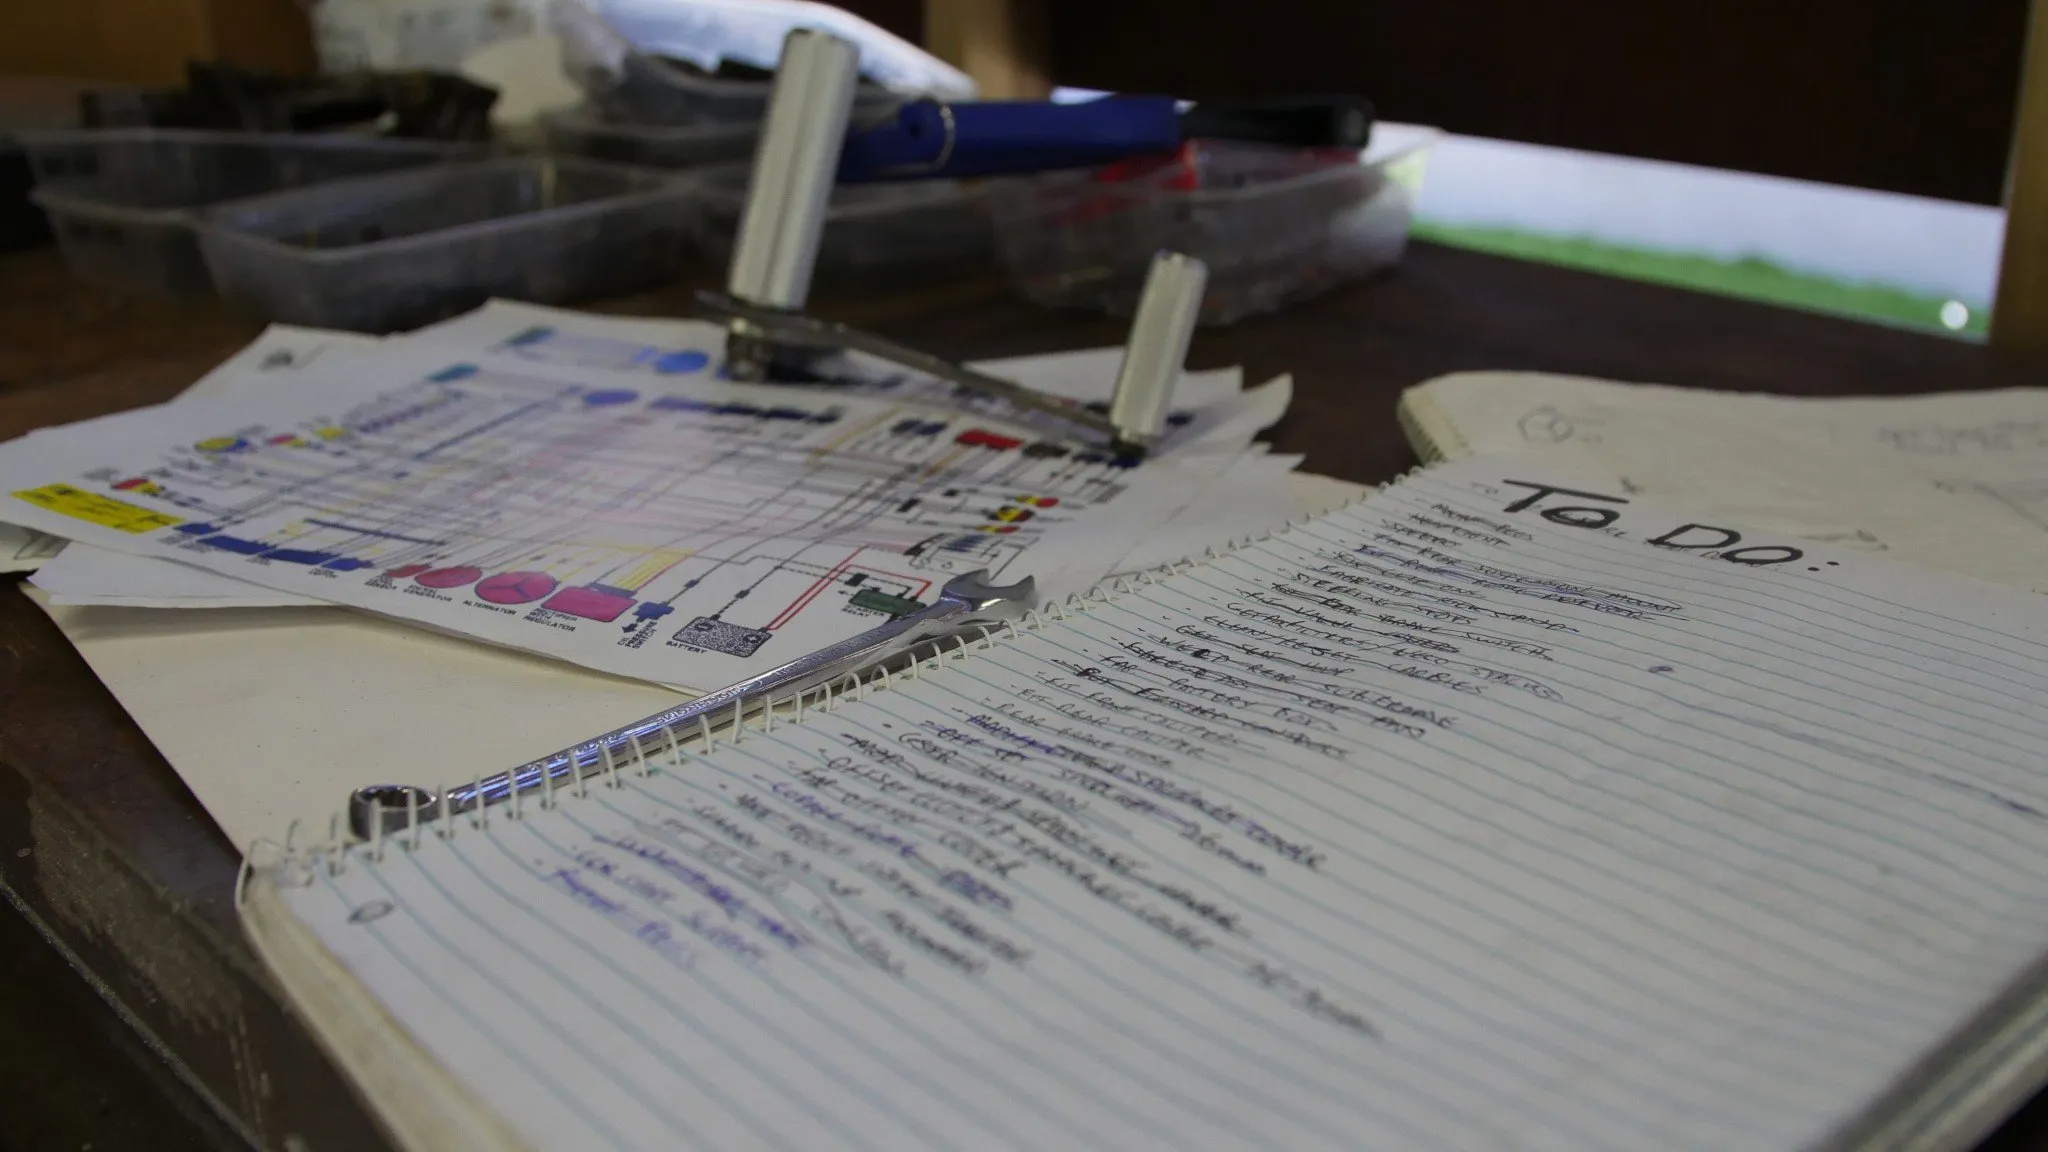
If you’ve read our previous post you’ll know we’re sitting just shy of half-way on the GN250 Scrambler build. Up until this point most of our work has been getting our Idea’s together, planning it out and checking a few things over. This is where the spanners come out, your knuckles get greasy and your Bike will start to transform. Next jump down the list is stripping it all back to prep for your fabrication.
If you want to catch up on our first steps CLICK HERE
3. The Breakdown
We set to work on stripping the bike, separating the parts out into tubs and removing any unwanted components. We spend a few afternoons tinkering away and solidifying the build plan as we stripped the bike. The Airbox had been previously removed so there wasn’t much to this one, the frame was de-tabbed and the hardtail struts cut off along with the old center stand.
What was left was a shell of the former bike, but that’s exactly what you’re after. From this point, the bike will start to take shape and before you know it you’re staring at something almost unrecognizable from the starting point.
Next step will see the GN250 start to grow some balls, with the addition of a badass stubby rear end and some freshly painted rims and hubs along with a swag of other trick bits.
4. Time to build
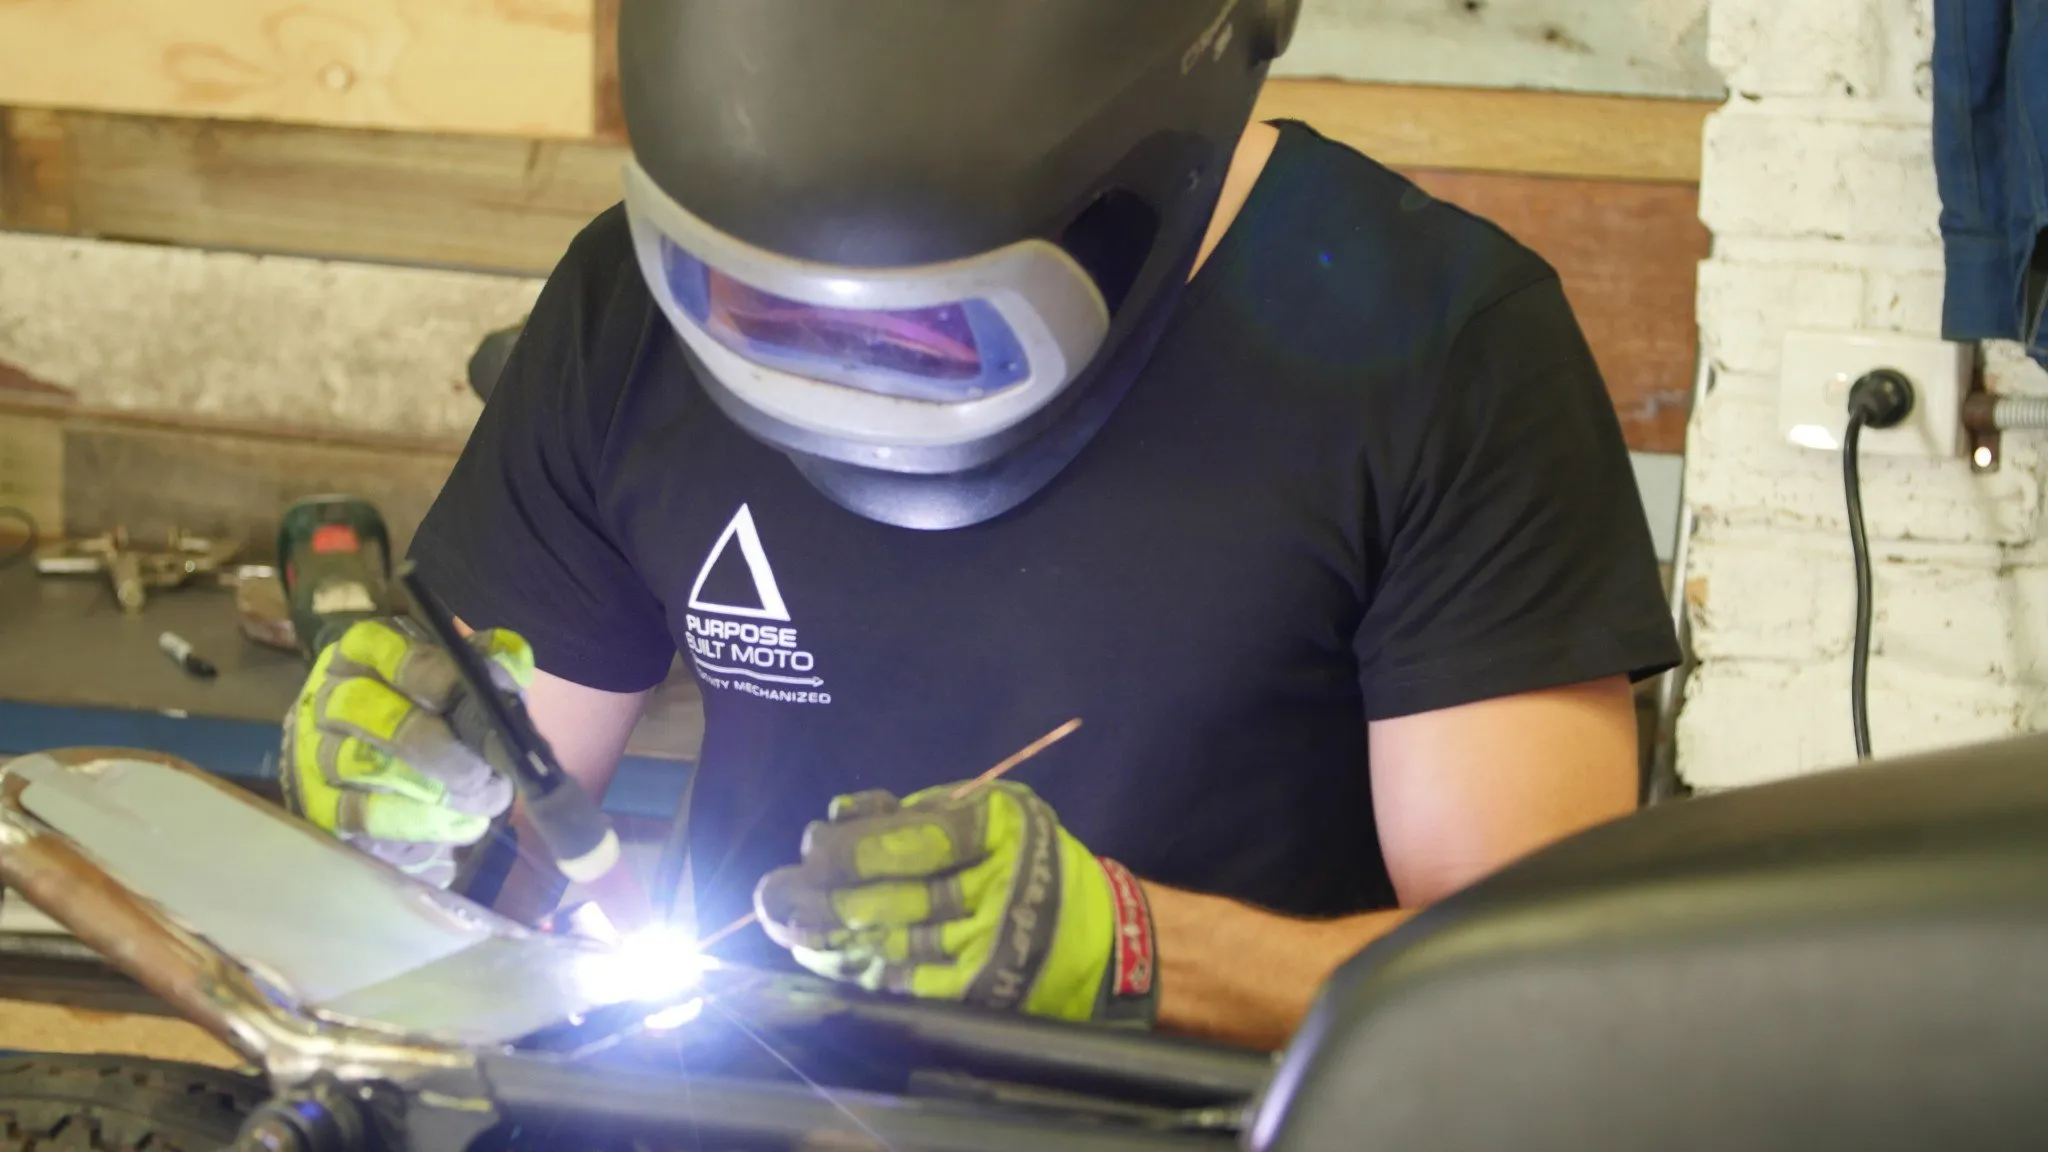
Step 4 can go two ways, if you don’t have the know-how or equipment to perform the work safely yourself, call in an expert! There are countless dedicated fabricators out there ready to help you out. Just take your parts in with a few drawings of what you’re after and your wish is their command. For the sake of an interesting blog, below will step out the process we took.
The little Suzuki had any unnecessary mounting tabs and horror show previous modifications cut off, we set the frame level on the bench and went to town re-shaping the tail end as we saw fit. For the sake of gaining clearance the rear suspension mounts were re-fabricated and the tail section given a slight kick up. This achieved 2 things, first being a bit more wheel clearance and ride height for our tall mate nick, the second was a nice concave hoop rise to accommodate a short fairing out the rear that would later house our rear lights.
When attaching a new rear hoop I always use a set of “slugs” these are some thick walled tube or solid cylinders of steel that fit snug inside your frame tube to add strength to the join. Bevel the edges of the tube and get a nice strong weld, you can also use a plug weld process too, look it up if you’re interested in learning.
The ride height was set, and fabrication nearing completion so I sat the tank on and started with fibre-glassing a custom seat pan. It can be a bit of an arduous process but if you can learn to enjoy it, the results can be amazing. I tend to use some sheet metal to blank off the intended seat pan space and hit it with some duct tape and release agent before starting the fiber-glassing process, there are 101 ways to do it that’s just mine. Once complete I stuck some foam on it and spent a good few hours perfecting the shape I wanted, it’s a bit of a weird one but I love the damn thing.
The tiny structure of the GN250 doesn’t allow much room for sneaky hidden electrics so the idea was to keep the electrics where the old air box was but still make it look nice. Achieved by sourcing some stainless steel gauze mesh and fabricating some side covers and a rear “mud guard” which ended up being one of my favorite features of the build. We welded a few mounting tabs on and folded up the mesh after making a cardboard pattern, once that was sorted I welded up some stainless steel trimming and spot welded it to the mesh to finish it off nice and clean.

Next on the list was a new stand and chain roller, made necessary by lifting the bike higher and hence changing the geometry of the chain run. I scoured the interwebs and found an aftermarket KTM enduro stand, easily modifiable with a little fabrication, simple mounting and spring set up and matched the look I was after. The mounting point I fabricated would also double as a mount for the new chain runner to sit underneath the swingarm, problem solved!
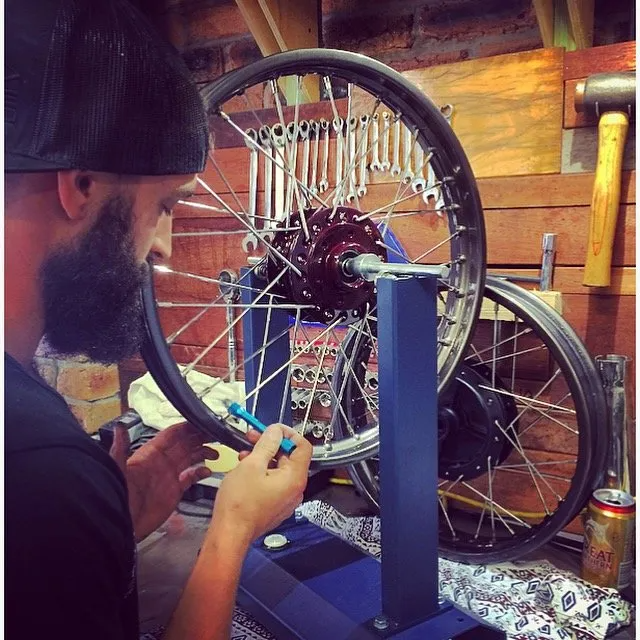
The rear of the bike was complete now and all seemed to be working as intended, I handed Nick a grinder and let him at trimming his guards down while I stripped and rebuilt the wheels with some freshly painted rims/hubs and new stainless steel spokes. The process of learning how to spoke and true a wheel wasn’t easy but I found it really rewarding if you think you have the patience get yourself a stand and have a go at it.
Last on the fabrication list was the Headlight mounting plate. I had been throwing ideas around in my own head for a while before one stuck I was happy with. It’s a simple Idea but the outcome really set the Whole Scrambler build right off. Raw finished stainless steel with vertically mounted dual LED headlights.
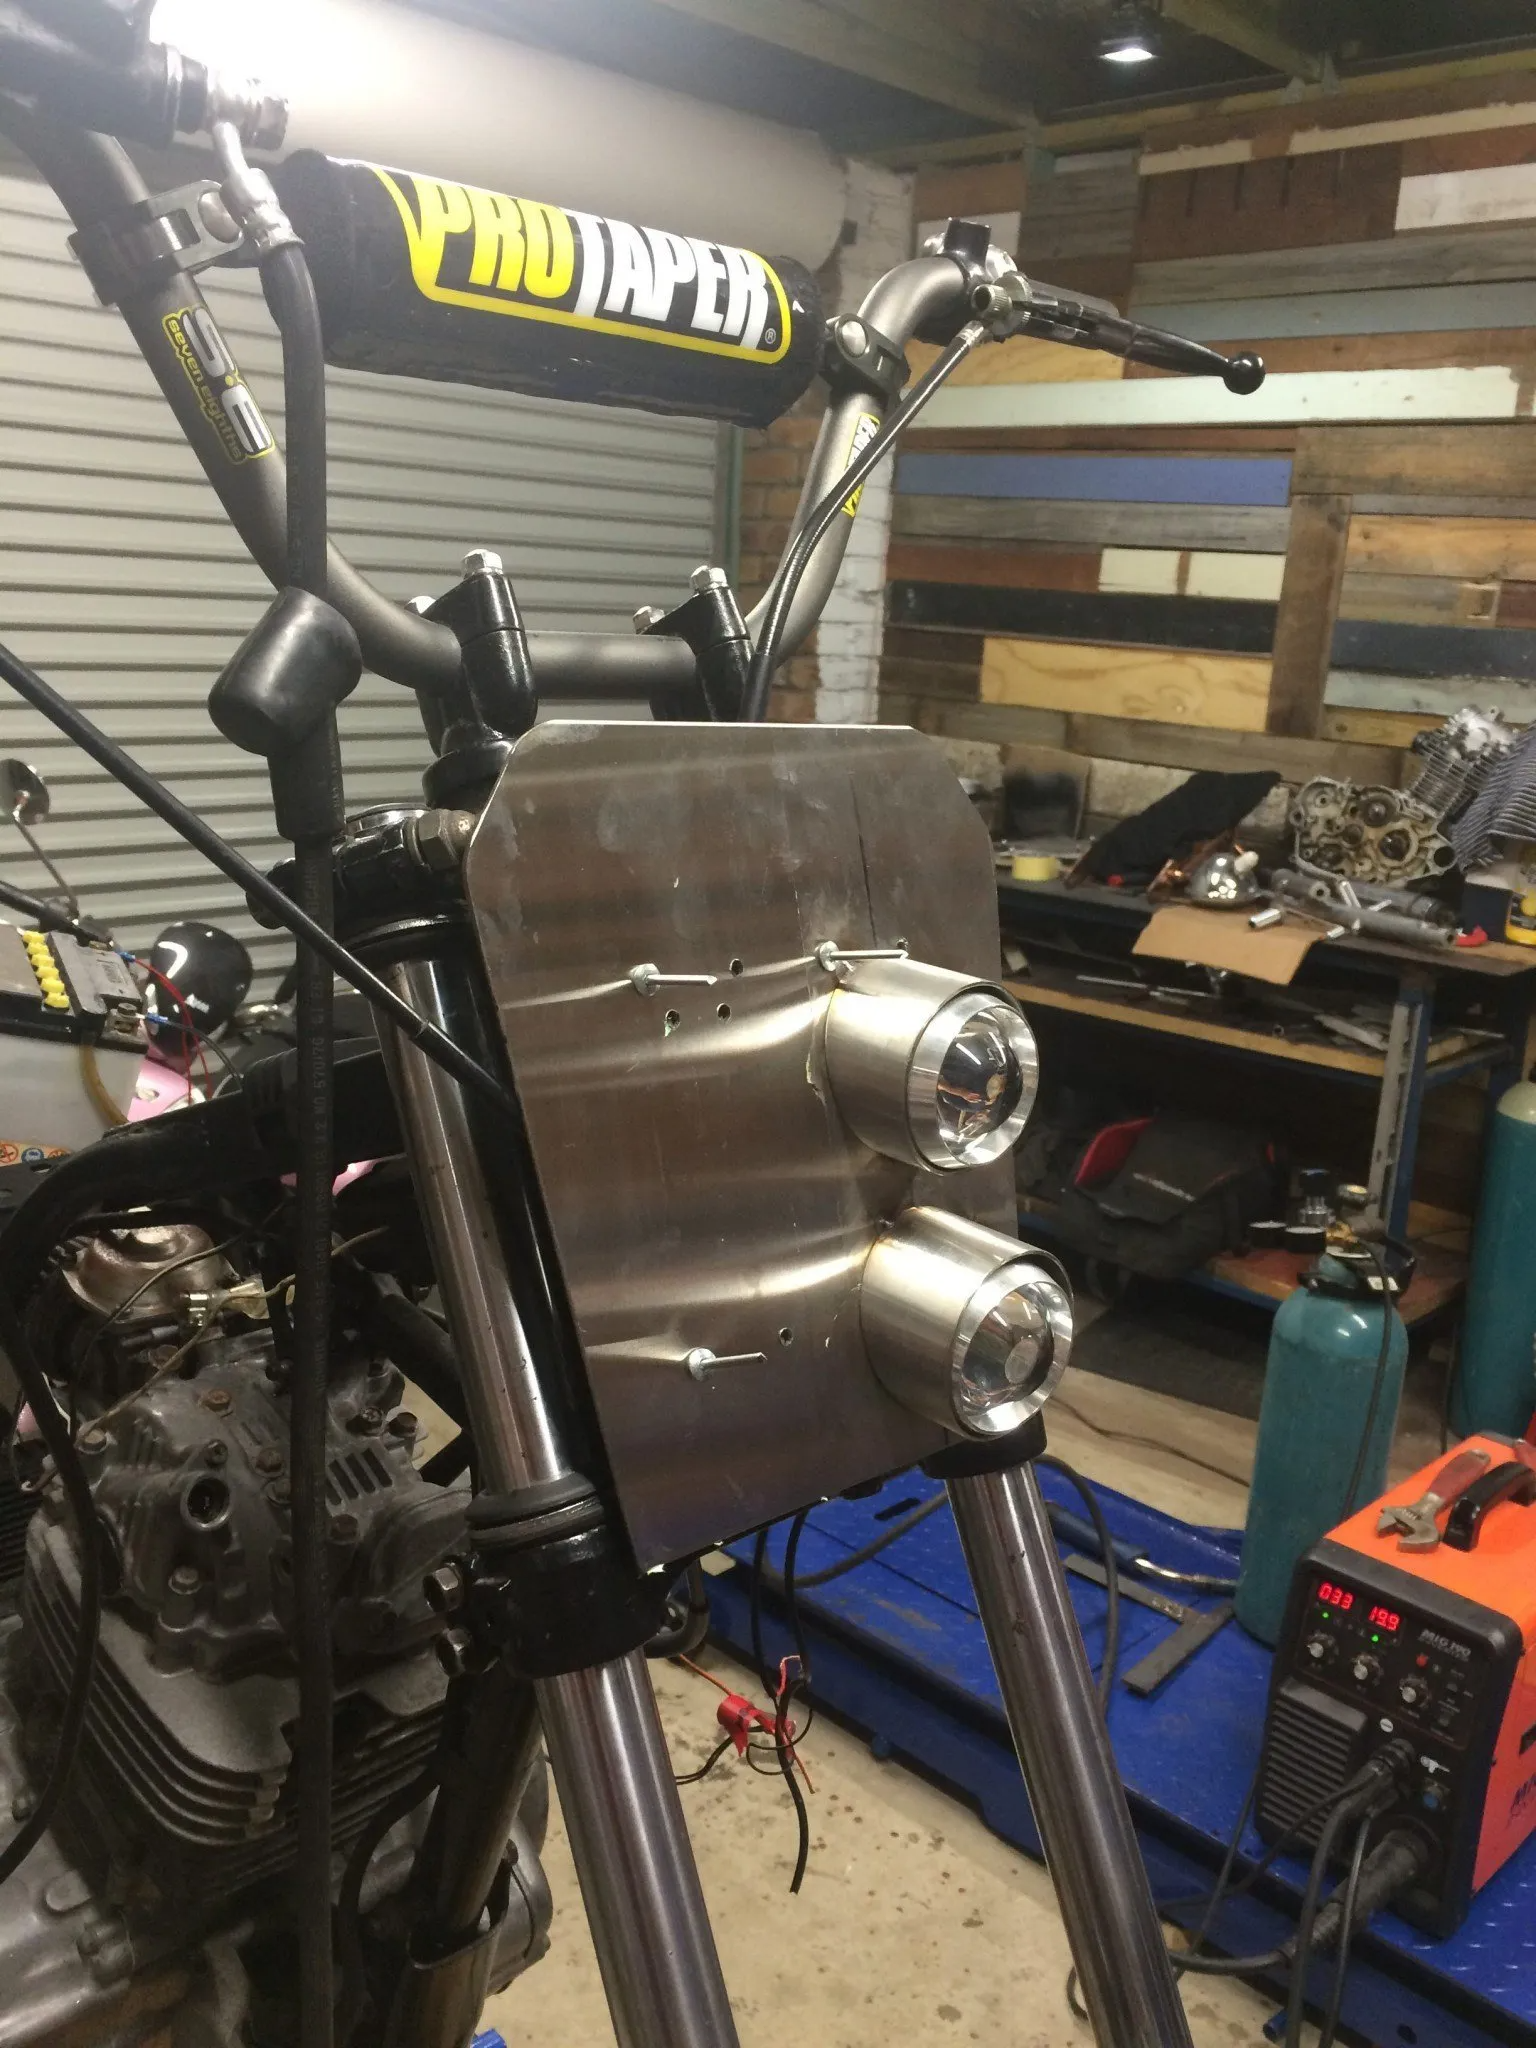
With that piece in place the fabrication was complete, time to send the parts out to paint and get that seat wrapped!
I hope the process thus far has bought some insight and given you some useful knowledge, leave a comment below for anything you’d like to see in future.
In our Final post on the GN250 build, the whole thing will fall into place, from sorting the paint through the electrics and the final assembly and check over then, of course, the long-awaited first ride!
Nick’s GN250 Scrambler 3- Final Assembly
Thanks for taking the time.
Tom.

WE BUILD BIKES WITH PURPOSE.
Purpose Built Moto is home for unique custom motorcycle builds. We offer a unique motorcycle customizing experience in the heart of the Gold Coast.
Join our email list and receive exclusive updates.
Latest Stories ALL STORIES
-
31/10/2025


8 comments
Check out our blog
https://purposebuiltmoto.com/9-ways-to-mount-your-led-headlight/
That should give you some good insight.
Hey tom
I’m currently doing up a Kawasaki zr7 and I’m looking at doing a similar headlight setup. What size lamps did you use and how did you go about mounting them vertically?
Hi Chris, my name is Humberto Rosas Suárez. I found your site looking for other things and i have to tell you that your works are really good. I´m from Argentina and edit www.motourbanaonline.com , a site dedicated to the motorcycles´s culture. I hope you can visit it.
I would like to know if we can reproduce some articles with your permission and with the correspondent credits and links to your site.
If you agree, please let me know. My mail is motourbana.com@gmail.com.
Thanks and kind regards from mendoza, Argentina, near of Chile.
Hey Chris,
Shoot me an email, tom@purposebuiltmoto.com happy to talk
Hey Tom
Chris here just found this site love your work I have just start fabricating custom bike parts I am near Beenleigh hopefully we may be able to do some business.
Cheers Chris
Standard forks mate
How long are those rear shocks? Do they have any extra travel, since it’s a scrambler?
Are forks replaced also?
Thanks for infrmation.