


If you’ve read through our run down on the 7 step process we use to Design, Build and finish our bikes. You’ll now have a rough outline of how I’ve been operating to date. Now lets take a more detailed and comprehensive look at those steps it takes to take your Project Bike from a glorified Garden ornament to a Head turning Custom Ride. The bike we’re looking at is a VMX Scrambler inspired 1980 Suzuki GN250.
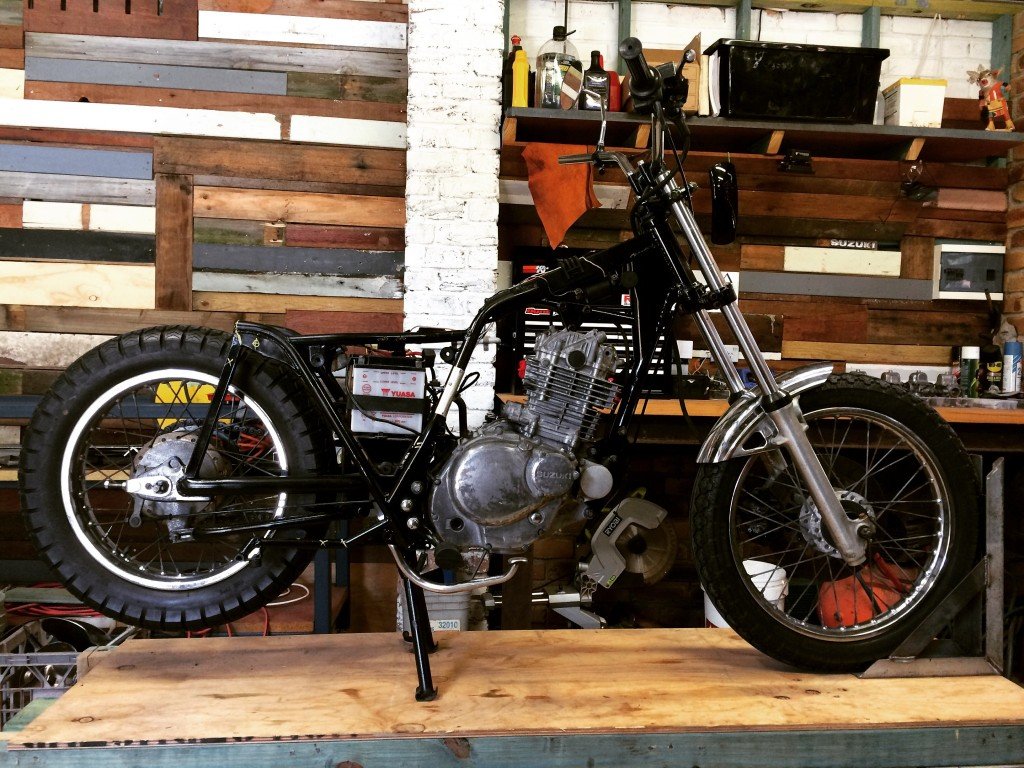
Purpose Built Moto was just getting started, my workshop had just been finished and I received a message through Instagram. Nick had seen my pictures online and recognized the timber feature I had built lining my workshop. He lived right across the street in Mermaid and had just purchased a bike to keep him busy while his girl spent a lot of time studying, a 1980 GN250; showing off a really well thought out 15x15mm box section hard tail. The fabrication was superb and it was barely noticeable that it was a garage built bike, the previous owner had obviously put a lot of time and effort into making this bike the absolute piece of shit it was when we rolled it into the garage.
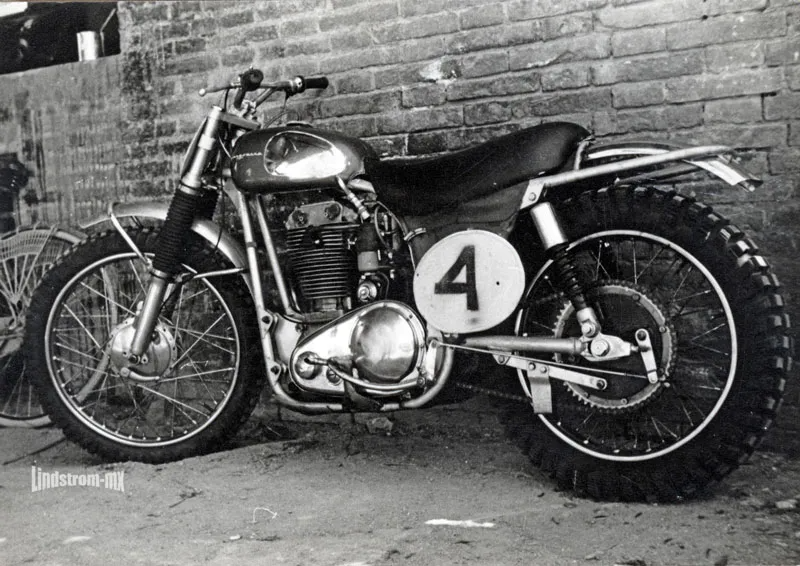
In this post we will go through steps 1 and 2 of your build, Getting your game plan together and finalizing the overall design. As with most things, our custom Café Racers and in this case a Vintage MX driven Scrambler will evolve organically as you go through the motions of the build. What’s important to gain out of the Design step is a sense of direction and a goal you’re working towards.
1. The Game Plan.
It was rough, the solid rear struts you could almost knock off with a hammer, the frame looked like it was cut with a Swiss army knife, and I think the previous owner had stolen a seat off a scooter, cut it up and stapled the leather back on. If you twisted the throttle hard enough or hit a small bump you would undoubtedly end up with a nice tyre sized burn right on your ass. I won’t claim to be even near the best fabricator out there but there’s a certain level of quality you need on a machine that can carry you at speed and this bike was missing the mark by a long way. Nick rolled the bike in and I was asking about what he was aiming for. I asked if it ran, the answer was yes so he started hitting loose un-soldered switches kept under the seat, removing wires from here and shorting them there until it turned over and fired. I watched with one eyebrow raised thinking “fuck, here we go” but, It was a start.
Tom- “so what do you think about that hard-tail?”
Nick – “It’s different! I don’t think I’ve ever seen one with a hard-tail set up like this.”
Tom- “There’s a reason for that mate…..”
This was Nicks First ever bike and it was never intended for long trips, with that in mind we set out with some design ideas to get the ball rolling.
We put our heads together and came up with an idea that satisfied a few key points;
- Had to suit his size
- An MX/scrambler style driven look and feel
- Raw and unpolished, the bike is old and Nick wanted anyone who saw it to know that, it’s ageing gracefully.
What we knew now was;
- There was going to be a decent amount of fabrication involved to get the rear suspension and seat right again.
- The engine ran well
- It was going to need a re-wire
This quick Talk and run through in the garage set us up to move on into step 2.

2. Design and Modification list.
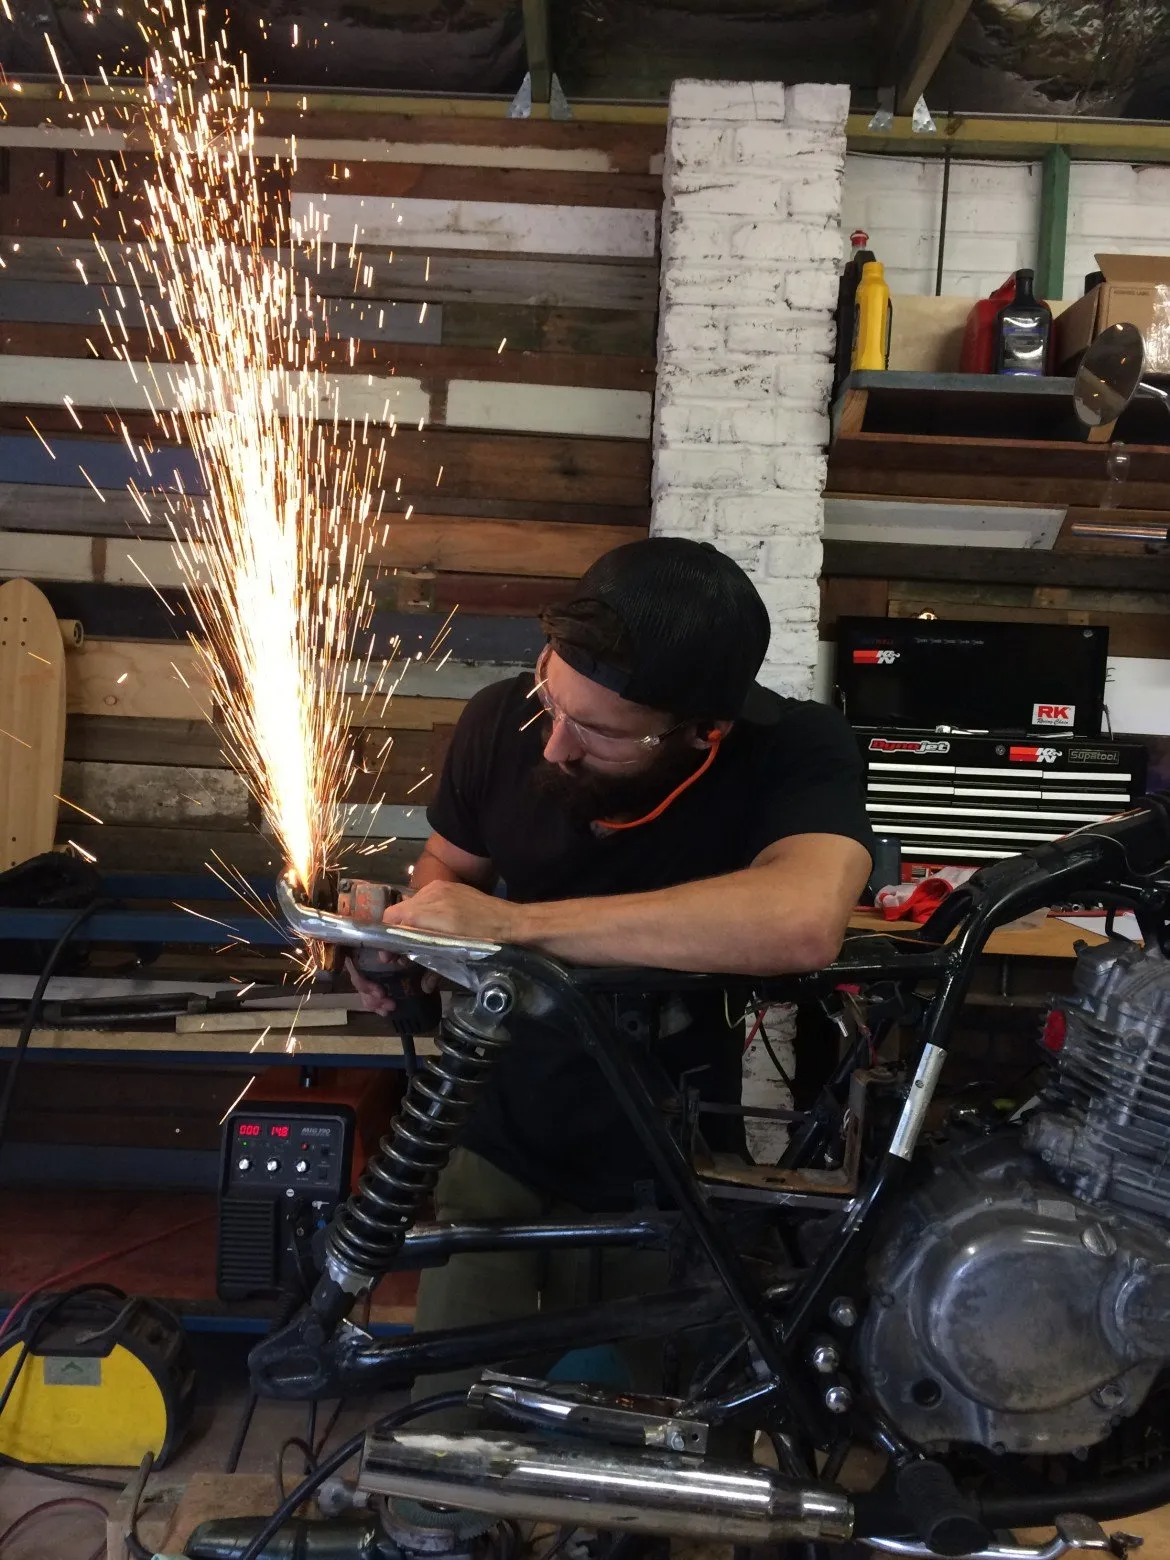
Top of our ‘to do’ list was the Tail end of the Suzuki GN250 scrambler, removing the weld on struts and replacing the original suspension mounts. Next would be fabricating the tail hoop and setting the ride height.
Nick and I intended to lift the bikes ride height significantly with the use of some longer rear shocks, doing this creates a few alignment and clearance issues (nothing we can’t handle with some creative thinking and a grinder).
Our list looked a little something like this;
- Rebuild Wheels, Road/Trail Tyres
- New suspension mounts
- Fabricate Raised tail section
- Cut Fenders down and re-mount
- Longer Rear suspension
- New Stand and chain runner wheel
- MX footpegs/bars
- Custom stainless headlight plate
- High Exhaust
You can see without me drawing you a picture how this bike will look when we finish it, the details at this stage are good to have but not necessary.
After this Nick went and Found Himself a workshop manual online, the next time he came into the garage we ran over the engine, Stripped the carb and gave it a clean out, warmed the engine up and gave it a once over.
- Started easily, and idled fine
- Valve clearance needed slight adjustment but nothing to worry about
- Timing was correct
- Compression was good
- Clutch also measured well
From this, we decided a rebuild wasn’t needed which was lucky as Nick was on a budget. Next was the suspension and brakes which also checked out ok (with the exception of the missing rear shocks), the forks had recently been done and the brakes all worked fine.
With all our notes written down, we were now ready to Strip the bike further for fabrication.
Now the Admin has been done you can get your hands dirty in the next steps. Next week I’ll post the fabrication steps as Nicks first bike really starts to take shape as an aggressive looking Scrambler. We’d love some feedback on the way we’ve approached things here, and learning this stuff is half the fun. Leave us a comment below!
Thanks for taking the time.
Tom.
WE BUILD BIKES WITH PURPOSE.
Purpose Built Moto is home for unique custom motorcycle builds. We offer a unique motorcycle customizing experience in the heart of the Gold Coast.
Join our email list and receive exclusive updates.
Latest Stories ALL STORIES
-
04/05/2026


1 comment
How long are those rear shocks? Do they have any extra travel, since it’s a scrambler?
Thanks for infrmation.