


The Purpose Built Moto Scrambler YouTube Series
This Adventure Scrambler is being built along side of the Sportster Scrambler, They’ll be going along on the same trip and being tested on all the same terrain. That said, I’m going to do my absolute best to make this tame LAMS approved 400 scrambler build unbreakable. These bikes will be challenged on a long haul trip over a bunch of different terrain.
I’m going to take the time on this build to show you the end to end process of how a bike transforms within the PBM Workshop. We’ll be doing some creative fabrication work, suspension upgrades, exhaust builds and anything else we come across that is worth showing you all.
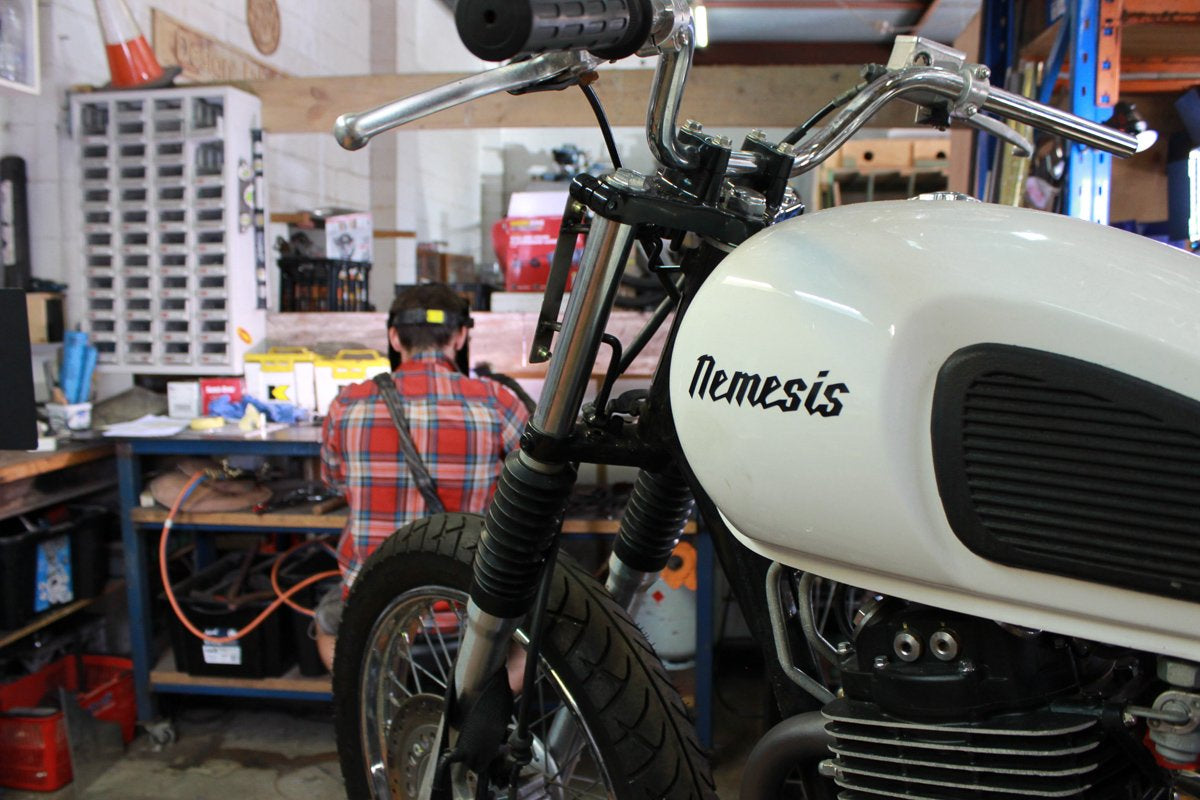
In this episode of the Sol Invictus Nemesis Scrambler build we take you through:
- Stripping the bike down
- Figuring out what you need to keep, and what to stash away
- Disconnecting your wiring
- Preparing for fabrication
- De Tabbing the frame

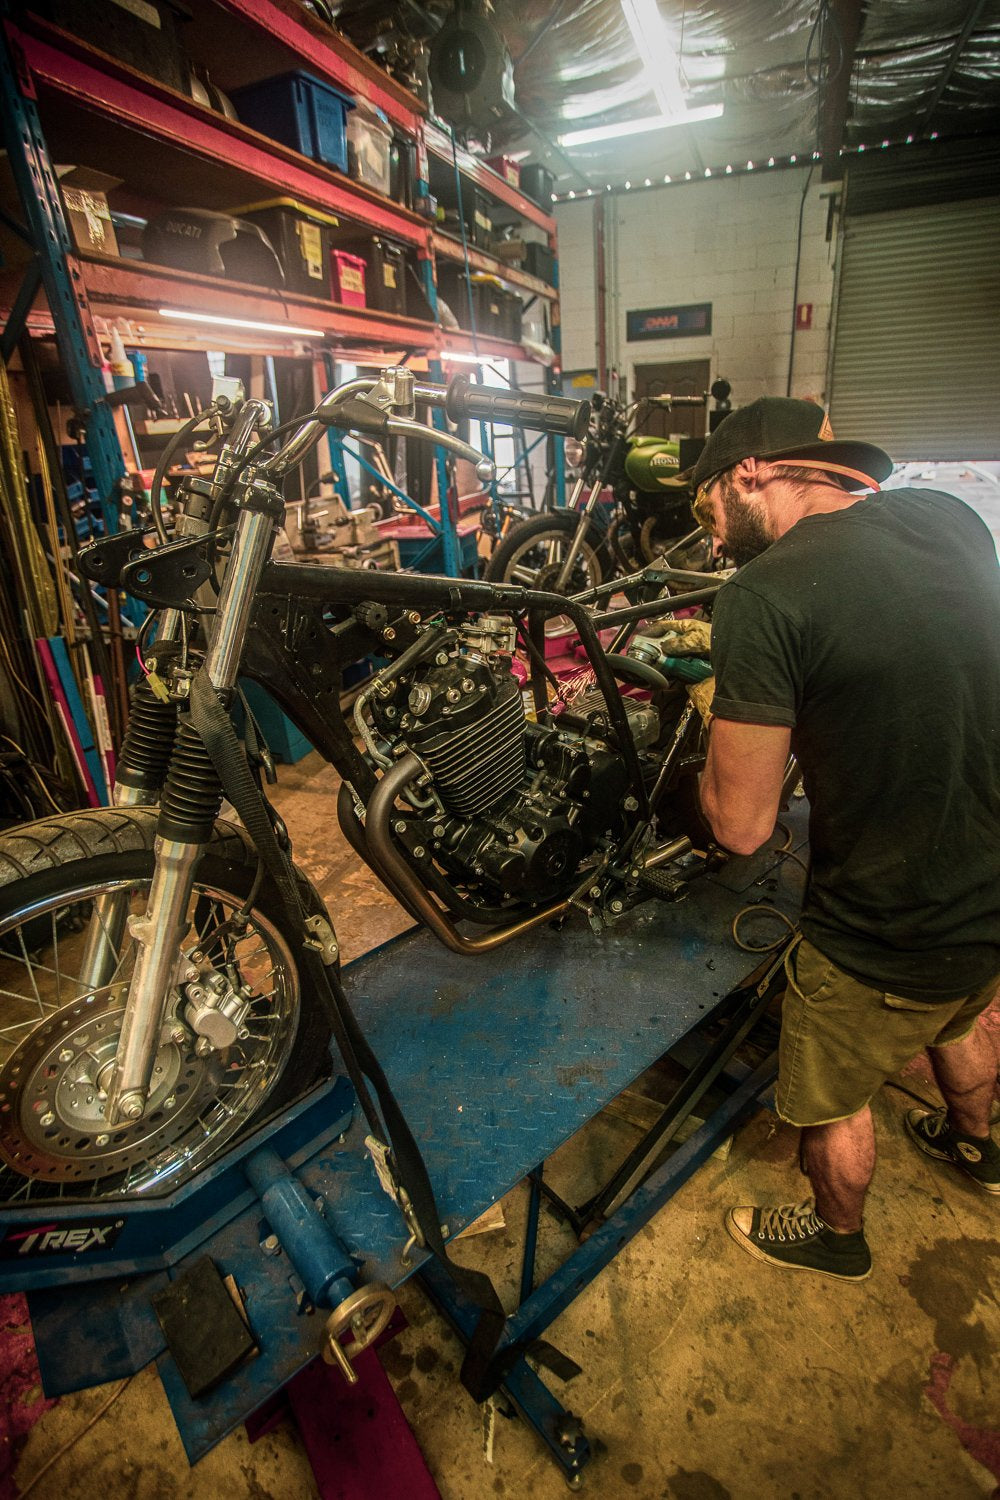
Stripping Down the Bike
First up is to start removing any unwanted parts, for me that means fenders, seat, any racking, lighting, handlebar switches and the stock airbox. As I tear down the bike, I’ll set aside all the electrics to be gone through later, and have 2 separate boxes, one for parts that will be removed and eventually put back on, and one box for parts that wont be needed anymore.
Once the fenders, seat and rear rack are removed, time for the airbox to come out. A lot of the time the rear wheel will need to be removed as well for the airbox to be taken out, the nemesis is that way inclined.
Stripping a bike is always exciting, starting to see the bare bones revealed and realising the mountain of work ahead of you as you start building. Making plans or keeping ideas tucked away for use later. If it’s your first time stripping a bike down, make sure you take your time, do it carefully, and if you need to take notes or pictures to remind you of how it all works.
Planning the Exhaust and Build Direction
The headers I’ve left on and cut the mufflers off, At this point I’m still deciding what to do with the exhaust, having the headers there helps me visualise sometimes. I’ll always go into a build with an idea or vague style I want to run with. But 90% of the time these things organically shape in my mind as the build progresses.
The Nemesis is being built for a good mate of mine and film maker Jake, we worked on Handcrafted together and that sparked his interest in motorcycles. Now he’s getting his own. I’ve been left up to my own devices here and have decided to run with what my interpretation of a desert sled is. Inspired by 60’s model BSA’s and twisted in with my own ideas, this bike will be shaped to be comfortable long haul, functional, and capable off road.
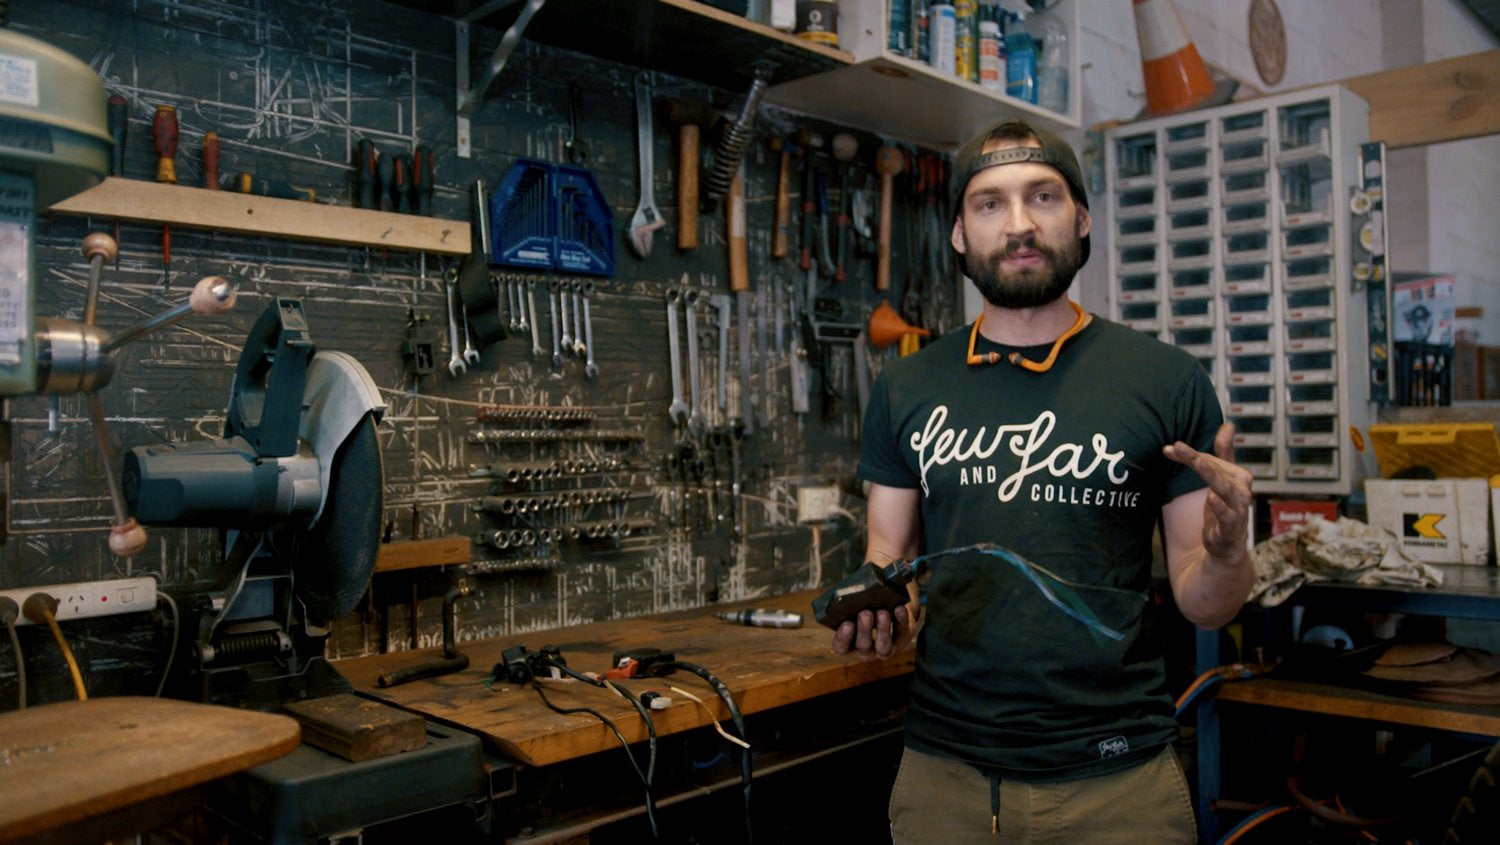
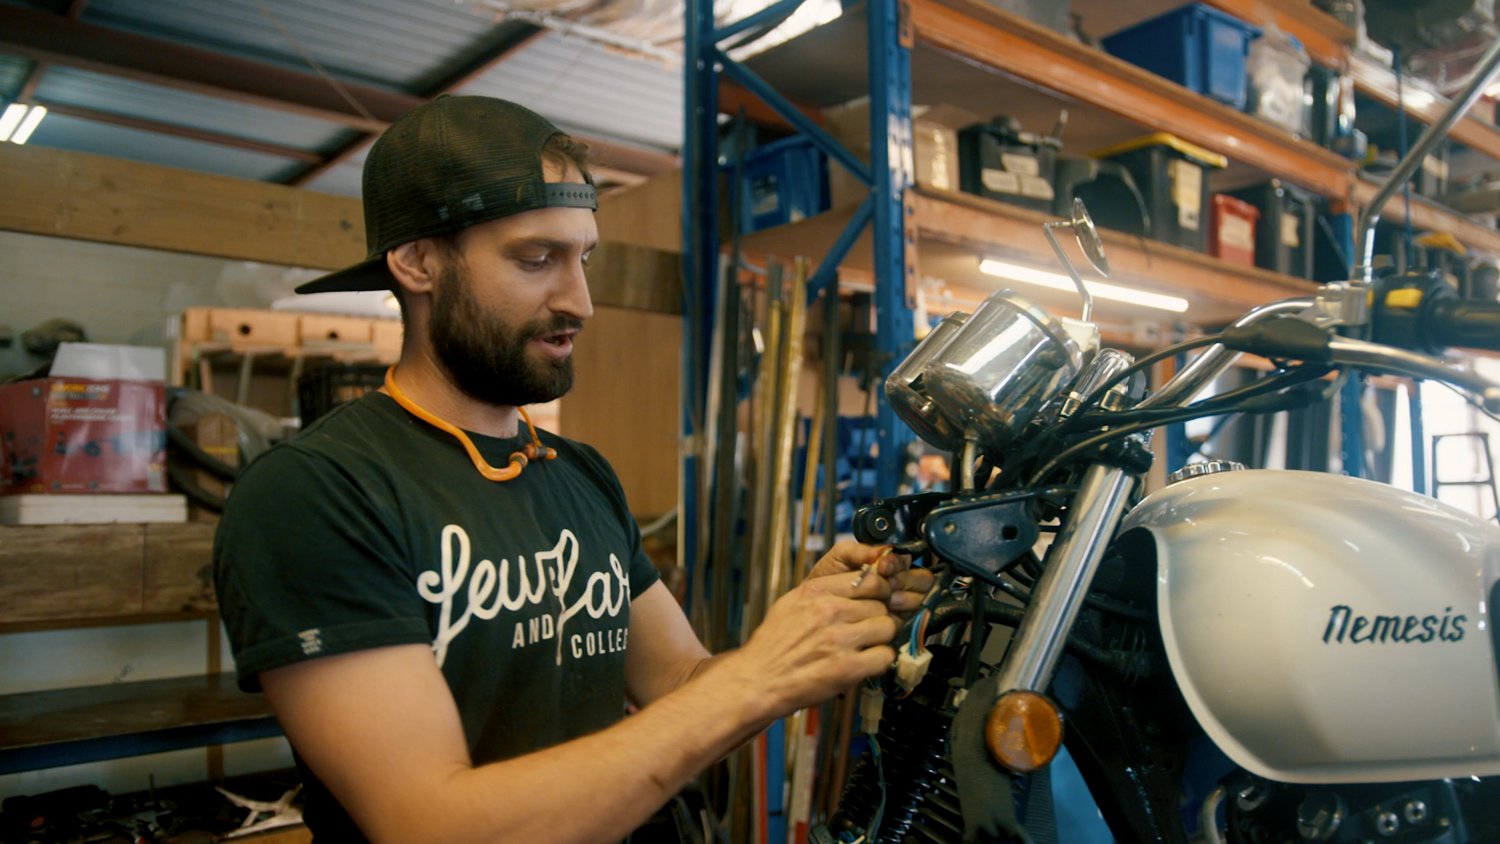
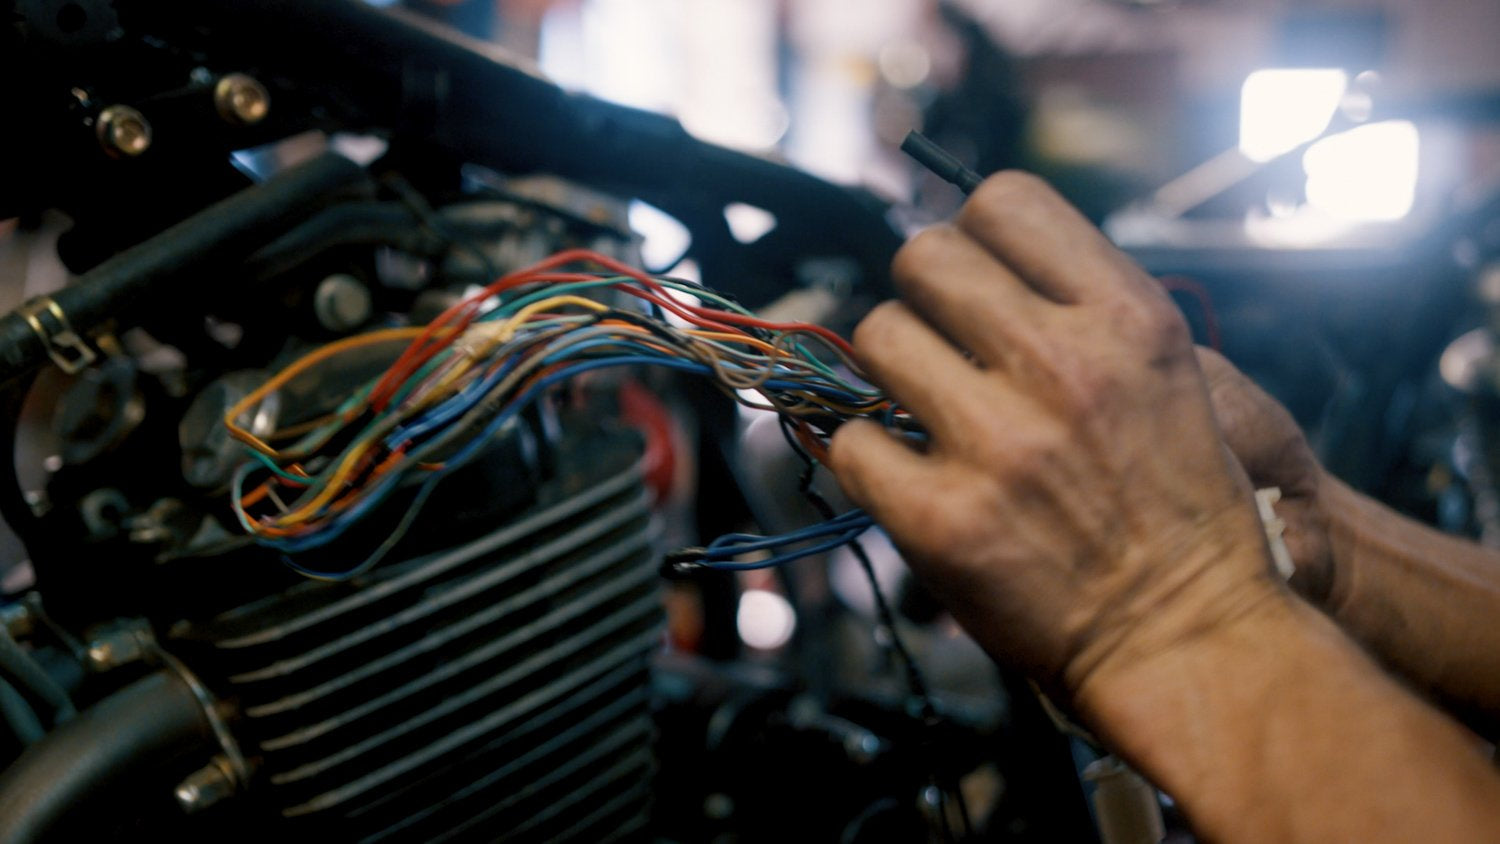
Sorting the Electrics and Wiring
Once the Nemesis Scrambler Build was stripped down, That pile of electrics I set aside is gone through. None of the lighting is being kept, and the switches and relays will be replaced with the black box module and our push button switches. All that leaves is the charging and ignition circuit. We will be keeping the Reg/Rec, CDI unit, ignition coils and the key barrel. Before I take the CDI out of the loom I checked over the wiring diagram to make sure I could mark it correctly for re-connection.
Now is as good a time as any to drain the fuel from the tank, especially on older bikes that may have brittle hoses or leaky fuel taps, always get rid of the fuel before cutting/welding starts. You can also neutralize your tank in a few ways, you can do your own research on that one.
Preparing the Bike for Fabrication
Last 2 steps of preparation before I lay a grinder to this bike:
- Plug up any open holes
- Degrease and wash down
I use a bit of tape over any hoses or open holes I’ve uncovered in the tear down, this stops and dust or filings getting into places they don’t belong. The degrease and wash down is because I’m a princess and like clean hands…. Well as clean as you can keep em working on bikes.
De-Tabbing the Frame
After the wash down, its time to start trimming away the excess and unneeded brackets, mounts and I’ll also snip the rear frame to get ready for the new tail hoop. A note here I mention in the video is that I always mark out what needs to be trimmed up. Without fail if I don’t do this, I’ll end up getting excited and cut off a tab or bracket that I’ll need later. Take a minute and think it over, marking anything that needs to be cut off. That way, in the heat of the moment, you don’t cut off your main engine mount!
Ready for the Next Stage
I’m now left with a relatively bare motorcycle to start imagining what comes next. This is a quick stage of the build, but a rewarding one. Next episode we will be going through the start of fabrication and showing you how I made the killer headlight shroud and front fender.
Make sure you jump on the Youtube Channel and subscribe to get alerts when we have more of this Scrambler Build to share with you!
Enjoy the episode below and thanks for reading.

WE BUILD BIKES WITH PURPOSE.
Purpose Built Moto is home for unique custom motorcycle builds. We offer a unique motorcycle customizing experience in the heart of the Gold Coast.


