


Our second Quick Fix episode runs you through the finishing work we did on a 1981 Harley Davidson Ironhead HardTail Chopper.
The last 20% of finishing a custom bike job is usually the hardest, and that was the state this Harley Davidson Ironhead Chopper came to us in. We’ve done a fair few little bits and pieces on this bike, a lot of finishing work and some necessary upgrades to get this 1980’s classic back on the road.
Starting off on the tail end, we were tasked with mounting a new seat that Trent, the customer supplied wrapped in a beautiful vintage leather. We had to build a spring set up for the seat which we did with some aftermarket springs and a few brackets that were mounted onto the hard-tail frame.
Custom Sissy Bar and Lighting
We used some solid 12mm bar and some bungs from our DIY fab kit to build a custom sissy bar. Because the handlebars weren’t so high on this bike, we only built the sissy bar to be half – 2/3rds normal height. While this thing is old, it wasn’t pre ADR, so we had to make sure all the lighting on it was street legal. We used the sissy bar to mount the license plate with the PBM Orbit tail light and indicators, edging it toward street legal.
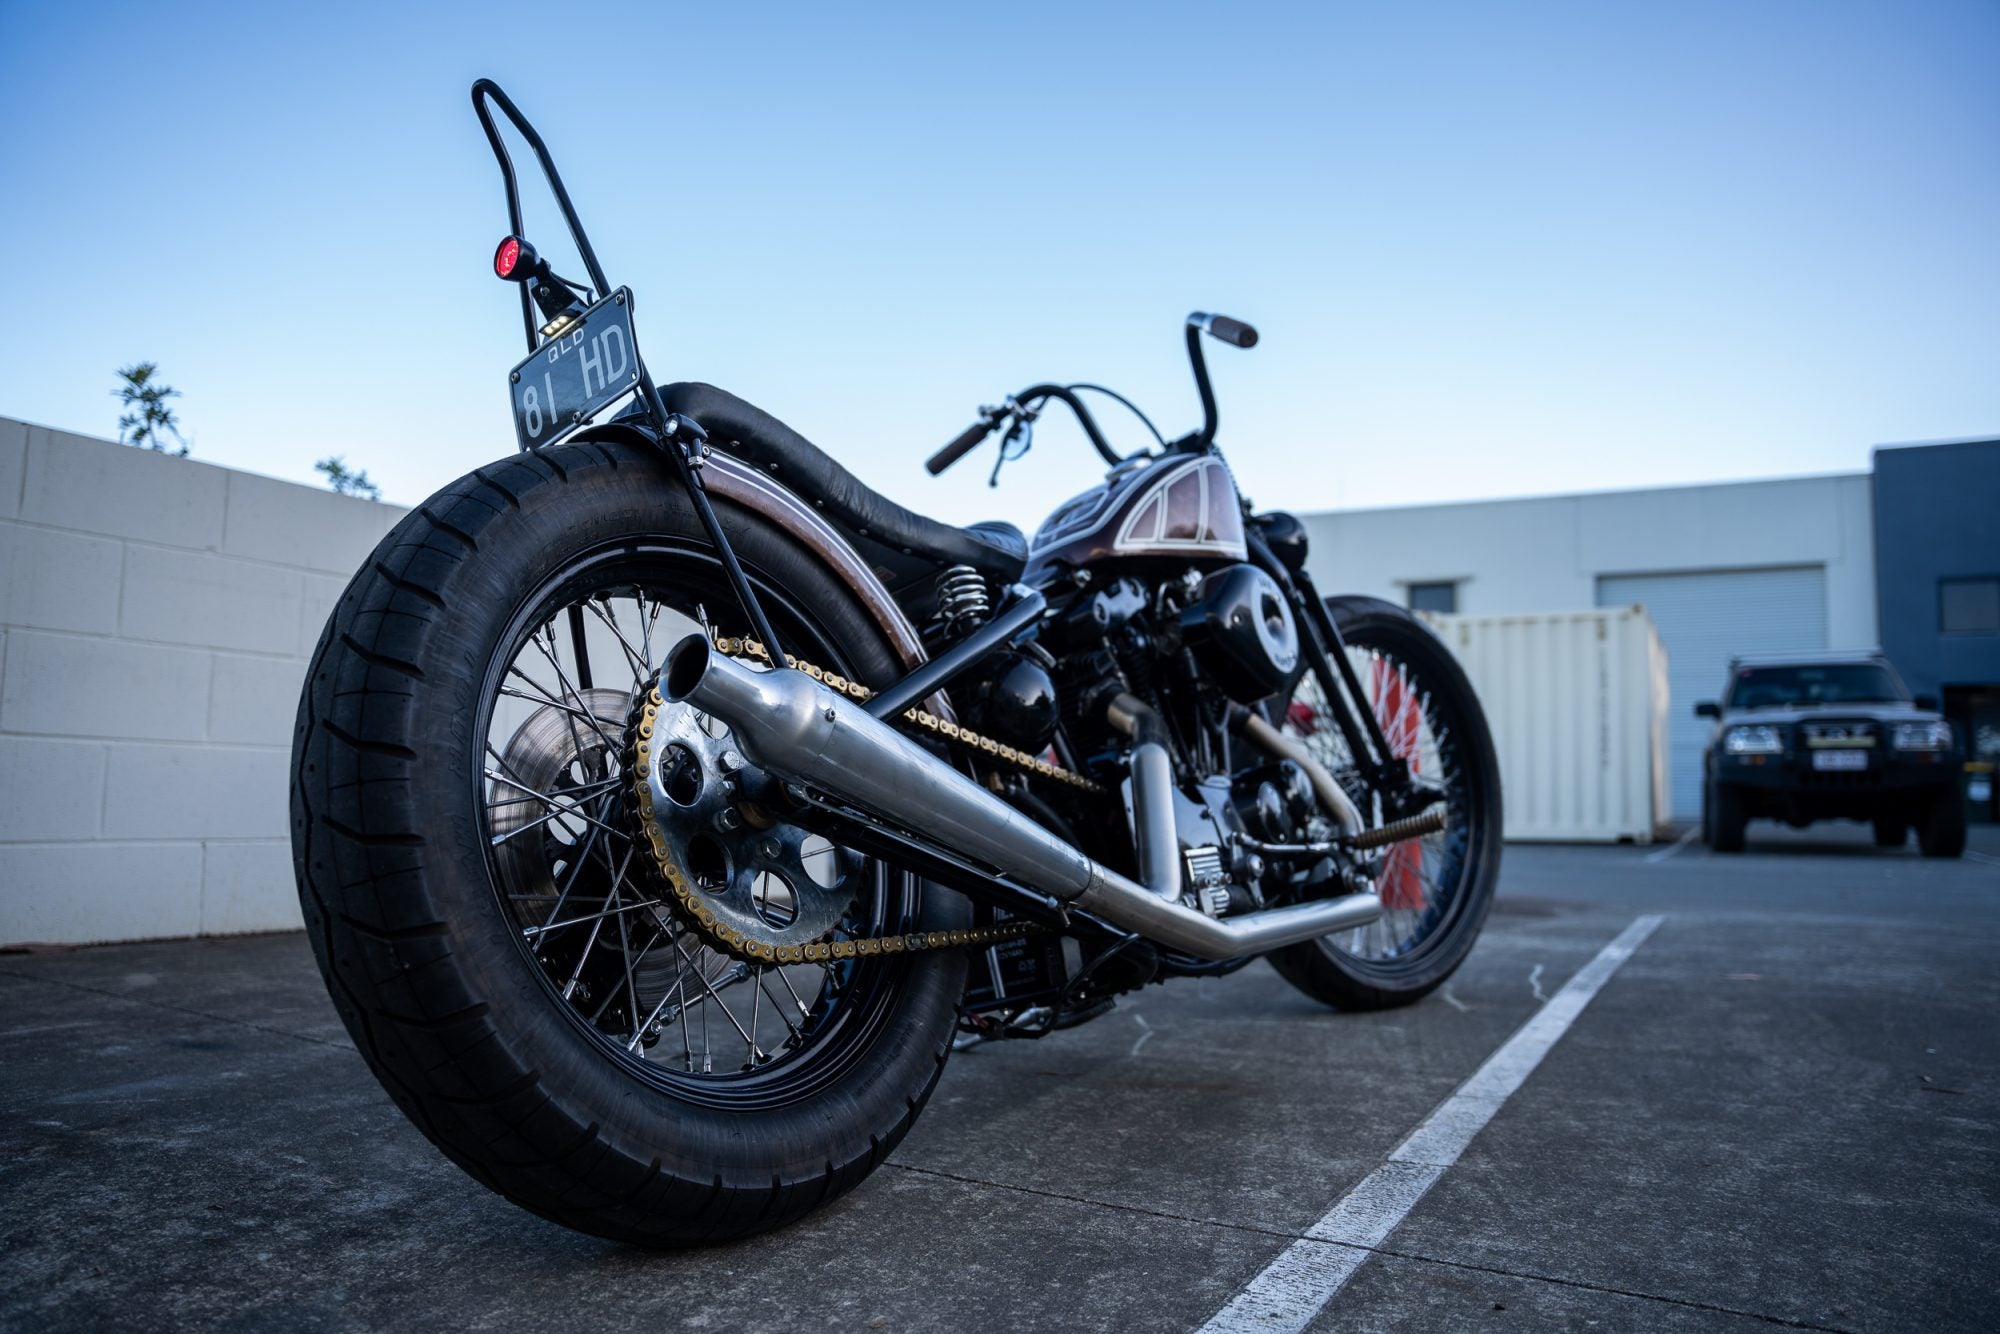
Cable Cover and Front Upgrades
To keep things clean we built a little cable cover box behind the license plate mount. Because we had a fair few lights on the rear end, I didn’t want to see a mass of cables, so we ran those into a little cover that just bolts on with the number plate, and that hides a few of the connections with the cables running away on the brake side of the hardtail to underneath the motor to be connected.
Moving towards the front of the bike, we’ve made a few aesthetic upgrades. The previous owner or builder had worked in a hidden throttle mechanism that had the cable running internally. It broke off when we went for a test ride, so we had to crack it open and fix that up.
Handlebars and Indicators
We’ve also fitted our three button switch to the left hand side of the handlebars which controlled the high and low beam and left and right indicators. And in a bit of perfect timing, we just got our new scrambler mirrors back in stock, so we mounted one to hang underneath the bar, again something that we did to edge this bike to being street legal. Because we’re not running a front brake on this bike either, the rest of the handlebars stayed nice and clean.
To mount some indicators we had to thread some holes on the springer and build some mounts to hang our 3-in-1 Hollow Tips nice and discretely beside the headlight. The grilled 4.5” headlight was already fitted, so we’ve just left that there.
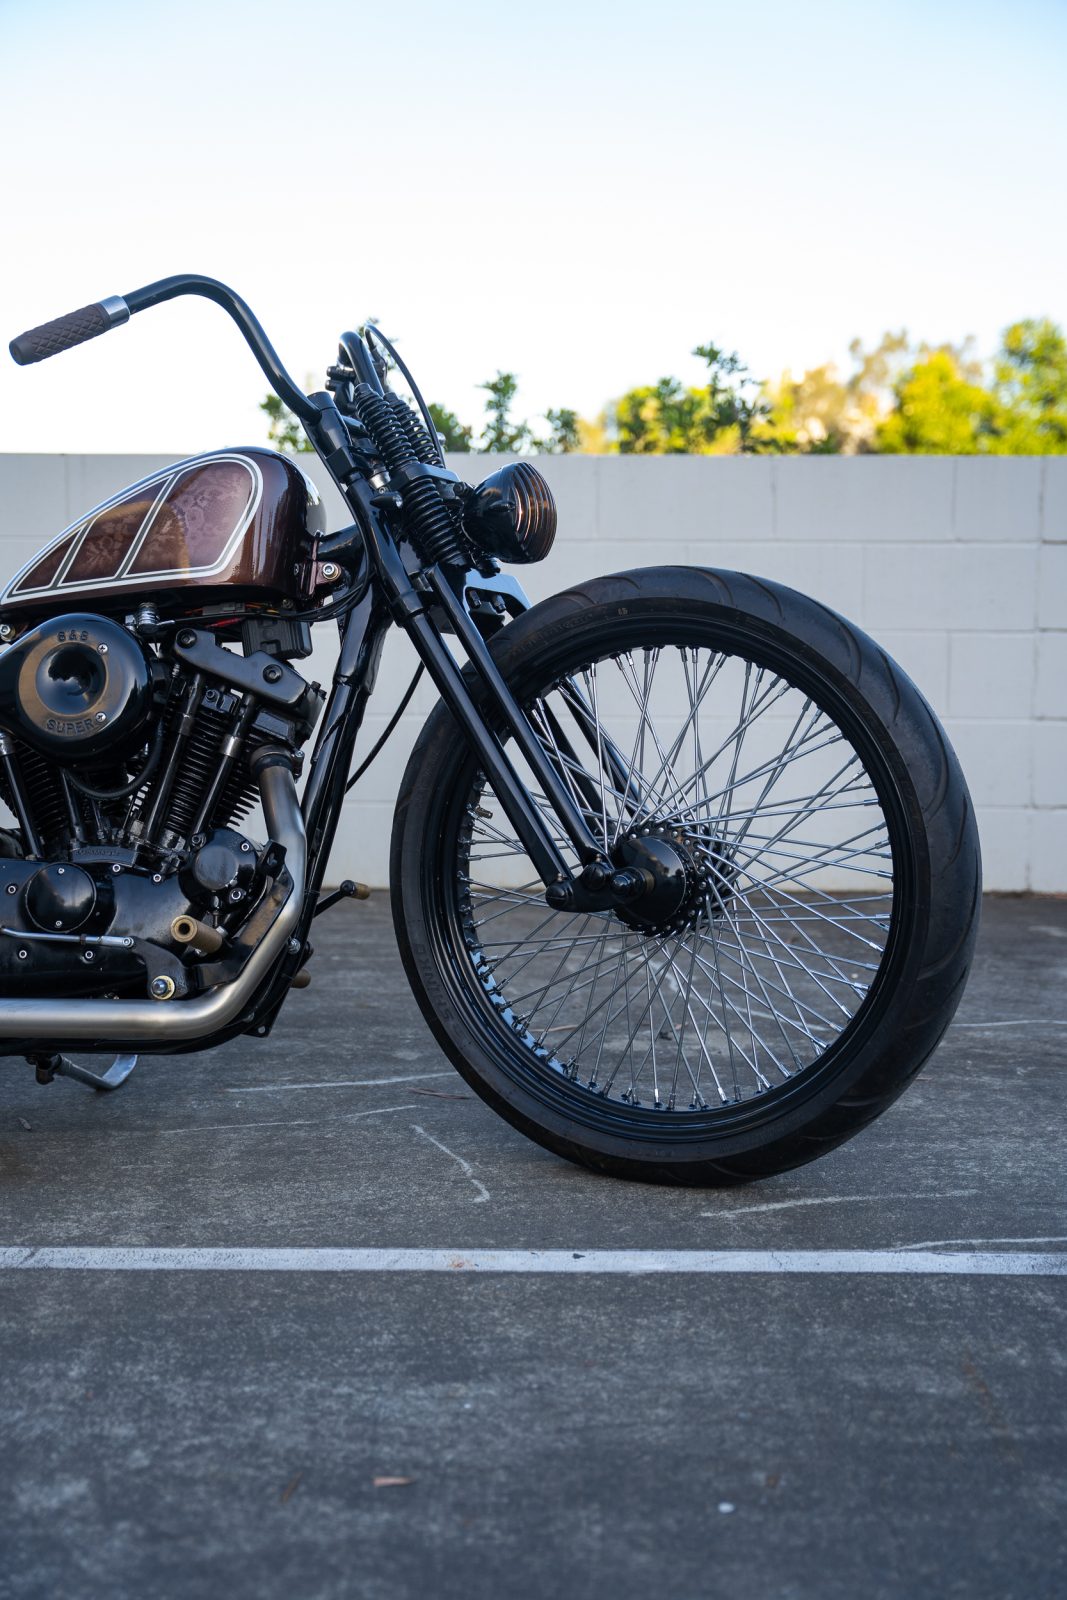

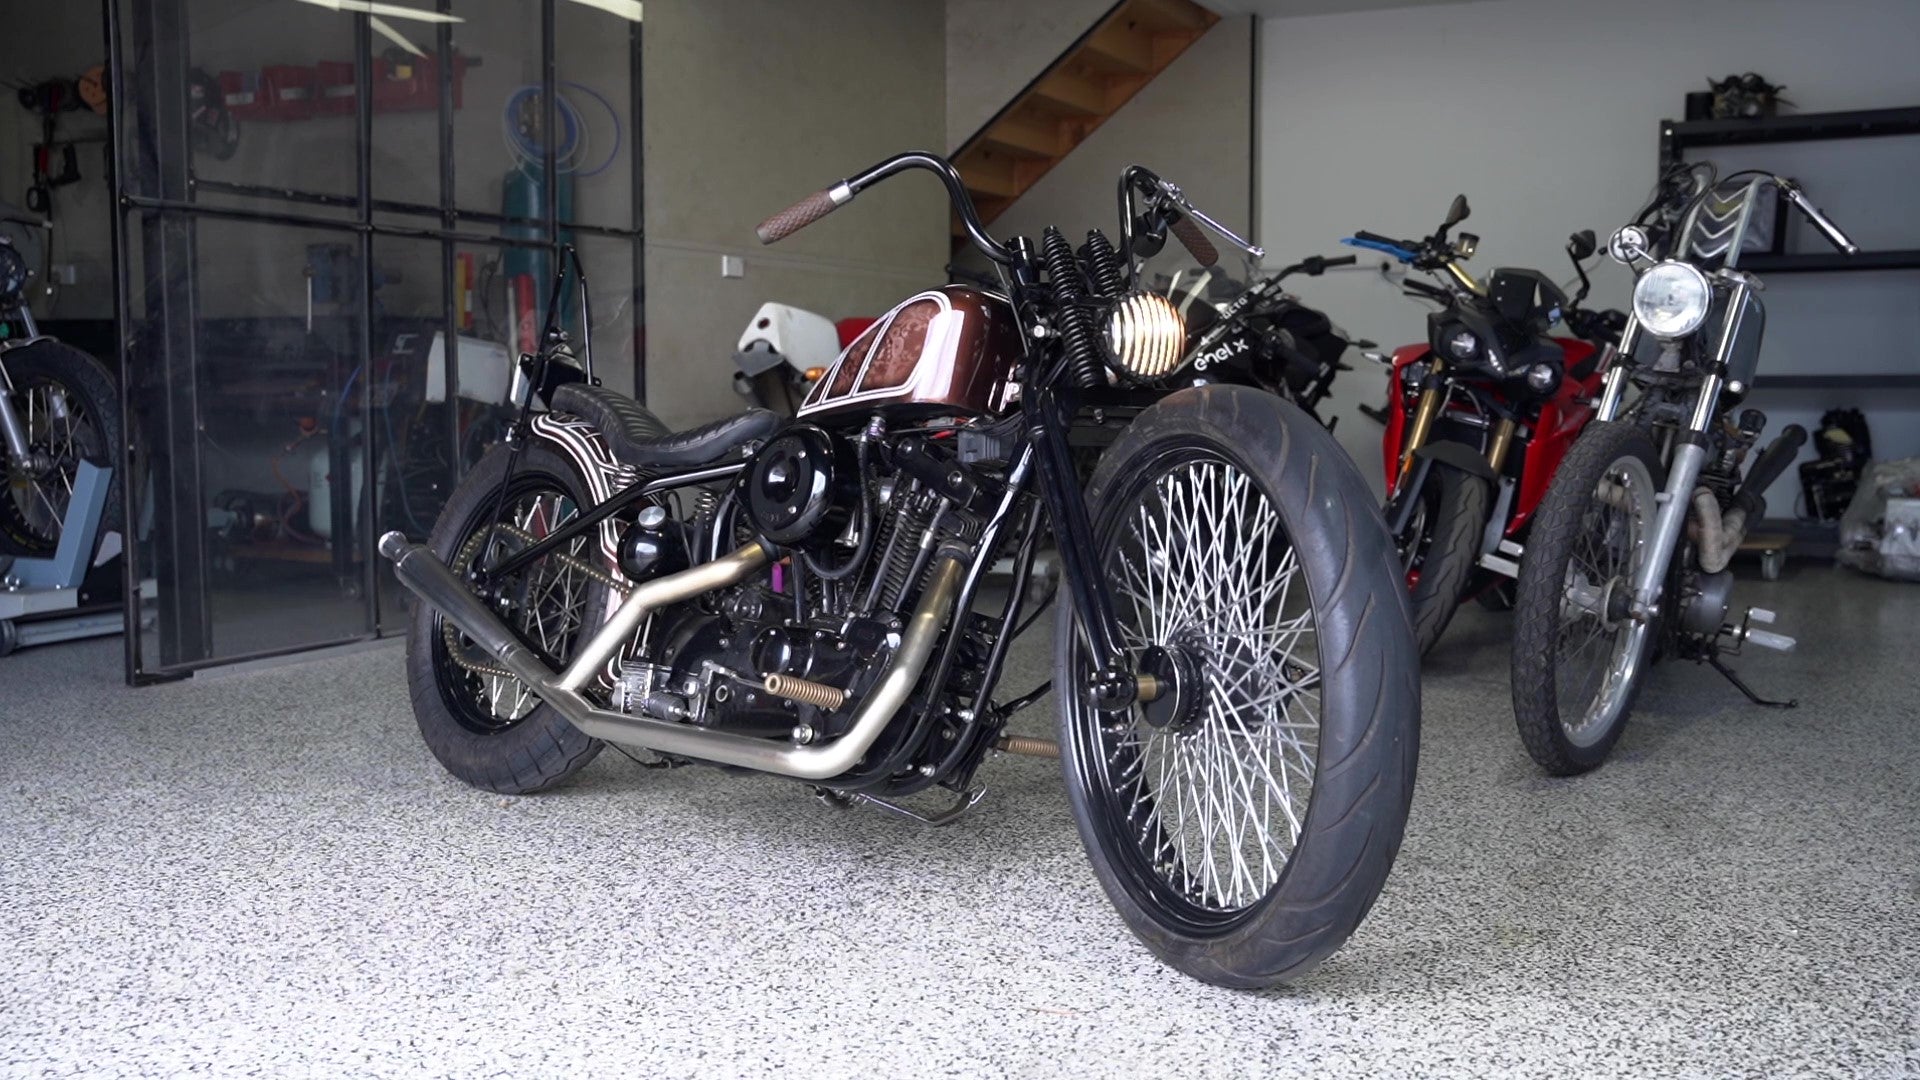
Wheel Setup and Style
The chopper already came with a good set of aftermarket wheels on it. The Ironhead is running a 23” front wheel – which is a little bit odd on this style bike, but this bike is a bit of a mixed bag.
You’ve got a lot of quite old school styling and paint on this bike, but then you’ve got a few modern touches like the oversized wheel which you don’t really see on old Choppers. It probably wouldn’t be my first choice, but as we’ve had this bike it’s sort of grown on me. Time again, if I was building this bike I’d probably just run like a nice skinny 21” on the front. But, horses-for-courses the owner seems to really love this bike and it rides quite nice as well. Although, that front end gets a little bit heavy at slow speeds.
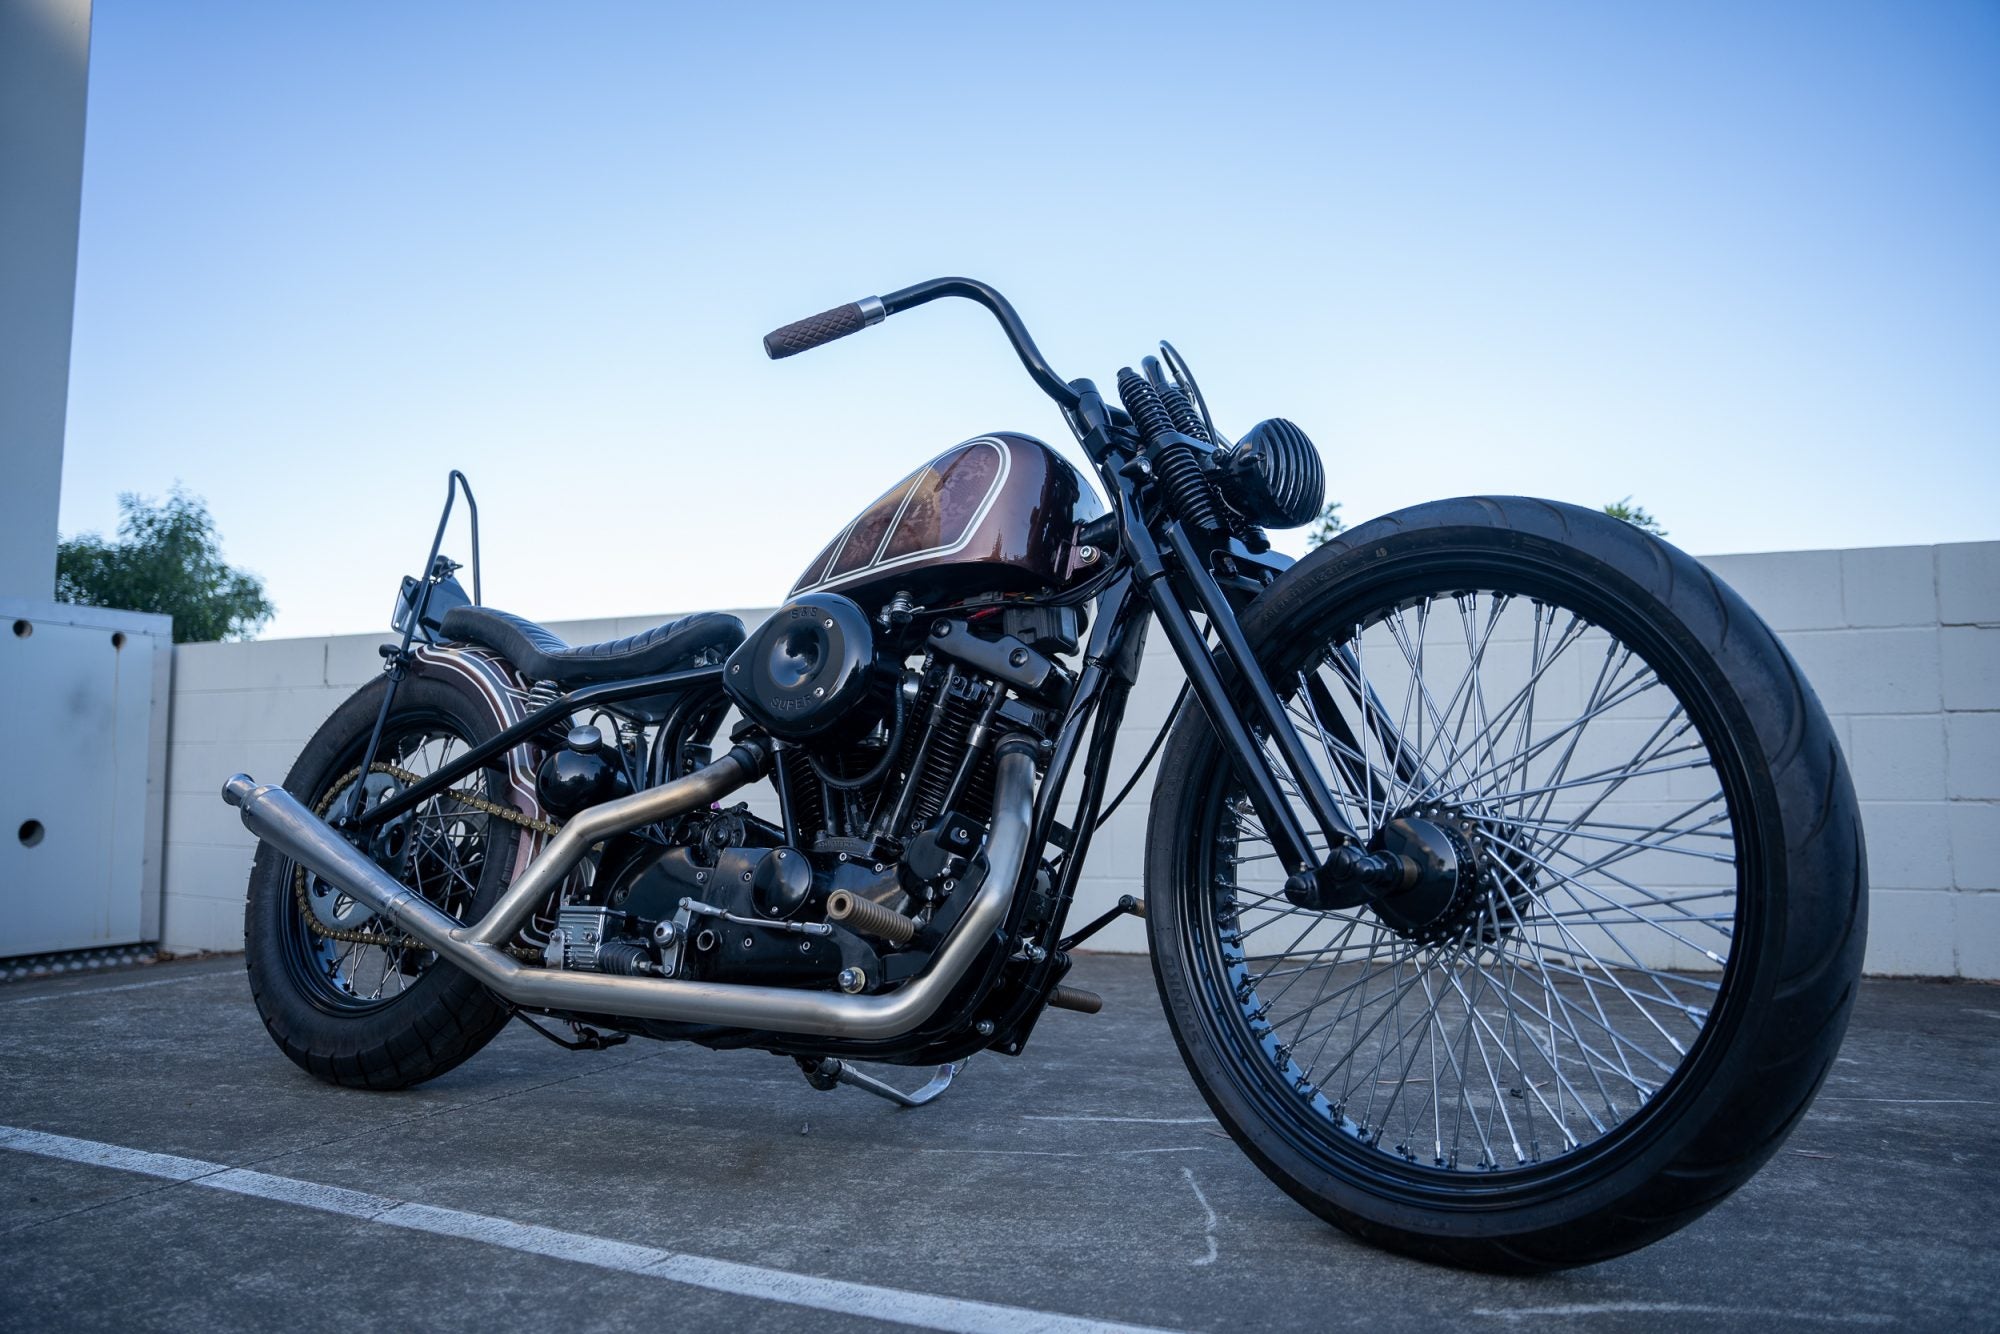
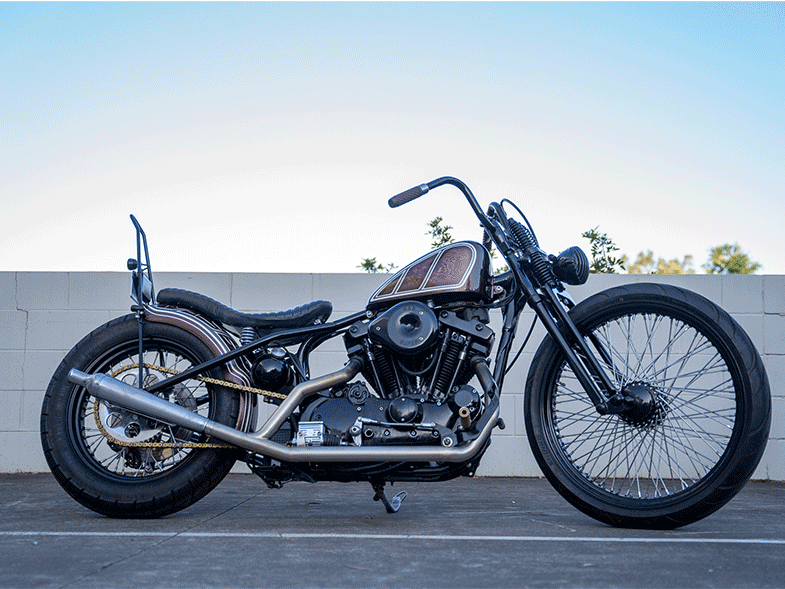
Exhaust Fabrication
Another big task on our list was to rebuild the exhaust, this actually came as a last minute request. I was in contact with Trent, had a chat with him and he was about to come down and pick it up and I said to him, in the future it’d probably be worthwhile thinking about fabricating a nice old-school exhaust for this bike.
The old exhaust was really well fabricated and nicely built, but it just didn’t fit with the overall style of the bike. No matter how nicely built it was – a pie cut, raw welded, street sweeper style pipes on an old bike looked really out of place. It’s just not really of the era for this style of bike I think.
So what we did is fabricate a set of new headers, a two-into-one setup and then used a new Old Spares cocktail shaker that we got from Luke at Brit Cycles. He’s a local British parts dealer here on the Gold Coast and it’s nice to be able to shop and buy things super local.
Because it arrived within a day or two, it enabled us to get this last job finished nice and quickly and then this bike will be out here in the next couple of days.
Brake Modifications
We’ll also run you through a few of the smaller jobs that we’ve done on this thing. When the bike came in, obviously it had no front brake and the rear brake linkage setup was a bit weird. It was fabricated to run over the peg and you couldn’t get full leverage out of the brake because it hit onto the peg mount. So what we’ve done is change this around and refabricate a brake lever to go on the underside of the exhaust, so you get that full operation now and it’s also a bit easier to access.
Beforehand, the brake pedal sat way behind the foot peg which made it a bit of a pain in the ass to stomp on. So we fixed that up and the brakes are working really well now and it’s a lot easier to access when you’re on the run.
Electrical and Charging Fixes
The catalyst of why this bike came to us was because when Trent bought it, he rode it for a little while and then it stopped. It wouldn’t go anymore because there was something wrong with the electrics. So we dug around and found a fair few things that were wrong with the wiring.
If you don’t update the regulator on these kinds of old bikes you should never run lithium batteries on them. The regulators send voltage spikes and over-voltage because they don’t really do their job as well as they should after 30 – 50 years. So they overcharge your lithium batteries and because they’re so small and compact they’re a lot more sensitive to overcharging and it’ll just blow up your battery. That was on the verge of happening. So we took out the lithium battery and the power pack inside the case was all swollen. It was about to give in and I think that had caused a few issues with the regulator as well.
Charging System Solution
Because when we started up the bike we found that the cycle electric generator was charging fine, it’s got a two brush generator on it, so it was putting out more than enough AC. But that charge wasn’t getting through the regulator into your battery. So we sourced an Cycle Electric three-wire regulator rectifier, installed that and then after re-polarizing the generator everything worked and it charged the battery just fine. We’ve also replaced the battery with a standard lead acid and had to modify a little battery box on the back.
Another little tidbit that I almost forgot. Because of the sprung seat we haven’t really got anywhere to hide our electronics. This bike’s running off one of our Black Box modules which gives your headlight high and low operation from our push buttons. We got Donnie to fabricate a little cover, reminiscent of a later model horn cover and it mounts just off the side. So there was an engine bracket that we’ve built off of and the cover plate sits over another backing plate – this is where we mounted our black box and terminal strip, housing all the lighting and electronics except for the charging and ignition circuit.
WE BUILD BIKES WITH PURPOSE.
Purpose Built Moto is home for unique custom motorcycle builds. We offer a unique motorcycle customizing experience in the heart of the Gold Coast.


2 comments
Hey Danny,
This style seat is referred to as a “Cobra style” seat.
What is this seats type called I love it and I want to try making one for my shovel