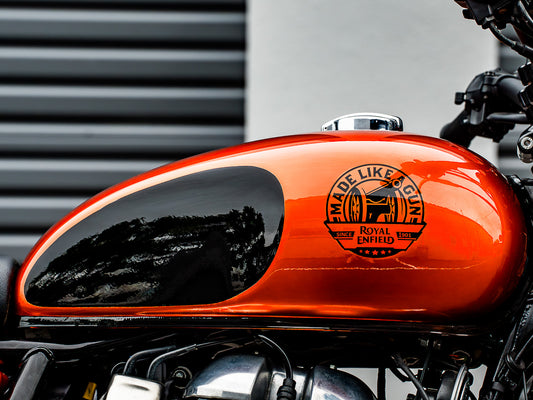
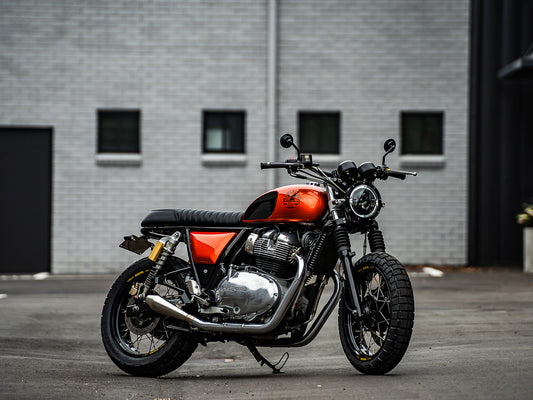
Sol Invictus Nemesis 400 – adventure scrambler build Ep2
Episode 2 of the Sol Invictus 400 Adventure Scrambler build, we’re diving into fabrication on the front end and running you through how we mount our fenders on the front and rear. Also a little insight into the strange stainless steel tail hoop I created.
We’re giving away a lot of detail on this build to show you the end to end process of how a bike transforms within the PBM Workshop.
In this episode of the Nemesis Scrambler build we show you :
- Building a scrambler headlight plate
- LED headlight conversion
- Desert sled style Front fender mount
- Stainless Steel rear tail hoop

After tear down, and removing the speedo and ignition key, the headlight mounting frame revealed on the nemesis was a simple thing to modify and suit what I needed. The Nemesis will take shape as a modern, capable adventure bike, but with a nod to the 60’s off road pioneers. Spurred on by watching a Hare and Hound documentary the desert sled style was front of mind.
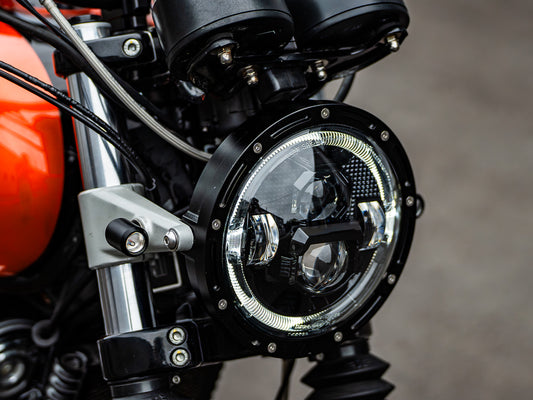
That said, I cannot help myself but to change things up and do it my way. The front scrambler headlight plate will be kitted out with a Purpose Built Moto 4.5″ LED Headlight, and a tiny but bright STEDI LED spotlight for the high beam. These will be mounted offset to center in a hand fabricated Aluminium shroud.
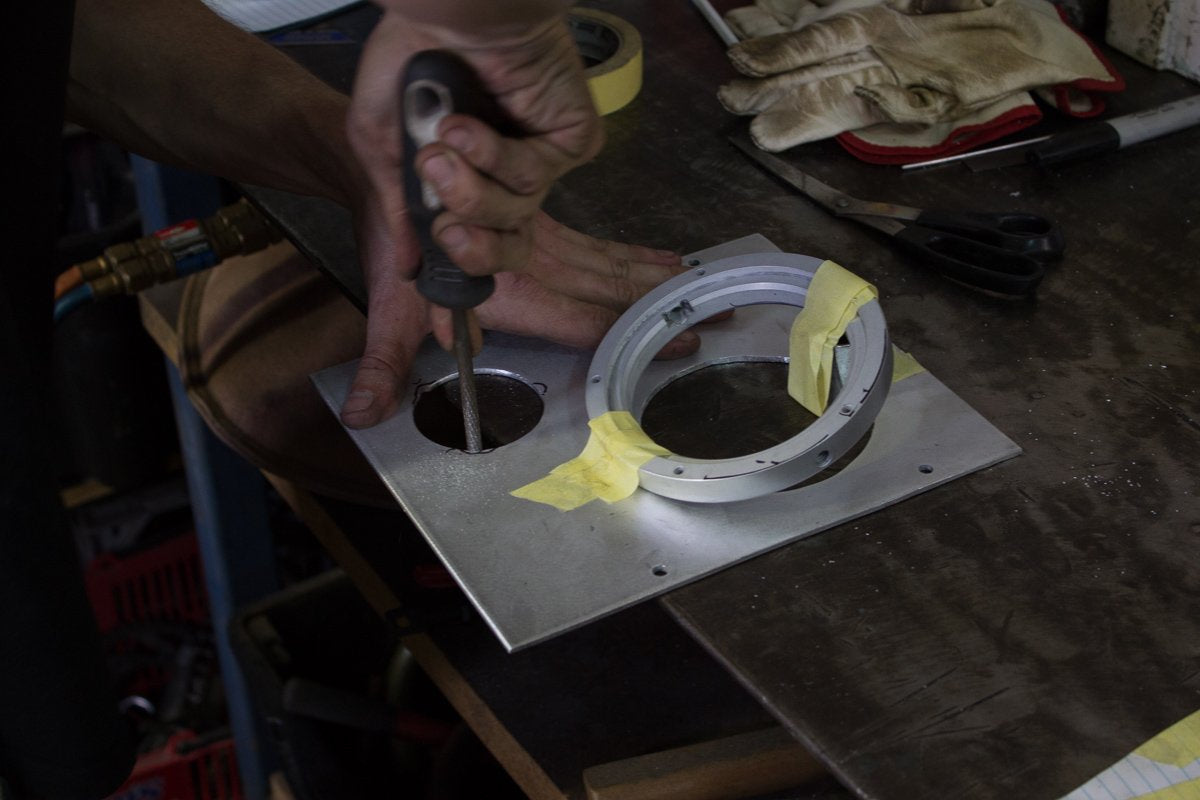
Building off the 4 x M6 mounts that were welded onto the factory headlight bracket. I template and cut out a 3mm aluminium plate, drill the mount holes and mock up in place to decide where I’m mounting the lights. Before finalising that I make sure that the cut outs where the LED will protrude through will clear any mounts.
Once marked the hole for the 4.5” LED headlight is cut out and a plan formulated to mount it facing aligned with the road. I’m going to mock up and template a shroud and weld the rear section of the headlight into it, then the LED and face of the headlight case will fix into it.
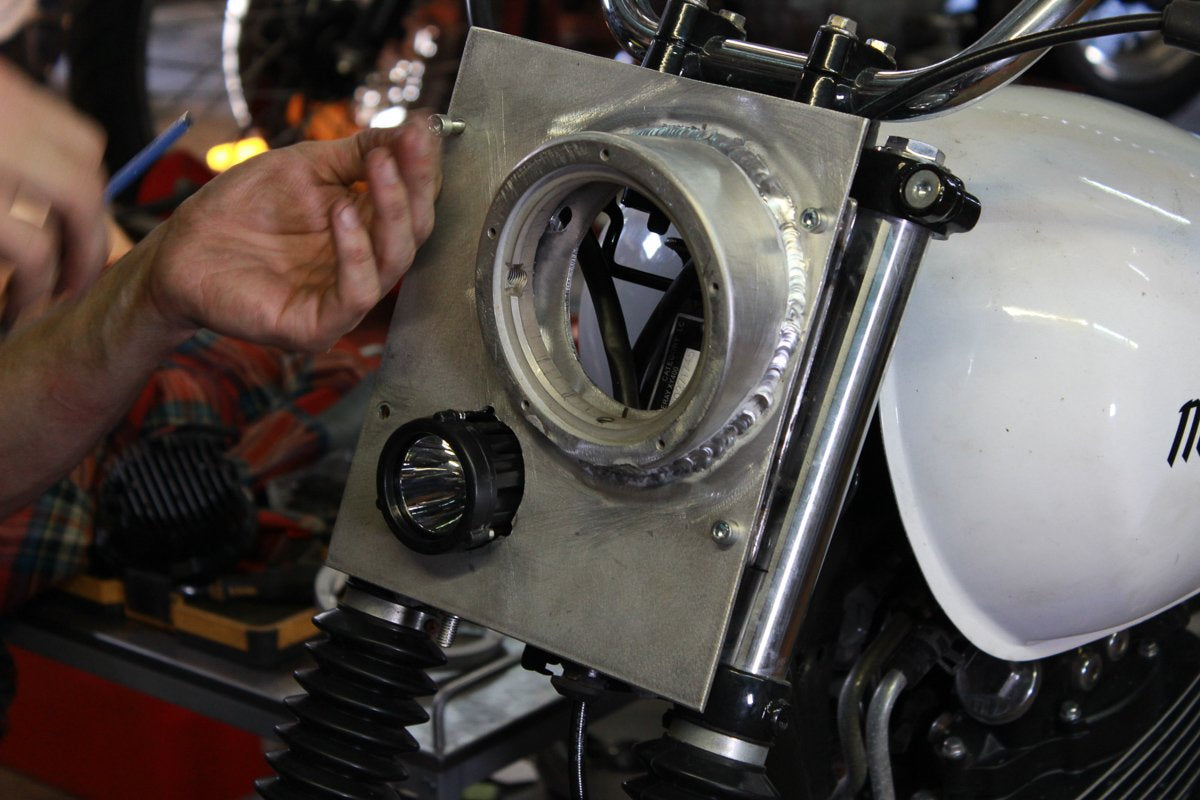
Using the paper template, transferred onto aluminium sheet, annealed and shaped into form then welded on. Worked a treat, the screws are a little difficult to get at, but no major issues there, the headlight will never have to be separated from the plate anyway.
Moving to the high beam, The mini LED spotlight was marked out onto the shroud and cut out with minimal room to spare, giving a nicely form-fitted cut out. Keeping this one simple, I welded a small mounting bracket on the rear of the plate that hides the bolts and secures the spotlight high beam in place.
All that out of the way the last job on the Scrambler headlight was to finish the headlight shroud to fit in with the front forks. Using some aluminium tube, quartered lengthways I welded these on to achieve a perfect radius around the forks. Now the front end actually looks like someone thought about it.
Front fender time, some of my favourite work recently has been coming up with weird and wonderful ways to beautifully mount the front fender. The PBM universal front fender is perfect for these kinds of creative mounts. This time, I opted for a traditional style mount. The complexity of the headlights and mounts needed to be balanced by a simple set up on the fender. Using a technique I’ve developed over a few projects and welding mounting sections to be drilled and tapped underneath the fender, I move onto spacing the fender from the tyre, I wanted a decent gap so you could see daylight between the tyre and fender. Usually I mount these nice and close on the tyre, it looks great on street bikes, but here I wanted something different.
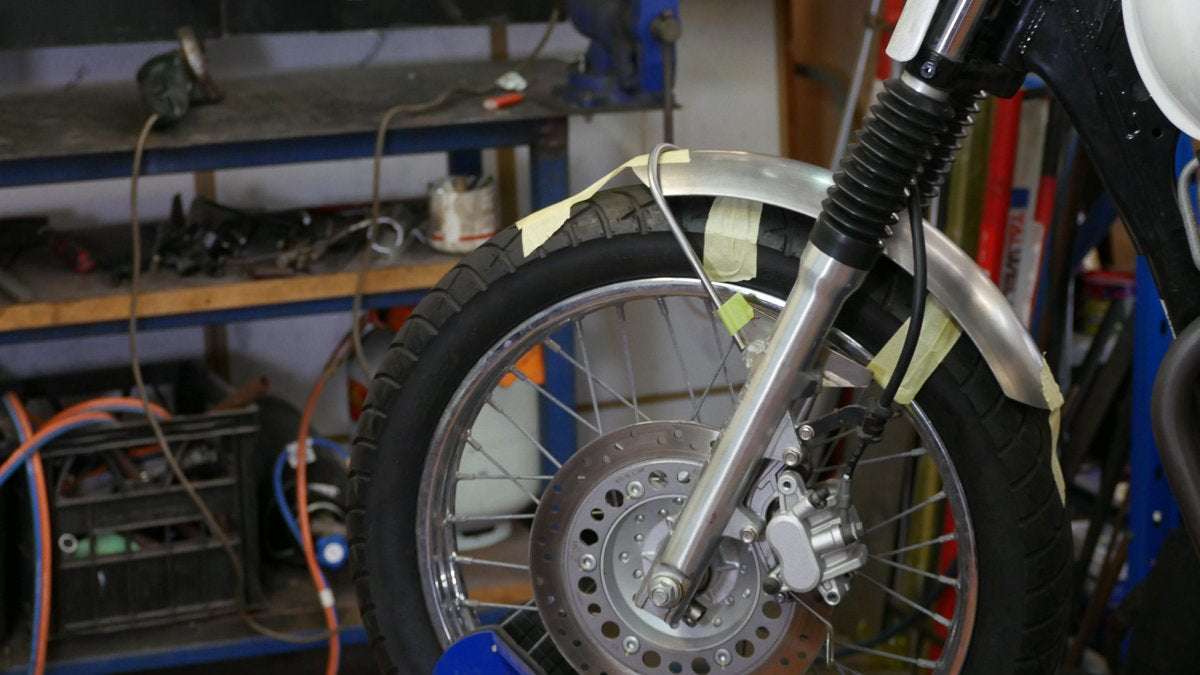
With a 35-40mm gap between fender and tyre, I cut out some 3mm stainless plate, drilled and mounted these plates to the fork. From here I can bend my 8mm stainless steel rod to conform to the shape of the fender and get some mounting tabs ready to weld on.
Setting the round bars at an angle that appeals to my eye, I tacked in place the fender stays, and the small mounting tabs, marked the fender to be drilled and removed it from the bike to be finished.
Once finish welded and trimmed back, the Fender was drilled and tapped for the mounting points. Slapped on the bike and looking epic! The idea fits perfectly with the style and this design is as strong as anything! Durable, lightweight and stylish what more could you ask for in a scrambler?
Moving towards the rear of the bike, I remove the rubber knee pads off the tank and fitting up a set of Gazi Rear shock absorbers. This needs to be done before any modification to the subframe, not for any practical purpose, but if you build a nice looking subframe, then raise the rear with longer shocks, chances are it will look out of whack. So I set the Nemesis Scrambler up with the new rear shocks. When I need a set of well performing and cost effective shocks for my builds, I give the Guys at Gazi a call. I give them my measurements, bike type, and rider weight. Within a week or 2 I have a set of great looking shocks on arrive at my workshop. Made to my spec and ready to fit.
Now onto my favourite part of this build so far. The rear tail hoop. A piece that’s very definitive on 60’s desert sled is the seat/tail/rear fender relationship. With a large comfortable seat, gap behind the seat to the tail hoop and rear fender mounted underneath that. While I love that style, I refuse to straight copy anything, so I’ll add my own ideas to it, the end result will be something reminiscent of a desert sled scrambler build. But with an undeniable touch of PBM.
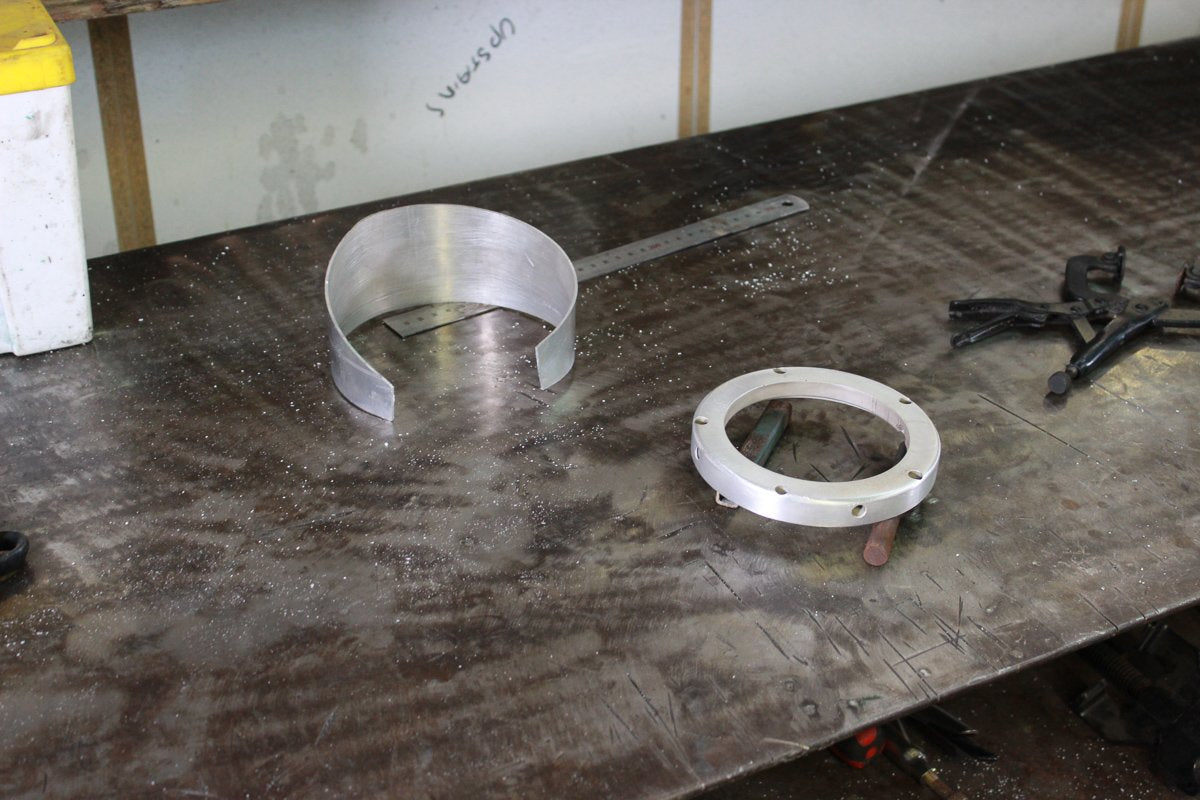
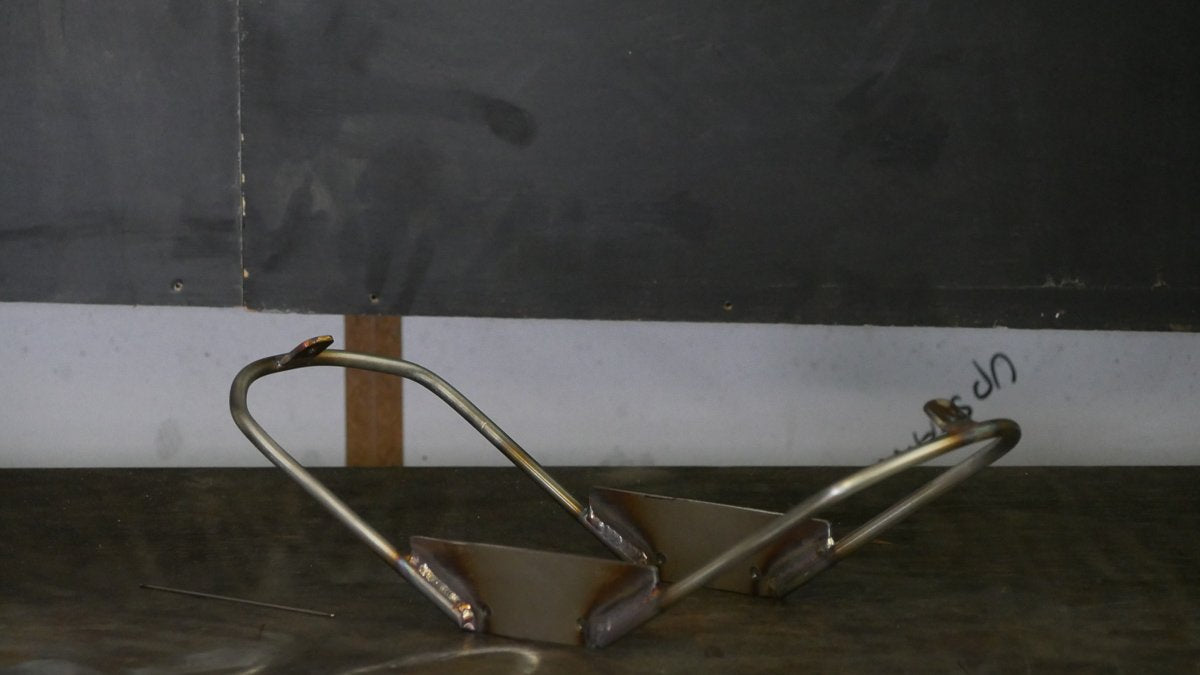
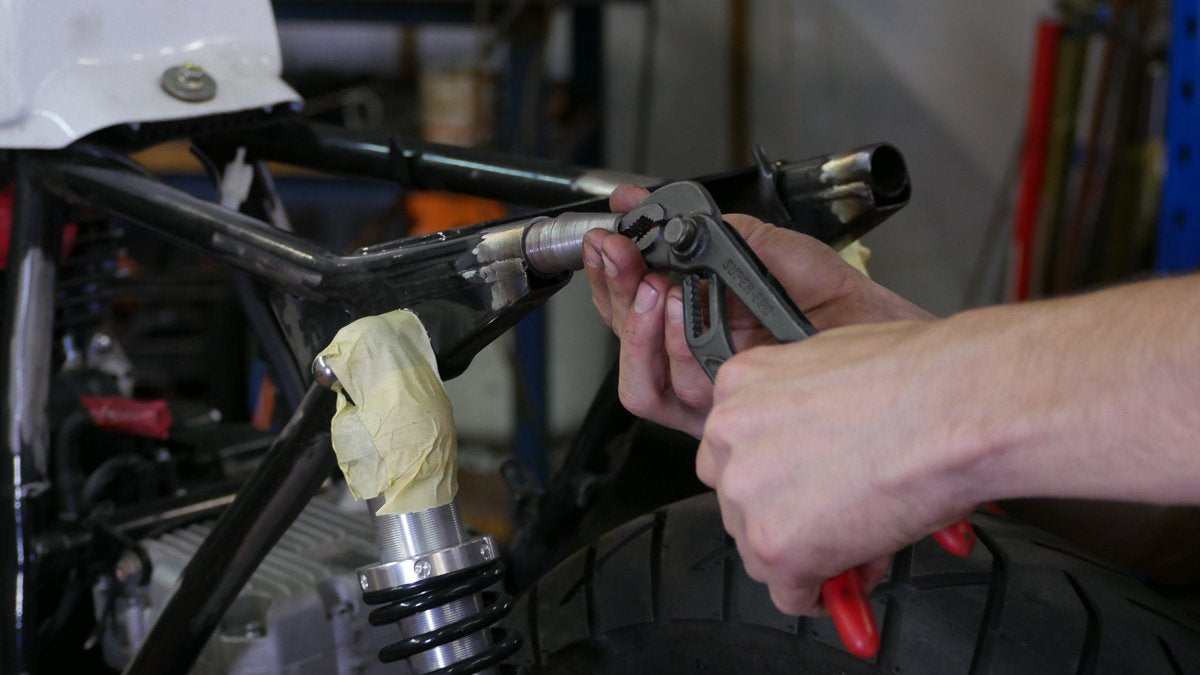
SO this is the idea. The steel tube frame ends, with a set of steel slugs made to slot into the tube, then a set of stainless steel roundbar hoops is bent up, slotted in and welded in place. The two hoops will give me provision for a fender mount and a tail light mount/grab rail.
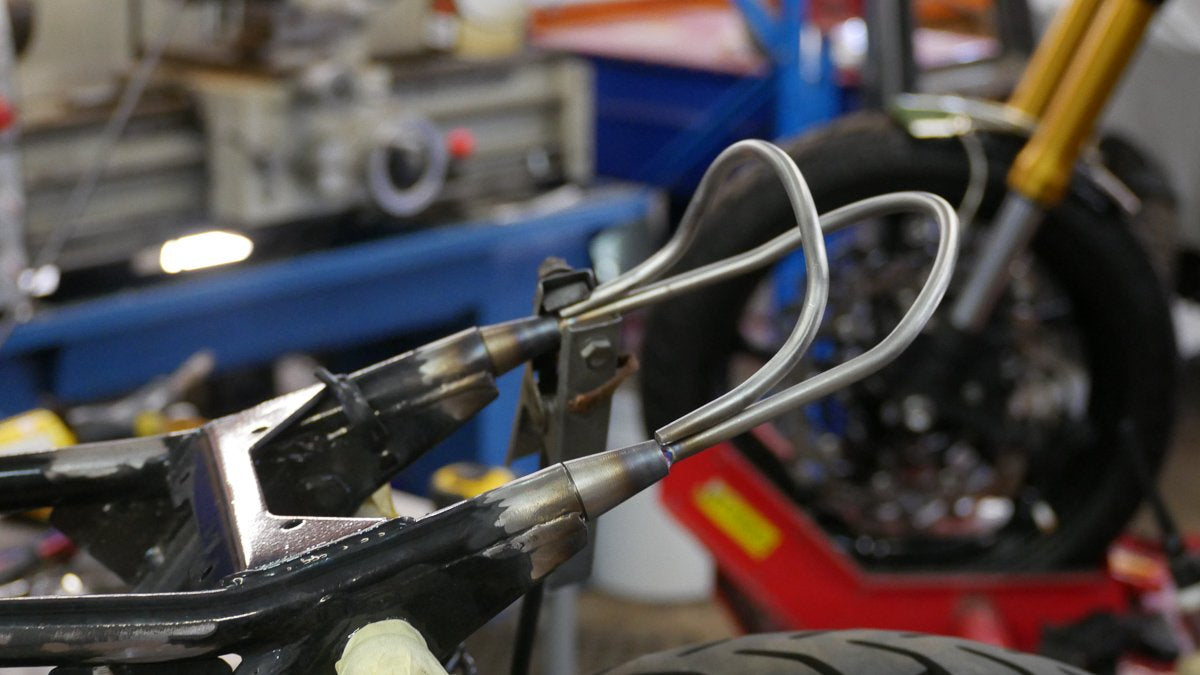
Making the slugs was simple enough and drilling an 8mm hole down the center to fit the stainless round bar tail hoop in. As always I use a bit of aluminium TIG filler to shape a template up and check the fit. After that the oxy comes out as I heat and bend the stainless bar into place. The main tail hoop has a slight sweep in it, doing this looks good but it also serves a purpose. It allows the fender to mount snug and contours to the shape achieving a far better finish.

Shaping the roundbar out of the way it’s slotted into the bike, lined up and welded in, with welds around the but joins as well as some plug welds thrown in for good measure. The rear fender is mounted using the same technique as the front with a few tabs and thread on the fender. That rounds out the first step of fabrication on the tail!
2 work days were covered in Episode 2 of the scrambler build and a lot of ground was made in making this LAMS approved bike into a snarling adventure scrambler. Our next steps will cover more fabrication and preparing to get the seat built. Make sure you jump on the YouTube Channel and subscribe to get alerts whenever we have something new to share with you!
WE BUILD BIKES WITH PURPOSE.
Purpose Built Moto is home for unique custom motorcycle builds. We offer a unique motorcycle customizing experience in the heart of the Gold Coast.