


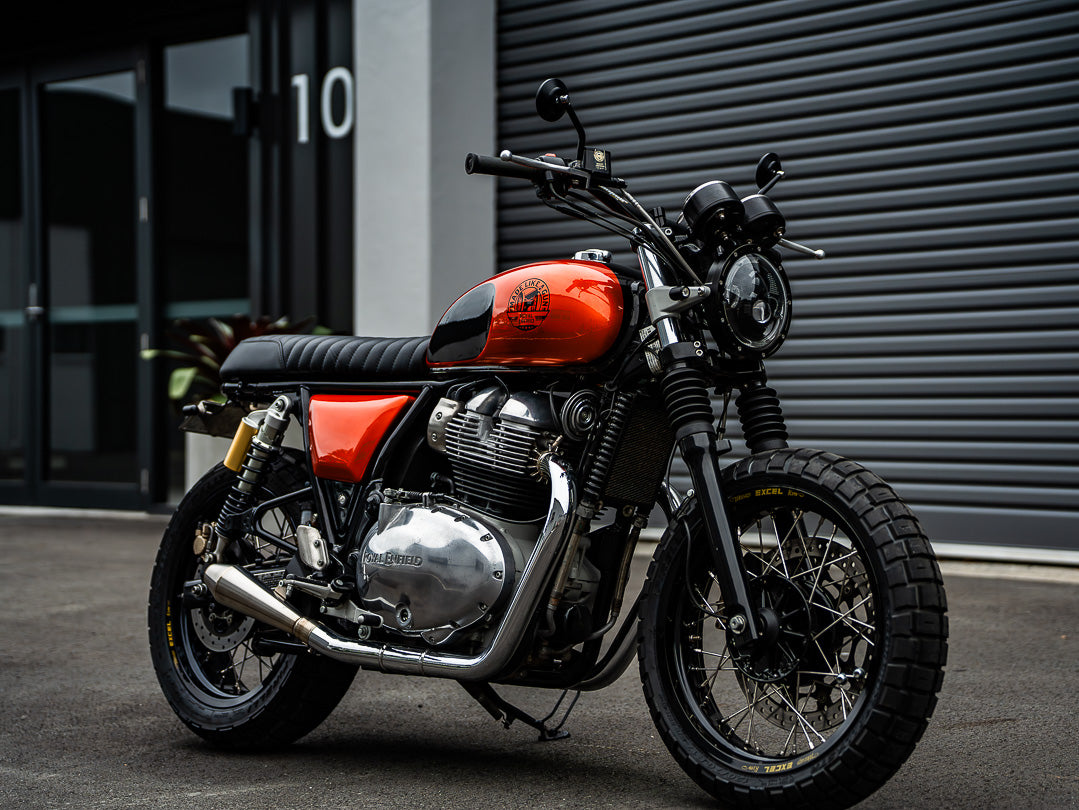
Installing a new headlight on your Royal Enfield 650 can improve the look and functionality of your bike. Whether you're aiming for improved visibility or just want to upgrade your motorcycle's look, swapping out the factory headlight for a Purpose Built Moto Flashpoint Headlight is a straightforward process. Below, we break down the steps to install our 7-inch or 5.75-inch headlights using the factory Royal Enfield headlight brackets and indicator mounts.
Tools and Materials Needed:
Screwdriver set
Wrench set
Allen keys
File or Grinder (for bracket modification)
Electrical tape + Cable ties (optional for tidying up)
Installation Guide:
- Remove the Existing Headlight: Start by carefully removing your current headlight from the bike. This will likely involve disconnecting the electrical connectors and unbolting the headlight from its mount. Keep the screws and bolts handy, as you may need them for the new installation.
- Modify the Headlight Bracket (If Necessary): Depending on the size of the headlight you're installing, some modifications to the headlight bracket may be necessary. For our 7-inch headlight, you'll need to reduce the width of the bracket by about 10mm. This requires filing down the back of the bracket to remove the slight step.
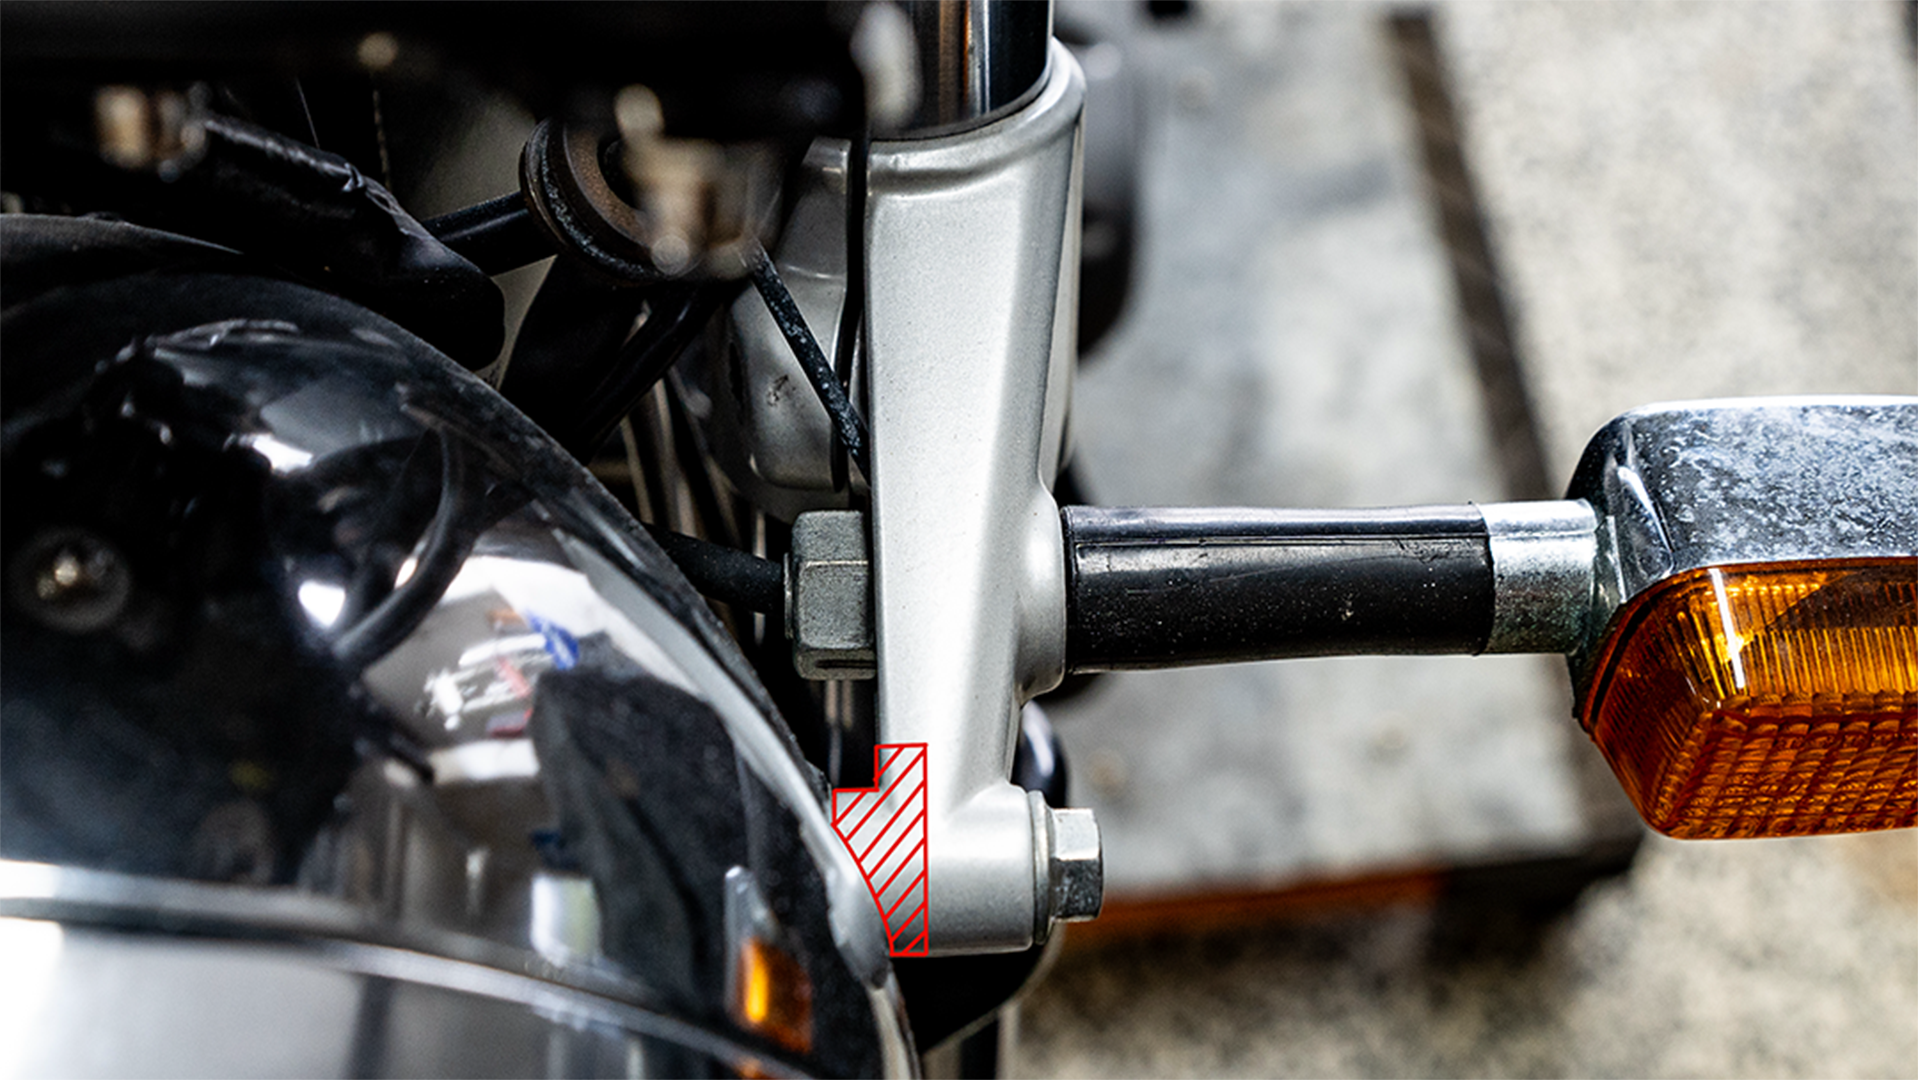
- If you're opting for our 5.75-inch model, you can skip this step as the stock width should suffice.
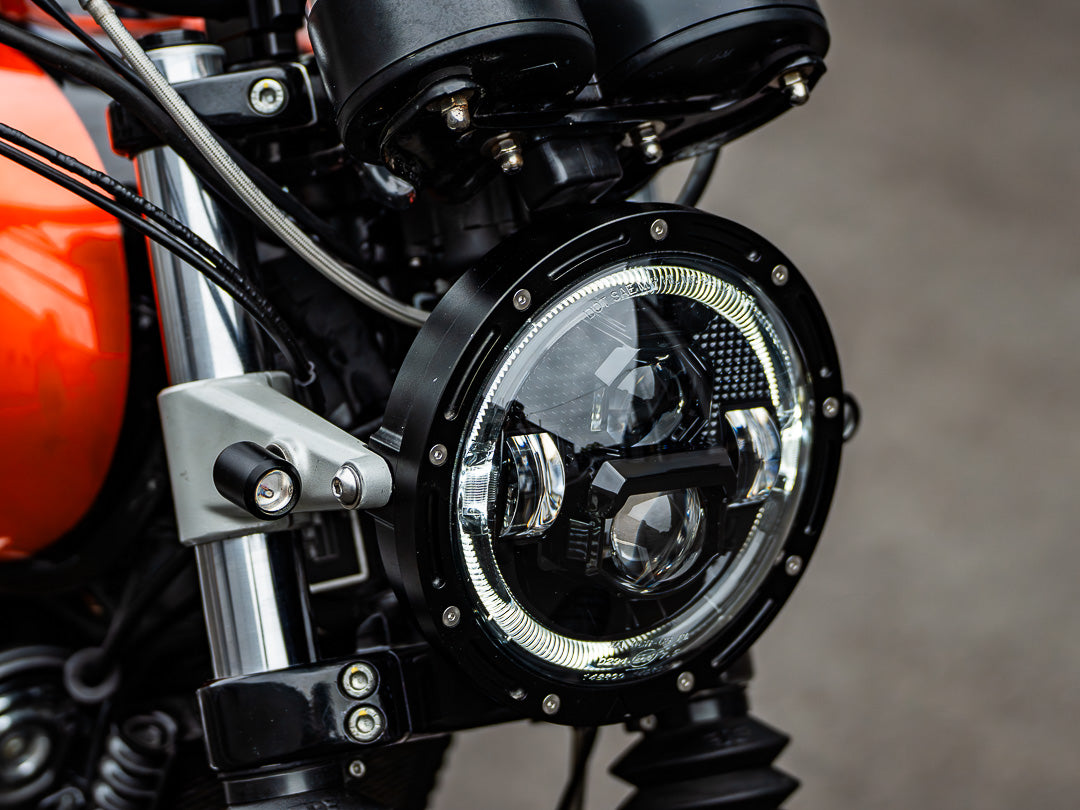
- Tip: Refer to the provided images or video clips for a visual guide on how the modified bracket should look.
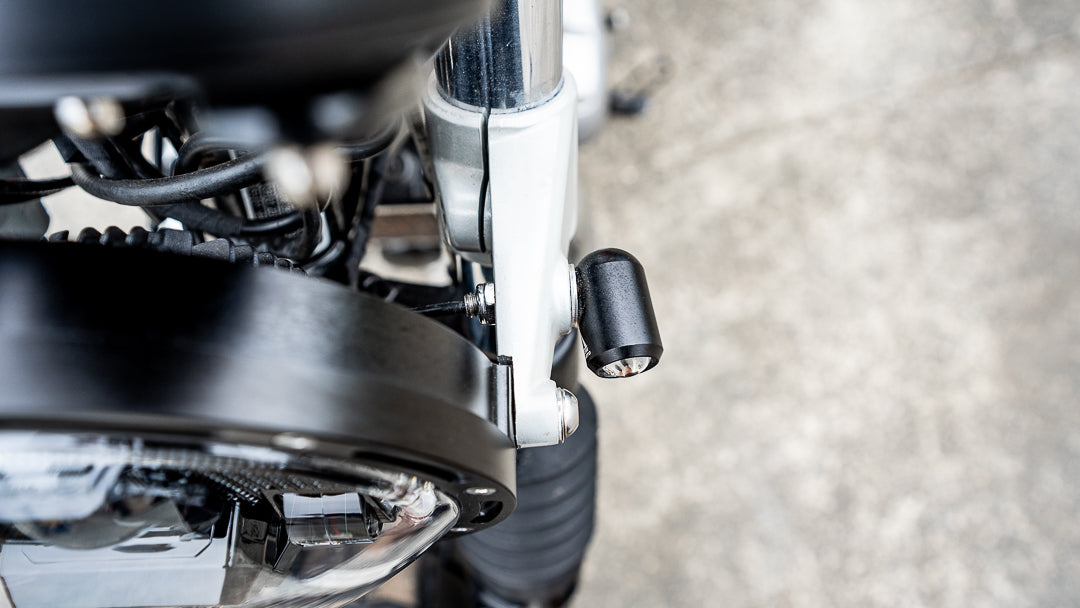
- Install the New Headlight and Indicators: Once the bracket is ready, proceed to mount the new headlight. This involves threading the provided bolt through the headlight and into the bracket. If you're also upgrading the indicators, remove the factory indicators and fit them into the factory holes on the new headlight setup.
-
7" Flashpoint Classic LED Headlight Black
From$330.00 -
7" Flashpoint LED Headlight Polished
From$320.00 -
7" Flashpoint Classic LED Headlight Polished
From$320.00 -
7" Flashpoint LED Headlight Black
From$320.00


- Wiring: Our headlights are designed to plug and play into the factory Royal Enfield loom, making the electrical connections hassle-free. To keep the front end looking clean, we reccomend that you remove the tank and reroute the cables there.
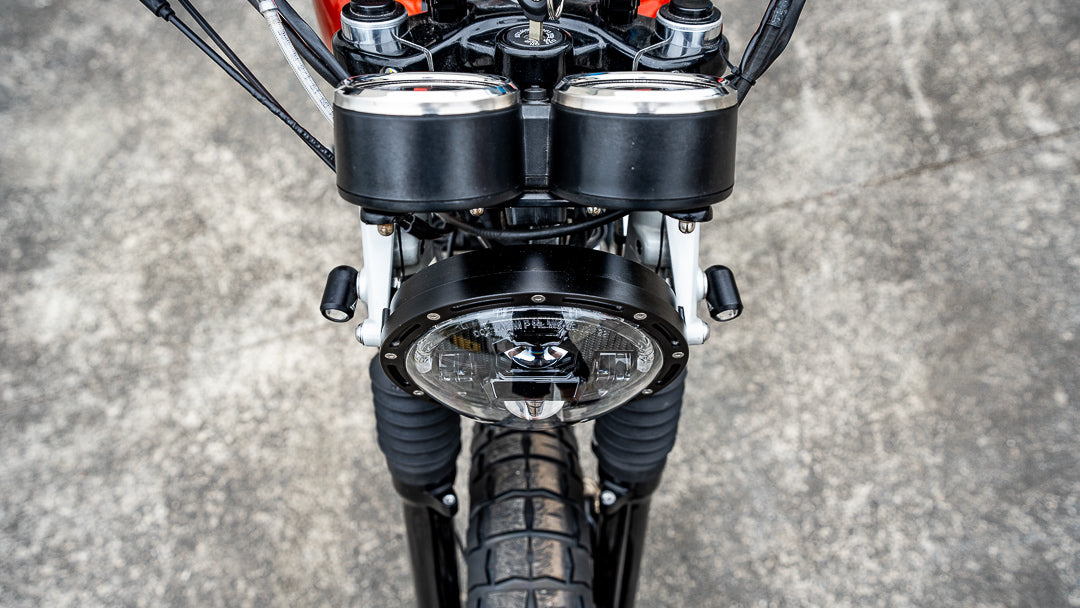
- Final Checks: After the headlight and indicators are securely in place and all electrical connections have been made, give everything a thorough check. Ensure all bolts are tightened, and the electrical connections are secure. Turn on the ignition to test the headlight and indicators for functionality.
- Enjoy Your Ride: With your new headlight installed, you're ready to hit the road with improved visibility and a refreshed look for your Royal Enfield Interceptor or Continental GT 650.
Additional Tips:
- While this guide focuses on a direct replacement using the factory mounts, always consult the installation instructions that come with your Purpose Built Moto headlight for specific details and safety warnings.
- Take your time with the installation, especially when modifying the bracket. Accuracy is key to ensuring your new headlight fits perfectly.
Upgrading your Royal Enfield's headlight is a simple yet impactful way to enhance your motorcycle. With just a few tools and some patience, you can achieve a professional-looking upgrade that not only improves your bike's appearance but also its nighttime performance.
WE BUILD BIKES WITH PURPOSE.
Purpose Built Moto is home for unique custom motorcycle builds. We offer a unique motorcycle customizing experience in the heart of the Gold Coast.
Join our email list and receive exclusive updates.
Latest Stories ALL STORIES
-
04/05/2026


