


How to build a budget café racer or scrambler is something I get asked a lot. Sure, a big budget can help, it can make the best parts available to you, a perfectly rebuilt engine and a professionally finished seat and tank. However, it isn’t necessary by any measure, as the saying goes “money can’t buy good taste”, a quick search through Facebook or Instagram, and this is pretty obvious.
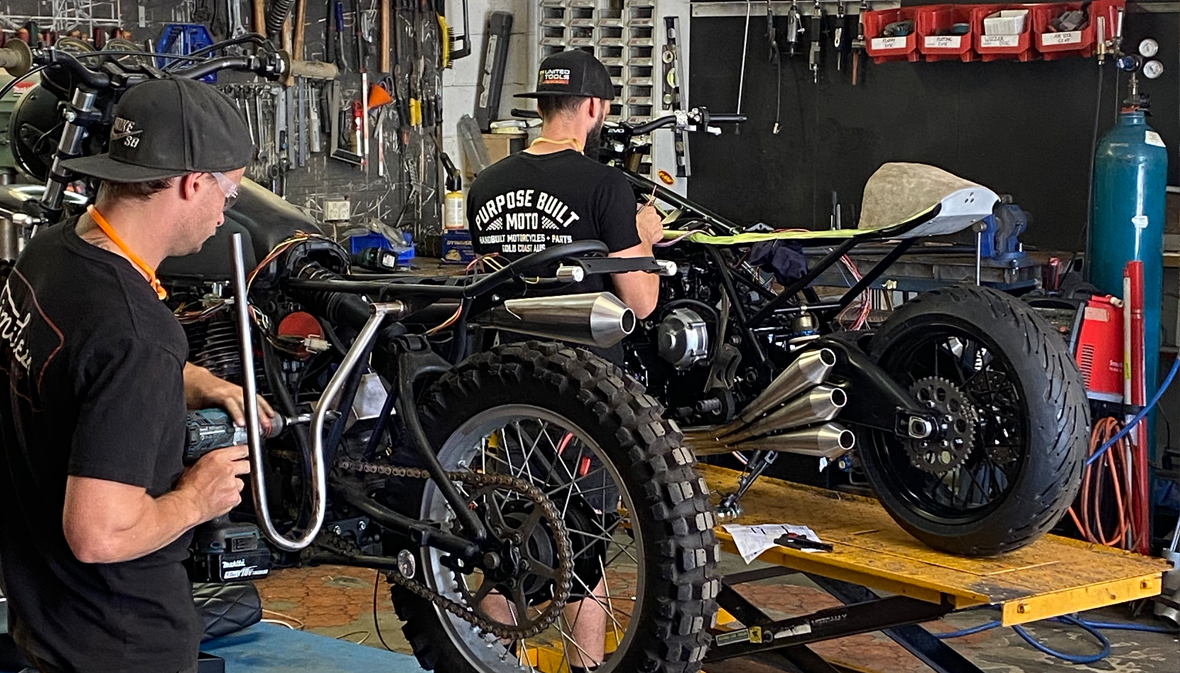
Great Bikes Don’t Need Fancy Garages
While I will always advocate the use of quality (read “more expensive”) parts there are a lot of things you can do yourself that will keep the cost down on your budget cafe racer project while still delivering a high quality finish. The best bikes are built when the work is done with a passion and interest in what you’re doing. If you have that, dollars mean next to nothing. PBM Started 5 years ago in an I’ll equipped garage, and we still turned out some of the best bikes from that tiny space.
I won’t pretend you can get a prize winning finish with a milk crate full of rusty carpenters tools, you will need a few bits of equipment. The best thing you can do to make up for your garage shortcomings (or patio, or living room if your partners chill like that) is join a local motorcycle riders group on Facebook. Search the riders and builders out and get involved. You’ll often find a whole wealth of knowledge and workshop tools at your disposal if you’re willing to trade beer or lend a hand where you can. I’m not saying you should solely rely on the other guys to build your bike, but when you genuinely need it, someone will help. Just show some initiative and have a go yourself before asking for help.
Save Big on Your Custom Ride
I’ve previously dived into the step-by-step of building a bike in my “How to build a café racer” blog series. This post won’t do that. Instead I’ll focus on the areas where you can save your precious dollars while building your budget Cafe Racer or Scrambler, and what you can do yourself.
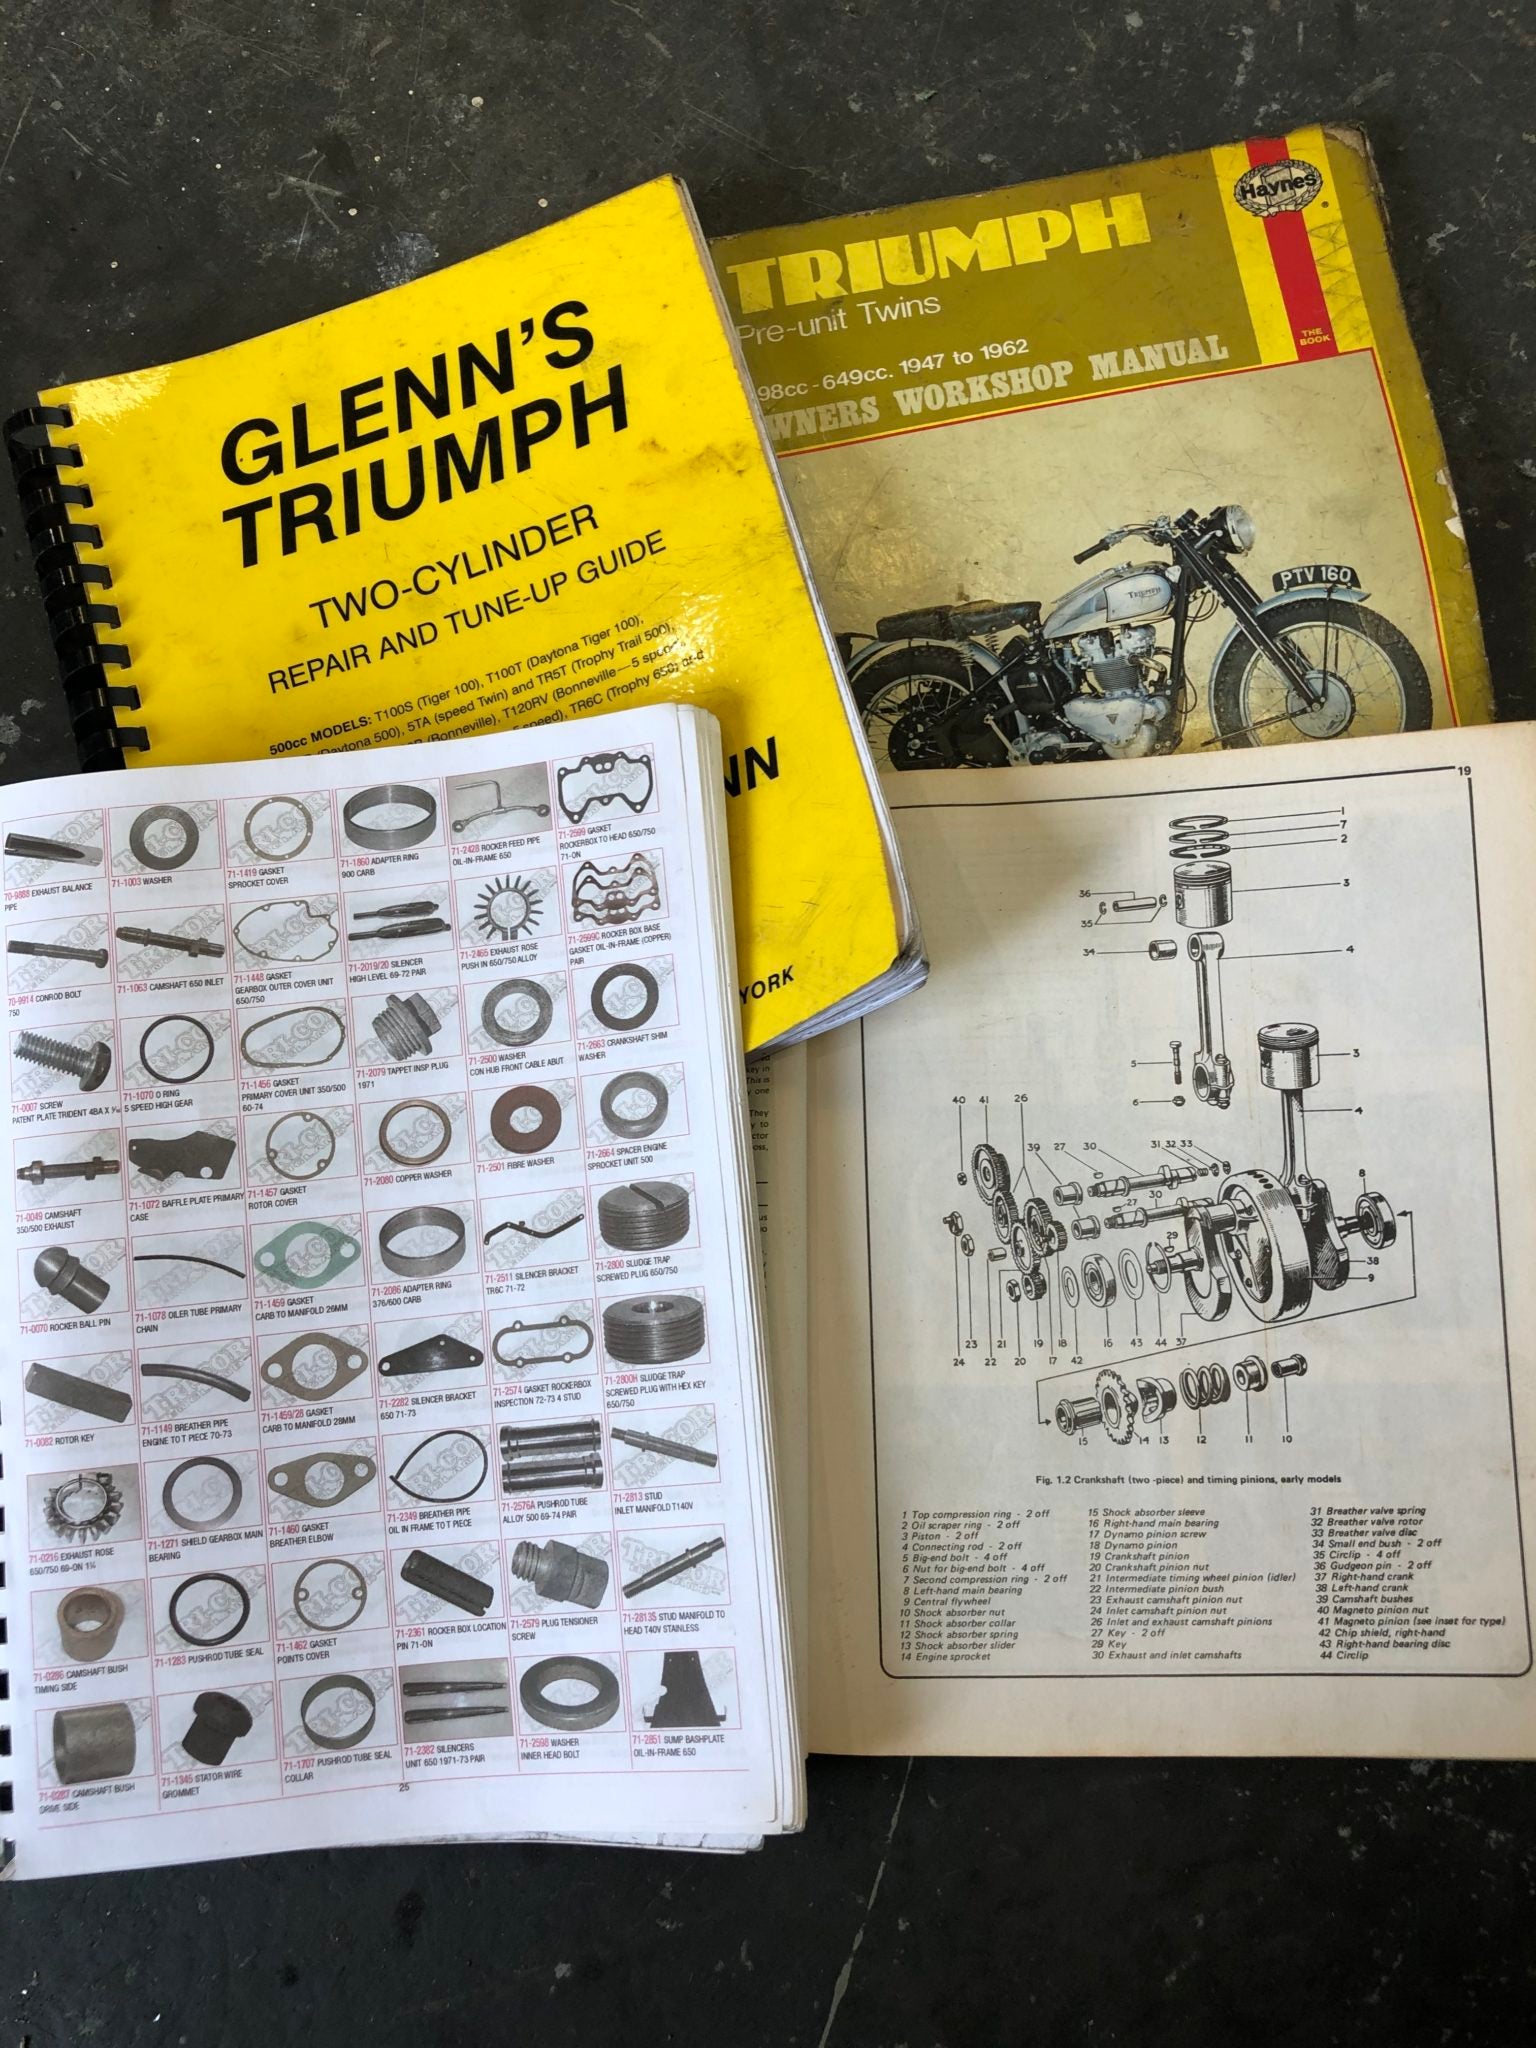
Before we get into it, two important things. Buy a damn workshop manual! These will detail absolutely everything you could ever need to know about your bike, just spend the $30 and it will save you endlessly in the long run. Secondly, get over the idea that you can’t do it – yes, you can do it. Take your time, and you will figure it out. Now, on to the real tips.

Tearing your bike down
You may want to avoid it, but trust me, just get it done. If you need engine work done and you can take the motor already removed to a mechanic you’re already streets ahead! Go to your local grocery store and buy a ton of cheap Tupperware containers, as you’re pulling it down label the tubs and separate as much as practical into small groups of where your small parts and fasteners came from. Separate parts into tubs labelled things like Front brake, Swing arm bushings, Engine mount bolts, rear suspension, separate as much as you can and re-assembling your bike will be super easy.
Rebuild the small stuff yourself
I’m not talking about the whole engine here, If I’m honest I don’t do that myself anyway. I’d rather trust a great mechanic who knows his stuff far better than I do. That said, there are a lot of simple things you can rebuild/fix that will save you dollars!
- Brake callipers – These are usually seized-up on older bikes, buy a brake seal kit and/or replacement piston for your model motorcycle and have at this yourself. It’s quite simple once you pull apart the seized caliper. The use of a heat gun while stripping these can be really helpful.
- Wheel, swingarm, head stem bearings – Often really cheap to replace, and easy to do. Remove your old bearings (heat gun helps here again) and take them to a local bearing shop to get replacements. If you search out on eBay for your bike type bearings you’ll normally be overcharged. I call this the novice moto guy tax, eBay sellers will realize mechanics don’t search for ‘cx500 wheel bearings’ and assume you don’t know how cheap they should be, then charge you double for it.
- Fork seals – You will need some special tools at times but once you get the forks apart you’re on easy street. There’s a heap of articles out there with info on the process and fork seals will cost your $50 max, again available from a local bearings and seals place.
- Clutch – Another simple job that’s detailed well in your workshop manual. Get yourself a clutch kit and swap them out if needed. If your budget Café Racer project has been sitting a while, chances are you will need it. You’ll need the fibre plates, but if the clutch hasn’t been to hell and back you’ll normally be able to re-use your steel plates. Just check them for marks and warping and give them a clean up with some Scotchbrite. I’d recommend doing this toward the end of your project as you don’t want your clutch sitting dry for months on end after replacing it.
- Carburettors – The dreaded carby clean up. They are a lot more complicated than the other components on your bike but remember these 4 things while doing it and you’ll be fine.
– Keep everything clean! Tidy your work area of dust and anything else, lay down a lint free cloth before you start
– Separate parts carb by carb and even further if needed (top slide and bottom bowl)
– Tight enough is tight enough, be extremely careful of overtightening and cross threading your brass jets and parts
– Take pictures as you tear them down if you need to for reference when piecing them back together.
You can get yourself a gasket and O-ring kit by searching your carb type and number. then grab some carburettor cleaning solution and make sure they are pristine before putting them back together, a bit of compressed air cleaning helps too.
Paint what you can
With a bit of know-how and some decent quality paint, you will be surprised at how good a job you can do. Ideally you can get your hands on a compressor and spray gun, mix up some 2-k paint and go that way. If not, head to your local auto paint supplies and get some 2-k spray packs. Most of the paint is in the preparation, take your time, clean everything thoroughly and prime it well where necessary.
Some products I recommend for painting without a spray booth
Engine – Bill Hirsch Engine enamel spray can
Frame, swingarm and any small parts – 2-k Flat Black (or any colour) and 2-k gloss clear coat spray can
I will always get the tank and fairings done professionally, it makes for a far better finish.
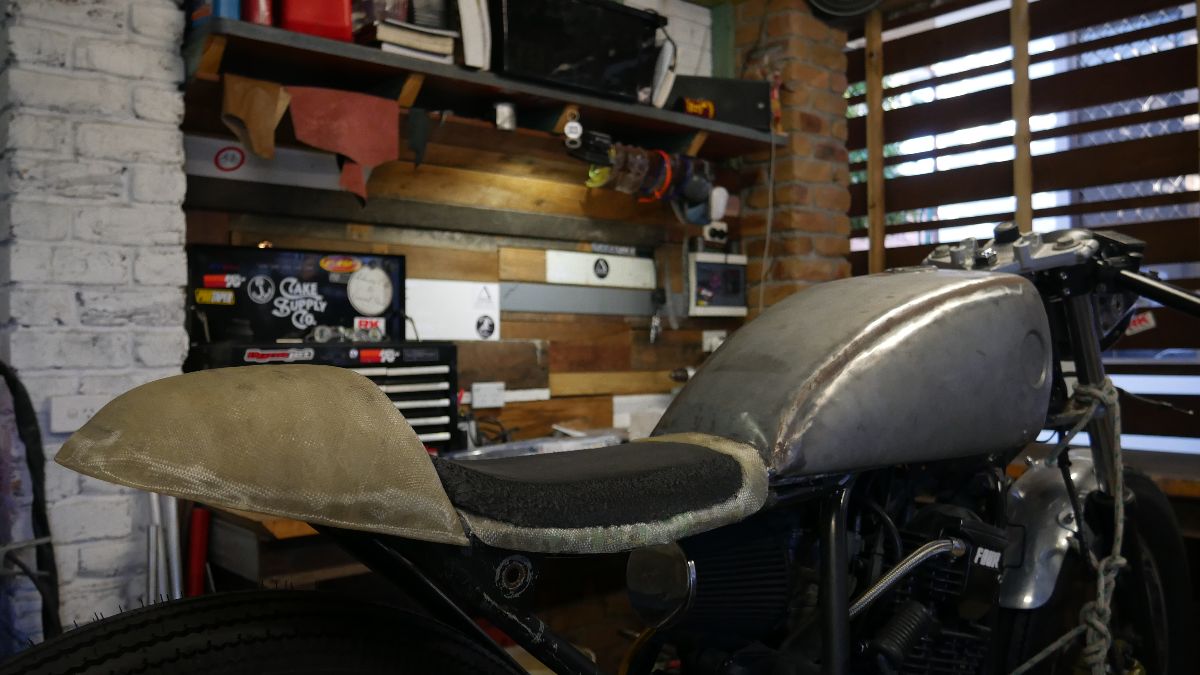
Make your own seat
Fibreglass is cheap and easy to use, head to a fiberglass supplier and they will be helpful with any questions you have. Fibreglass is best for making the most out of a stock frame. Aluminium is just as cheap but a little harder on more complicated shapes if you want to go that way.
You can read about Building your own seat here
When it comes to upholstery ask around in your local café racer or riding group for recommendations or anyone who can lend a hand and cover it for you.
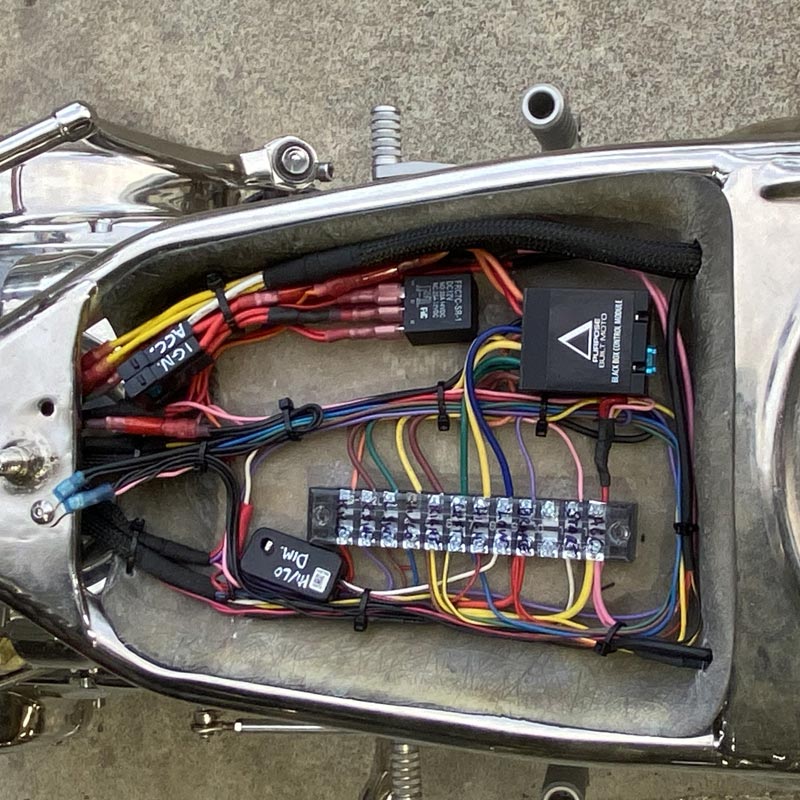
Depending on your skill – re-wire the bike
I’ve written some in depth guides on your bike’s electronics and re-wiring them, but depending on your skills and understanding of it all you may want to find some help or take it to a professional.
By far the easiest way to simplify your wiring is with our Black Box System and buttons. I’ve designed and refined this control module so anyone with a little patience can do this job themselves. Its simpler than an M-unit, trust me!!
You can read the re-wiring guides here:
Motorcycle electrics 101 – Understanding your bikes electrics
Re-assembling your finished Budget Café Racer or Scrambler and getting it going
Lean on your workshop manual here, it will break it down step by step for you. Piece your bike back together using your separated fasteners from the tear down and torque wrench (you may have to borrow one). Take care on the engine cases and suspension and wheels, especially checking the torque values for the fasteners. If you’ve replaced anything with Stainless steel make sure you’ve got an anti seize compound on hand. When fitting the carburetors check and clean and check again before fitting them up. If you come to start it up and it’s running rough, turn back to your manual for tuning procedures on the bike, if you can’t get it, the most you’ll be up for is a quick re-jet and tuning cost at a mechanics.
And there you have it, how to save money on a budget café racer or scrambler build! The above are the parts where saving a few dollars won’t cost you in the long run, but cheap components will. Things like electronics, air filters, brake pads and cheap seals/bearings will all end up costing you sooner or later. Do yourself a favour and don’t skimp on the critical parts. Shop local and support the small independent bike shops, they’re usually good blokes!
That’s about it for how to build a budget cafe racer or scrambler, if you have any other tips or questions I’d love to hear them in the comments below.
Thanks for taking the time
Tom.
WE BUILD BIKES WITH PURPOSE.
Purpose Built Moto is home for unique custom motorcycle builds. We offer a unique motorcycle customizing experience in the heart of the Gold Coast.


6 comments
I am a 11 year old and I drive a quad and its so easy and when I drive a dirt bike I fall off why ! 😭😭😭😭😭🥹🥲
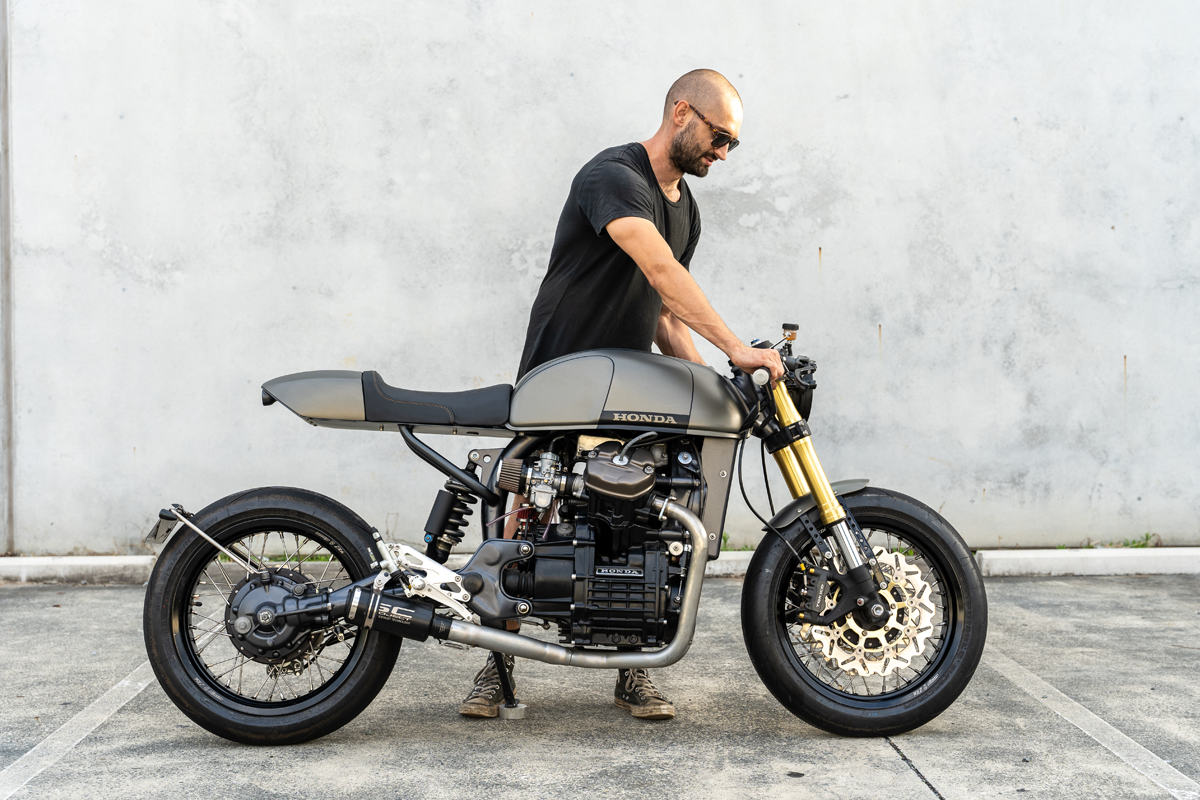
great guide but what bike do i get for this?😭 what is the bike in the header photo?
Hey Cody,
Older motorcycles are generally a little simpler to work on, but if you find a modern air cooled bike that will do the job just as good. Air cooled bikes just aren’t as common anymore.
What makes and models tho I hear you can only use older motorcycles
I’m trying to figure out what affordable front end to buy for my cafe project. I love the feel of wider rims/tires. I’m building a 1969 Kawasaki roadrunner and I want street setup over the thin enduro wheels. Help me 😂😅
Epic! 🤍🤍🤍