


Rolling Steel and Retro Feel: The Journey So Far
Welcome back to the Project Delta series, where our Royal Enfield Super Meteor 650 is being stripped, reshaped, and rebuilt into something that blends vintage soul with a modern twist. In our previous episode, we reached the point of having a 90% complete rolling chassis. The bike could roll around the workshop on its custom girder front end and monoshock rear—already looking drastically different from the cruiser that arrived in a crate.
Built to Ride: The Last Leg of the Journey
Now, it’s time to dive into the last (and arguably most rewarding) stages of the build: tying up loose ends in fabrication, then moving on to detailing, paint, and wiring. We’ll finish with a thorough prep for the test ride—because as we like to say, bikes are built to be ridden, not to gather dust in a showroom.
At this stage, we had the main structure locked in. The frame was modified for monoshock suspension, the oil-in-frame concept was functional, and the girder fork stood proud up front. But a closer look always reveals small tasks that need attention:
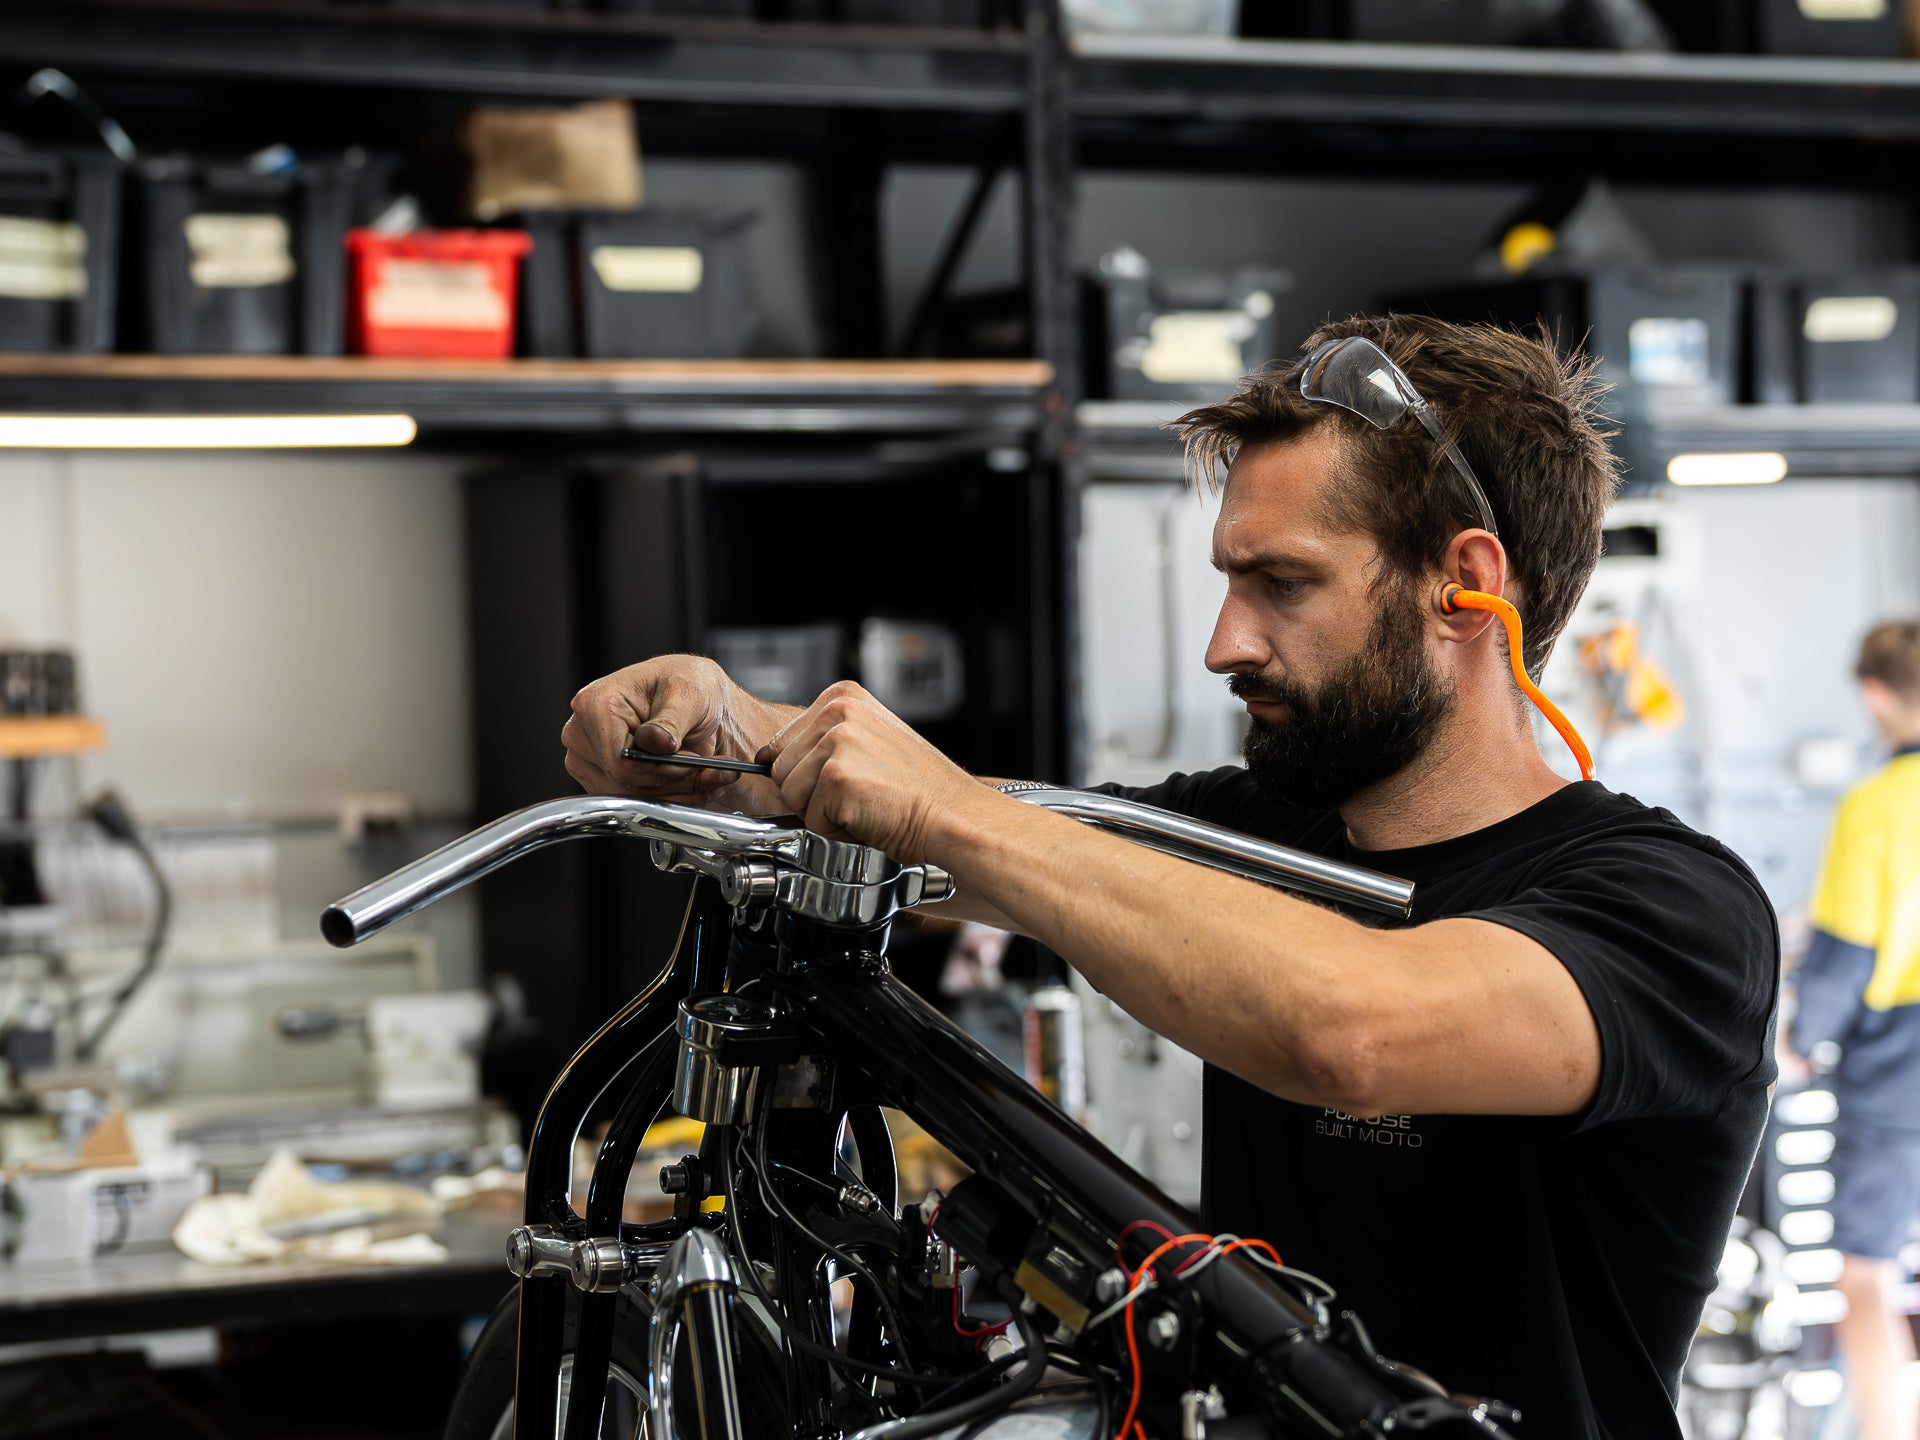
- Weld Clean-Up: Although we’d been welding as we went, it’s common to do a final pass once you’re sure everything fits perfectly. We smoothed out any rough welds, ensured bracketry was solid, and dialed in the finishing touches on the custom swingarm bracing.
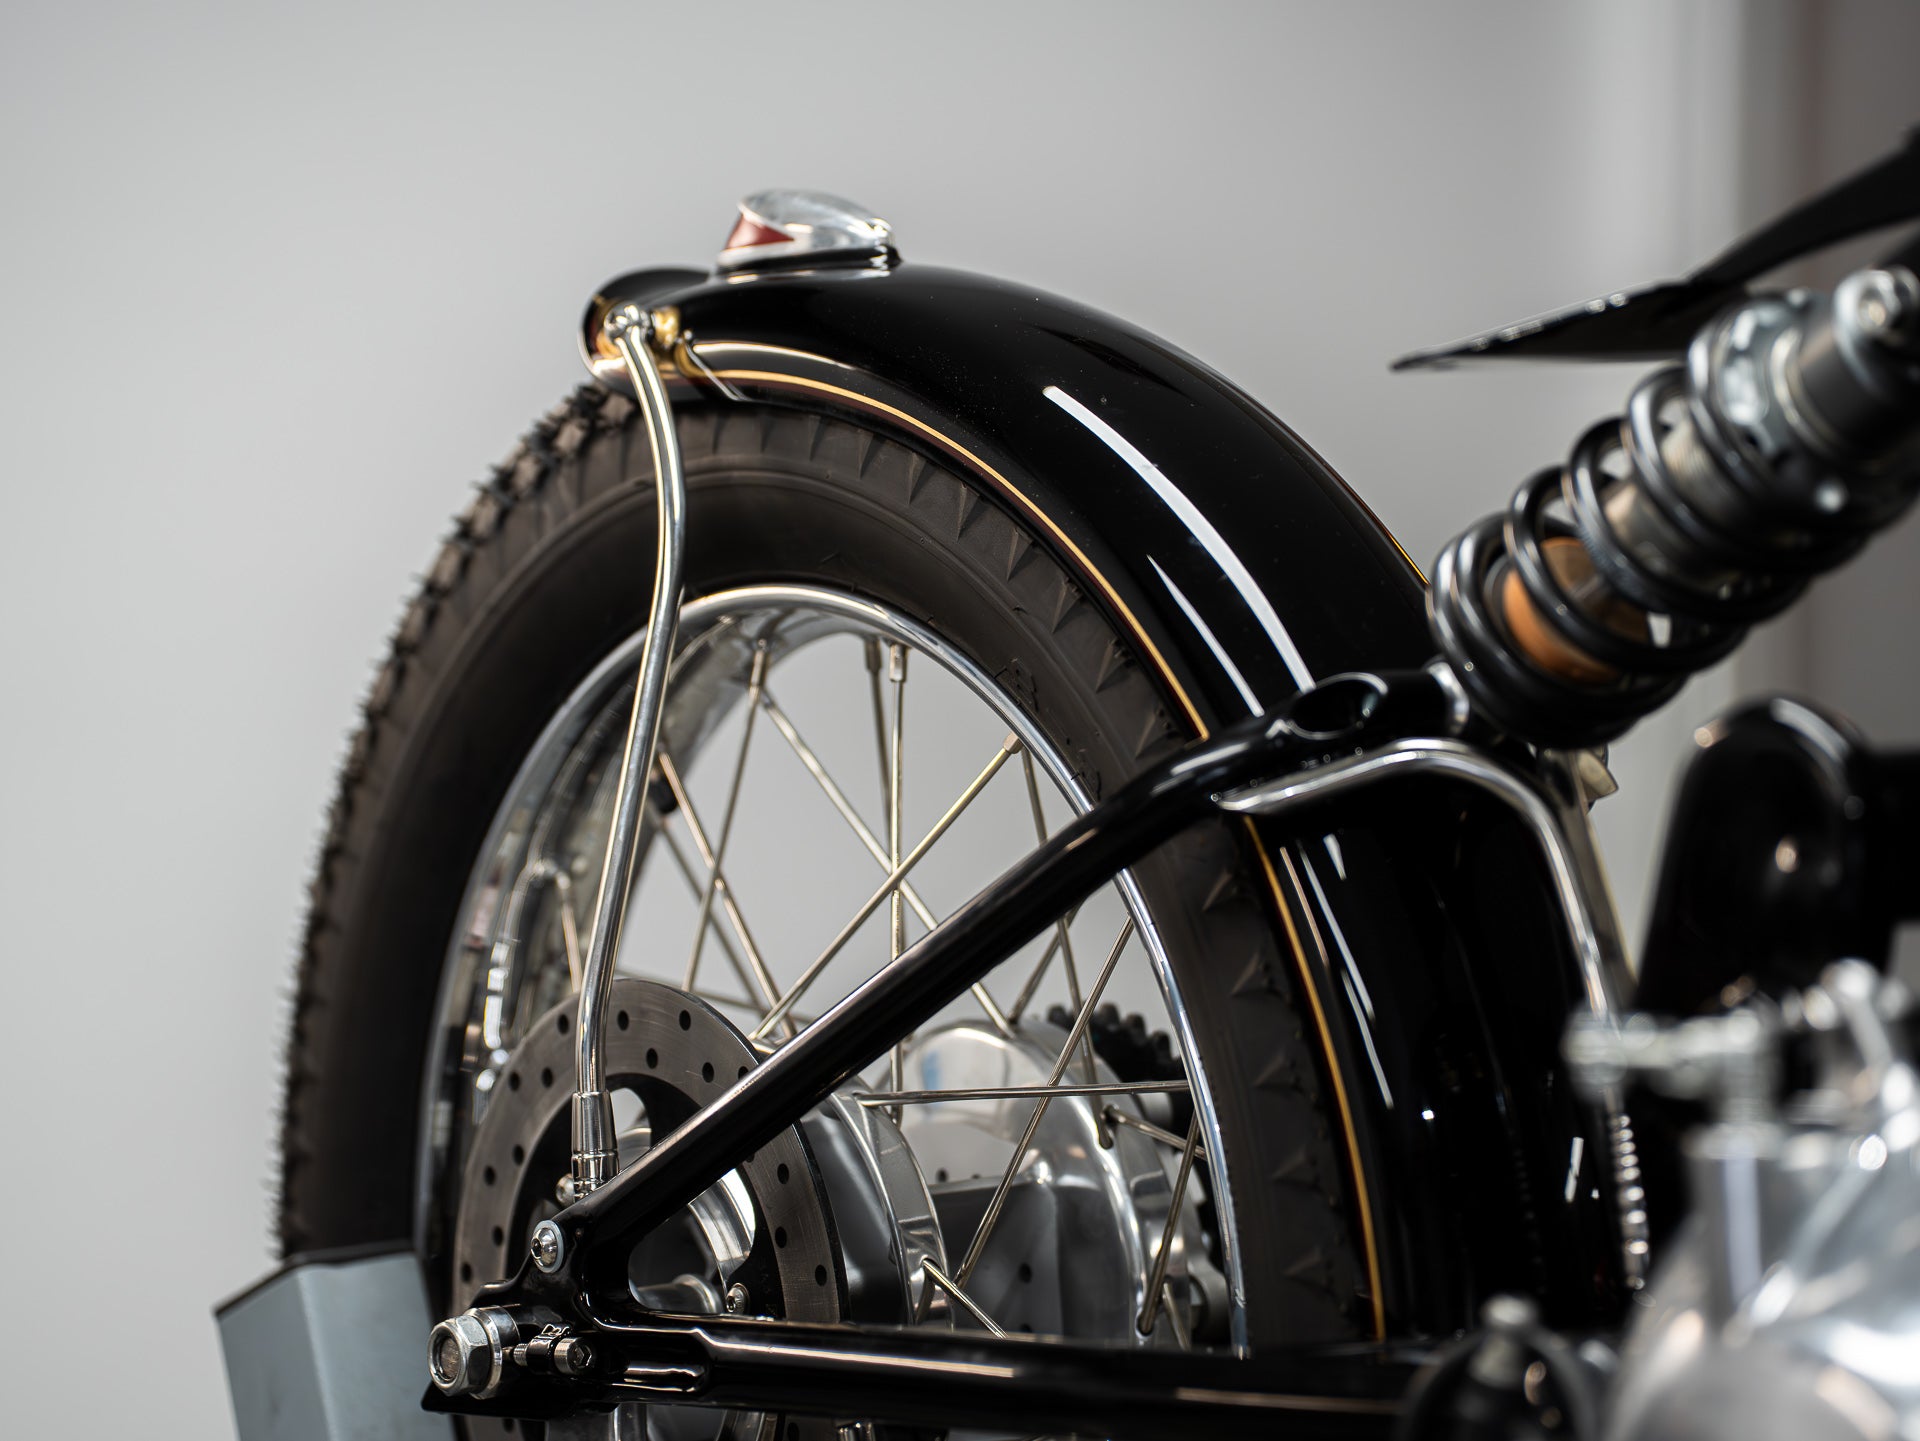
- Fender & Bracket Details: The rear fender, bobber-style seat mount, and the front fender (if you choose to run one with a girder) all needed final alignments. We also made sure any new tabs or mounts were properly welded before heading off to paint.
- Hand-Shifter Mechanism: We committed to a tank-shift design, moving the clutch to the left side of the tank and relocating the gear shift. That meant fabricating a linkage system and ensuring smooth, positive gear engagement. It’s a novelty that adds a fun, vintage feel—but it has to function reliably on the road.
By the time we were done with these final fabrication chores, the metalwork looked sharp, well-integrated, and ready for finish. The next step was to tear everything back down and send the frame, girder, swingarm, and assorted brackets into paint prep.
Stripped Down to Build Back Better
Stripping the bike again might feel like a step backward, but it’s a crucial part of the process. We can’t apply paint or powder coat with the engine and wiring still installed. So everything—including the engine, wheels, tank, forks, and even small hardware—was removed and organized. This teardown is methodical:
- Label & Photograph: With so many custom components, our team makes sure to label every bracket, bolt, and spacer. Photos help us remember how it all fits back together during final assembly.
- Final Check: Before paint, we do one last check for any cracks, rough edges, or missed welds. It’s now or never.
- Parts Allocation: The frame, swingarm, and other major metal components head to the paint booth or powder coater. Smaller bits like brackets, foot controls, or custom-machined parts might get a different treatment—cerakote, plating, or polishing.
Shaping Identity Through Paint
“When my grinder comes out, I do get a little excited,” Tom said early on in the project. Now, with the fabrication behind us, that excitement shifts to a new chapter—colour and finish.
Choosing the paint scheme for Project Delta wasn’t just about picking a colour we liked. It had to fit the vintage inspiration of the build, highlight the craftsmanship, and still let the modern Royal Enfield 650 twin stand out. We opted for a design approach that emphasizes simplicity:
- Base Colour: A period-correct palette that hints at mid-century motorcycling without feeling dated.
- Pinstriping & Gold Leaf: Classic touches that nod to old-school craftsmanship. We kept them subtle to avoid overpowering the raw shape of the girder fork and hand-built tank.
- Branding & Logo: We included a heritage Royal Enfield emblem on the tank (in gold leaf or paint) to keep the lineage clear, alongside our Purpose Built Moto signature.
The Final Touches That Tie It All Together
Our friend Justin from Popbang Classics took the lead, turning concept sketches into a real-world masterpiece. A lot of time goes into surface prep—priming, smoothing, and sanding—before the base coat is even applied. Once the pinstriping and details were laid down, several layers of clear coat sealed the finish to perfection.
“Our paint design needed to be simple, letting the fabrication and design work do the talking,” Tom explains. “We sketched out a design that included some filigree detailing to be done in Gold Leaf and pinstriped with a matching cherry red from the seat leather.”
Meanwhile, the tinware—like the tank and fenders—received special attention to match everything cohesively. By the end of the process, every piece looked like it belonged, working together to accentuate the build’s lines and mechanical artistry.
The Hidden Backbone of Custom Functionality
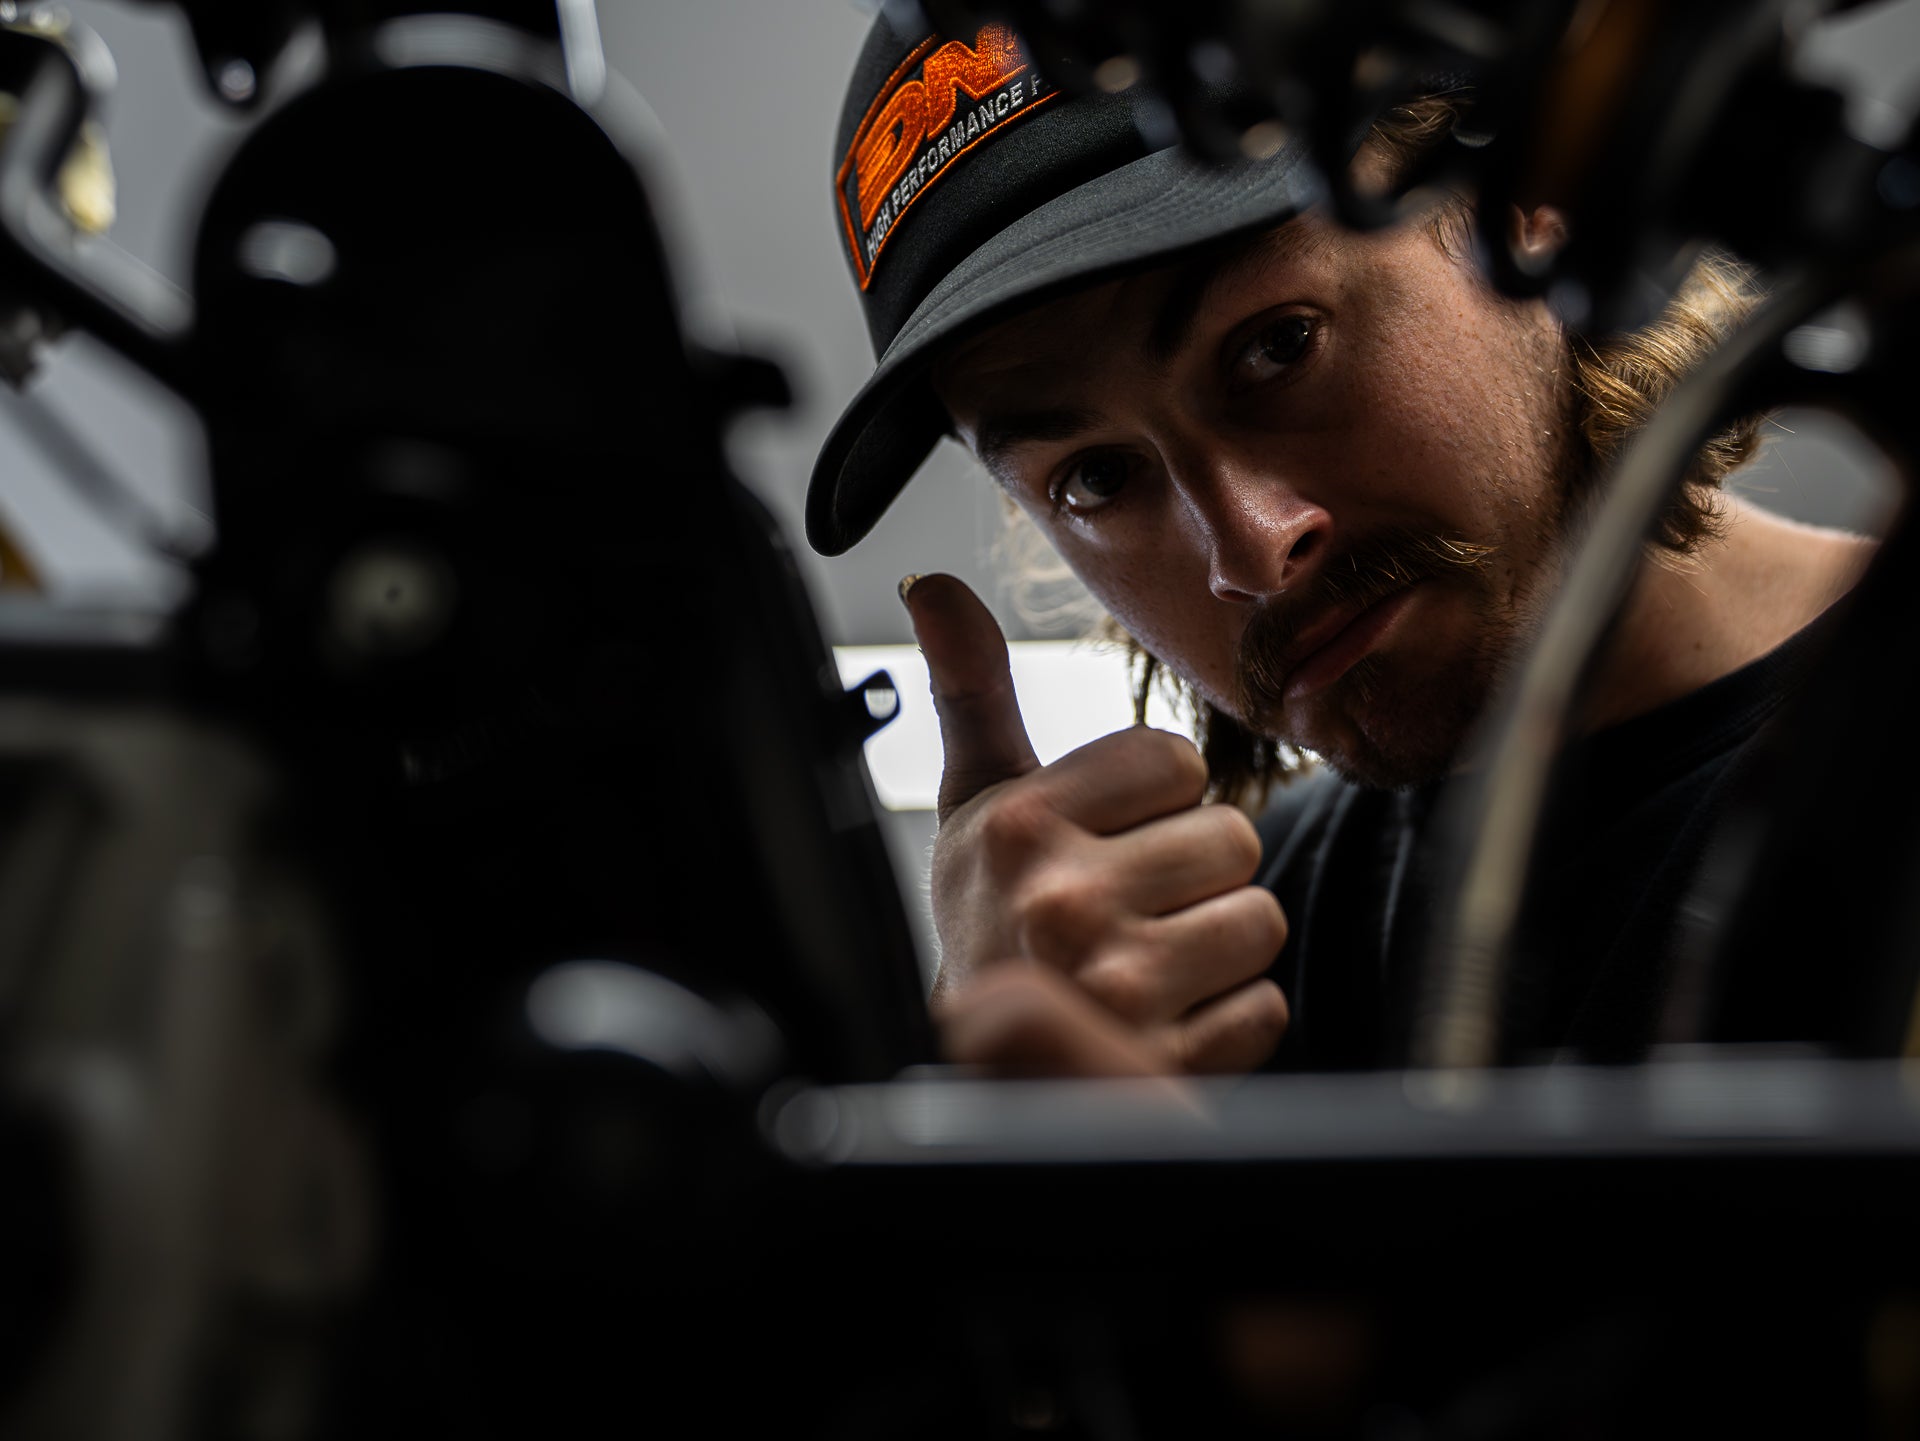
One of the most overlooked but essential parts of any custom build is the wiring. We chose to run our PBM Black Box, a purpose-built (no pun intended) electronic control unit that simplifies the bike’s loom and ensures reliable operation of lights, indicators, starter, and any other electrical components.
Here’s the gist of what went down:
- Harness Layout: With so many frame modifications and a minimal approach to aesthetics, we had to carefully route wires to keep them hidden. Under the seat pan and along the backbone were key spots to tuck cables.
- Switchgear: We used PBM handlebar switches that integrate smoothly, offering a simple and compact layout.
- Lighting: A vintage-style headlight at the front, plus a Deco fender-mounted tail light, needed to be wired in. Running wires internally through the girder fork was tricky, but worth the effort to keep the lines clean.
Moment of Truth: Assembling the Dream Machine
With the Black Box installed, we tested every circuit—headlight, brake light, turn signals, horn—making sure nothing snagged or shorted when the suspension compressed. A neat, tidy wiring job can often be the difference between a showpiece that’s plagued by gremlins and a custom bike that’s genuinely road-ready.
With painted parts back from the booth, the real fun began—turning a collection of freshly finished pieces into a complete motorcycle:
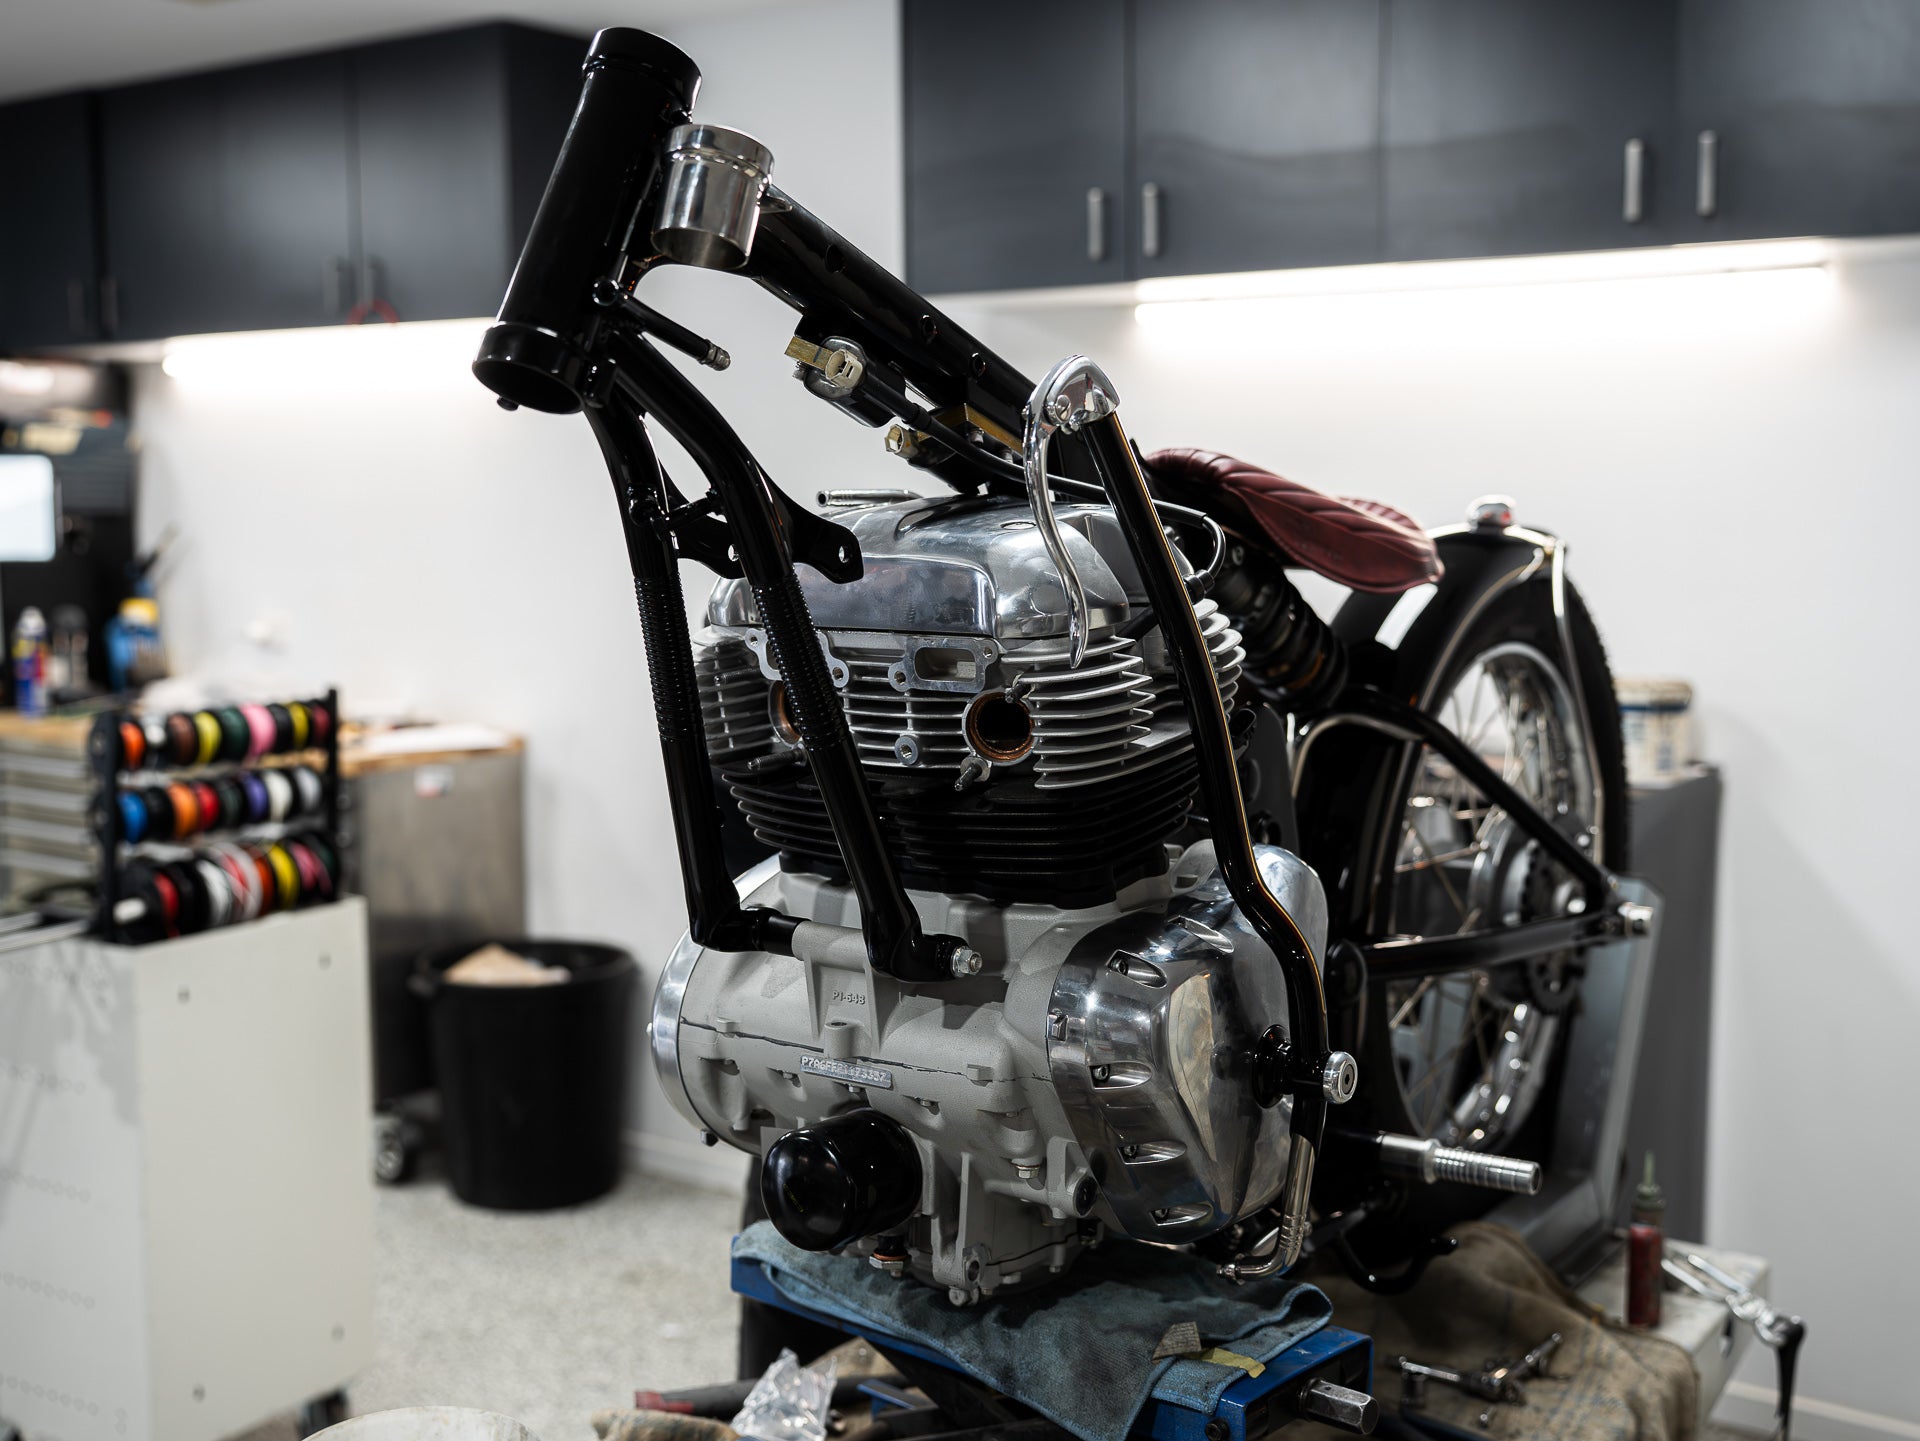
- Frame & Engine Marriage: Carefully lowering the engine back into the painted frame without scratching anything is always a white-knuckle moment.
- Fork & Wheels: The girder fork slides in, new bearings in the headstem, then we mount our 23-inch front wheel and 19-inch rear. The stance we fell in love with during mock-up is even more striking now that everything gleams in fresh paint.
- Tank, Seat, & Bodywork: The tank gets bolted on, seat brackets secure the floating pan, and the fenders line up perfectly on their custom struts.
- Exhaust & Intake: We install the stainless fishtail exhaust, re-checking clearance, then fit the metal-spun velocity stacks that were spun by a craftsman in Greece—truly one-of-a-kind details.
Dialling In the Details: Where Form Meets Function
It’s a transformative process. Over a few days of steady work, the Super Meteor 650 became our vision of a mid-century inspired bobber, loaded with modern engineering and finishing details that tie it all together.
“When you ride the bike, you should be able to feel what we were trying to put into the motorcycle,” Tom says. “My hope is that anyone who rides this motorcycle will instantly understand what we were trying to do.”
We stand by the idea that a custom bike isn’t truly finished until it’s been put through its paces on the road.
- Fluids & Levels: Topping up oil, coolant (if applicable), brake fluid, and fuel is standard procedure. But because of our oil-in-frame setup, we double-checked for leaks and made sure everything was primed properly.
- Torque Checks: Every critical bolt got torqued to spec. That includes suspension mounts, wheel axles, and brake components.
- Suspension Setup: We dialed in the girder fork’s air shock and the Nitron monoshock at the rear, aiming for a balance between vintage “feel” and modern ride quality.
- Electrical Test: A final check of the PBM Black Box ensured all lighting and ignition systems fired up without a hitch.
At this point, we could almost taste the open road. All that was left was to turn over the engine and listen to that parallel twin rumble through our custom pipes—a moment that never gets old.
“We don’t build motorcycles to be put on a shelf or to be put in a showroom. We build them to be enjoyed,” Tom says, echoing our core philosophy. “You have your little test rides around here and there, but the true test is when you really point that thing down a straight road and wind the throttle open.”
Tension Builds in Episode 3
In this third episode of the Project Delta build, we’ve crossed some monumental milestones. All fabrication details are locked in, the paint design is laid down, the bike is rewired with a PBM Black Box, and we’re primed for that crucial first test ride. Going from mock-up to a finished (but still untested) custom motorcycle is a roller coaster of excitement, stress, and satisfaction.
Next up: We’ll reveal how that first ride goes, the final adjustments we make, and the behind-the-scenes prep for documenting our creation. After all, this build is more than just a shop project—it’s a statement for Royal Enfield enthusiasts and custom motorcycle fans worldwide.
Stay tuned for Episode 4, where the rubber finally meets the road. You won’t want to miss the ride. Until then—keep tinkering, stay inspired, and remember that the best journeys often start with a frame in a million pieces.
WE BUILD BIKES WITH PURPOSE.
Purpose Built Moto is home for unique custom motorcycle builds. We offer a unique motorcycle customizing experience in the heart of the Gold Coast.
Join our email list and receive exclusive updates.
Latest Stories ALL STORIES
-
04/05/2026


