


You’ve all seen the start of this build as part of our Hard Work, Fast Bikes, Good Times series. We had intended to bring you end to end on this entire build, however some extended delays on parts put this project on ice for about 18 months, and by the time everything arrived my focus was solely on getting the project finished and on the street.
Now complete and run in, Purpose Built Moto’s first chopper build is something I’m proud to stand behind as a great example of where our skills have brought us. There were a number of firsts for us on this build, including the extensive worked performed on the motor, scratch built hard tail and modified frame, as well as that weird spring looking thing under the seat. Right nowI’m going to take you through it all, and then you can hit our YouTube video run down and test ride for your fix of on road action.

As always, no matter how weird and wild our builds are they always leave our shop rideable and ready for the road. This is important to us and our clients, because that’s what motorcycles are for.
So lets get started on our Signature Series XS650 chopper.

Our first stop was a tear down and frame chop, there are plenty of XS650 Choppers out there but as I’ve said before there are very few that look well laid out and finished right. Generally, I find the kit frames make the bike look too long and punch the steering angle out too much. What we wanted here was a fast handling, performance chopper. We locked the neck into our jig at 27 deg rake, jigged up the motor mounts to avoid movement and got to work.
The hardtail is shaped out of 19mm chromoly tube, using a pair of early XS650 or XS1 axle sliders. We’ve slimmed down the rear hub able axle width which I'll mention later, and used an offset tube bend setting the wheelbase about 50mm shorter than stock. This fabrication meant sleeving the engine rails, fabricating a new frame cross bracing and some cross-over tubes that hug the radius of the 19” rear wheel.

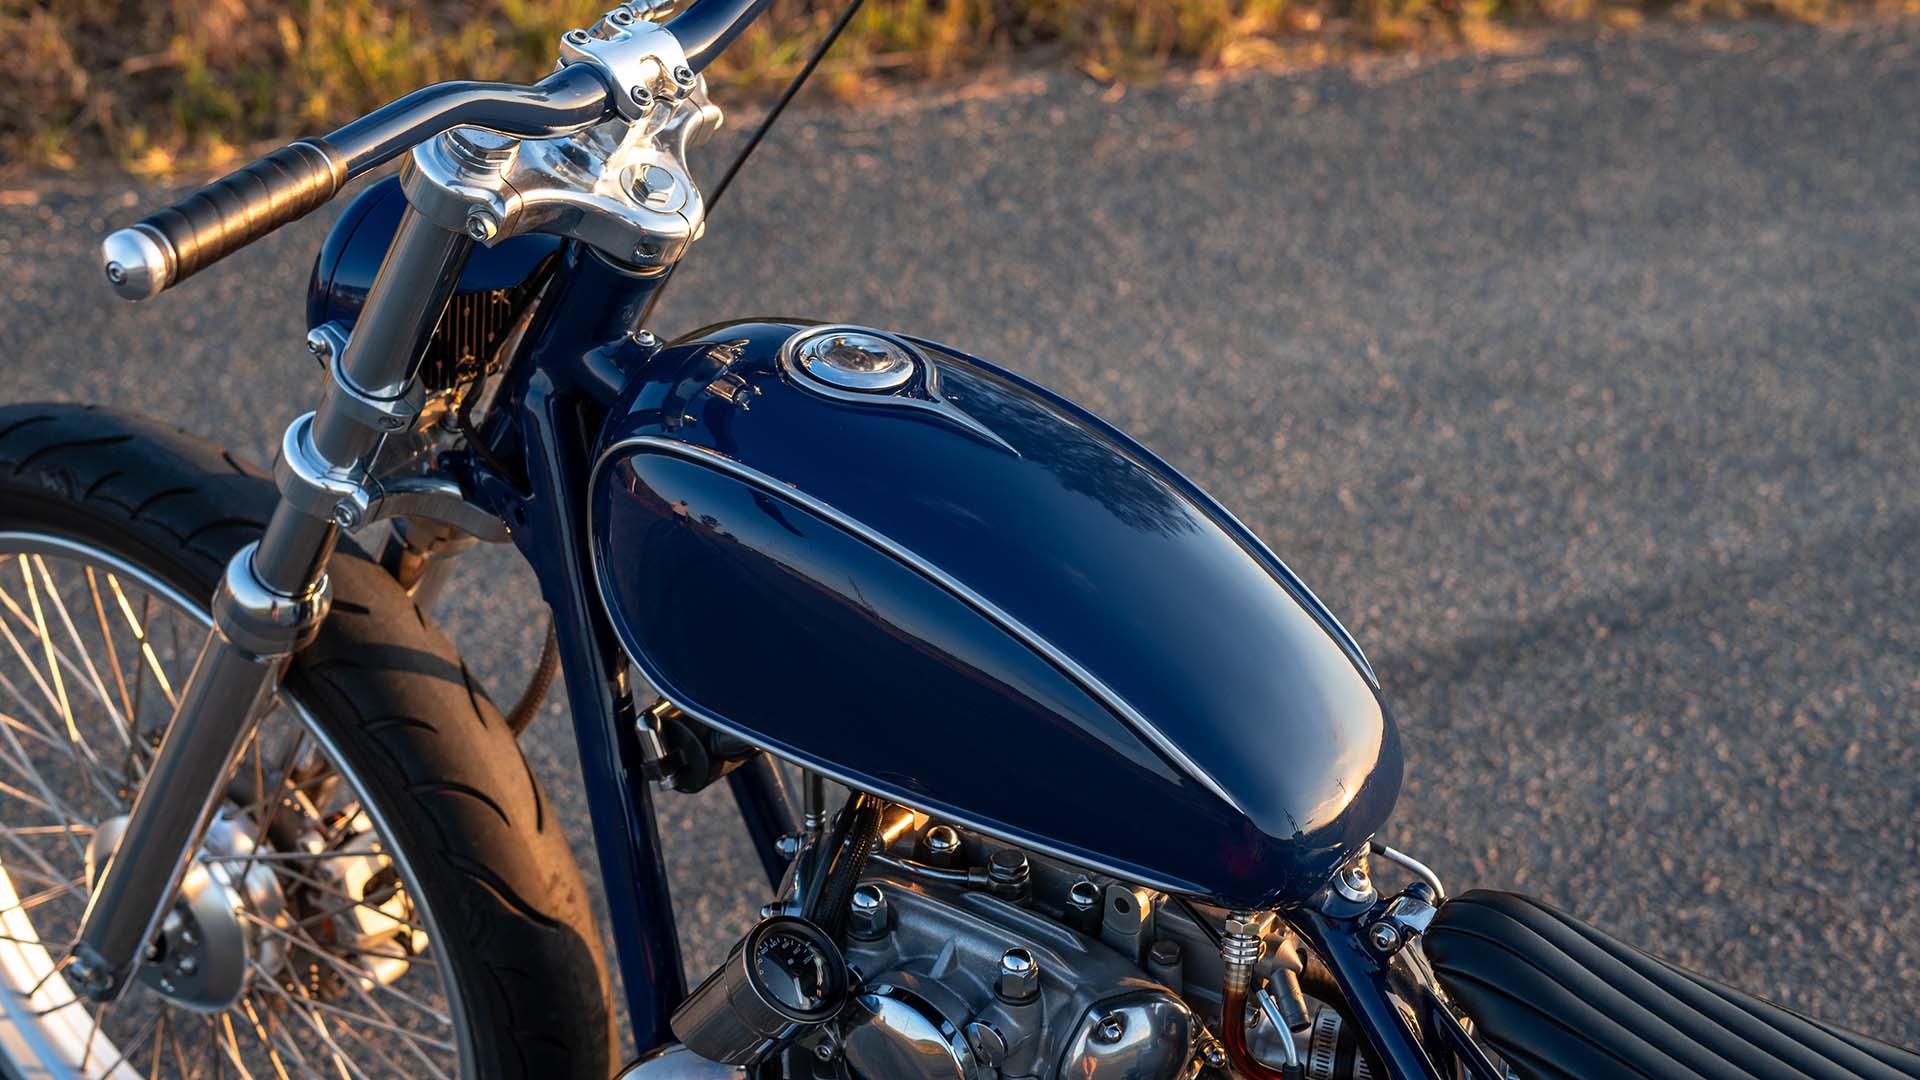
As the hard tail was finished, I needed to mount my new Banana tank, and with the standard back bone angle I just couldn’t get my tank to sit right, re-tunnelling wasn’t an option so we’ve also modded the backbone and lowered it down and included a new downtube bracing as well. Once all this was done, I feel like it may have been a bit easier to just rebuild the frame from scratch.
Build and learn I guess.
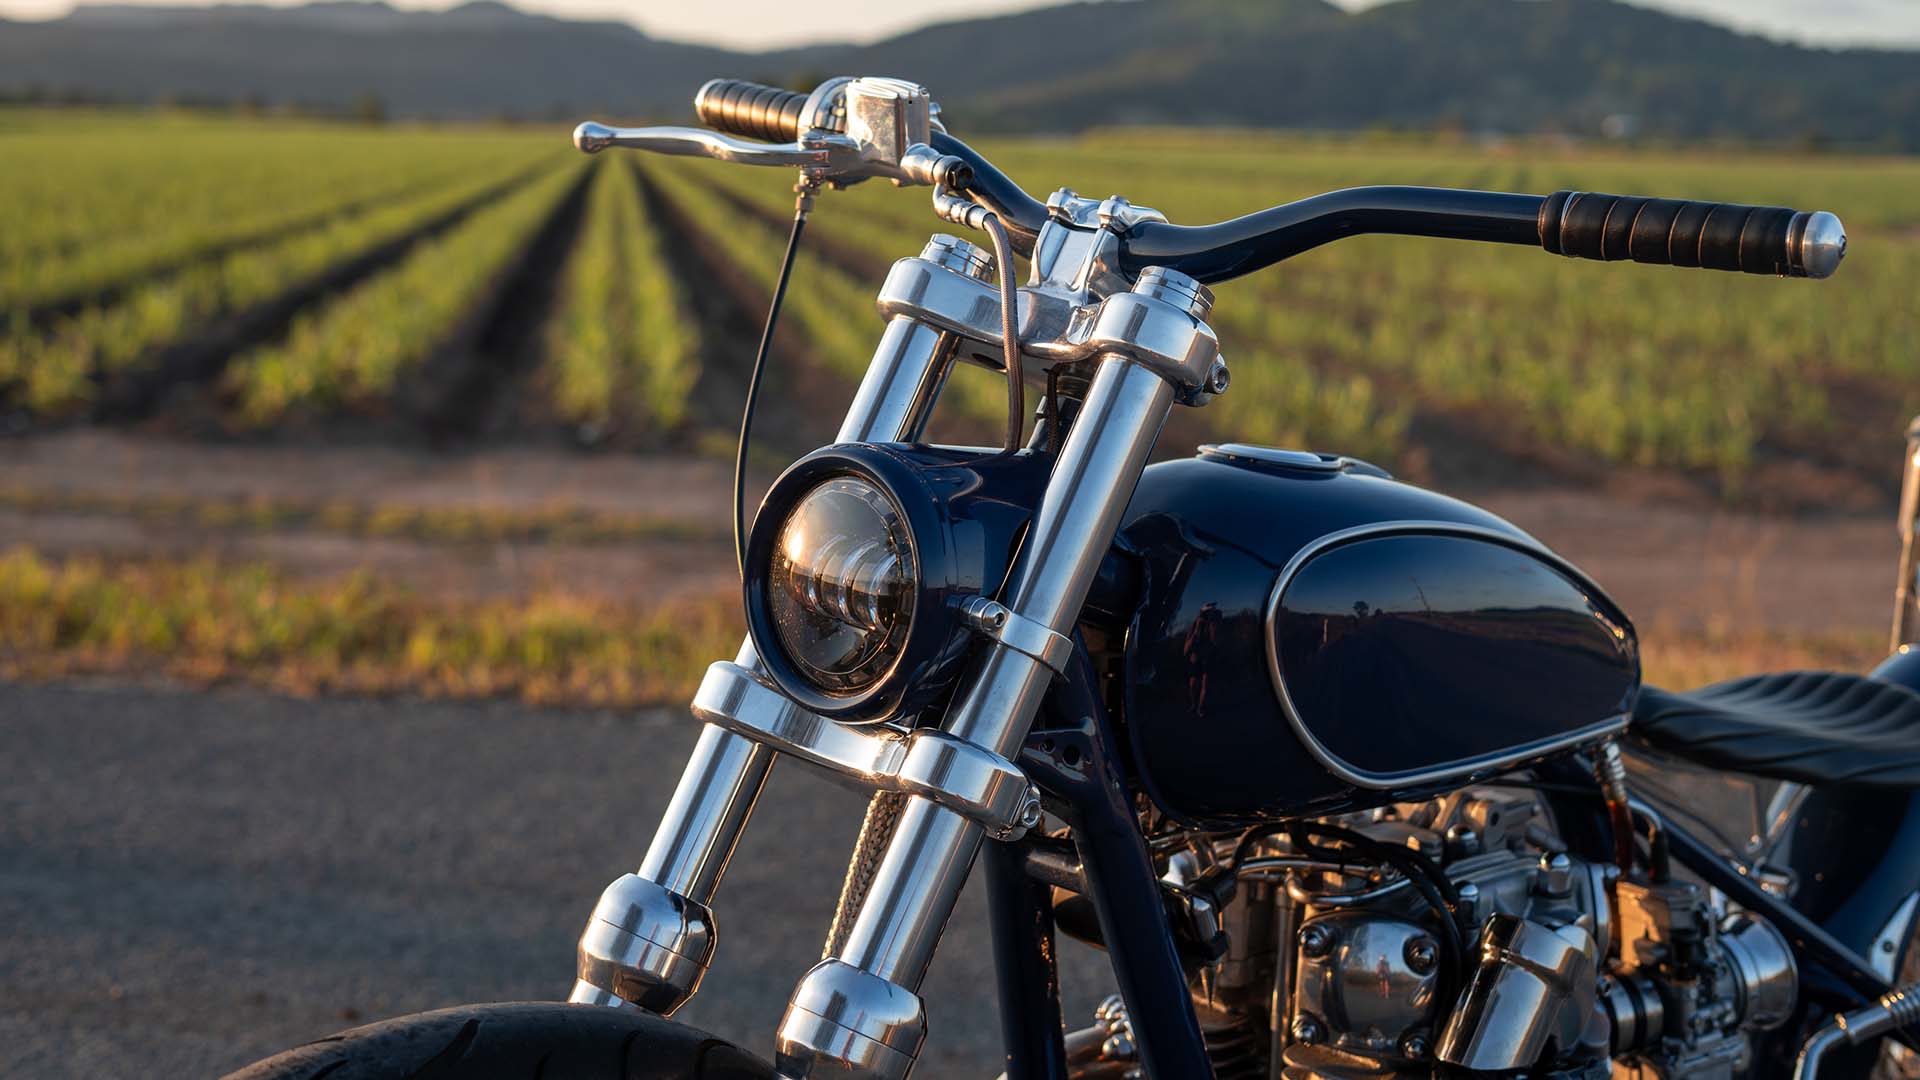
Now we had something that resembled a bike, the front end went on so we could get it sitting on its new wheels. I’ve used a Mullins Chain Drive super narrow set of triple clamps, and a set of lowered 39mm sportster forks. Squeezed in between these incredibly slim forks is a custom 21” Jonich wheel with a matching 19” on the rear. These wheels are entirely custom-made to suit my measurements and an absolute stand out on the build. Lightweight, sporty hubs, matched with a set of rims machined to perfection using Jonich’s very own nipple-less spoke design. Engineering art at its finest, I love these wheels and use them every chance I get.
Usually the Mullins chain drive ultra narrow triple clamps are reserved specifically for spool hubs with no front brake, but as I had designed the hubs with Jonich we we’re able to squeeze provisions in for a custom disc brake set-up.
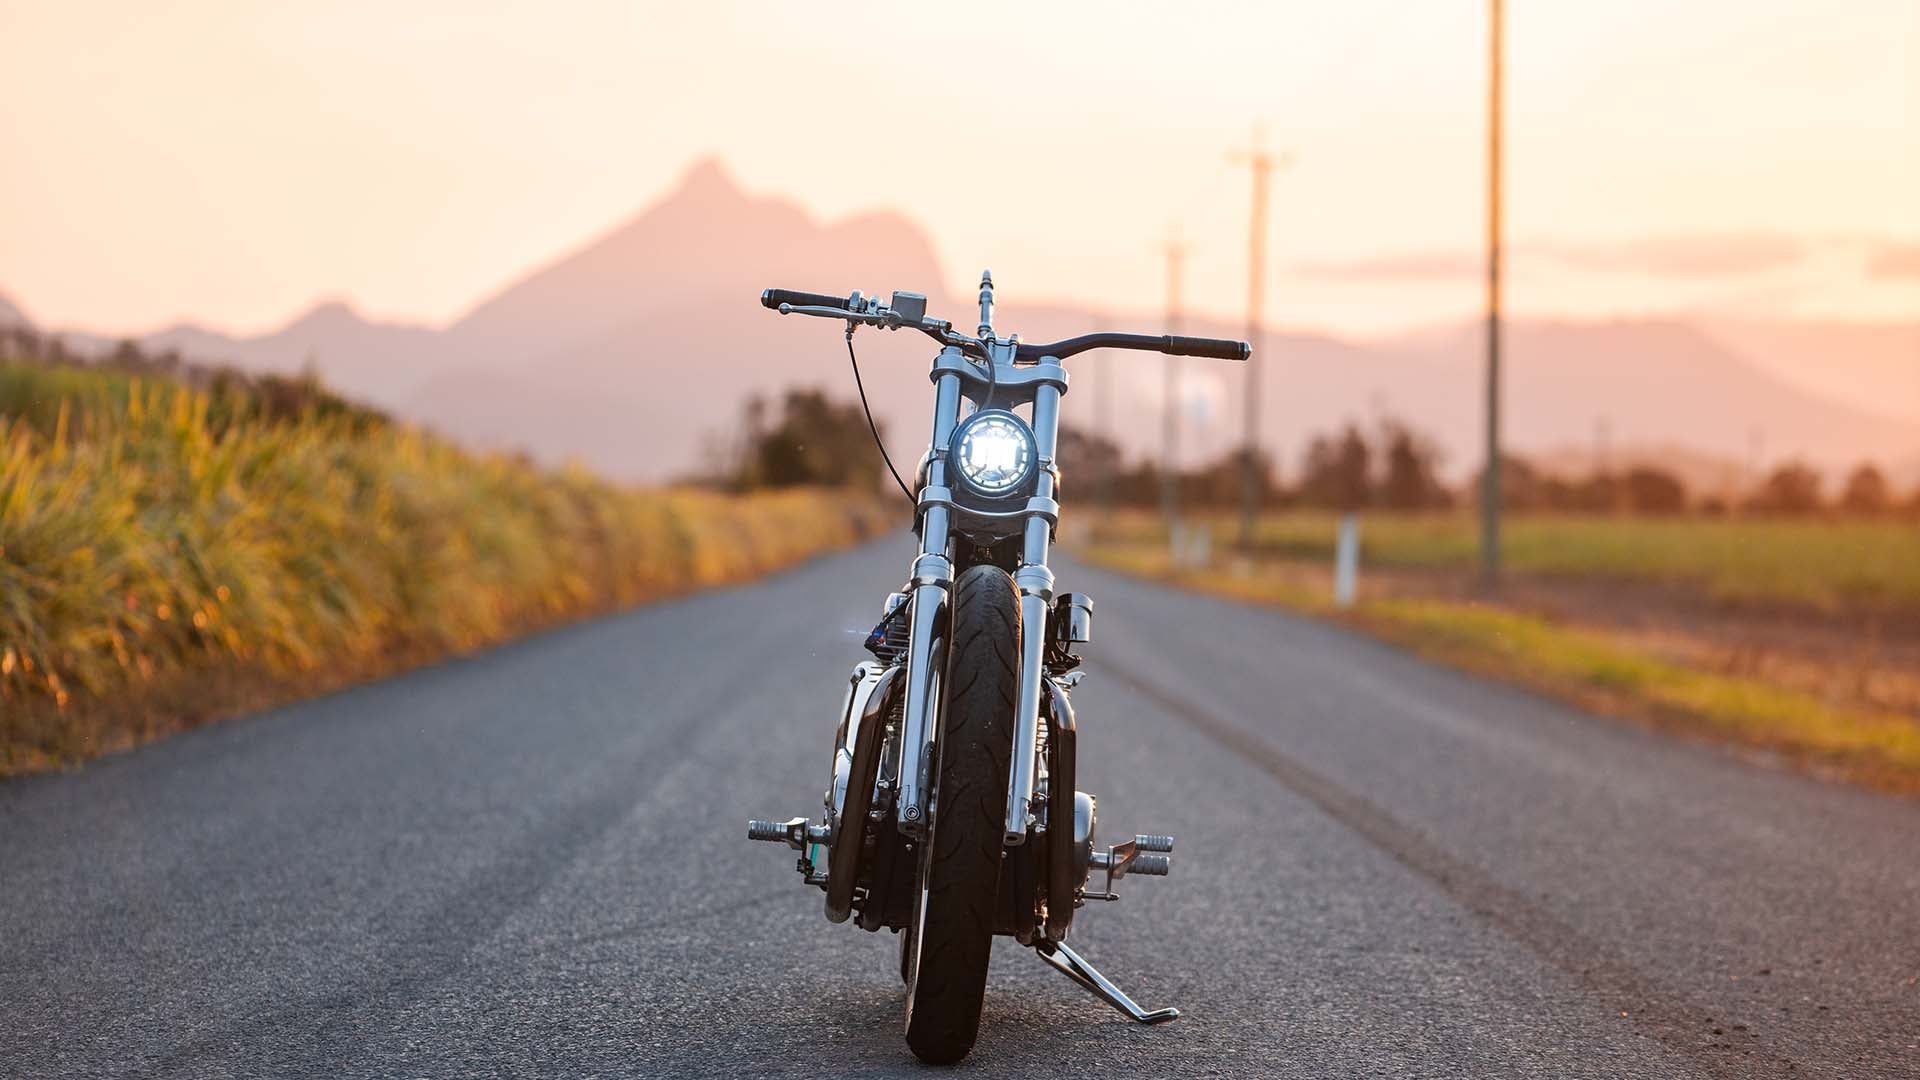
We’ve used a custom-designed rotor cut to size on the front, keeping most of the front wheel clean and visible. This was partnered with a Brembo twin pot calliper re-purposed from a KTM 450 MX bike, custom mounted on a specially machined and fabricated mount on the right side of the forks. The end result is a clean and functional set up, that allows me to ride this light and nimble bike to its full potential.
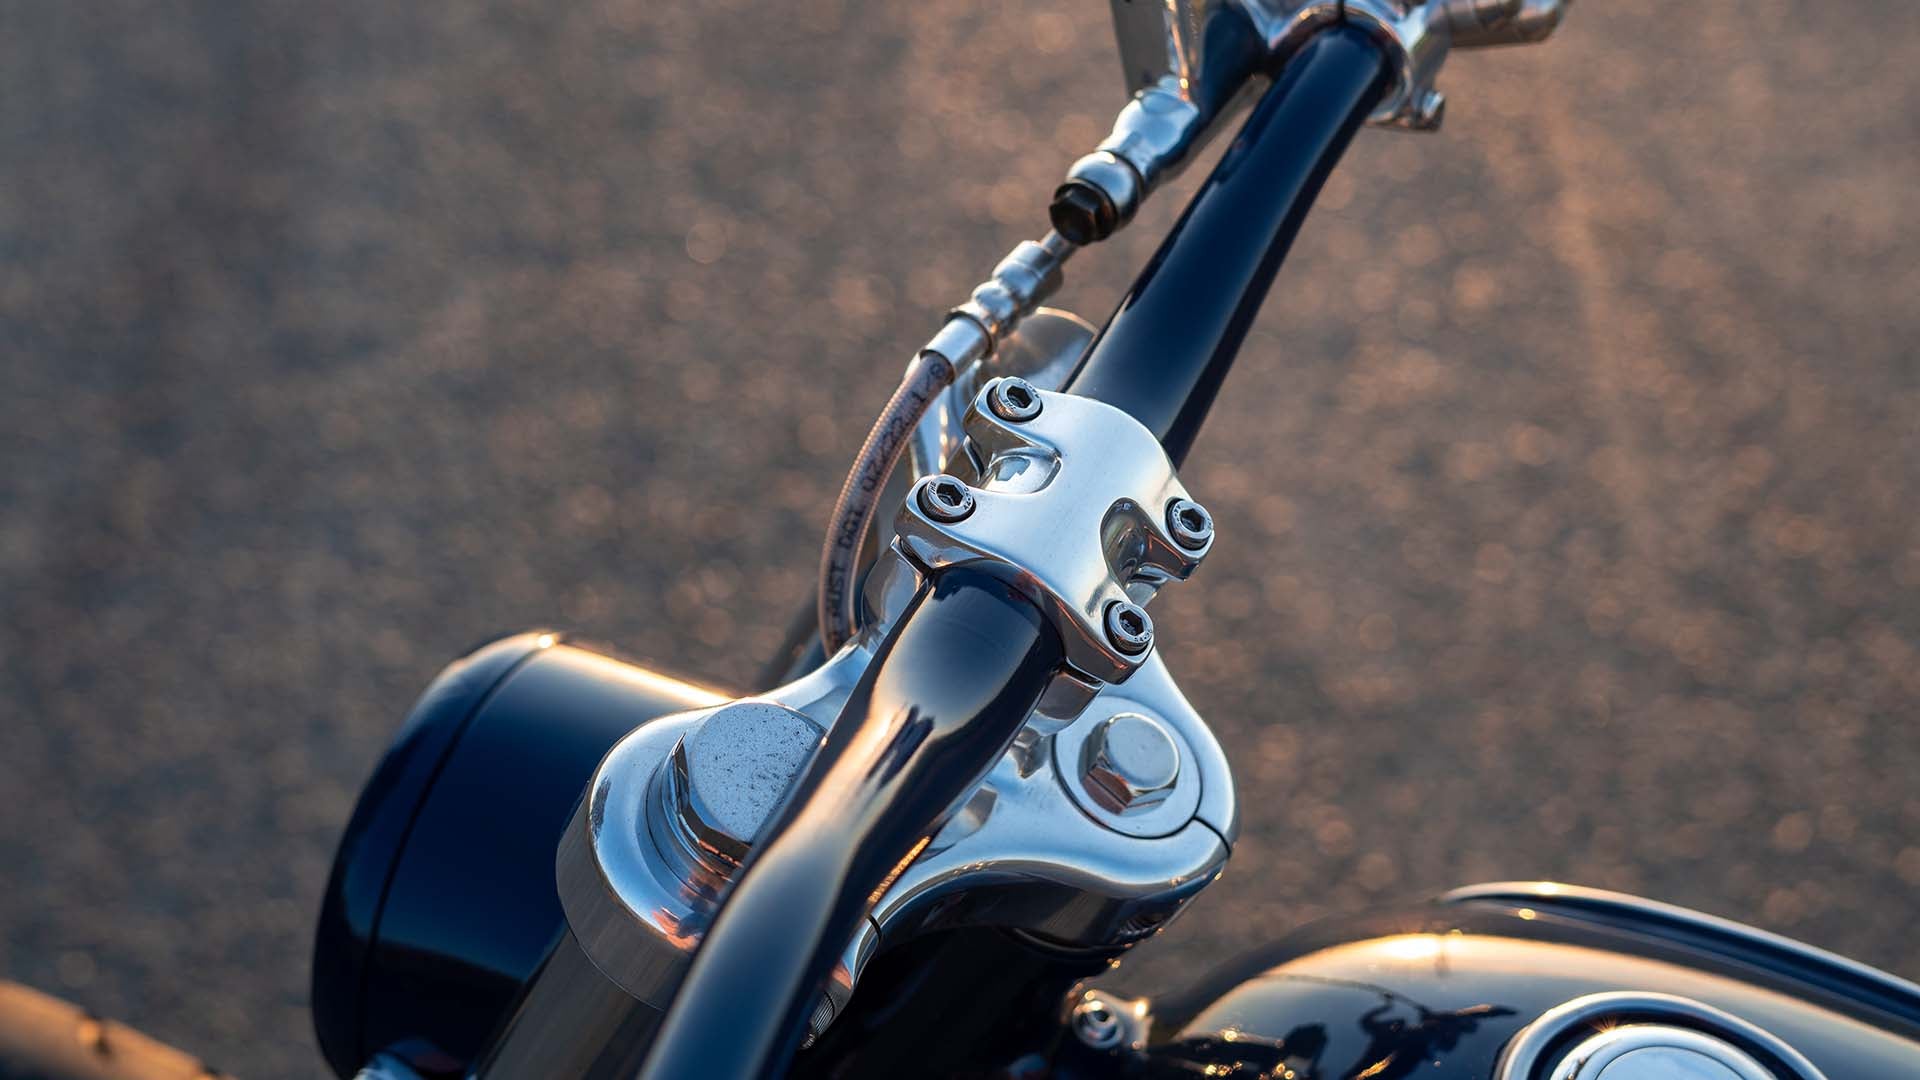
Finishing out the front end is a 4.5” Purpose Built Moto flashpoint LED headlight with a custom sheet metal nacelle and ultra simple clamp mounts to ensure a slick finish. The last piece of fab to mention here is the mountain bike bar clamps. There were stripped and machined down then welded to our top triple clamp and blended back. I’ve used a set of low-rise downhill bars up front kitted out with Kustom tech lever and a PBM 3 button switch for the minimal controls. The rear set up is much the same, using a custom designed rotor, and hanger, matched to a single pot Brembo calliper from a Ducati monster. On the opposite side of the rear wheel, we have a specially made 520 pitch sprocket to fit the 5 stud Marchesini pattern used on Jonich wheels.


Now we had a complete rolling chassis we turned our attention to the engine. I wanted a fast motor in this machine, we’d worked hard to shed a heap of weight from the bike, and that would only mater if we build a racey little powerplant to push it down the road. The hit list looks like this.
- Hoos racing 700cc kit
- Shell #1 cams with new lifters
- Ported and polished head
- New valves and Kibblewhite springs
- XS charge e-advance ignition + performance coil
- Mikuni TM Flatslide carburettors
- Barnett Clutch with Hydraulic conversion
- A complete bike that weighs in at 158kg wet.


Yes that last one surprised us too. 158 kilos as it sits on the street is about as much as a CB125 weighs. I’ll leave it up to you to imagine how fun this bike is with those performance mods and that much weight missing from the bike.

WE BUILD BIKES WITH PURPOSE.
Purpose Built Moto is home for unique custom motorcycle builds. We offer a unique motorcycle customizing experience in the heart of the Gold Coast.
Join our email list and receive exclusive updates.
Latest Stories ALL STORIES
-
04/05/2026


3 comments
Hey man love the chopper. I’m looking at doing a build myself, is there much involved when getting roadworthy with the modded frame? Love your work. Thanks!
Hi,how much does this Yamaha xs650 chopper cost and how do I go about getting it custom built for me?.
Bonjour, je suis tombé par hasard sur cette page, et je peux vous feliciter pour votre travail. la moto est magnifique et donne vraiment envie d’aller faire un tour avec. je crois que c’est le plus beau chopper que j’ai vu, bravo a vous . j’ai soixante trois ans et j’en ai vu des motos..