


Sol Invictus Nemesis 400 – Adventure Scrambler for Wide of the Mark
This Adventure Scrambler build holds a lot of very important elements. We built the whole thing in front of a camera for a YouTube series, the guy behind the Camera (my mate Jake Ashe) was the owner of the build, and when it all wrapped up, Emma Mcferran jumped on it and rode the scrambler around Tasmania for the Wide of the Mark documentary. The single most grueling test ride any bike of mine has ever endured. The little 400 definitely stood up!
Thanks to Sol Invictus for the Donor Bike
Build Concept & Purpose
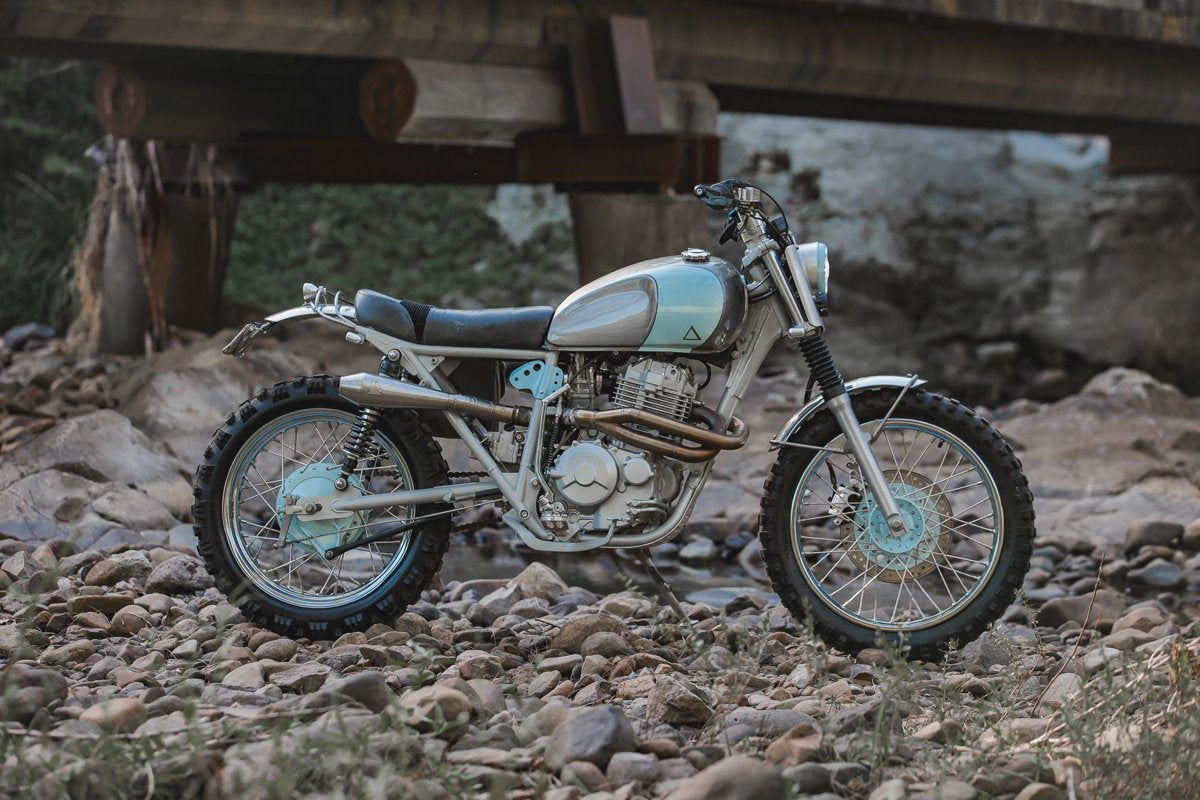
The whole idea of this build was to take a sleepy little commuter, give it some teeth and build it unbreakable for a 2 week off-road adventure. I had my work cut out for me, but that’s not to say I didn’t enjoy each step. It had to be reliable, able to carry a decent load and be tough enough that when it was inevitably crashed you could pick her up, kick it over and go again.
If you want a really in-depth look at the project check out our Youtube series and the blogs that go with each episode.

Chassis, Wheels & Suspension
After the tear down the bike quickly had the pitted spokes replaced with a set of stronger butted stainless steel spokes, then fitted with a set of longer travel Gazi rear shocks. The rims were wrapped in a Mitas E-09 enduro tyre for the trip.
Front End & Lighting
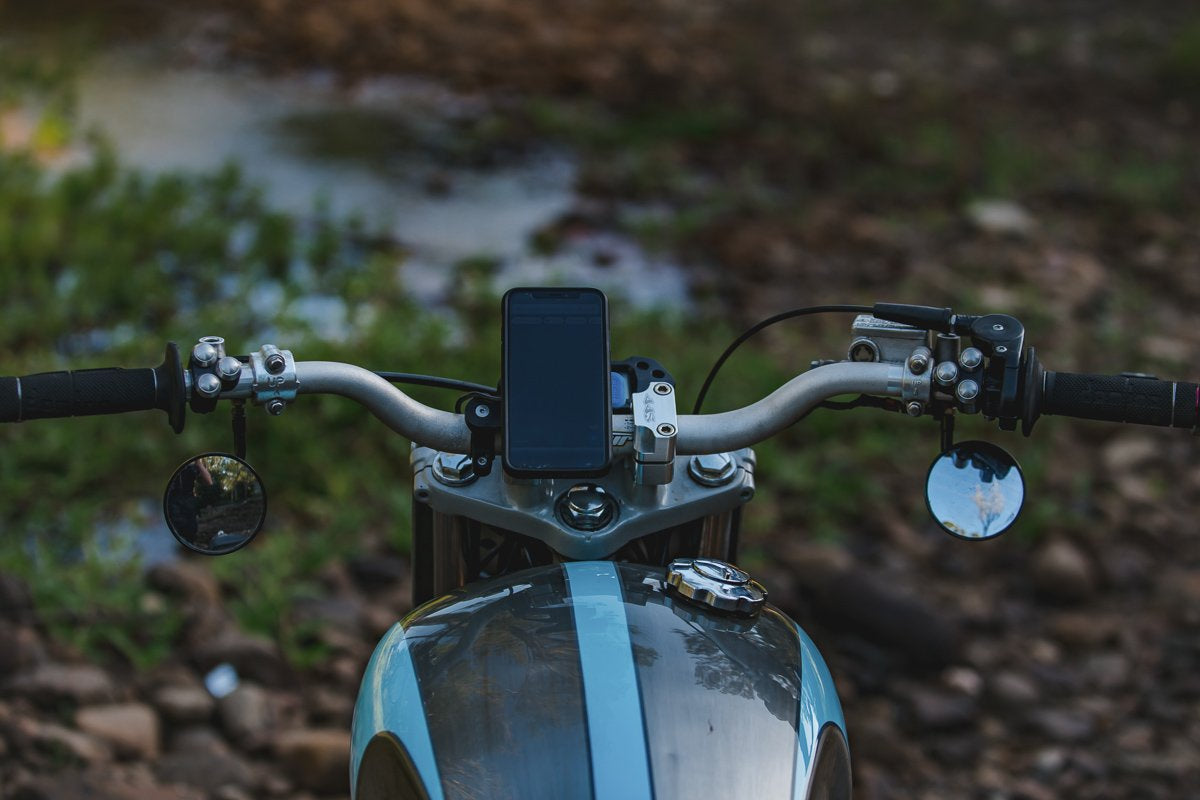
Moving on the front end of the bike I wanted a light and classic lookin style. Polished aluminium fenders have been mounted front and rear with a traditional roundbar fork mount seen on a lot of classic desert sleds. Allowing good clearance and a visual gap over the front wheel. The headlights were integrated into an aluminium front light plate, with the 4.5” flashpoint bezel being welded in place. The smaller Stedi spotlight functions as a high beam.


Tail Section & Rear Lighting
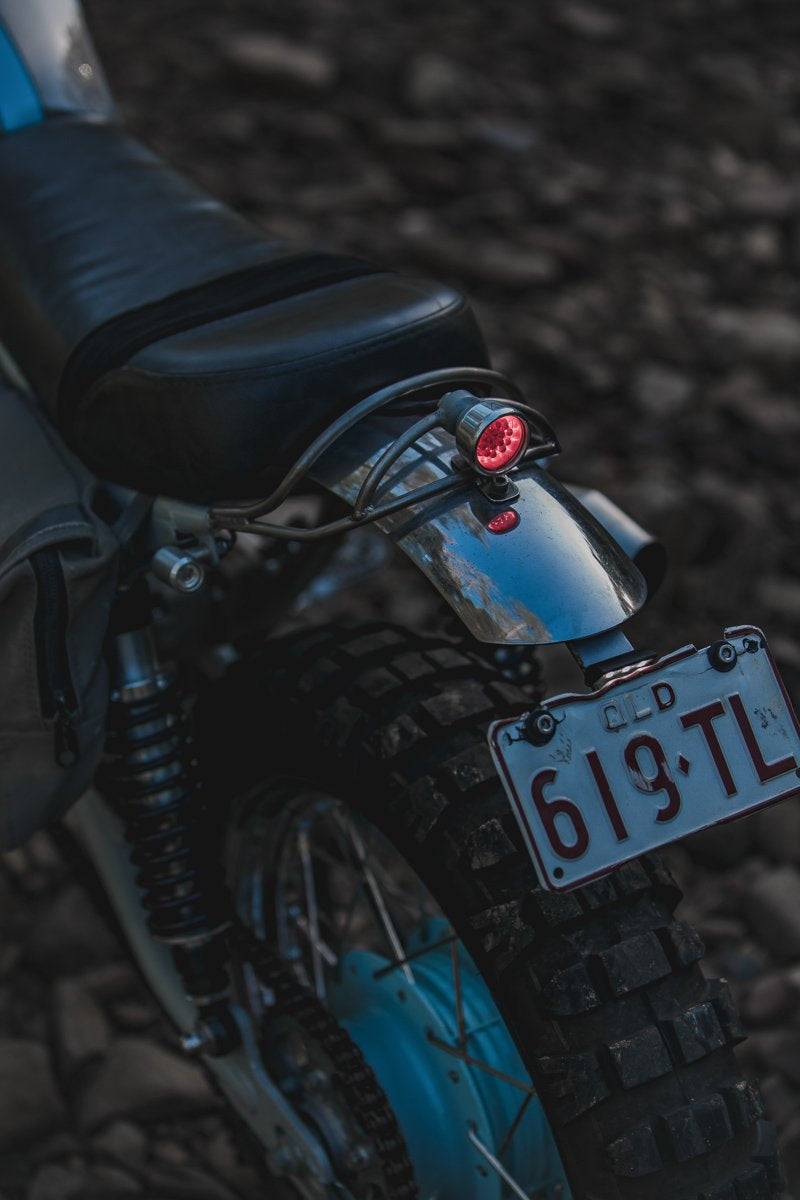
The tail section uses a classic frame style, but is executed a little differently. Instead of using a sized matched tube, I turned some bosses that fit inside the frame and taper down to an 8mm stainless steel round bar. Making a noticeable difference to the style of the tail. The roundbar is looped around with a fender mount, taillight mount and grab rail for dragging the rear tyre out of a rut if need be (we used that a lot when we got lost on the ride trip) Also leaving the traditional gap between seat and frame on the tail of the nemesis.
Lighting on the rear is a polished Orbit mini brake light with silver dome indicators. All tucked in nice and tight to avoid damage when laid over.
Seat and Comfort
The seat was laid down in fibreglass and covers the electrics tray that’s kept high, dry and invisible to the eye between the frame rails. Using a Black Box module as the brains of the lighting set up. Comfort was a big thing, so with the bars, and pegs mounted I made extra sure the rider ergo’s were suitable for long off-road rides. Something that I place huge importance on. The seat was given a comfortable foam set, and wrapped in a grey vintaged leather featuring an Alcantara gripper pad. An original PBM idea perfectly executed by Timeless Autotrim.
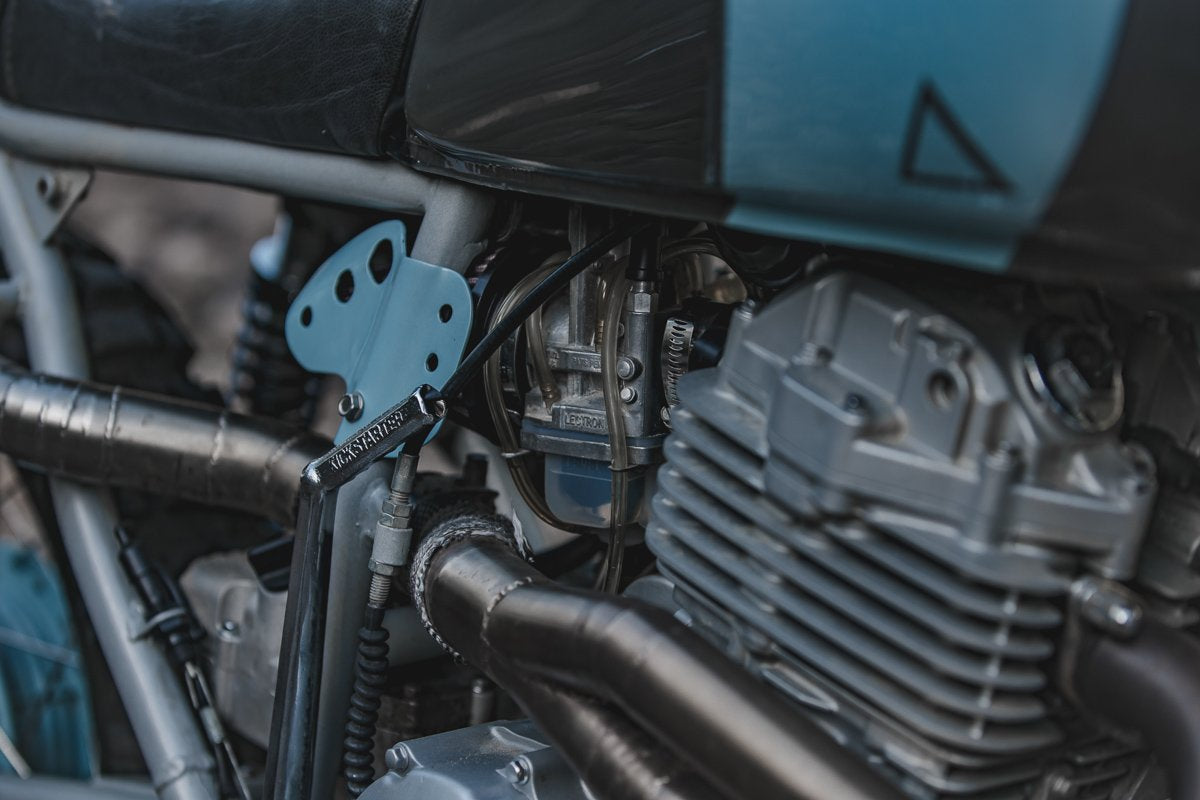
Intake and Performance
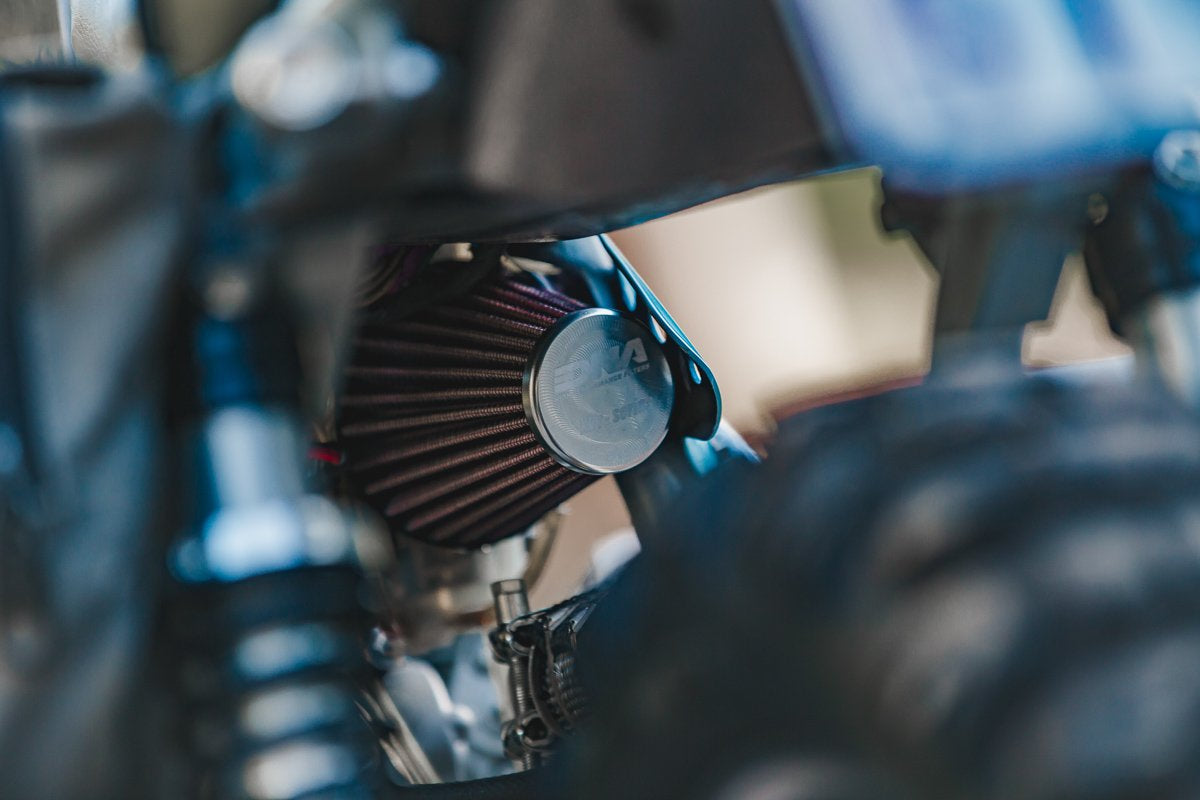
On the intake side of the motor, the perished intake was replaced with a Honda XR600 boot that fitted the Lectron carb and DNA performance filter. It took some creative work getting that squeezed in there but we made it work, and the little 400 is so much better for it. The mid-top end power these Lectron carbs provide linked with a DNA filter is miles ahead of the stock set up. The difference is unbelievable.
Exhaust System
The 400cc scrambler breathes out of a custom stainless steel header set up, the twin valve oulets snake around the engine, staying high before a 2-1 collector merges and snakes inside the frame before darting back out and finishing with a 43mm – 1 5/8” torpedo muffler. The 1 5/8” muffler has been scalloped out to fit closely around the rear shock, this stops the muffler from protruding too far out the side, keeping the width of the bike to a minimum. To avoid unwanted head transfer to the carb bowl, the header is wrapped in a bit of fibreglass heat wrap. This exhaust really makes the bike, taking time to fabricate this one myself was worth the hours spent getting it right.


Colour Scheme and Design
With the bike all built it was time to complete the design with the colour scheme. I’d already chosen the vibrant sky blue in the first few weeks of the project. Before the wheels were build the hubs were painted. So I was locked into that colour.
The hard part is making sure to not go overboard on the accent colour. The design I landed on was to leave the fenders raw, and paint a select few parts in the blue. Headlight bezel, Battery box, air filter shroud and the front rotor was all it took. The tank was to stay predominantly silver too, with a raw metal finish, choicely detailed with the blue in a simple design and pin striped with a nardo grey.
The Blue was a bit of a gamble for me, its not an overly masculine or tough colour, but it works. And if you’re man enough to get over the fact your bikes baby blue and enjoy it for what it is, that’s the kinda guy we should all aspire to be.


First Test Ride and Pre-Trip Upgrades
On the first test ride out the Nemesis copped a hiding. Through a deep sand track we ran it around for an hour or so before we left on the wide of the mark film trip. Lucky we did because it showed up a few weak spots. The front forks springs were not cut out for anything more than street riding and the clutch burnt out pretty quickly. Considering what we were headed for in Tasmania I’m glad we found this one out early. The front end was fitted with a set of heavier progressive springs, and the clutch upgraded to a more suitable kit for heavy use.
With that completed we were ready. The Nemesis was loaded up, checked over and sent in to the wilderness. Make sure you follow the Wide of the Mark pages to see how it went.
Proven on the Trip
The bike apart from a few niggling issues was really reliable on the trip. Being the lightest bike on ground at 160kg and piloted by one of our most experienced riders the nemesis proved itself time and time again. It’s a big risk putting your neck on the line and building an adventure bike for the world to see where it failed but I’m happy I did it. These projects taught me so much about the balance between function and form that I consider it one of my most teaching projects.
Hope you enjoyed the build series on this one too, if you want to see more, make sure you let me know!
WE BUILD BIKES WITH PURPOSE.
Purpose Built Moto is home for unique custom motorcycle builds. We offer a unique motorcycle customizing experience in the heart of the Gold Coast.


