


Tom and Donny get into the fabrication for the Honda CB550 Café Racer and things are starting to take shape. A lot of fabrication work went into this, and we didn’t hold back on chasing perfection for the Shannons Dream Bike Build.
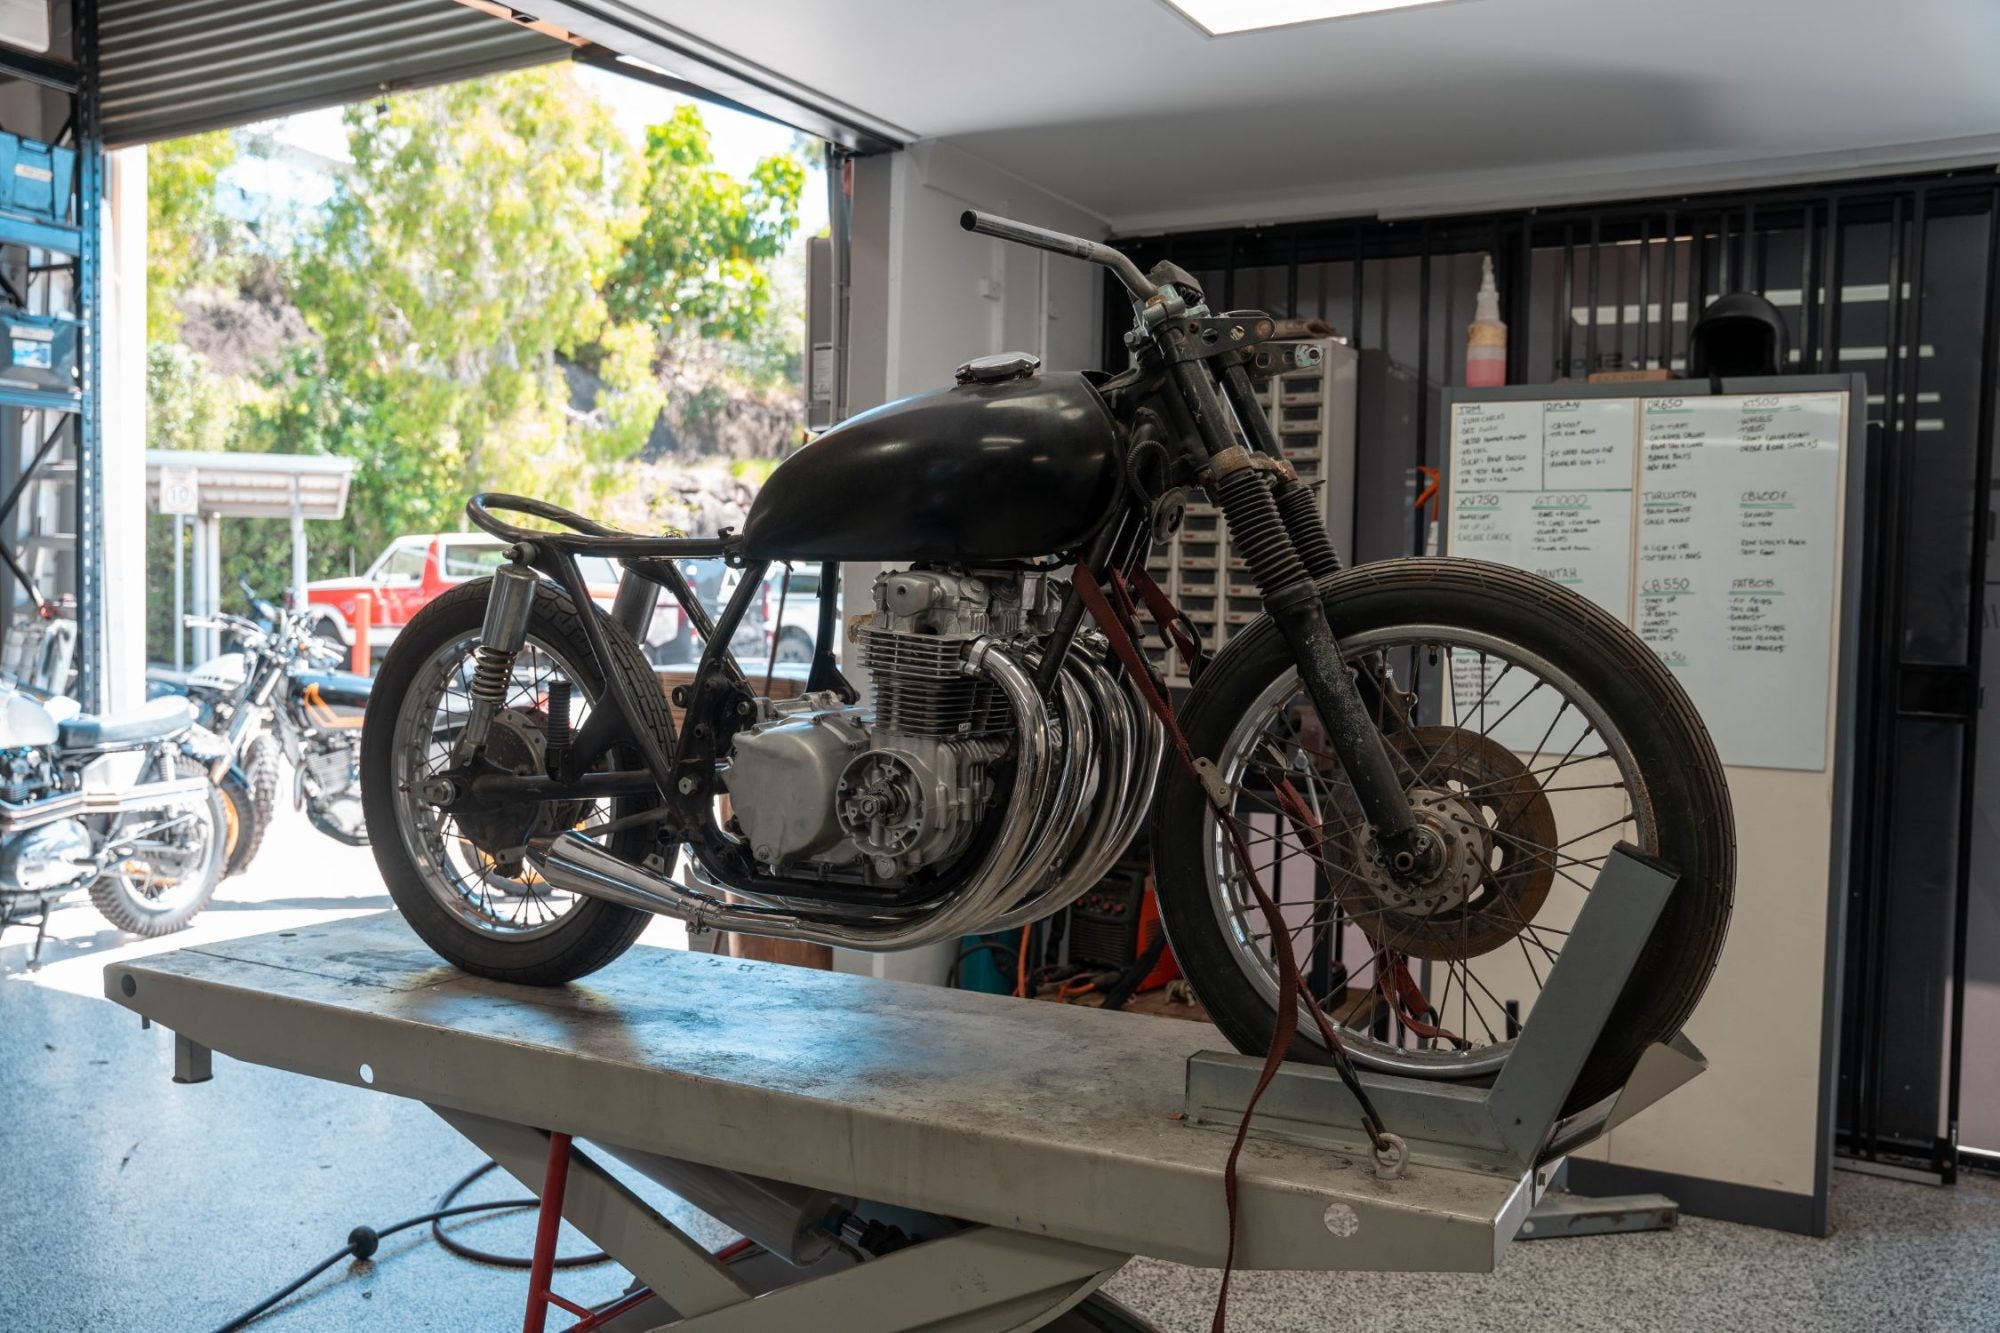
We’ve set the basis for our CB550 café racer build in the previous episodes. Now with our foundation down It’s time to start creating the shapes and styling out our dream bike build. This episode we will cover off on a lot of the big ticket items that will take our standard 1972 CB500 and begin to reveal the classic café racer that it will become.
Starting with the frame chop and tail hoop. We’ve taken a bit of time to de-tab and smooth out some of the rough factory welds and mig spatter that seems to be regularly present on these bikes. We’re chasing some fine finishes with this project so a bit of refining time now will pay dividends later. We’re removing the factory airbox, battery box and side covers this will lighten the frame section out as we hide away the usually unsightly parts of the bike. In terms of the frame modifications things are staying simple. A tidy hooped tail with a nice upsweep to allow a bit of wheel clearance, removal of the standard peg brackets to be replaced with some custom rear set brackets.
The Battery box will be custom fabricated and mounted under the swing arm along with a few other electrical components. Nothing special about the hidden electrics tray and fibre glass seat pan, if you want to check out this process in detail head over to our seat build blog. We’ve also got some details in our blog section about building a fibreglass café racer tail. Lighting on the rear end is a frenched in LED brake light strip with our 3 in 1 hollowtip indicators mounted just behind the rear shocks.
Scott made a request early on in our process that the seat section have both a single and double seat option. The seat base is a brat style seat, that with a few screws can have an additional café racer tail added to complete the look. We’re making sure with all of these mods and fabrication they’re working towards our goal of delivering a very classically styled racer.

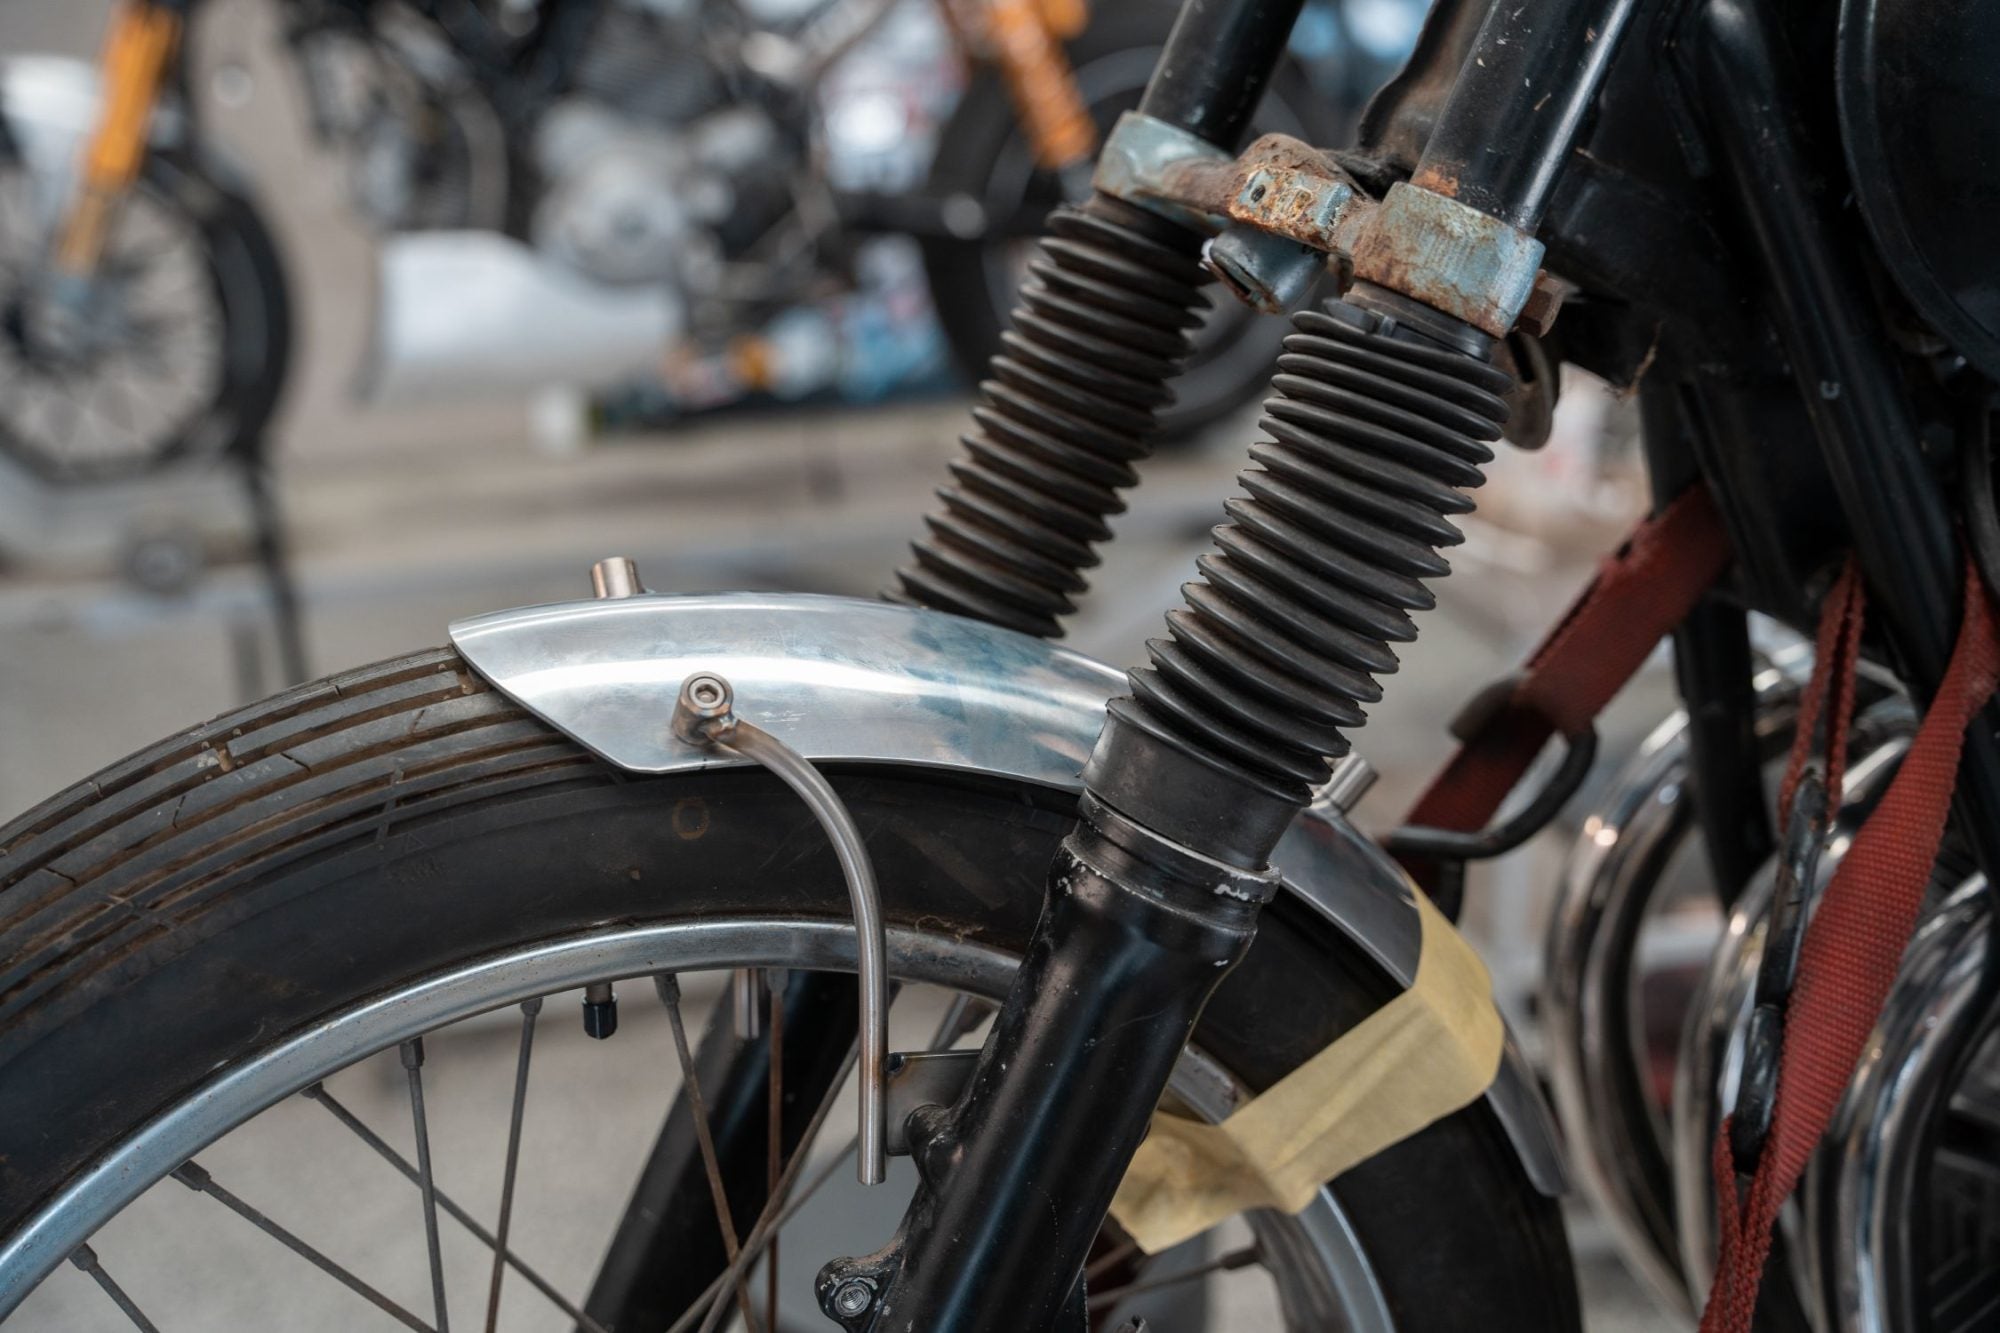
Moving towards the front end we’ve fitted up our offset clip on handlebars so it was time to finish out the front end lighting and gauge cluster. We didn’t have a chance to cover this one during the series but we’ve made up a single piece bracket that houses a Gauge cup, the headlight bracket and front indicator lights, tucked up neatly against the forks. We’re using some modern components on this project for performance sake, and I do enjoy blending this classic style with some modern components.The front fender was crafted using out DIY fender kit. Some smoothed out stainless steel rod shaped into a few sweeping bends and welded to a set of fabrication bungs that hold the aluminium front fender. We build a lot of these using our own kits and if done right they can create a real draw card on the front end. You can grab one of these from our online store and get creative on your own build.
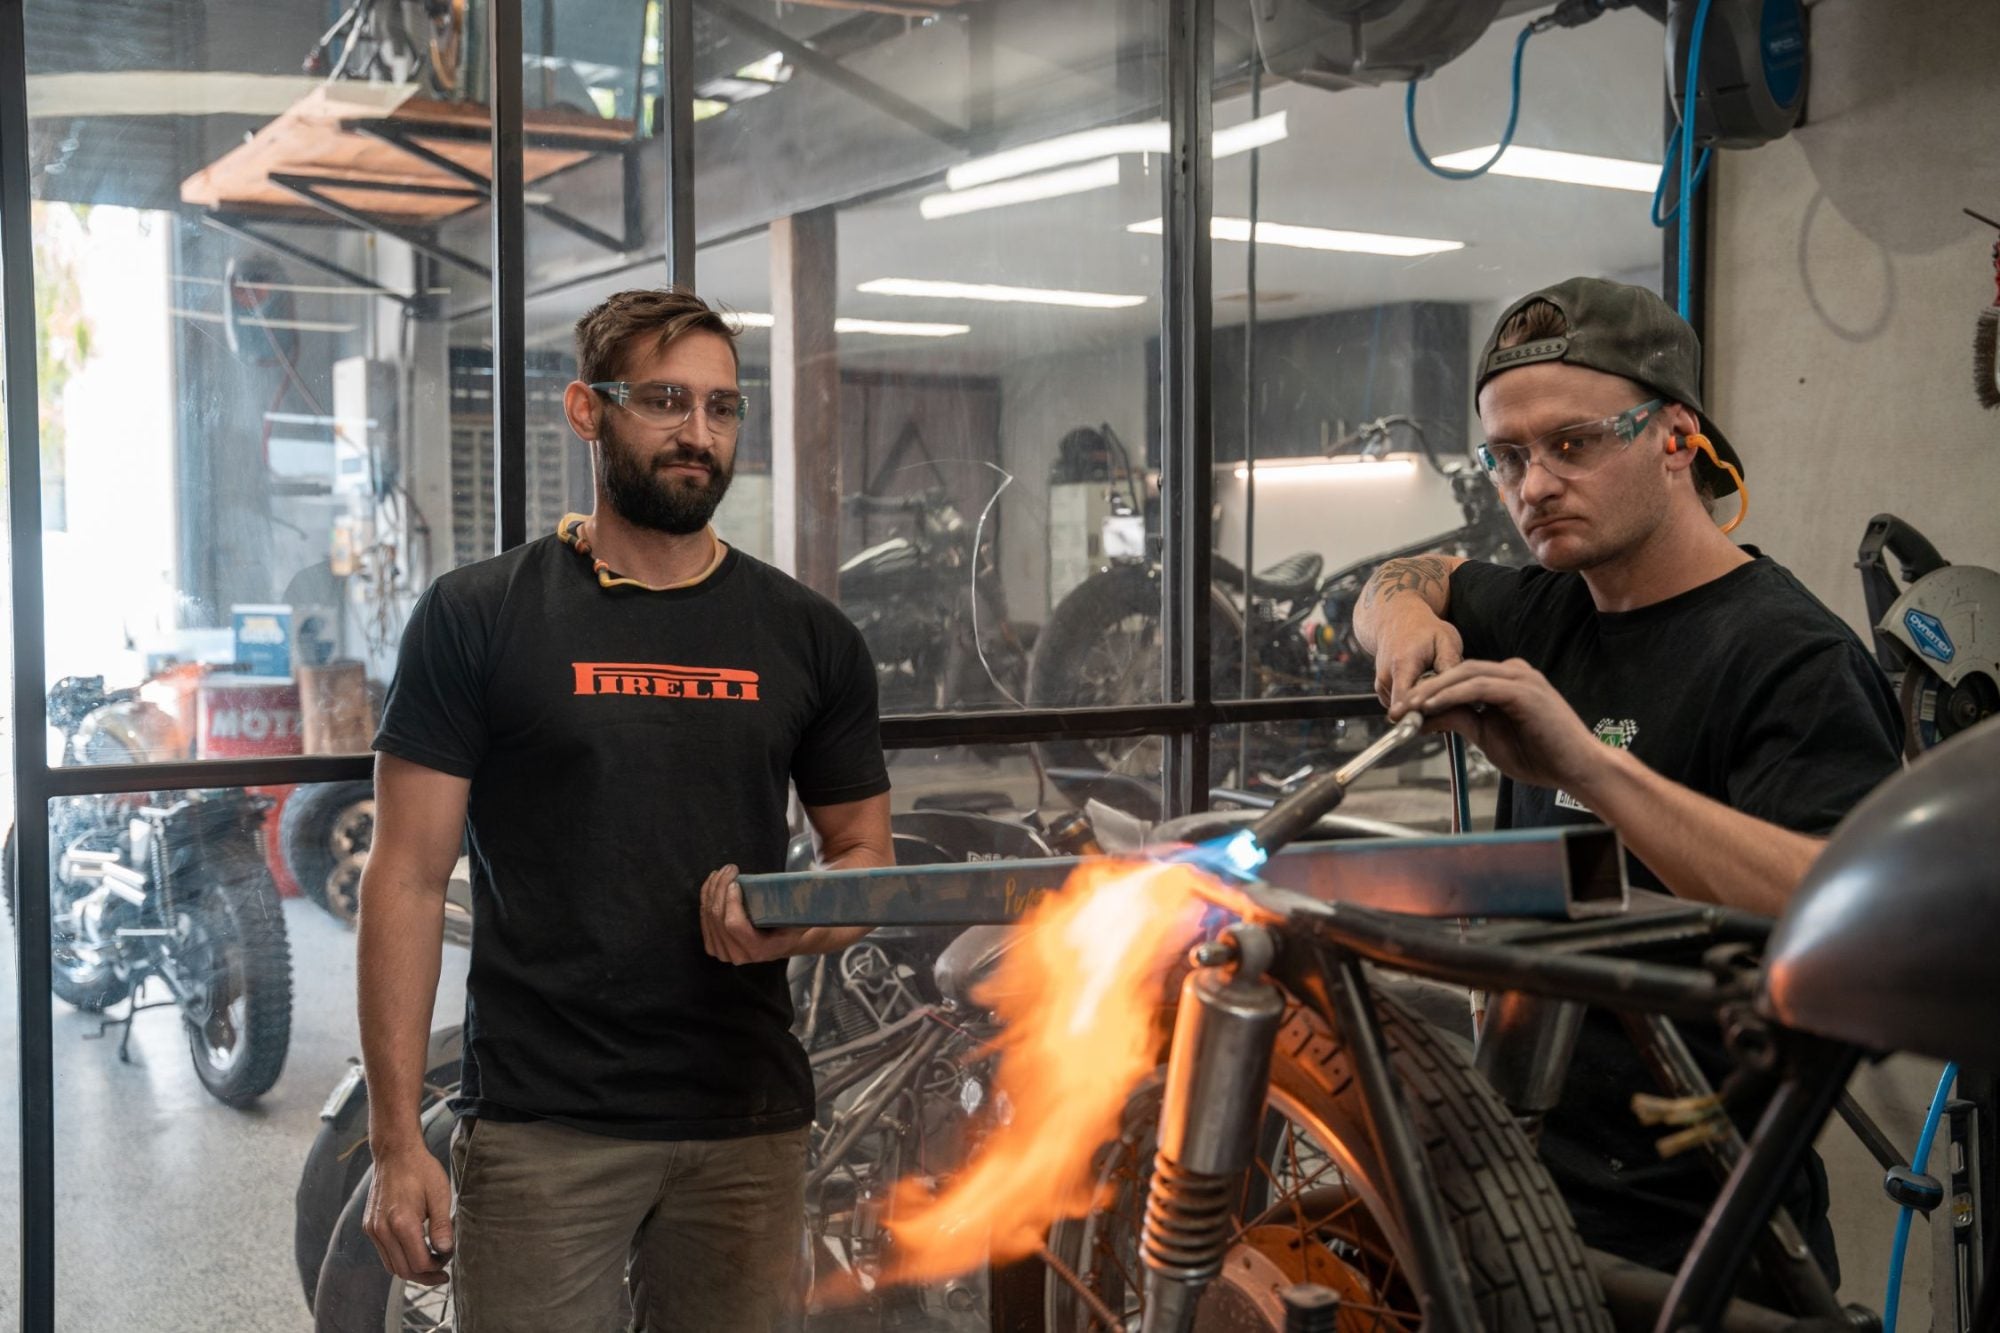
With the front end sorted I get into the exhaust build. This was an idea I had for a Honda four floating around in the back of my mind for a while. I wanted to create a seamlessly blended 4 into 2 exhuast set up the run into a set of our torpedo mufflers. The headers are built from a set of stainless steel loose radius bends. 2 different radius profiles that flow into each other creating what looks like one compound curve with cylinder 1+2 joining and 3+ 4 coming together and running down each side of the motor.
This was the biggest single part of the build, but on a lot of our projects I’ll often get fixated on an idea that I have to see through whatever it takes. Because we’re making single piece headers each individual cylinder needed to be mocked up, welded separately, finished back and polished up before being joined into the other cylinder. As this was coming together I was glad we put the time and effort into this part. The shape once mounted on the engine compliments the smooth bolbous tank and tail we’ve built to really create a sense of old world craftsmanship. I would have loved to sand bend these pipe section but alas, my skills aren’t quite there yet. Someday.
With the exhaust completed we went into the list of smaller jobs to make sure when this bike went back together it would function perfectly for our rider. This included a measure up of our rider to make sure he didn’t feel crowded in the cockpit. Often when building a café racer the low line and style seems to come at a detriment to the rideability of your bike. We try our best to build these bikes so the rider looks forward to his weekend rides, not just because every set of light he pulls up at someones drooling out their window. We make em fun to ride too. For a taller rider this means offset clip ons to lift his hands up and make a more upright riding position, this coupled with custom placement of the rear sets to make sure Scott can get the most out of his CB550 café racer.
These set up options are always done to strike a balance between comfortability and performance. Your lean angle is reduced, but the difference is marginal, and in my opinion a worthwhile sacrifice to have our rider comfortable in the cockpit.
Our next steps will be to engage our painter and dive deep into the design and colours that will set the CB550 dream bike build off and round out the work we’ve been putting in to craft this vintage café racer. We cooked up some pretty epic ideas for the CB550 Café Racer, you’re not going to want to miss the next episode. Make sure you head over the the Shannons youtube and catch up on all the episodes. Let us know what you think so far in the comments!

WE BUILD BIKES WITH PURPOSE.
Purpose Built Moto is home for unique custom motorcycle builds. We offer a unique motorcycle customizing experience in the heart of the Gold Coast.


1 comment
This one’s our favourite ep! Love seeing the shape come together