
This quick guide will show you everything you need to know about installing your new slim push button switches. Allowing for a high quality, minimal looking finish on your custom bike project. Details are everything and these will help you achieve that professional builder finish right from your home garage.
Materials/Tools:
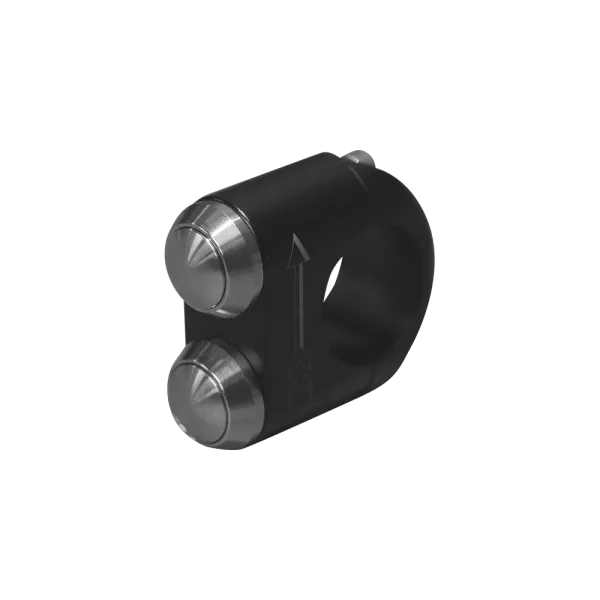
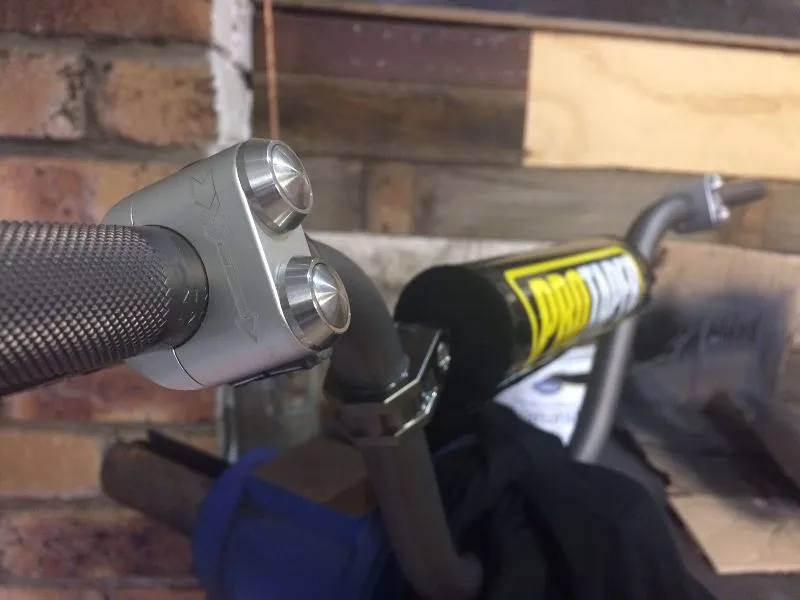
- Purpose Built Moto- slim push button switches
- 6mm to 10mm drill bit (dependant on wiring)
- Sharpie Marker
- Electric Drill
- Soldering Iron
- 3mm Allen Key
- Thread locker
- Water Seal Silicone or Marine Adhesive.
1. Install throttle, Hand Grips, Clutch and Front brake perch. Allow enough space for your Purpose Built Moto Slim Push Buttons to fit, and be used comfortably.
2. Remove pushbuttons from switch blocks.
3. Fit Purpose Built Moto Slim Push Buttons as shown and mark cable holes, taking care to install within comfortable reach.
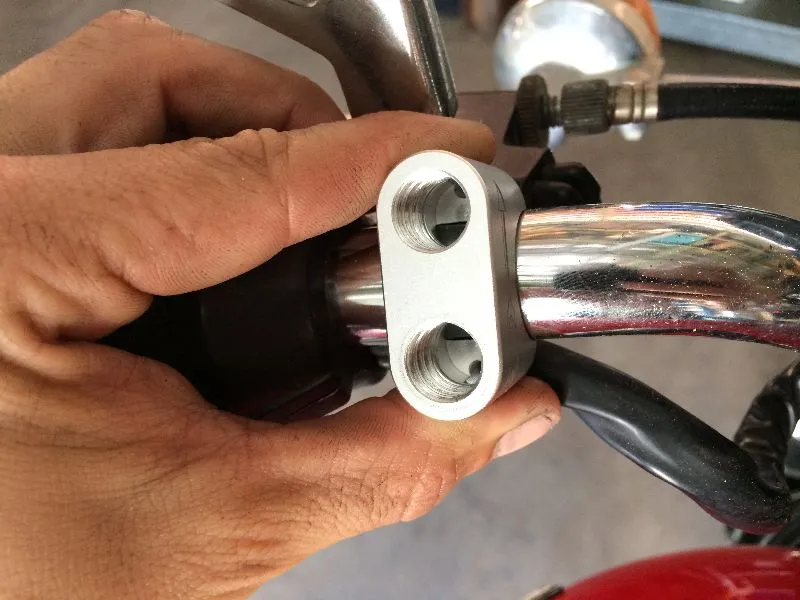
4. Centre punch marked holes and drill 6mm to 10mm depending on your wiring needs. Taking care to be 90◦ to the face being drilled.
5. It is recommended that the soldering of your switches be done prior to installation of the wiring, using a low heat soldering iron and holding the pushbutton in a vice. Too much heat can cause damage to the switch internals and limit switch life. Use enough cable to reach the termination point and limit joins.
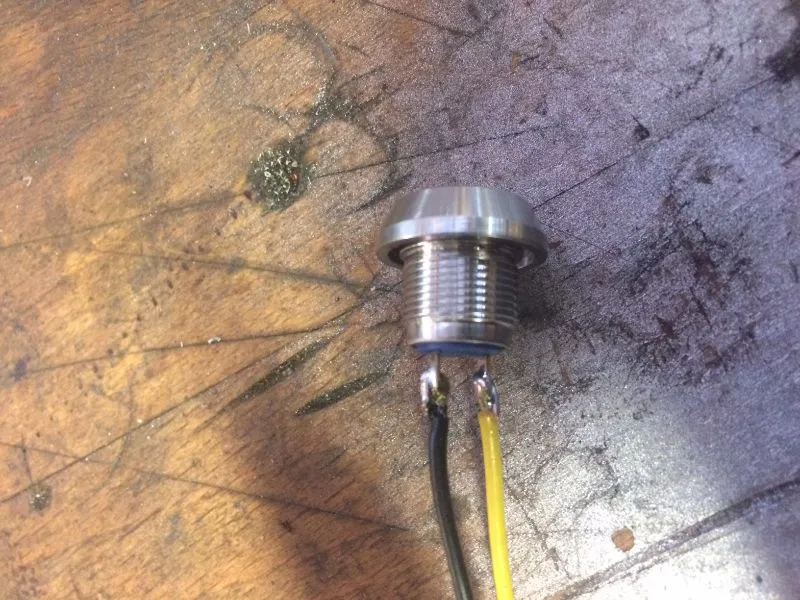
6. As this is a slimline product, tolerances are small. Use the smallest possible solder join to ensure you are able to screw in the switch once the join is complete.
7. Fit pushbutton to switchblock, then use heat shrink sleeve on all terminals to protect from ground shorts.
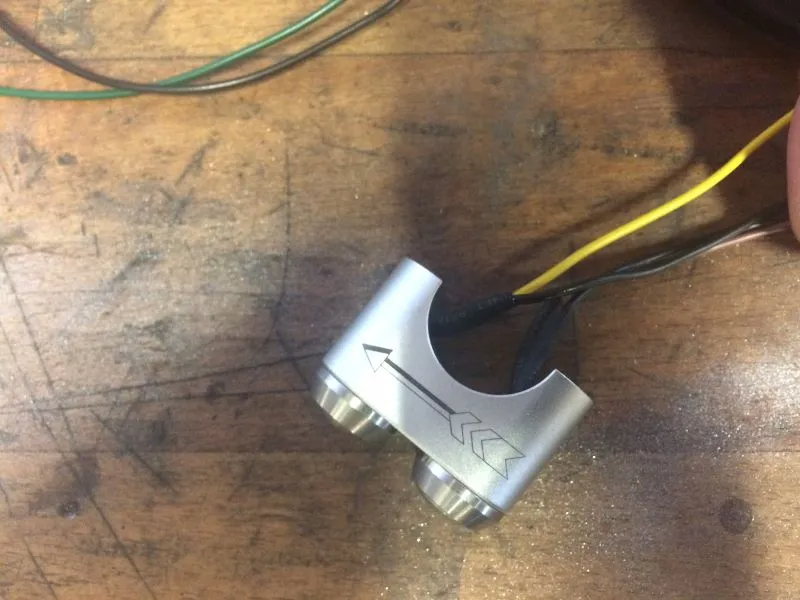
8. Run wiring internally through handlebar.
9. Use a small amount of thread locker while securing switch, with some silicone or marine adhesive spread around the switch base to seal the cable holes. No more than 4.5Nm is to be used when fastening switch block.
10. Enjoy your Purpose Built Moto Product and be sure to send us a photo of your build on Instagram or Facebook!
As these are momentary push buttons a control module is needed, we recommend our own Purpose Built Moto- Black box.
If you need help wiring your bike check out the Motorcycle electrics 101 guide– complete with PDF wiring diagram to download.
WE BUILD BIKES WITH PURPOSE.
Purpose Built Moto is home for unique custom motorcycle builds. We offer a unique motorcycle customizing experience in the heart of the Gold Coast.


3 comments
Thats Right Geno, The buttons are momentary and work with out Black Box control module for your motorcycles standard functions
Would these be considered a “ momentary switch”?
Thanks
Hi, can you please tell me, could i use these on my old XS1100 without changing the wiring and adding relays ect? Many thanks, Mark