


Episode 3 of our Husqvarna Vitpilen Street Tracker build will see this little beauty start to get some really important detail pieces. The earlier episodes we’ve developed our idea and direction and changed the overall look and feel with some larger mods. From here the styling starts. Smaller custom pieces that won’t be as noticeable, but will play an huge part in making sure our Husky hits the street worthy of the Purpose Built Moto badge it will be wearing.
We’re going to run you through in this episode:
- Brake light design and modelling
- Fitting up the freshly powdercoated swingarm
- Shaping the new seat and an upholstery design
- 100% completion of the custom exhaust with a slip join
- Design of a Graphics kit with Josh from Ride Design Co.
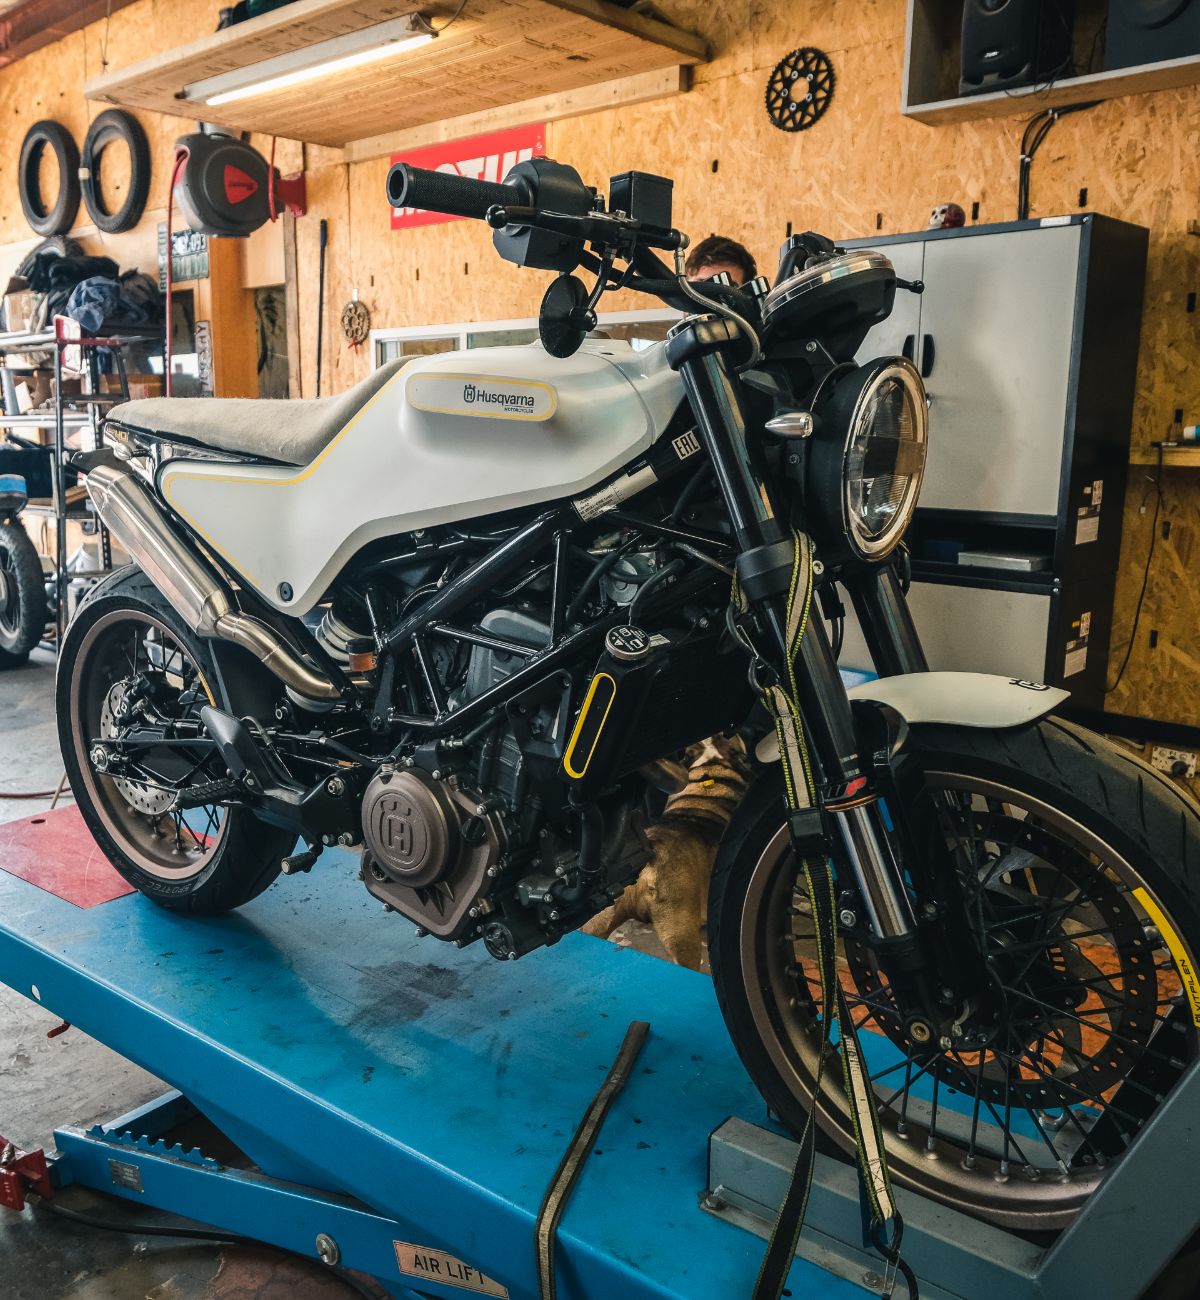
While Dylans finishing up the fitting on the new powdercoated swing arm, and joining the muffler to our custom header. I’m going to get the brake light lense design locked down.
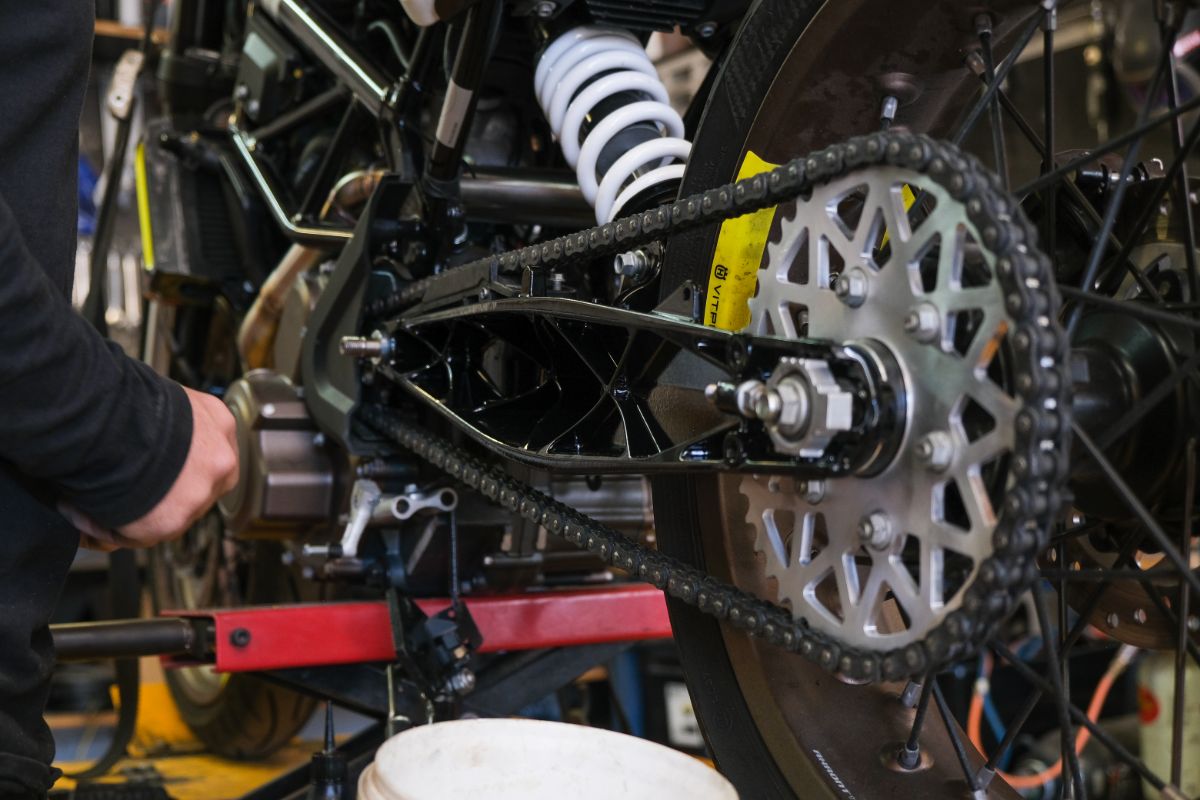
We decided in the interest of having a more conducive colour scheme, the grey swing arm had to go.
The swing arm was stripped of its bearings, spacers and other fitting and sent out for a nice gloss black powdercoat. The difference in looks is evident right away. Definitely a good call.

In episode 1 of the street tracker build I’ve folded up a sheet metal brake light housing to replace the standard acrylic lense. The task now is to sketch, design and model the new acrylic lense we will have fabricated. Since the light housing was made I’ve sketched on a few designs and as I work around the bike on different things change bit here and there until I land on a design that works.
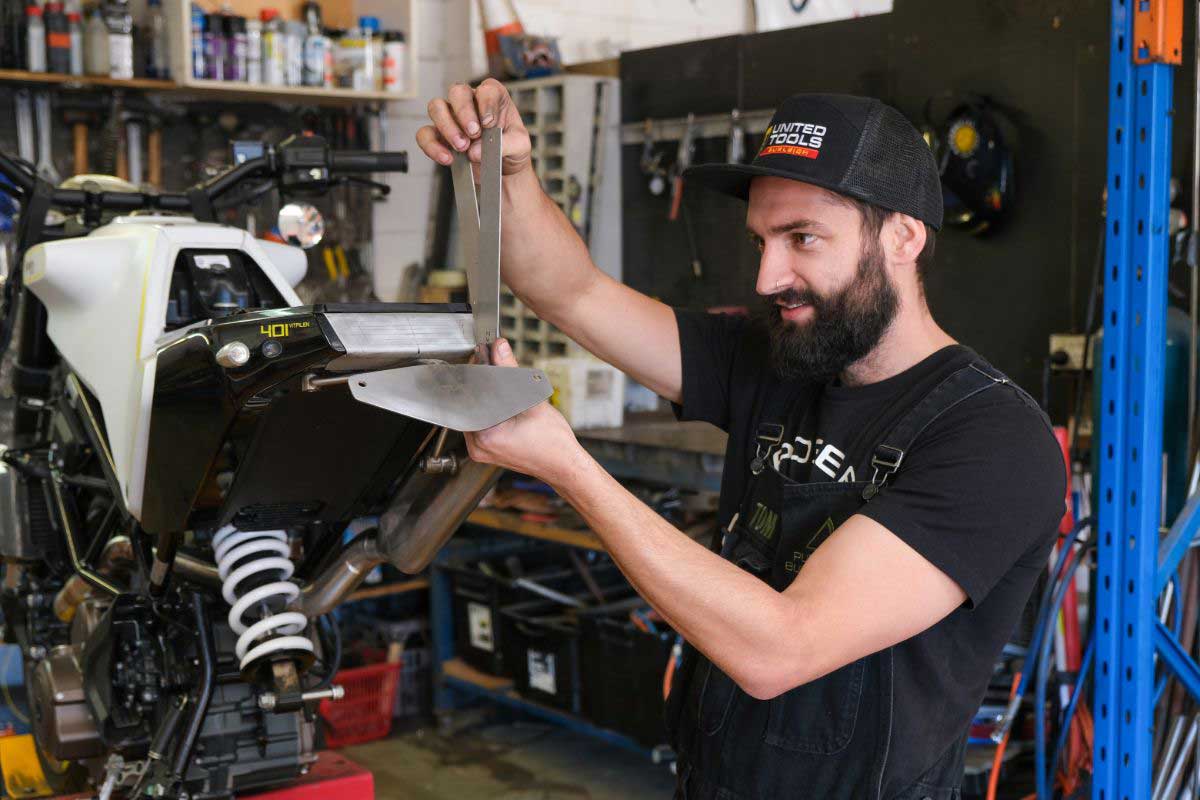
Now I’ve got that nailed, I’ll take some measurements do a sketch by hand then model up the lense both 2D layout and 3D model to be send to an acrylic fabrication specialist.
We do a lot in-house, but certain things warrant having it done by professionals with the right gear and experience to make sure this piece lasts. With the Model sorted and sent off, we’ll have to wait until the part arrives and work on fitting it up after that.
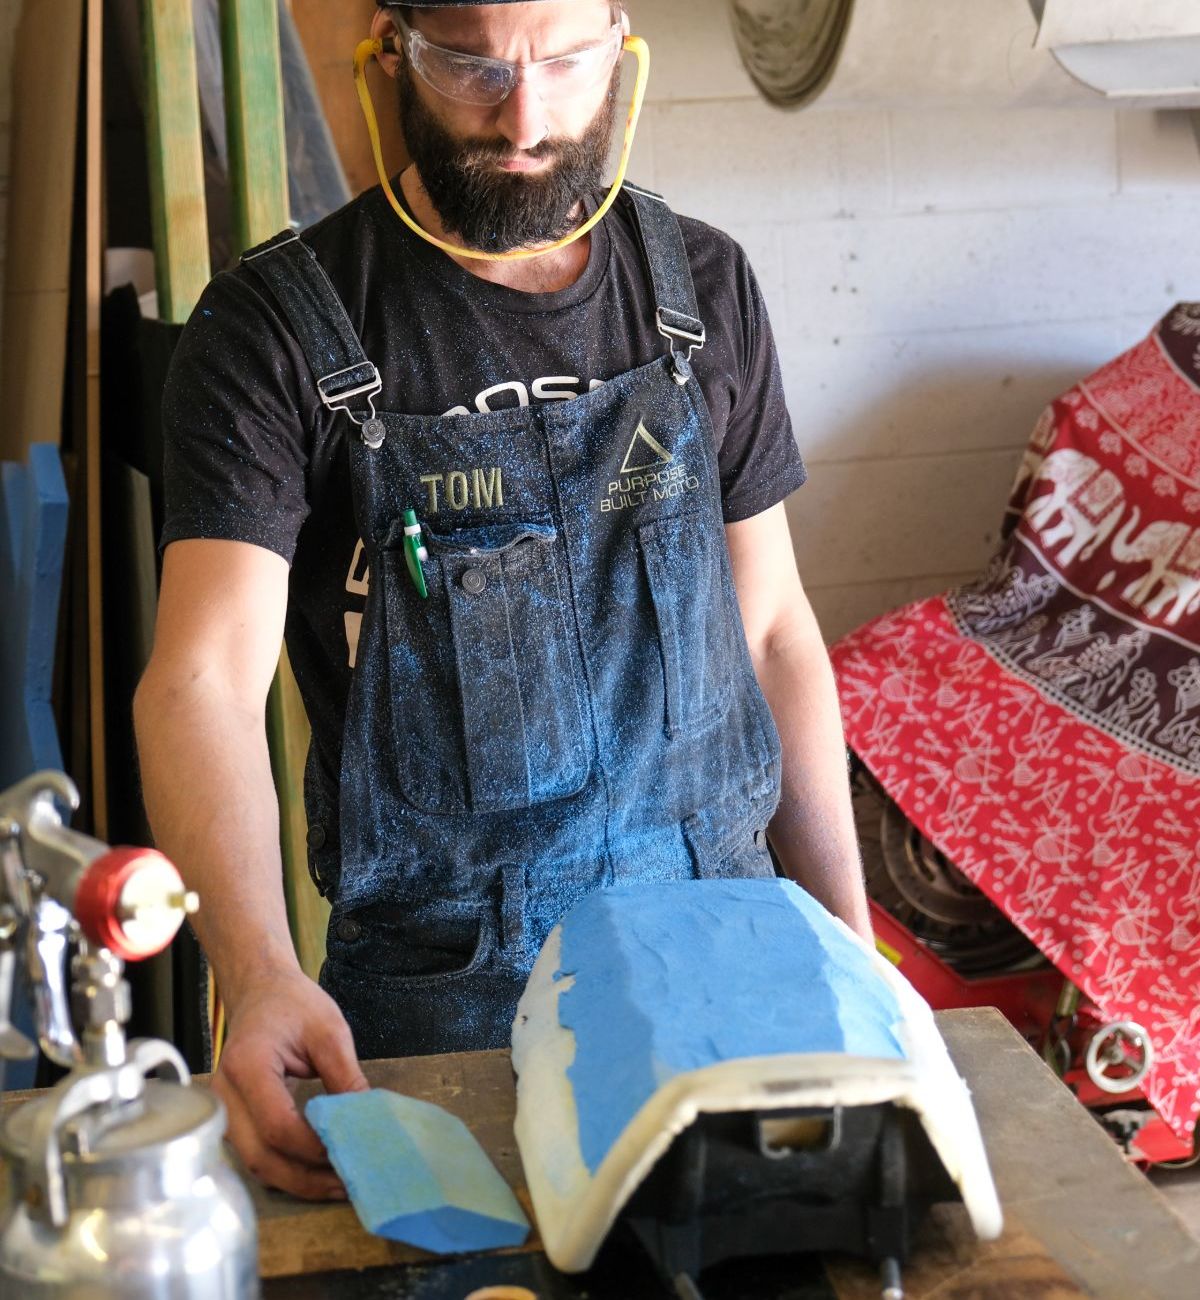
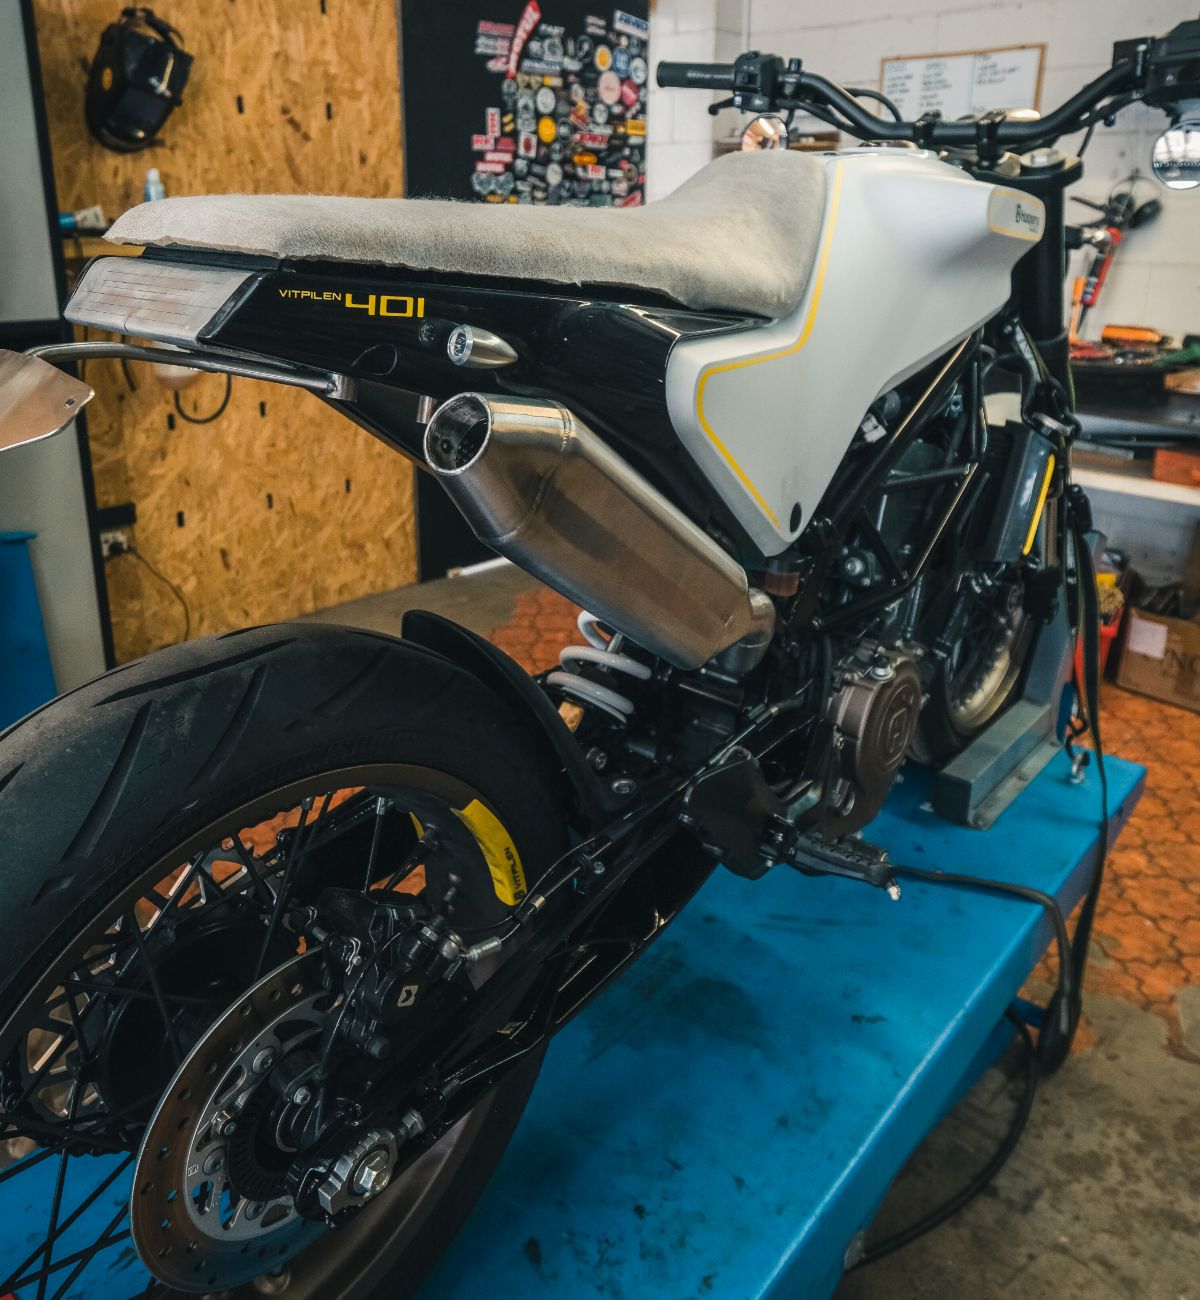
The last major shapeshift on the Husky Vitpilen will come in the form of the seat. As we’ve progressed the Street Tracker is leaning more and more into motard territory. So lets go balls to the wall in that direction. The slight hump in the seat will be shaved off, and the overall height of the seat raised a touch under the riders section.
This will achieve a few positives:
- Creating more room for the rider by making more space between the footpegs and the seat level
- Allowing the rider to shift back and forward more easily at will
- Allowing a thinner profile on top of the bike to create a more MX inspired style
With the addition of the closed cell foam on top, I get shaping and roughing out the design. Once its done, I’ll have a chat to Jamason at Timeless Auto Trim and we can smooth the seat out, glue on a final layer of cover foam and he can get to work on the gripper seat design we’ve created. More on this in Episode 4 (make sure you subscribe at the bottom of this post so you don’t miss out!).
Last job for this episode will be to get our mate Josh in from Ride Design Co. Josh is a mate of ours that does a lot of MX graphic kits among a bunch of other moto based activities. We decided to onboard him on the project as soon as we started to tip toe into the Super Moto zone.
With a bit of guidance on the colours we wanted and the overall style, I let him at it. The best thing to remember with people like Josh, or anyone you hire to do a job, is to let them do that job. Theres a reason we got him on board: because he’s a good designer. If I meddle too much in his process its only going to achieve 2 things: Piss him off and hinder his creativity and give us a poorer end result. We get it all the time with build clients quashing our ideas and designs for something they’ve seen online or in a magazine. It makes the process far less enjoyable and results in an end product that could have been better. Because of that I try not to pass that on to people we work with.
That said, the proof is in the design. Taking inspiration from the Husqvarna MX and enduro range Josh turned out an epic kit design that leans on the Husky colour way, and works in a few subtle touches of his own. Really happy with how the kits turned out.
We’ll have to wrap it up there for episode 3 of the Husqvarna Vitpilen tracker build. As always we’ve covered a lot of ground here. Enjoy the Youtube clip, and when we see you again for episode 4 we’ll be running you through: graphics kit install, gripper Seat upholstery, getting the matching paintwork done, brake light completion and final assembly.
Thanks to our sponsors for making this motorcycle build project possible: Makita Australia, Pipeburn, United Tools Burleigh, DNA Performance Filters, Motul Australia, and Ninefivers.
Sign up to the build series list to make sure you don’t miss out on the progress of this build and how you could be winning it! Enter your details below:

WE BUILD BIKES WITH PURPOSE.
Purpose Built Moto is home for unique custom motorcycle builds. We offer a unique motorcycle customizing experience in the heart of the Gold Coast.


9 comments
will be a sick little bike
I just want this so bad