
I was building my first bike, and struggling to find a set of decent matching grips. I had a copper orange leather seat, and black everything else. Do I use black rubber? Some horrible orange rubber? Glittery grips? Fuck all that. I wanted something to properly match this bike I’d just spent months putting together. Take some off cuts of seat leather and make my own motorcycle leather grips.
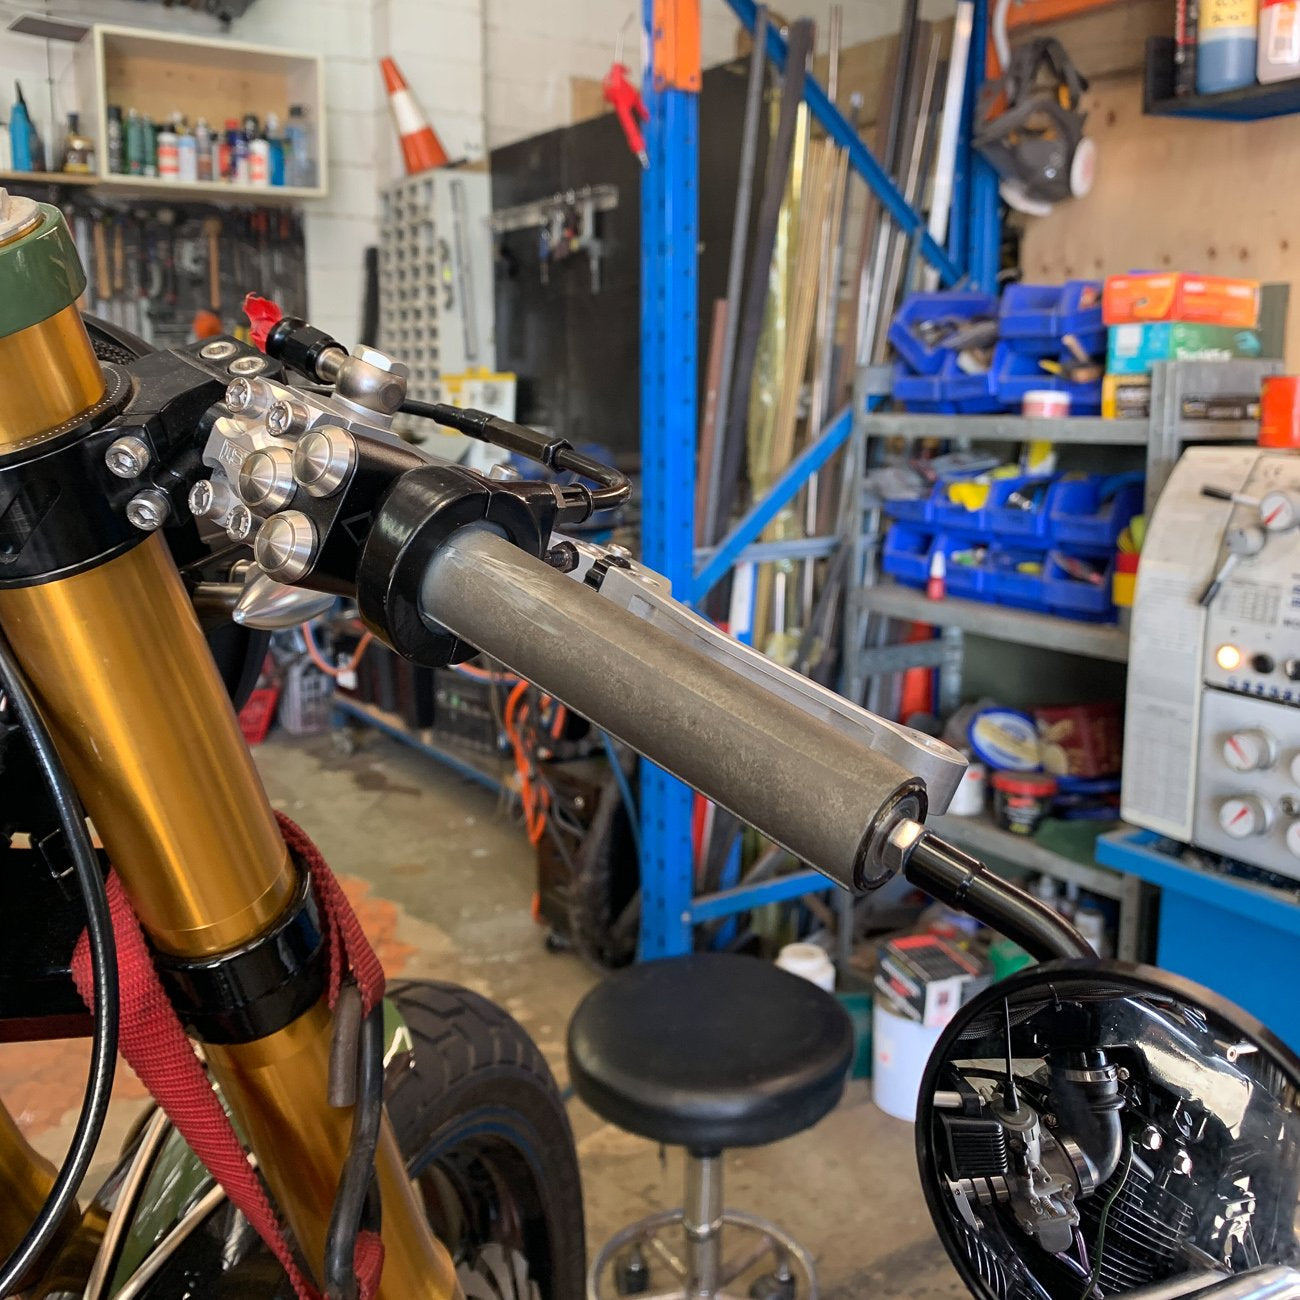
Wrapping the hand grips in leather was my only option. I had some offcuts from the seat, so I wrapped my handlebars up….. They were worse than useless…. Providing no padding, slipping around the bars, not to mention being oddly sized due to the throttle tube.
So I sat down, had a think, and worked out a way to perfectly create matching leather grips, with no compromise on comfort. I’ve been using it ever since, and after tweaking the process for 3 years.
Here it is for you below.
Materials + Tools you’ll need:
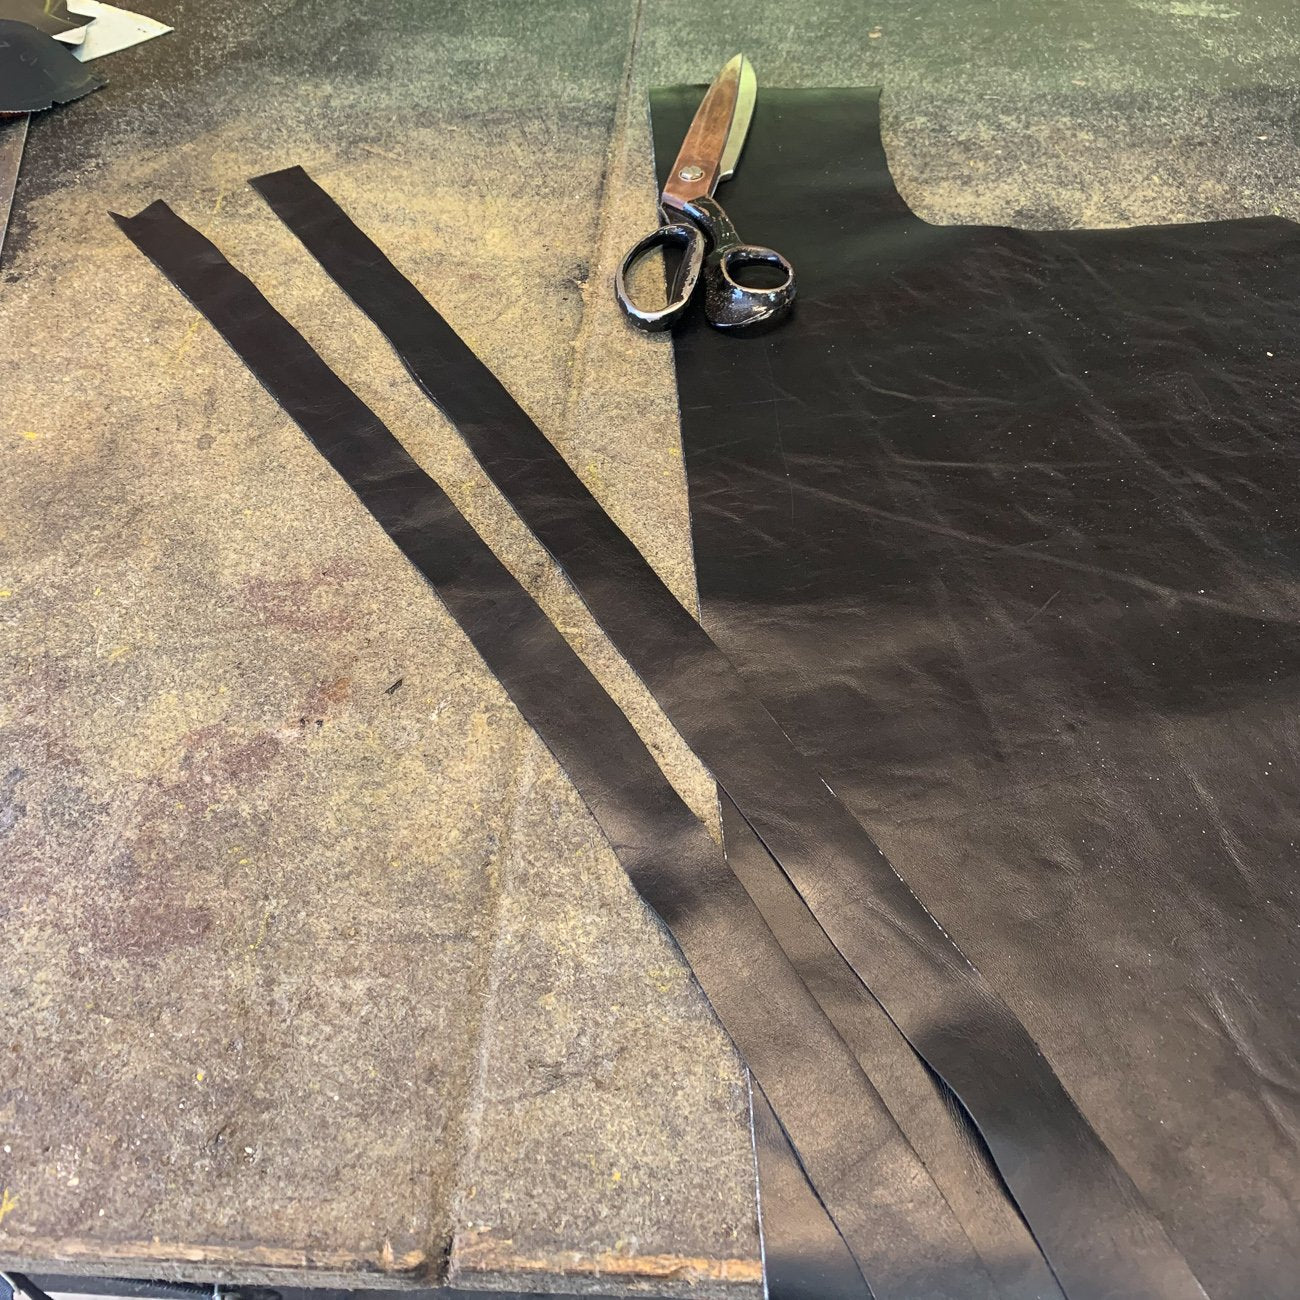
- 2 x 30mm x 700mm long strips of leather
- 4 x 150mm lengths of stainless tie wire
- Cable ties
- Small pin punch
- Silicone or rubber tape
- Fabric tape
- Contact adhesive
- Pliers + Snips
- Scissors
- Verneer calipers
Once you’ve installed the throttle tube, switches, levers + mirrors. Get started by giving both the throttle side and clutch side a good clean ready for the install of your leather grips.
Start with the throttle side, wrapping the silicone tape around the grip area in 2 layers, overlapping 50% of the width of the tape. Depending on what type of silicone tape you have you may need more or less of this. These layers provide the deadening and cushion for your motorcycle leather grips.
Remember the throttle side is already larger than the left handlebar. So only use the bare minimum silicone tape, you don’t want the grips being overly large.
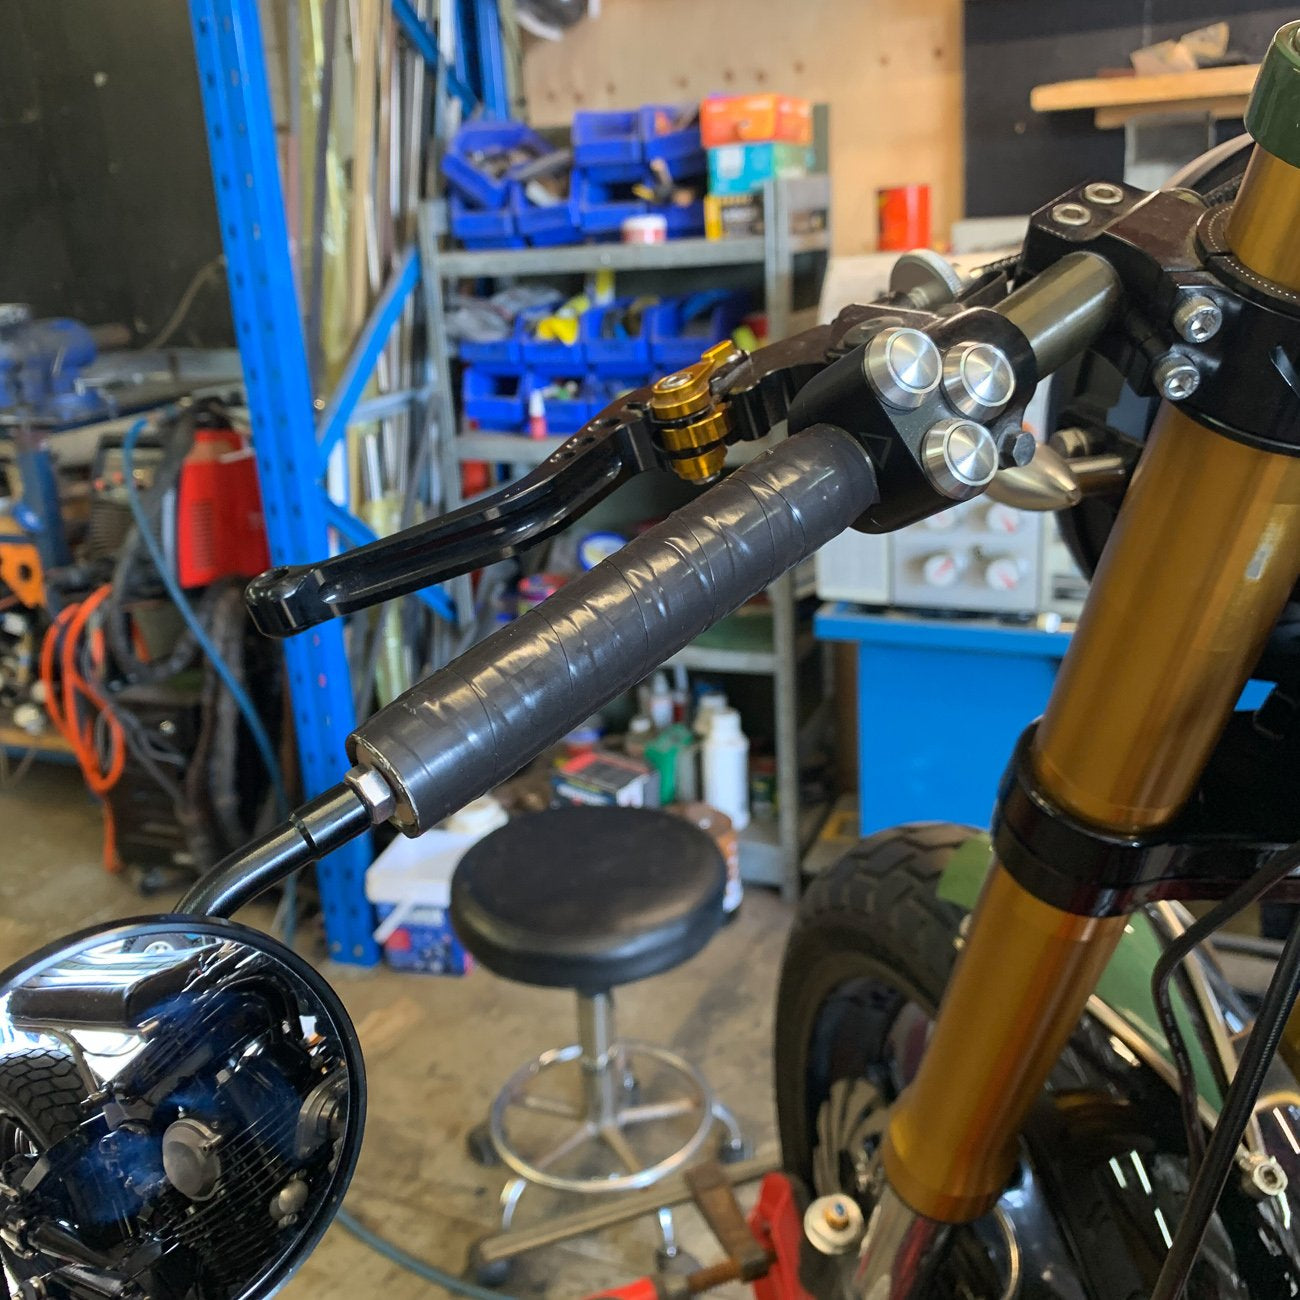
Once the silicone tape is done, complete the preparation with a layer of fabric tape. Wrapping it tightly will make sure the silicone tape won’t move, and provide a good sticking surface for your contact adhesive on the leather.
Take a measurement of the throttle side grip area, it will 4-5 mm larger in diameter than the opposite side once wrapped in tape. To even this out, I use a layer or 2 of Silicone or “all weather” tape. Usually found at good hardware stores or fasteners suppliers.
Build the left hand grip area up 1 layer at a time with silicone tape, using the same method as above. Do this until the diameter of each side is the same.
Once both sides are even, you can begin to prepare your leather grips. When cutting the leather grip straps, I’ve found 600mm long is a minimum, 700mm is safe, 800mm and you’re on holidays. Pick your piece of leather and cut your straps out, wiping them clean with some petrol or wax + grease remover and letting to dry for a minute.
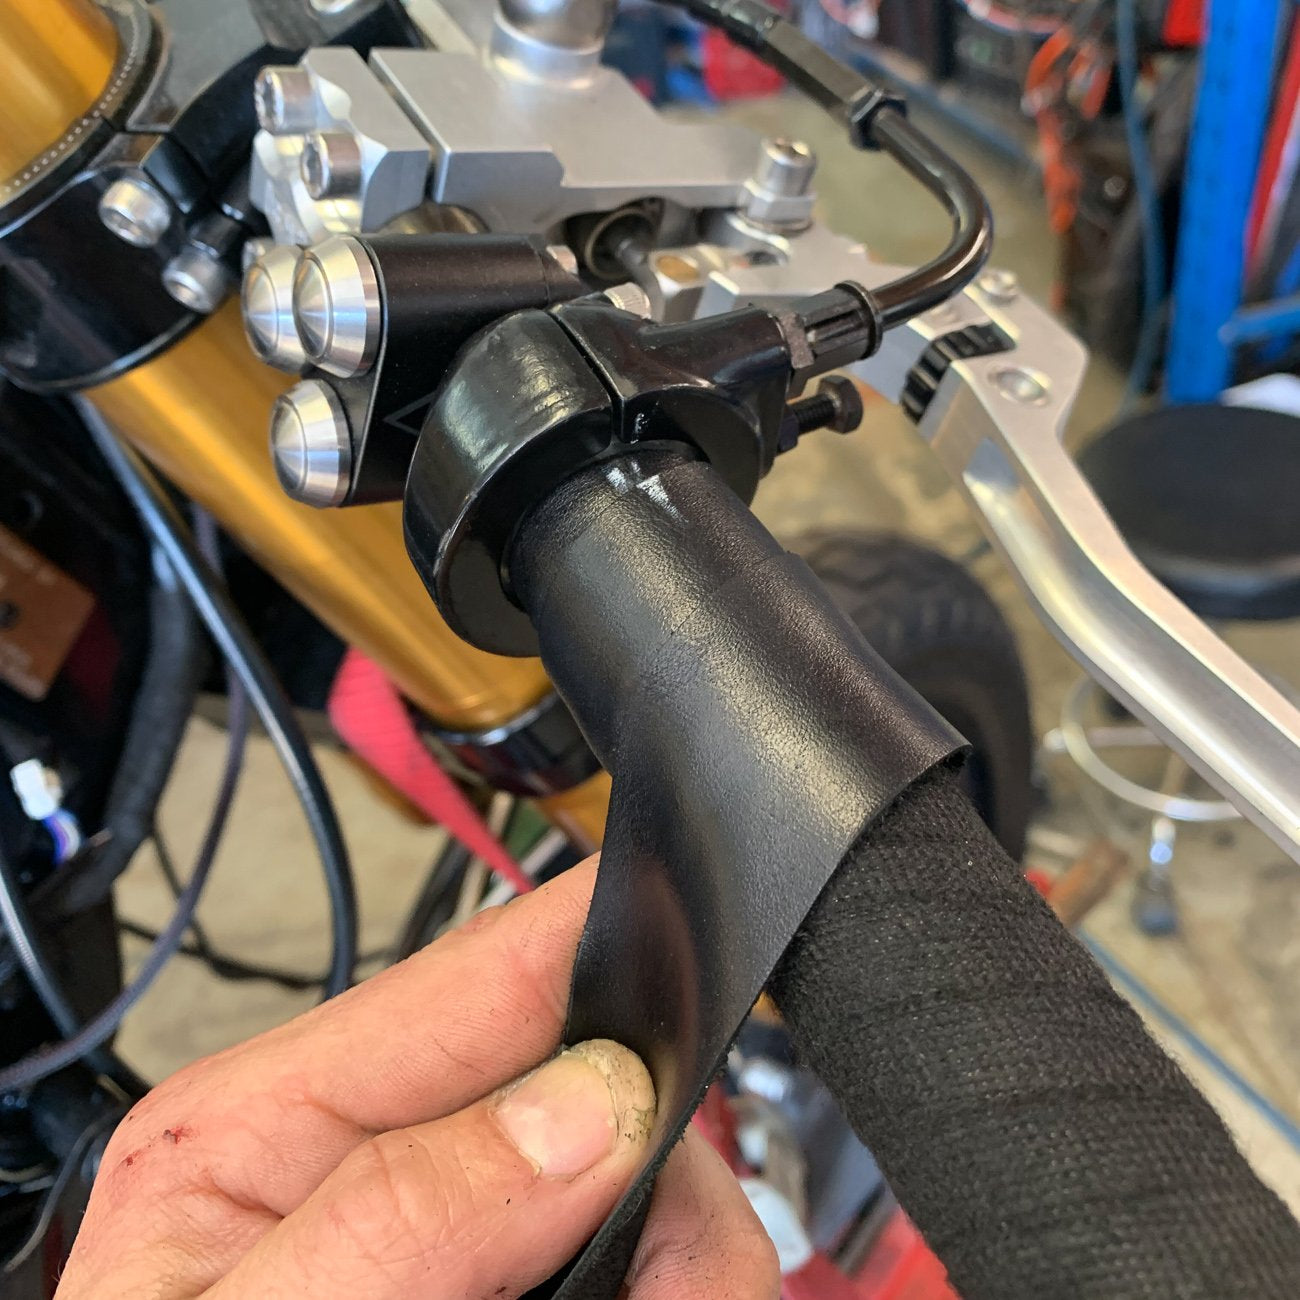
When your leather is prepped, spread some contact adhesive onto the fabric tape on the handlebars, use it sparingly. Now coat the leather straps with the glue on the under side, leaving to set a minute and get tacky before installing. 2 -3 minutes is usually plenty of time. After that the contact adhesive will be sticking like shit to a blanket and you’re ready to go! Before you start wrapping the leather make sure you have some cable ties handy.
When is comes to wrapping you’re the leather on your motorcycle grips, do it so as the way you pull the throttle tightens the wrap. It wont move, but doing it the opposite way could eventually wear after years of riding. That’s starting on top of the grip and wrapping towards you, then passing under the handlebar away from you.
I will always start from the inside of the grip area and wrapping outward towards the bar end. Overlapping 50% of the width and pulling tightly as you work the leather around. As you reach the end of the grip, on the last wrap around place a zip tie loosely around the leather to hold it in place.
The intensity is over you can relax now…. As long as you haven’t made a mess of it. The leather wont be finishing nicely on the end of your handlebar, so take a marker and trace a line on the leather strap that suits the end of your bar.
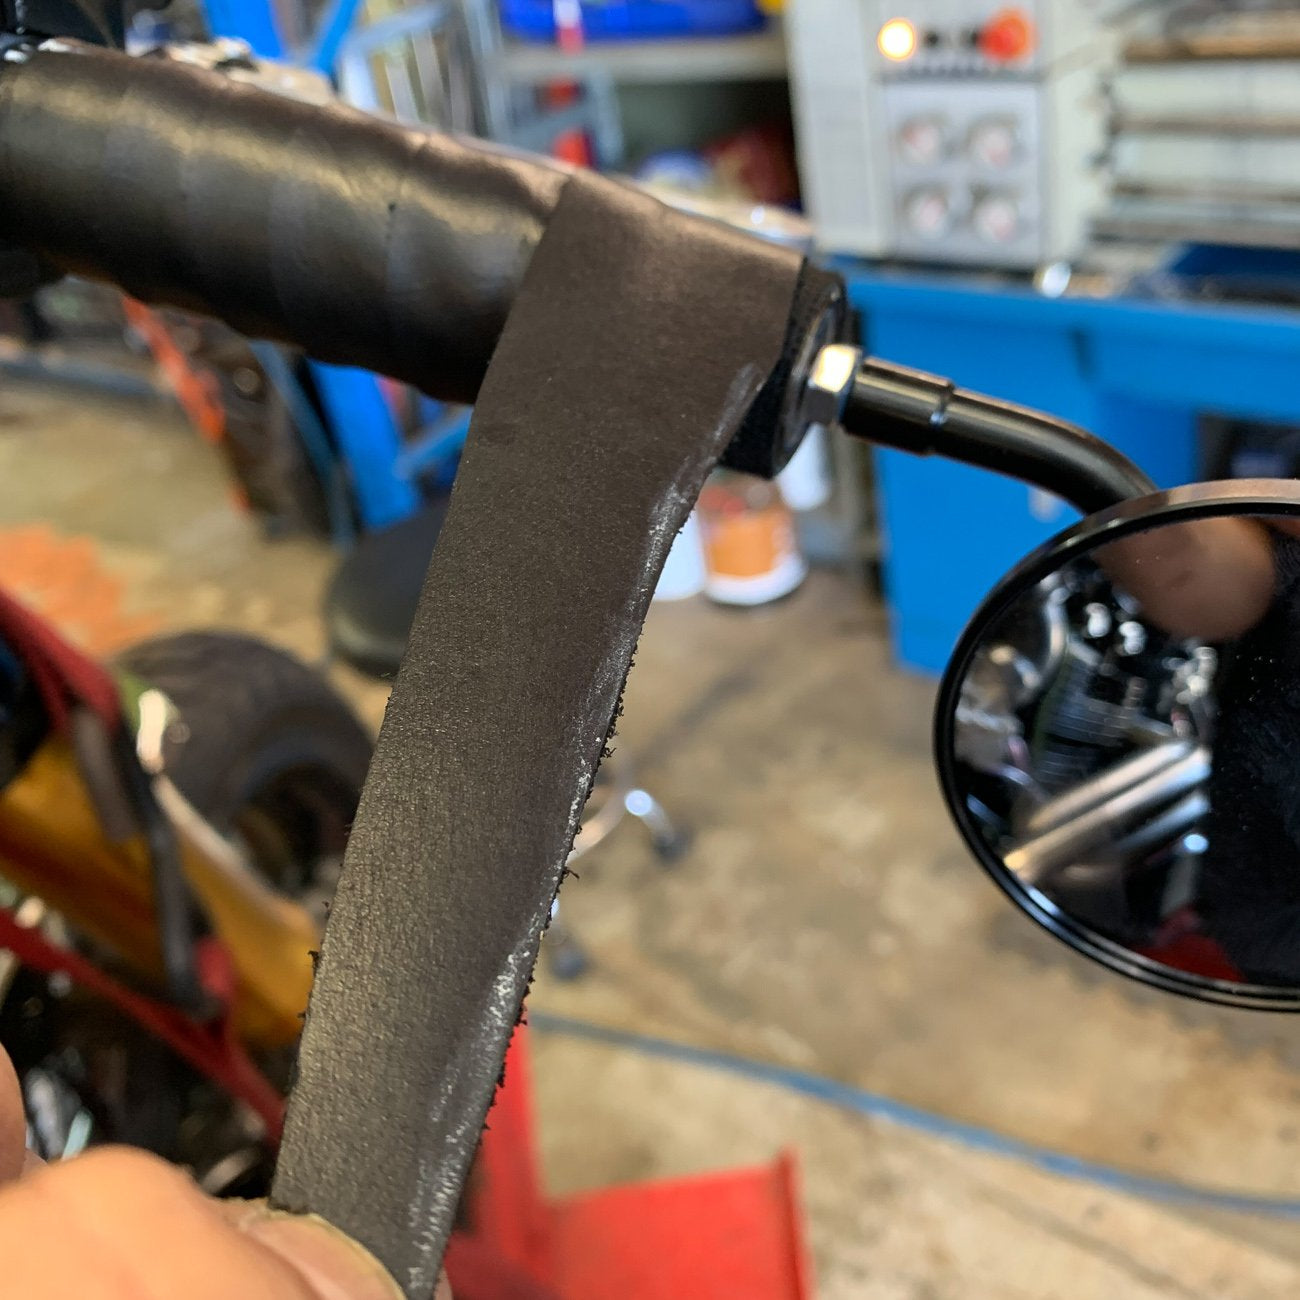
With the mark finished, unwind the leather strap ½ a turn to reveal the mark running diagonally across the leather strap. This is your trim line. Snip it off and cut the leather strap to finish underneath the hand grip. Finally you can wrap the leather back over and tighten down the zip tie firmly.
With the cable tie holding your leather grip in place, grab 2 x lengths of stainless steel tie wire. Wrapping the grip twice before twitching off. Making sure the twist in underneath the grip and snipping it so the twist area is no more than 3-5mm long. Using your pliers you can fold the twist knot over, and press it into the leather of the grip. Using the pin punch, give the twist knot a little tap to press it below the surface of the leather. Doing this ensures you can ride gloves or no gloves and never be hit by a sharp piece of wire on the ride.
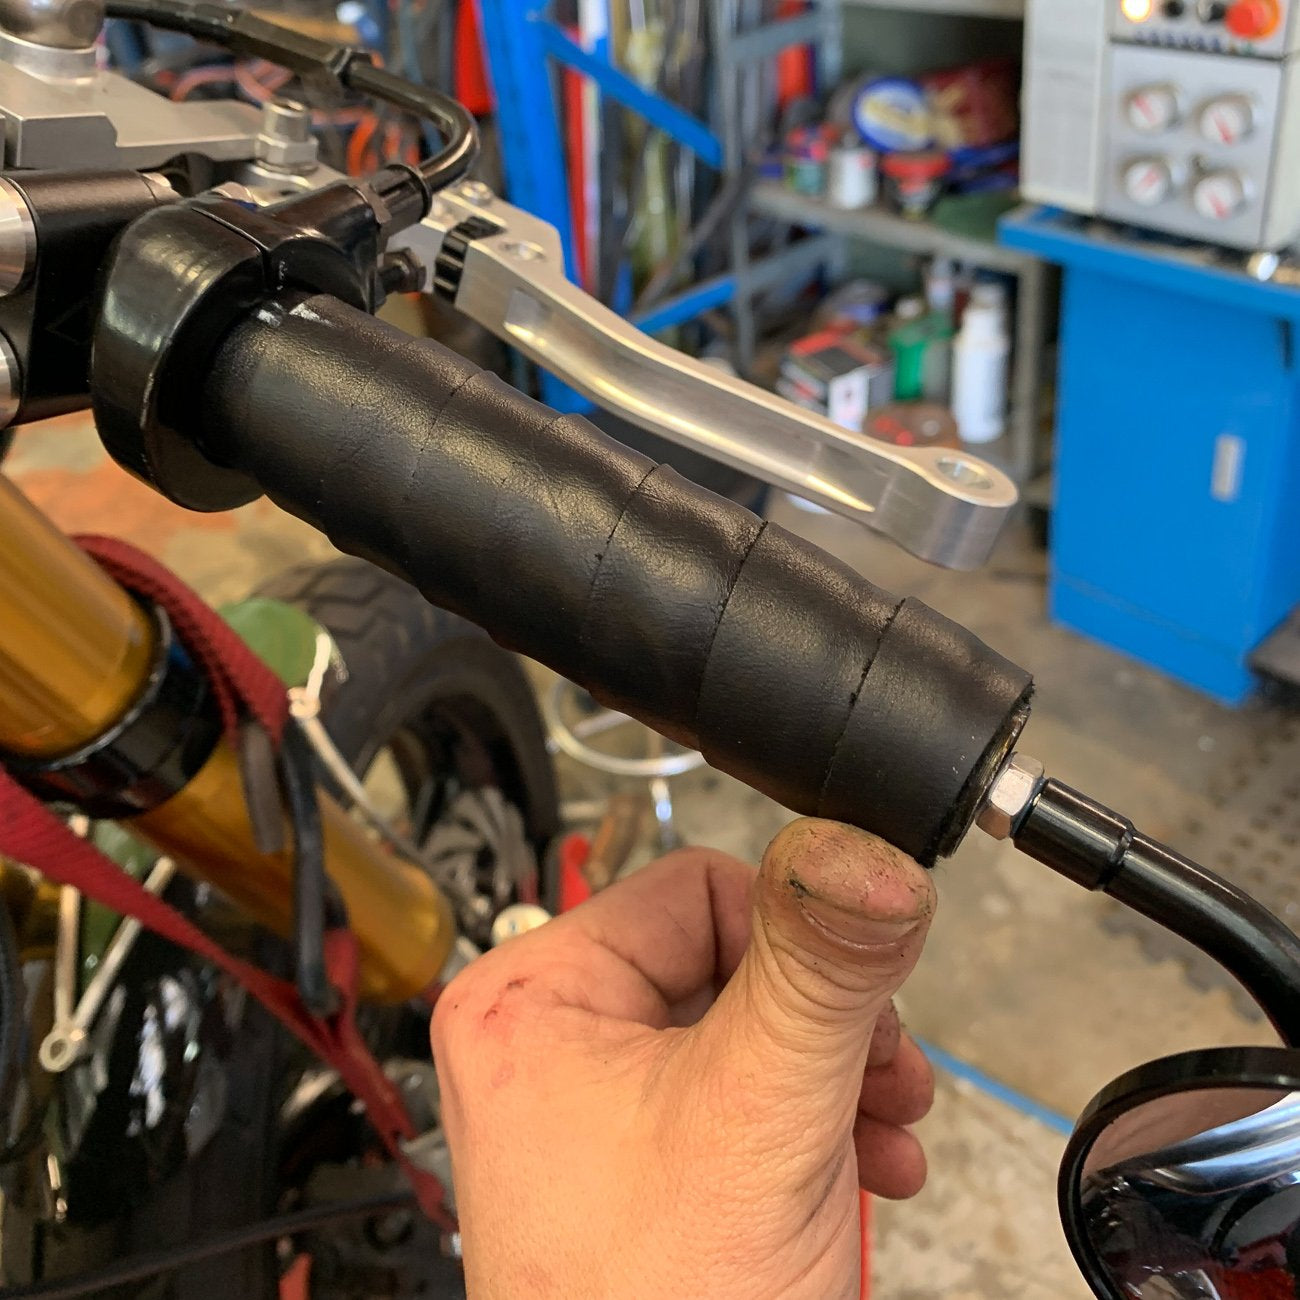
repeat the same process on both ends of the grip, making sure you pick up the end of the leather strap to hold it in place.
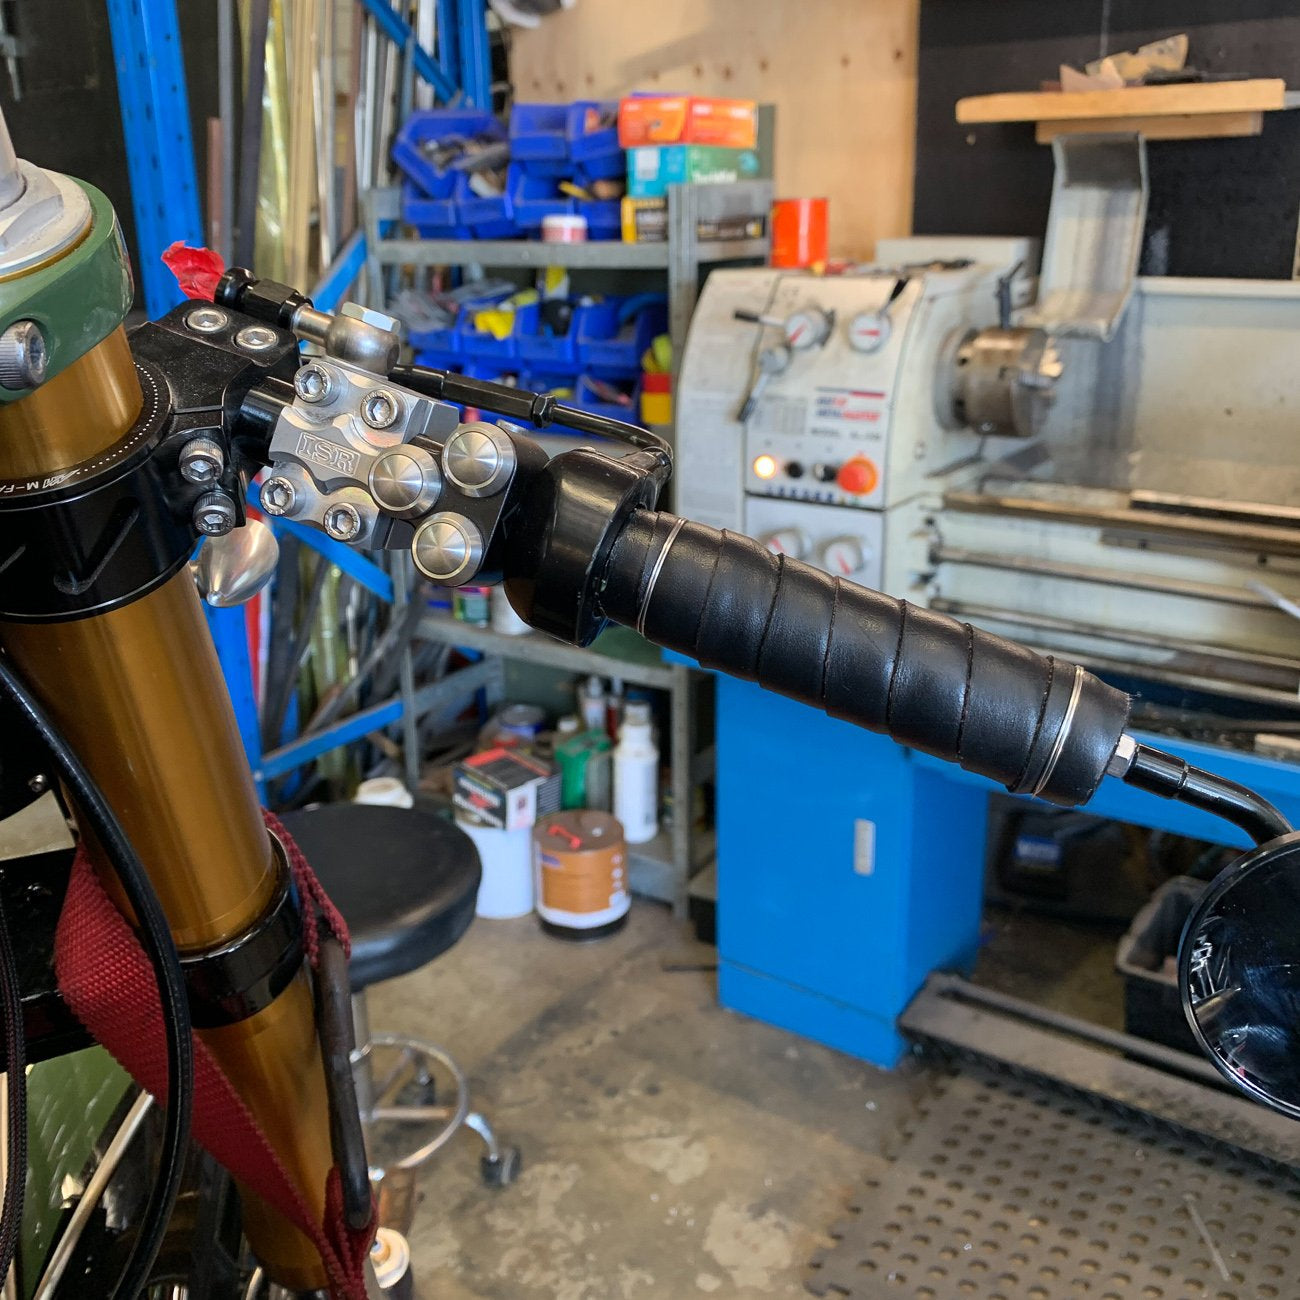
Hard work huh? I reckon you’ve earned a beer. With your hand made, home grown, DIY leather motorcycle grips now in place and looking like a million dollars. Your custom bike project is one step closer to street domination! I hope this little write up has helped you Buy Less + Build More! Its not about being machine perfect, its about being individual, and creating something special.
Hope you liked it! Thanks for taking the time and make sure you leave a comment on any article requests you may have!
Tom
WE BUILD BIKES WITH PURPOSE.
Purpose Built Moto is home for unique custom motorcycle builds. We offer a unique motorcycle customizing experience in the heart of the Gold Coast.


6 comments
A bit too far in the archives for that Rhys, sorry man!
nice one – cheers for the write up Tom! I’m dead keen to do mine……any of my seat leather lying around? haha
I found this article to be very informative and well written. It is straightforward and easy to understand. It was a pleasure to read your blog and I appreciate the effort you’ve put into it. Thank you for the stuff you shared.
And don’t forget to visit this website if you’re looking for Motorcycle Gear Guide
Insanely comprehensive :)
Thank you so much,
Now I have something to read during the holidays. This will take a while but well worth it like always
Tom, I work in a bicycle shop.
Anytime I get to wrap handlebars with real leather is a treat!
Its a bitch to work with, but if its done right, it lasts forever (almost) and it looks timeless.
Thanks for this article!.
Vintage bicycles is where I originally got the idea from all those years ago.