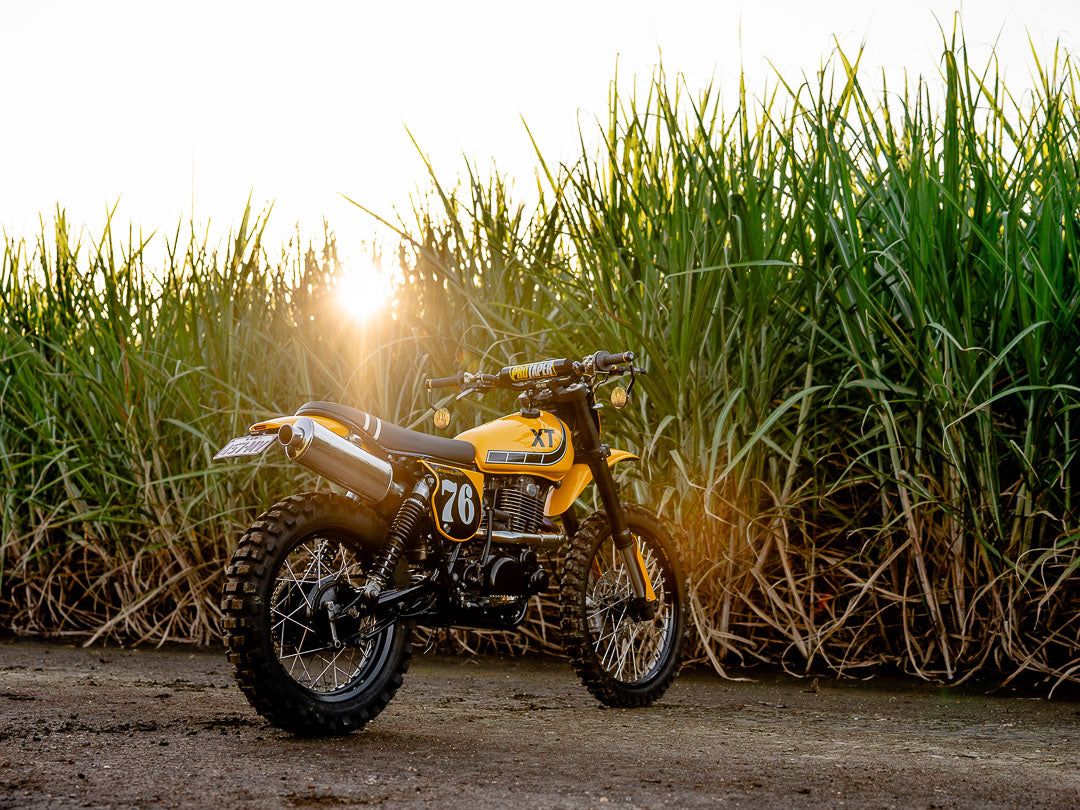
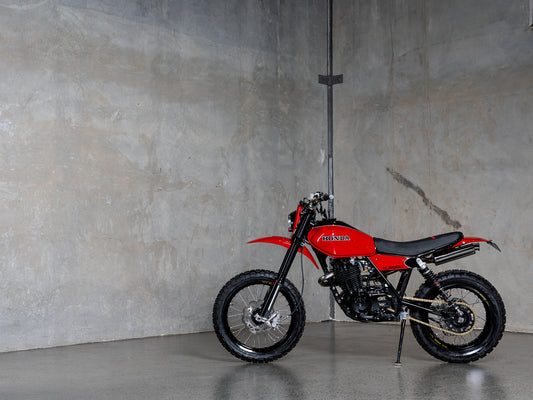
1976 Yamaha XT500 Scrambler VMX
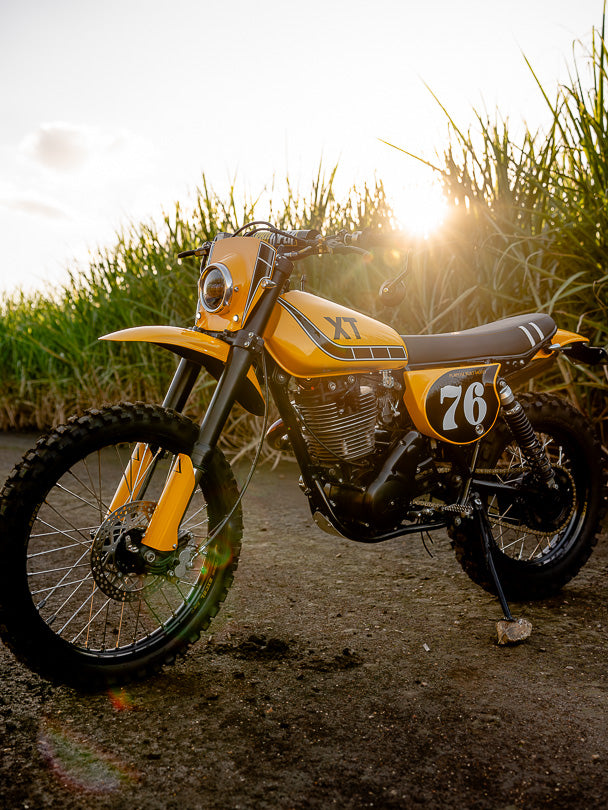
The last Yamaha XT500 Scrambler build we released lit a fire in the heart of a lot of riders. We’ve had countless stories of adventures and mishaps on these prolific old bikes. As we put the finishing touches on this build it was no different, a heavy dose of nostalgia, and an equal measure of modern upgrades. This XT500 has got to be my favourite one yet.
The bike build had been started by a Motocross restoration shop who decided there was a bit too much custom work required for their skillset. So after a few simple mods it landed at our shop in a pile of boxes. The client Clint, knew about the standard of our work due to his previous DT400 Build, which many of you may remember. Clint, and his DT400 was the build that started us down the road of developing our own VMX Scrambler style, and applying it to a number of custom bikes.
So without any further waffle let's get into the Yamaha XT500 Scrambler.
This was a Sponsored Build by : Makita Tools Australia
Purpose Built Moto Parts Used:
Headlight : Flashpoint 4.5” Raw
Indicators : Hollow Tip Chrome
Tail Light : Hollow Tip Chrome
Lighting Control : Black Box
Gauge : Daytona DEVA
Switches : PBM 3 Button Switches
Tail Tidy : PBM Tail Tidy and Plate Light
Engine Upgrades
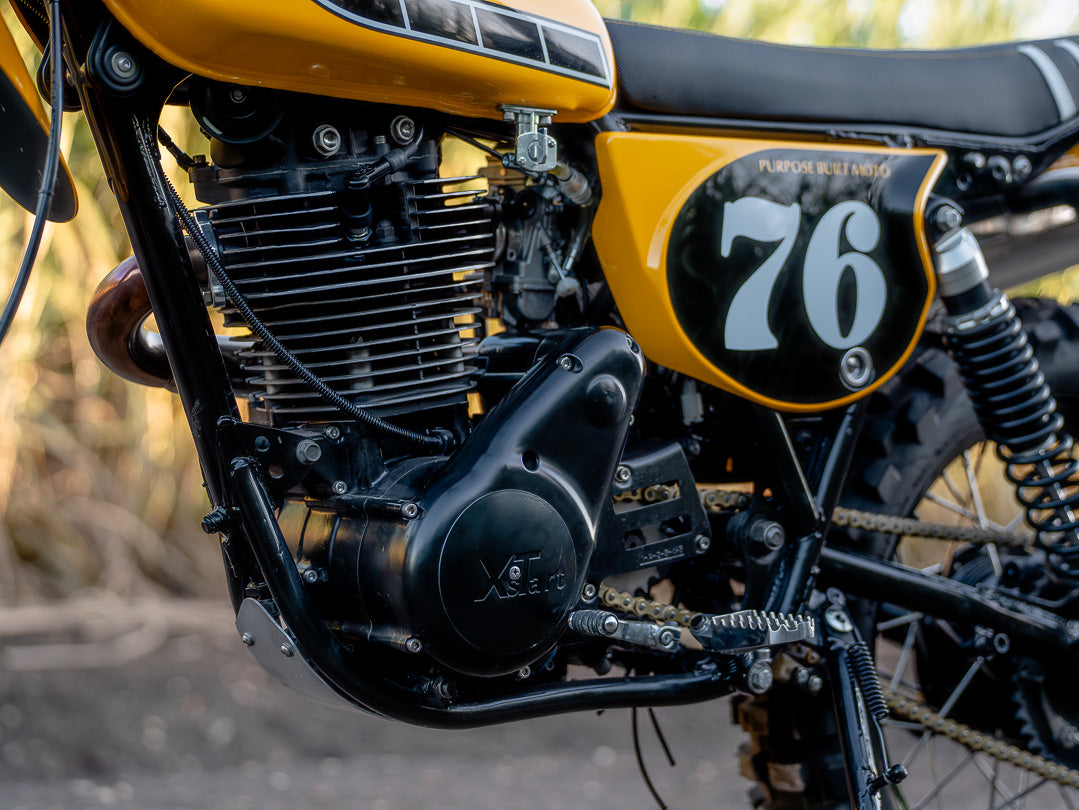
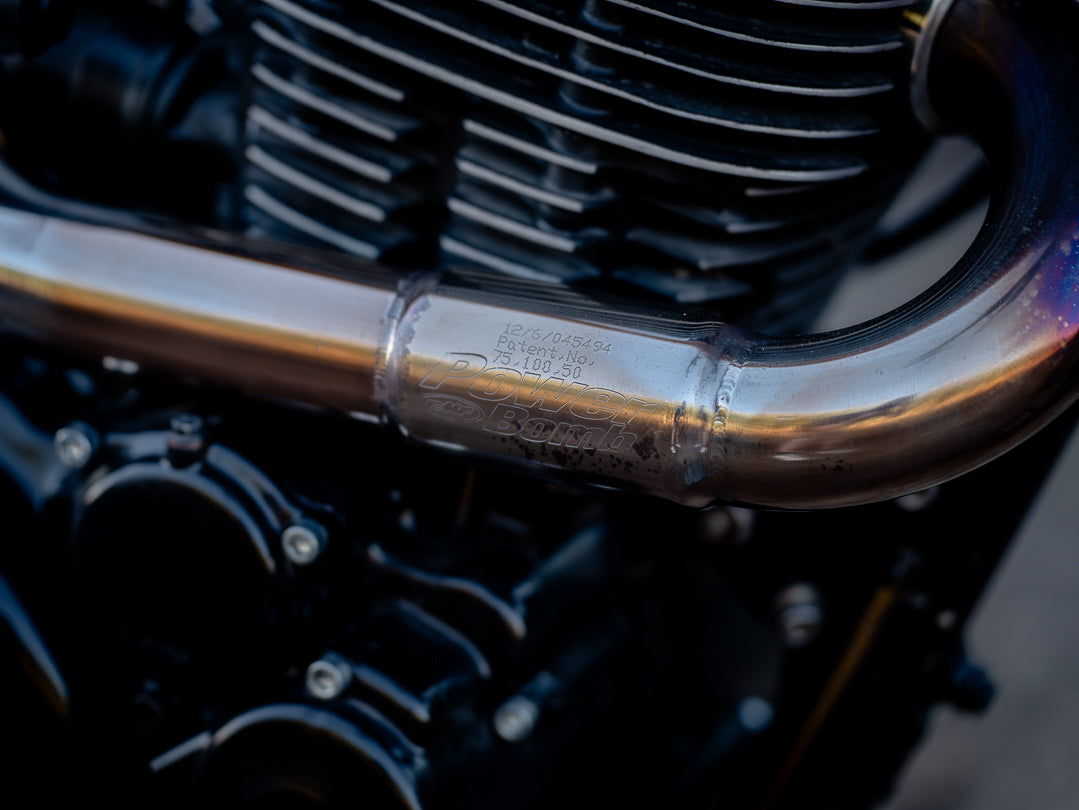
We’ve started with the engine build, which received a healthy round of upgrades. A high compression big bore, ported and polished head with oversize valves, hot cam, and a performance clutch kit. This was furthered with an ignition and charging system upgrade, Mikuni pumper carburetor and a custom high flow exhaust that utilises a Staintune muffler, and FMF Powerbomb chamber on the header.
The most noticeable upgrade on the engine is the addition of an electric start module from France’s XTStart. An amazing kit that seamlessly upgrades your XT500 to an easy electric start. The only modification we needed to make was using our own battery and charging system as the XTstart kit needs to be plugged into a wall outlet to be recharged usually.
Chassis And Suspension
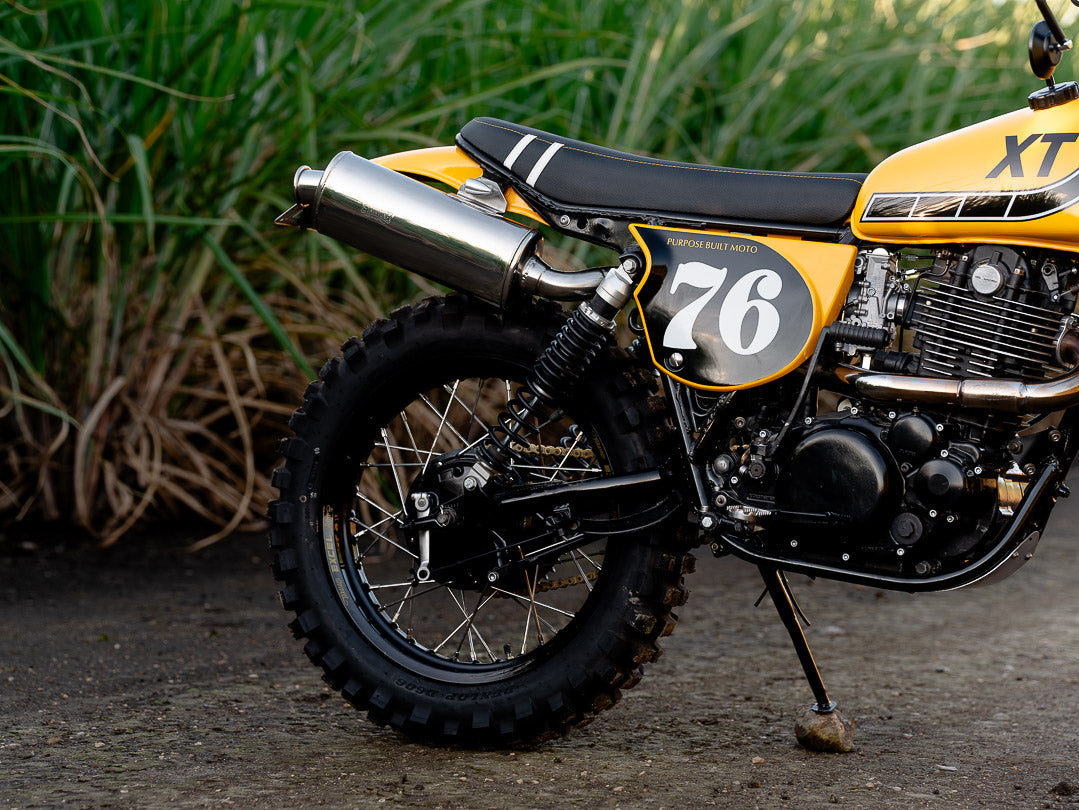
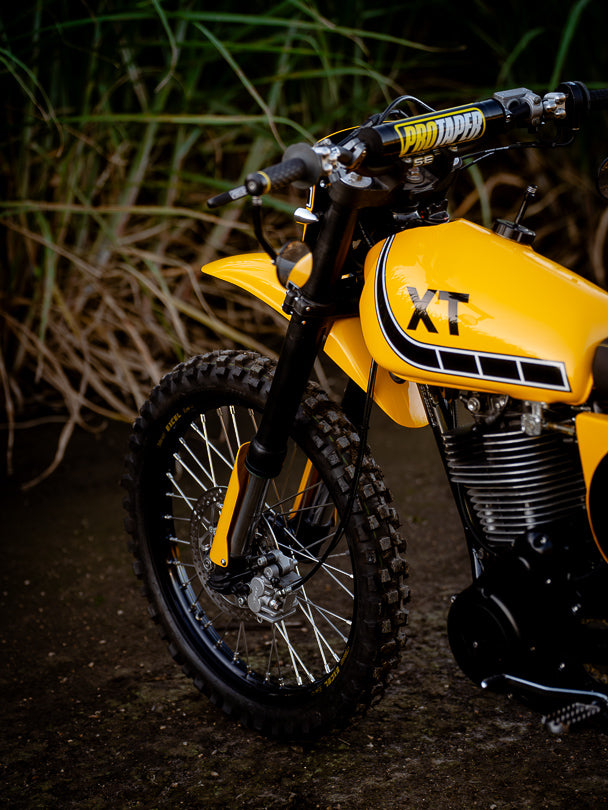
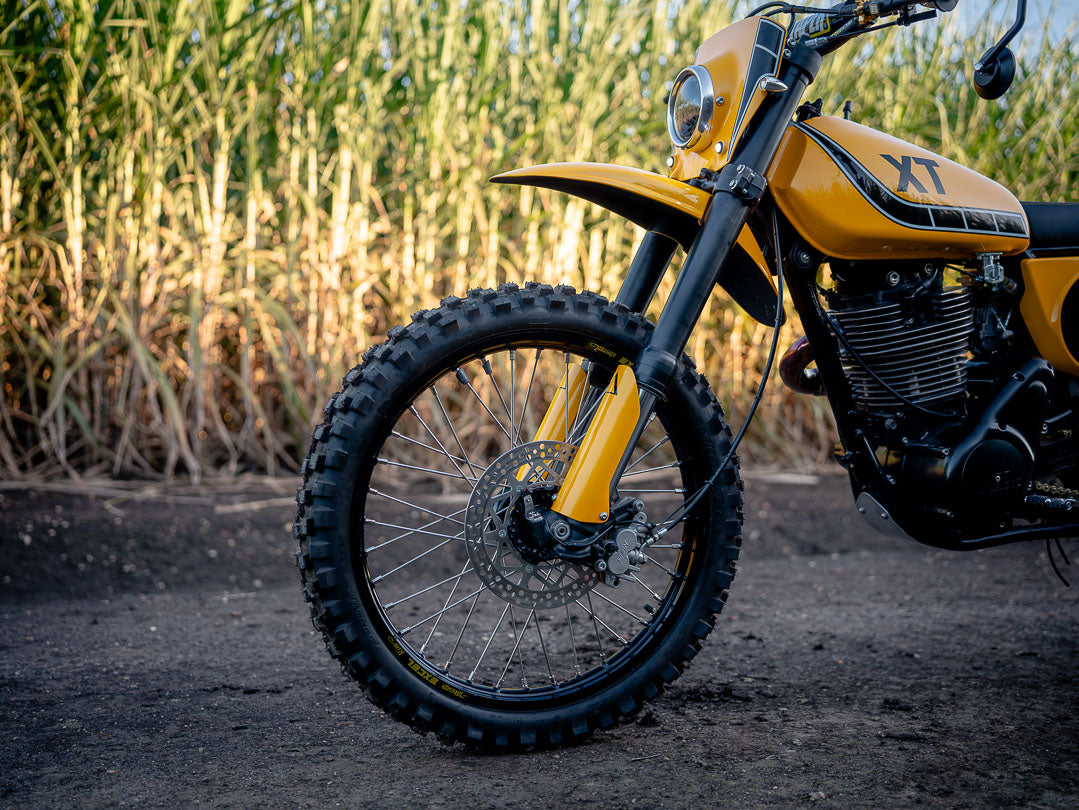
When it came to Chassis and suspension a lot of the work had been started, with a KX450F set of front forks, a newly built set of wheels running excel rims 21” front / 18” rear and a freshly powder coated frame. The suspension up front was lowered and re-valved at Costanzo racing tuned, and the rear shocks provided by YSS Australia.
Bodywork and Shrouds
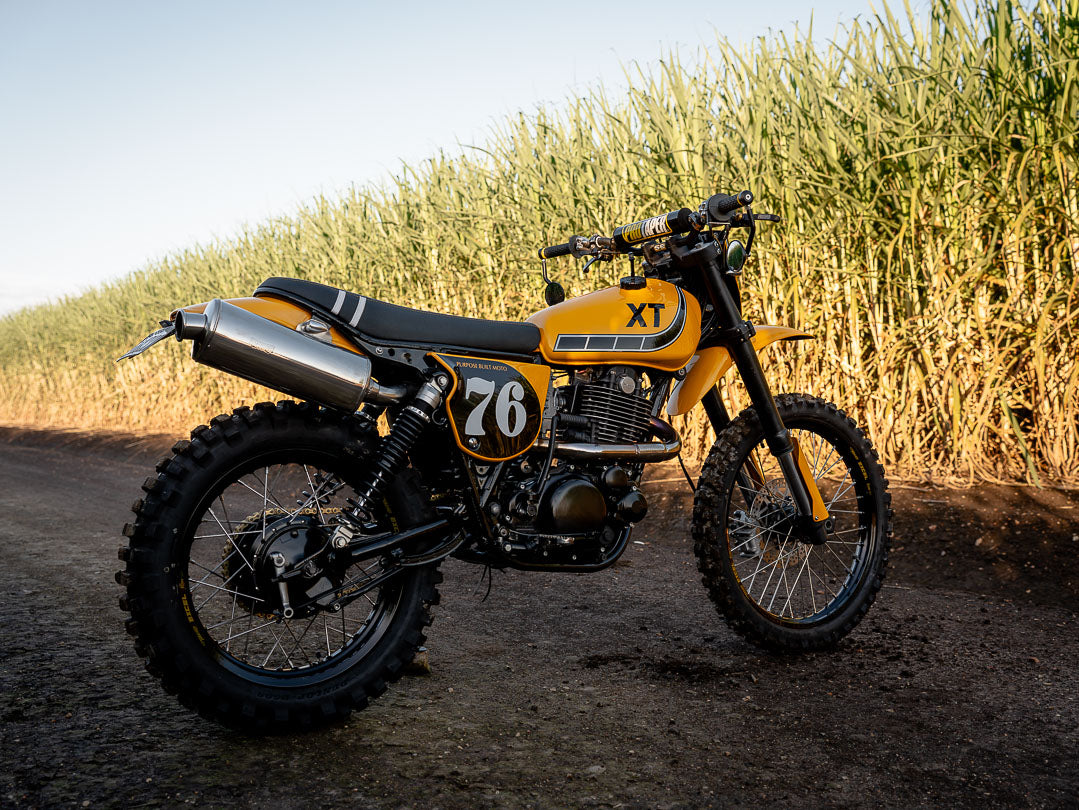
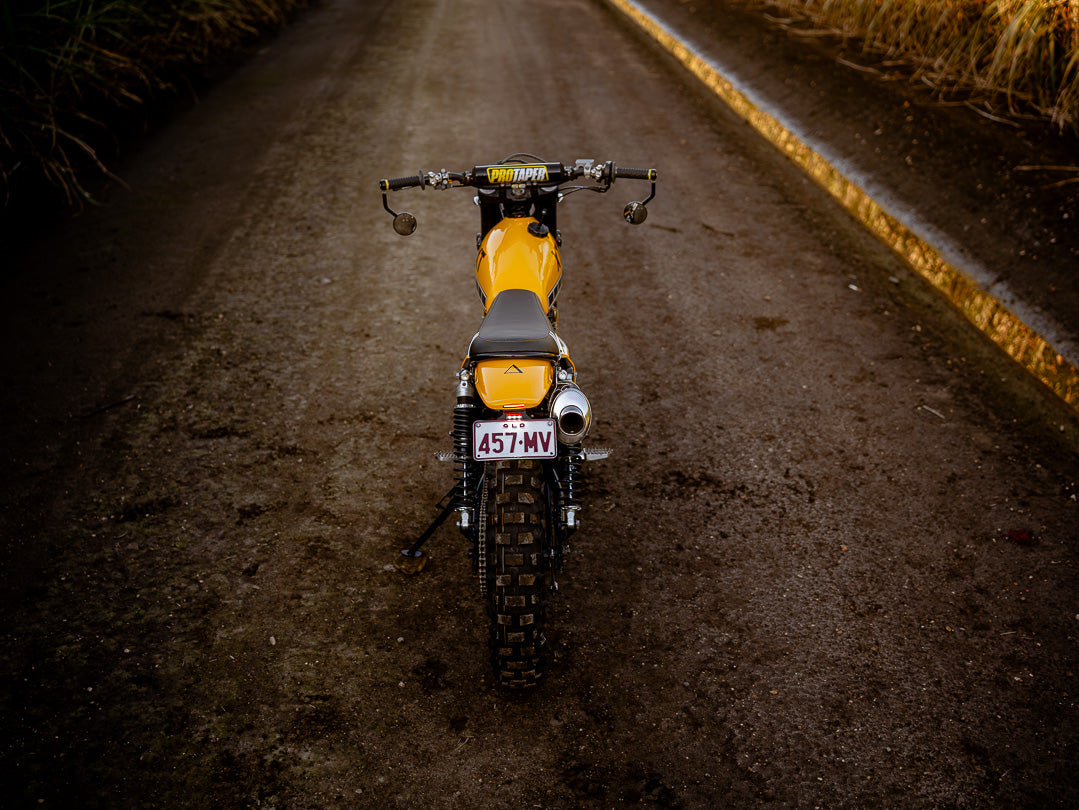
With a solid foundation set it was time to style the XT500 Scrambler out in true PBM fashion. We’ve modified the rear fender to run shorter and include a built-in brake light on the rear. The mounts also house a set of our Hollowtip LED indicators. As I’ve mentioned before I really love the look of the factory XT side covers so we’ve sourced a new set and made our custom battery box, electrics tray and air filter set up to suit that. The factory tank is iconic from the XT500, so we’ve slightly modified it to suit the new front forks and allow a good turning circle. If left as it was, the steering on the bike was severely restricted as the offset on modern MX forks are a lot less than the factory forks. All this required was an adjustment to the mounts and some scalloped cut outs on the front of the tank.
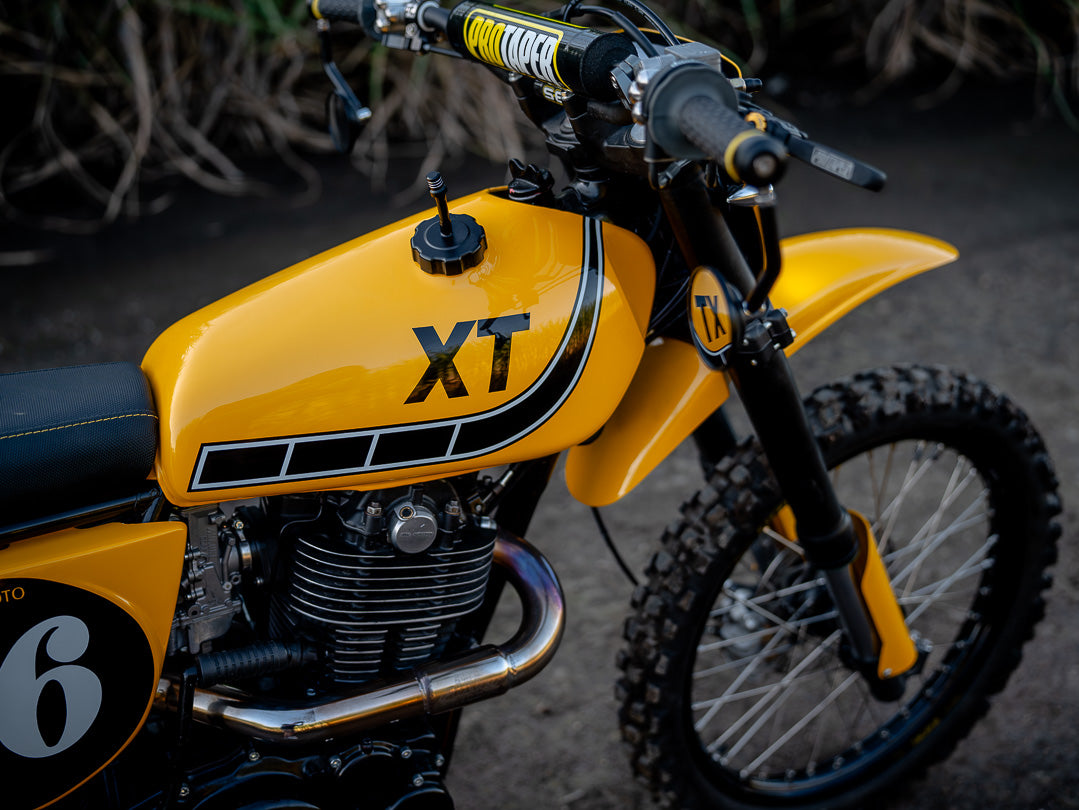

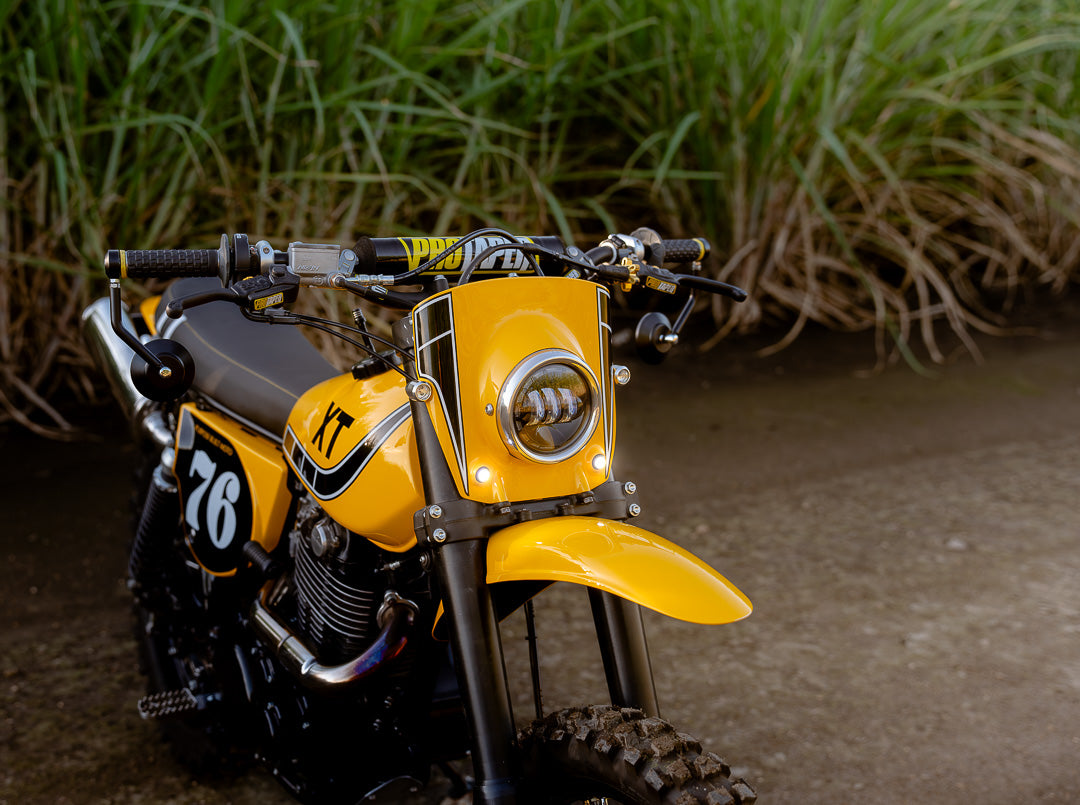
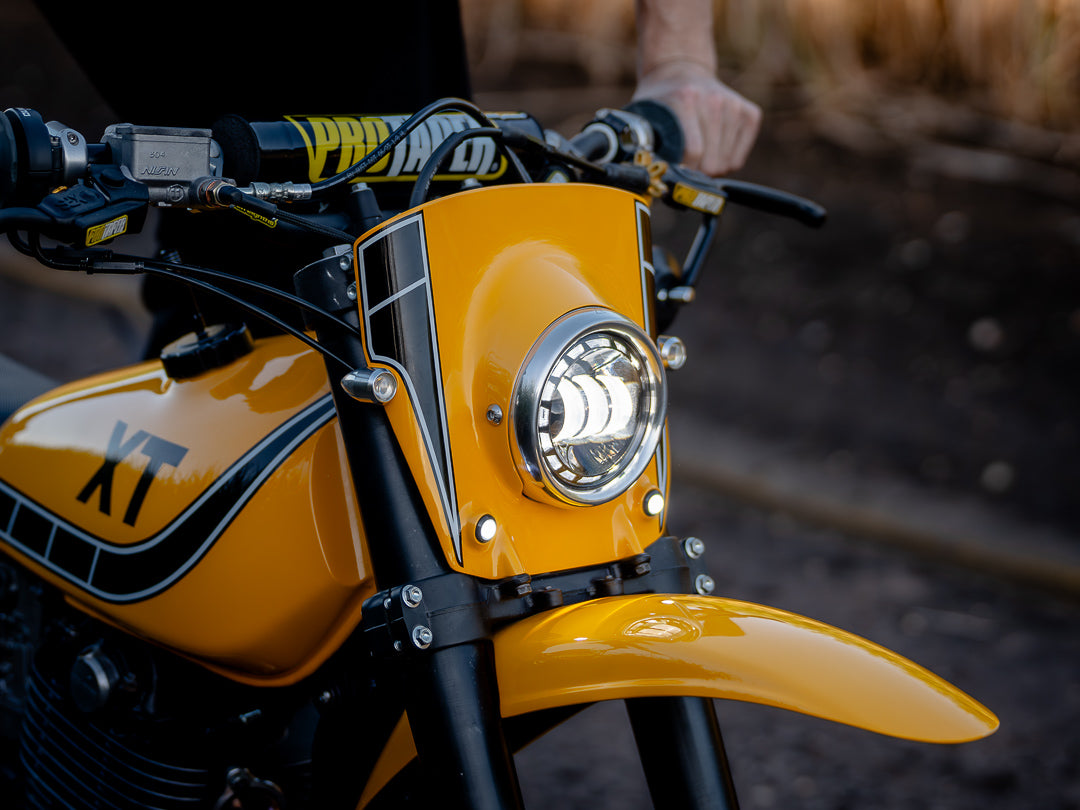
The front fender and headlight shroud are completely handmade. Using a 4.5” headlight up front with a set of button lights as a DRL we’ve built those into a custom aluminium number plate that also houses the Digital dash, and key ignition switch. The front fender is mounted high with a beaded edge to replicate the detailing on the factory fender used on the rear. Final parts of the sheet metal work were a set of custom fork shrouds, and a clean and tidy gravel guard bolted up on the bottom frame rails. We’ve fabricated a custom seat pan, to better suit the more MX style of the XT’s new look. Shaping a low bar seat, that’s trimmed out in Grippa material by Timeless autotrim.
Paint and Finishing Touches
When it came time for paint design I looked back through the XT500 catalogue to settle on a style, The matching year models were very similar to the previous XT that we released and I was left feeling a little un-inspired. As this bike was a more aggressive MX style I turned to the Yamaha MX catalog from 1976. I found the YZ400 paint decal, and changed that up to better suit our XT500 VMX build. The Iconic yellow and speed block design was executed perfectly by Justin from Popbang Classics.


Test Ride
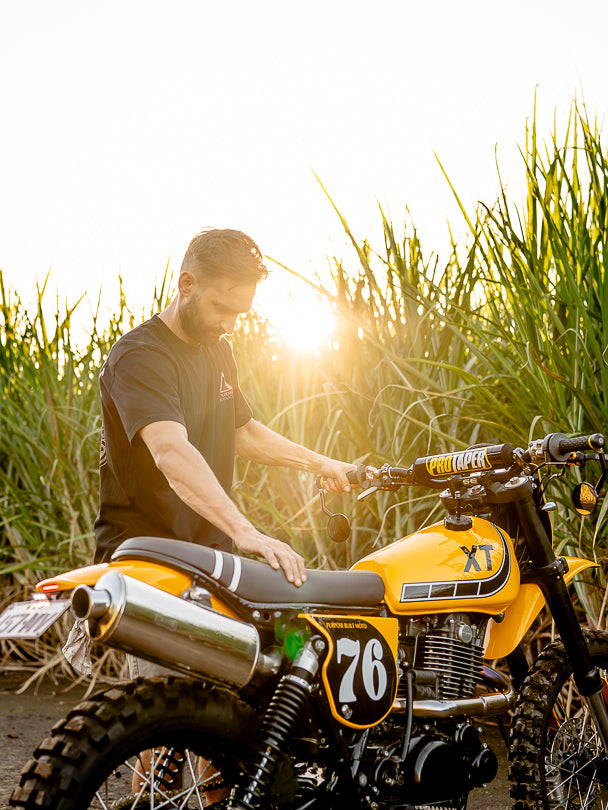
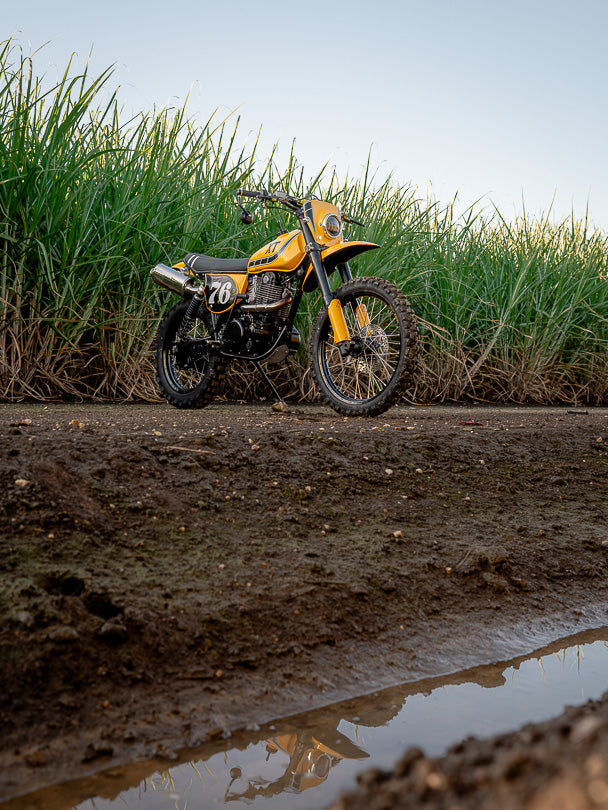
When it came time for the test ride, we headed to a few open fields to see how the bike fared doing what it was born to do. A quick rip through some soft dirt showed the true colours of the XT500 we had just completed.
An amazing ride feel, with the suspension dialled to perfection and just the right amount of power. The XT500 feels at home chasing a sunset through a paddock, but won’t disappoint on the street. Especially when kids and their dads are hanging out the window at every stop light drooling over this bespoke machine.
We hope Clint enjoys it as much as we do, and I’m sure it will look good garaged next to his DT400.
We want to make a huge shout out to Makita Tools Australia for their continued support with our bike builds, without your tools, what we do wouldn't be possible.

WE BUILD BIKES WITH PURPOSE.
Purpose Built Moto is home for unique custom motorcycle builds. We offer a unique motorcycle customizing experience in the heart of the Gold Coast.


3件のコメント
Thanks Nellie!
@Nathan, We prefer using the DOmino XM2, it’s just a better quality unit that comes with 3 options for the throttle cam.
I’m doing up an old DRZ400. I have put a new Mikuni TM-40 on it and the throttle that comes with the carburettor, the cam isn’t smooth in design. Is that why you use the Domino one? And which model is it?
Wonderful build! Always wanted an XT and love the ‘real world’ mods inc the lekky boot! I have a KTM 625SMC that doesn’t get a lot of riding and, despite having a starter, needs about 20mins of kicking to get it alive! Once hot it’s OK on the starter, but a bit of a pain. I’d fit one with street rubber as I don’t go off road and hipster ‘street scrambler’ is not my thing :) I used to have a KLR650 that only had a kick starter, but the auto valve opener made it a pussy cat to start and get going……love the video style and the fact that you have no problem sharing your expertise for those DIY builders who might need a bit of help; here in UK you’d have to pay for any bit of advice – respect to PBM. Once again…epic bike!