


How to Fiberglass your own Café Racer tail cowl
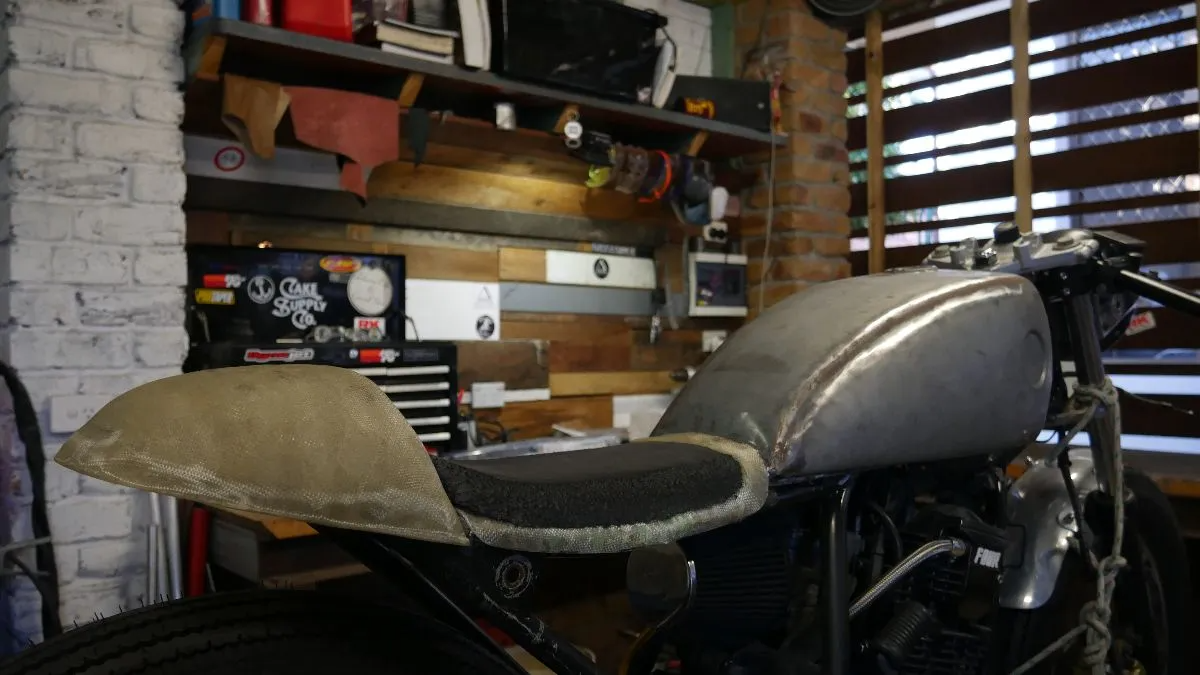
It’s the anchor point on many Café Racer projects, whether you Shape it in foam on the seat, Fiberglass it or shape it out of sheet metal (not a skill I possess) the Café Racer tail cowl can make or break the style of your build. If you’re chasing that true to form racer look you need to have the tail bump. Originally it locked the rider into position so all they had to worry about was throwing their little bike from side to side through the twisties on the road. Now days, it’s little more than an aesthetic touch where you can hide the battery on your custom bike.
Here I’ll take you through my process in shaping, fiberglassing and mounting the tail on your café racer. Then doing the separate seat pan in fibreglass, check out our guide on how to build a seat. I have pulled apart a few bikes with a single piece seat and tail cowl, to my mind this makes zero sense. The mounting is difficult, and if you want it easily removed the seat pad needs to be Velcro taped on or have holes in it so you can access the fixing screws. It’s unsightly and every time I see one I always wonder why??
For more cafe racer parts guides visit here.
Enough rambling let’s build a seat and café racer tail those discerning British purists would be proud of.
What you’ll need:
- Insulation foam, florist foam or similar
- Small panel saw
- Rasp file or blade
- Coarse sand paper
- Masking tape + Duct tape
- Micro scale (kitchen scale in a pinch)
- Measuring cups
- Paint brush (cheap and nasty is fine)
- 1 kg fiberglass resin + hardener
- 1m fiberglass matting (2m if you’re doing a seat to)
- Glasses or goggles
- Dust mask
- 3” cut off wheel or grinder
- Contact adhesive
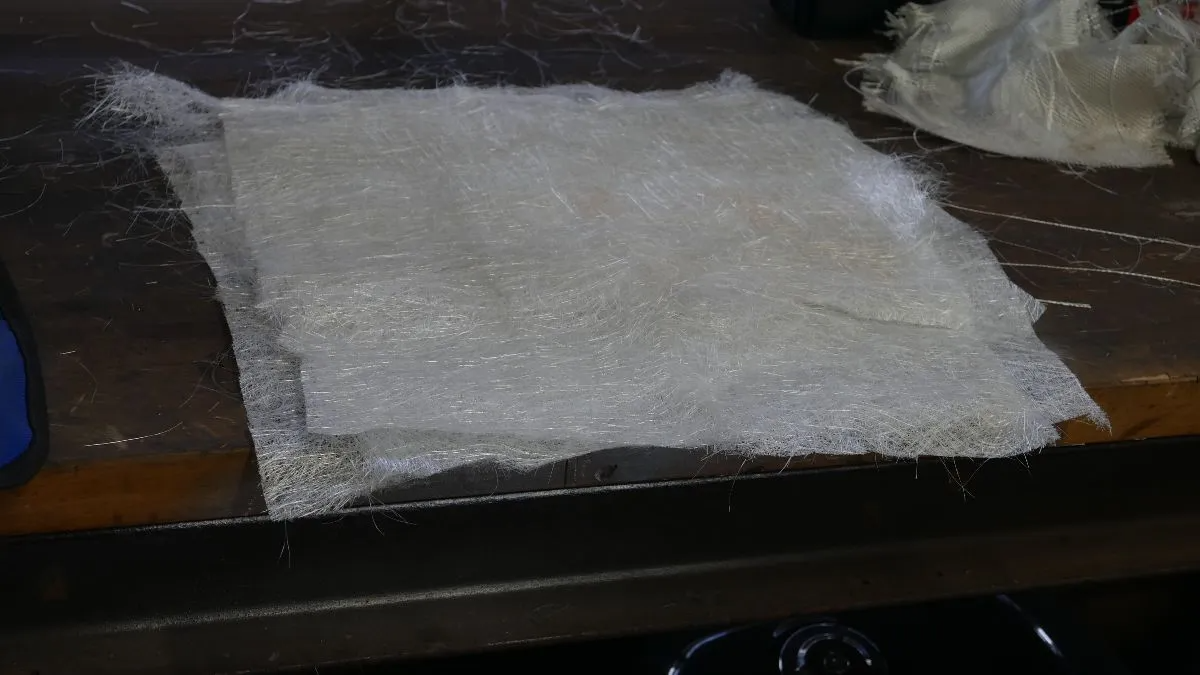
I personally prefer to use chop strand matting, but woven will work as well, in my experience the woven is a bit more flexible once set and needs more layers. The chop strand mat tends to conform to the shapes better as well.
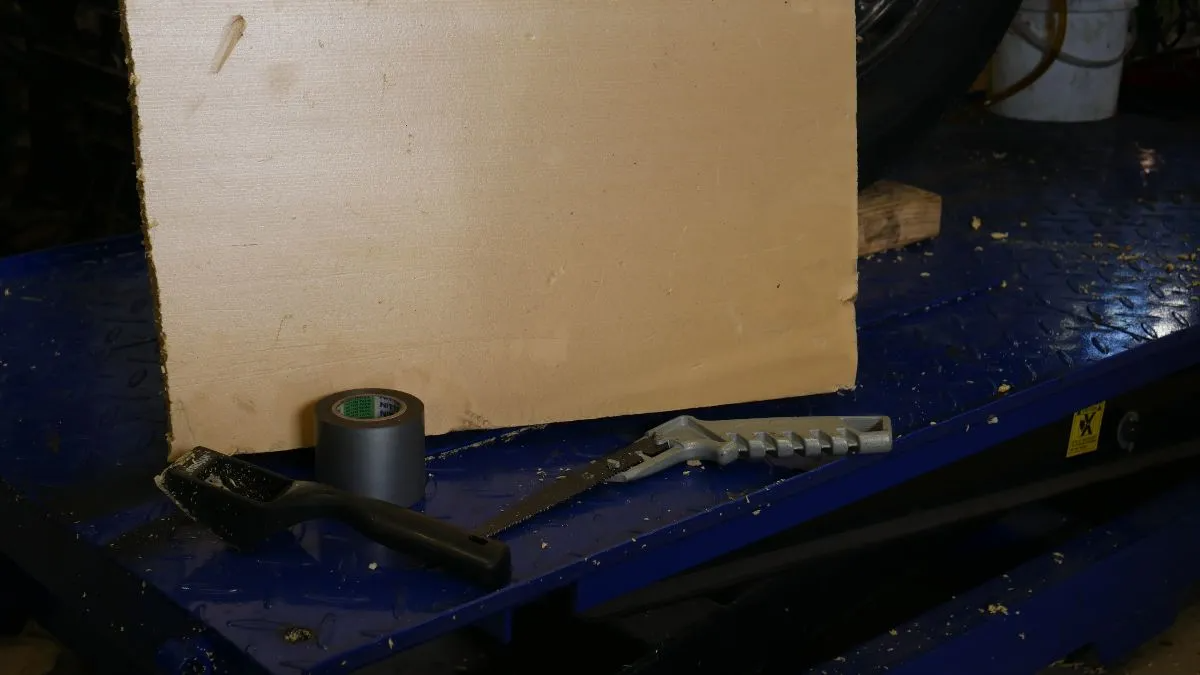
1. Shape your foam tail mould on the bike.
Get your shaping foam and glue a few layers together using some contact adhesive. Once the foam is sat on the frame I will tape it in place and sketch a rough shape on it from the side. Cut that out with the panel saw, once that shape on the side is roughly right do the same looking at it from the back. With the general shape sorted, start with the rasp file to further refine the shape and finish off finally with the sandpaper. You will see guides talking about “the bone line” and how the tail should be “2/3 the height of the tank”. Forget that shit. It’s your damn bike, do what you want and make it your own. If you want the cowl to fit over the frame be sure to leave the buck slightly bigger to allow for that.

2. Wrap it up!
Once the Tail cowl shape is finished how you want it, get to taping it up. I use masking tape to start and Duct tape or Silver metallic tape to finish. Cover the foam 100% with 2 layers. If the resin seeps through the tape, depending on the foam you’ve used, it could melt away and ruin the shape of your cowl. I learned this one the hard way so you don’t have to. Once you’re done you can use a bee’s wax or release agent over the tape to stop the fiberglass from sticking.
3. Prepare the tail cowl for fiberglass
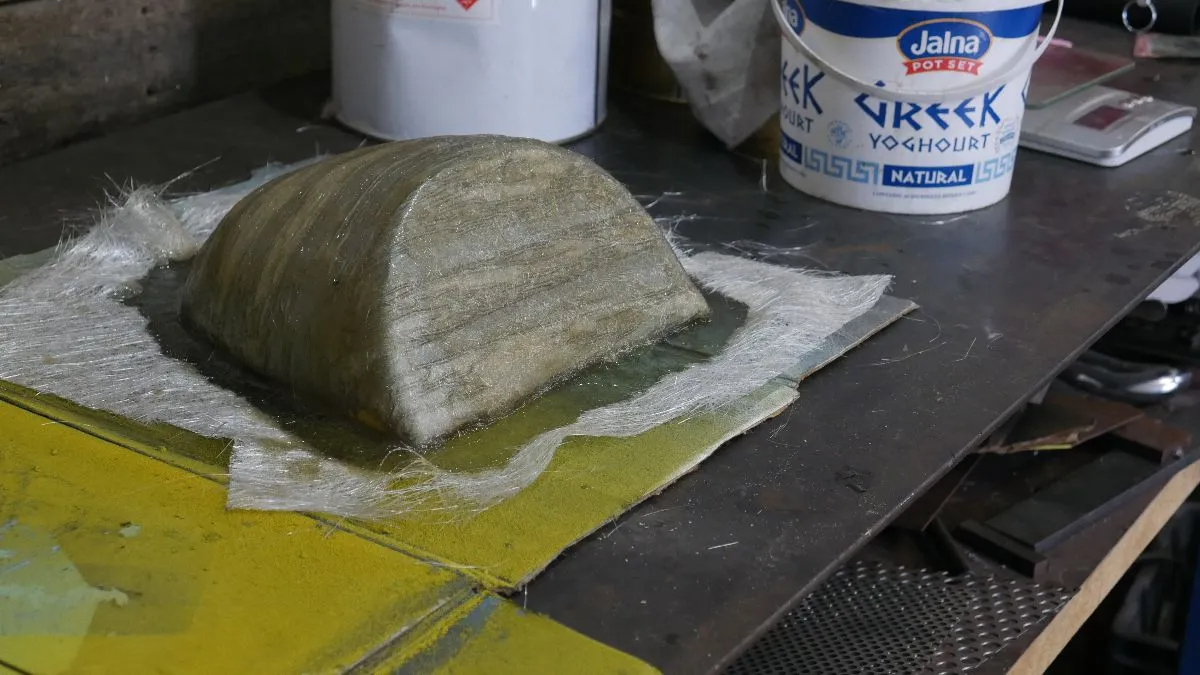
Take the taped up tail cowl and set it on a bench either wrapped in plastic wrap or a cardboard box to fiberglass on. Take the time to prepare your fiberglass matting, cut out the size you’ll need and make any cuts on sharp corners you need to help with folding it into shape. When using chop strand matting Aim for 3-6 layers, use your own judgment on how strong you want it.
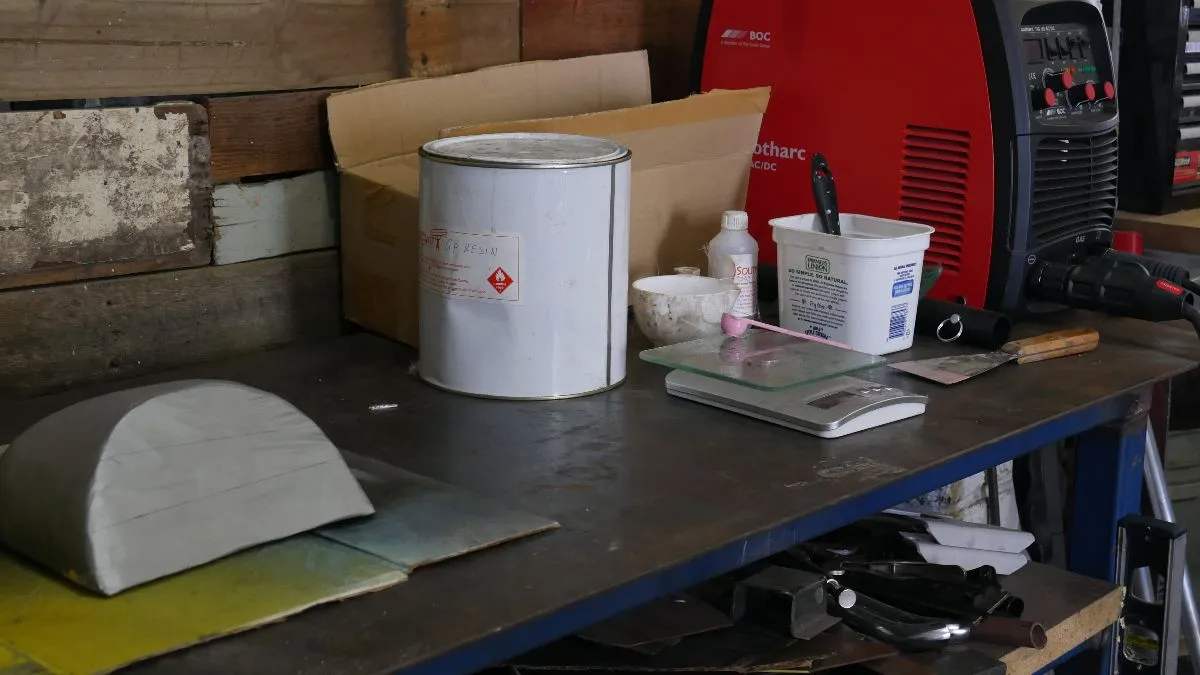
4. Lay it on!
Time to get glassing. Mix your resin up at 1.5-3g Catalyst to 100g GP Resin. This will differ dependant on your climate, best to ask your supplier what they recommend when you buy it. On the Gold Coast I get all my supplies from a surfboard manufacturer but general hardware stores sell fibreglass kits aswell. I will usually mix up 100-200g at a time depending on the size of the piece. You want to get 1-2 layers done per mix, let it start setting then move on to the next. Each mix will last 20-40 min before starting to lump and harden.For the first layer brush on some resin before laying the matt down, then work from the top down with your brush soaking the matt in resin and removing any air bubbles. It was suggested to me that using less resin creates a stronger composite, so go sparingly and use just as much as you need to.
Use a dabbing action with the brush and don’t swipe side to side as it will drag the matt and cause weak spots. In between layers I will let the resin start to “tack off” before laying the next. You can see the resin start to get a matte look and get a little stickier as it starts to set. Let each resin mix harden before starting a new one. Repeat this until all your layers are finished.
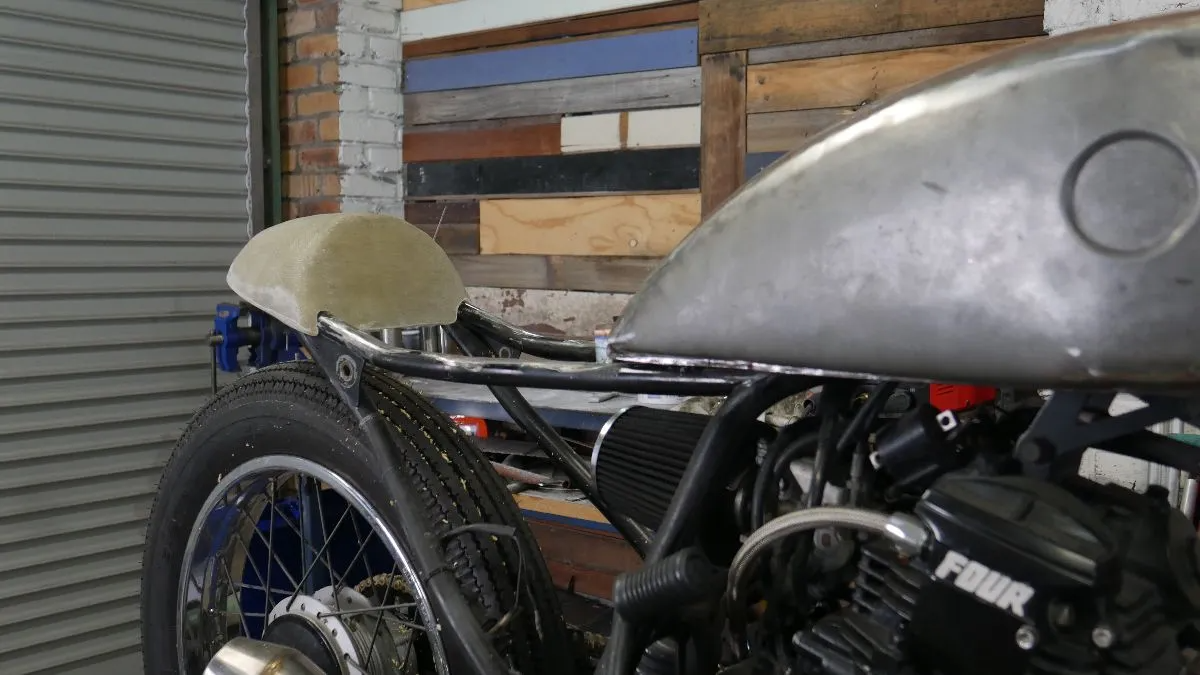
5. Remove the mould and trim up
Once the fiberglass has set properly 1-3hrs take it off the base or bench, remove the foam mould from inside and any left behind tape. Put your protective gear on and trim the edges off then sit it on the bike. You should have some indication as to whether it looks right or not. I will trim the cowl 2-3 times to make sure I get the finish right, you can always take more off but it’s a lot harder to put it back on. Once I have the general shape right for the edges, sandpaper is used to finish it finally. Careful if you’re using a linisher as it will eat it away quick! Take your time and get it right.
6. Fix it down
The edges are done and now you need to fix it. I have found 2 ways of fixing the cowls that work for me.
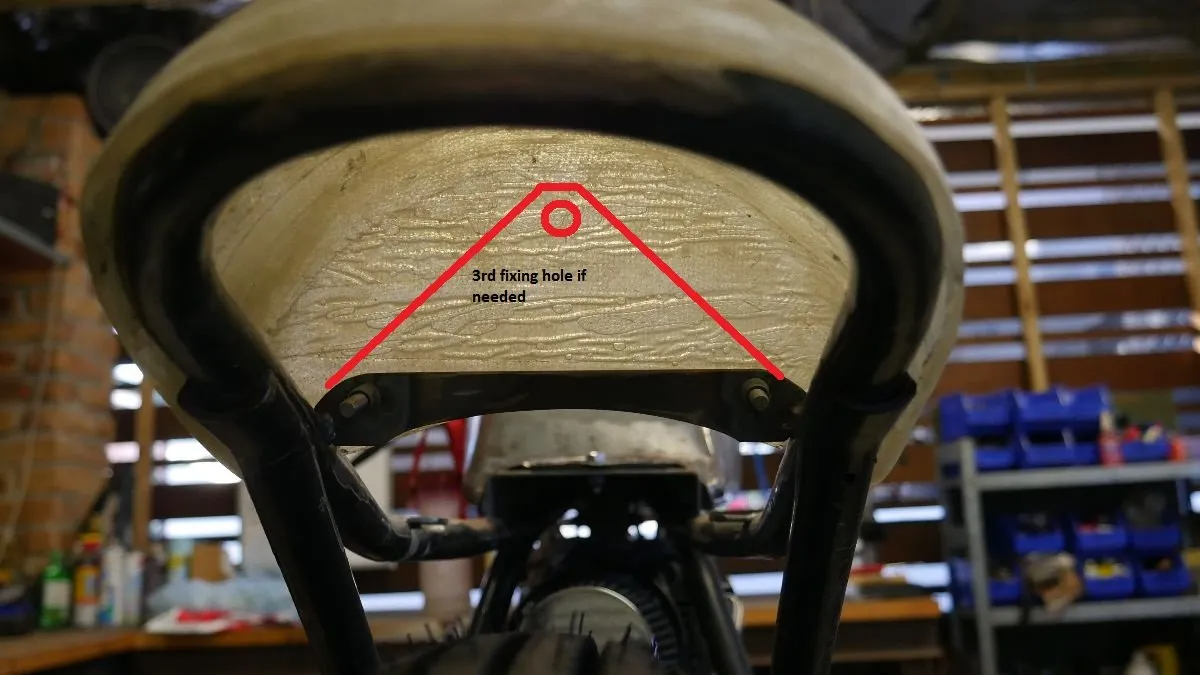
Option A) Use some riv-nut fittings or welded in thread for some neat M4 Pan head screws on each side and at the back.
Option B) Make the entire cowl a little stronger and fix only on the flat side where the seat goes, I’ll use 3 triangularly placed screws and a welded on plate under the tail cowl.
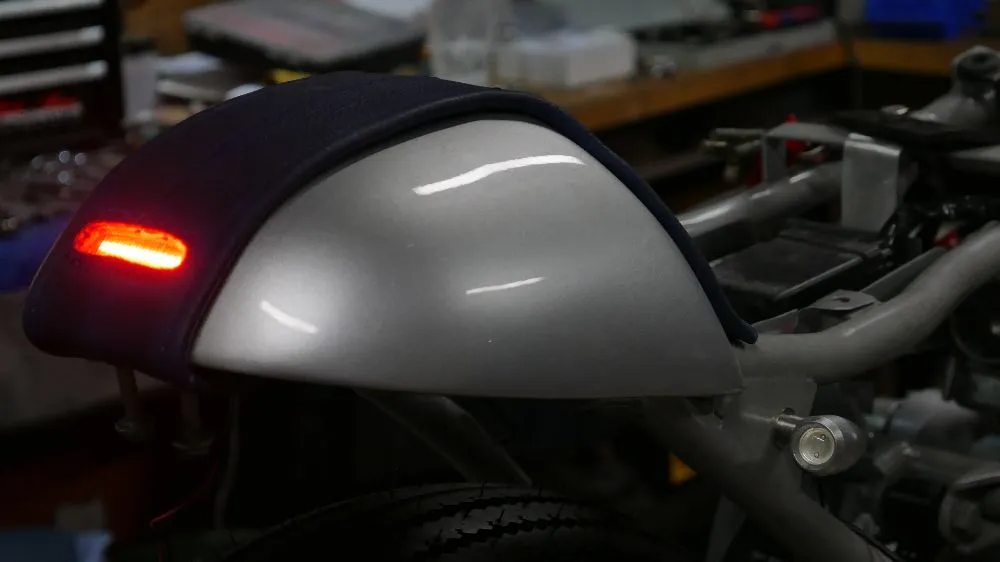
The picture shown will be held down by a leather strap with hidden fixings, you can figure that one out for yourself.
That’s all you need to know about Fibre glassing your very own Café Racer tail cowl.
Click Here to check out the next step and make yourself a custom seat pan that fits right every time!
Thanks for taking the time.
Tom.
WE BUILD BIKES WITH PURPOSE.
Purpose Built Moto is home for unique custom motorcycle builds. We offer a unique motorcycle customizing experience in the heart of the Gold Coast.


9 comments
Great step-by-step guide—clear, practical, and beginner-friendly. Loved how it explains shaping and fiberglassing; truly helpful for anyone building a custom café racer tail cowl.
Would love to know the cost analysis of materials, aka, how much did it cost to make? Thanks!
Hey Paul,
Sand down your high points, a skim coat of body filler, and another sand, then send it to the painter.
Hi Tom,
Excellent article, i’m going to give it a go but wondered how you got the immaculate spray finish on the cowl ! Can you please detail how you got from picture 4 (lay it on) to the finished cowl (2nd from last picture)?
Cheers
Hi Mate,
I beleive the subframe was modified slightly but we didnt do the mods.
we just completed the seat and tail.
Hi Tom
When working on the scorpio project did you change the sub frame to place your custom seat and tail cowl or did you mount it on the stock subframe of the bike?
Cheers
Epoxy resin or GP resin is what we use.