
At Purpose Built Moto We’re always looking for ways to test our boundaries and learn something new. Building a start-to-finish exhaust system for a custom project is nothing new for us. So we decided to give Hydroforming a go, and see what we could create.
What is Hydroforming?
Hydroforming is a process where high-pressure water is used to shape metal, sort of blowing two sides up like a balloon. This technique allows for creating complex shapes and contours that are tough to achieve with traditional methods. It was my first time using hydroforming, and I was excited to see how it would turn out.
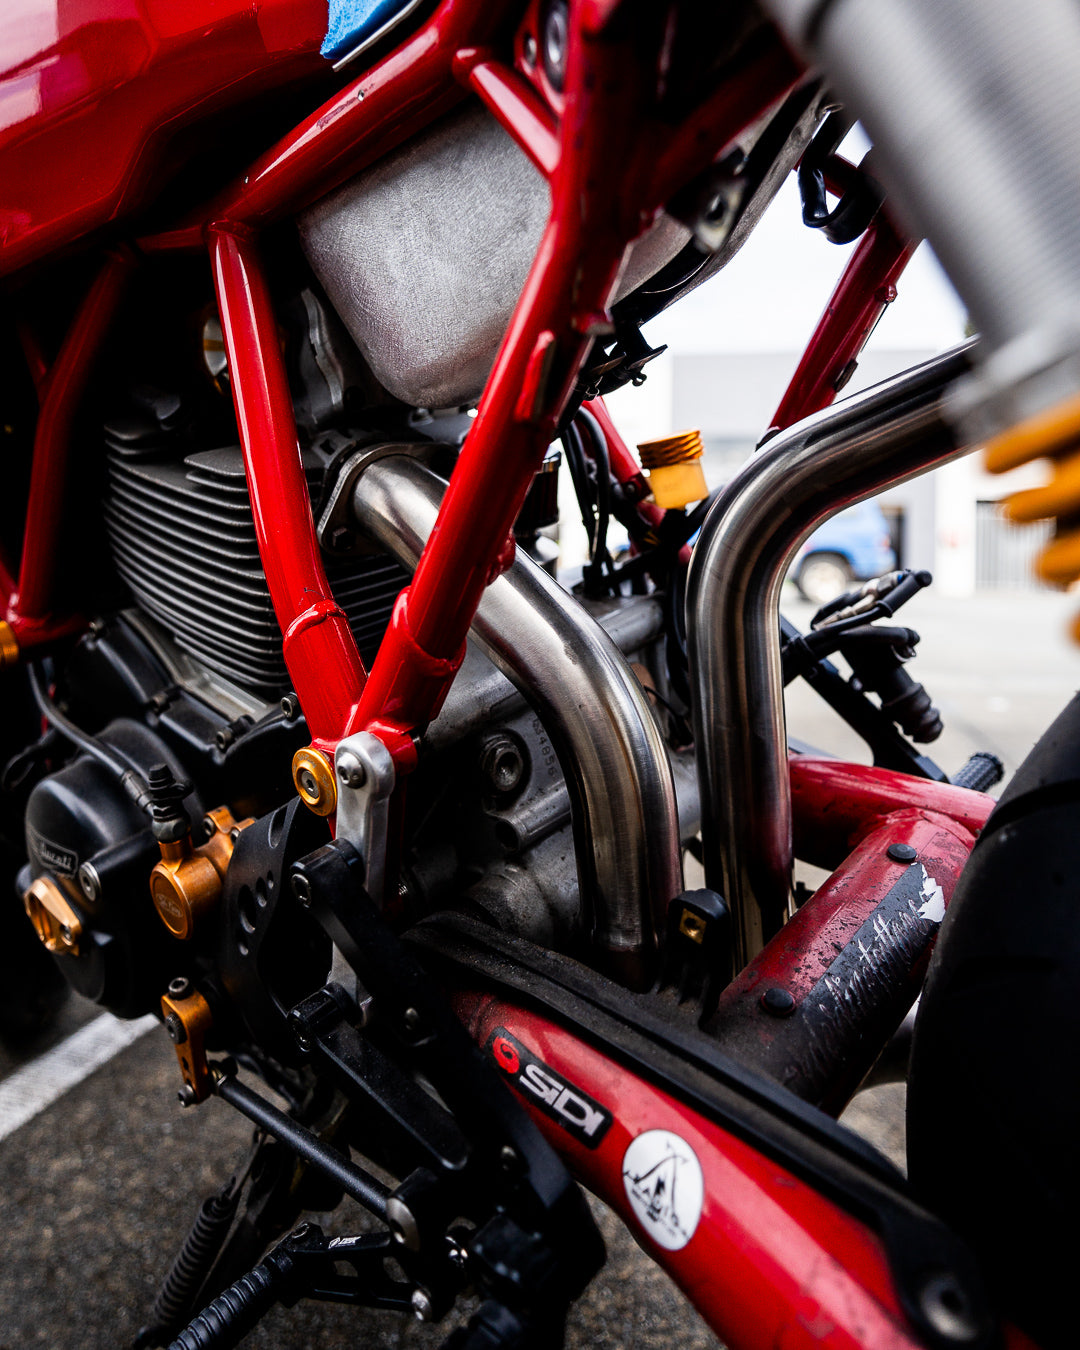
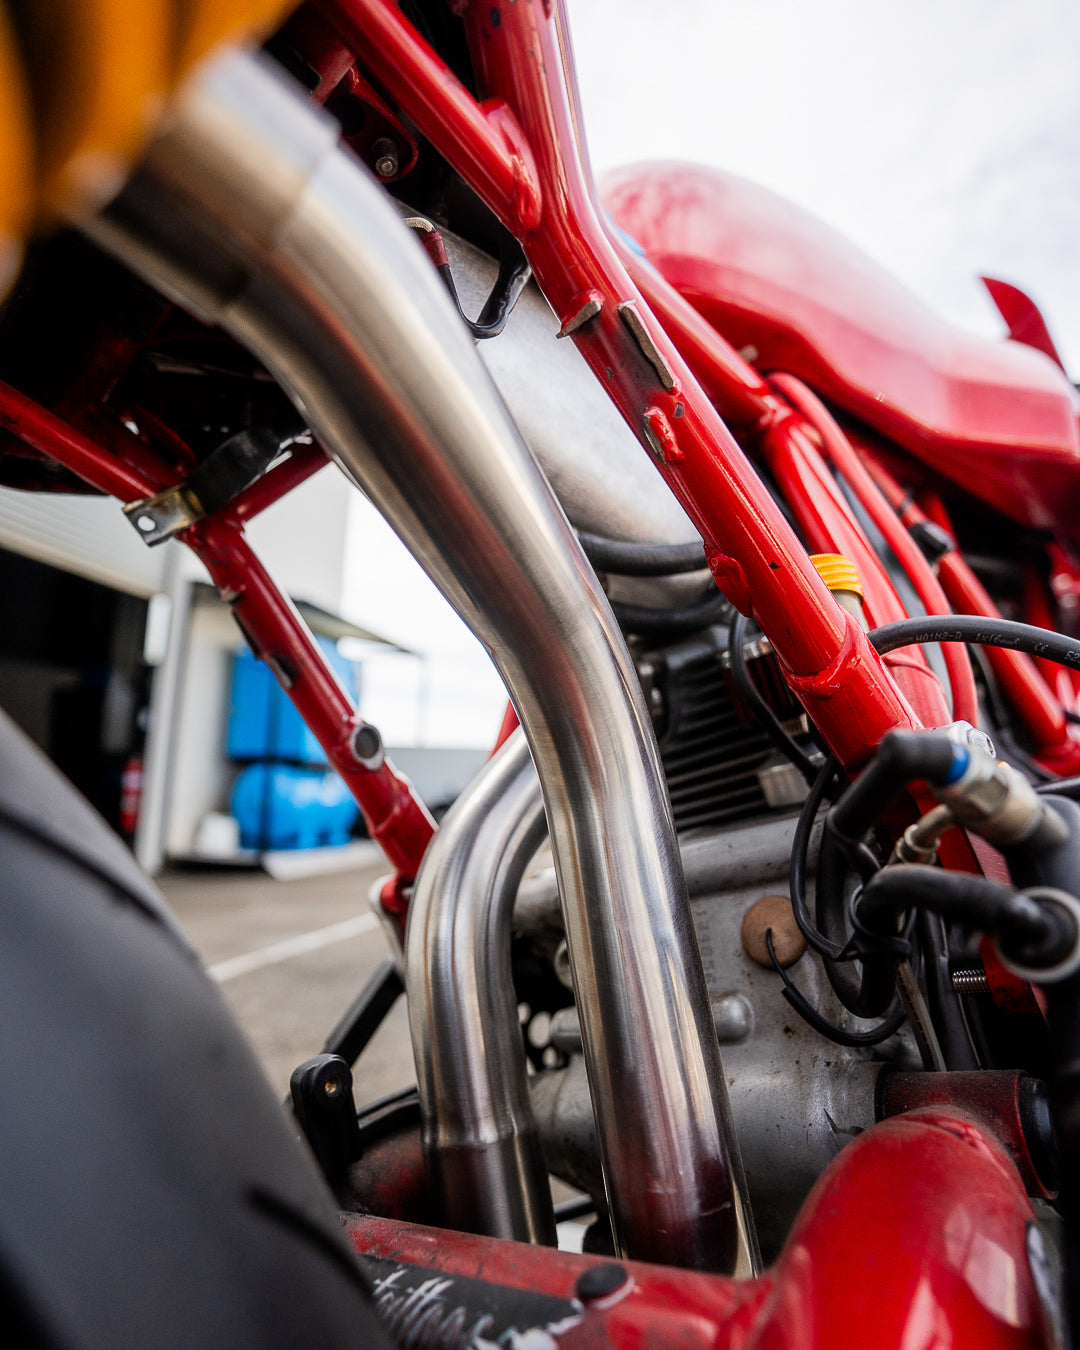
I started by fabricating the headers, opting for a 2-into-1-into-2 setup made from 44.5mm stainless steel tubing. I prefer a 2 into 1 sound, but love a twin muffler look so this gives me the best of both worlds. Starting by laying out the route of the header, tack welding together before removing from the bike to be purge welded. The 2-into-1 collector was particularly challenging due to the tight bends and limited space under the swing arm.
Once the headers were mocked up and built, the back purge was hooked up and TIG welded them to ensure a clean, strong weld.
Next, I designed templates for the mufflers. Starting with paper templates to map out the shapes onto 0.9mm stainless steel sheets for hydroforming. The accuracy of these templates was crucial for the final shape of the mufflers.
Hydroforming was a new process for me at Purpose Built Moto. Once the templates were cut from the stainless steel sheets, I welded the edges and attached a tube to connect them to the pressure washer. Before introducing high pressure a quick leak test was done to make sure I didn't have any pinholes in the weld seam.
Using the pressure washer, I gradually applied pressure until the stainless steel templates expanded into the desired shape. The shape would always be cut apart and re-welded so I didn’t worry too much about the pressure blowing out the welds. Due to the curves being a little too tight, and potentially not leaving enough material on the template to fully form the shape, the pressurisation left a few creases. Next time around I’ll try and address this by oversizing the template by 20% and making the bends a larger radius with smoother transitions.
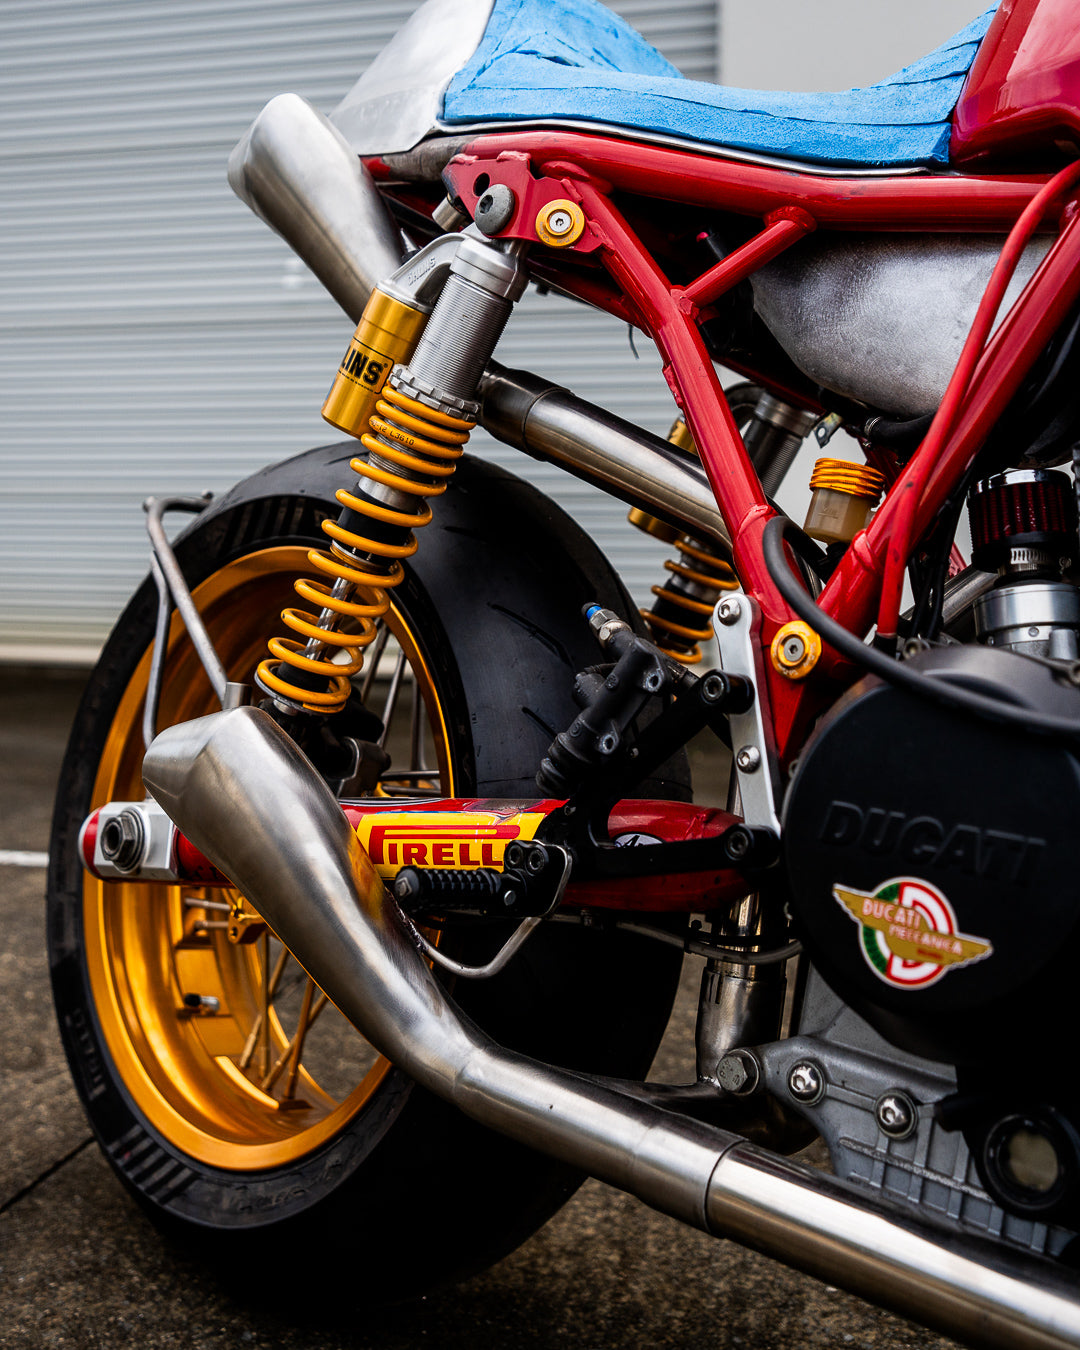
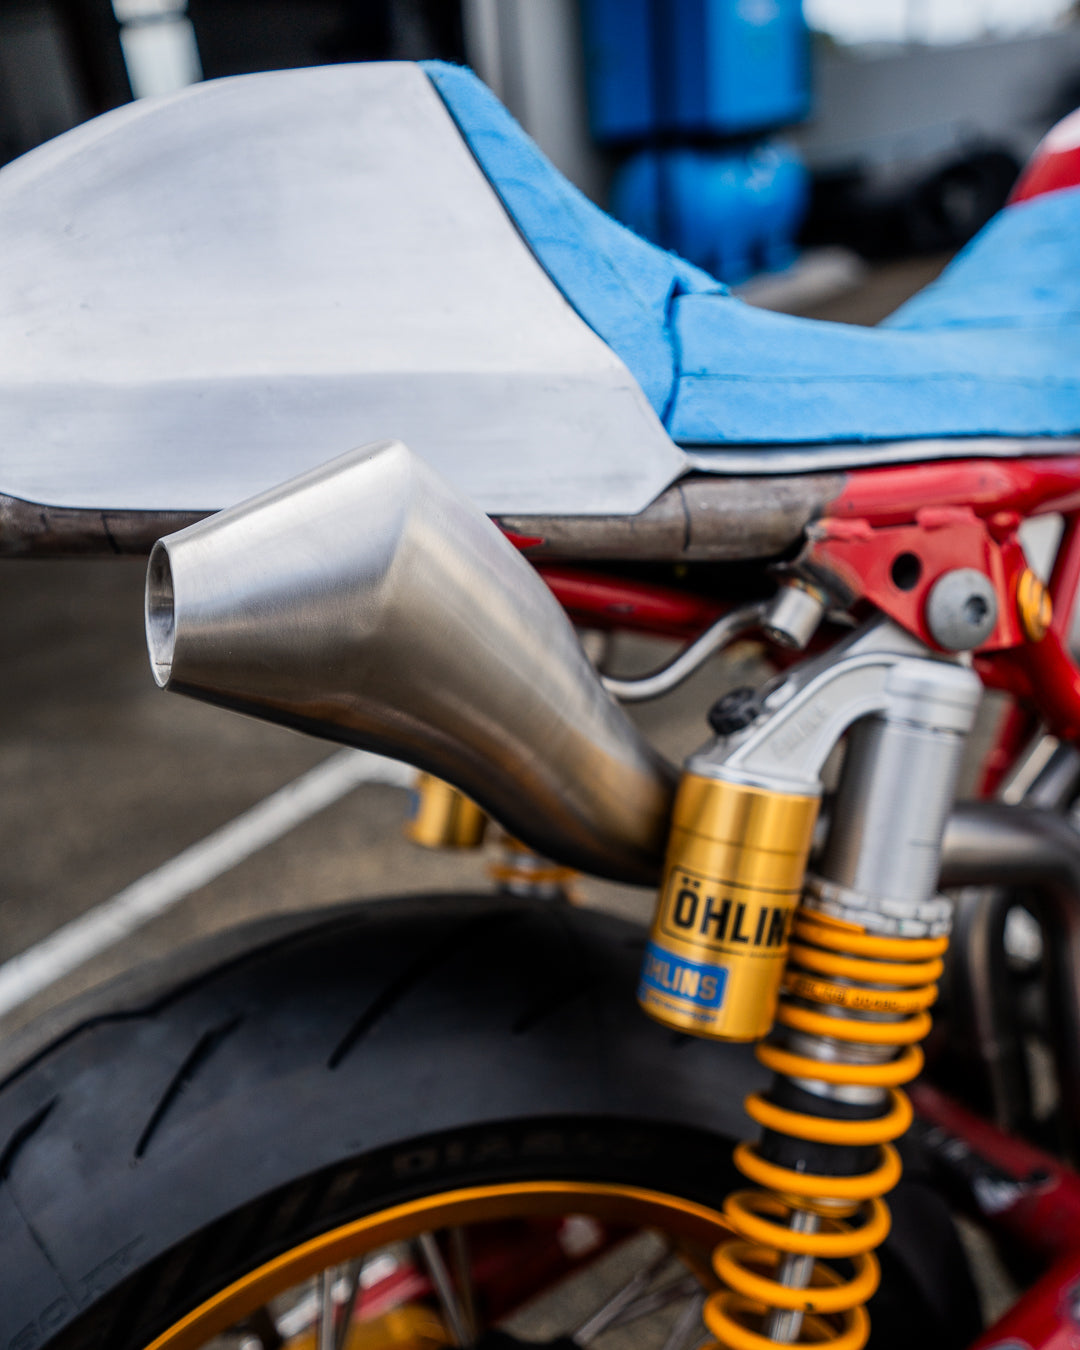
After hydroforming, I cut the templates in half and removed the ends. The halves were hand shaped with a hammer and dolly —a meticulous and time consuming process that took far too long to get right. The goal was to achieve a smooth, seamless finish seen on mass produced units like the hydroformed HP corse mufflers. We got pretty close for a hand made piece so I'm happy with the result.
Once the muffler bodies were hand-shaped, they’re welded back together for final finishing and to build the end cone and internals. Shaping them by hand to ensure a perfect fit. With the internal structure of the mufflers I constructed the internal perforated tube using dual layer muffler packing. A stainless steel inner and fibreglass packing outer to prevent burn out.
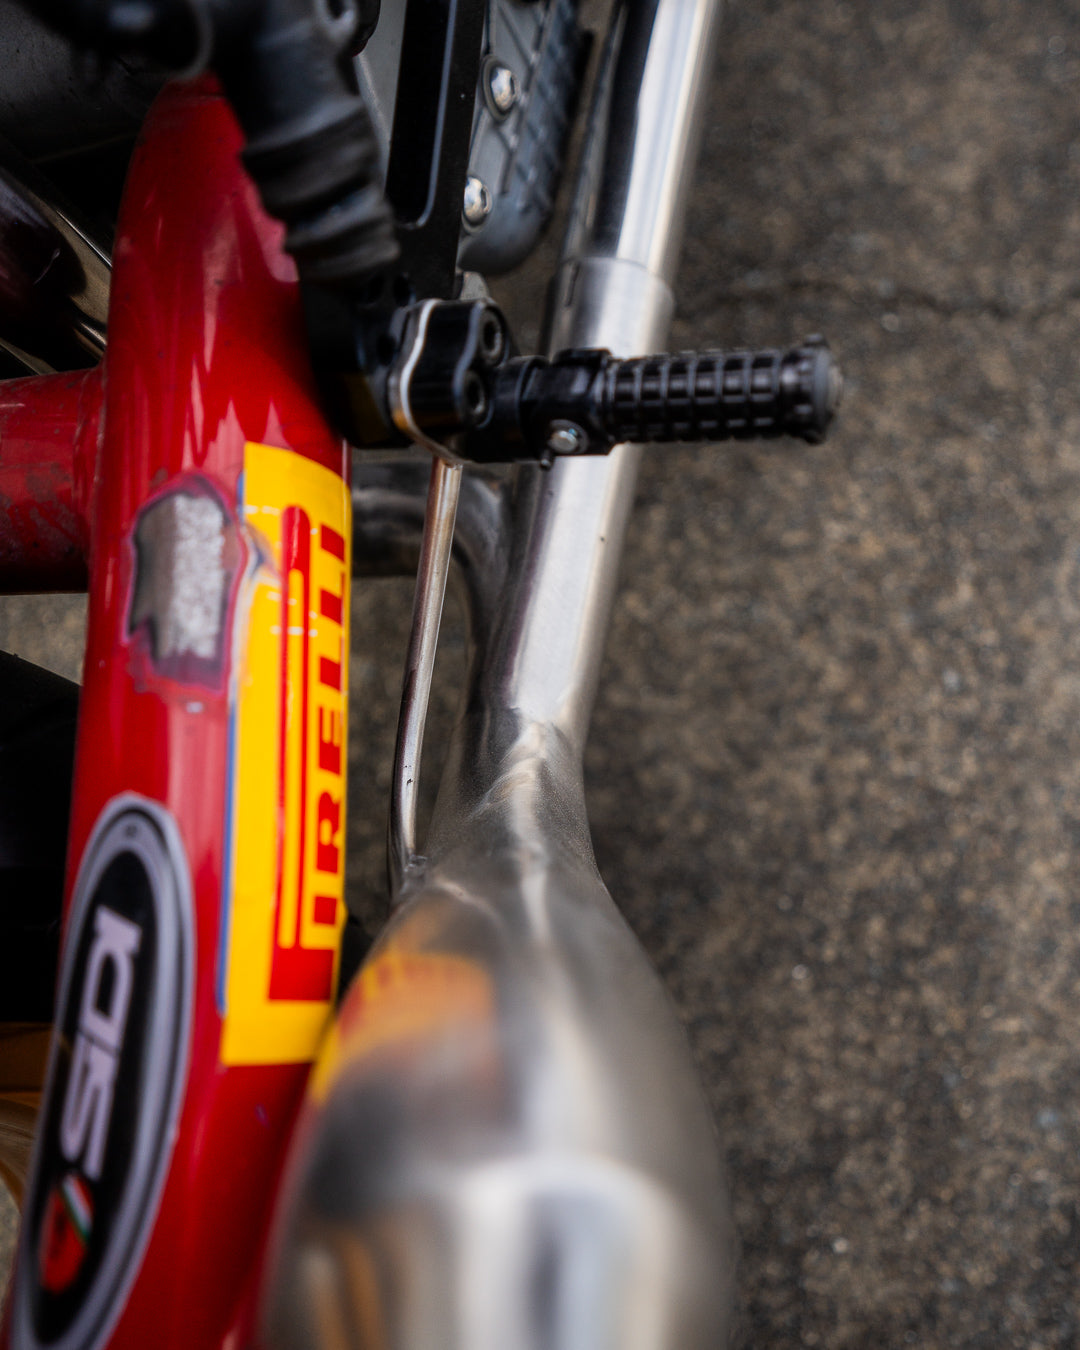
Packing into the muffler bodies and welding on the end caps. Once welding was complete, a quick sand and brush finish finalised the muffler build ready for mounting.
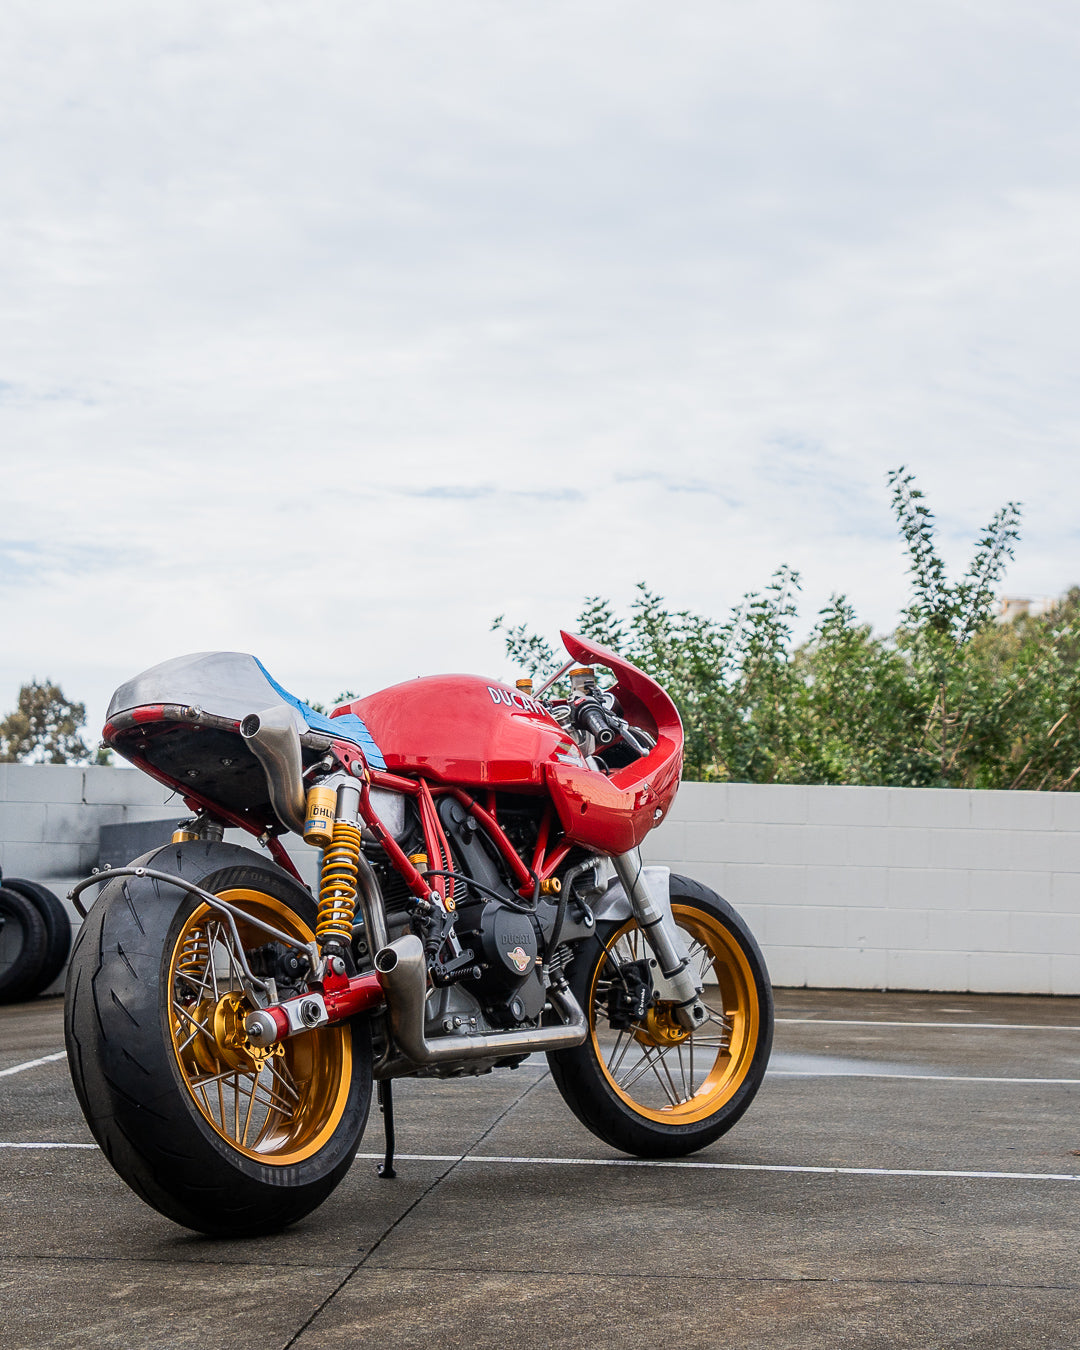
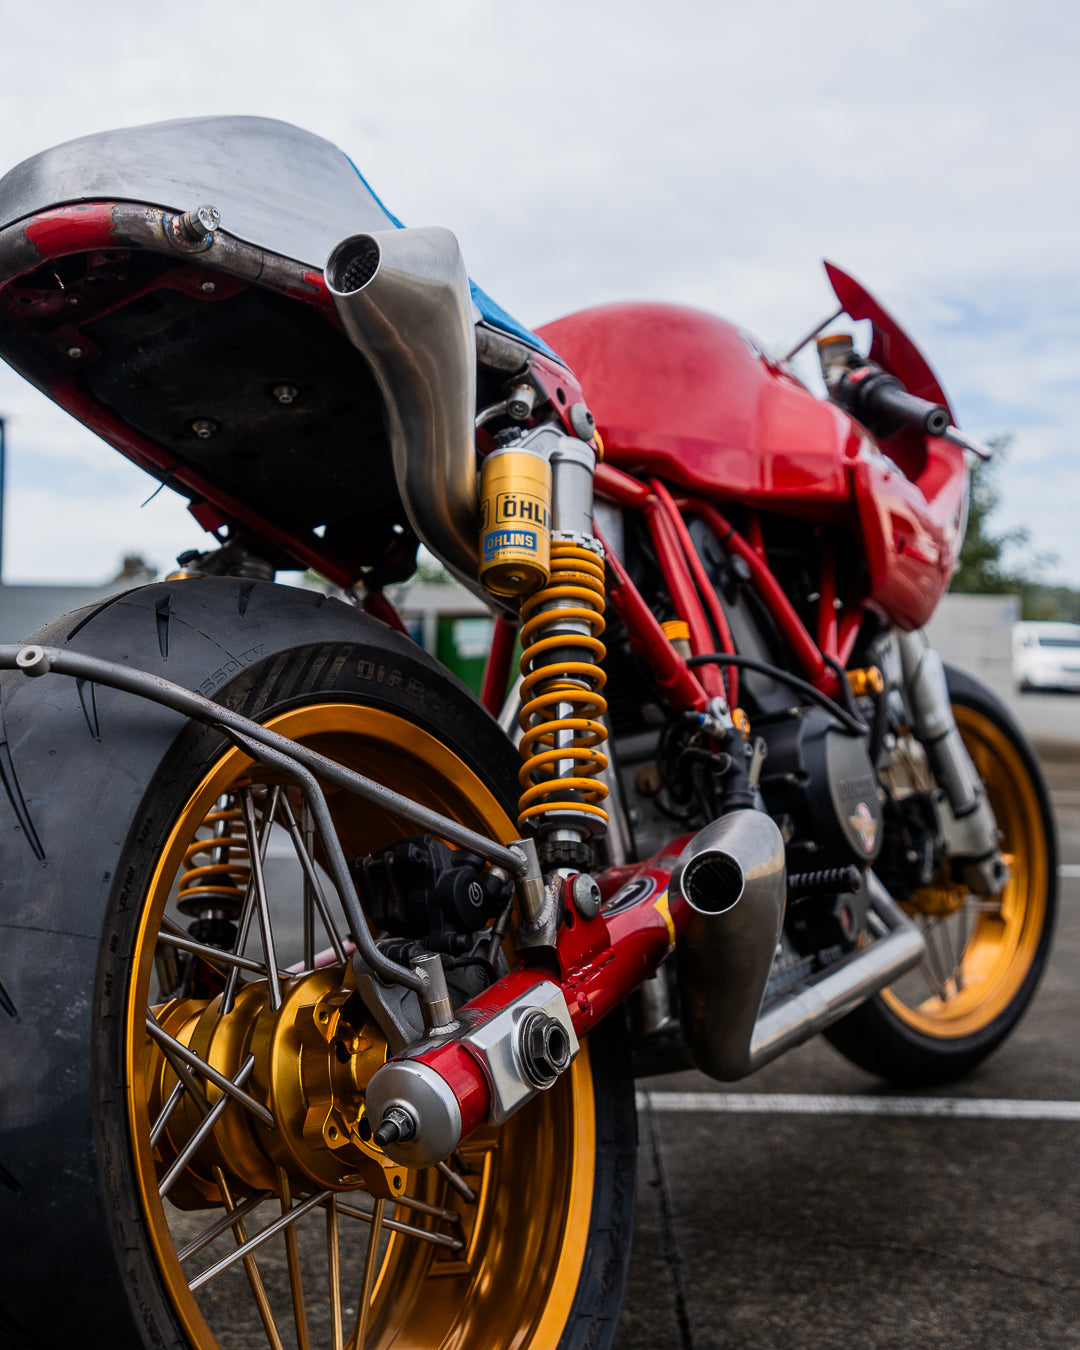
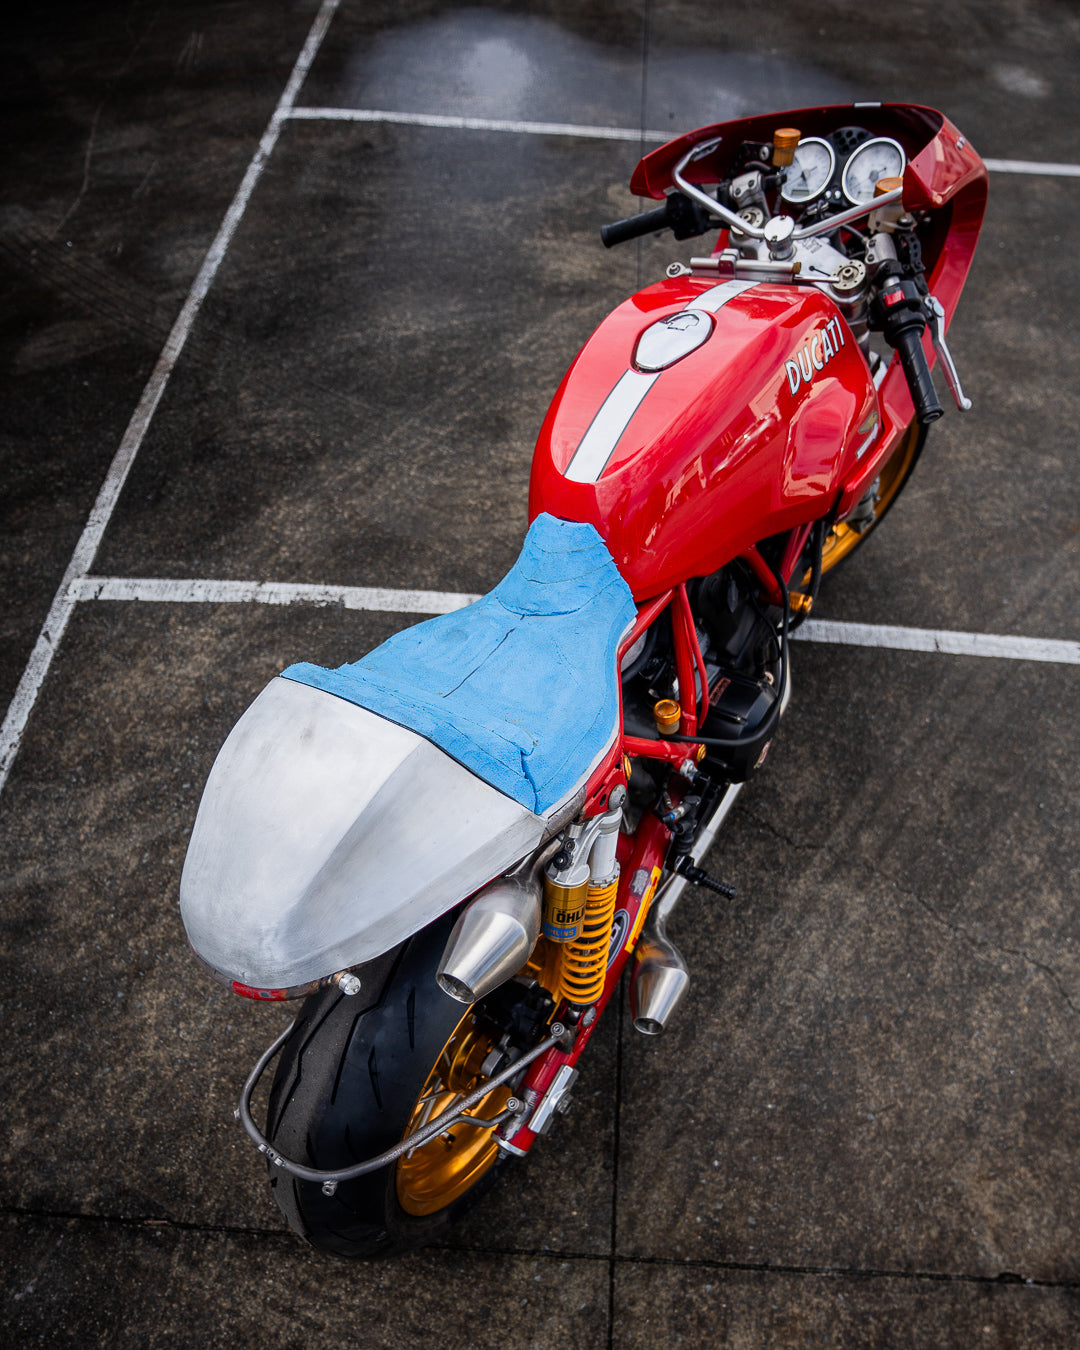
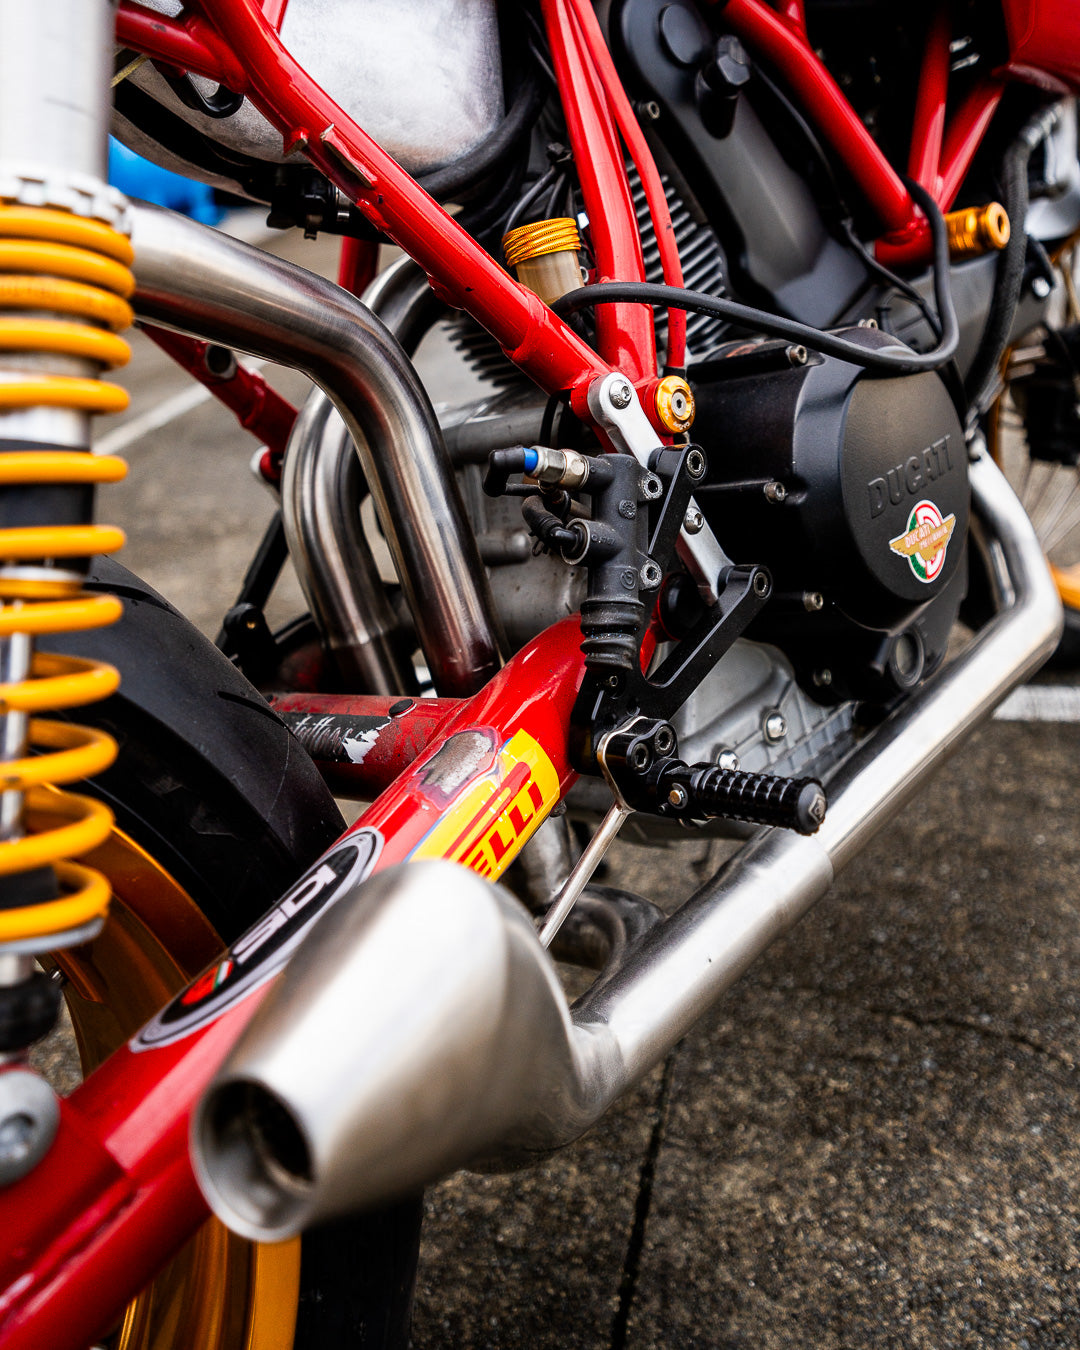
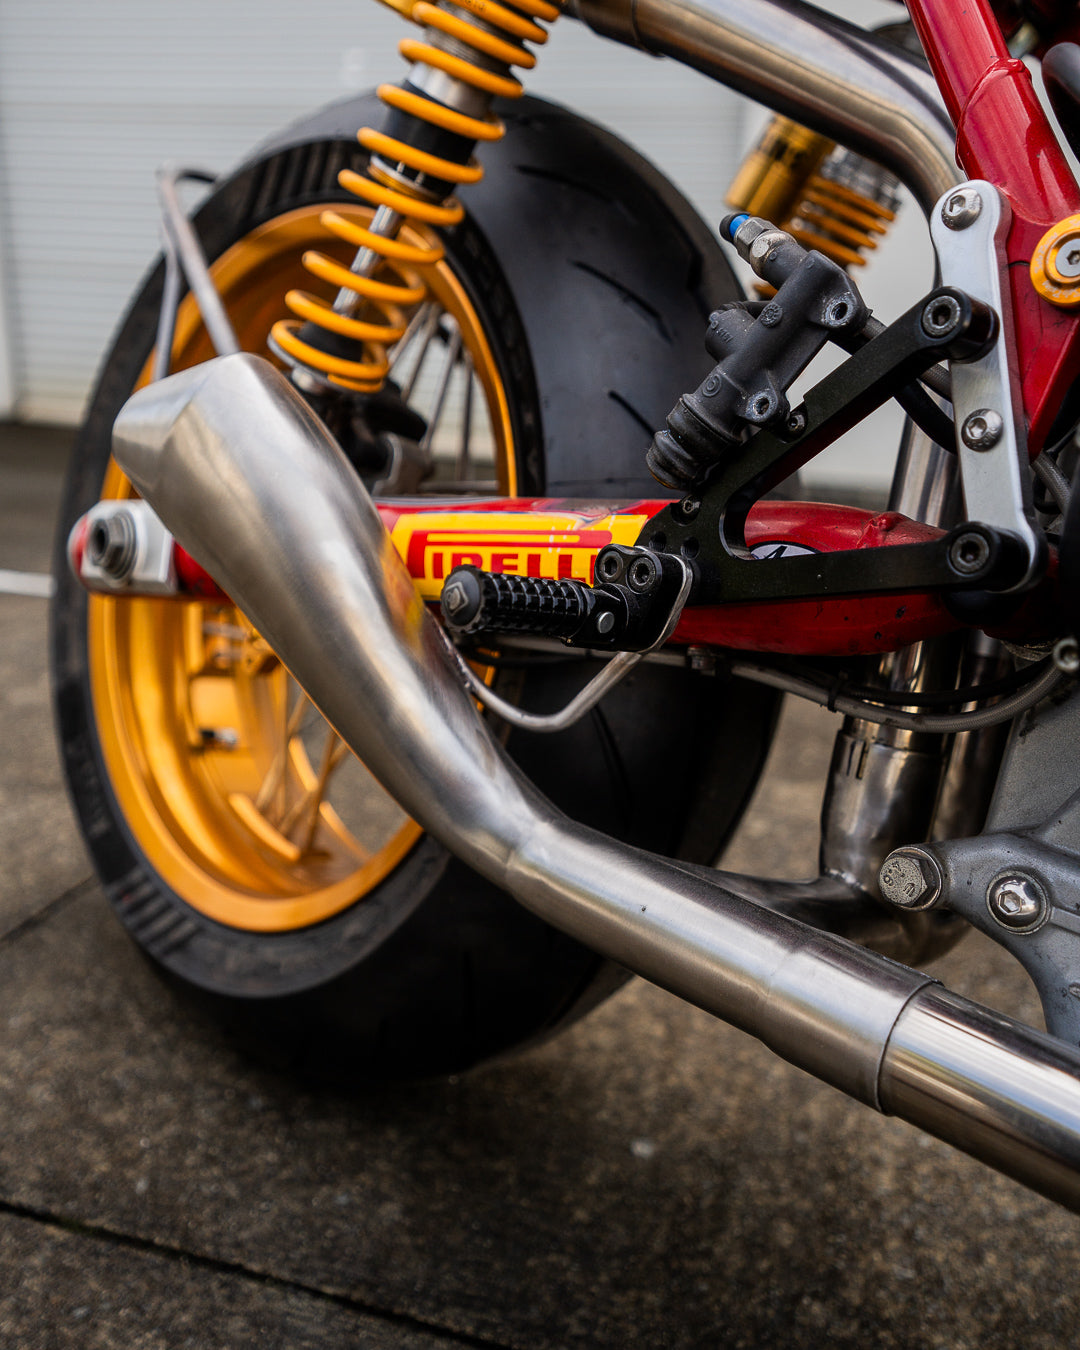
Time to mount it on the bike. I positioned and welded the headers and collectors. attaching the completed mufflers finished off the custom exhaust system for the Ducati GT1000.
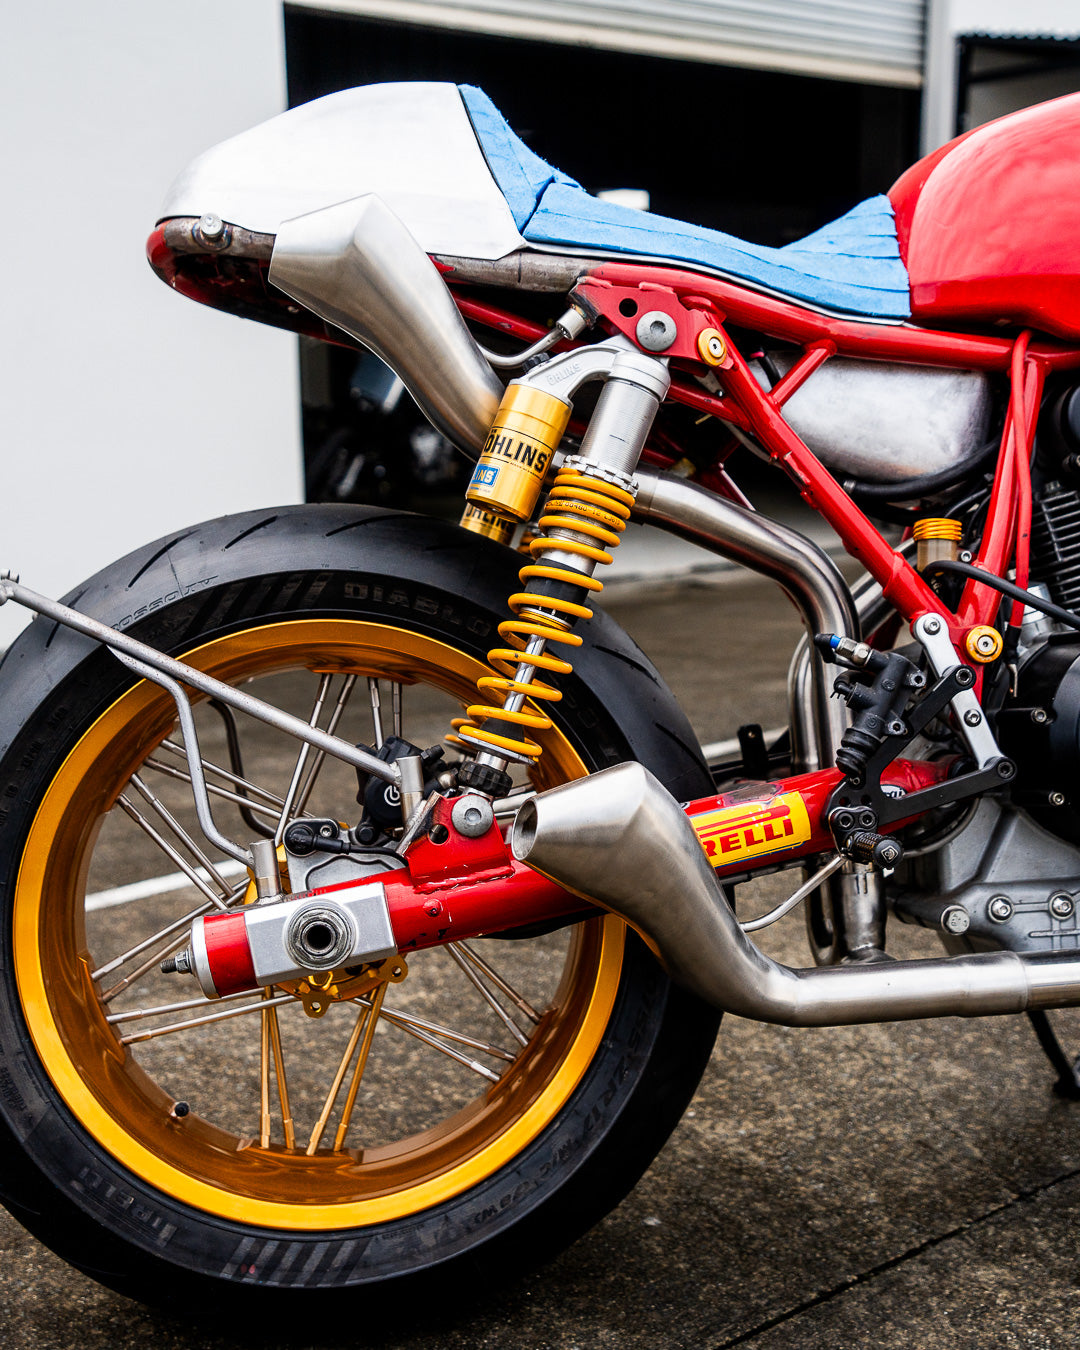
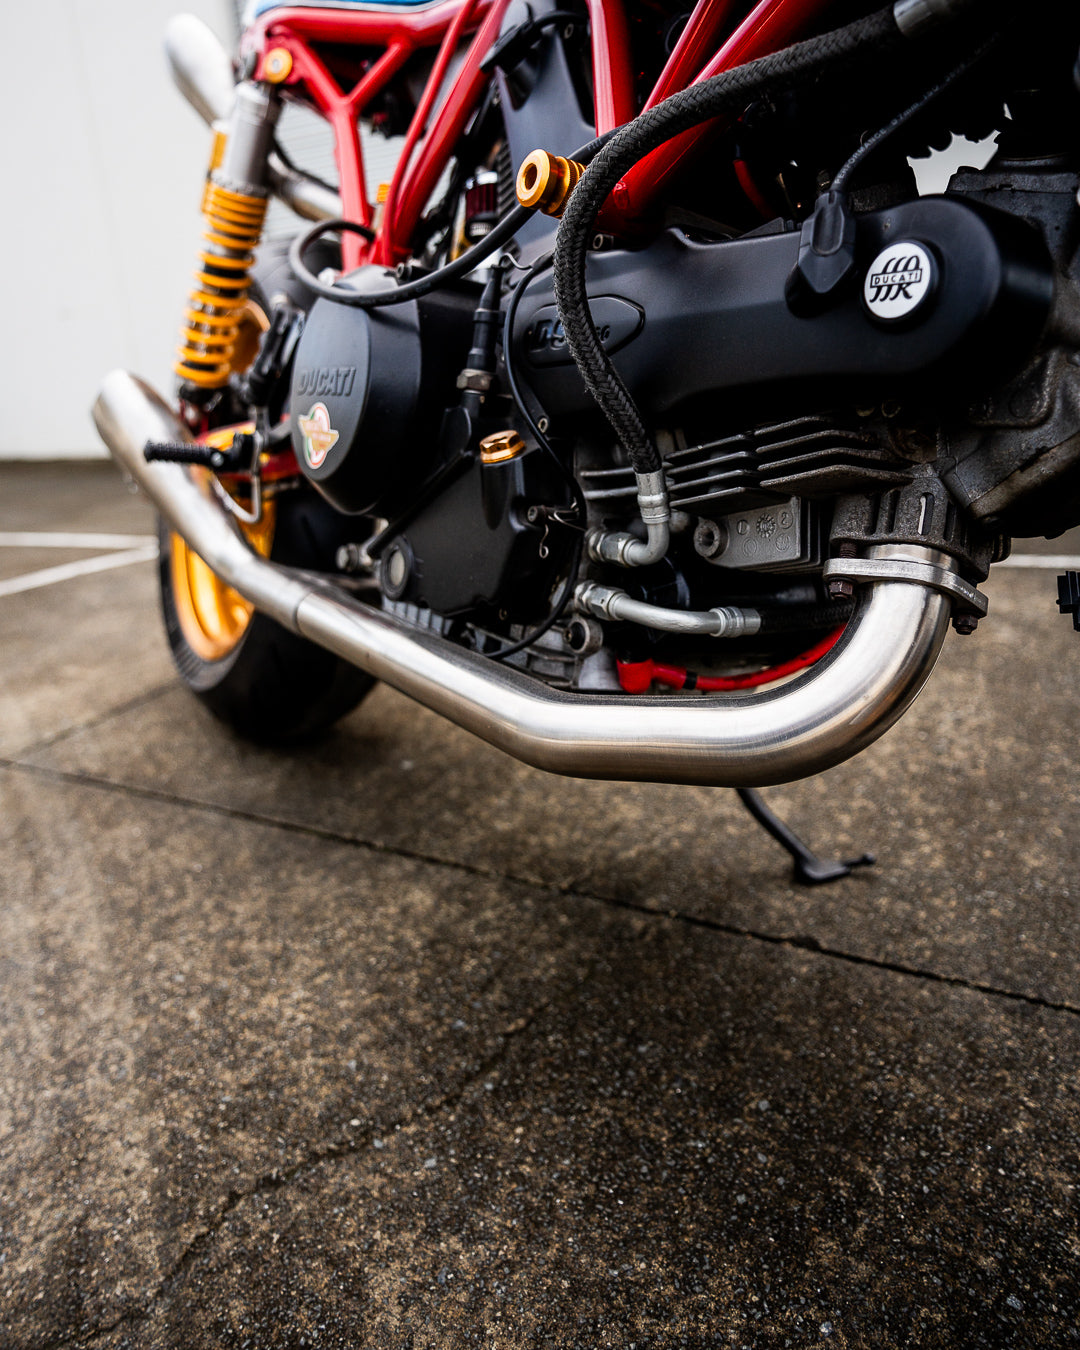
The end result is a custom exhaust system that can only be acheived through this process adding a unique, eye-catching element to the bike. Hydroforming allowed me to create a distinctive design that stands out from anything we've done before.
Lessons learned were many on this first attempt, next time around the templates will be cut oversize to allow for easier hand shaping and hopefully less creases. Using smoother curves I also hope will end up with a better finish straight from the pressure forming process. The final update for the next attempt will be to use a thicker material. The 0.9mm stainless needed very minimal pressure to shape, and due to the thin material made it difficult to weld and work with against the 1.6mm walled exhaust tube we use. 1.2mm sheet will be the material used next time and to try to increase the strength of the weld I’ll roll the edges over before we attempt to pressure form it.

This single piece will form part of a far bigger picture for this build, and I can’t wait to share the finished product with you. The Ducati GT1000 with its custom hydroformed exhaust system is set to be a showstopper. Stay tuned for the official bike release—it’s going to be something special.
Be sure to watch the video documenting the entire process from start to finish. It’s an interesting watch, that I'm keen to hear feedback on. Thanks and stay tuned for more!
WE BUILD BIKES WITH PURPOSE.
Purpose Built Moto is home for unique custom motorcycle builds. We offer a unique motorcycle customizing experience in the heart of the Gold Coast.
Join our email list and receive exclusive updates.
Latest Stories ALL STORIES
-
04/05/2026


3 comments
Hi Mark, We dont replaicate parts off our customer builds. I would encourage you to finish making your own.
Awesome…..The Ducati pipes look amazing and the time lapse video is a great way to show the amount of work that goes into something like this. I’m looking forward to the final reveal. Nice work Tom
I am just finishing of a sport classic rebuild, any chance I can purchase the finished seat you’re making in raw finish? I have a fibreglass one from a japanese race fairing set that’s better than stock but not great looking. I had a crack at making my own seat unit in aluminium and got really close with my first attempt but need to start again. Given the manhours consumed so far, a short cut might be better!