
Motorcycle Engine Rebuild How to – A high-level approach by Ian Don of Black Cat Customs
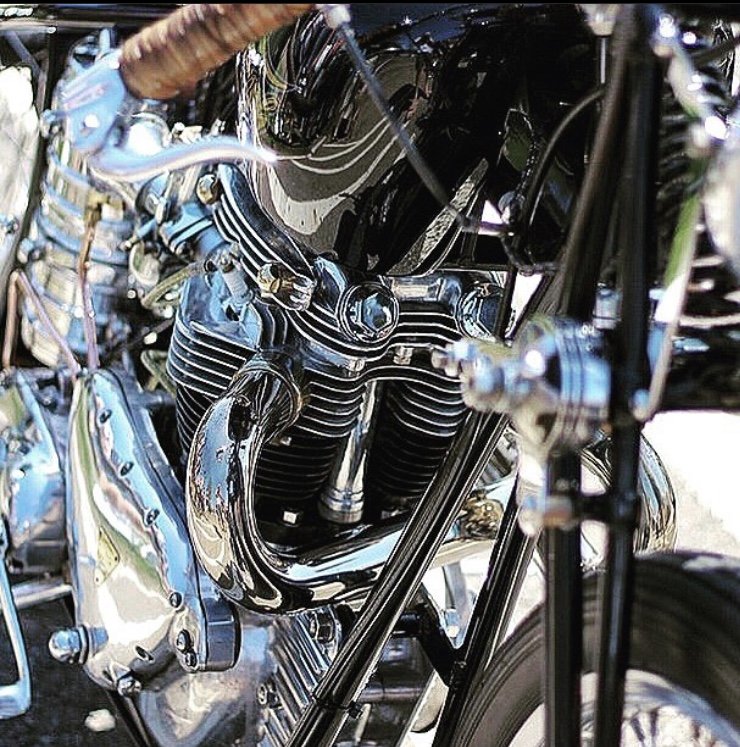
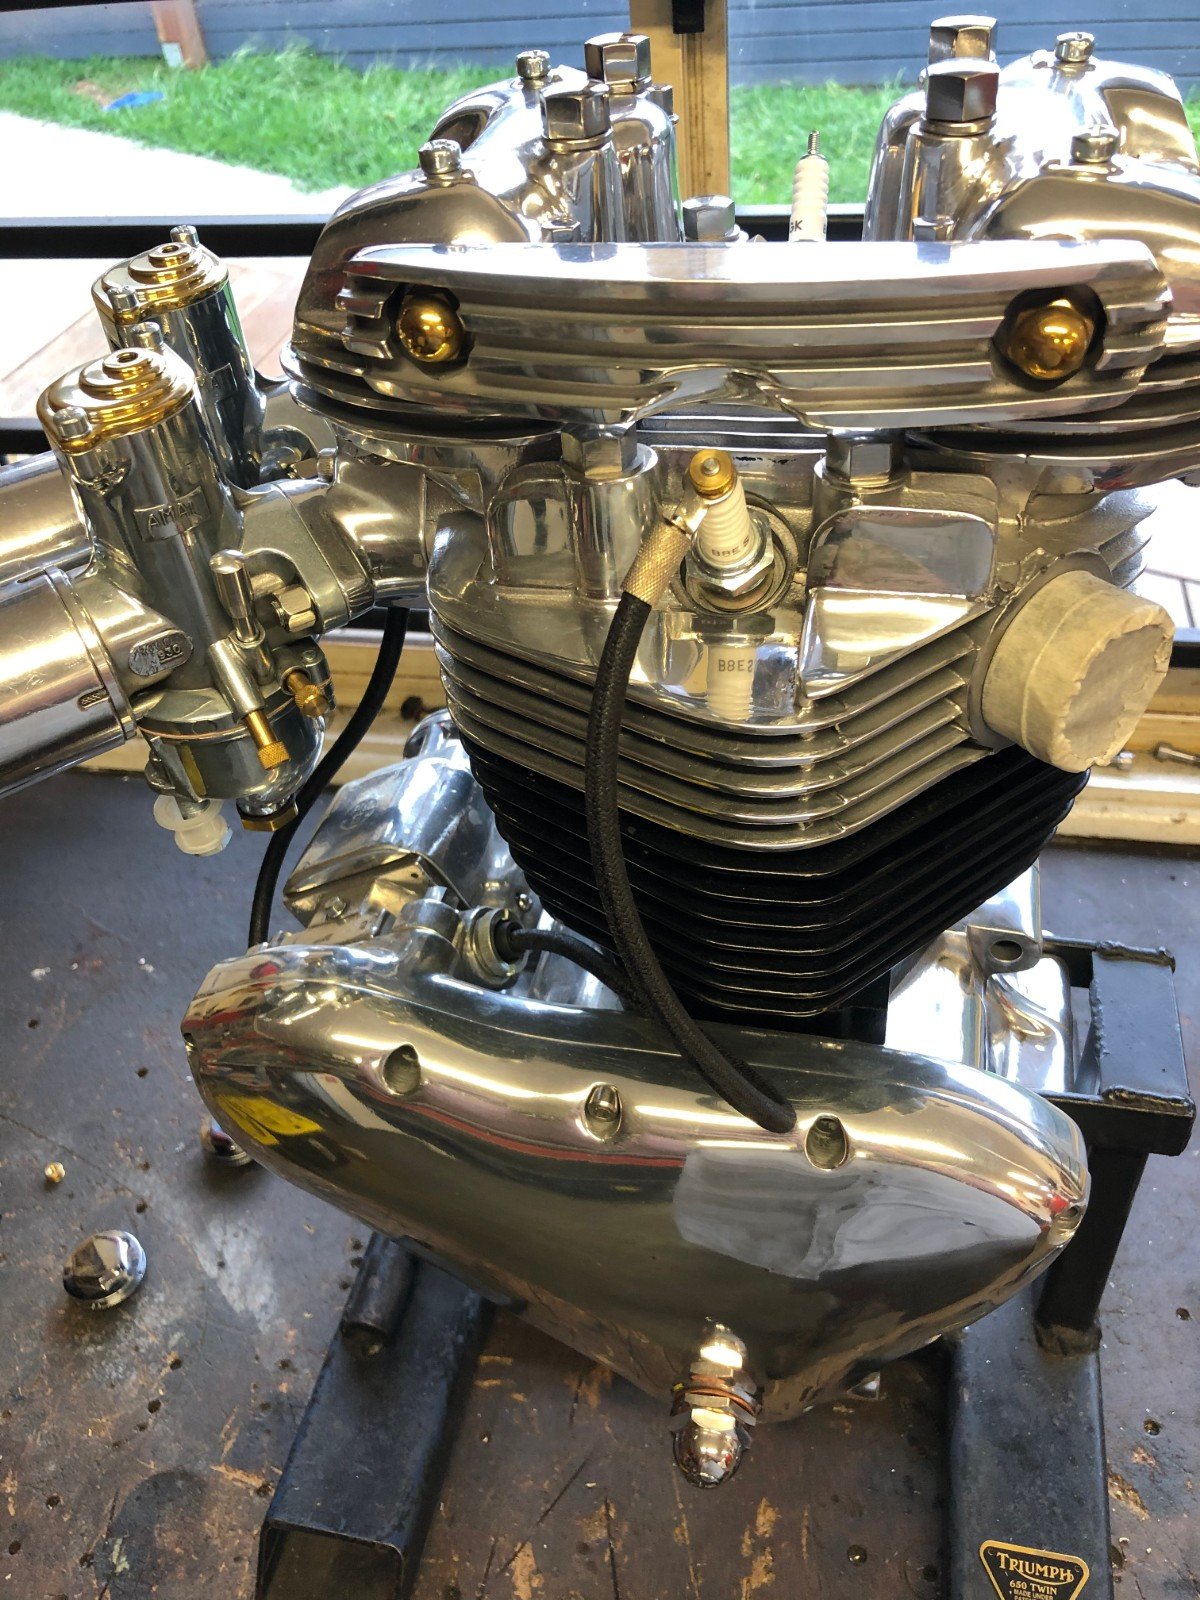
In our second installment for the Purpose Built Moto Guest Builder series, we linked up with Ian Don, a mate of mine for a while now who you may recognize from the custom builder documentary “Handcrafted“. Ian is Known for building technically brilliant and beautifully detailed vintage triumphs. Ian’s a self-taught man, with a lot of skills he could share. When I asked him to be part of the series, he jumped in headfirst and wanted to give you all an insight into an engine rebuild. Something he’s grown to love after getting to know the process and becoming comfortable in his skills with the rebuilding in’s and out’s.

This article take’s a high-level approach to showing you the steps you can take to tackle an engine rebuild your own motorcycle engine. written around a vintage triumph engine rebuild, however, the steps covered here can be logically applied to any motorcycle. the idea isn’t to hold your hand through the entire process but to give you enough information to inspire the confidence you need to go and learn the rest on your own. So let me shut up and hand you over to Ian Don.
“Many a time when I’ve been leaving an event or the local to have drawn a small crowd around the bike, there’s always a couple of old guys there quietly whispering about how it might be shiny but those old triumphs are a bugger to start “ten kicks at least”
It’s always really satisfying to tickle the carbs, whisper a quick warning to the bike under my breath “don’t you dare not start in front of all these people” and kick the bike into life with a single kick, try not to look too smug and take off giving the fuel tank a little pat.
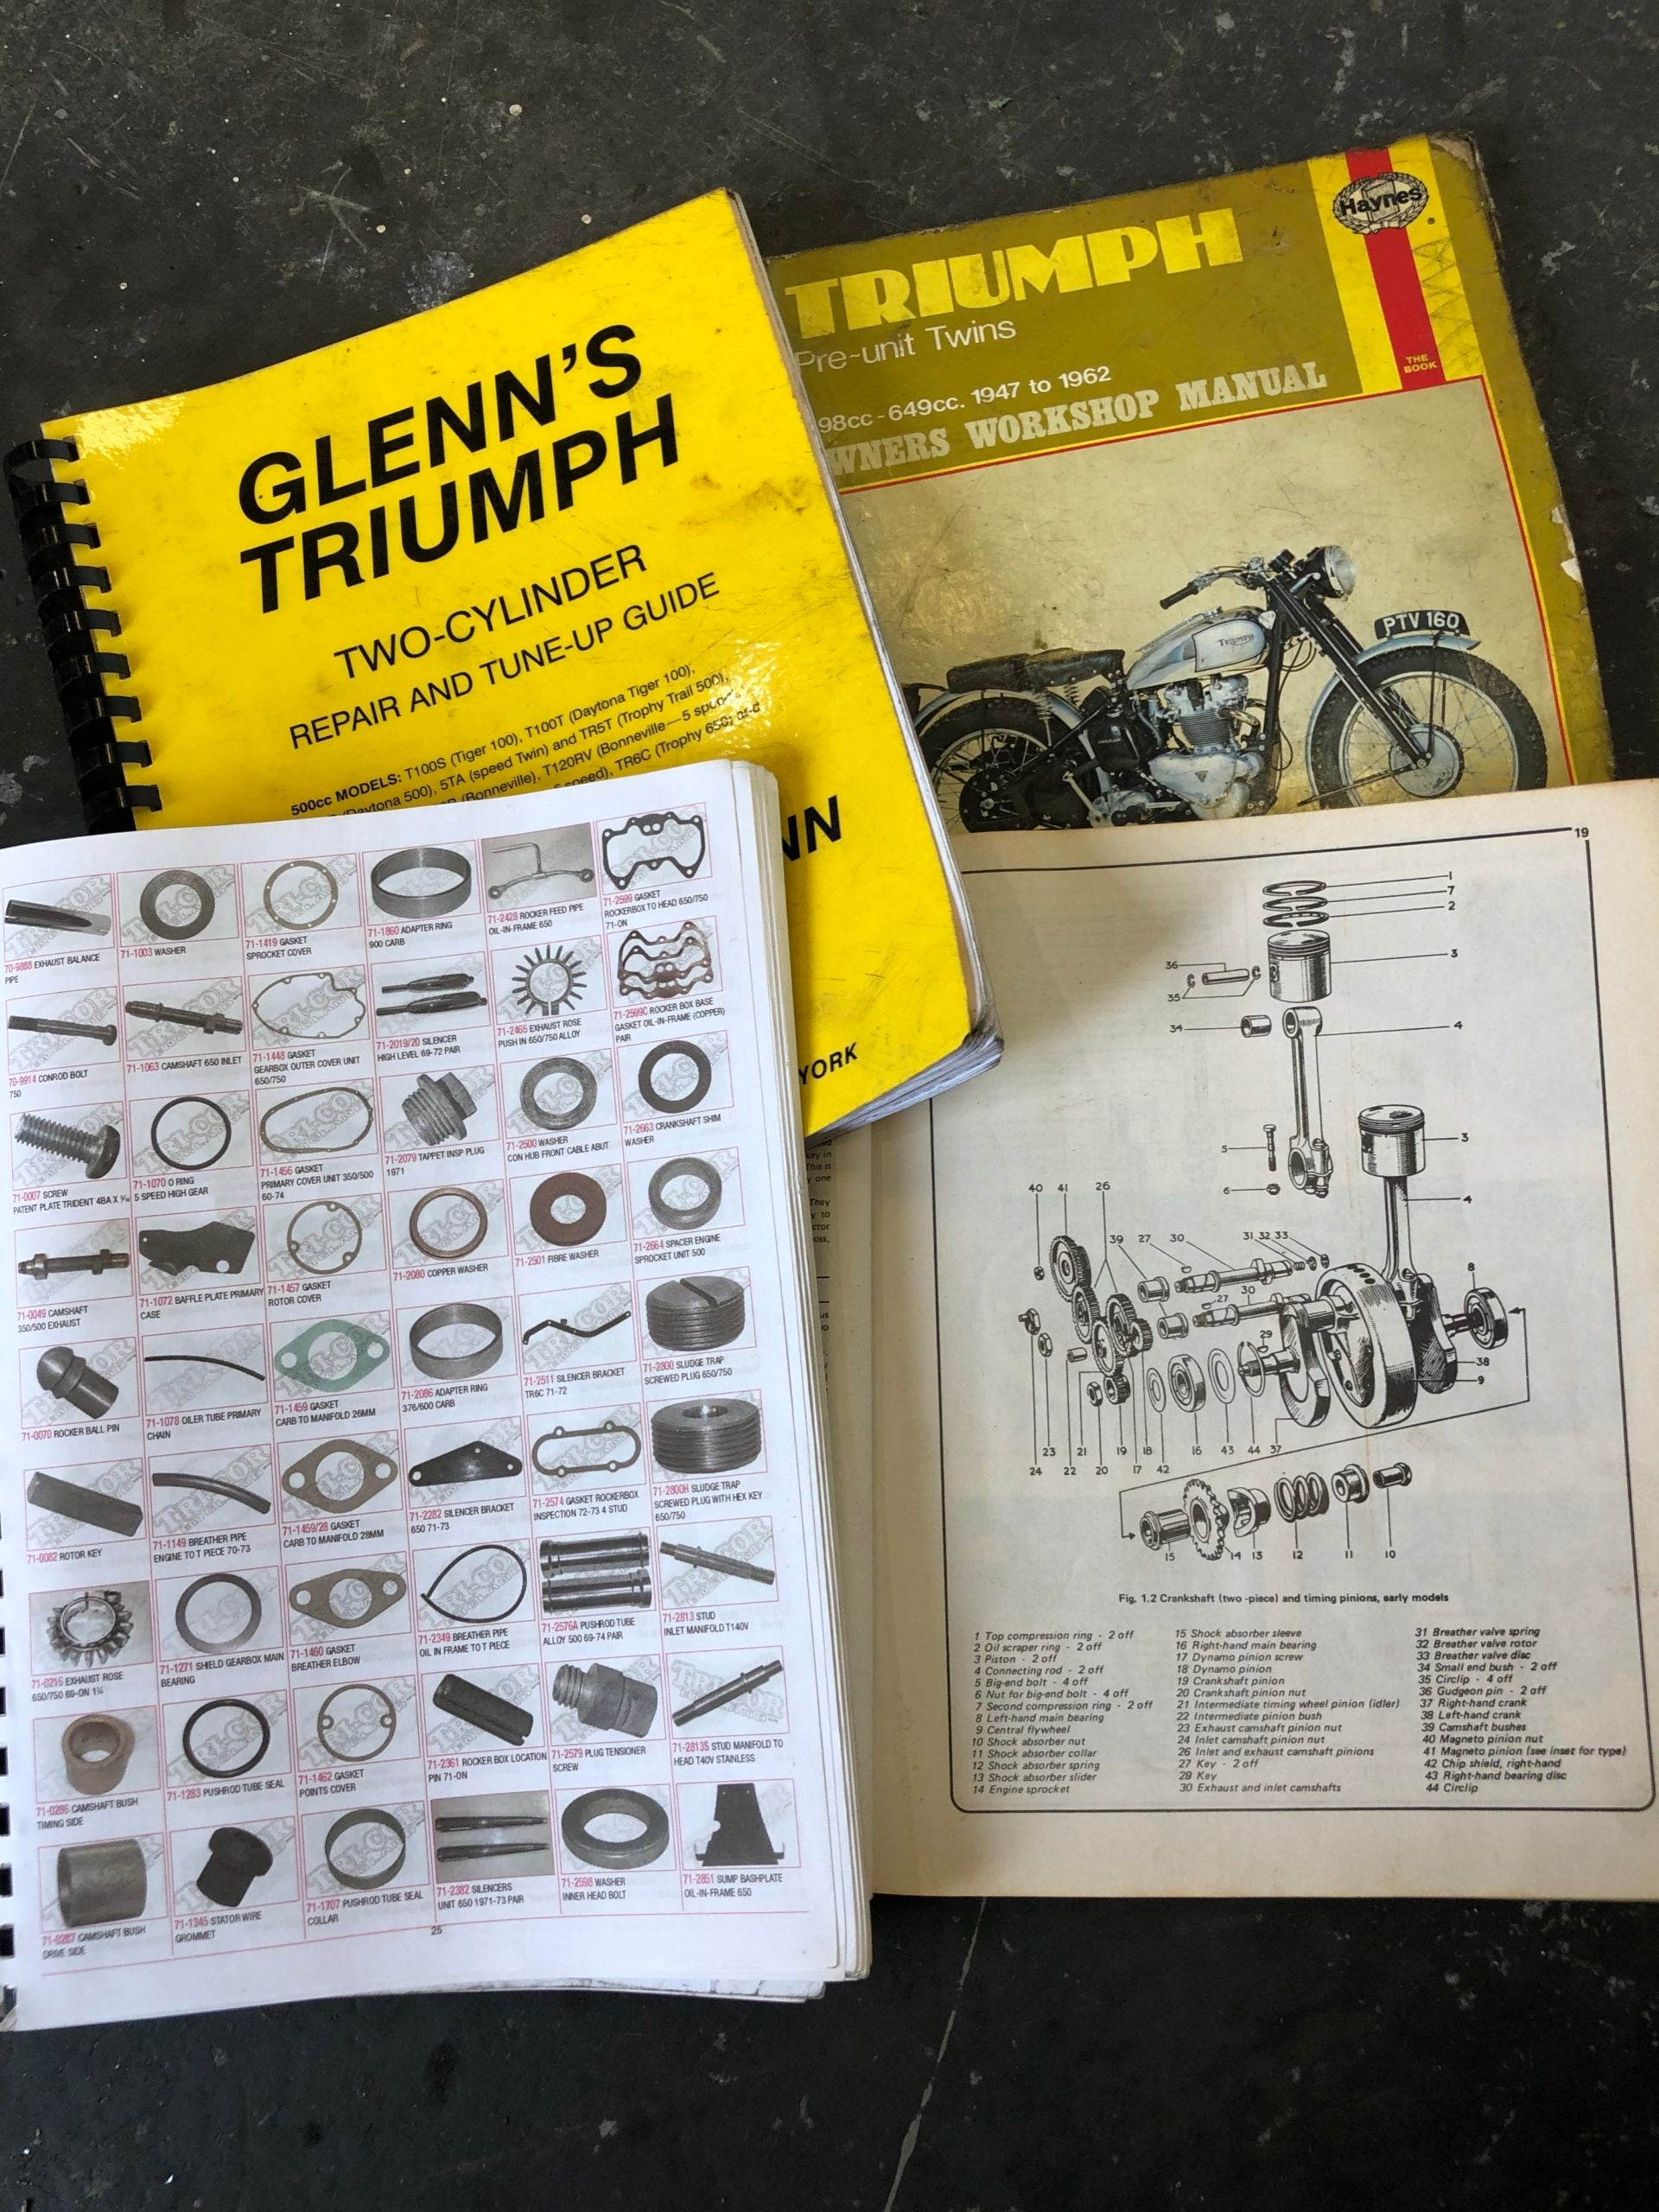
For me when I decided to build my first engine a pre-unit 1951 Triumph I had never done anything more than changing the oil and filter on a car. I actually didn’t even know the names of the major components so I bought a Haynes manual and then just spent hours pouring over the diagrams and learning the part names and studying the diagrams so that I could actually get my head around how the engine worked and what parts did what.
Against advice from people “in the know” I bought my engine piece by piece which is not only a huge task to find every single part but it’s probably the most expensive way to do it too. One upside is that spending so many hours looking at parts books and manuals I really got a good understanding of how the engine actually worked and how the camshafts pushed the followers which moved the pushrods which pushed the rocker arms which opens the valves etc.
Having an idea of how a specific engine works simplifies other engines you may end up working on and can give you the confidence, misplaced or not to give building your own engine a go.
Now you’re not going to learn how to strip down, repair and reassemble an engine from one article but I’m going to just share a few of the tips and tricks I have learned to maybe make the process a bit clearer or make your first build be a bit easier.
Getting started:
- BUY THE MANUAL! No engine rebuild is easy and the internet is amazing and you will find the relevant manual and most times a service manual too. One thing I have found really useful is many manufacturers put out a manual covering changes over the different models from year to year sometimes you think you have the right part but it may not be the right year which can cause an issue.
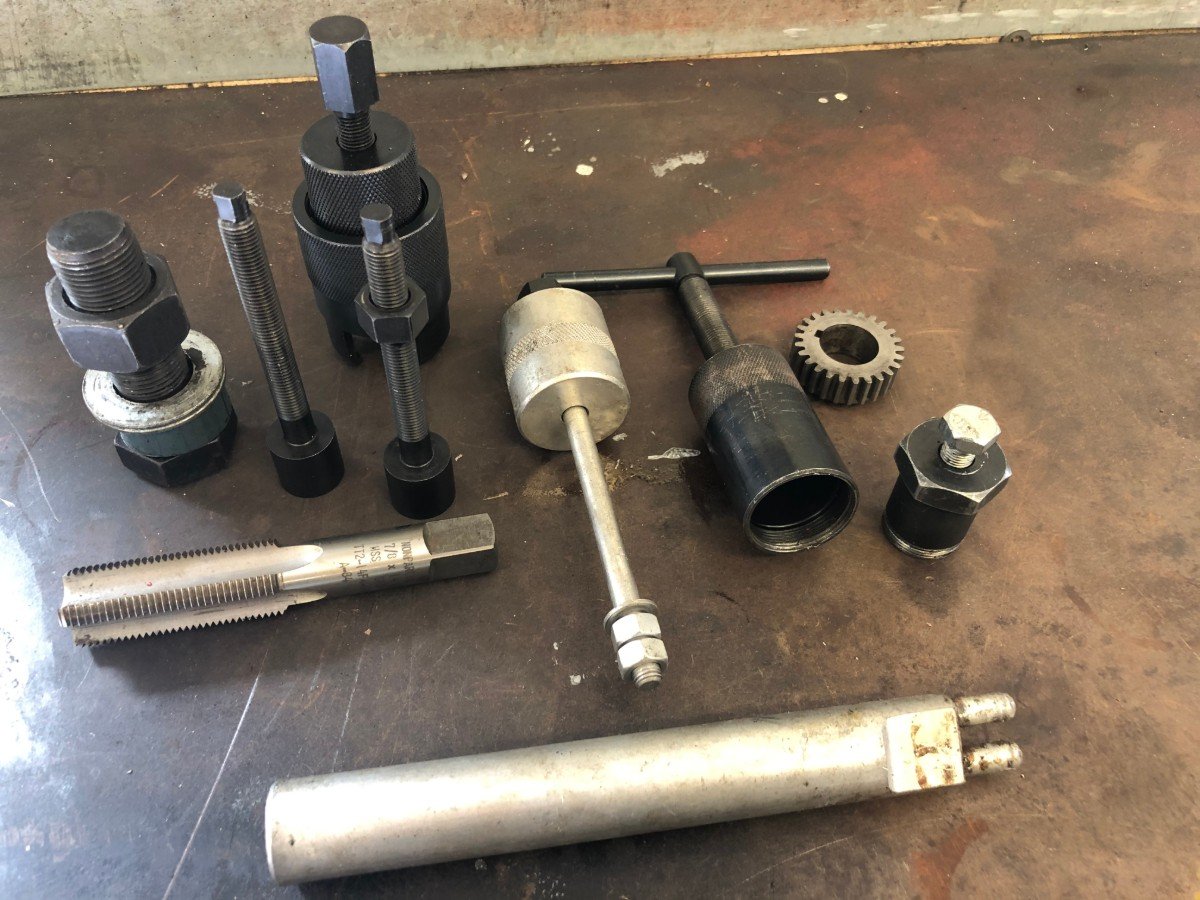
- Specialist tools. Most engines require at least one or ten specialised tools to be disassembled, if you find yourself with a screwdriver in one hand and a hammer in the other, stop! Take a breath and buy the correct puller, driver or whatever it is. You can do a lot of damage unintentionally and cost yourself more money by having to buy replacement parts.
- Although you may imagine rebuilding an engine in a blur of spanners and sockets over a weekend, chances are it’ll take a bit longer than that so as you start to remove parts take photos each time you remove anything so you can remember how it went together.
- I like to use zip lock freezer bags to store nuts, bolts etc & use a permanent marker to write a quick note on each bag of where the part is from or even a quick note about how it was fitted if it may not be obvious.
- Inspect each part as it is removed. Is it worn or rusted? Are there unusual score marks on a shaft? This is also a good time to start making a list of replacement parts you will need to keep a pad and pen handy so you can look up the part number in the manual and then write down each part you will need as you are going along.
Teardown
Ok, you’ve got all your tools out and you’re ready to go! This may be obvious but the best way to take the engine apart is by starting at the top and methodically working your way down.
I’ll describe this in terms of a Triumph engine but will be applicable to many types.
Removing the engine head bolts will allow the rocker boxes to be removed and disassembled (bag these parts separately and label)
Remove pushrods and push rod tubes by simply twisting and pulling to break any silicone sealant.
Remove the head carefully. Using a valve spring compressor, remove the valve springs, keepers and valves. Bag these separately and note which side of the engine they came from, it’s best to differentiate the sides of an engine by referring to them as the drive side and timing side this way you cant get mixed up with left and right.
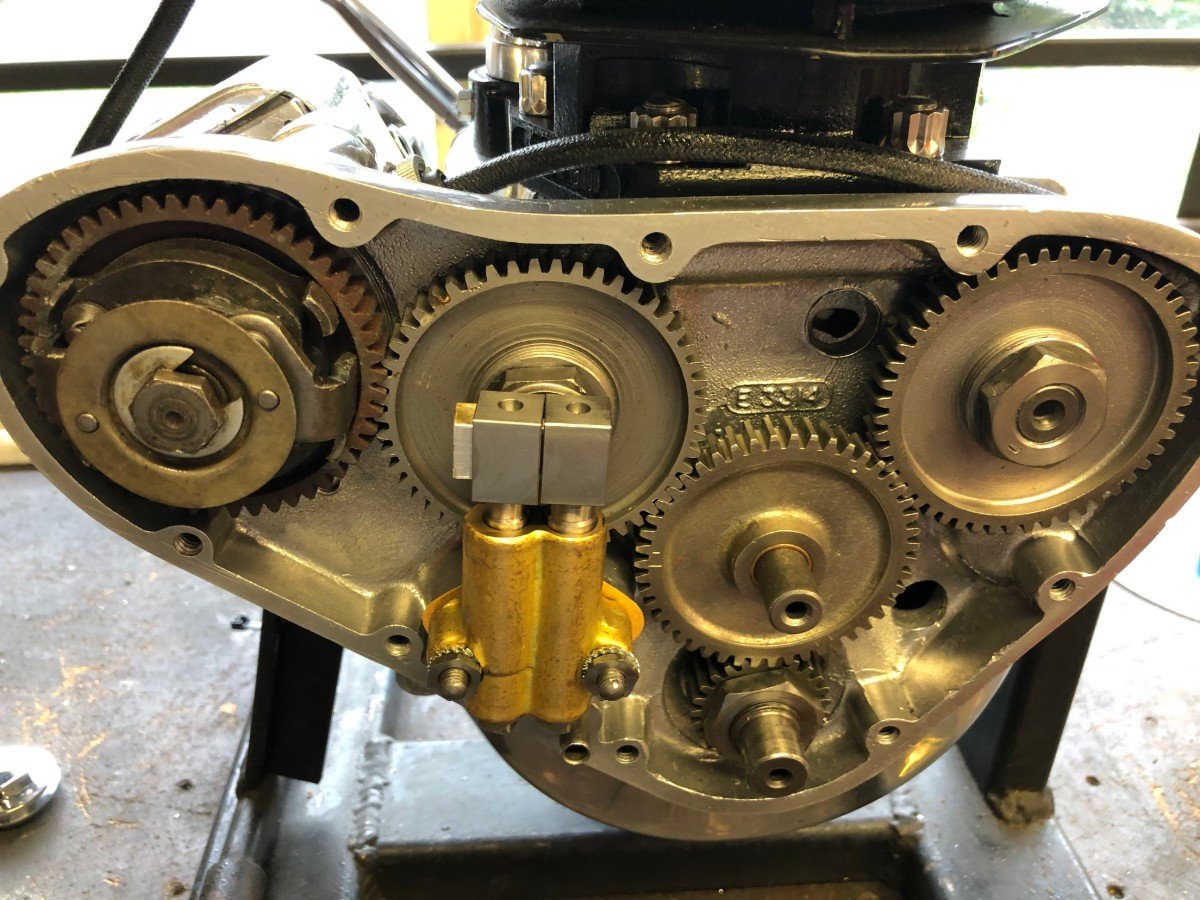
Remove the timing, cover the oil pump and nuts holding the timing gears onto the camshafts and the crank. Using the correct puller remove all the timing gears and bag.
Again the correct puller is needed to remove the gear on the crankshaft, remove and bag up with the timing gears.
Now try turning the engine over by using a tight-fitting deep drive socket on the end of the drive side of the crankshaft, if the pistons move up and down you can remove the nuts holding down the cylinders and carefully slide them up and off with a slight and gentle side to side motion. If the pistons are seized try pouring some WD40 or similar into the cylinders and let it sit for 24hrs.
Remove the cam followers from the blocks at the base of the cylinders again noting which side they came from, exhaust or inlet.
Now that the barrels are off remove all of the bolts, screws, and plates holding the cases together, make sure you get them all as many a person has been banging away trying to split the cases not realising they are still bolted together! On pre units there are two internal screws at the top of the cases internally so don’t forget those or the sump plate!
Gently remove the piston rings then the circlips inside the sides of the pistons, gently heat the pistons with a heat gun and using a gudgeon pin extractor slide the gudgeon pin out and remove the piston bag these parts again noting which side they came from.
Before going any further slide two pieces of 25mm pipe insulation down over the exposed conrod ends which will stop them from being damaged during the next stages.
Try pulling the cases apart alternating from the top to the bottom until they come apart, some GENTLE persuasion on the cases with a rubber mallet may be necessary.
Whatever happens, DO NOT hammer on the end of the crank like a blacksmith on an anvil don’t even do it with a soft face hammer. It will damage the end of the crank and you’ll be up for an expensive replacement part.
Usually, the crank will stay inside one-half of the cases so carefully lay this down and remove the camshafts and the rotary breather disc and spring from the end of the camshaft bush and bag them.
Now using a press, push the crankshaft out of the case and set aside.
Label the conrods with permanent maker noting which side of the crank they came from and which side was facing out before removing them.
Some engines are a “unit type” which will mean that the gearbox is also housed inside the crankcases as one unit. By using the same methodical and logical steps the gearbox can be disassembled and bagged, try to remove the gear clusters as one unit and photograph them laid out as it might make it easier for you to reassemble.
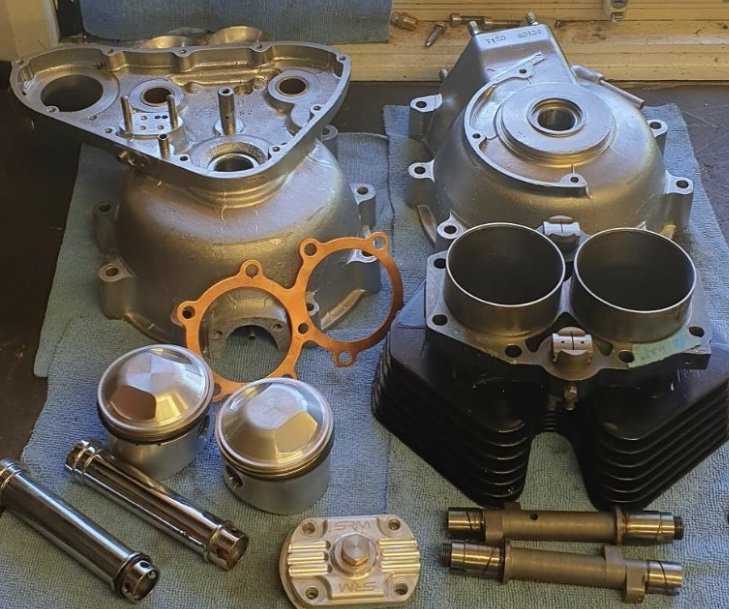
Cleaning and refinishing
Once the engine is all stripped down and neatly placed into bags you can start sorting them into boxes. For example one for cleaning, one for chrome plating and one for parts that aren’t going to be reused don’t throw these out as they can be invaluable to measure new parts up against or you may need to supply photos when trying to find replacements.
There are many methods to clean the many different materials found inside and outside the engine. I mostly use vapour blasting as it is probably the most gentle on alloys and leaves a nice protective coating. I also have an ultrasonic cleaner which is great for small springs and nuts.
Inspection and preparation
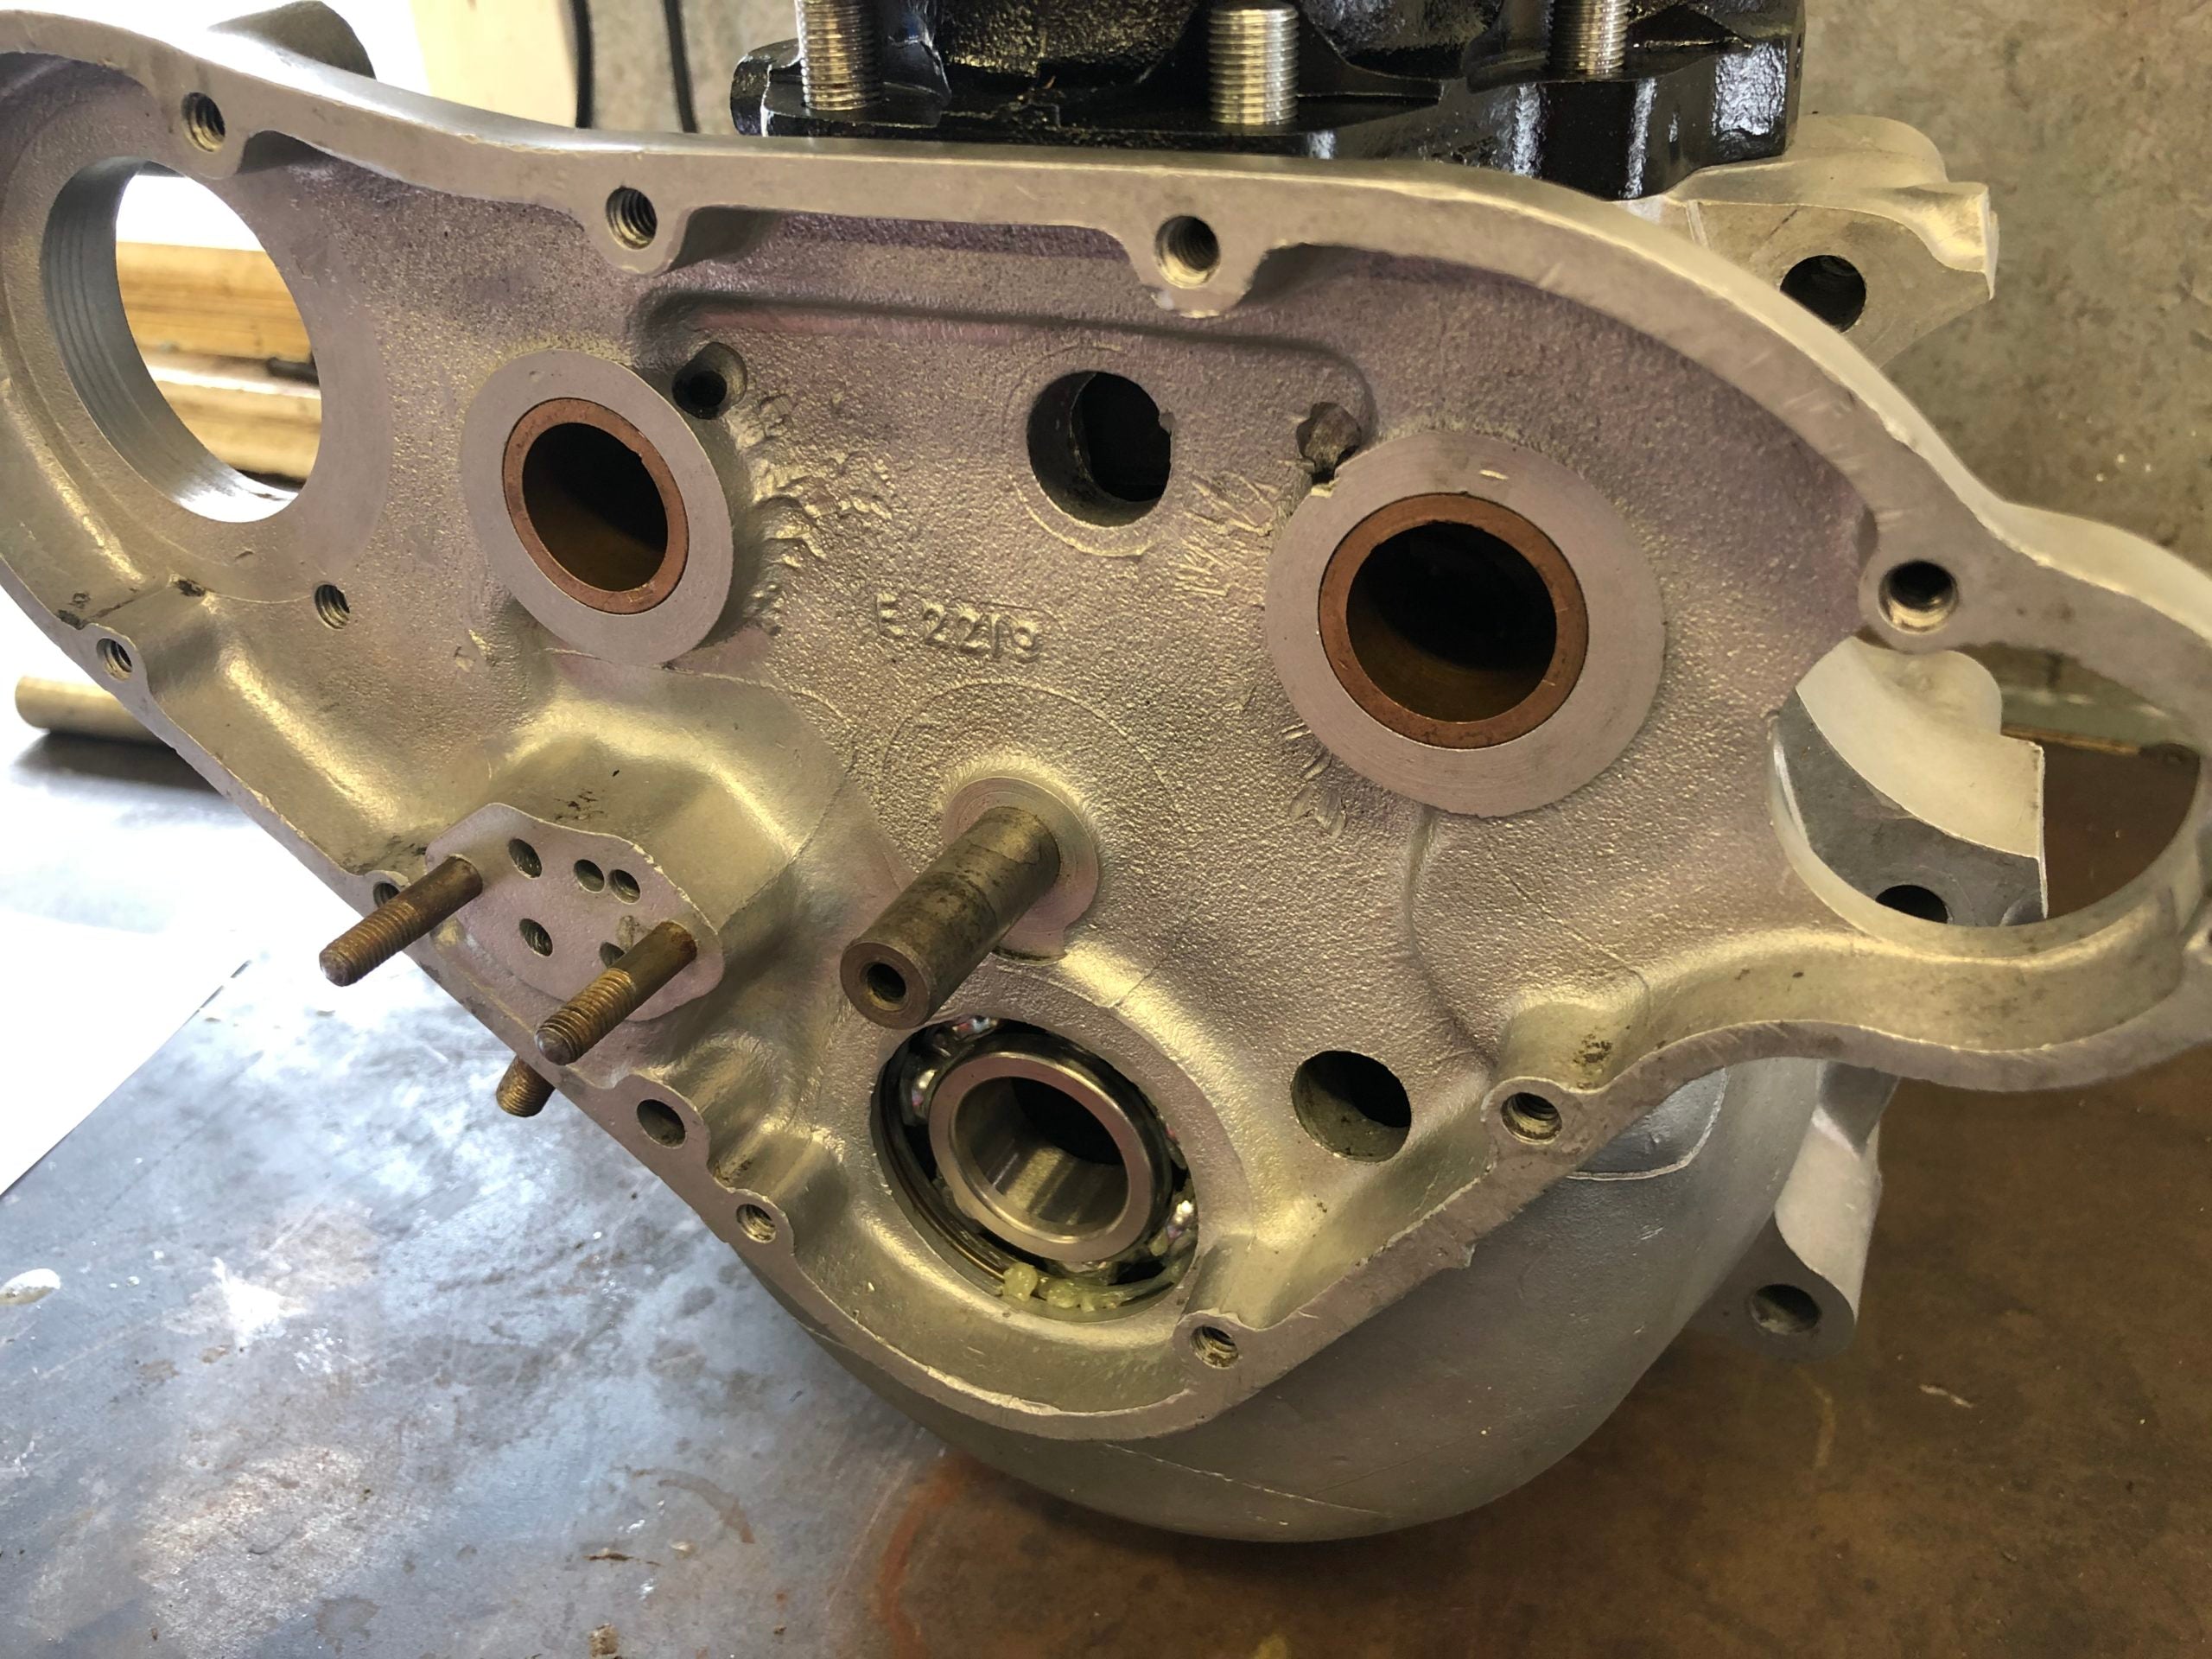
Once you have your cases back from vapour blasting give them a thorough look to see if there are any cracks as now is the time to get them welded and blended out.
Check the internal bore of the cylinders; are there score marks or marks where the rings have been sitting? You may be able to get away with a simple hone or they may need a full rebore.
Check the condition of any bushes, do they allow too much movement of their mating spindle? They may also need to be driven out and replaced.
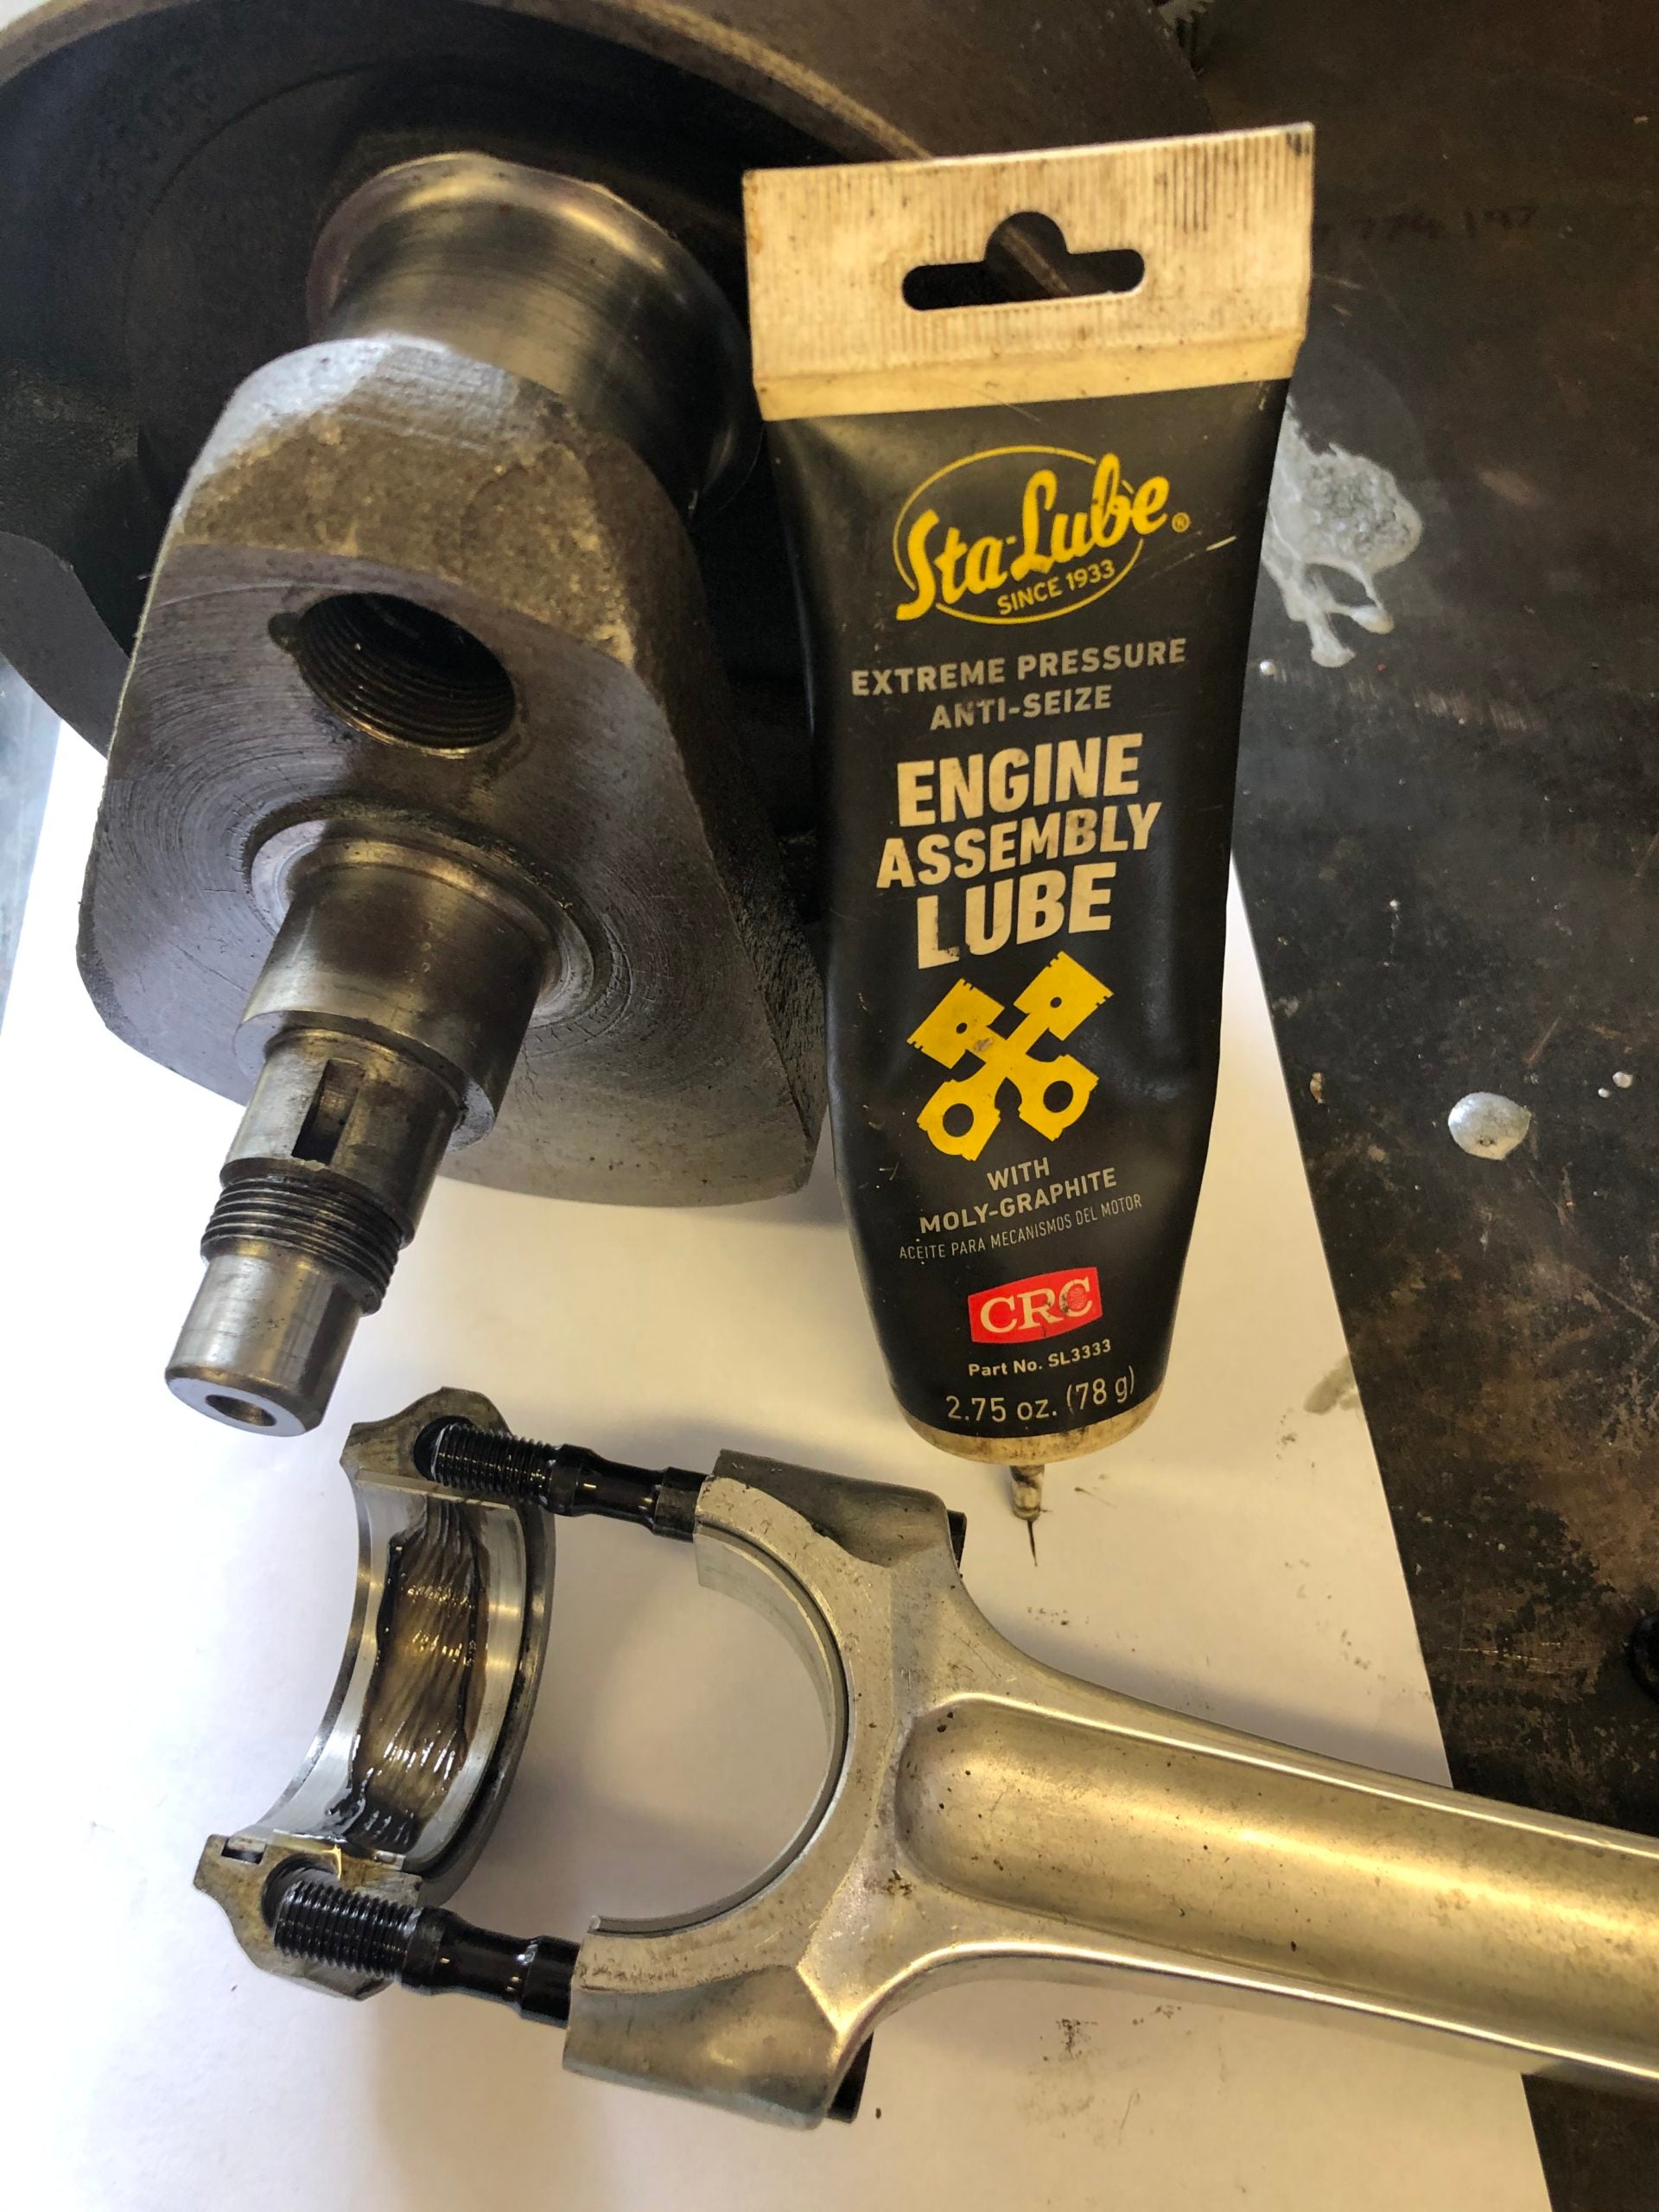
Get the crankshaft checked for balance as well as the big ends of the conrods. (This is probably a job for a machine shop). It’s a good idea is to take the barrels, crank, pistons, and conrods down so they can measure up and let you know if work needs to be done.
Once I am happy with the condition of the major components I will clean everything again THOROUGHLY! Don’t be in a rush to throw it all back together as most of the cleaning processes such as vapour blasting leave a fine-grit inside the parts. Wash everything in warm water and rinse many times to make sure nothing is left a small amount of blasting grit will do damage fast.
Reassembly
My best advice at this stage is to take it slowly. Make sure everything fits as it should and above all make sure everything is clean! I usually put down heavy-duty plastic cling film and clean each of the relevant parts with a product called “BrakeKleen” and then lay them out in order that I will need them.
Tip: Try doing a dry run first by assembling sections without gaskets or sealant just to make sure they all fit nicely. There’s nothing worse than having to clean all the sealant off and start again because something just won’t sit right.
Try using assembly lube with all mating parts that turn or spin inside a bush etc. (it will just be a little kinder to them on the initial start-up).
Take your time and try to assemble the engine in sections. Make sure you double-check with the manual and photos that you took to make sure you don’t forget a part of have something in backward.
Take note of bolt torque measurements and when tightening up multiple bolts holding down a single part i.e. head bolts tighten them by going in a diagonal pattern and starting at ¾ of the final torque setting on the first run then go back around.
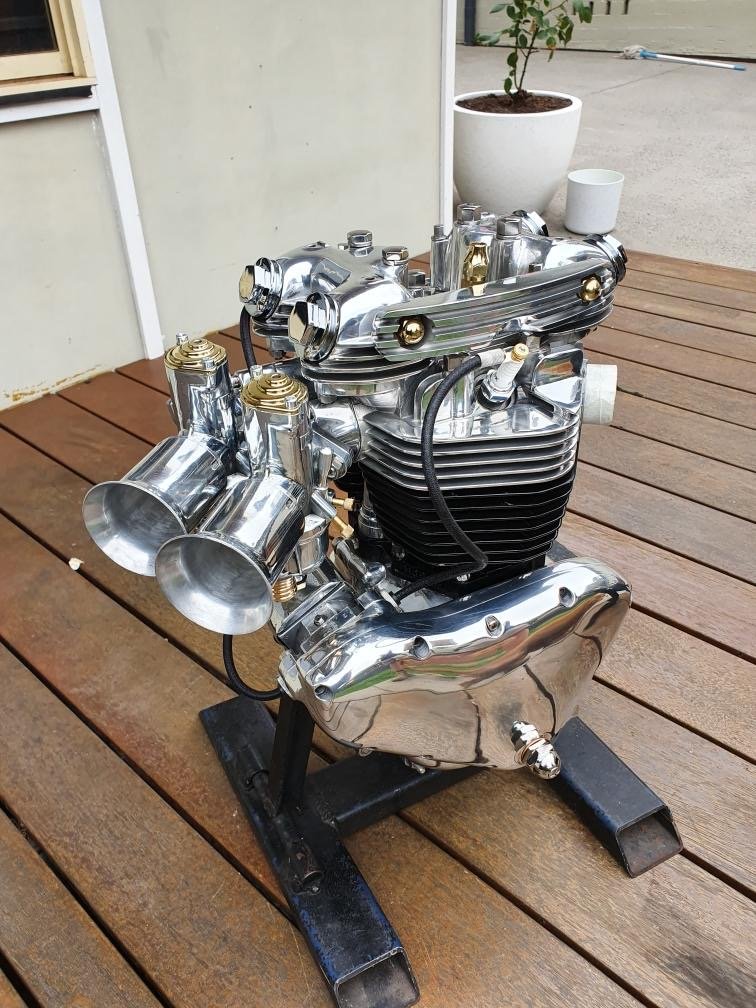
Hopefully, these tips will get you started and make you want to give building your own engine a go. Building engines is an exact thing and sometimes it’s the smallest thing that will cause failure but don’t be discouraged if it doesn’t work the first time, there are countless forums and YouTube videos that can help. My first forays into engines were not a spectacular success and I can remember sitting on the side of the road beside The Black Cat, my head on the tank totally beaten and ready to give up forever!
Give it an engine rebuild go keep persisting and eventually it’ll roar into life, and there is no greater feeling than having brought a motorcycle back to life with your own two hands and thinking to yourself, I made this.”
We hope that’s given you a bit of a peek inside the mind of a great motorcycle builder and shared enough information for you to take the first steps to try an engine rebuild on your own. Make sure you keep up with Ian and Black Cat Customs on instagram @blackcatcustoms
WE BUILD BIKES WITH PURPOSE.
Purpose Built Moto is home for unique custom motorcycle builds. We offer a unique motorcycle customizing experience in the heart of the Gold Coast.


5 comments
I’m constantly searching on the internet for posts that will help me. Too much is clearly to learn about this. I believe you created good quality items in Functions also. Keep working, congrats!
Thanks for sharing this nice blog.
No Problem, Happy to help out.
Dear Tom – I’m wondering if you would provide me with permission to use content on this site (https://purposebuiltmoto.com/rebuilding-a-motorcycle-engine-step-by-step/). On behalf of my college in British Columbia, Canada, I am creating a short lesson on how to create a narrated online PowerPoint video. I am doing so for colleagues in Kenya who are having to shift to online teaching during COVID. I need a short process that resonate with colleagues in Kenya (at technical and vocational institutes) and the process above for “getting started” and related images would be great for me to use in an example. Note that I am producing this lesson (and hence would be using your content) for non-commercial purposes and I would attribute your contributions of content within the example narrated PowerPoint video that I would be creating. Thanks for considering this!
excellent