


What to Think About When Setting Up Your Café Racer Bars
When customising your café racer, the handlebar setup is one of the most important choices you'll make. It plays a major role in both the appearance and ride experience. Get it right, and you'll have a bike that not only looks good but also feels good to ride.
There's a lot to think about before you dive into the parts catalogue. This guide will walk you through key decisions, practical advice, and give you an idea of what to expect when building your ideal handlebar setup.

Questions to Ask Yourself Before You Begin
Before we get into the nitty-gritty, here are a few questions that can guide your decisions:
- Clip-ons or Clamp Mount bars?
The handlebars set the tone for your bike's riding stance. Clip-ons give you an aggressive, sporty feel, while Clamp mounted bars have a much wider variety and usually provide a more upright, relaxed position. - What riding feel do you want?
Do you prefer the crouched, fast-riding feel of a café racer or something more versatile and comfortable? The style of bars you choose directly impacts your riding experience. - Minimalist or loaded with tech?
Some riders love having gadgets at their fingertips, while others prefer a sleek, stripped-back setup. Decide how many buttons, switches, and controls you want on your bars. - Hide the wiring or keep it exposed?
A clean handlebar with hidden wiring looks great but can require a bit more effort to set up. Exposed wiring can add a raw, mechanical aesthetic, but it’s all about what suits your bike’s style.
With these questions in mind, let's break down the steps for getting your café racer handlebar setup just right.


Step 1: Pick Your Style
The style of your build will often dictate your handlebar options. With café racers, the typical choices are clip-ons or low-rise bars. However, scrambler-style handlebars have been creeping into café builds, and for good reason. Here's how they differ:
- Clip-ons
These attach directly to the fork tubes, sitting low and offering a leaned-forward riding position. Clip-ons are a classic choice for café racers because they deliver a more aggressive, aerodynamic posture. - Scrambler Bars
These higher, wider bars give a more upright, relaxed feel. If you prefer a more versatile, comfortable riding experience, or use the bike to commute, this might be a better fit. - Brat, Chopper, or Bobber Style
If you're branching out into other styles like brat or bobber, you're looking at even more options. High ape hangers or flat, drag-style bars each change your bike's stance and feel.
Things to Consider:
- How aggressive do you want your riding posture to be?
- Will your chosen bars complement the overall build of your bike?
- What type of riding will you primarily do? If you’re just blasting around town or hitting short rides, clip-ons might work well. If you’re commuting or taking longer trips, a more comfortable option like scrambler bars may make more sense.
It's worth checking out a few setups before committing. Sit on a few bikes with different handlebars to see what feels comfortable for you. Café racers might look cool with a low stance, but if you're not used to the leaned-forward position, it can get uncomfortable fast.


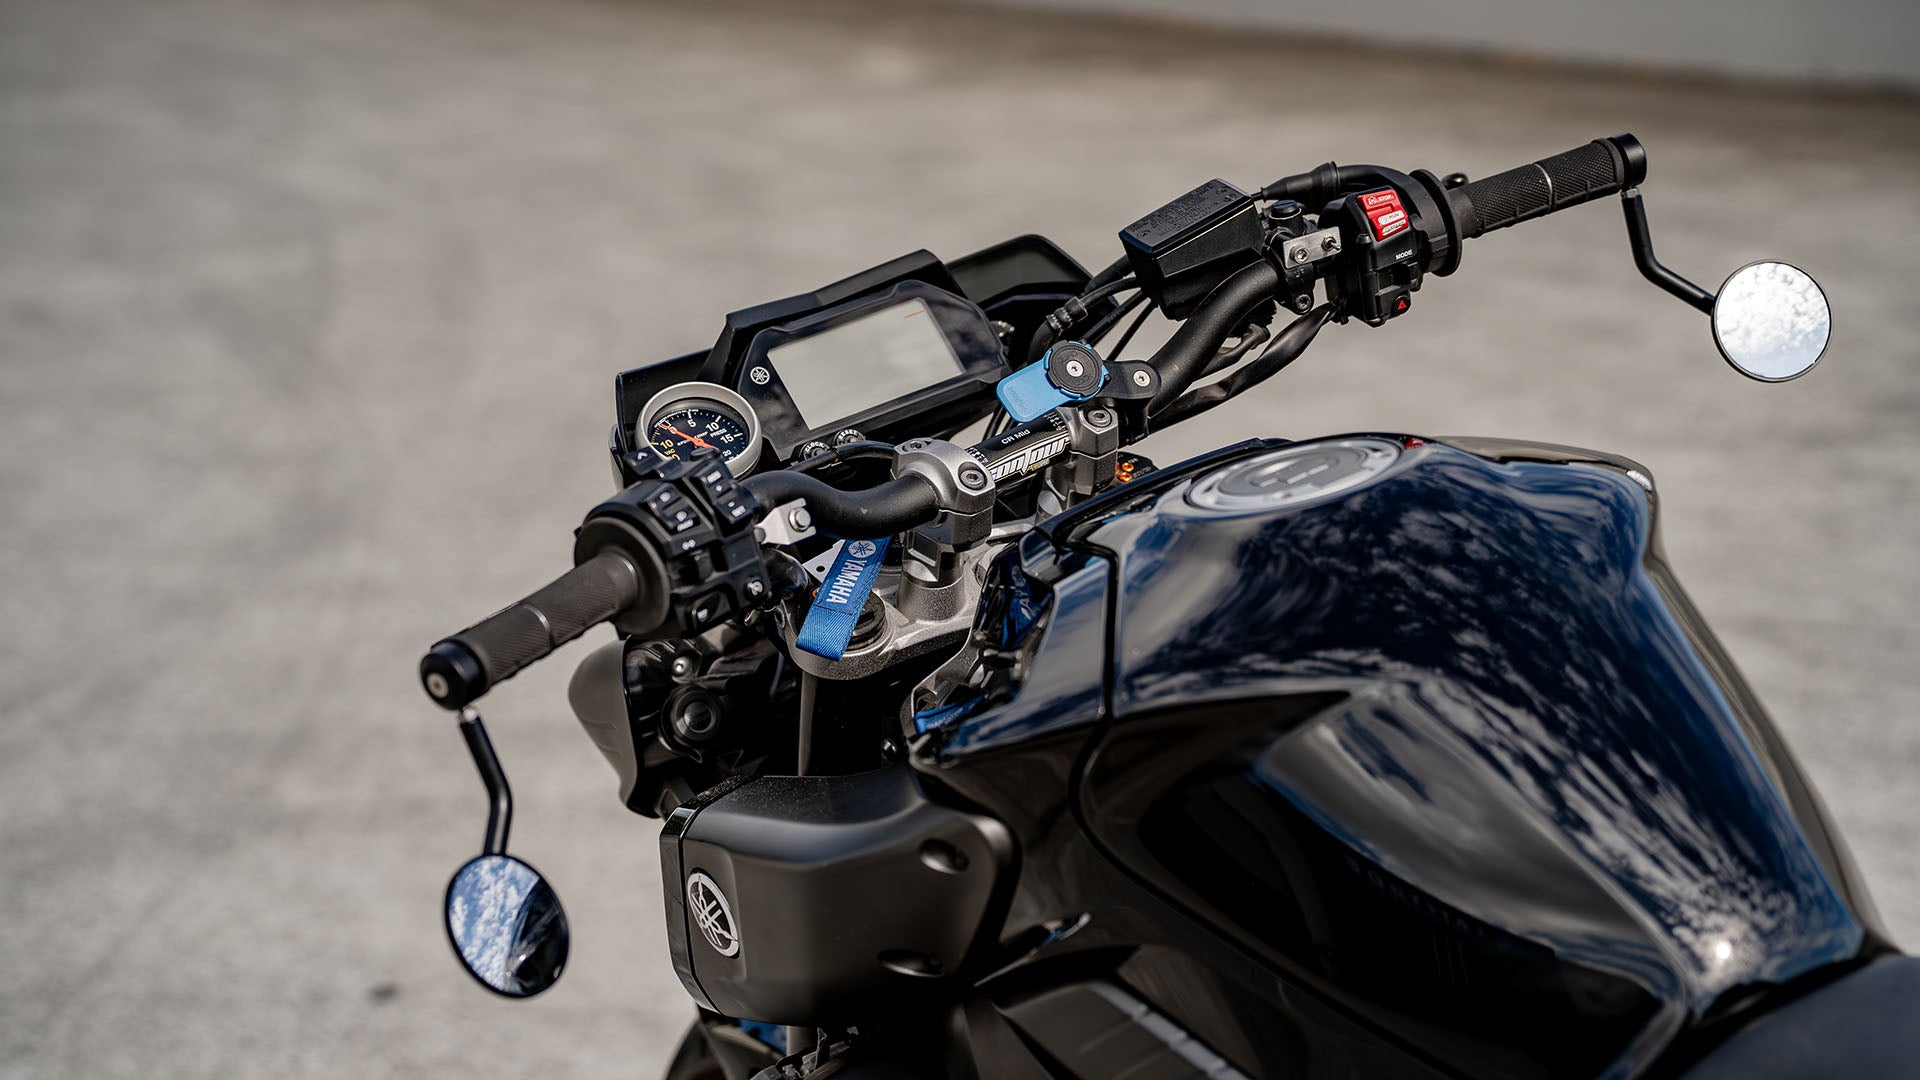
Step 2: Choose Your Throttle, Brakes, Clutch, and Mirrors
Now that you've picked your handlebars, it's time to choose the components that will complete the setup. These are not just functional parts but also elements that affect the bike's aesthetics.
- Throttle
Are you sticking with the factory throttle, or upgrading to something like a Domino throttle for better look and feel? It’s not just about looks—this is one of the main control points on your bike, so you want it to feel good. - Brakes
Brake levers and master cylinders can be factory standard, or you might opt for a performance upgrade. HEL Performance brake setups are a great way to sharpen up your stopping power while adding a high-end touch to your build. - Clutch
Like the throttle, your clutch lever is a key interaction point with your bike. Upgrading to a smoother, more responsive setup can make a big difference in how the bike feels. Choose a finish and style that matches your overall aesthetic. - Mirrors
Mirrors are a small but impactful part of your bar setup (and often necessary). You can mount them on the ends of your handlebars (bar-end mirrors) for a clean, minimal look, or closer to the center of the bars if you prefer a more traditional setup. Check out Purpose Built Moto’s Scrambler Mirrors and Bar End Mounting Kit for good options here.
Things to Consider:
- What style are you going for—minimal or more detailed?
- How do you want to mount your mirrors for the best visibility and cleanest look?
- Are your chosen components compatible with your bars and wiring setup?


Step 3: Choose Your Buttons and Electrics Setup
With your main components selected, it's time to think about the smaller details—buttons, switches, and wiring. This step can make or break the look of your handlebar setup.
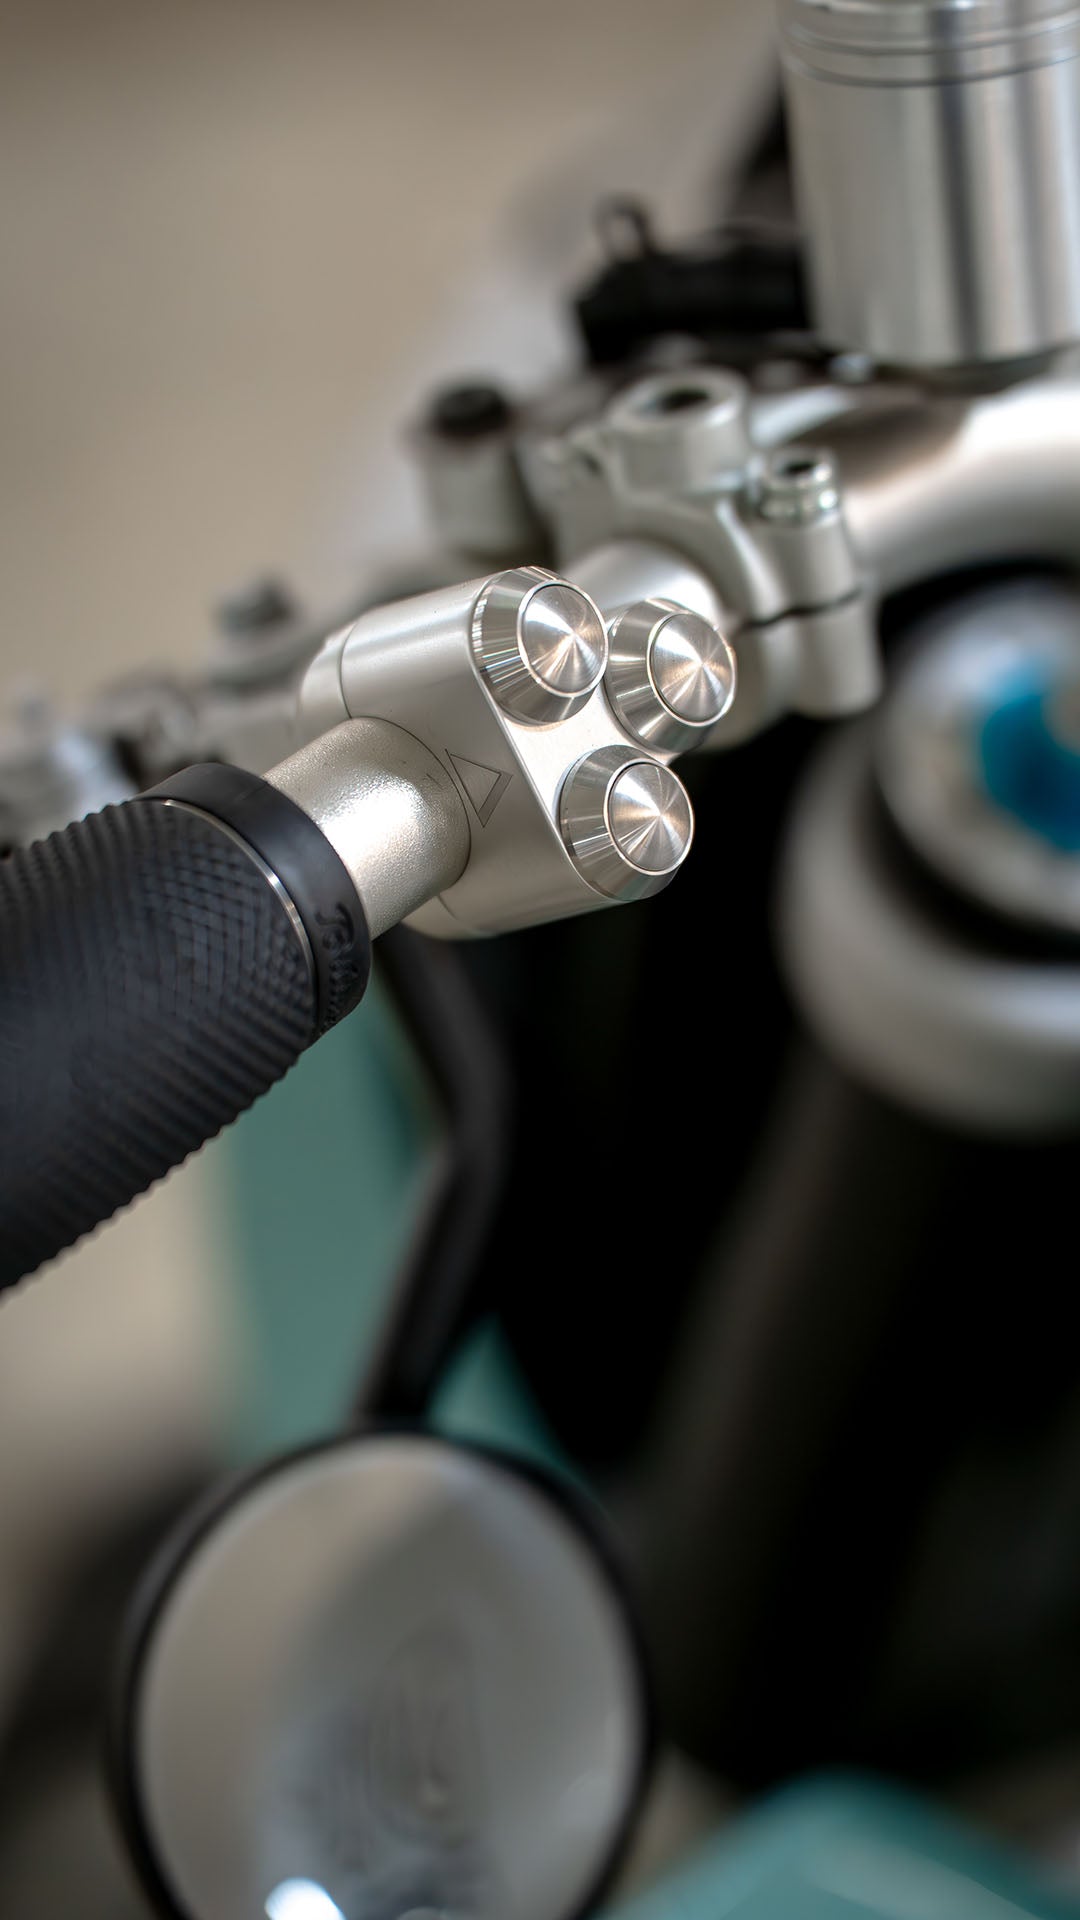
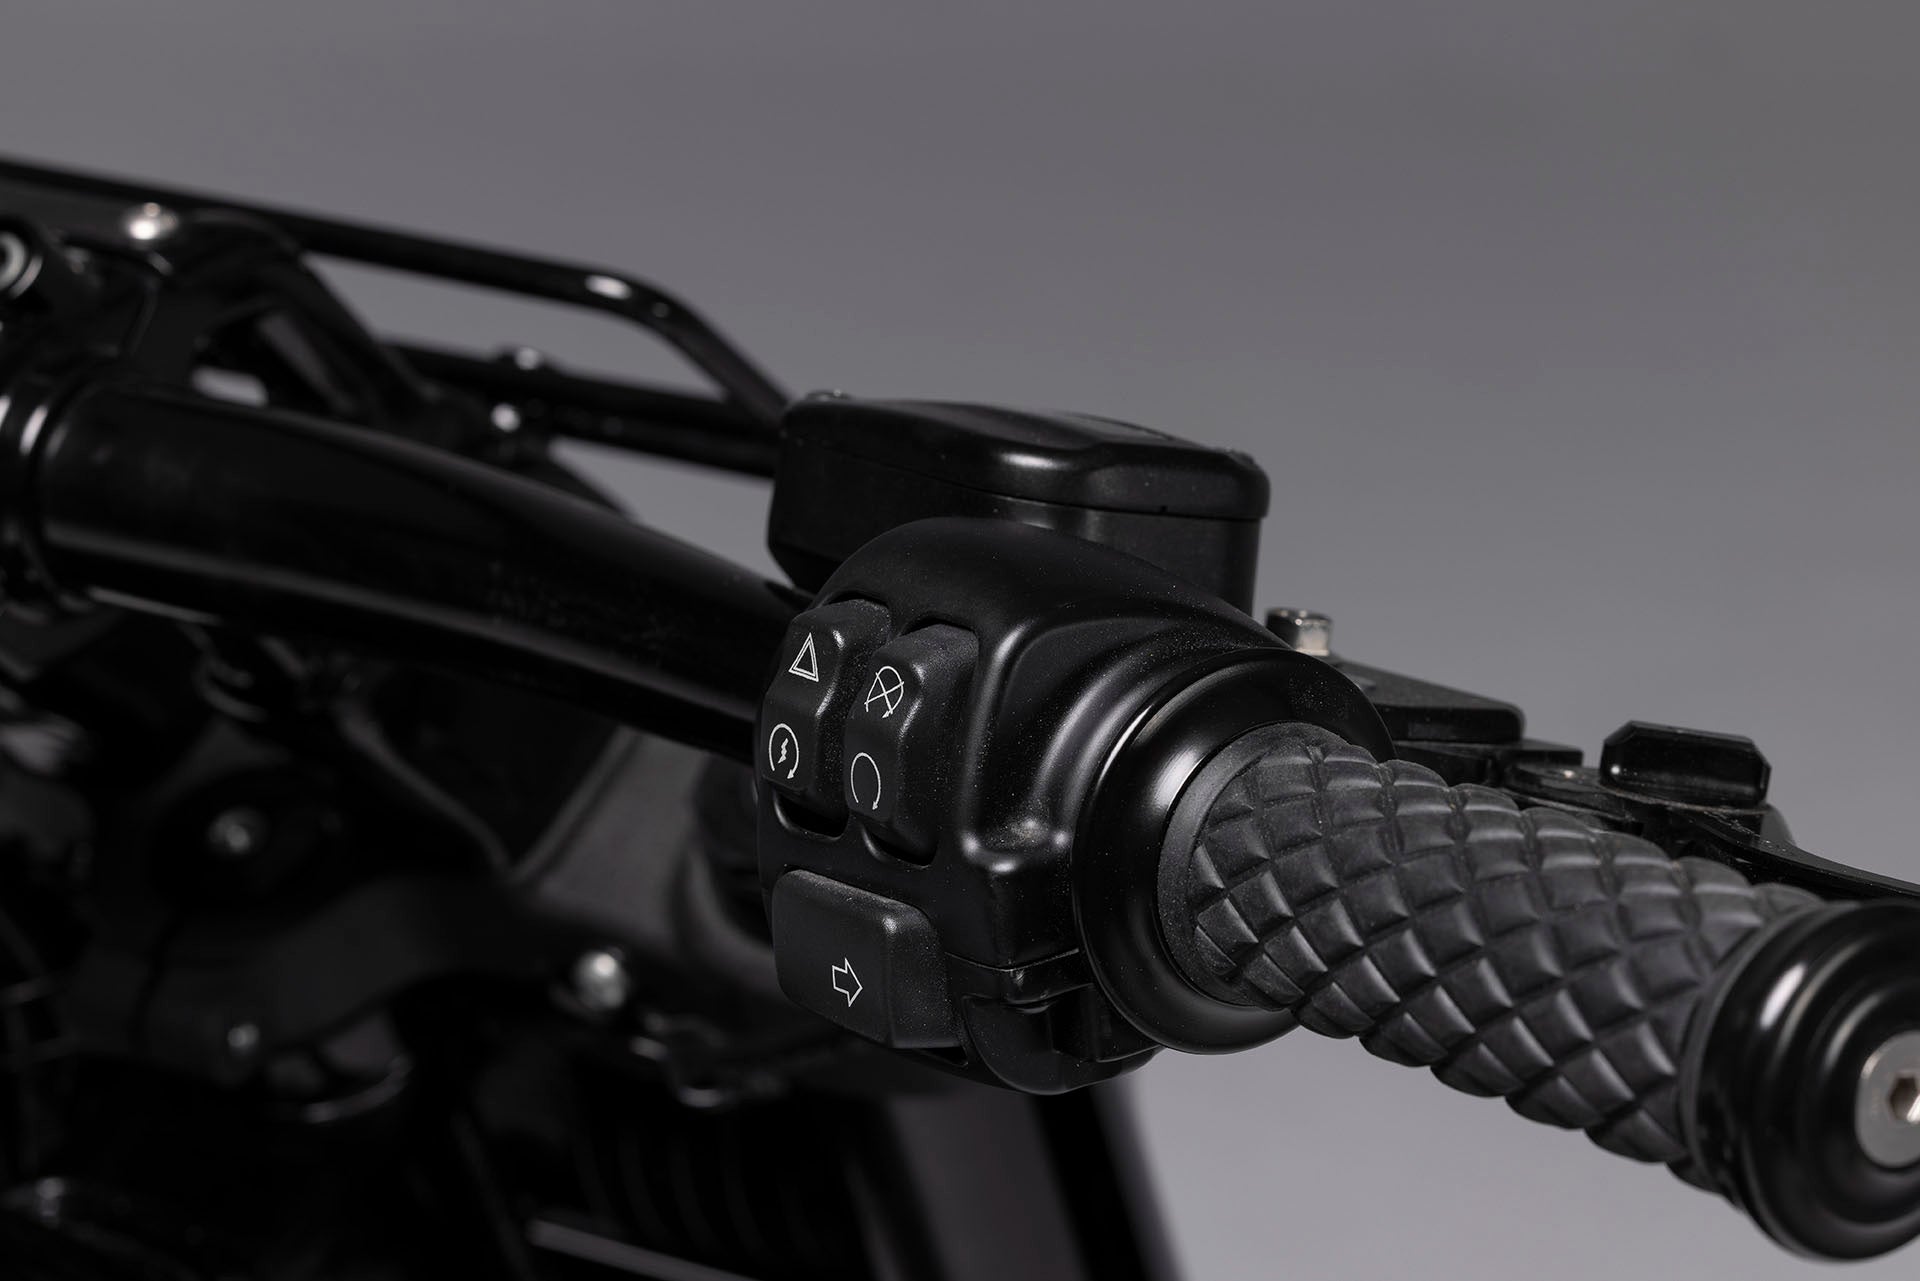
- Switch Blocks or Standalone Switches?
Some riders prefer a clean, modern look with a switch block that houses all buttons in one place. Others like the look of minimalist switches, where each button stands alone, weve even seen people mount buttons directly into their bars! It's a matter of preference, but either way, these need to be functional and easy to access while riding. - Hidden Wiring or Exposed?
Hidden wiring is one of those little details that can take your build from good to great. Running wires inside the bars gives a clean, seamless appearance, but it requires some extra effort during installation. If you prefer an industrial, mechanical look, exposed wiring might be more your style. - Dash Options
Your dash setup will depend on how much information you want at a glance. Are you sticking with your stock clocks, upgrading to a more modern gauge with a screen and flashy indicator lights, or going with something classic and minimal? Make sure you check out our Daytona gauges, theres an option for every style.
If you’re going for a minimal handlebar setup, try to keep wiring as tidy as possible. Purpose Built Moto’s Push Buttons are a solid choice if you want clean, hidden wiring with easy functionality.


Step 4: Install Everything
With all your components selected, it’s time to put it all together. Here's a quick checklist of things to consider when installing your new handlebar setup:
- Test Fit Everything First
Before you start bolting everything down, do a test fit. Make sure the bars are positioned where you want them, and check the clearance of your controls. Can you turn the bars fully without hitting the tank? Are your mirrors positioned so you get a good view of the road behind you? - Routing Wires and Cables
If you’re running hidden wiring, make sure all the cables are routed correctly inside the bars. It’s a bit of a puzzle, but doing this cleanly will pay off in the finished look. If you’re keeping wiring exposed, take your time to organize it neatly and secure it in place. - Tighten Everything Down
Once everything is lined up and working, tighten it all down. This includes your throttle, brake and clutch levers, mirrors, and switches. Give each component a final check to make sure its tight or working as it should.
Electrical TestingBefore hitting the road, test all your electronics—indicators, horn, lights, and any other switches. Make sure nothing’s loose, and that all your connections are solid.
Step 5: Enjoy the Ride
After all that work, it’s time to enjoy the fruits of your labor. Take your bike for a spin, see how it feels, and adjust as needed. Maybe your mirrors need tweaking, or your brake lever feels a little off. Don’t be afraid to make small adjustments until everything feels just right.
Building a custom café racer handlebar setup is a personal process, and no two bikes will end up looking the same. It’s all about creating something that not only looks good but also enhances your riding experience. Take your time, get the details right, and enjoy the process.
For parts mentioned in this guide, check out our Domino Throttles, HEL Performance Brakes, Scrambler Mirrors, and Purpose Built Moto Push Buttons to complete your custom build. Visit Purpose Built Moto for more options and inspiration.

WE BUILD BIKES WITH PURPOSE.
Purpose Built Moto is home for unique custom motorcycle builds. We offer a unique motorcycle customizing experience in the heart of the Gold Coast.
Join our email list and receive exclusive updates.
Latest Stories ALL STORIES
-
04/05/2026


