Rebuilding your Brake Calipers
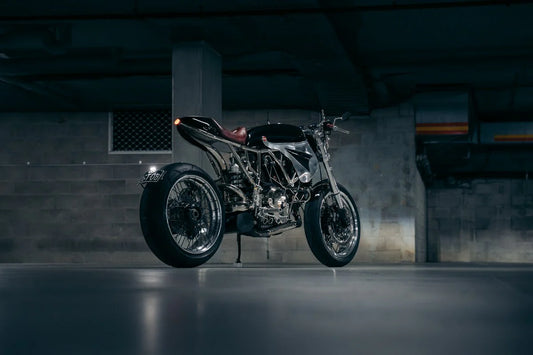
Your custom bike looks epic, you’ve just got the paint back, and had your rim’s and hubs done too. You may have even splashed on some new spokes and having the rim re-laced. Time for re-assembly and test riding! It would be a shame if after 2 weeks you had the paint stripped off or damaged on your wheels and/or forks right?
All because you didn’t take the time (and a small amount of money) to put new seals in your calipers! I don’t want that to happen to you, and I’m sure as shit you don’t want it either! So here we will go through the simple and often really worth while process of stripping and rebuilding your brake calipers. If you have drum brakes front and back, you can stop here. Go entertain yourself with some of my other ramblings or with my Custom Build gallery. If you do have hydraulic disk brakes, you can do that later, but for now let’s learn how to re-build your calipers.
What you’ll need to rebuild your calipers:
- Socket set and Spanners (wrenches for our American mates)
- Torque Wrench
- Small flat blade screw driver or pick set
- Thread locker
- Seal kit
- Replacement copper washers (for the hoses)
- Replacement Caliper pistons (optional)
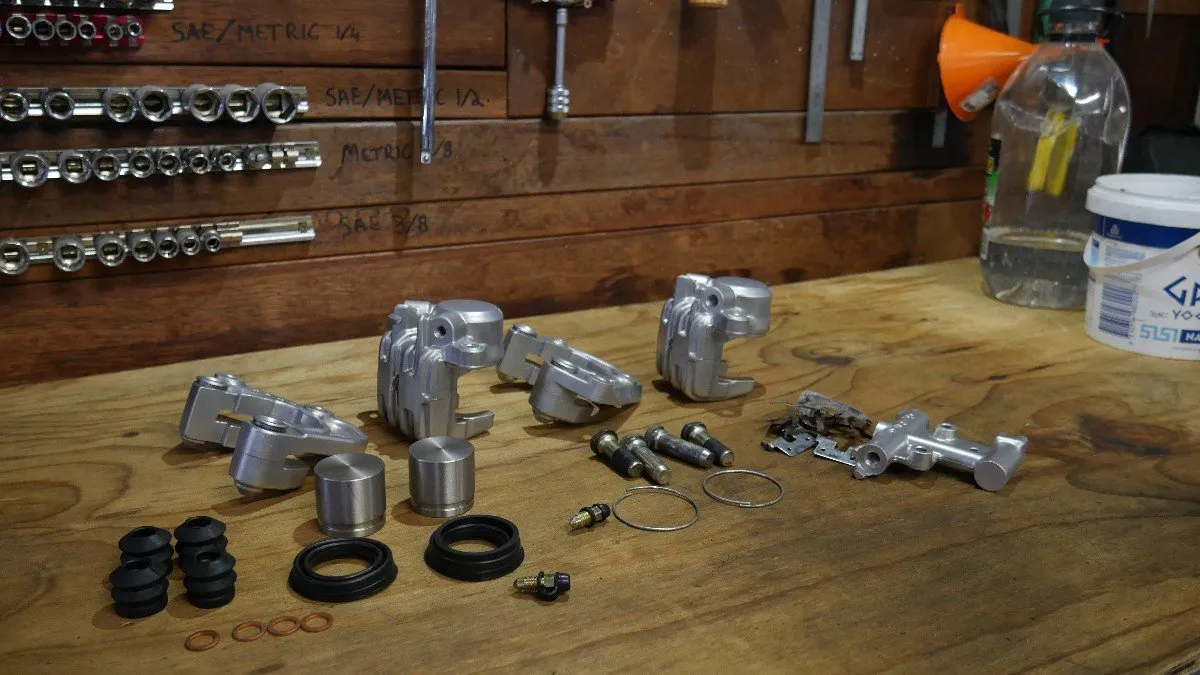
Often replacing your brake fluid is forgotten or overlooked in maintenance (Guilty) so on older bikes you can be left with a mess of sludge and crusty fluid throughout your master cylinder and calipers. Also if the bike is of age then its likely the Chrome finish on the pistons is pitted and starting to rust. An Option on must seal kits allows for the addition of a replacement piston, get them if you need them.
Here I’m shown doing a set of CX500 front Disc calipers, the pistons were cactus and the calipers were full of grit and oxidized on the outside.
1. Prep work.
Remove your front wheel and before unbolting anything to do with the calipers, remove the brake pads and the locating spring plates. Now pump your brake handle to push the pistons out as far as possible once they’re almost ready to pop out, you can unbolt the calipers.
If this doesn’t work and the pistons are seized, I find a bit of heat and some compressed air will help them along.
Take note as you’re removing the brake pads at the location of the plates and springs, it will come in handy during re-assembly.
2. Removing the Calipers + draining fluid.
Now remove the cap from your master cylinder and totally remove the bleeder nuts from the caliper, I push a pump or 2 out of each caliper into a bucket and let the rest drain away. I find the force helps push any gunk out that may be in there. Once it’s mostly drained undo your Hydraulic hose bolts and store the bolts and washers to the side. The rest will drain out and you’re good to go. Loosen the Brake pins first before removing the entire assembly, taking note of which bolts go where.
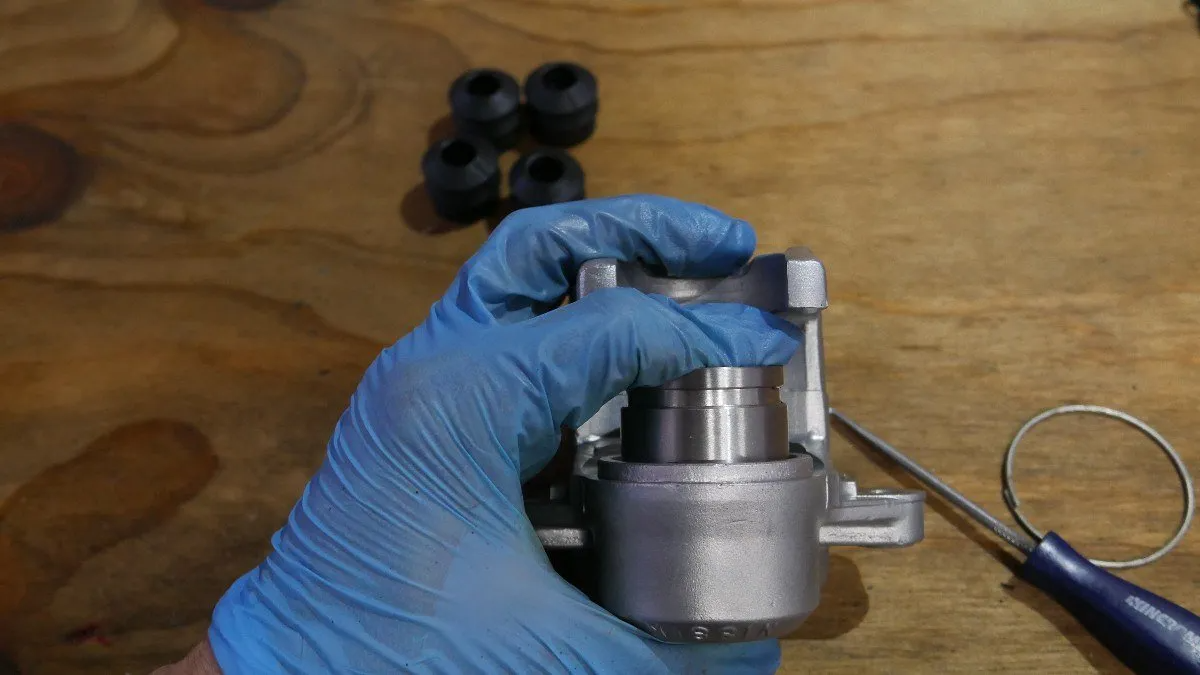
3. The strip + clean.
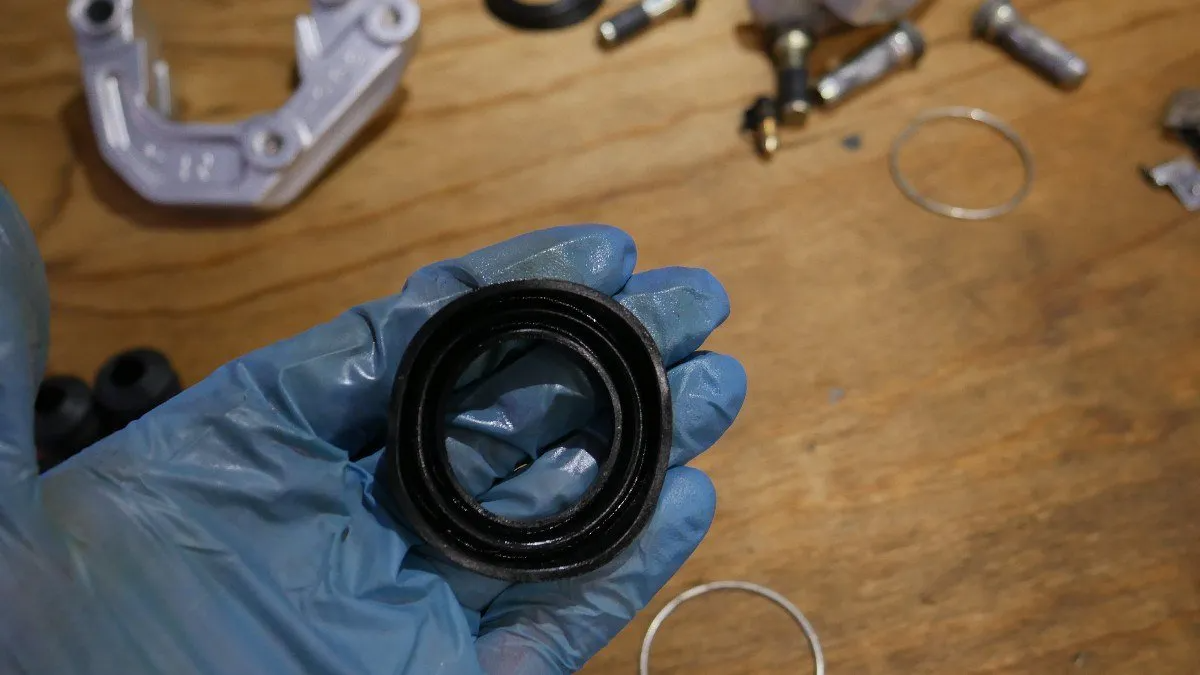
Once the calipers are removed begin by taking off any Outer dust seals and the circlips that hold them on, remove the caliper from the mounting bracket and separate the parts into left right tubs. The Final piece will be removing the dust cover, piston and fluid seal. If you’ve pumped the pistons out enough in step 1 it should be relatively easy. Remove the circlip with a small screw driver or pick, and the dust cover should remove easily after. If you need a bit more force or the help of tool’s be careful not to damage the surface of the piston, especially if you’re re-using it. Then carefully remove the old seal with your small screw driver or pick set.
Dependant on the condition you have a few options on how to go about cleaning them.
- If they look like something that been through war, buried underground for 15 years and then dug up and slapped on a bike, your best option is to give them a good clean by hand for the easy to loosen stuff, and then have them vapour blasted or cleaned via an Ultra Sonic machine.
- next is to give them a nice tidy up yourself with some ally cleaner and a brush.
Be sure to blow any stray material out of the fluid chambers before assembly.
4. Re-assembly + New seals
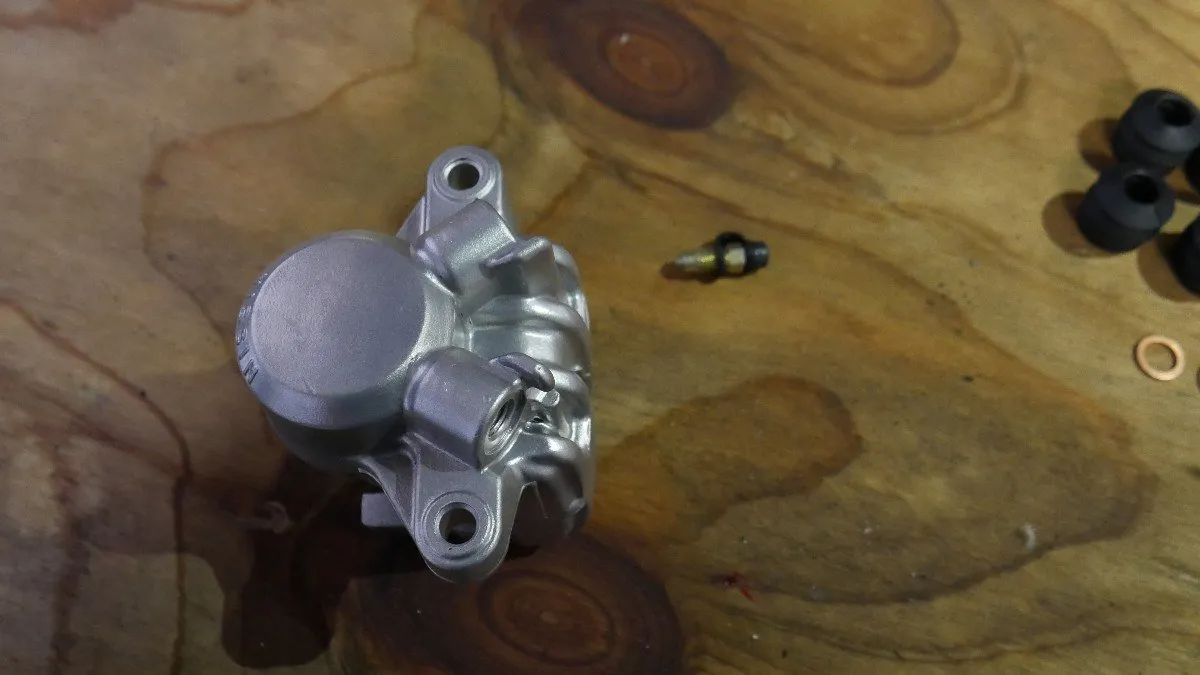
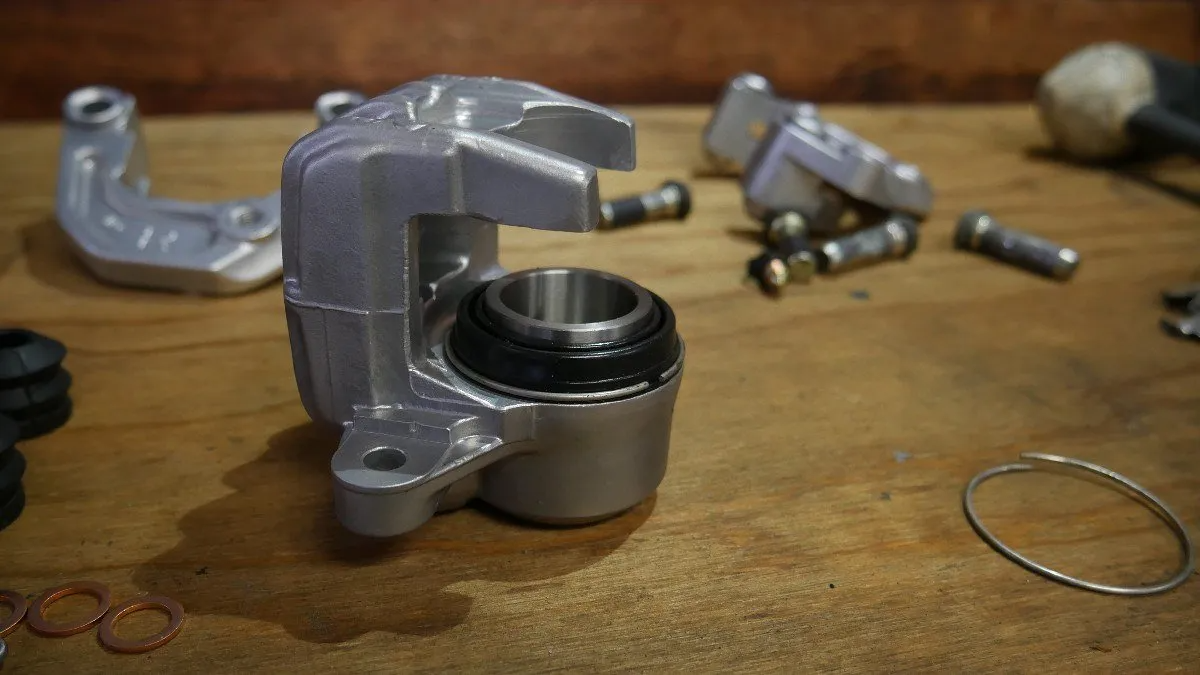
First things first, new piston seals and pistons. The seal kit will normally come with a small packet of rubber grease, spread that around the main seal outer and the seal housing. Push the seal in making sure it’s located correctly and then press your piston in evenly. It should go relatively easy but if it does get stuck don’t force it. It’s probably slightly skewed and needs to be backed out and tried again.
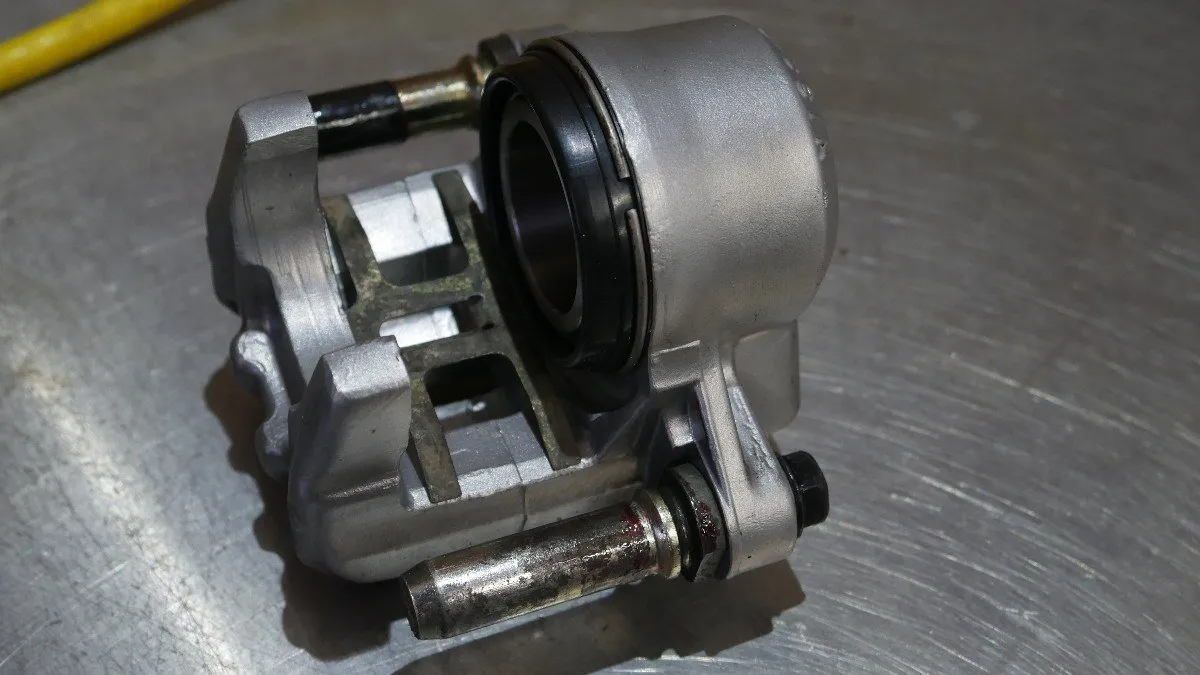
Once the main seal is in the piston dust cover and circlip can be replaced as shown.
The Brake caliper is now ready to be assembled onto the caliper bracket, as you assemble it replaces the old dust seals and make sure they’re seated correctly.
5. New Brake Pads
Replace your brake pads being sure to mount the locating springs and clips on the right location and orientation. If you’re having trouble check out CMSNL.com and search your bike type. They have exploded views of all parts for most bikes that will show how they go together.
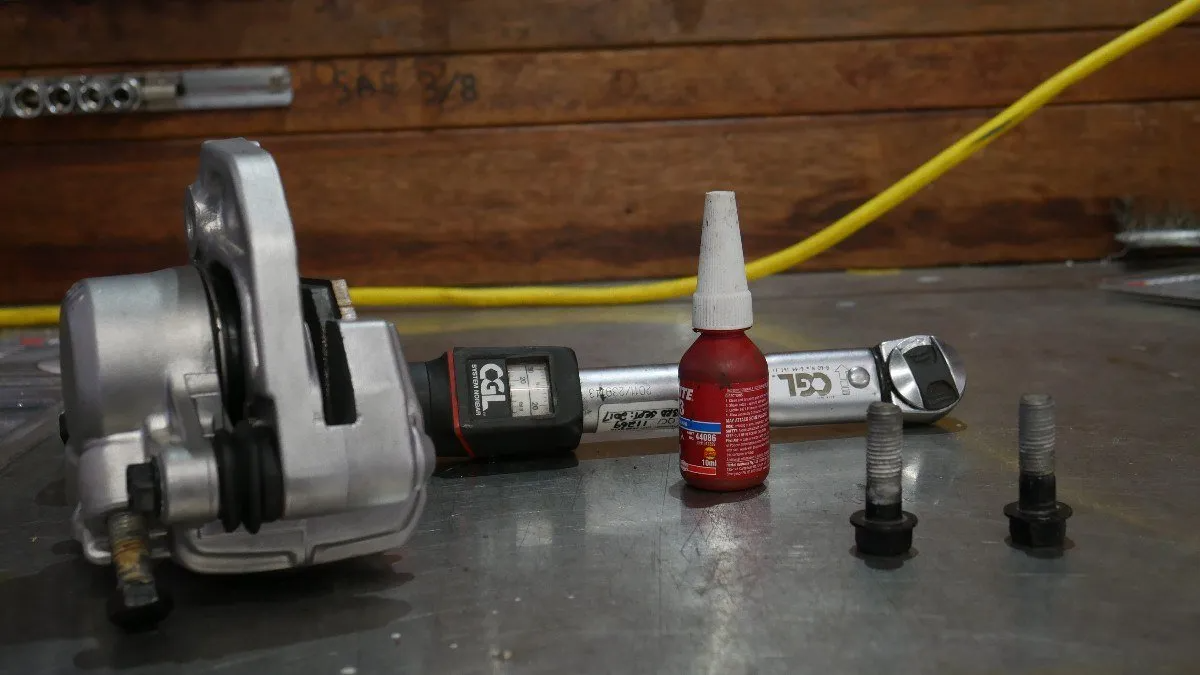
6. Mounting the Calipers
Mounting your calipers is very straight forward, they’ll always have some locktite used on the thread so clean the old stuff off as best you can with a wire brush. If you feel so inclined you can run a tap down inside the female thread to clear that out too.
Check your workshop manual for the correct torque on all the bolts using some thread locker and a torque wrench for the final fitment.
I hope that’s shed some light on getting the Brakes on you custom bike project up to spec. with all the other mods that go into these bikes the brakes aren’t a very exciting or noticeable task, but they make the ride all the more enjoyable.
Please let me know if I’ve missed anything in the comments.
Thanks for taking the time.
Tom.
WE BUILD BIKES WITH PURPOSE.
Purpose Built Moto is home for unique custom motorcycle builds. We offer a unique motorcycle customizing experience in the heart of the Gold Coast.