


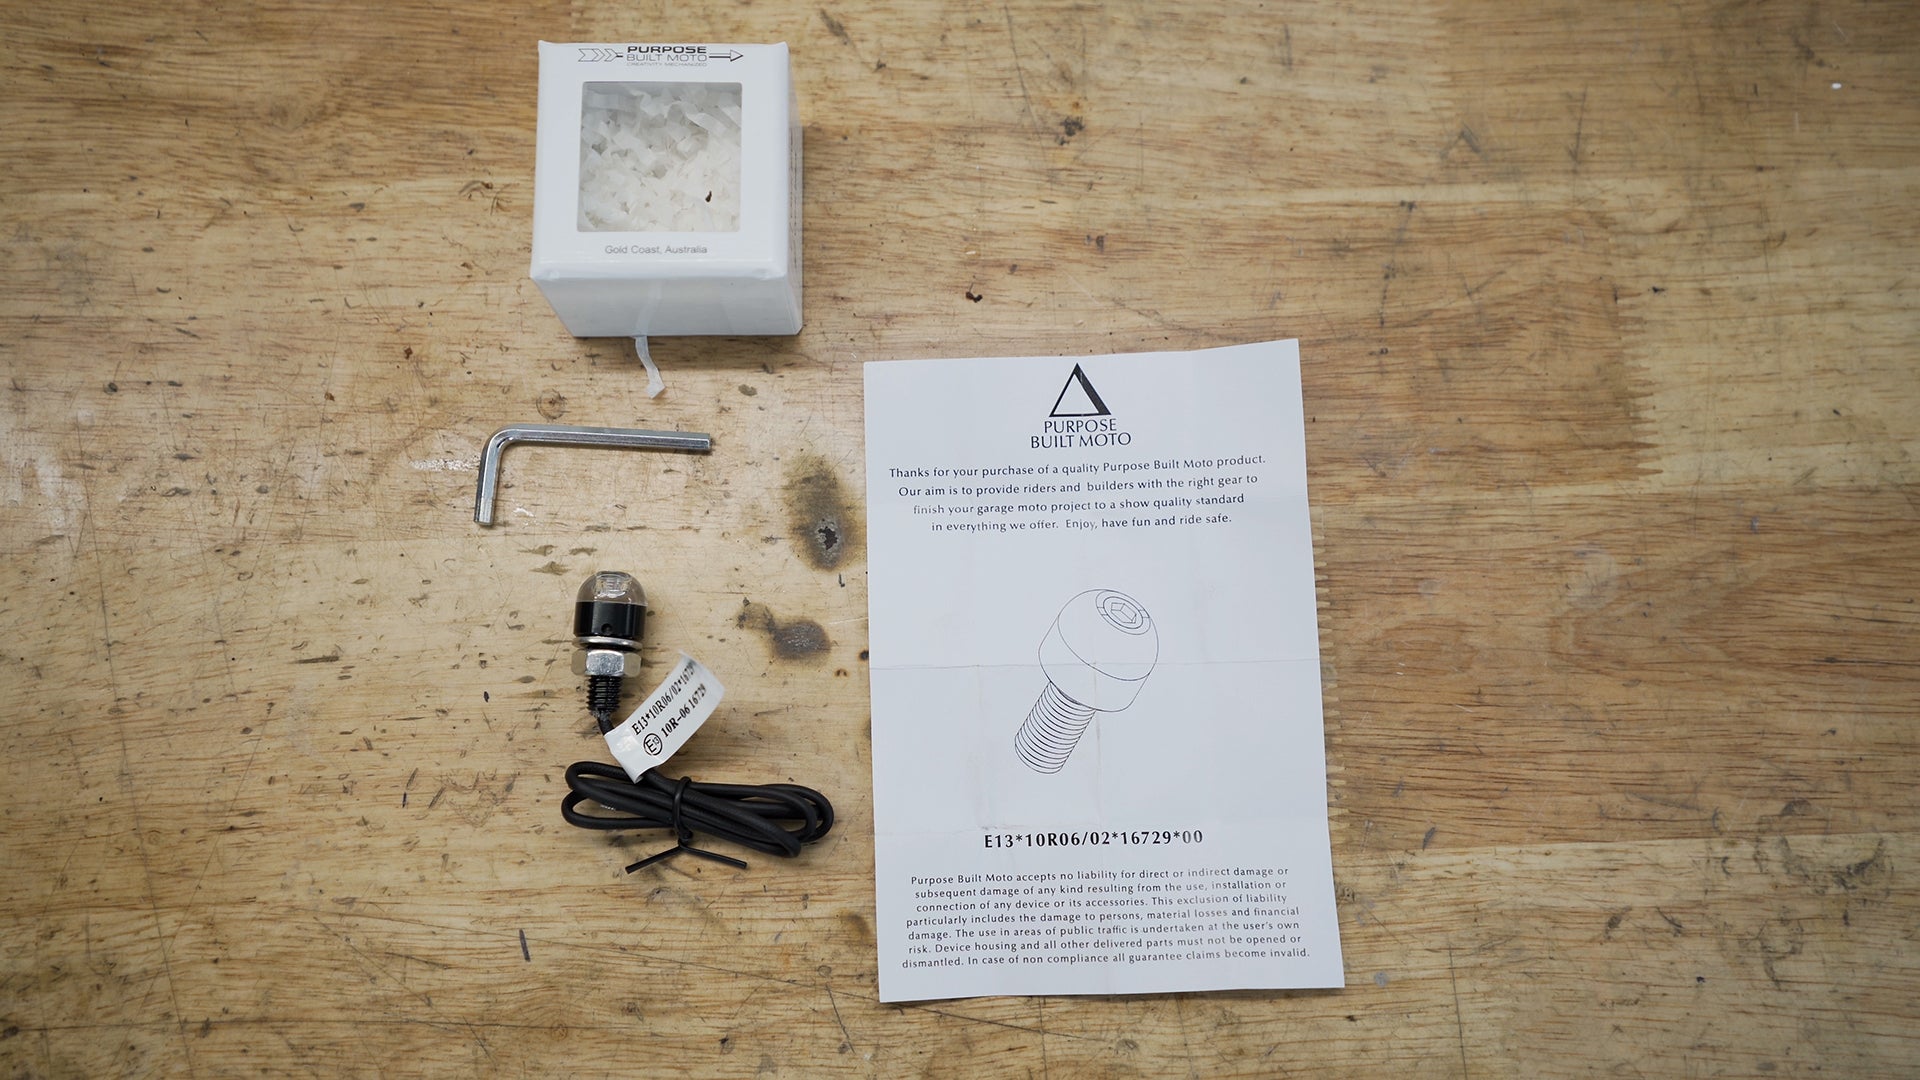
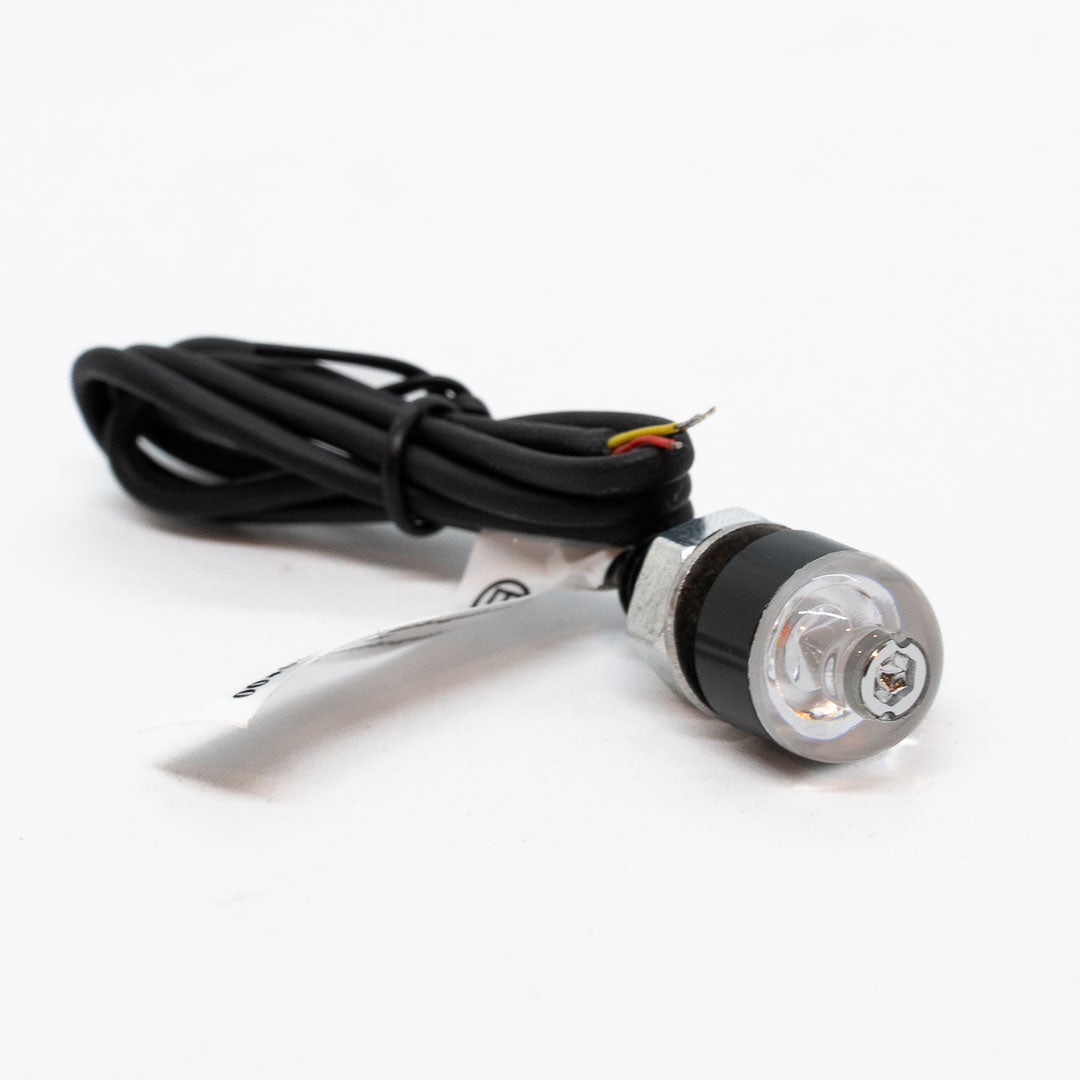
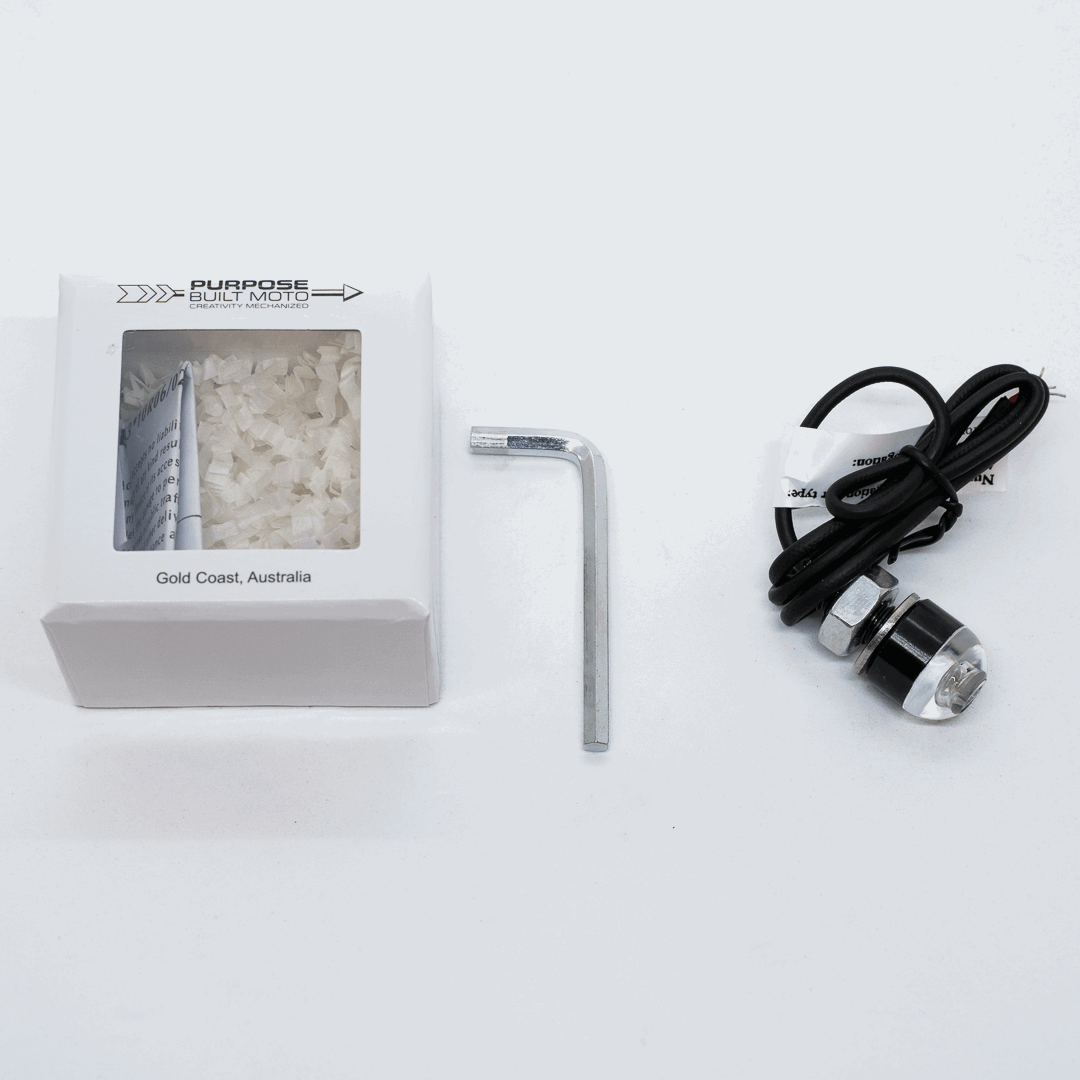
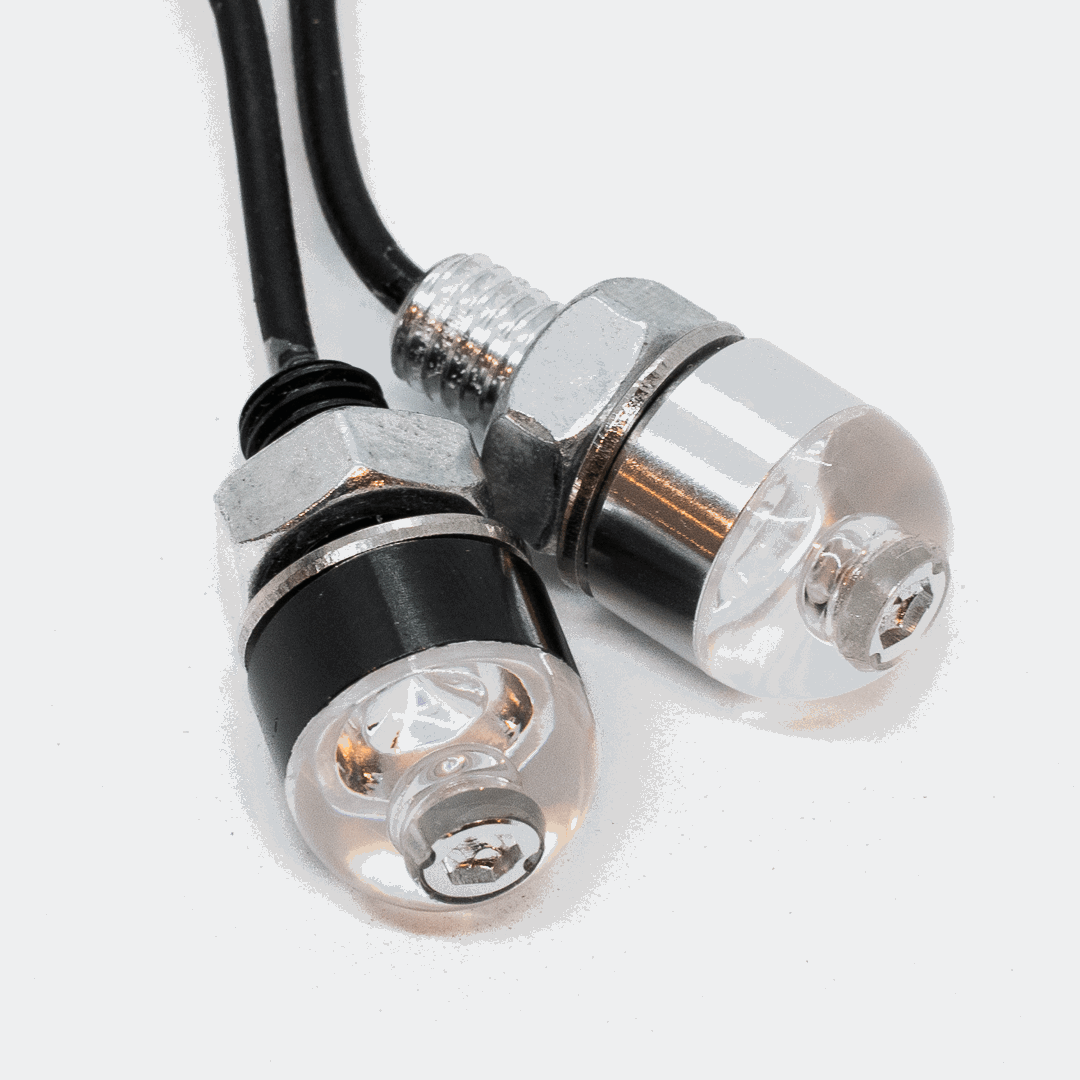
The Omni Light is an adaptable 3 in 1 LED lighting unit that can be used as an indicator, brake, and tail light. It's sold individually, and each box contains an Omni Light, an Allen Key tool for the top cap, and an instruction manual with a QR code that directs to the installation video.

Installation Tools and Components
- Omni Light Unit
- Allen Key
- Fastening nut and washer
- Wiring splitter (optional for stop and tail light function, not included)
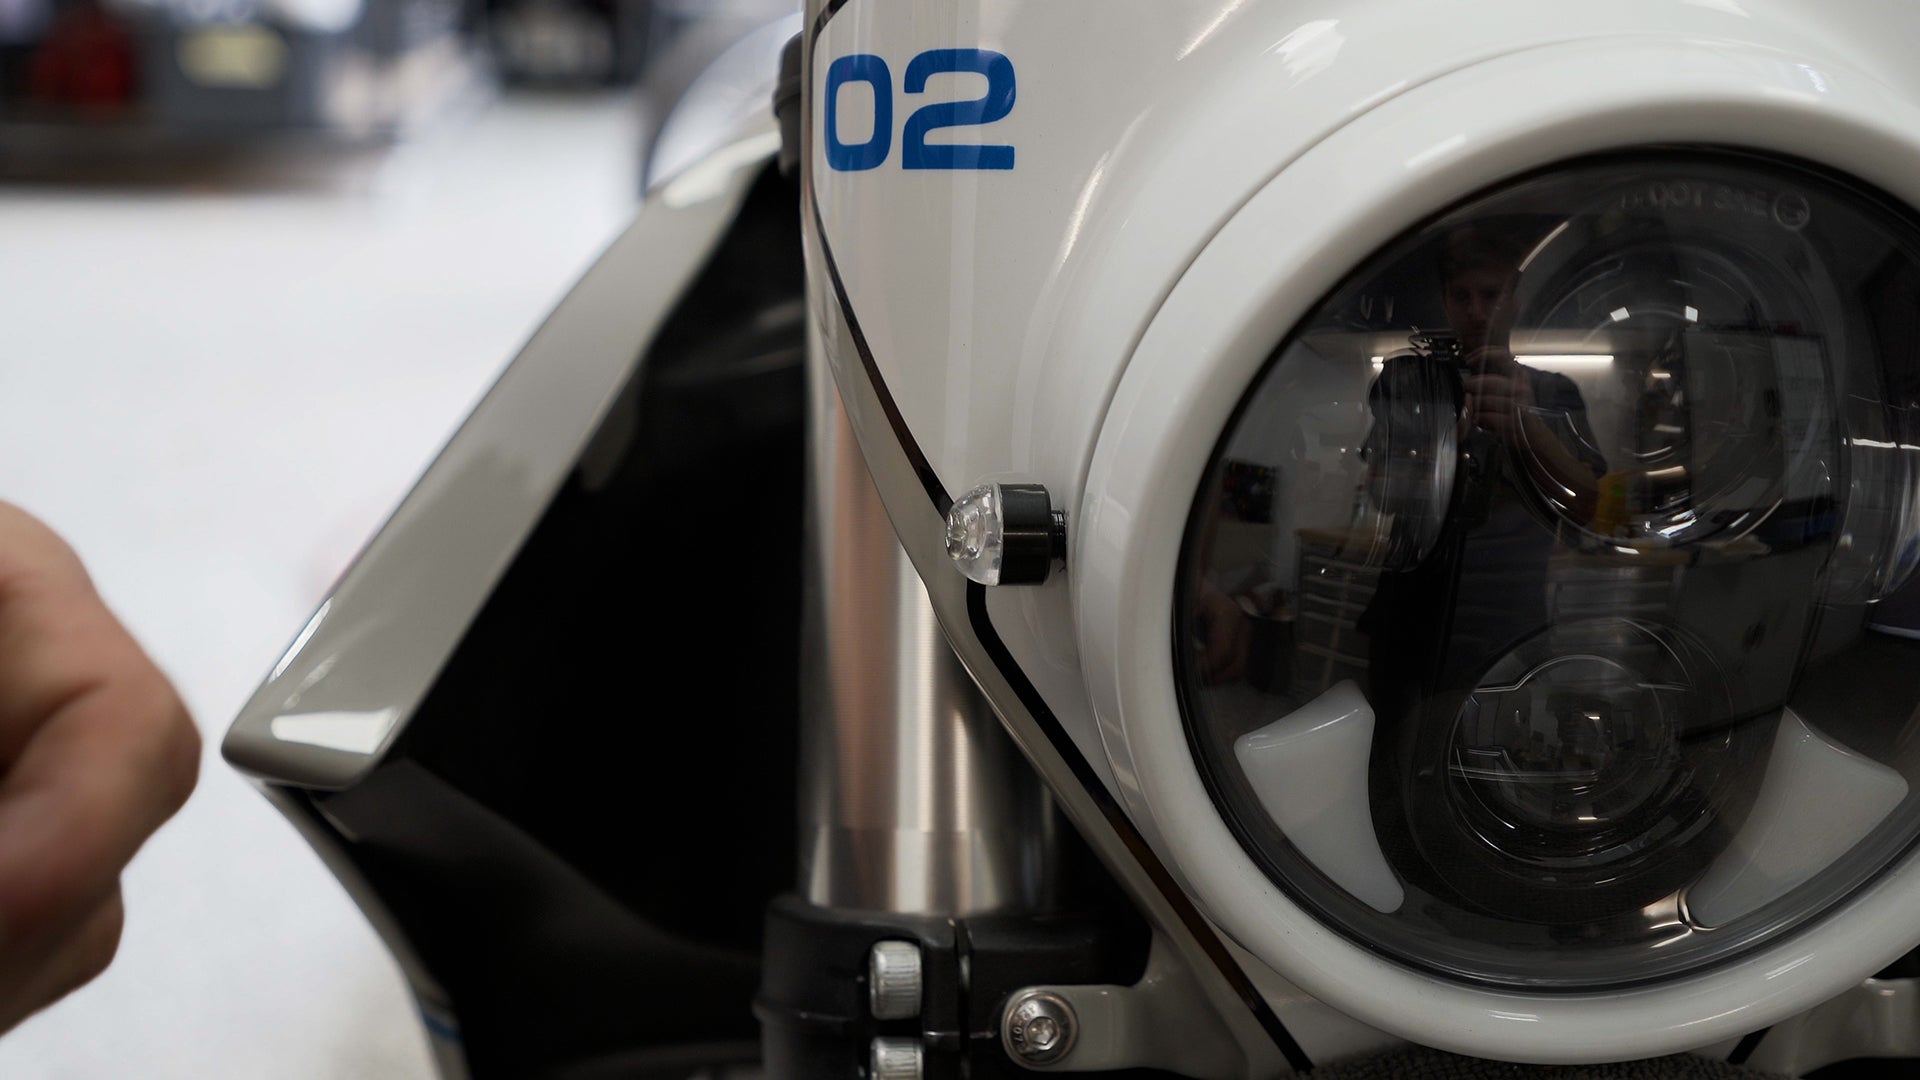
1. Preparing for Installation
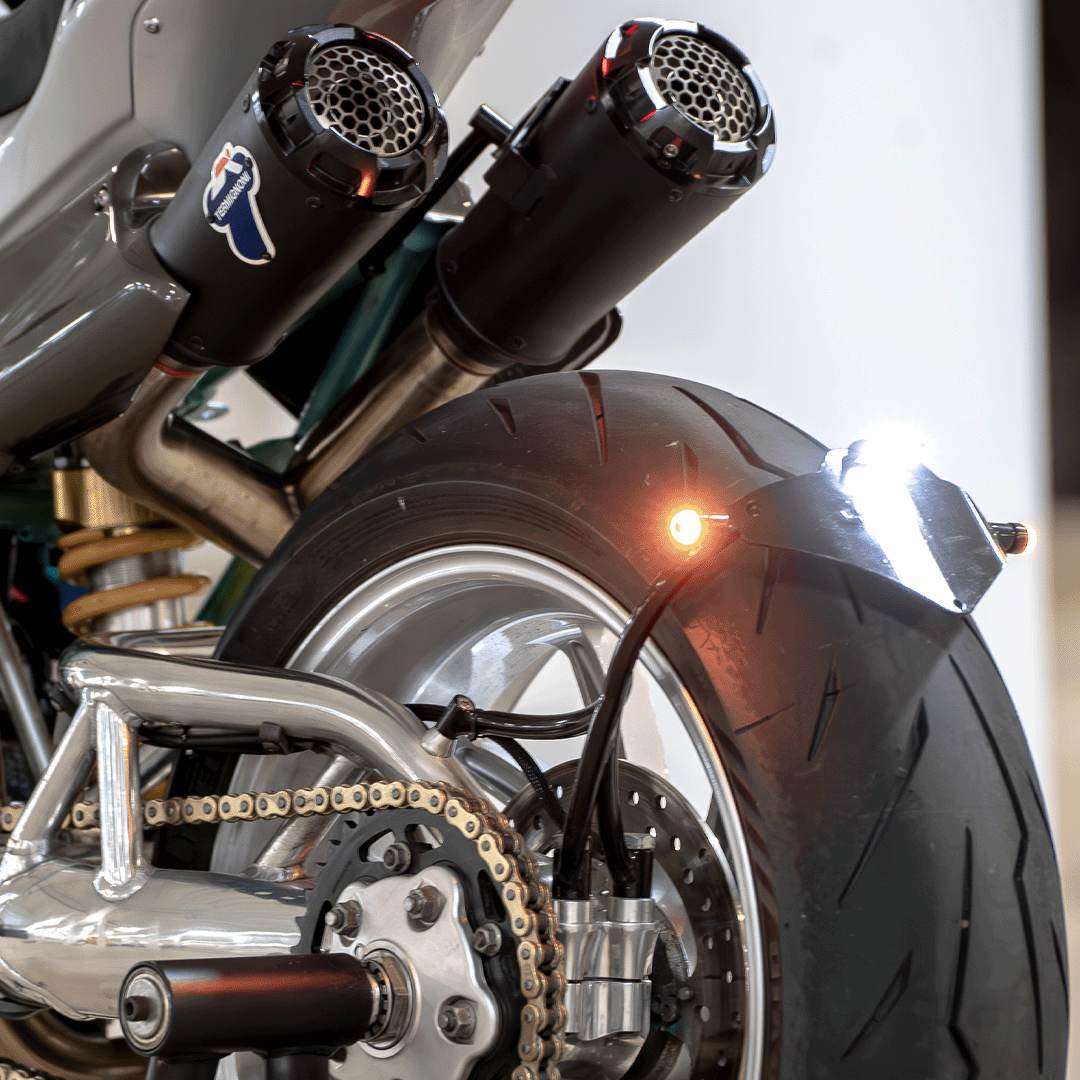
Identify the installation location for the Omni Light. If integrating with a headlight, remove the fixing nut and washer provided as the Omni Light's body thread will serve as the fastening point. Like all of our other indicators, the Omni Light can be used as a headlight fixing bolt.
2. Attaching the Light
Position the Omni Light at the desired location and thread the cable through the mounting point. If using the light as a headlight fixing bolt, directly fasten the light to the housing of the LED headlight and do not use the M8 nut and washer.
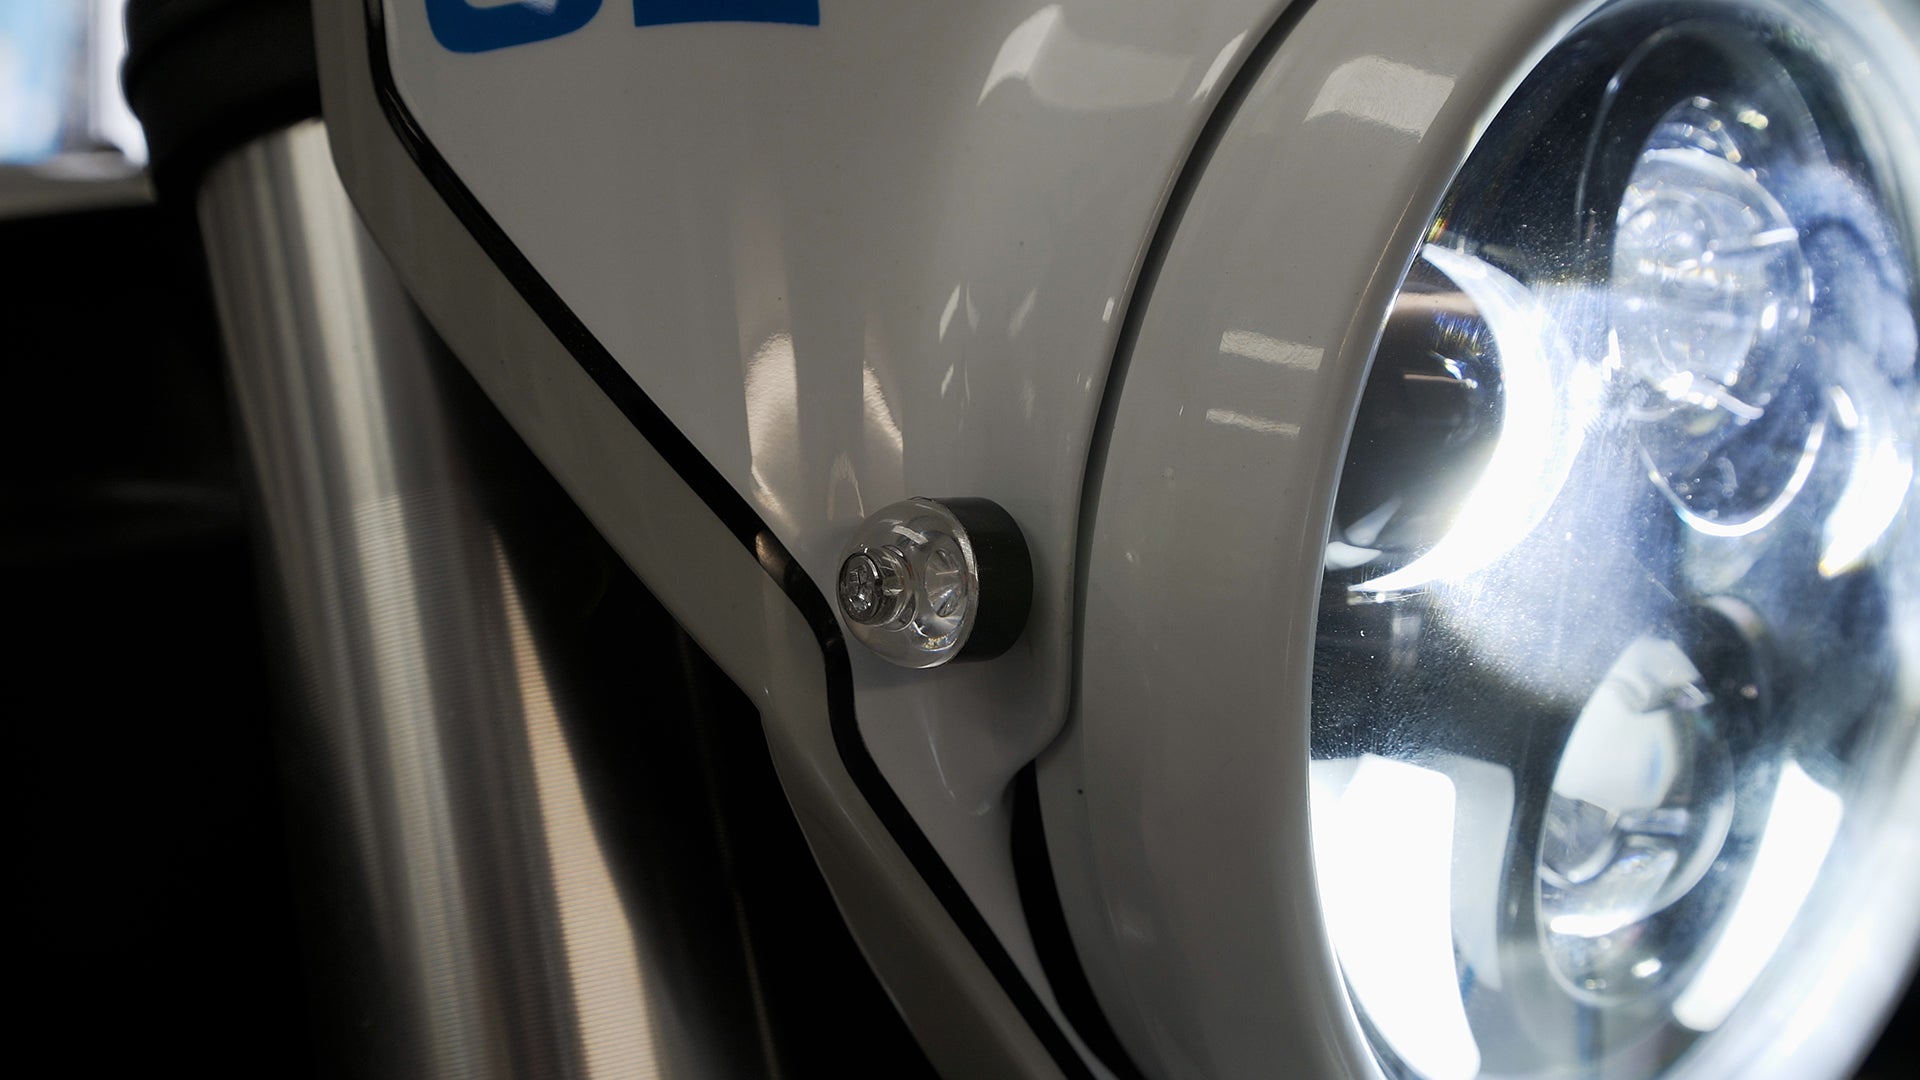
3. Securing the Light
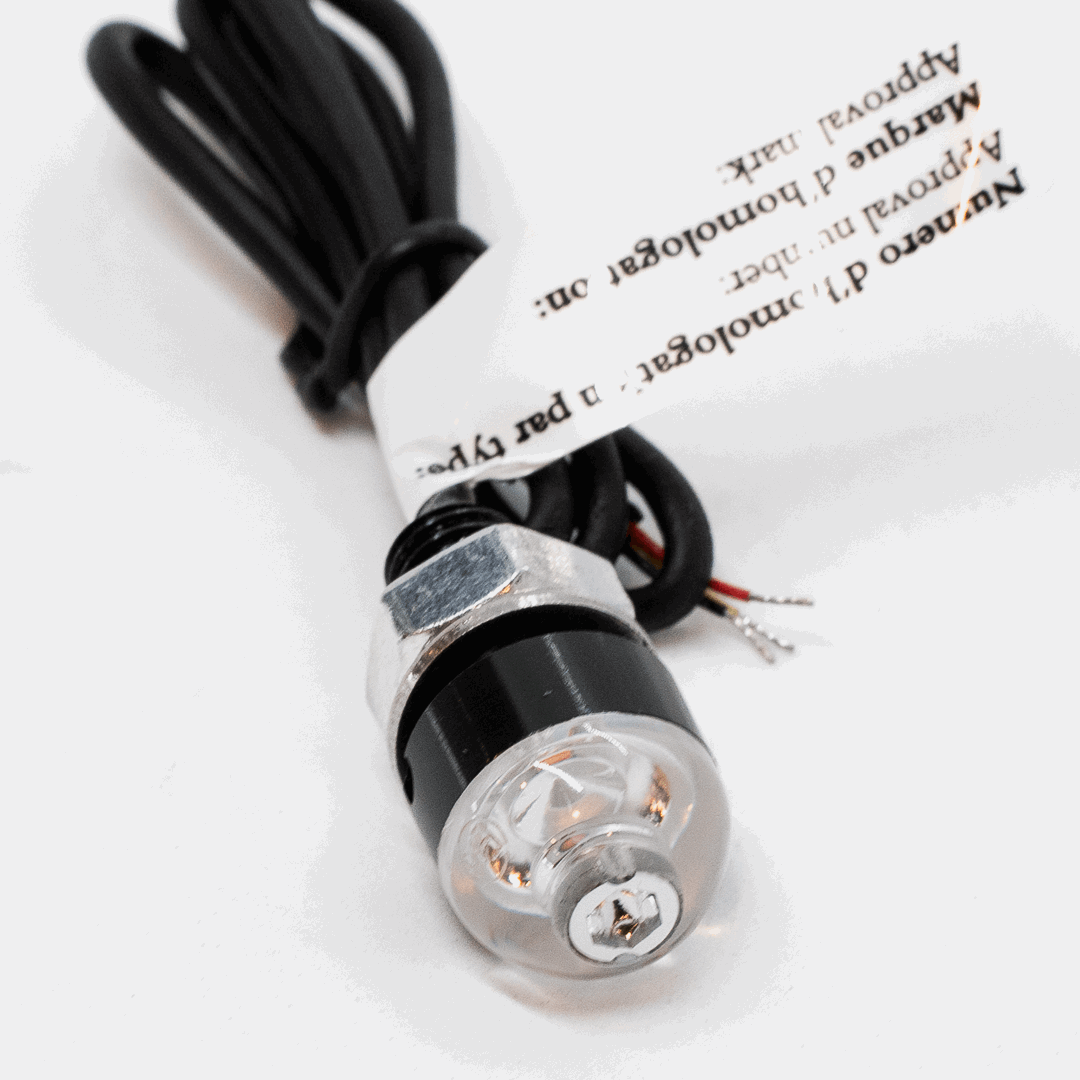
Use the Allen Key cap on the top of the Omni Light for fastening. If the location is tight, use the small tool hole on the side with a pin punch or small drill bit to secure the light. Max torque for the Allen key head is 1-2nM, over tightening will cause damage to the lense.
Avoid over-tightening the top cap to prevent lens damage. A gentle tightening is sufficient to secure the unit.
4. Wiring the Light
Connect the wiring according to the function of the light:
- Yellow wire for the indicator
- Black wire for the ground
- Red wire for the stop and/or tail light (use the optional splitter if necessary)
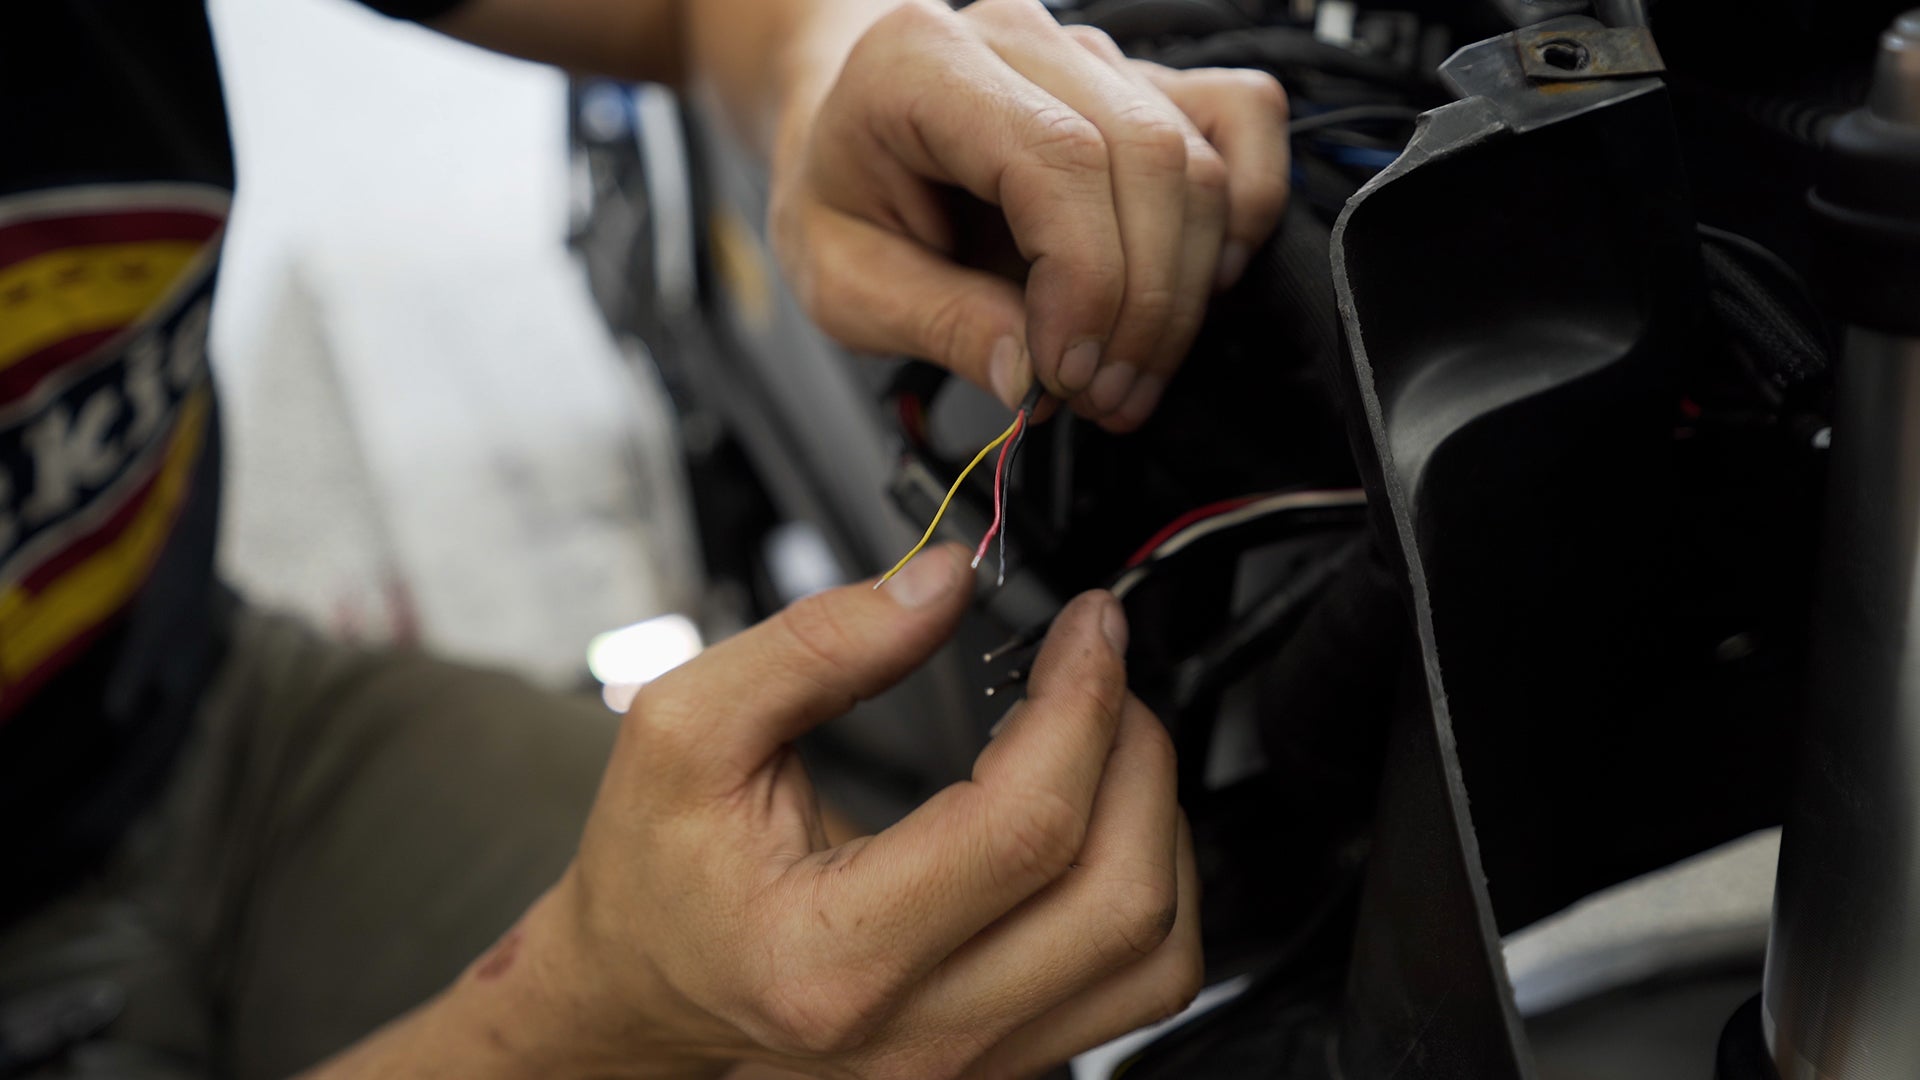
5. Crimping the Wires
When crimping the small wires, take care not to strip them excessively, but expose enough to fold the stripped wire end over to provide more bulk for secure crimping. Solder the wires or use bullet or spade terminals to ensure a tight and secure connection.
Final Steps
Once the Omni Light is installed and wired, test the light to ensure all functions are working correctly. Adjustments can be made to the positioning if necessary. We have designed the Omni light with the understanding that Bike Builders need a indicator that gives you options with how it is installed, and we are excited to see what you will do with them!
For further guidance, refer to the instruction card included with your Omni Light or view the installation video by scanning the QR code provided.
Purpose Built Moto
Omni Lights 3 in 1 LED Indicators / Tail Lights Black
Regular price
$70.00
Regular price
$70.00
Sale price
$70.00
Shipping calculated at checkout.


WE BUILD BIKES WITH PURPOSE.
Purpose Built Moto is home for unique custom motorcycle builds. We offer a unique motorcycle customizing experience in the heart of the Gold Coast.
Join our email list and receive exclusive updates.
Latest Stories ALL STORIES
-
04/05/2026


