


Harley 1200 Sportster Scrambler Episode 4– The Purpose Built Moto YouTube series
We’re well into the fabrication stage of this Harley Sportster Scrambler customisation into an epic adventure scrambler. This is going to be my personal bike for the Wide of the Mark project, so I’m pumped to see to put some new ideas to the test and learn something new. If you haven’t already checked it out, go and follow @WideoftheMark to keep up to date with how the adventure unfolds.
In this episode, we’re going to be covering…
- Fitting a bag rack
- Experimenting with the front fender
- Fabricating the exhaust headers
- Mounting a custom airbox
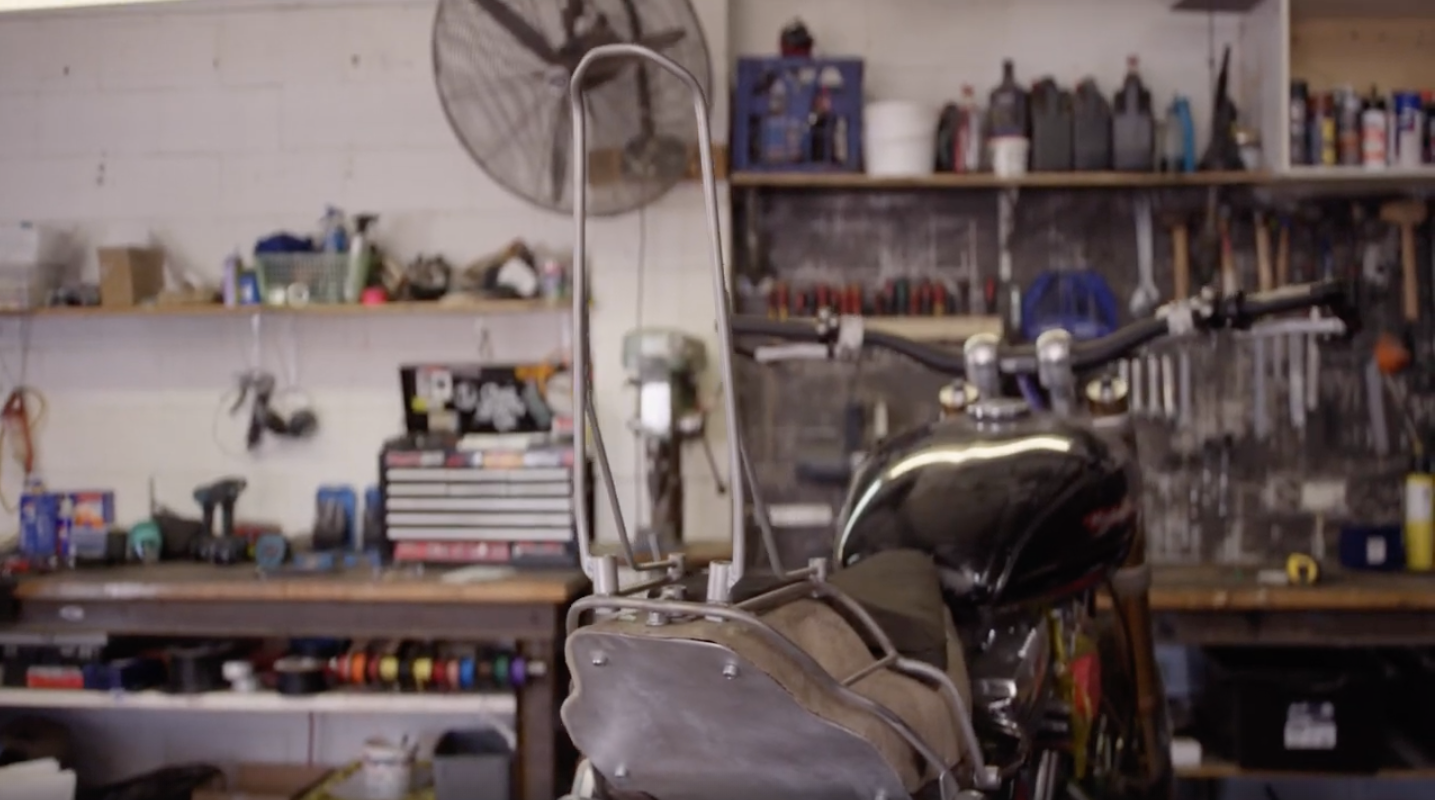
Building the Rear Exoskeleton and Bag Rack
Before I fit the bag rack to the Harley, I built up an exoskeleton that runs over the rear of the bike from some 8mm stainless steel solid bar. Even though the exoskeleton will be removable, I’m going to keep it as a permanent fixture because it adds some depth to the design and looks rad. I ended up bending all of the steel by hand in a vice because I find it easier (whether you use hot or cold bending) to get the specific shape I needed, rather than in a die bender. Next, I welded some threads on to the bars that will serve as the mounting points for the sissy bar, then tacked on some more bracings for extra strength.
Building a Functional Front Fender for the Sportster Scrambler
I know it’s kind of weird seeing a Sportster scrambler with a sissy bar, but I don’t want too much hanging off the sides of the bike when we take it on the road, I prefer to keep the weight low and centered. So this should help my packing situation.
If you remember back in episode two, I got a bit wild with the headlight plate and motocross-style Fork Guards with integrated lighting. To continue with the theme I wanted to test out an idea I’ve had for a little while now for a front fender to give it even more of a dirt bike feel. I’d already fabricated a fender at the rear of the front tire to stop debris from flying up to meet the engine, now it was time to focus on the front end making a two-step front fender.
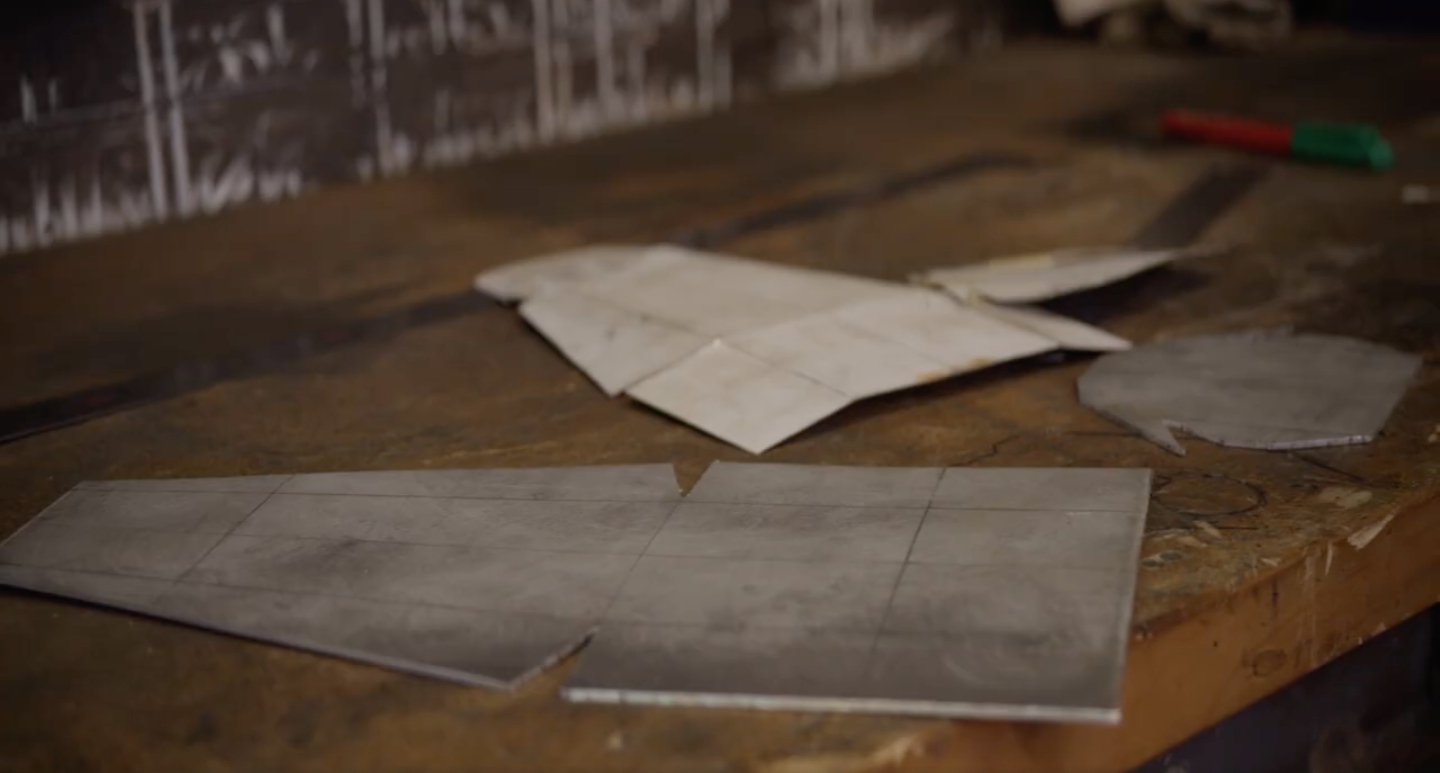
Building and Reinforcing the Custom Front Fender
I used a piece of cardboard to template up a fender design that was inspired by the dirtbikes I used to ride as a kid. Once I was happy with the cardboard template, I translated it on to some aluminum and used a finger break to bend it all into place. The fender piece will be mounted directly under the triple-clamp, and then a second, smaller piece of aluminum has been welded to the nose of the fender to give it a bit of flare. The last step on the fender was bracing it, adding a second skin under the center so the fender can double as a rack for a small bag or tool pouch.
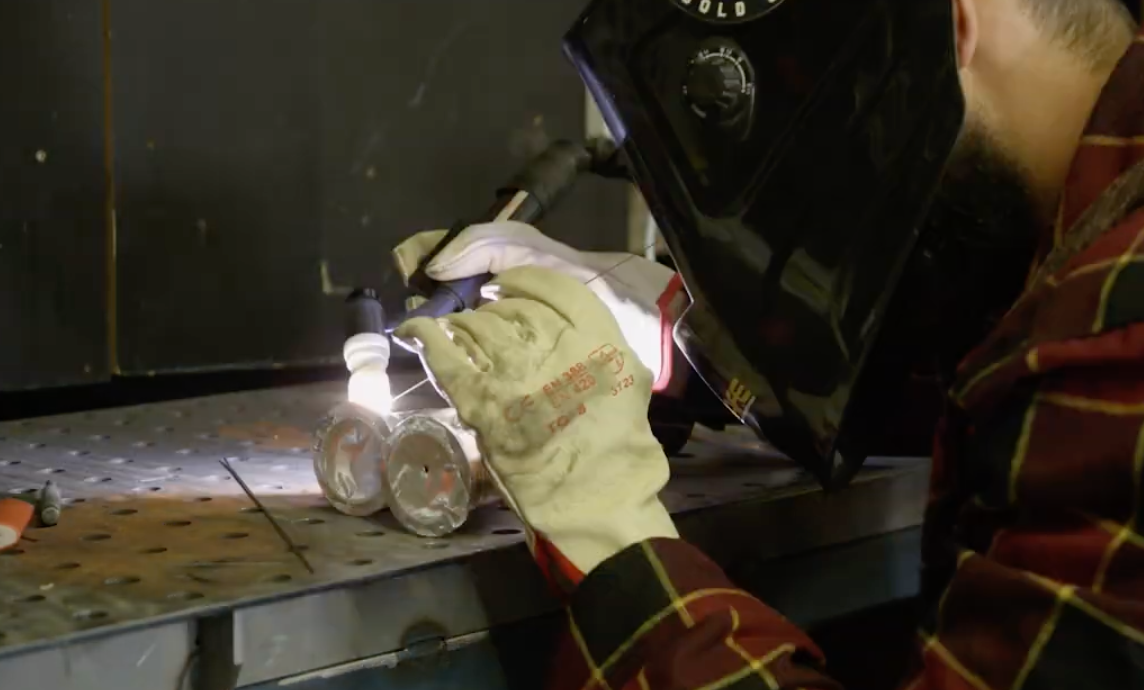
Fabricating the Exhaust Headers and 2-Into-1 Collector
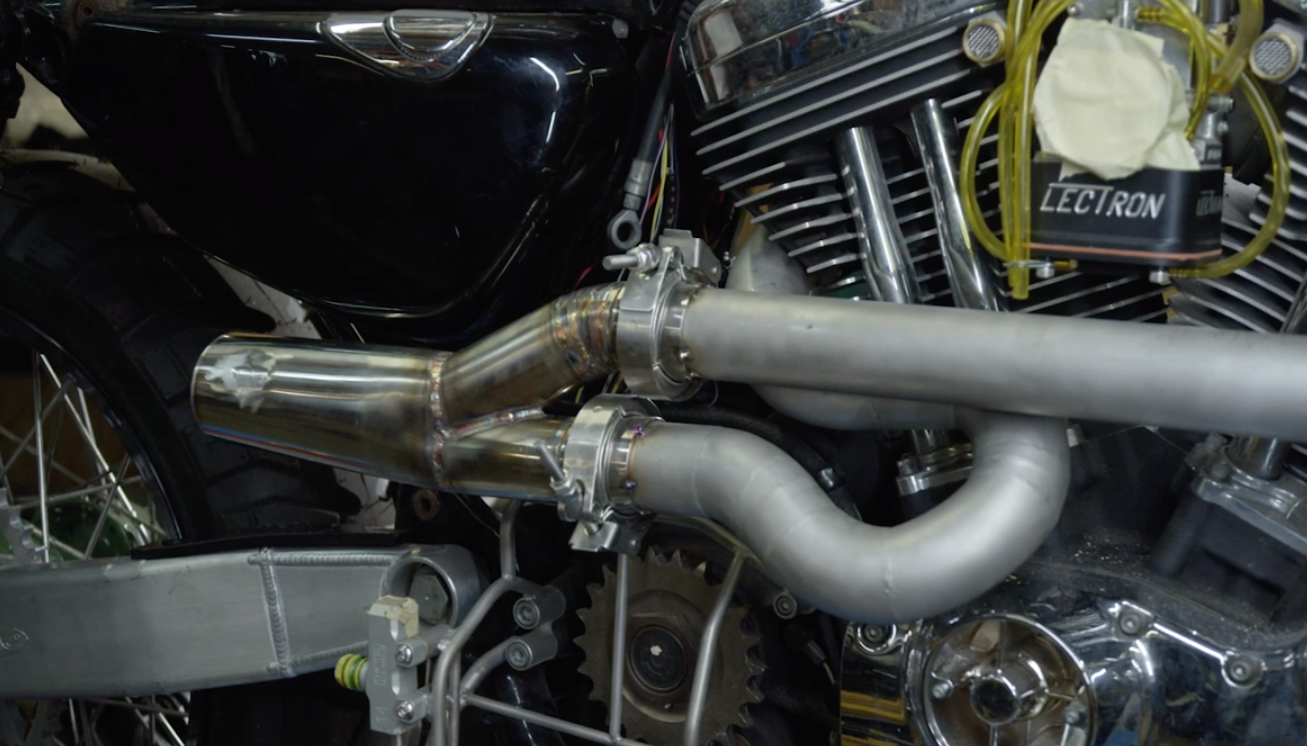
Moving on to fabricating the exhaust, I welded up the two header pipes and put some V-band connectors on the ends of the headers. I like the gnarly look of the V-band joins and I don’t really see them on bikes. So that was enough reason to include them here.
Because the headers weren’t off the shelf, like almost everything that comes through the shop, the 2-into-1 collector had to be hand made which can be a tricky job.
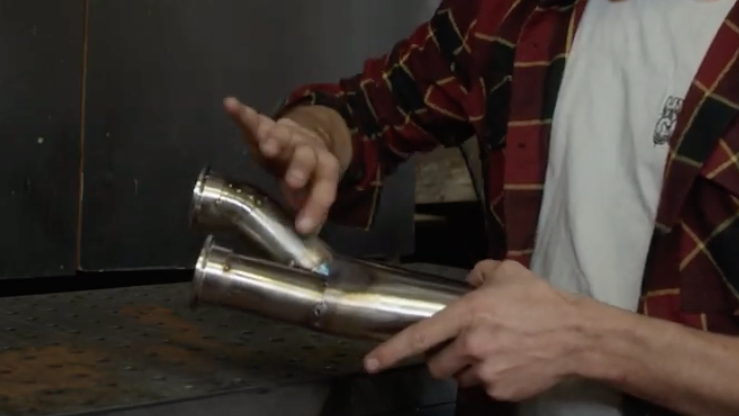
Building the Exhaust Collector
I used two 1¾” header pipes and then taken a 2.5” pipe, put it in a vice and squeezed that down so it’s the same width as the headers as well as elongating it a little. This gives you the measurement you need to bring the two header pipes into one collector. To bring it all together, I set up the two header pipes into a V shape and then cut away little by little on the inside. I tacked those together and then it’s a bit of back and forth measuring and cutting to make sure it all fits properly. A few more tacks and some preparation and we’re ready for finish welding.
Hand-Building the Muffler
The final part of the exhaust build is the muffler. While I have designed and manufactured a lot of mufflers with PBM its something I haven’t done by hand before. We weren’t able to capture this on camera due to some long days and late-night building but let me run you through the details of hand-building a muffler here.
Muffler Packing and Sound Control
With my design, I used a 2.5” top tube and 1.75” bottom tube and cut in half lengthways to create an offset oval. I linked the 2 pieces of tube using a section of stainless steel sheet metal with a small fold in it to give some shape. Once I had the outer case made, I moved onto making the muffler core from perforated sheet metal. I made it small enough to allow about 15mm of packing all around the muffler.
Muffler Packing and Sound Control
The core of the perforated sheet will be wrapped in a 2-stage packing, just the same as I use with the torpedo mufflers we make. There’s a couple of good reasons I use a combination of stainless steel and fiberglass packing and here’s the most important. Firstly, the stainless steel packing stops the fibre wool from burning and blowing out over time, increasing the mufflers life span. The second is if you use just stainless packing, the sound deadening is less and gives a more metallic, tinny sound. So there you go, muffler 101.
Custom Exhaust Surface Finish Testing
Once fabrication and exhaust mounts were finished, my last step here was testing a new kind of surface finish. I love the colour that stainless headers get after running a few hours, it’s an amazing straw gold colour. So I wanted to recreate that but consistently over the whole exhaust. Another thing I wanted to try was a dulled out sandblast finish. I’ve played with fully polished and brush finished stainless a lot, so on completion of the custom exhaust, I plugged up the ends and ran them through a fine sandblaster, leaving the welds un-ground and then heat-treated the lot with my Oxy set up. The result is a gold/brown tinge throughout the whole system, that looks incredible to my eye. I wanted it raw, tough and unique and I think its been pretty well achieved.
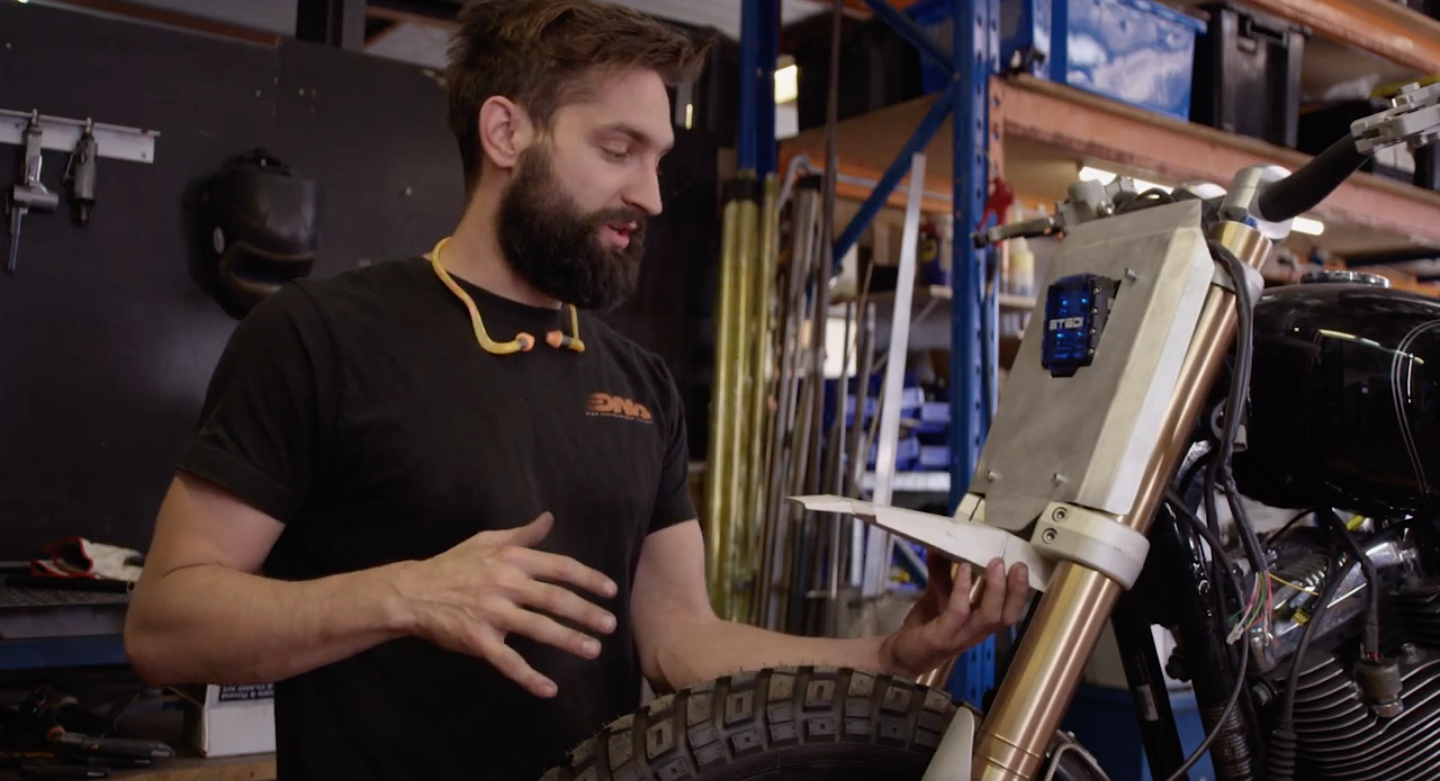
Airbox Design and Intake Upgrade
Now I’ve finished with the exhaust I’m moving on to the intake. I’ve been alluding to this idea for a little while now through previous episodes, so now’s the moment of truth. I’ve had an experimental design for an airbox for a while now and I’ve been waiting for a bike to try it out on. Both with the Harley Sportster scrambler and the Nemesis 400 I’ve been building for this adventure ride, practicality is the key.
I wanted to move the filter from out in the open catching debris to a more protected position. I chose to relocate the ignition coil and use that space that free’s up for a potential air box.
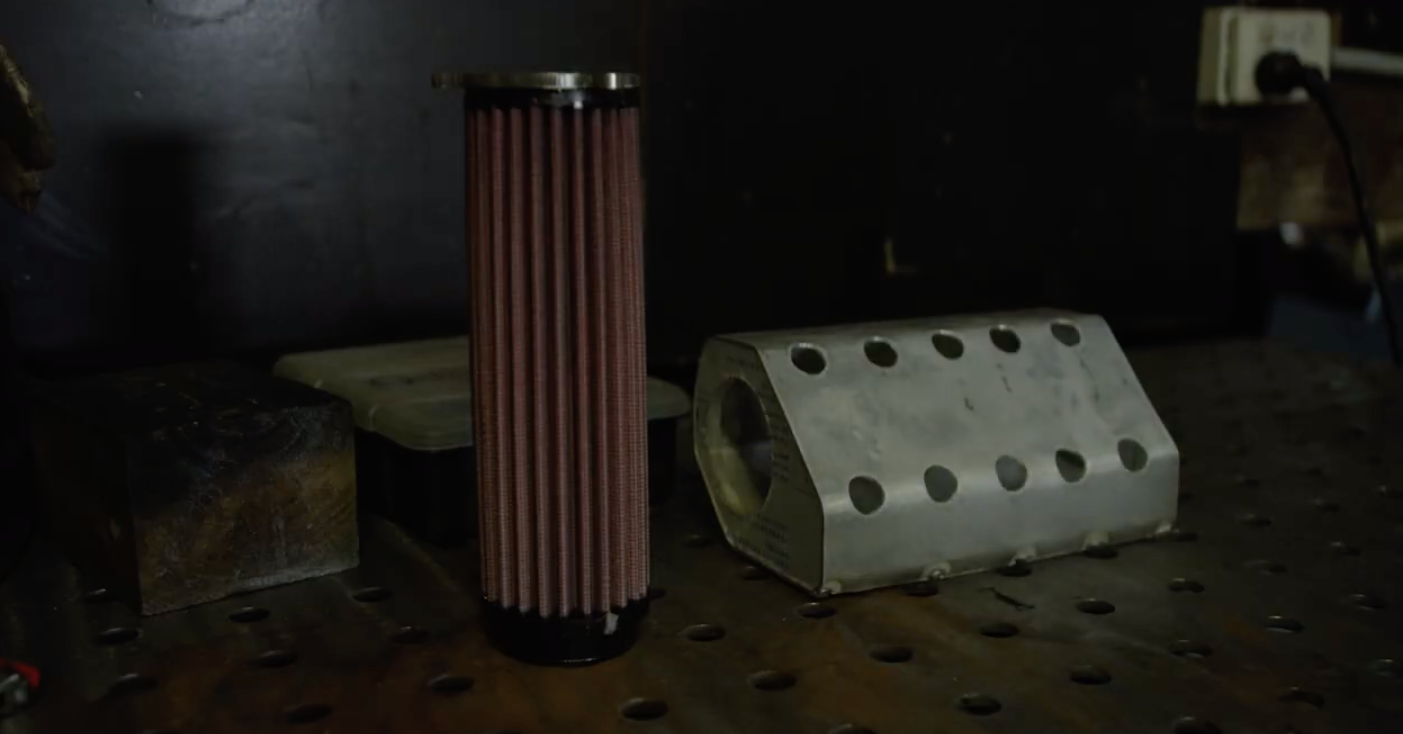
Custom Airbox Prototype and Installation
I took some measurements and had a prototype 3D printed to check how it fits. Afterward, I sent the design to Marios at DNA performance filters, and he made me up a prototype cylindrical filter for the bike. I added some clear perspex end caps laser cut for the airbox and hand-shaped some aluminium sheet to finish the concept.
I finished by mounting the new airbox between the tank and the engine. I’m not holding my breath for huge horsepower with this mod, but if it saves me having to remove and clean the filter every few hours while riding, I’ll be happy with that! Testing will tell me If I’ve made a huge mistake here. The New airbox was linked to the Lectron carburetor with a stainless steel manifold fabricated and heat-treated to match the exhaust.

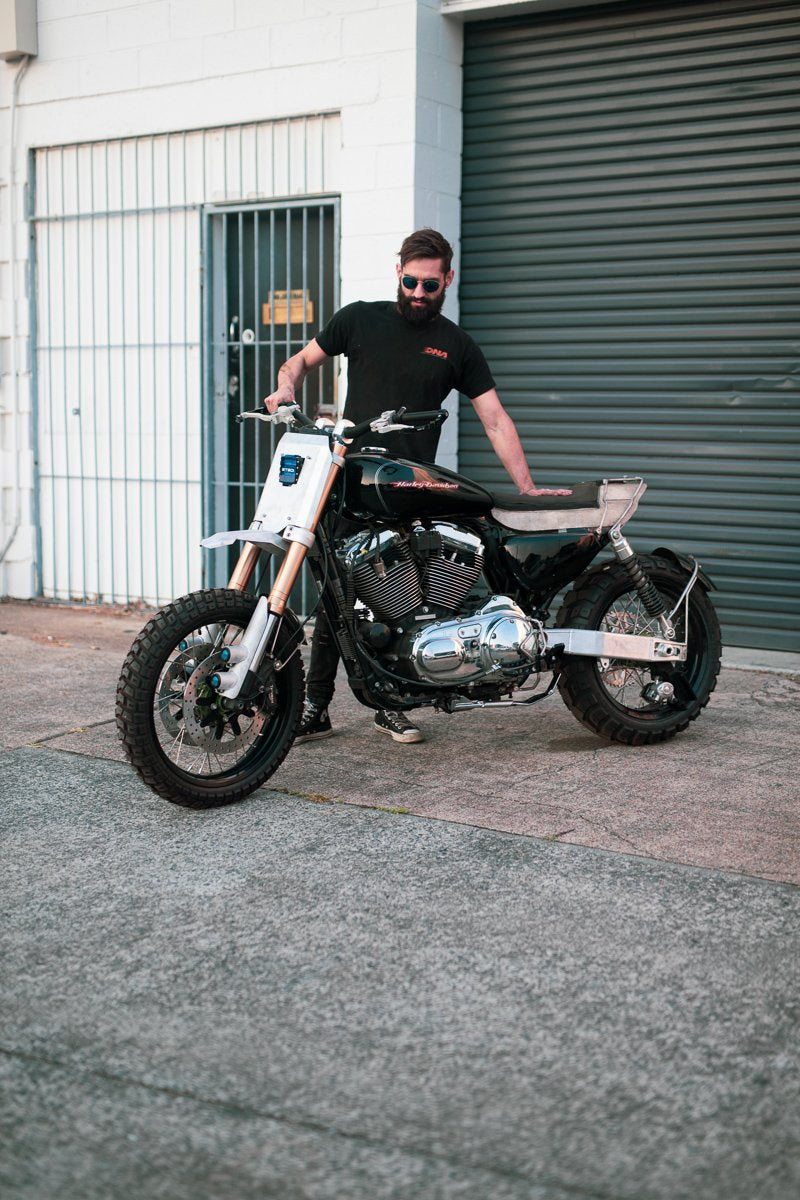
Final Build Update
As you can see we’re at the very pointy end of this Sportster Scrambler project and hoping to wrap it up quickly for some ride testing before wide of the mark filming kicks off! You can keep up to date with all the build episodes on our YouTube channel.

WE BUILD BIKES WITH PURPOSE.
Purpose Built Moto is home for unique custom motorcycle builds. We offer a unique motorcycle customizing experience in the heart of the Gold Coast.


