


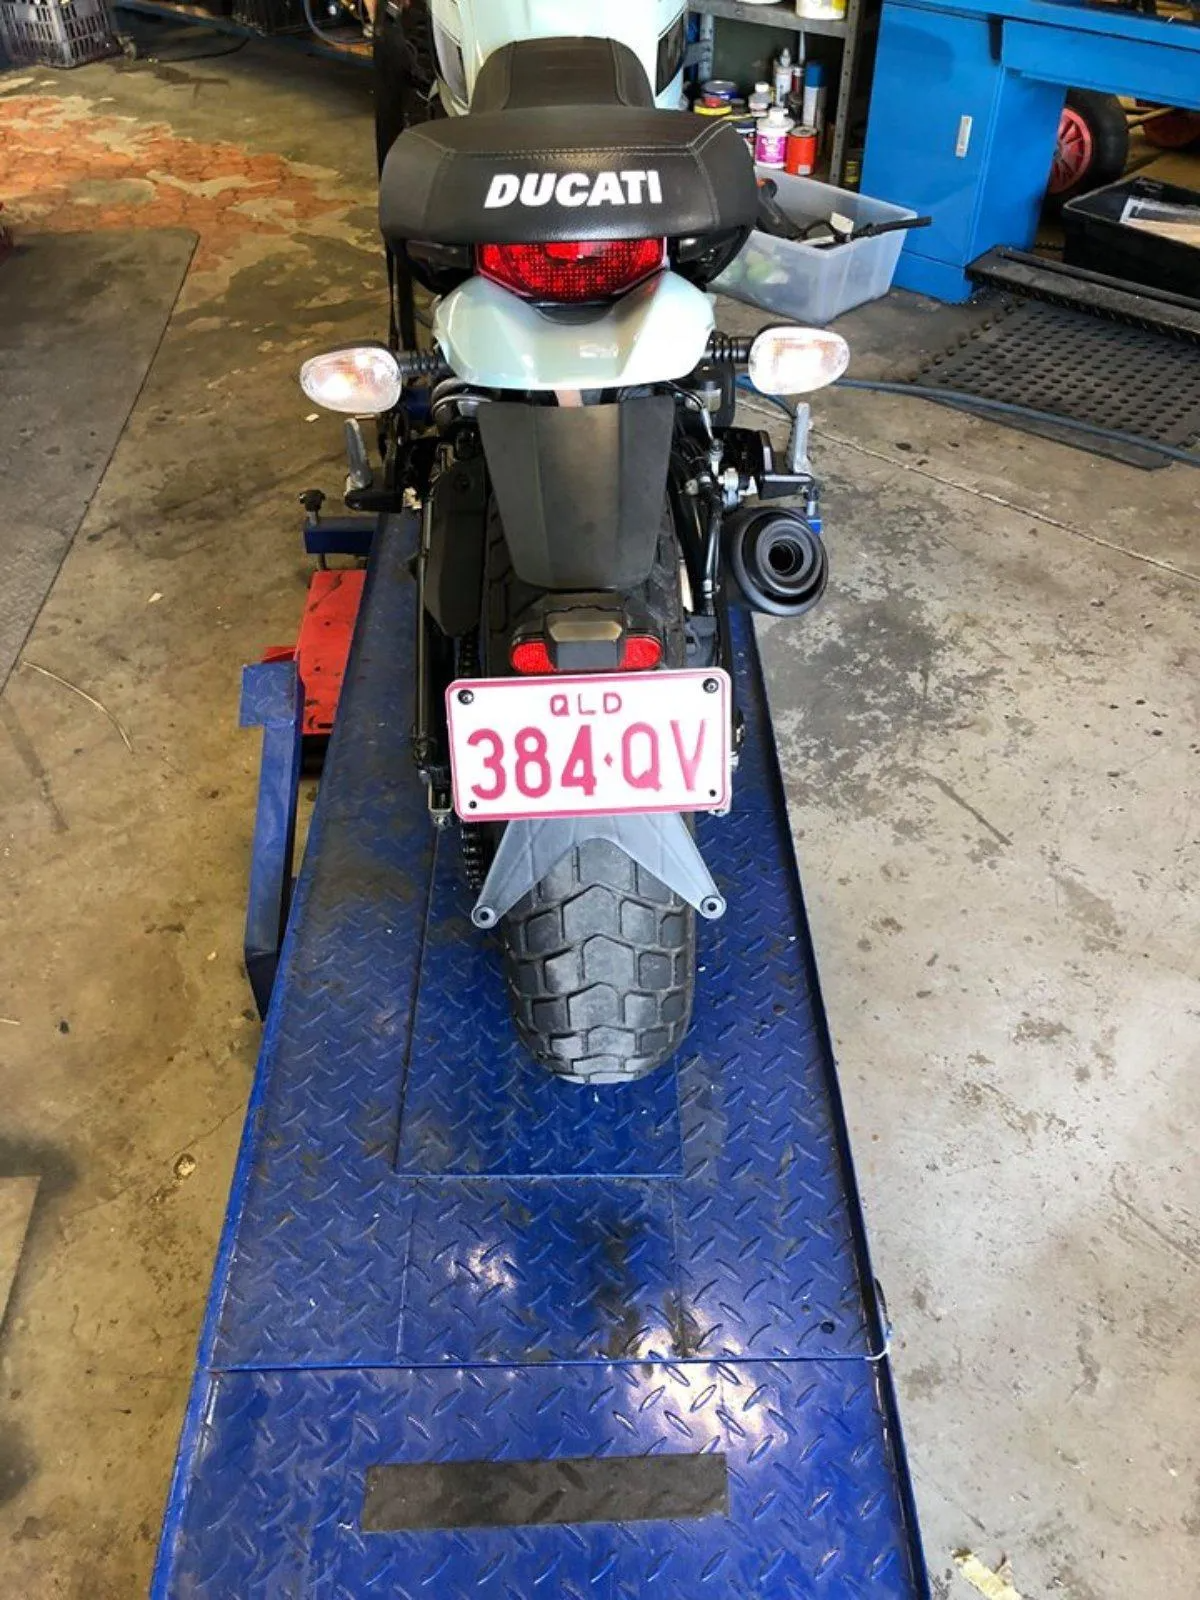
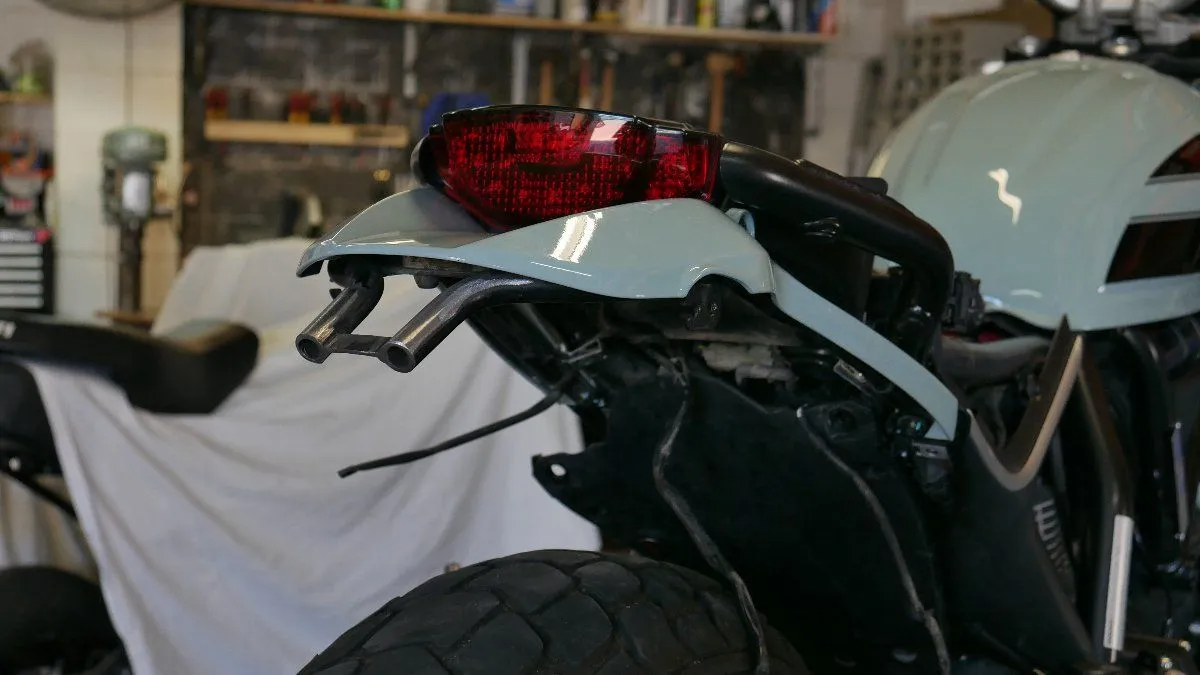
No matter where you are in the world, the standard tail fender on your Ducati Scrambler will look horrible. Over engineered beyond belief to comply with import regulations or local vehicle requirements, the last thing on the designer’s mind was how it looks.
The tail pieces erves a purpose of course, to hold your number plate and tail lights, but further than that, there is no real need for a ton of plastic fairings, huge lighting and oversized plate mounts.
For this article, I had a mate Chloe drop by the workshop and we went through rebuilding the tail tidy into a more minimal, and neatly functional set up. Getting rid of anything unnecessary and replacing the large OEM turn signal with some much smaller and brighter Purpose Built Moto LED indicators. So let’s dive in and run through the simple process Chloe and I went through to get the tail end of her Ducati Scrambler looking better than ever.
Tools + materials you need:
- Allen Key set
- 8,10,12,13mm Spanners (wrenches)
- 4” Grinder , cut off wheel, flap disc
- 200mm x 80mm x 3mm plate steel
- 3mm x 30mm x 100mm long aluminium flat bar
- 2 x LED plate lights
- 2 x Purpose Built Moto LED turn signals
- Bullet connectors and crimping tool
- Soldering iron (not essential)
- Welder (not essential)
- Etch Primer, + Matte black paint
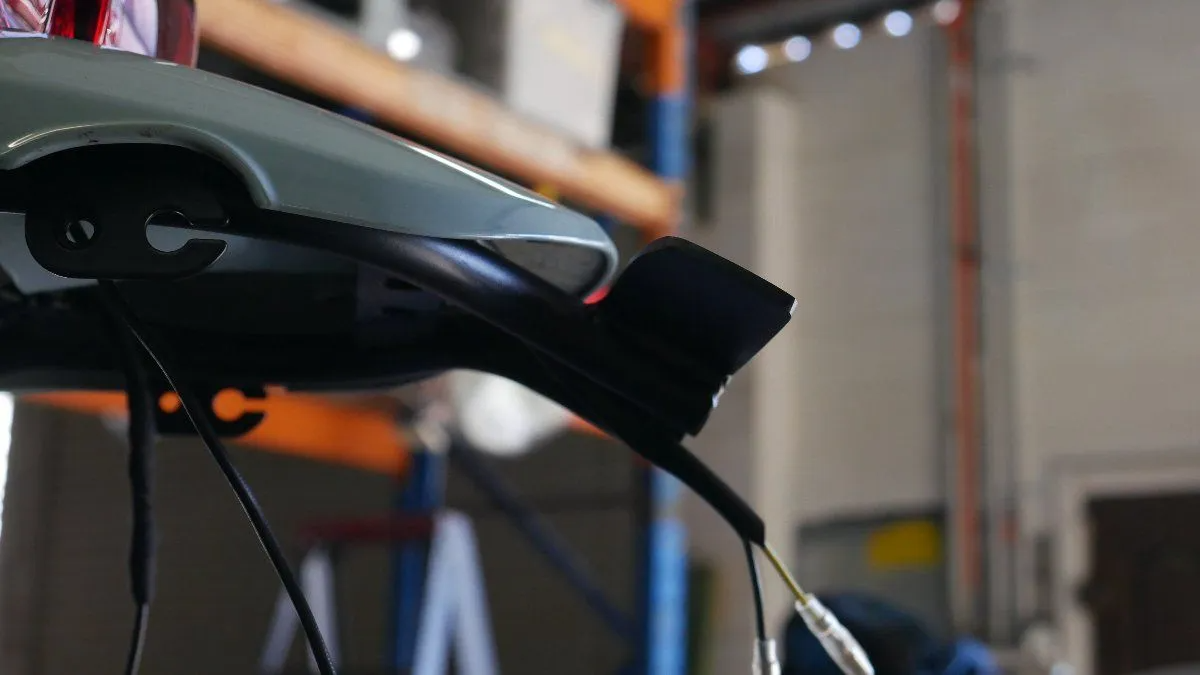
To get started remove your number plate, plate light, old indicators and the number plate bracket frame. Set the screws aside and remove plastic covers underneath the tail as well to allow access to the light wires for disconnection and reconnection.
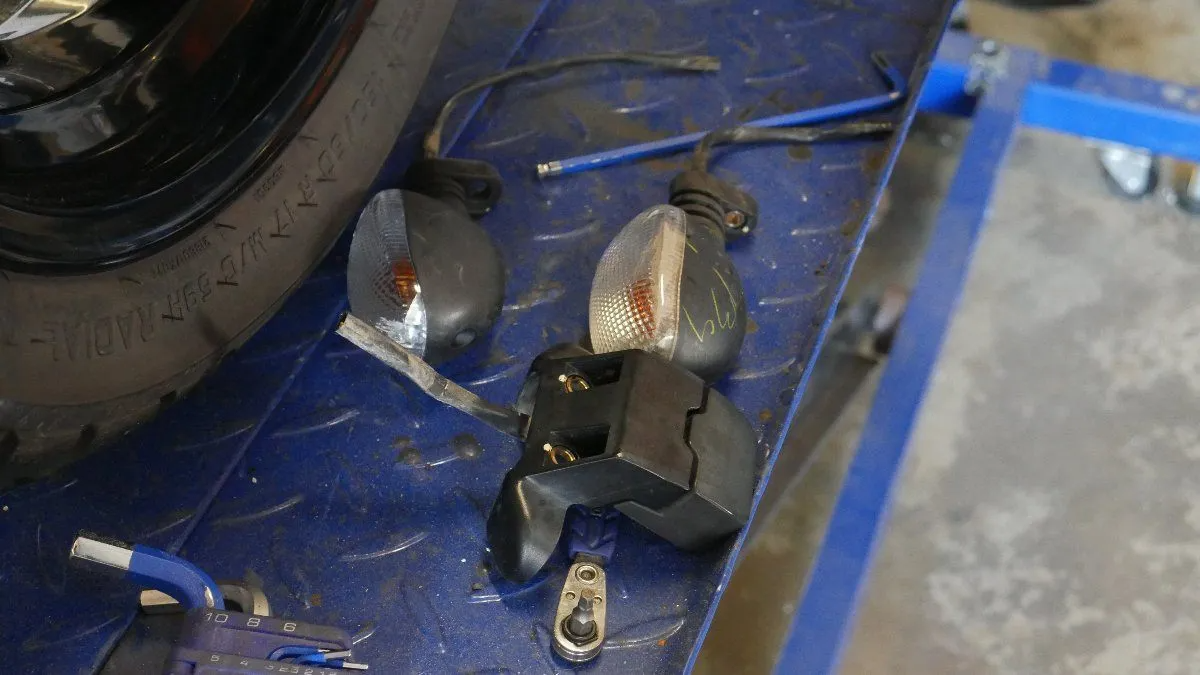
Once the Lighting is removed, and the wires cut or disconnected, make sure you wark what is what, ready for re-connecting your new stuff later.
Place the number plate bracket back on the bike with a few screws loosely and use your number plate to eye up and mark where you want to cut the bracket. Making sure you leave enough room to weld or bolt the new plate mount on.
Once marked fix the bracket to a bench or in a vice and make your cut. In my case I handed the grinder to Chloe and stood back! With the cutting done, size up your new plate mount to suit your size number plate, mark your steel and cut it out.

If you have a welder, grind or sand back the paint under the area that will have the plate fixed to it.
With both surfaces clean, fix the cut standard bracket back onto the bike, clamp the new plate mount on and check it straight before tacking, removing it from the bike and finish welding it.
If you don’t have a welder, you can drill and bolt the new plate on. But best practice here would definitely be to weld that sucker. Welds don’t rattle loose…
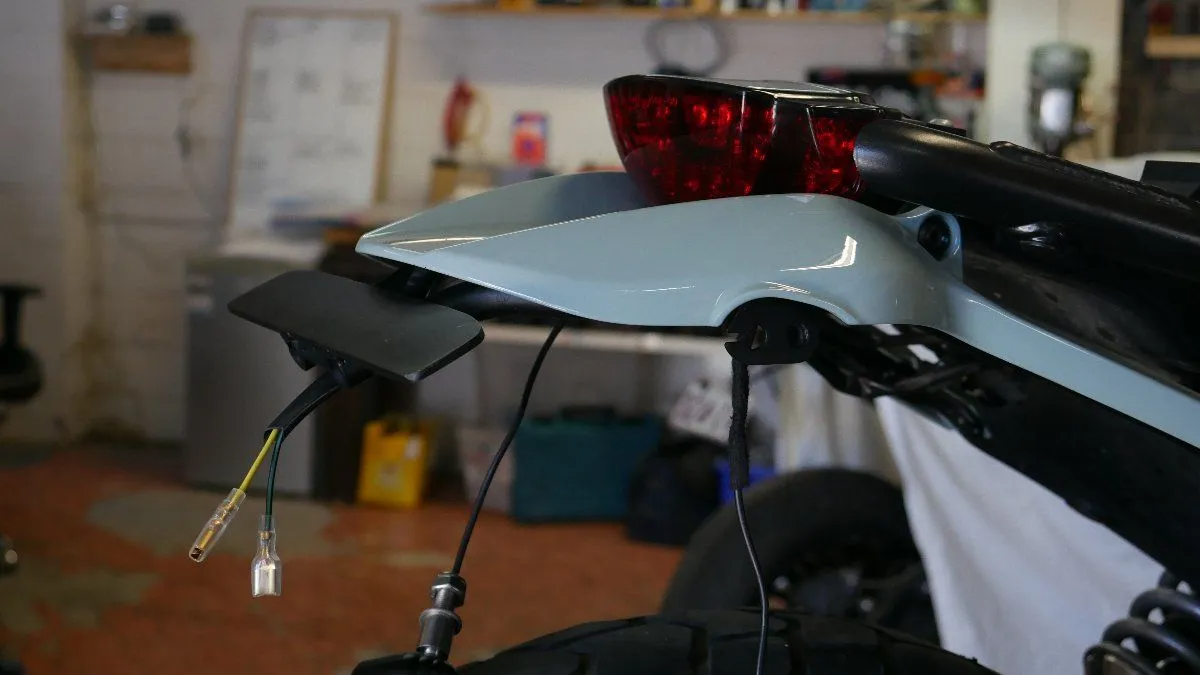
Once welded, the bracket can be drilled out for your number plate mount then painted to prevent rust. I used a matte black to match in with the existing colour of the bracket. After the few hour it takes for you paint to dry, fix your new tail tidy back on and bolt it up!
The final step before replacing all your little covers is to hook up the lights, Crimp some connectors or solder your new LED lighting into the existing wiring and you’re done!!
Make sure to replace Loctite on any screws holding the bracket or the plastic covers that are fixed over it.
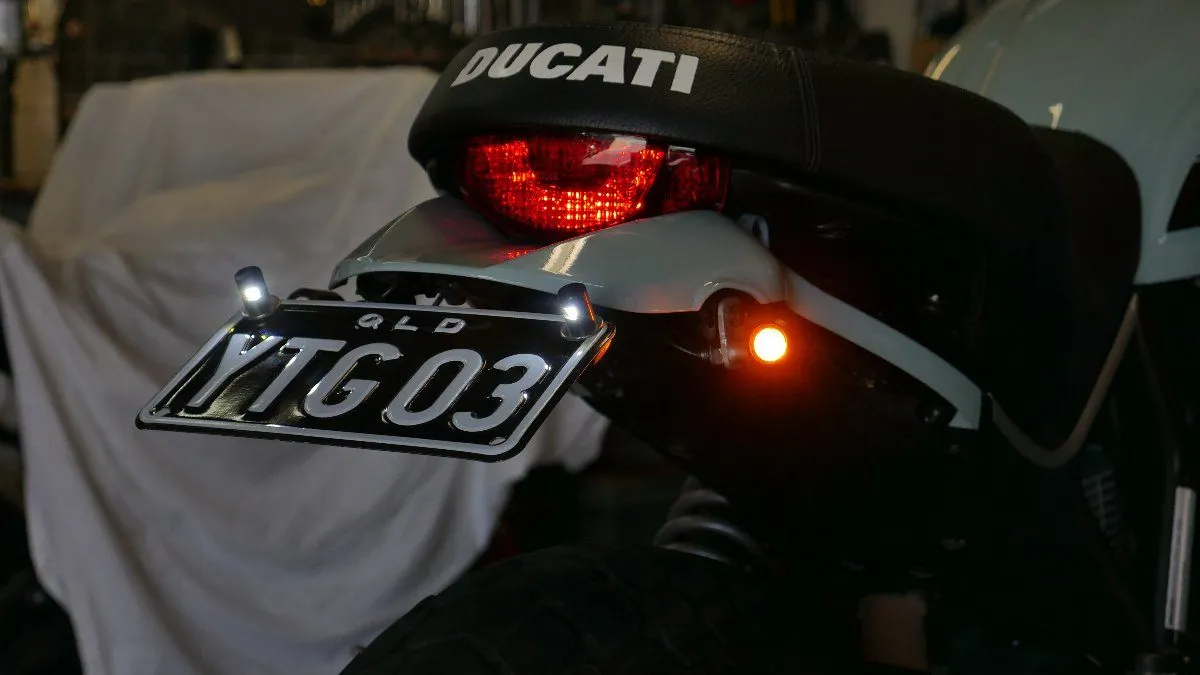
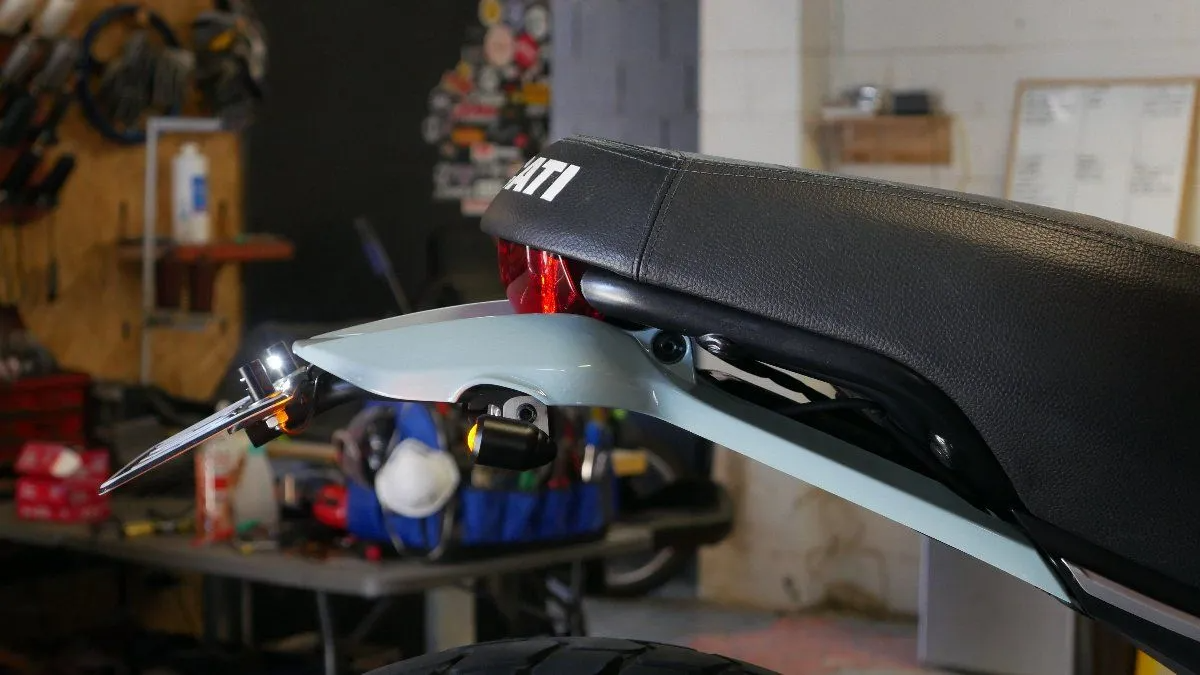
The Ducati Scrambler shown here has been finished with some Purpose Built Moto Beehive LED indicators. Mounted on a small aluminium bracket and using the factory standard indicator mounting holes. These LED indicators work on the Ducati Scrambler with no need for Resistors or load balancing units.
I hope this article has shed some insight if you were looking at options for your ducati scrambler tail tidy. If you used our guide make sure you comment below and send us a pic of your finished product.
Tom
WE BUILD BIKES WITH PURPOSE.
Purpose Built Moto is home for unique custom motorcycle builds. We offer a unique motorcycle customizing experience in the heart of the Gold Coast.


