
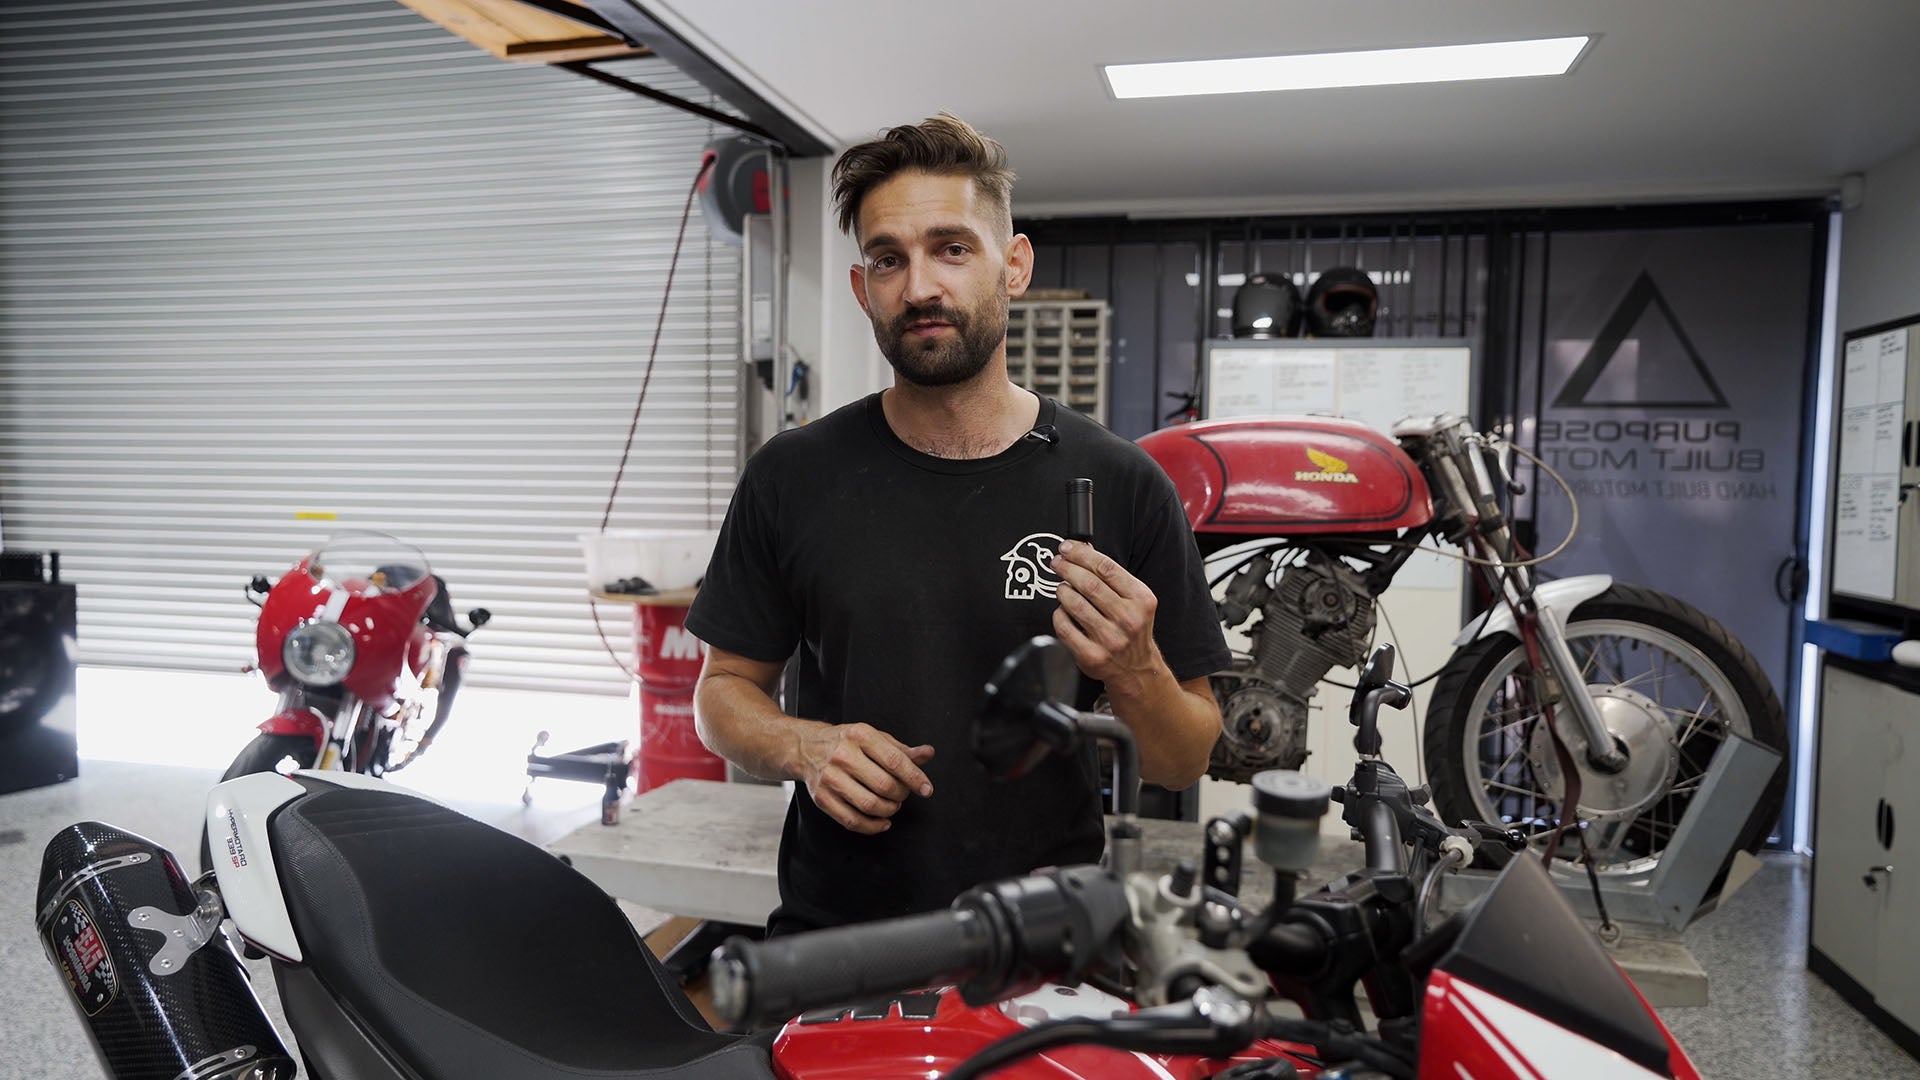
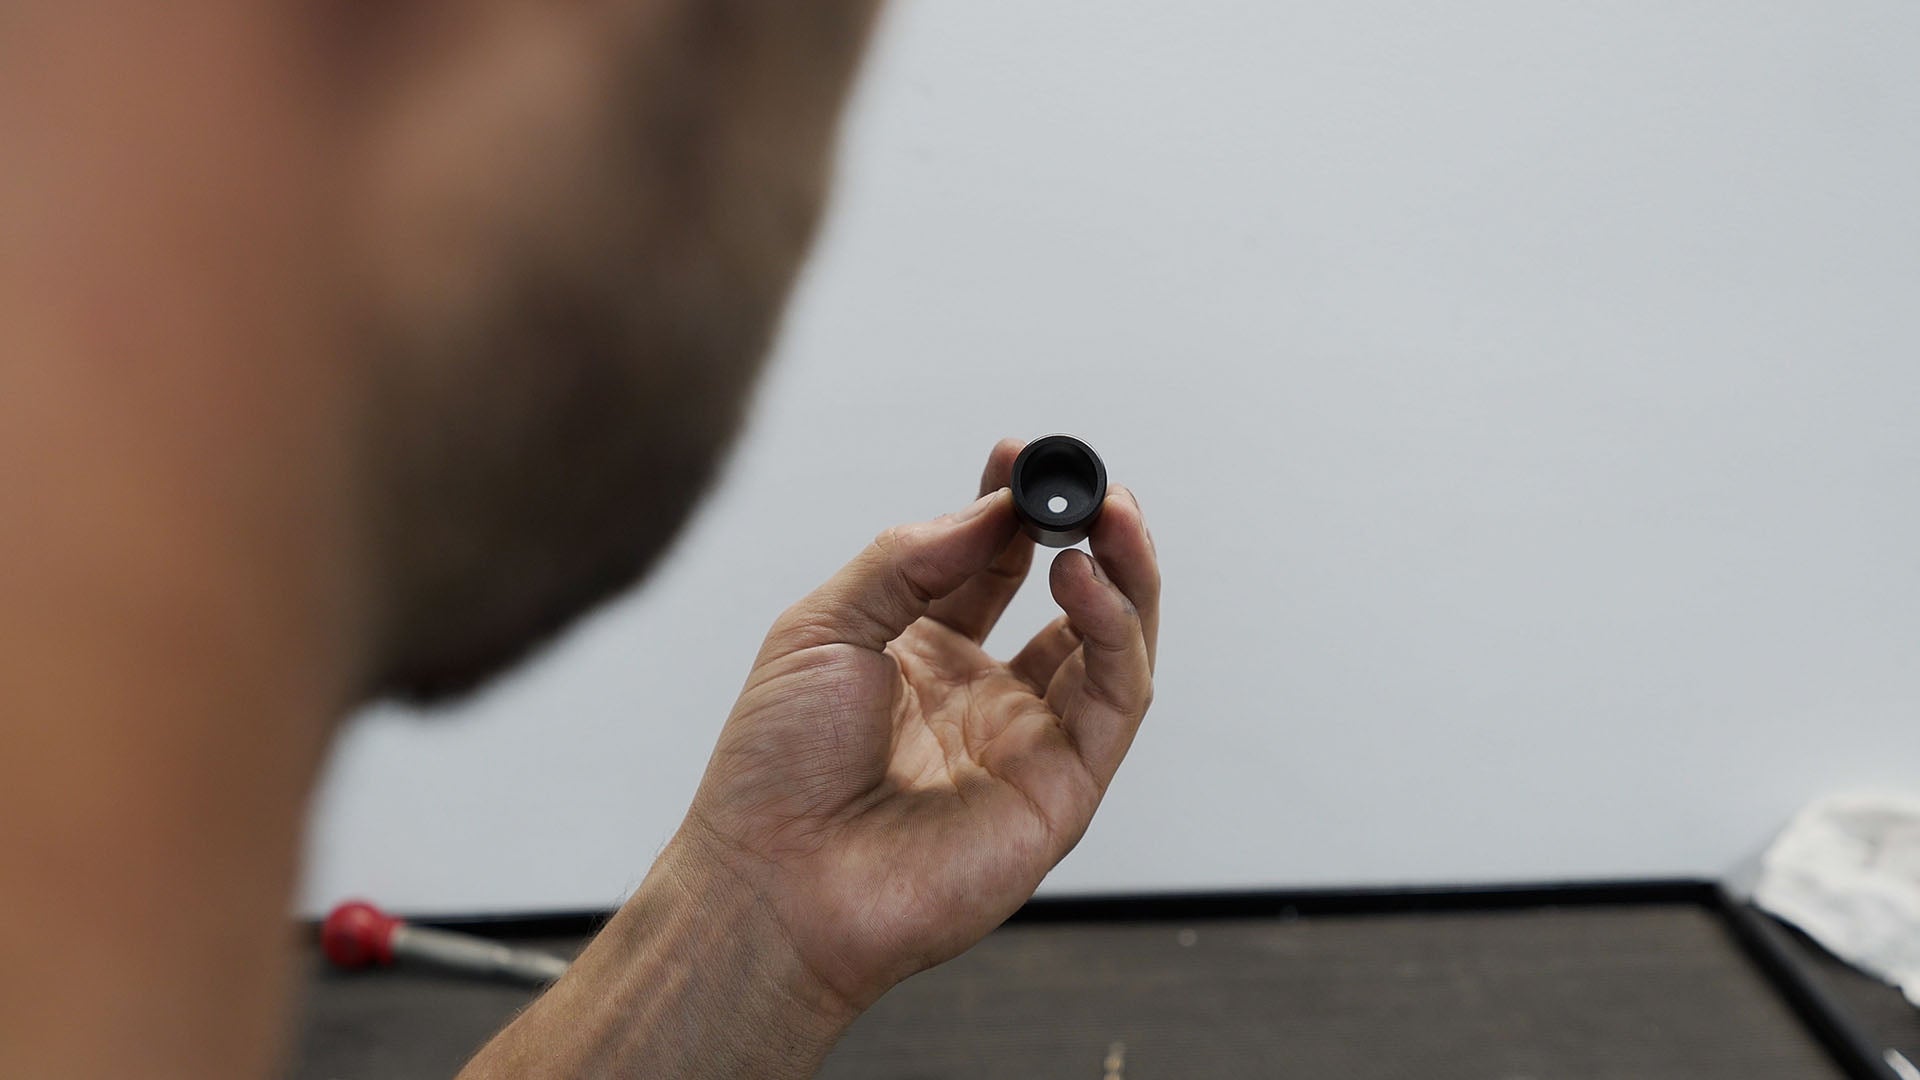
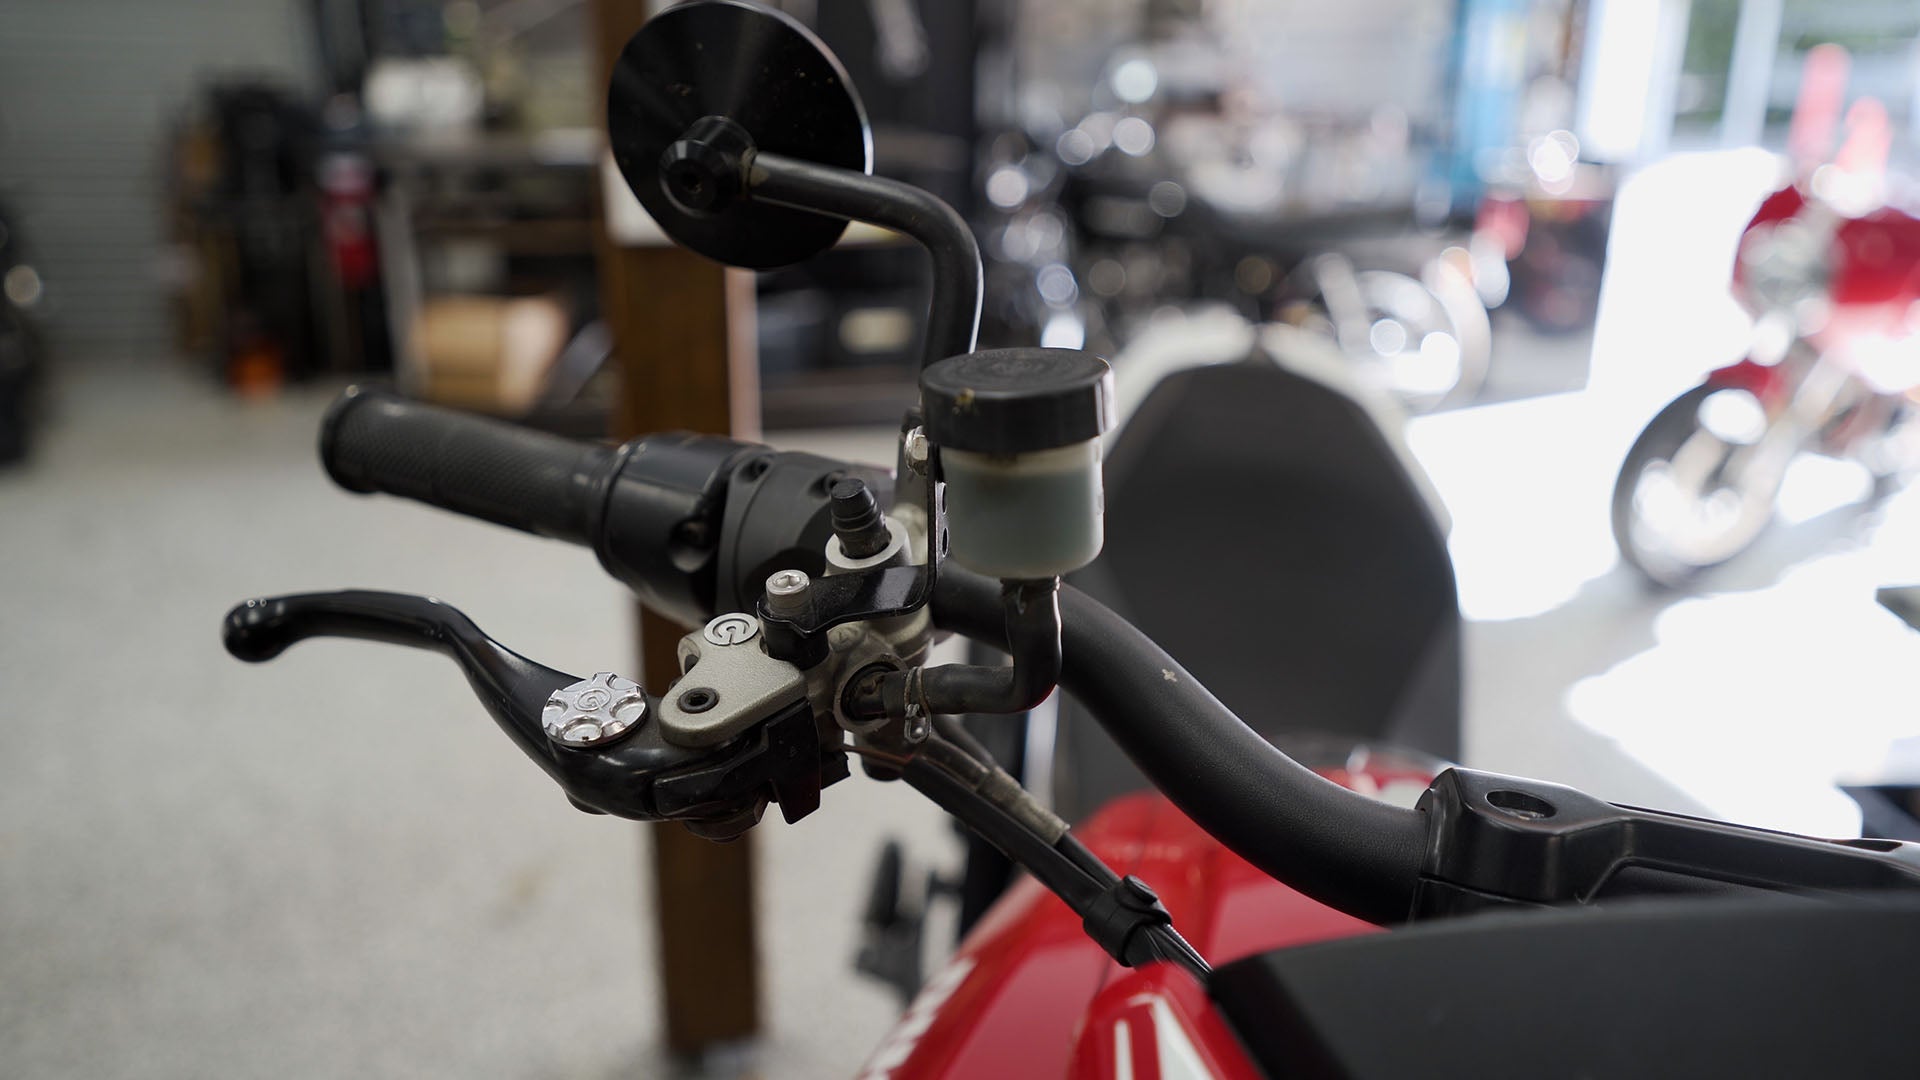
Today, we're getting into the installation of our new brake fluid reservoirs. These little beauties are a step above your standard hose length and fluid cap, offering better performance and a sleek, minimalist design.

What You'll Find in the Box
- The brake fluid reservoir itself, complete with lid and diaphragm.
- A brass bob and an aluminum sealing washer.
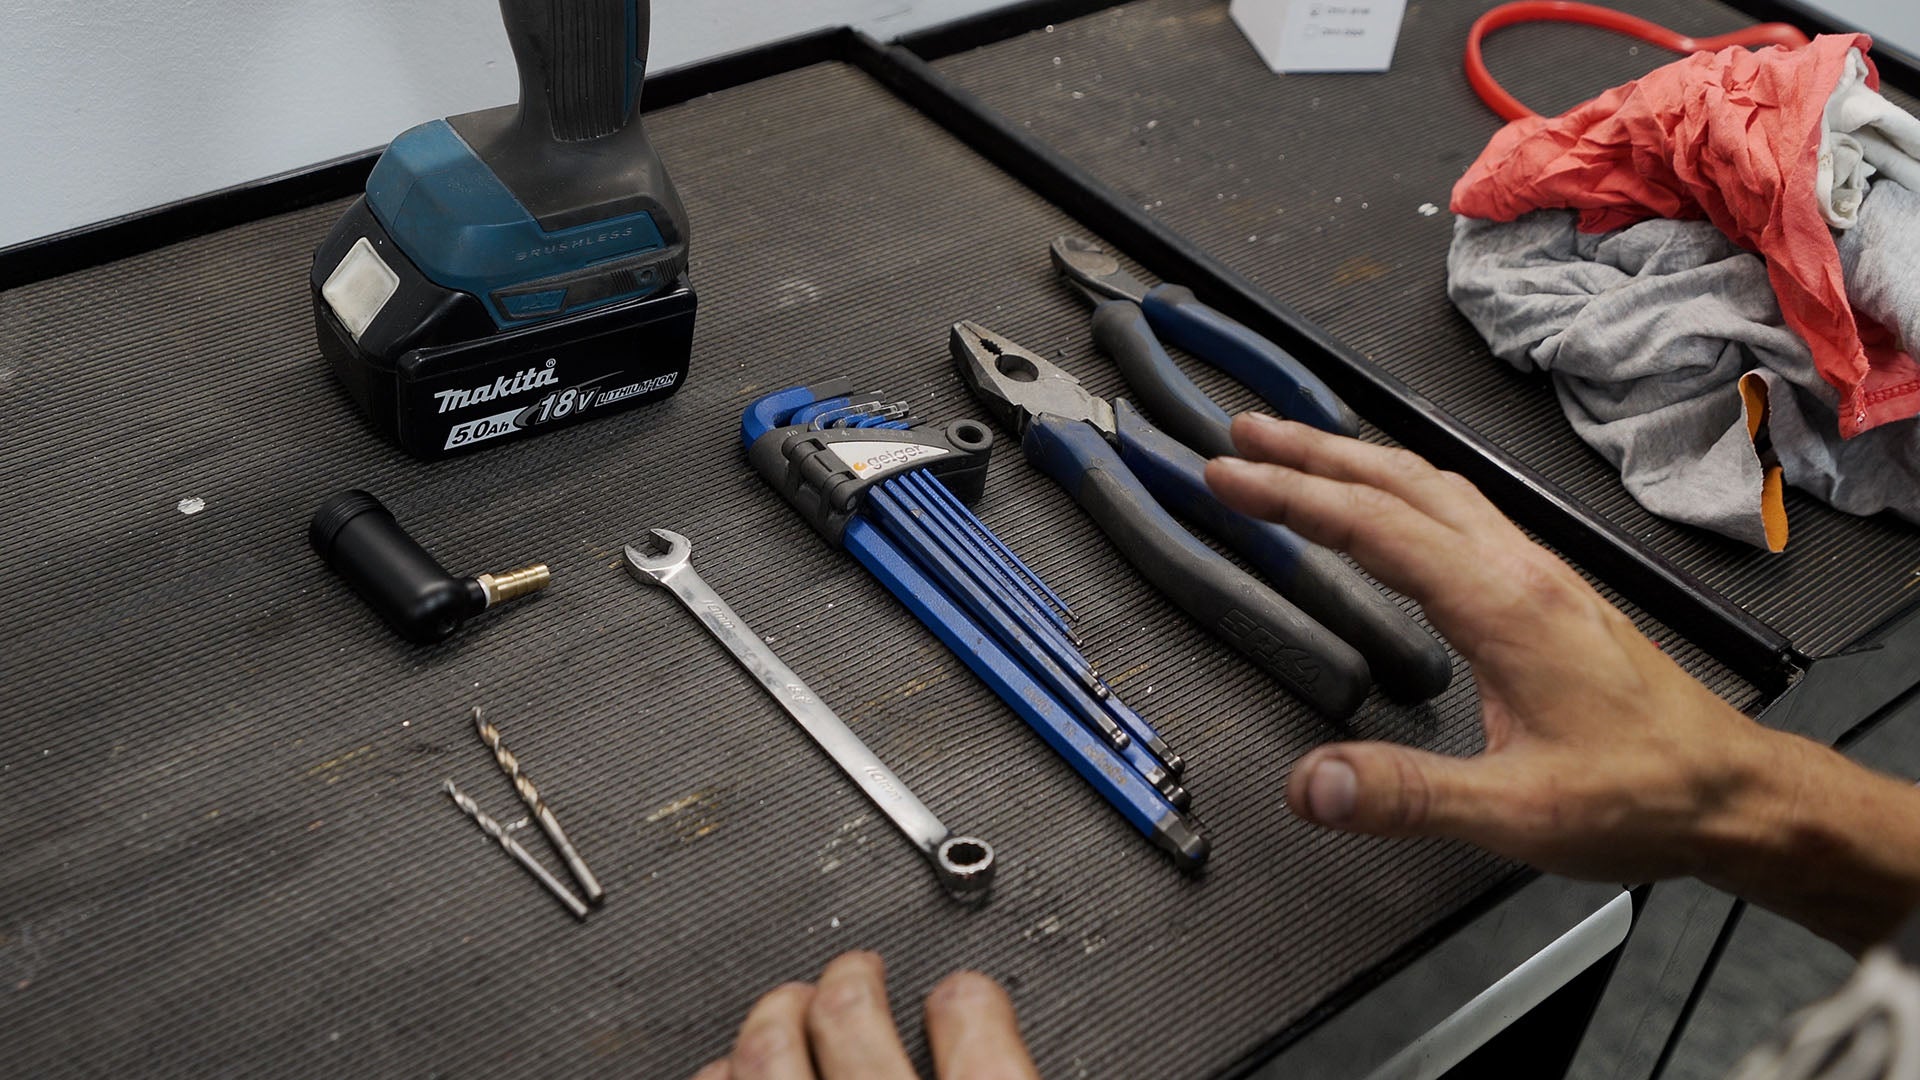
Tools Needed
- A few hand tools (specific to how your standard brake fluid reservoir is mounted).
- A 4.5 mm drill bit (or thereabouts) and a battery drill.
Installation Steps
Determine Mounting:
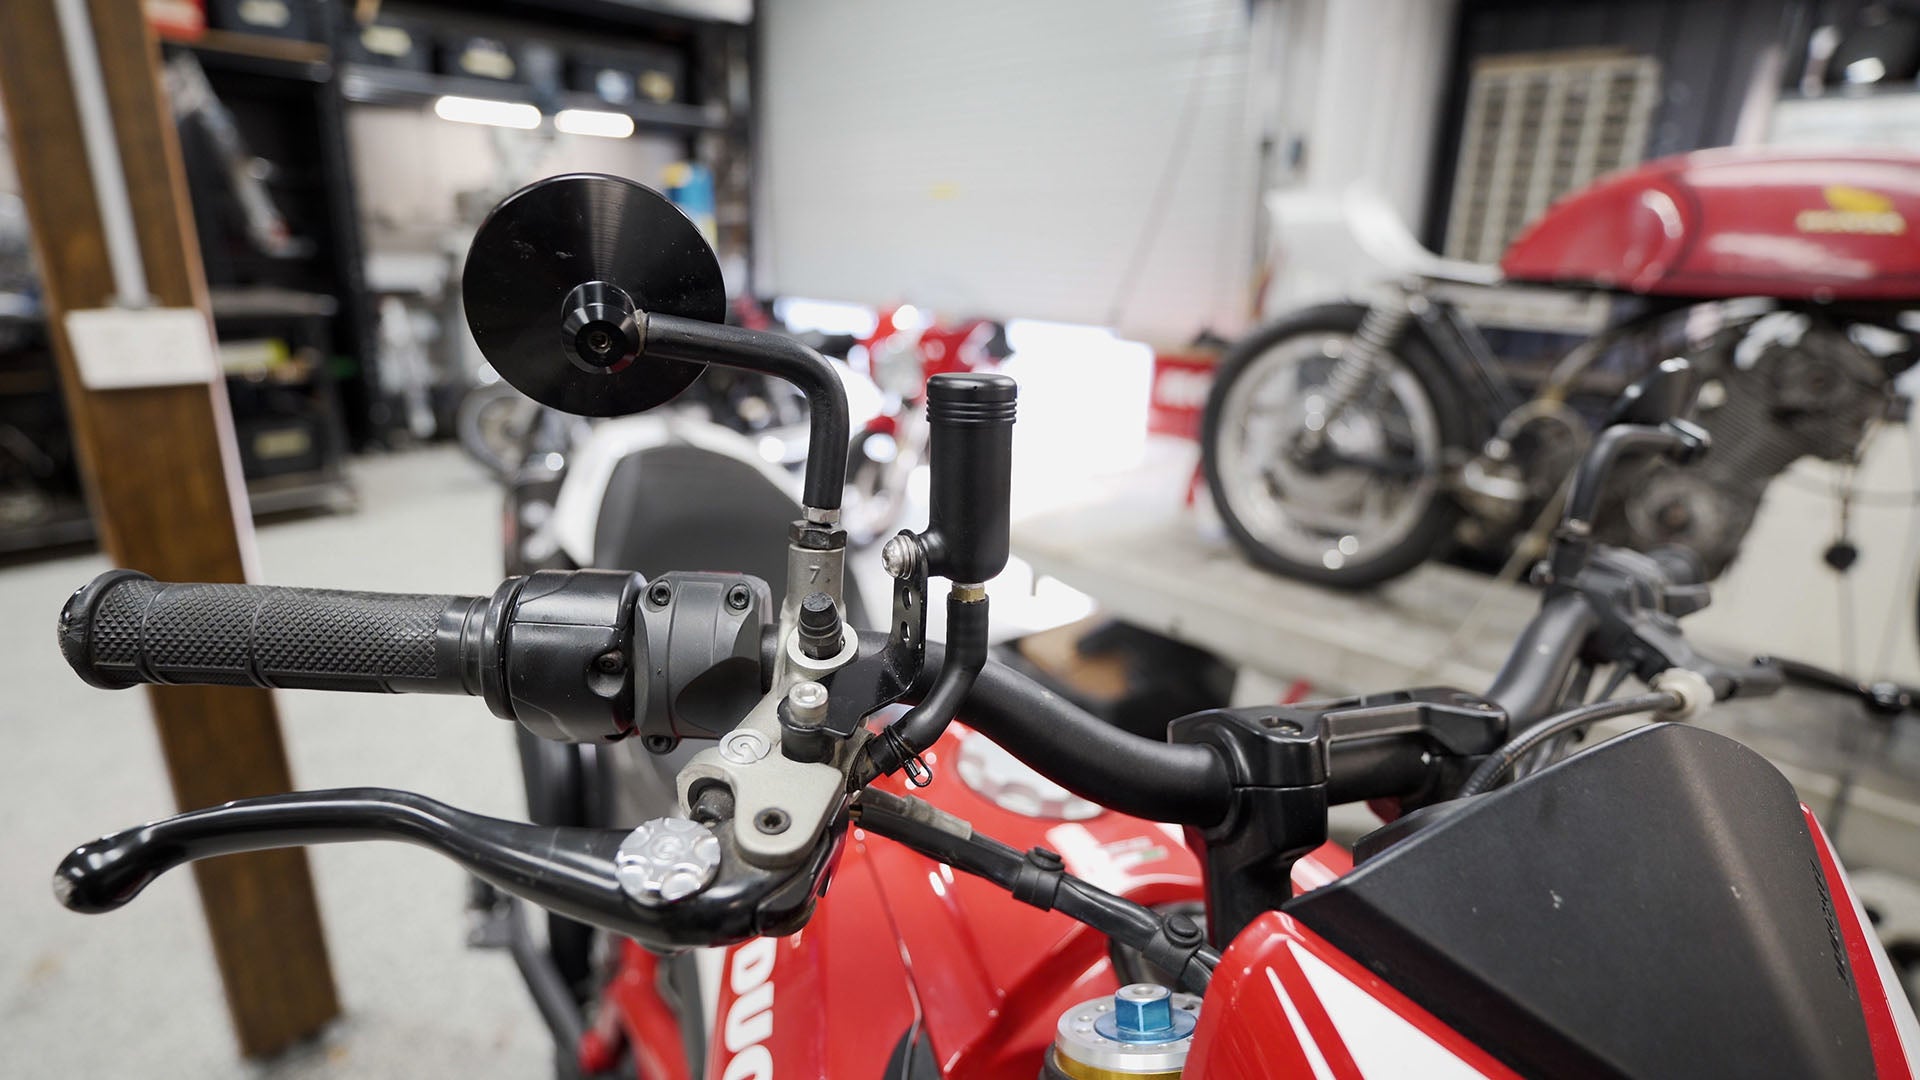
- Decide if the bob goes in the side or bottom of your fluid reservoir, based on your bike's setup. For our demonstration, we're using a custom bracket, with the fluid hose running underneath the reservoir.
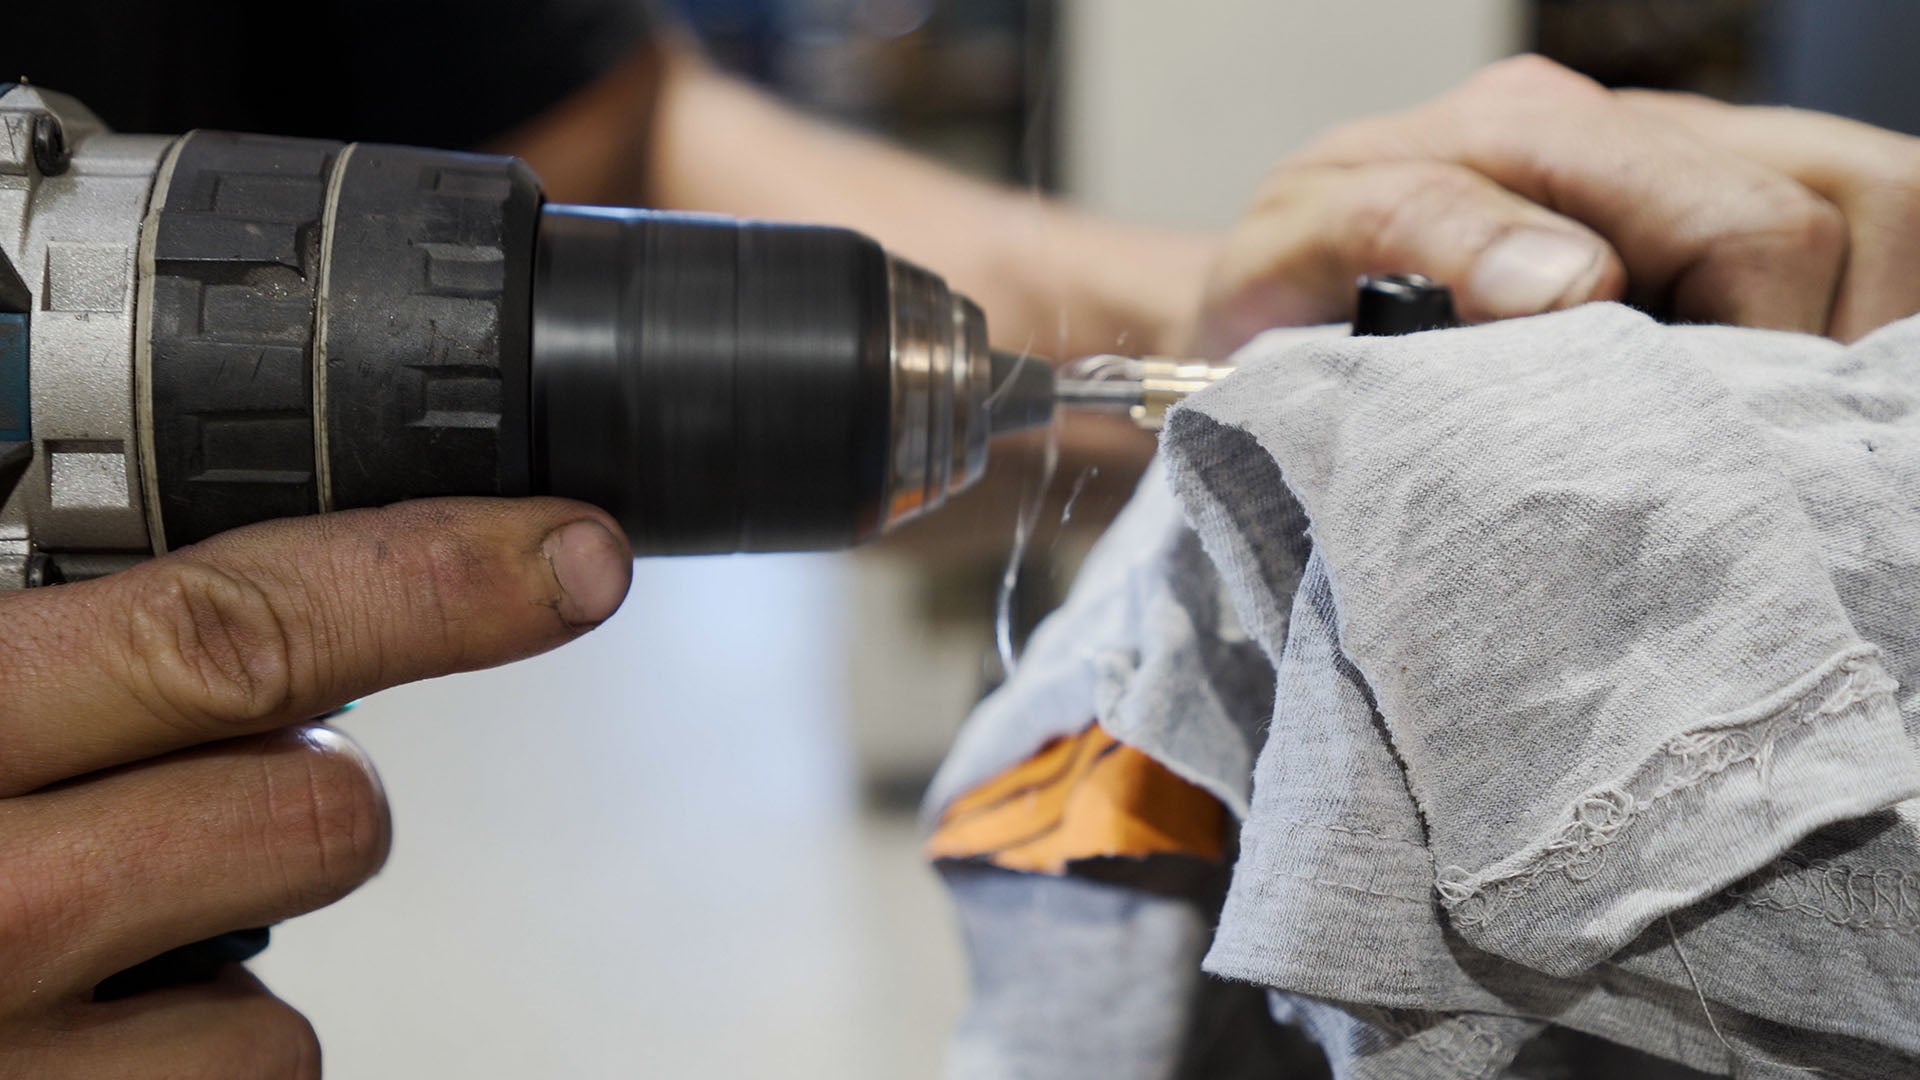
Drill the Hole:
- Load up your 4.5 mm bit into the battery drill and drill out the hole for the fluid to run. For extra caution, use the bob as a guide with a 3.5 mm drill as a pilot drill, then proceed to the 4.5 mm drill.
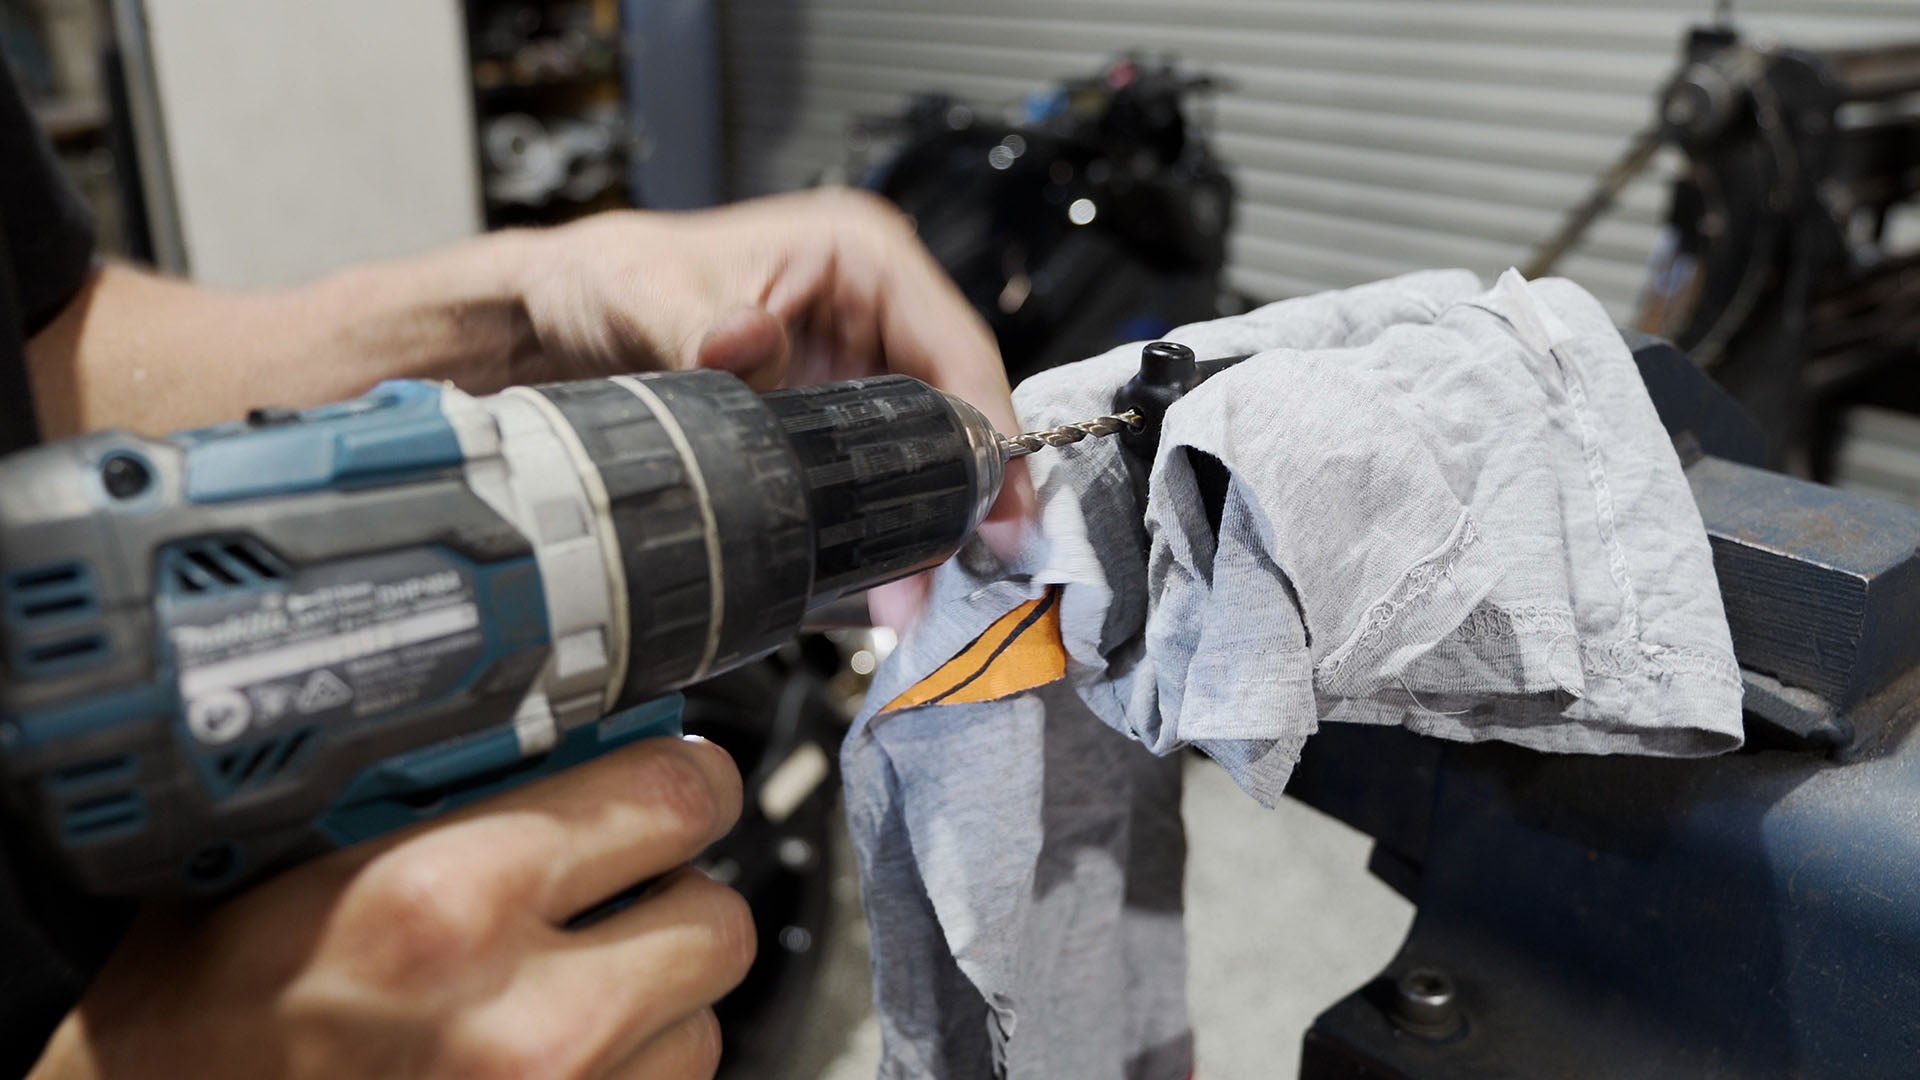
Clean the Hole:
- After drilling, use a larger drill bit to clear any swarf from the hole's edge. Double-check for debris inside, as it can cause issues with your brake fluid system.
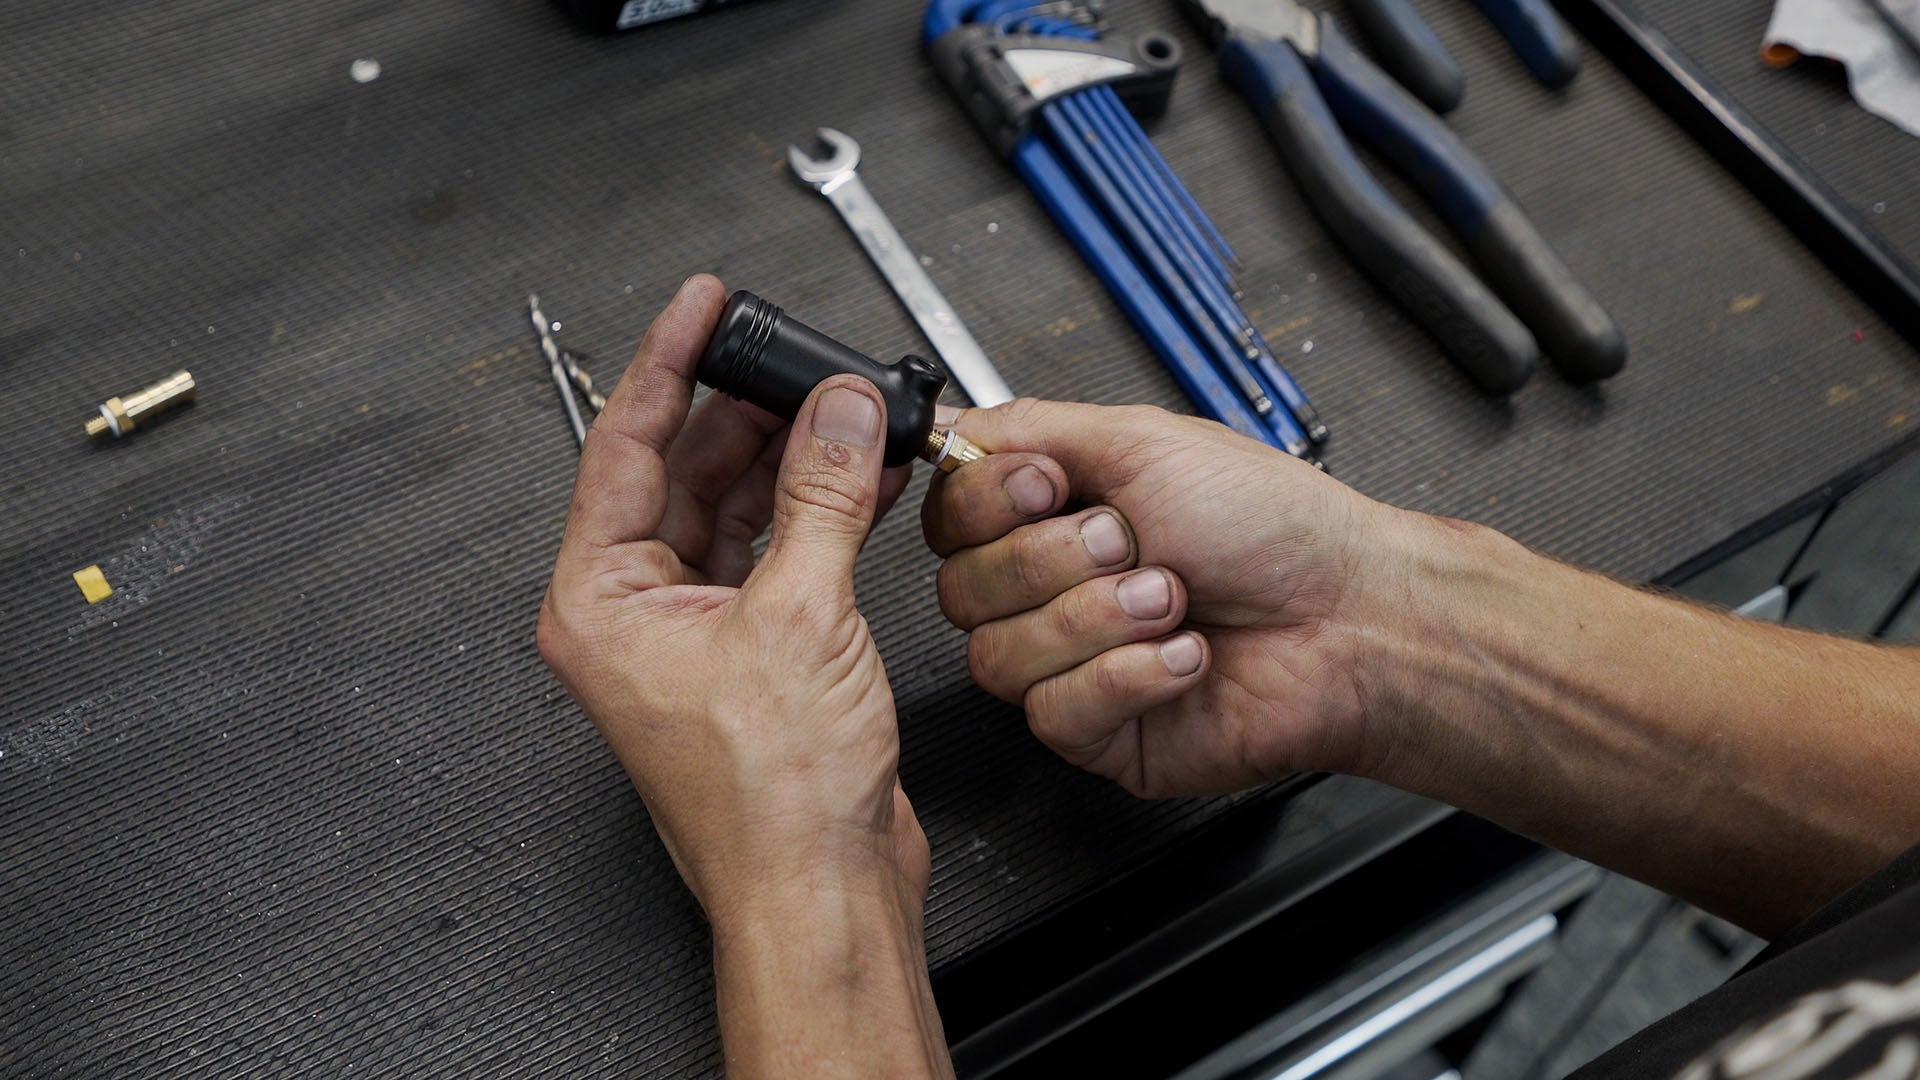
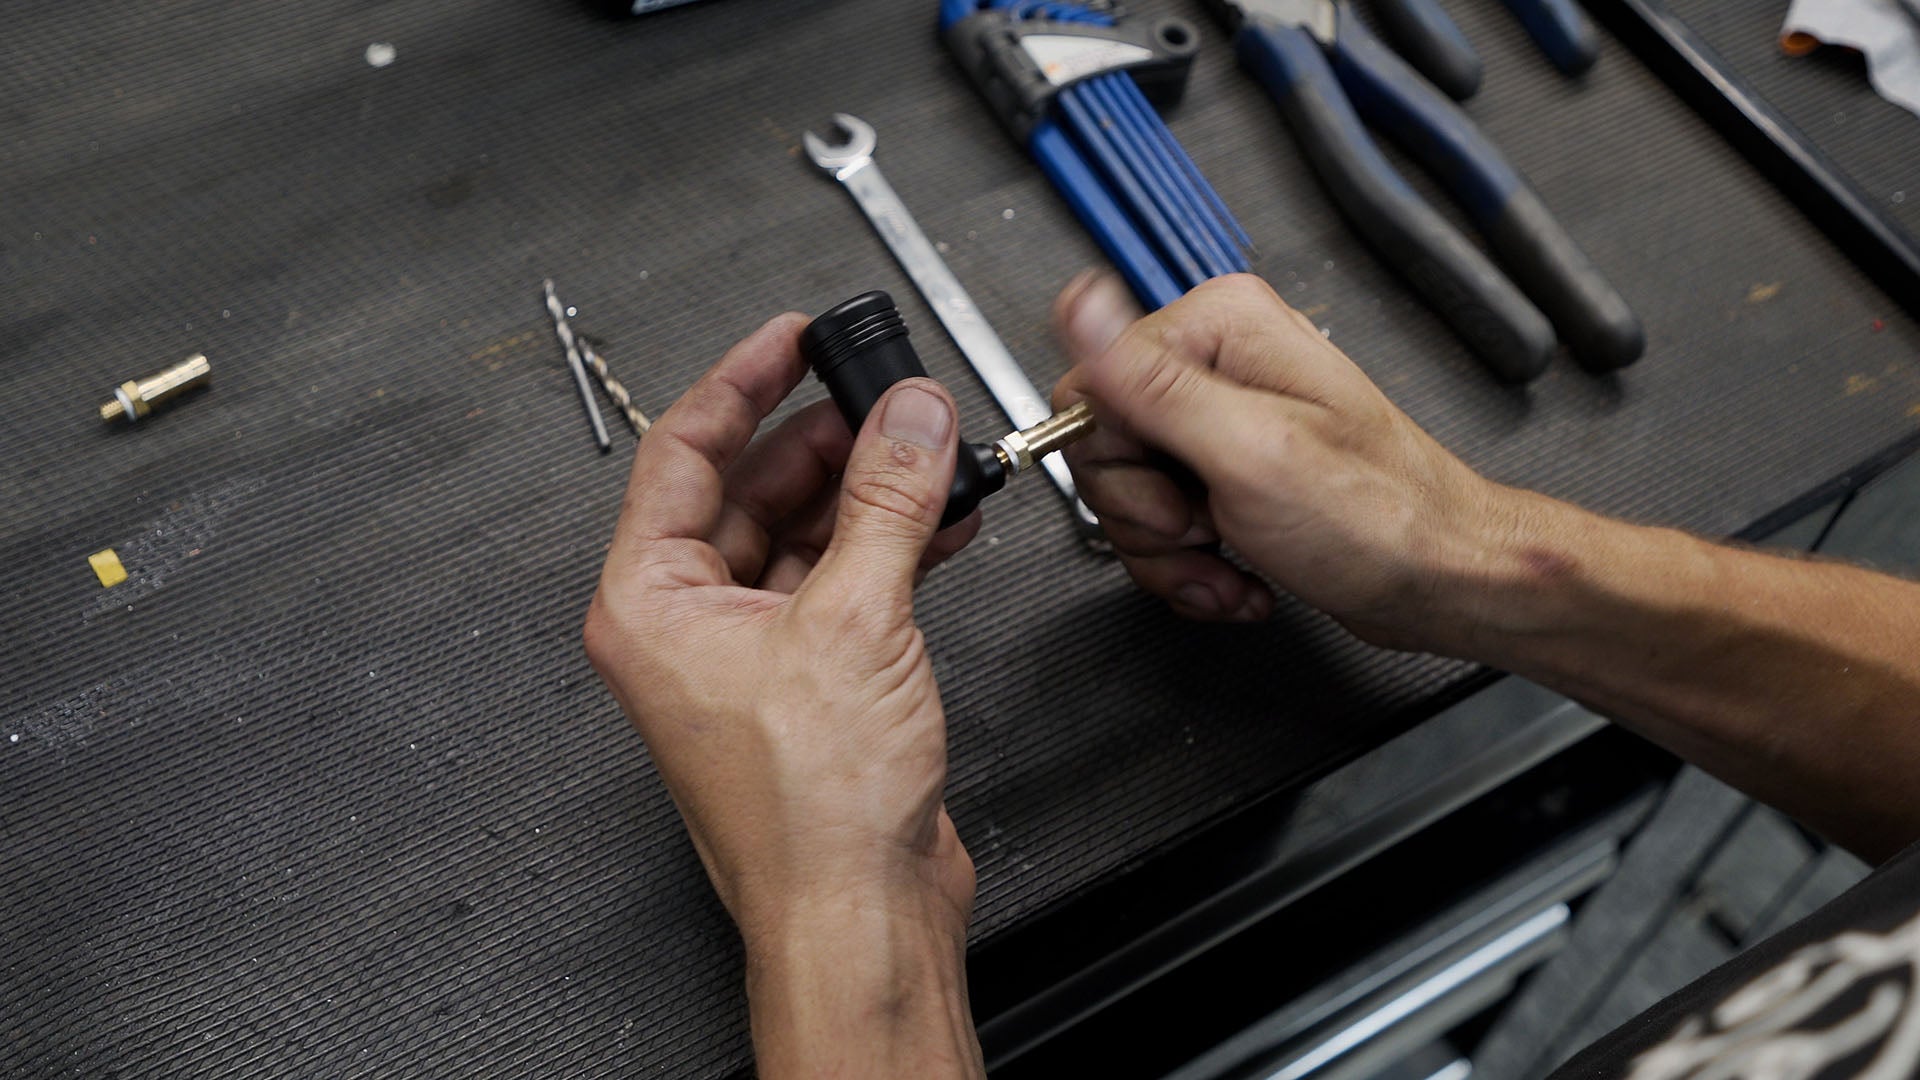
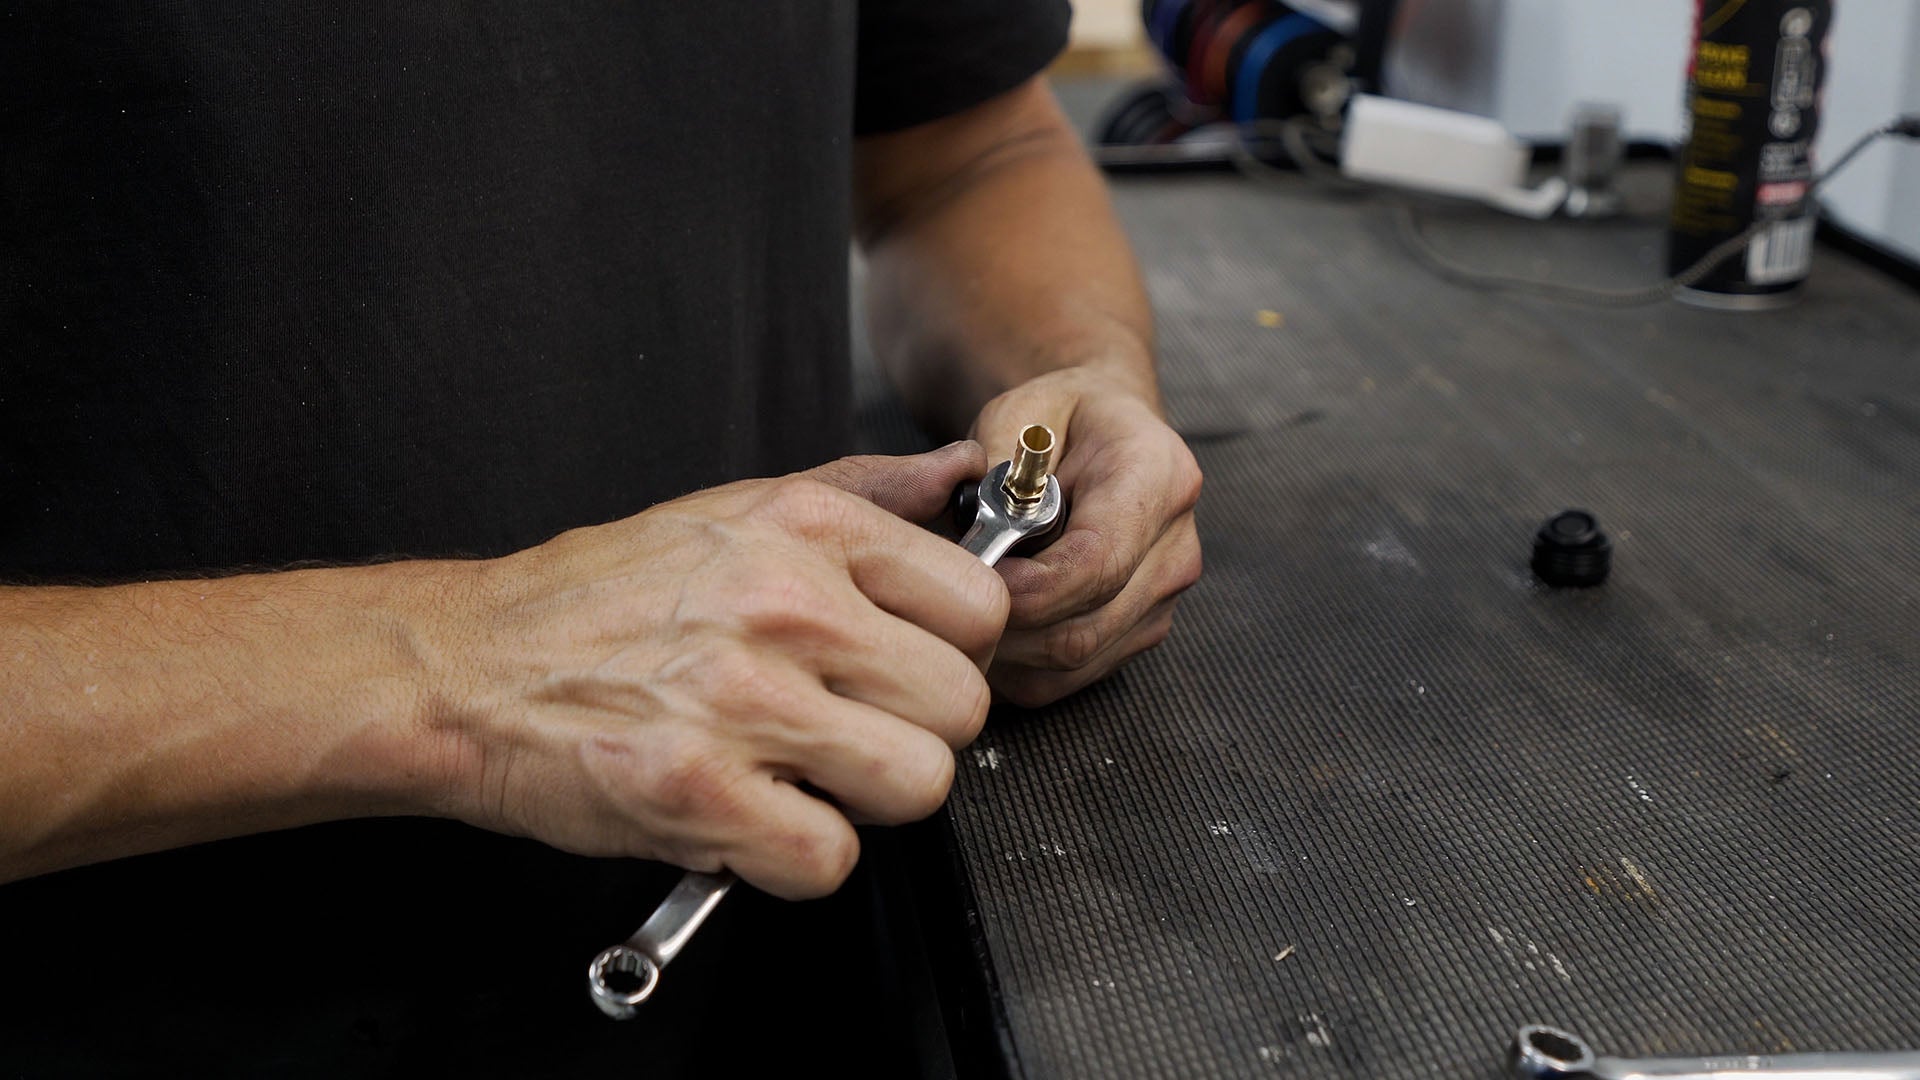
- Secure the Barb: Tighten the barb with a 9 mm spanner. This ensures it's ready before removing the old reservoir.
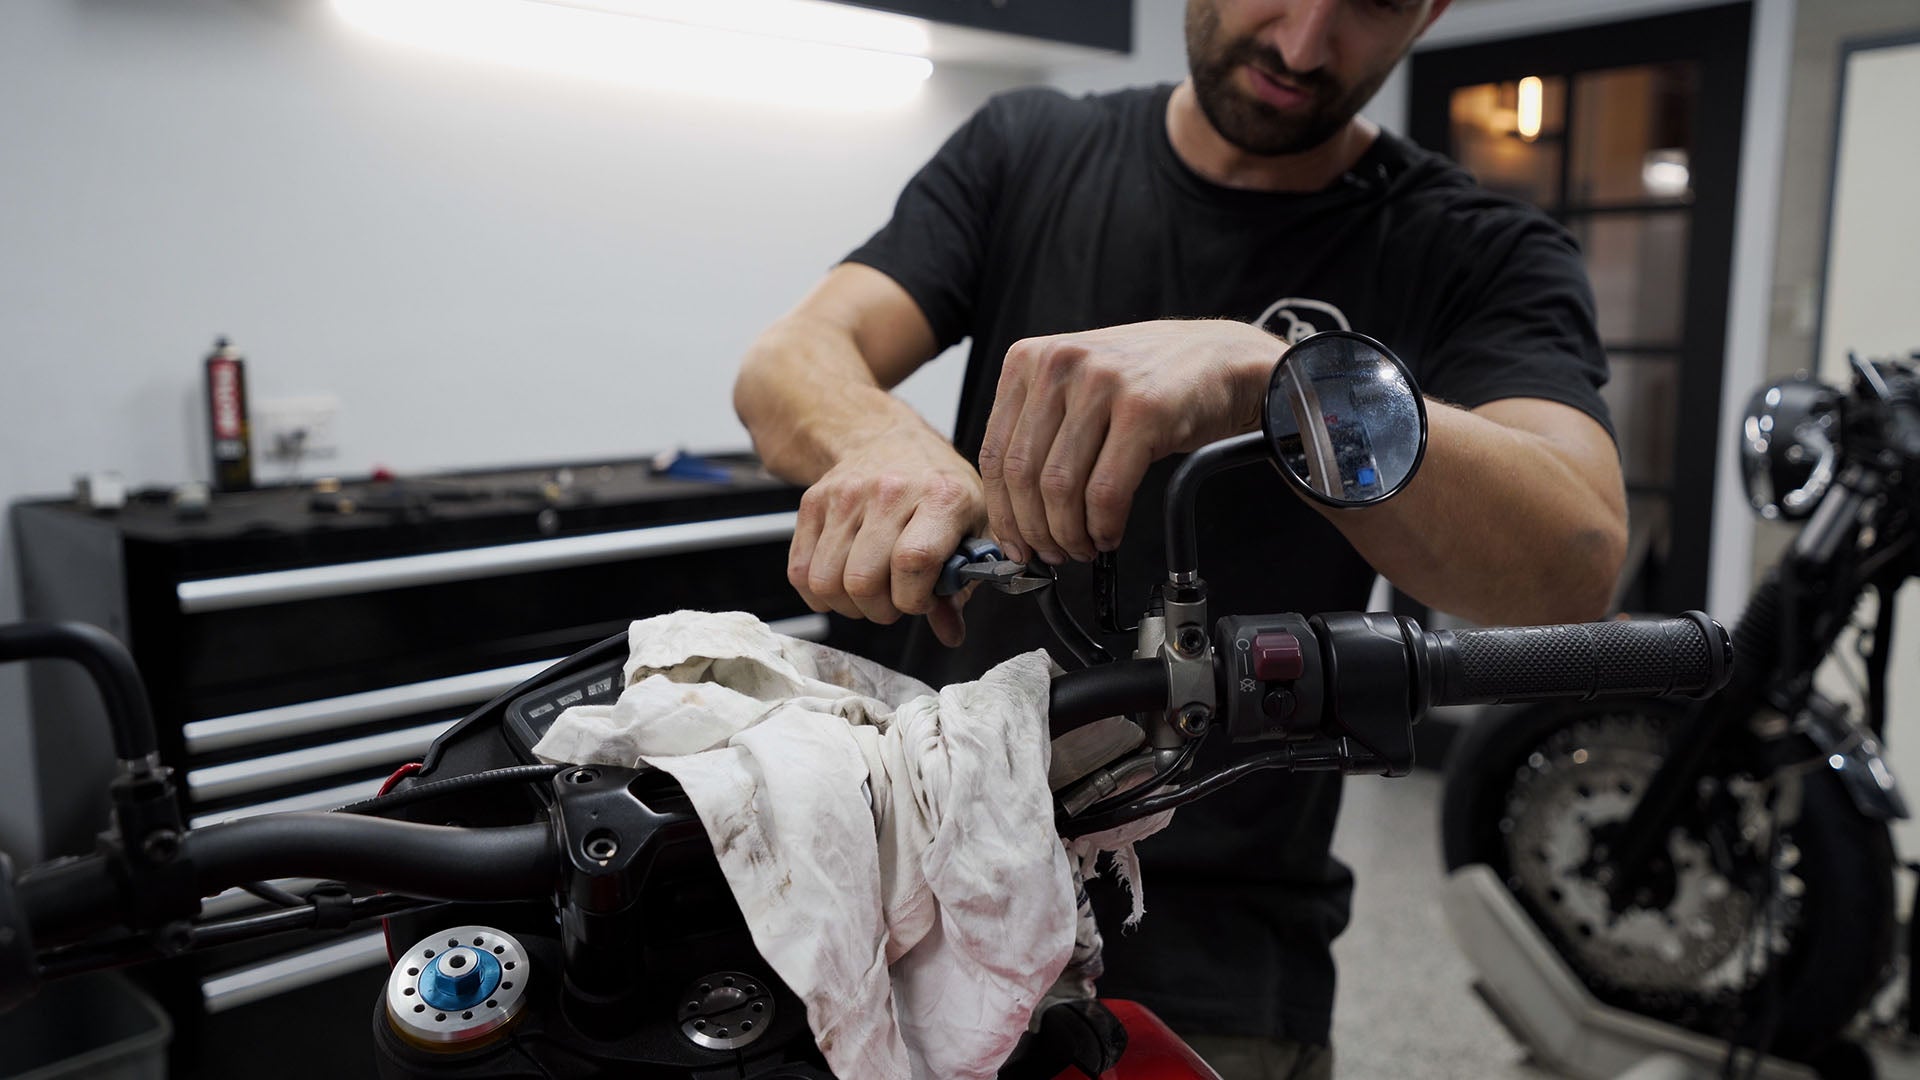
Remove the Old Reservoir:
- A handy tip – remove the reservoir’s mounting bolt but keep the lid on to prevent spillage. Use a zip tie to keep the hose elevated and avoid fluid spillage.
Prepare the New Reservoir:
- If needed, snip your fluid hose to the appropriate length. Fit the hose onto the barb, then mount the reservoir using the M6 threads of the new reservoir and secure it in place.
- Tighten the barb into the reservoir body, make sure not to over tighten. You should feel the aluminium washer crush slightly which is enough to make the seal.
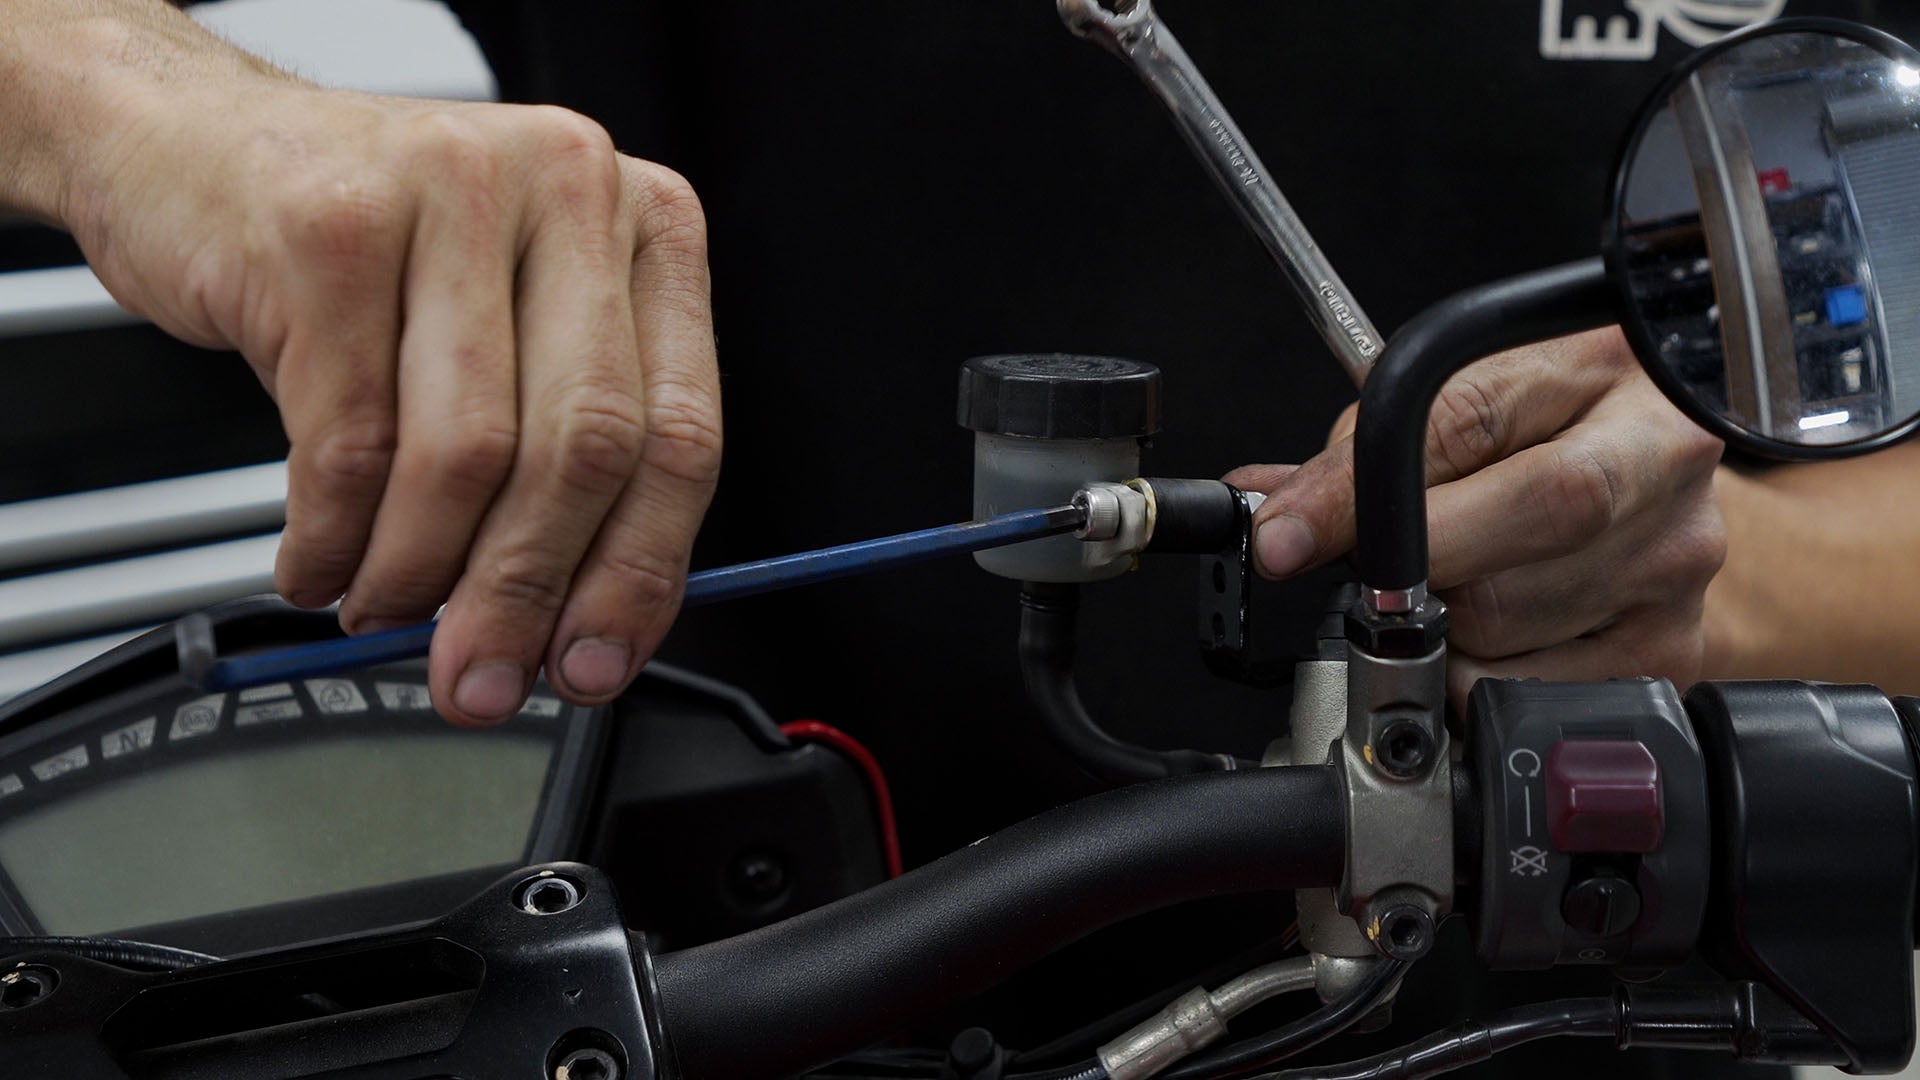
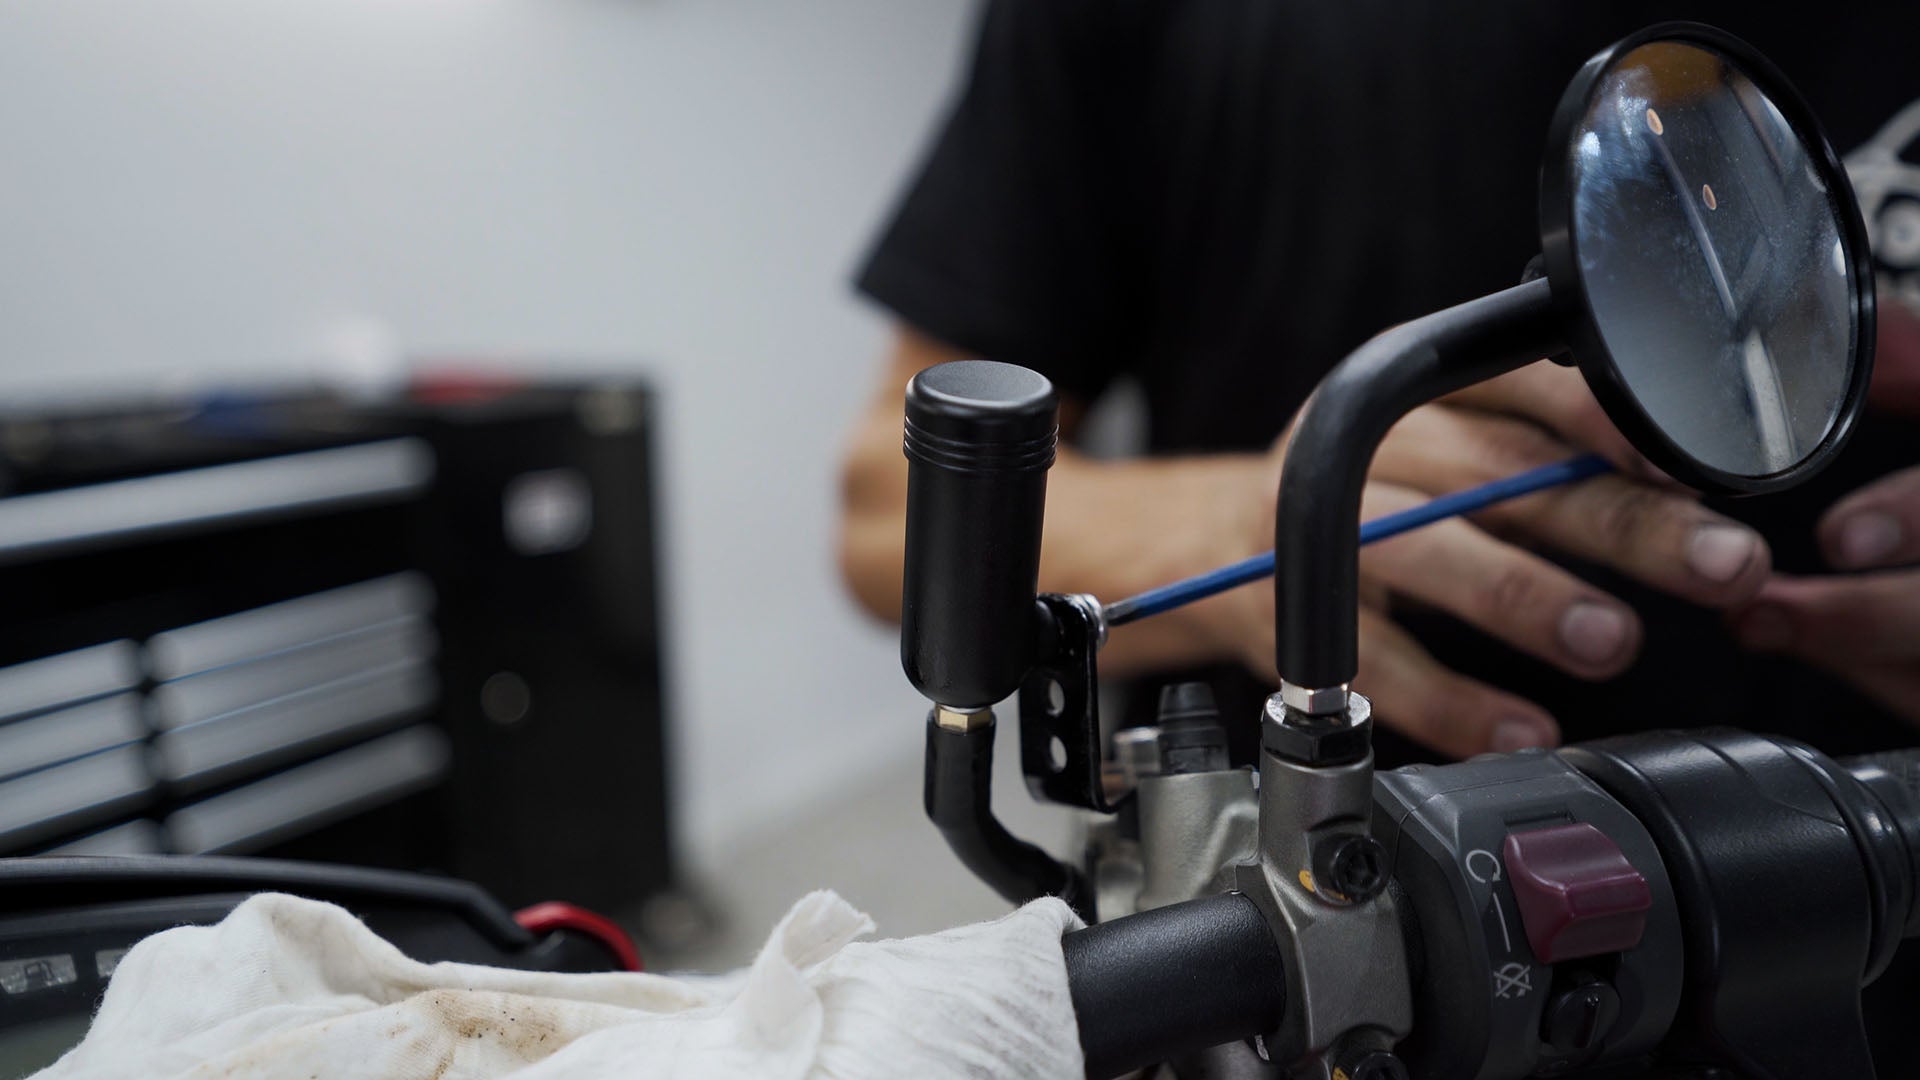
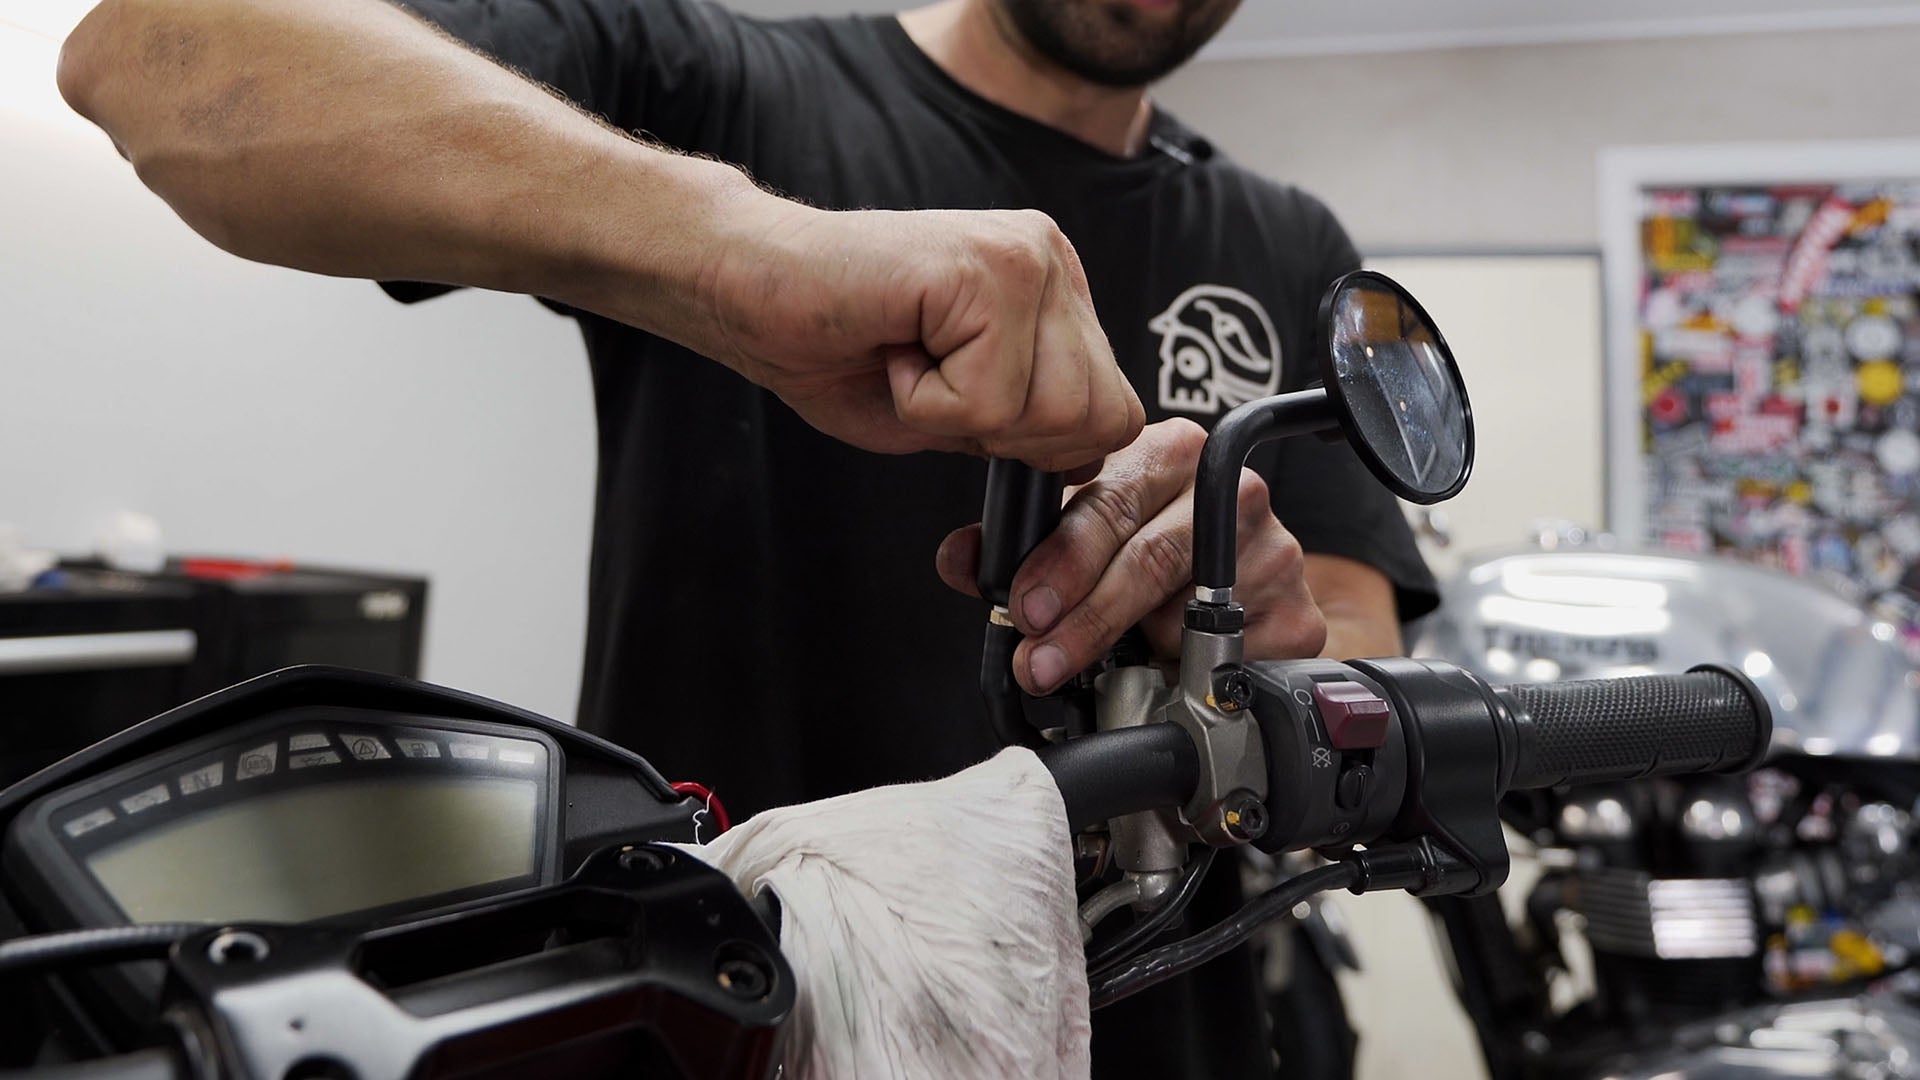
Mount the Reservoir:
- For our guide, we're using the standard mount. However, feel free to get creative and craft your own mounts to personalize your bike. Make sure there are no air bubbles in the hose after installation.
- You may need to snip the old hose to get the correct length for where your reservoir will be sitting
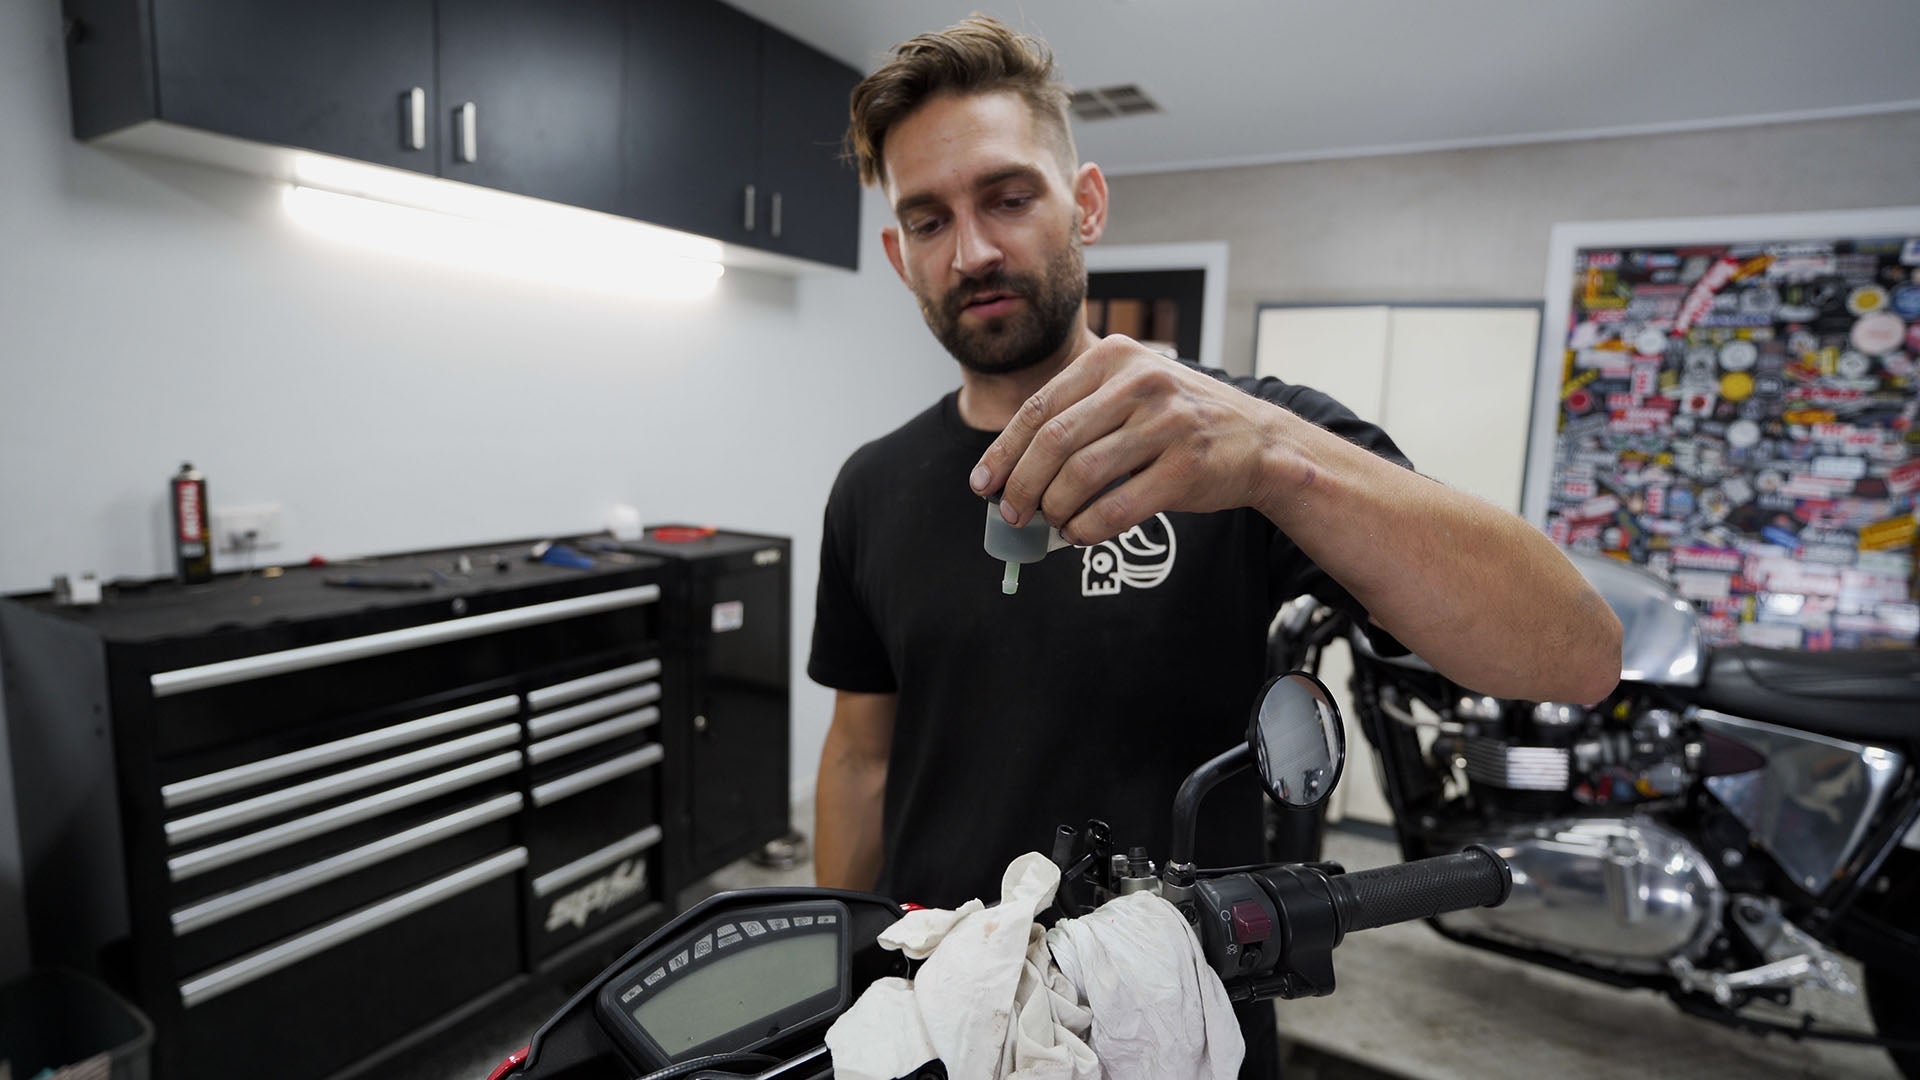
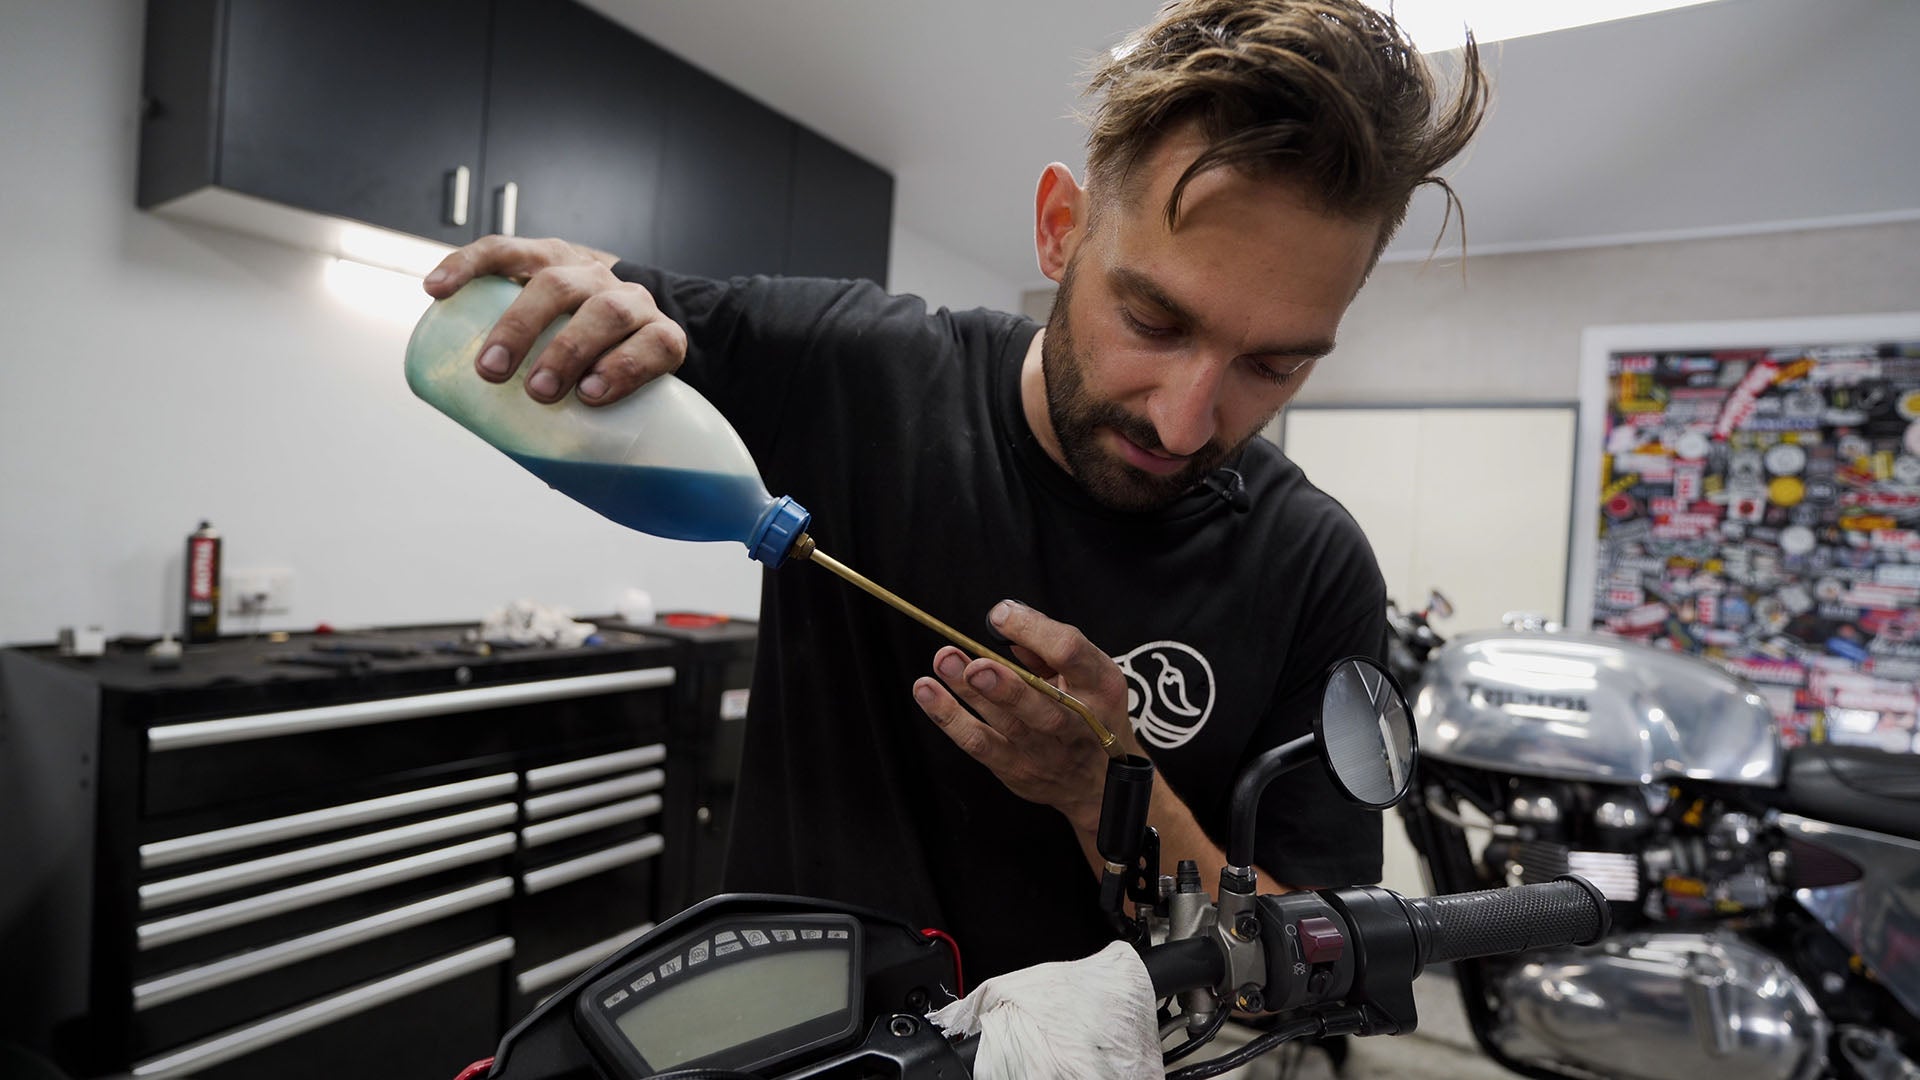
Fill the Reservoir:
- Fill it about two-thirds full, give the hose a little squeeze to remove air bubbles, and then top it off, leaving about 10 mm from the top. Pop the diaphragm in and tighten the cap finger tight to ensure a good seal.
Final Checks:
- Make sure the small hole in the lid isn't blocked, as it acts as a vacuum equaliser.
Important Reminders
- Be careful not to overtighten the barbs they can snap off with overtightening
- After installation, it's essential to bleed your brake system. For guidance on this, check out the plethora of videos available online.
Wrap-Up
And there you have it! A simple yet impactful upgrade with Purpose Built Moto’s brake fluid reservoirs. These little gems not only enhance your bike's performance but also add a touch of style to your custom build.
We can't wait to see how you integrate them into your own projects. Remember, at Purpose Built Moto, we're all about creativity and making each bike uniquely yours.
WE BUILD BIKES WITH PURPOSE.
Purpose Built Moto is home for unique custom motorcycle builds. We offer a unique motorcycle customizing experience in the heart of the Gold Coast.


1 comment
G’day Tom,
The brake fluid reservoir…….awesome bit of kit. I will be ordering for my build shortly.
I’m doing a ’83 GSX 650 shaft into a cafe …
Are you thinking of doing the actual reservoir in clear plastic?
Thanks Tom