
I haven’t seen many GR650 Tempter customs around, not a bad thing. When James and I started speaking about the project, the more I saw of it, the keener I became to get this strange 650 twin onto the garage and have a run at it. The Suzuki GR650 came out as some sort of Pseudo cruiser with a 16” rear wheel, and a very relaxed ride position. It didn’t have much in the way of good looks.
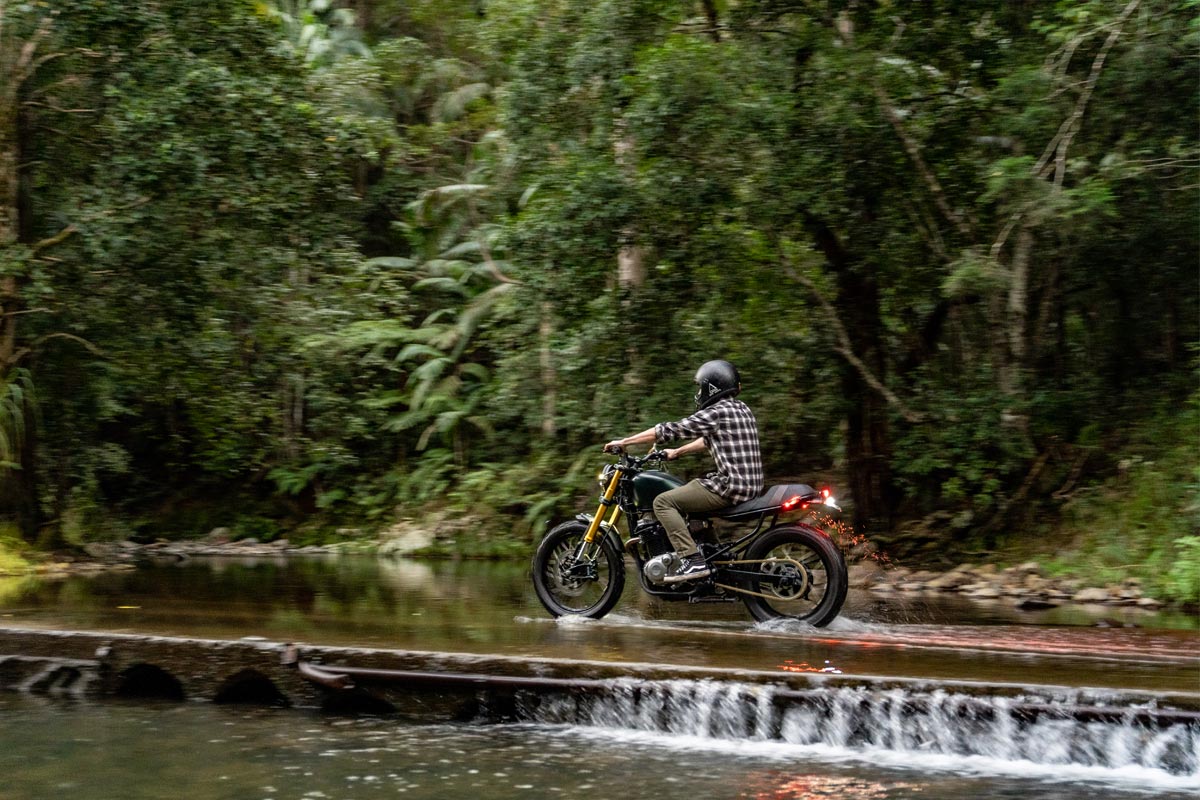
What it did have was a good frame, an early linkage monoshock, a nice tank and a running motor. Everything else would be left up to us to make. So we got to work building James a killer weekender. A custom Scrambler he could throw his girlfriend on the back and hit some dirt roads out the back of Byron Bay if he felt the need.
The Suzuki GR650 Scrambler had been stored out the back of a shed in Byron Bay for a few years so first thing it needed was a good scrub, then we tore it down. Leaving only the rolling chassis and tank. Next we trimmed down the subframe, stripped the wheels, and measured up for a front end conversion. We landed on the front end conversion after weighing up the cost of re-chroming the old forks, rebuilding the brake calliper, new brake rotor and swapping out the buggered bearings.
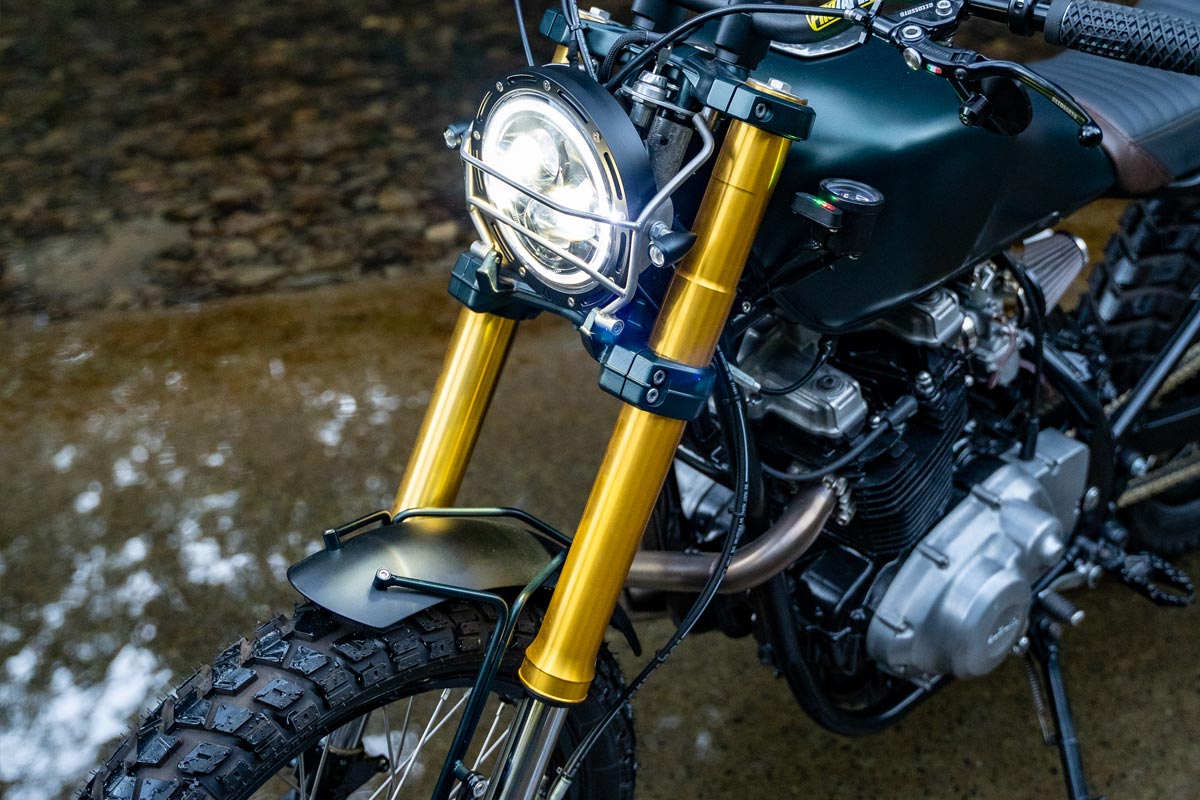
After some research I purchased a 2018 BMW R310GS front end complete. Sorted out the headstem, and modified the wheel from the original bike to fit onto the new USD forks. Learn more about how to do a USD conversion in our “USD conversion Bible article”
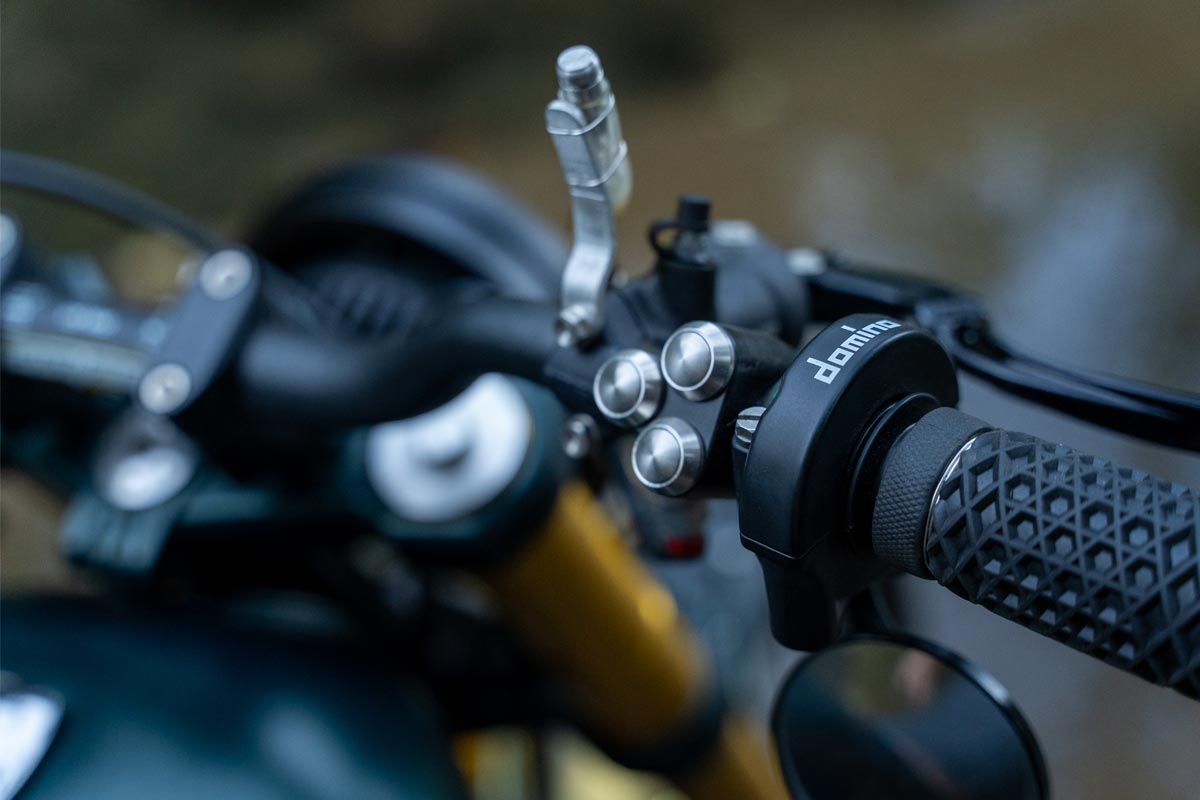
The new front end was dressed with a set of Mid rise Pro-taper bars, Accossato Levers, Purpose Built Moto Switchgear and some Vans Style ODI Grips.
The Lighting is a 7” Flashpoint Headlight with Black Hollowtip Indicators used to mount it onto our custom made stainless steel cage. A little dash of Jurassic Park jeep for the front end.

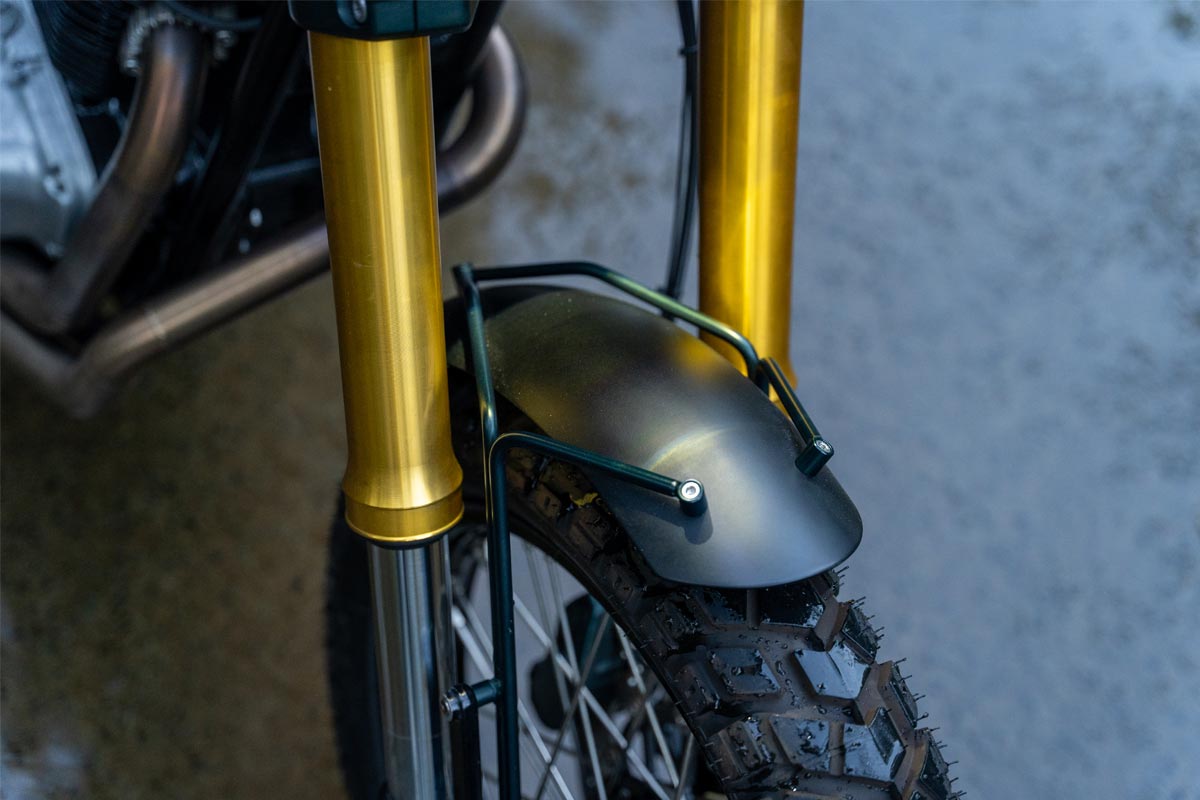
Using the Purpose Built Moto Fender kit, we fabbed up a floating front fender, with a good amount of clearance to sling mud around on one of those dirty Sunday adventures. Usually I like my fenders with super tight clearance, but here I think it fits the bike well with a bit of daylight between tyre and fender.
The 16” wheel on the rear was rebuilt with an 18” rear, retaining the 19” front. That gave us options when it came to off road tyres, ending up on a Hiedenau K60 Scout.
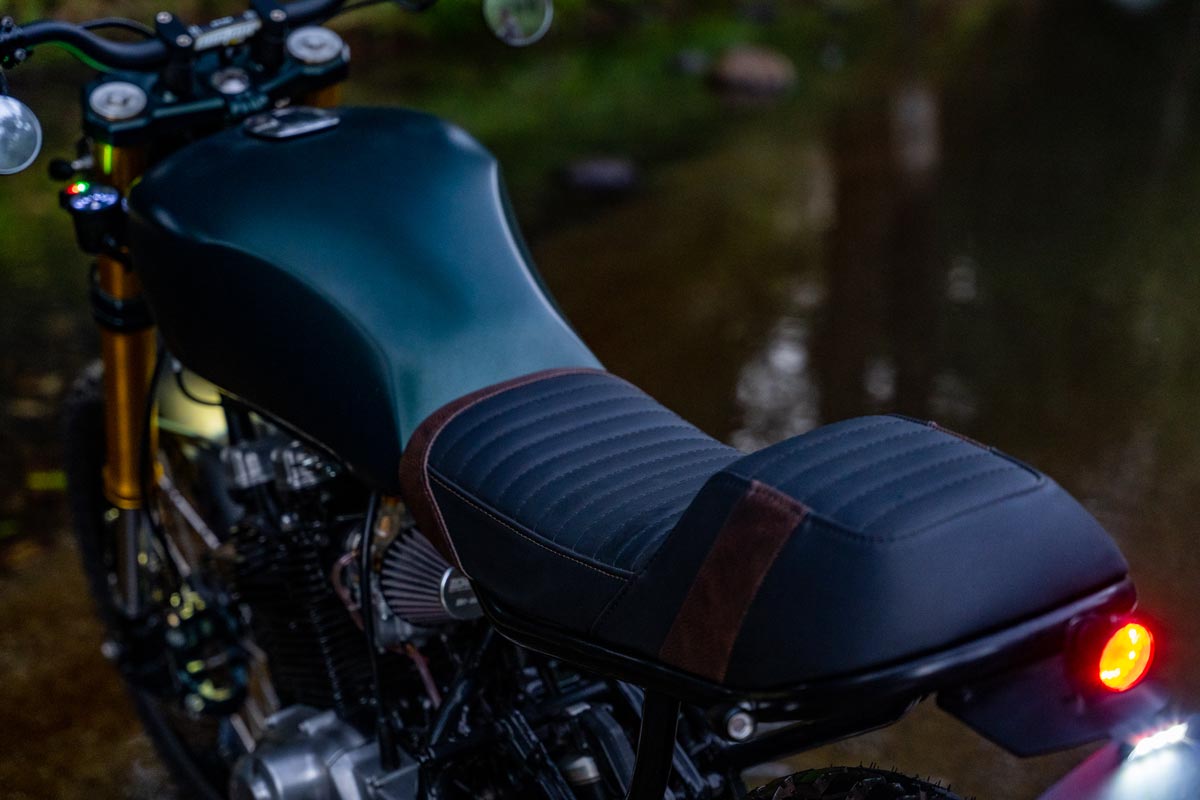
The subframe was kept a bit longer to allow a pillion, Some sneaky removable pillion pegs attached to the frame rail and we were ready to move on building the seat. Laying down a tidy fibreglass seat pan and shaping up a stepped seat for rider and friend. Sorting out the under seat electrics tray at the same time. The tail piece was shaped out of a short fender stub, used to finish up the rear of the bike and act as a home for a slick tail tidy and Orbit LED brake light.

The tank was slightly re-mounted so it wasn’t on such a lean back, and with that the silhouette of the bike was pretty much complete. Time to start fining out some details.
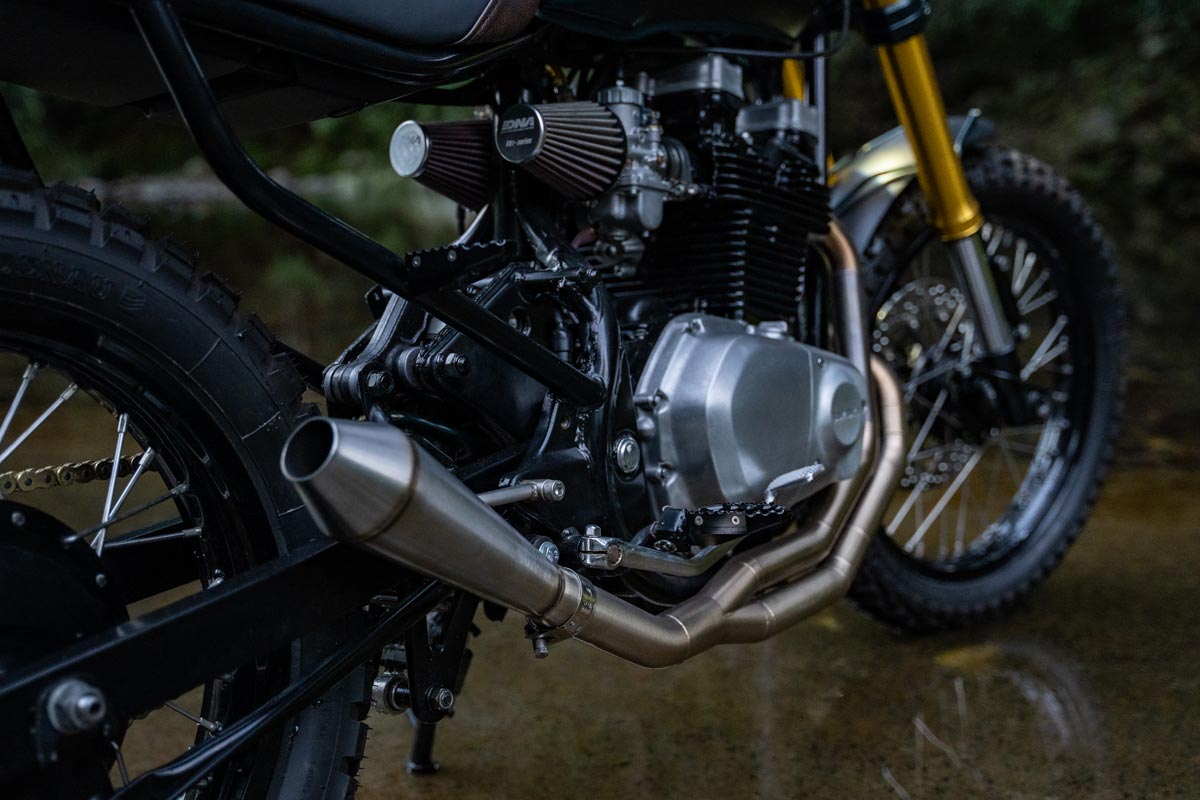
The Suzuki 650 twin received a top end re-build while we were fixing a few pesky oil leaks before the whole engine was cleaned, painted and detailed with some brush finish cases. After an inspection on the CV carbs, I made the executive decision to hammer throw those fucking things into a bottomless pit. Replaced swiftly with a set of Mikuni Round slides with new intake boots. Breathing through a set of DNA pod filters the GR650 Scrambler has a tonne more balls than it ever did in the 80’s!
Purpose Build Moto has really started to get into building exhausts lately, so we had a bit of fun on this one. Going for a 2-1 stainless steel header, that flows out one side of the frame under the right footpeg then up and out following the modified subframe line. The Torpedo muffler putting just enough of a muzzle on this scramblers bark. The entire system has been tig welded, and brush finished to perfection.

With the bike now standing as it would hit the road the suspension received a bit of attention. The research I mentioned before the USD conversion made things a lot easier for us. A BMW 310 GS weighs 170kg, Our GR650 weighed about 185kg before we got to slimming her down. That puts us at close to the same weight now, which makes our suspension guru Joe at Ride Dynamics life a lot easier. He tweaked the front suspension to get it dialled and supplied us with a replacement rear shock. To finally get rid of the GR650’s laid back lifestyle, we measured out and lifted the rear suspension 25mm giving us better ground clearance, a more Scrambler friendly geometry set up and a bit more rear wheel travel. It’s a win, win, win…….win!
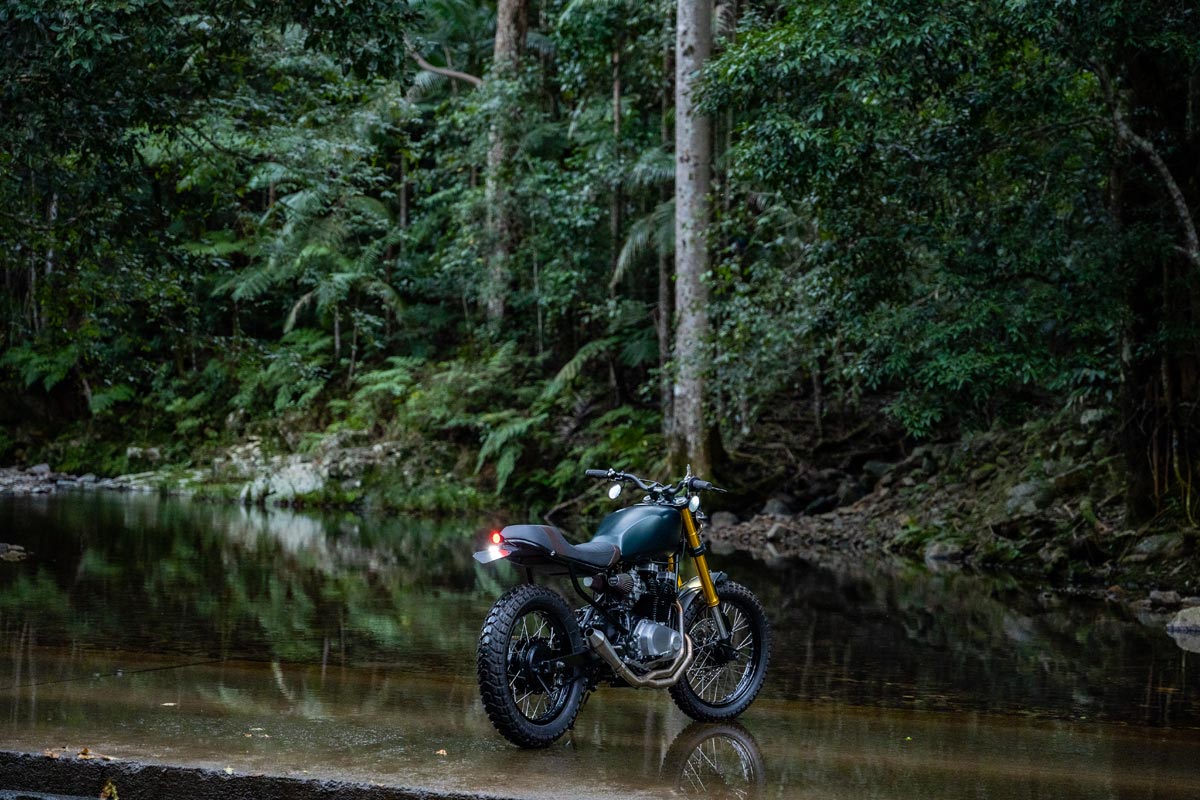
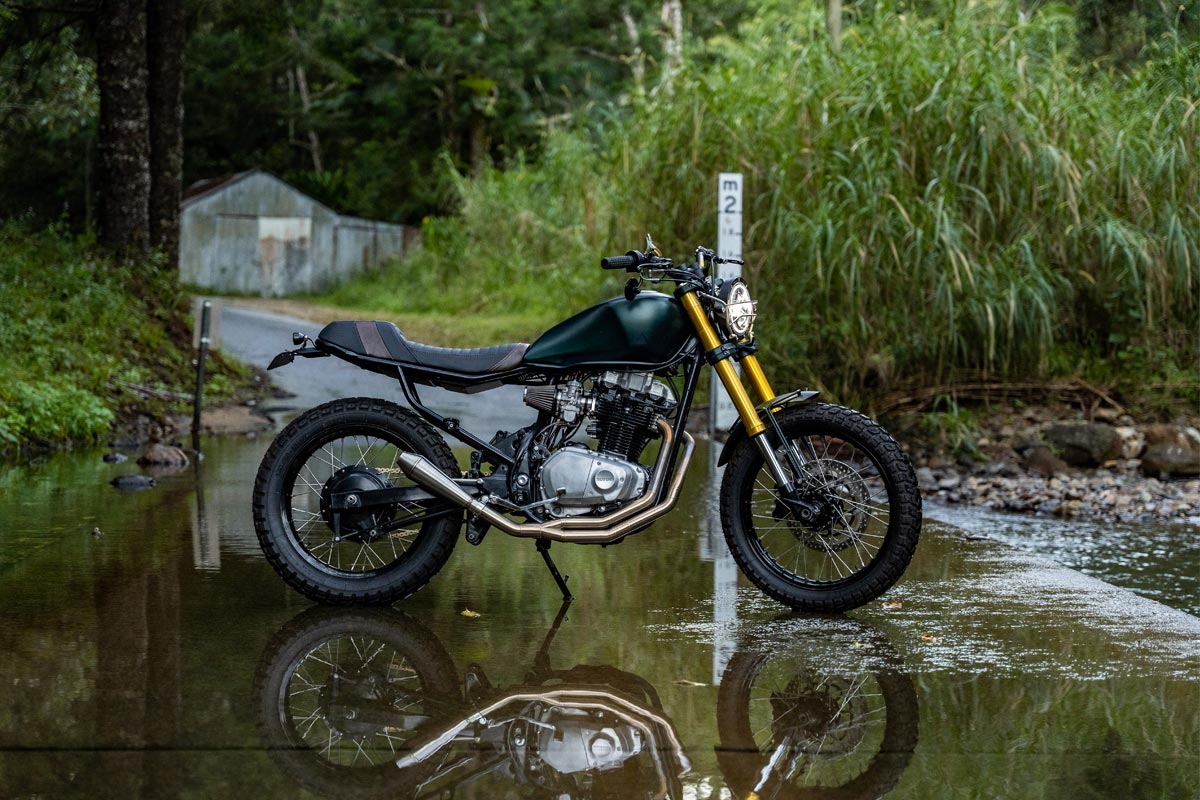
This particular bike relies on good bones. By the time the bike was mocked up with the fresh looking engine and newly powder coated frame and chassis pieces there wasn’t that much to paint. The GR650 Scrambler is an Odd Ball bike which made choosing a colour pretty tough. After a talk with James we landed on a deep metallic green, laid down and satin cleared with some barely noticeable black detailing. The green carries from the fender mounts, triple clamp and onto the tank. Every thing else was matte blacked to give it a little edge.
The finishing piece was the seat trim, I don’t usually like a mix of brown and black leather but I also don’t like doing big brown seats. I figured with as many dark colours this Suzuki GR650 was carrying I could mix it up a little on the leather choice.The design sketch had matte black leather, offset with a couple splashes of a vintage brown, stitched up by Jamo at Timeless Auto trim.
This GR650 Scrambler is a stunner. The best part is hardly anyone knows just what the hell the base bike is. It’s a fun ride, livened up by the select performance mods done and lightened up to a curb weight of just (insert weight here). The bike begs to be ridden! I hope James gives this GR650 Scrambler the life it deserves out in the hills behind Byron Bay.

WE BUILD BIKES WITH PURPOSE.
Purpose Built Moto is home for unique custom motorcycle builds. We offer a unique motorcycle customizing experience in the heart of the Gold Coast.


25 comments
Thanks Rich,
If you need anything for your project get in touch.
Just attempting this type of build from a GR650 donor bike – based in Normandy France and from Bournemouth UK – Will be doing trails but not lanes and interested posts like yours Charlie
Looks like the guys here at purpose built Moto have done a great job on transformation & styling ;-)
Cheers
Rich
@motofrance
Thanks Eric
Great build, as always Tom! Keep up the great work.
I’ll make sure we pass your message on to our happy customer…
Unprotected pod filters on an off road scrambler – the best way to look amateur, have your bike run terribly and break down once the carbs are blocked.
We rode around Tasmnania Off road for Wide Of The Mark and all the guys ran pod filters. The only time it was an issue was in deep water crossings (up to the filter) and torrential rain.
People who jump on their soap box about them being useless are speaking from a keyboard, and not from experience.
Put DNA pod filters on your scrambler and quit being babies haha