


A lot of people can handle some minor component replacement. When you’re going a bit deeper on a custom bike ie. replacing the sub-frame, removing the airbox and side covers you need a little understanding of your motorcycle electrics. You’re going to need to do a fairly substantial re-wire. Old wiring looms are renowned for their problems and if you ask anyone who’s been there a total re-wire is your best option.
This guide will aim to give you some knowledge on the crucial components of your motorcycle electrics and help you select the right motorcycle parts. what they do and how they do it. In a later post, I’ll tackle re-wiring your bike, I’m still putting the simplified PDF wiring diagrams together.
My old man always told me, the best way to begin to fix something is to understand what it does. Firstly what does it do and second how does it do it. He also said if you can’t explain something in one sentence, you probably don’t know yourself. Here goes.
Electrical components
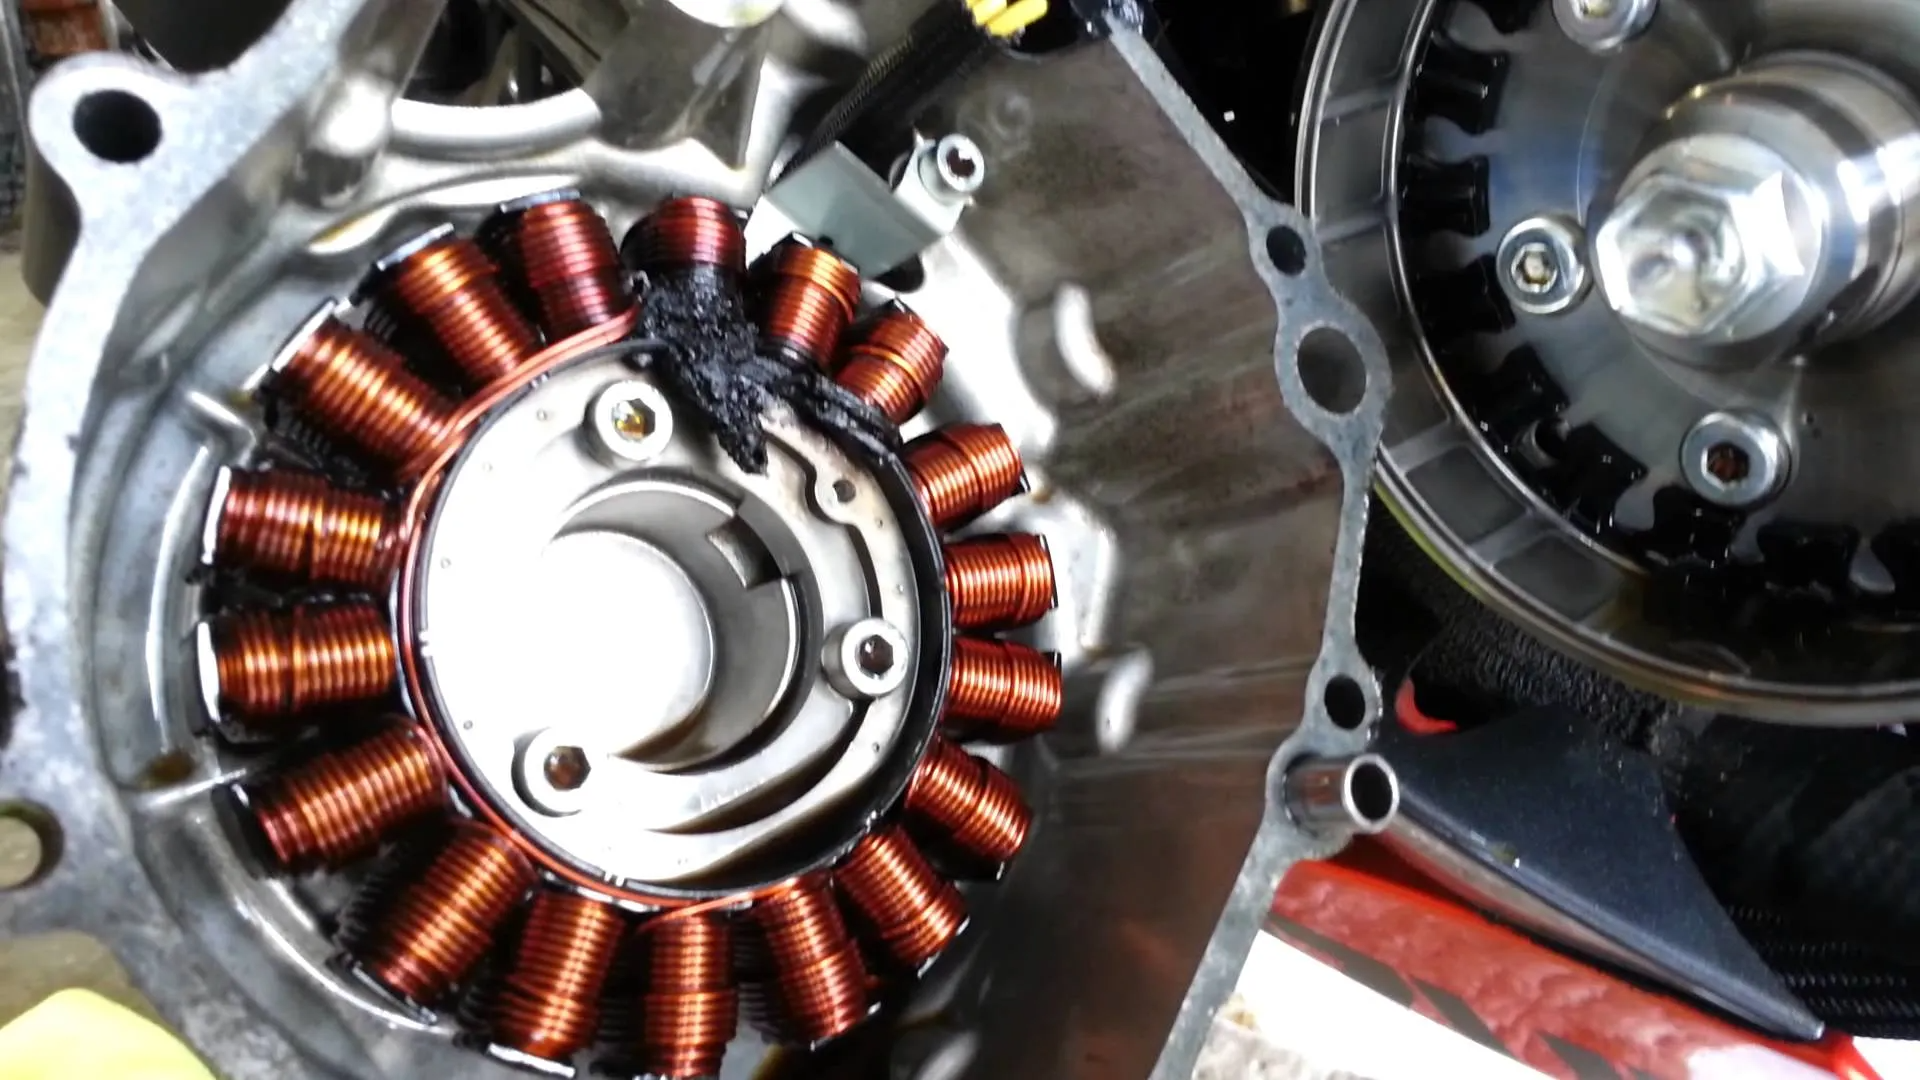
Stator-
The Generator for your motorcycle electrics. This provides the charge from your rotating crankshaft to the bike and battery. Simply put it rotates a magnetic component around a wire wound basket and produces power. Normally located on the left of the engine.
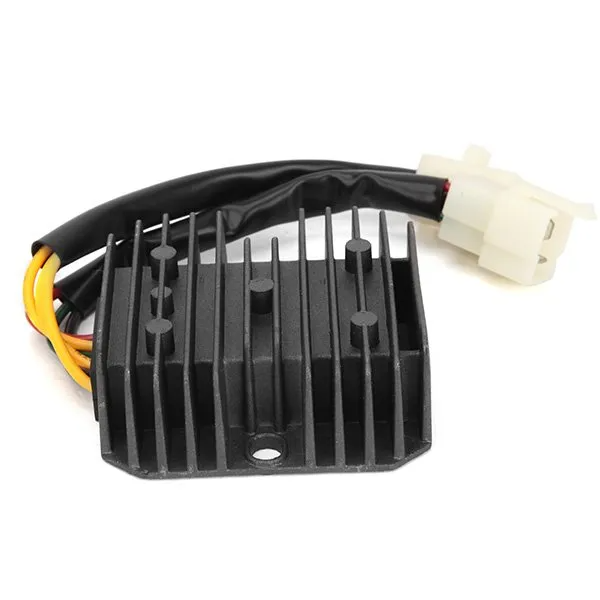
Regulator/rectifier-
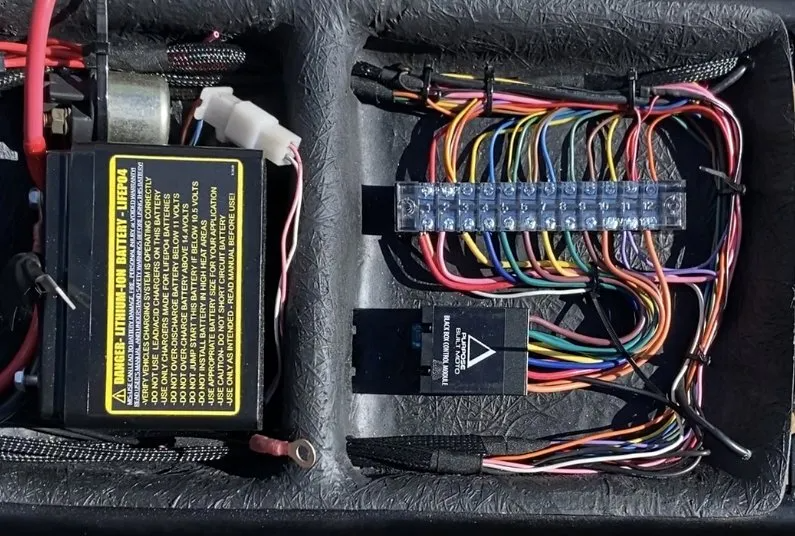
Receives the AC charge from your stator, converts it to a clean DC to charge your battery, at between 13.5-14.5 v normally. If it hasn’t been replaced already get a new high-performance one. The original reg/rec on your bike wasn’t great to start with and if it’s 20+ years old, spend the money (they’re cheap) and get a replacement. Lithium batteries will not hold up under a shitty charging system, be warned.
Ignition switch-
Your keyhole, this is the first stop for your battery and cuts power to everything bar your starter relay. Minimum of 2 positions, first provides power to your lights and accessories second provides power to your coils and starter circuit. Check out the Purpose Built Moto handlebar switches now available in our store
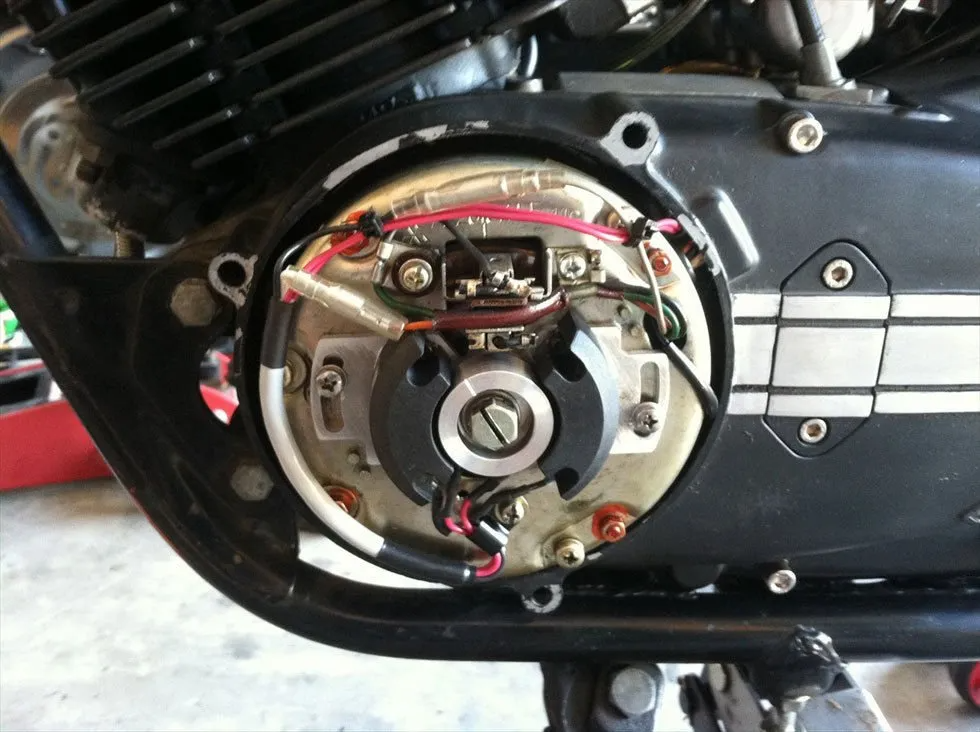
Points/pulse generator –
Normally on the right side of the engine. This provides the timing for your Coils and spark plugs the pulse generator sends a signal to the CDI. Old bikes had magnetic points that wear out, you can replace them with a Dyna digital ignition which is highly recommended. Shown is a Yamaha RD engine where it’s located on the left side.
CDI or Capacitive Discharge Ignition-
This stores a charge from your battery in a capacitor, when the pulse is received from the points it sends a high power signal from that capacitor to the coils. If your bike is running horribly and nothing seems to be wrong with it, chances are it’s your CDI. These can be very hard to test though so chase down all other options before replacing it.
Coil-
These receive the signal from your ignition, amplify it and send the fire down the wire to your spark plugs.
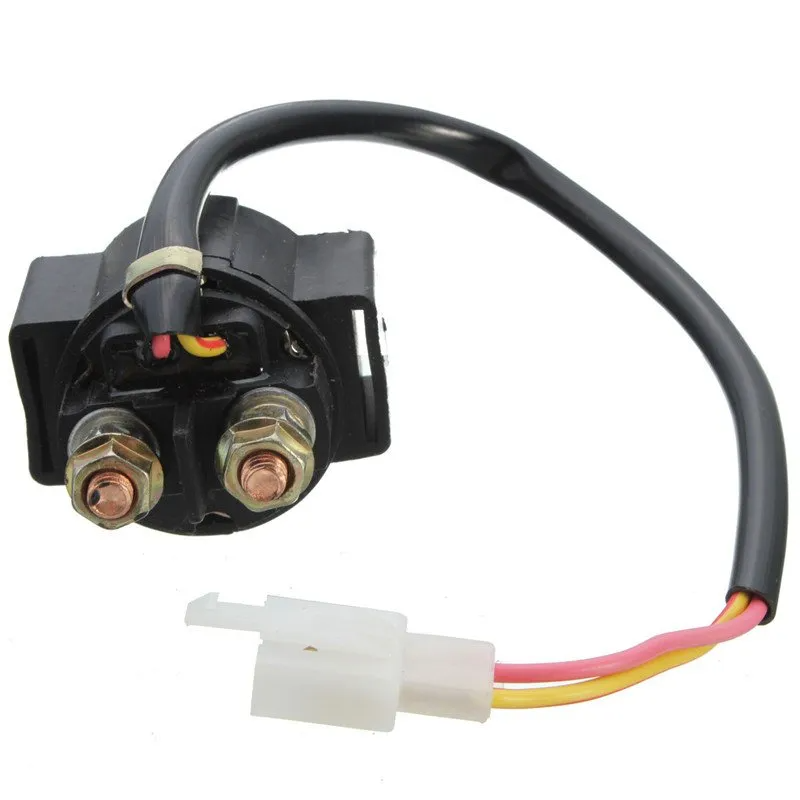
Starter relay-
The starter relay takes a small signal from your button and closes a heavy duty switch, this pushes the high current to your starter motor. Your starter motor draws a lot of power, if all that power went through your start button it would melt and blow up.
Starter Motor-
Exactly what you think it does, This is the opposite of your stator, you feed it power, it will rotate and start your engine.
Indicator flasher relay-
In times of old, these were analogue timing circuits, with a capacitor. Your indicator flashes on, draws 30-46 watts and slowly charges the capacitor, once charged it turns your indicator off and repeats. With new LED lights, they draw 3-6 watts, this charges your capacitor a lot faster. This results in a very quick flash or a flicker in some cases, adding a load balancing resistor slows this back down to a normal pace. Newer flasher relays use MOSFET switching which is a digital solid state unit that is not load dependant and will flash at the same rate regardless of what lights you use. Purpose Built Moto has a flasher unit for use with handlebar pushbutton and LED indicators, it also runs your hi/lo beam using MOSFET switching.
Fuses
these protect your wiring from catching fire if overloaded or damaged. ever see a bikes wiring smoke up? The fuse probably blew and the genius just put a bigger fuse in it, it’s important to get your fuse rating right. Now you can get some really great 12v circuit breakers too which I tend to use on my builds, instead of replacing the fuse when there’s an issue you can reset it once the problem is fixed. If you don’t have an original wiring diagram to show the fuse rating I’ll show you how to work out your fuse rating too:
The formula is Power (watts) = Volts x Current (amps)
Or- Current (amps) = Power (watts) ÷ Volts
For a rough example, if you have 80w low 100 watt high beam 4 x 10 watt indicators and a 40 watt brake/tail light plus 20 watts of other lights.
You’ll have:
100+80+40+40= 260 watts
260 watts ÷ 12 volts= 22 amps maximum, use a 20 amp fuse or Circuit breaker.
Hopefully, you’ve picked up some knowledge and with knowing these few things, you’ll get a better understanding of what you’re doing when re-wiring your bobber or café racer.
Leave a comment below and sign up to our newsletter for our re-wiring tutorial and diagrams to be released soon.
Thanks for taking the time.
Tom.
WE BUILD BIKES WITH PURPOSE.
Purpose Built Moto is home for unique custom motorcycle builds. We offer a unique motorcycle customizing experience in the heart of the Gold Coast.
Join our email list and receive exclusive updates.
Latest Stories ALL STORIES
-
04/05/2026


32 comments
I’m currently working on a harley, turning it to a bobber. It’s amazing to me the size of the wire loom on this bike. Changing out those huge handlebar control switches for cleaner 4 button unit is turning out to be a headache. Why must it be this way? Lol. Fortunately, your site has been a Godsend! Thank you.
After 2 garages have failed to find the problem with my bike (brand new fully charged battery completely draining repeatedly within a couple of hours of riding time) I’ll show them this article and see if it can help them find the fault. Could do with someone like you nearby.
Hey, thanks for this info. I’m rebuilding a 1976 cb750 that has been a rat nest for the last 15 years. Your content here is fantastic.
Seems like you found the info you were after.
This was super helpful!
I’m still new with a lot of things on my bike and there’s enough material available to make your head spin!
A point in the right direction is SUPER helpful!
Way better than some asshole just droppin off, saying “I can’t hold your hand.” Lol
Thanks for your important knowledge
Thanks Tom for taking the time to write and publish this interesting document.