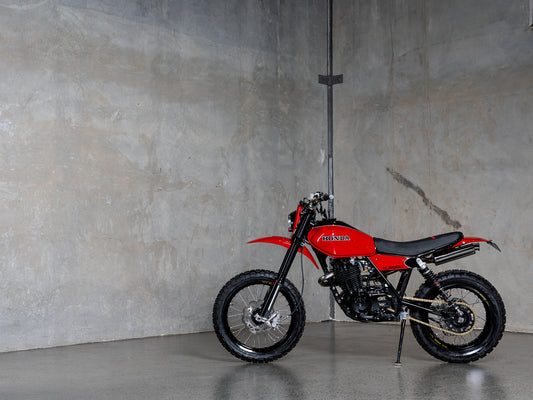
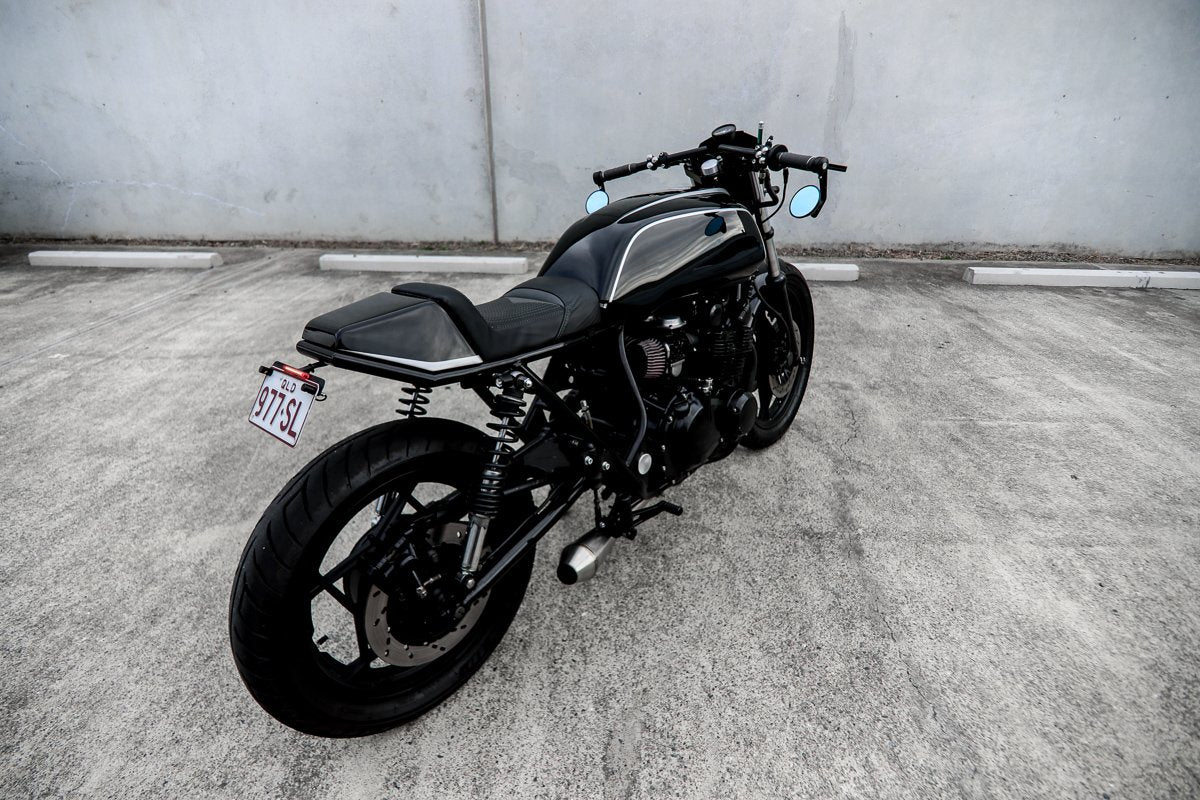
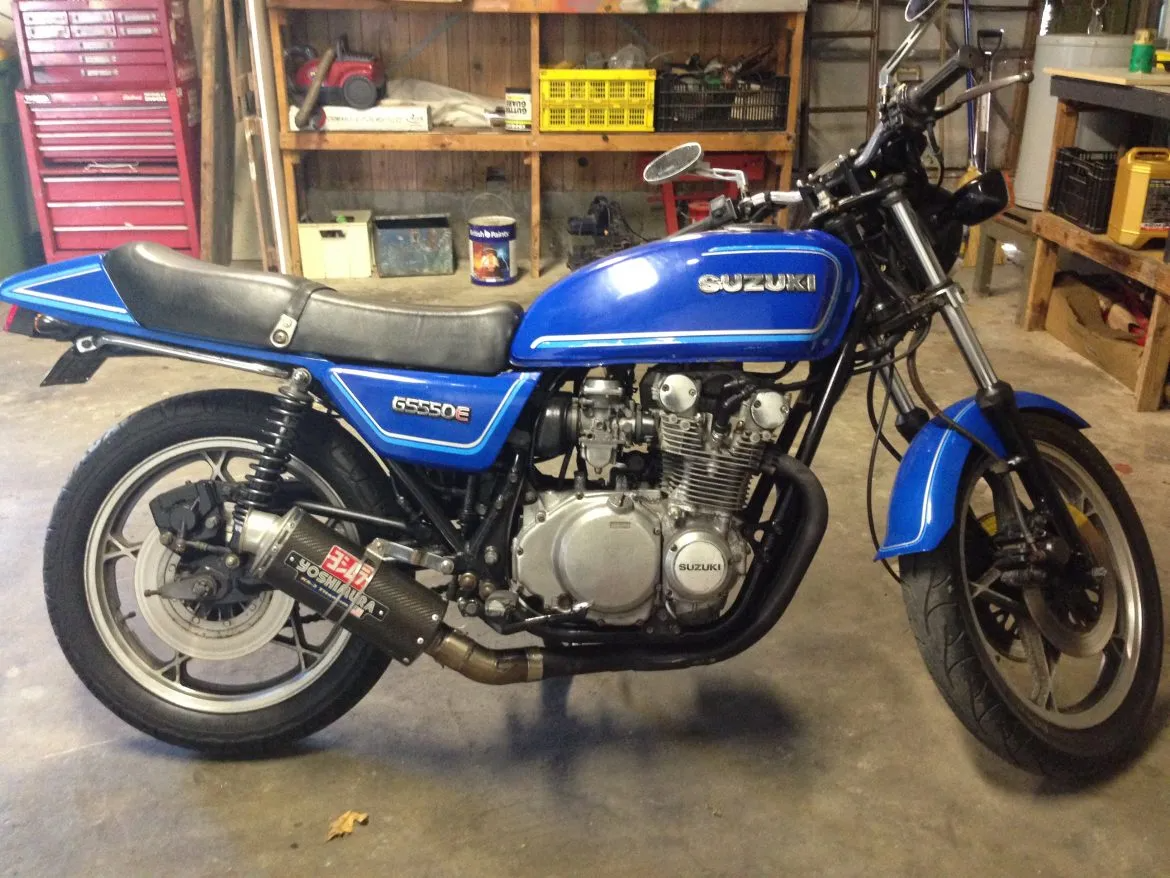
Building a budget café racer or scrambler is a common question I get asked. While having a big budget can help—providing access to the best parts, a perfectly rebuilt engine, and professionally finished seats and tanks—it’s not necessary. As the saying goes, “money can’t buy good taste.” A quick search through Facebook or Instagram proves this point.
Although I advocate for using quality (often more expensive) parts, many things can be done yourself to keep costs down while still delivering a high-quality finish. The best bikes are built with passion and interest. If you have that, dollars mean next to nothing. Purpose Built Moto started five years ago in a poorly equipped garage, and we still turned out some of our best bikes from that tiny space.
Essential Tools and Resources
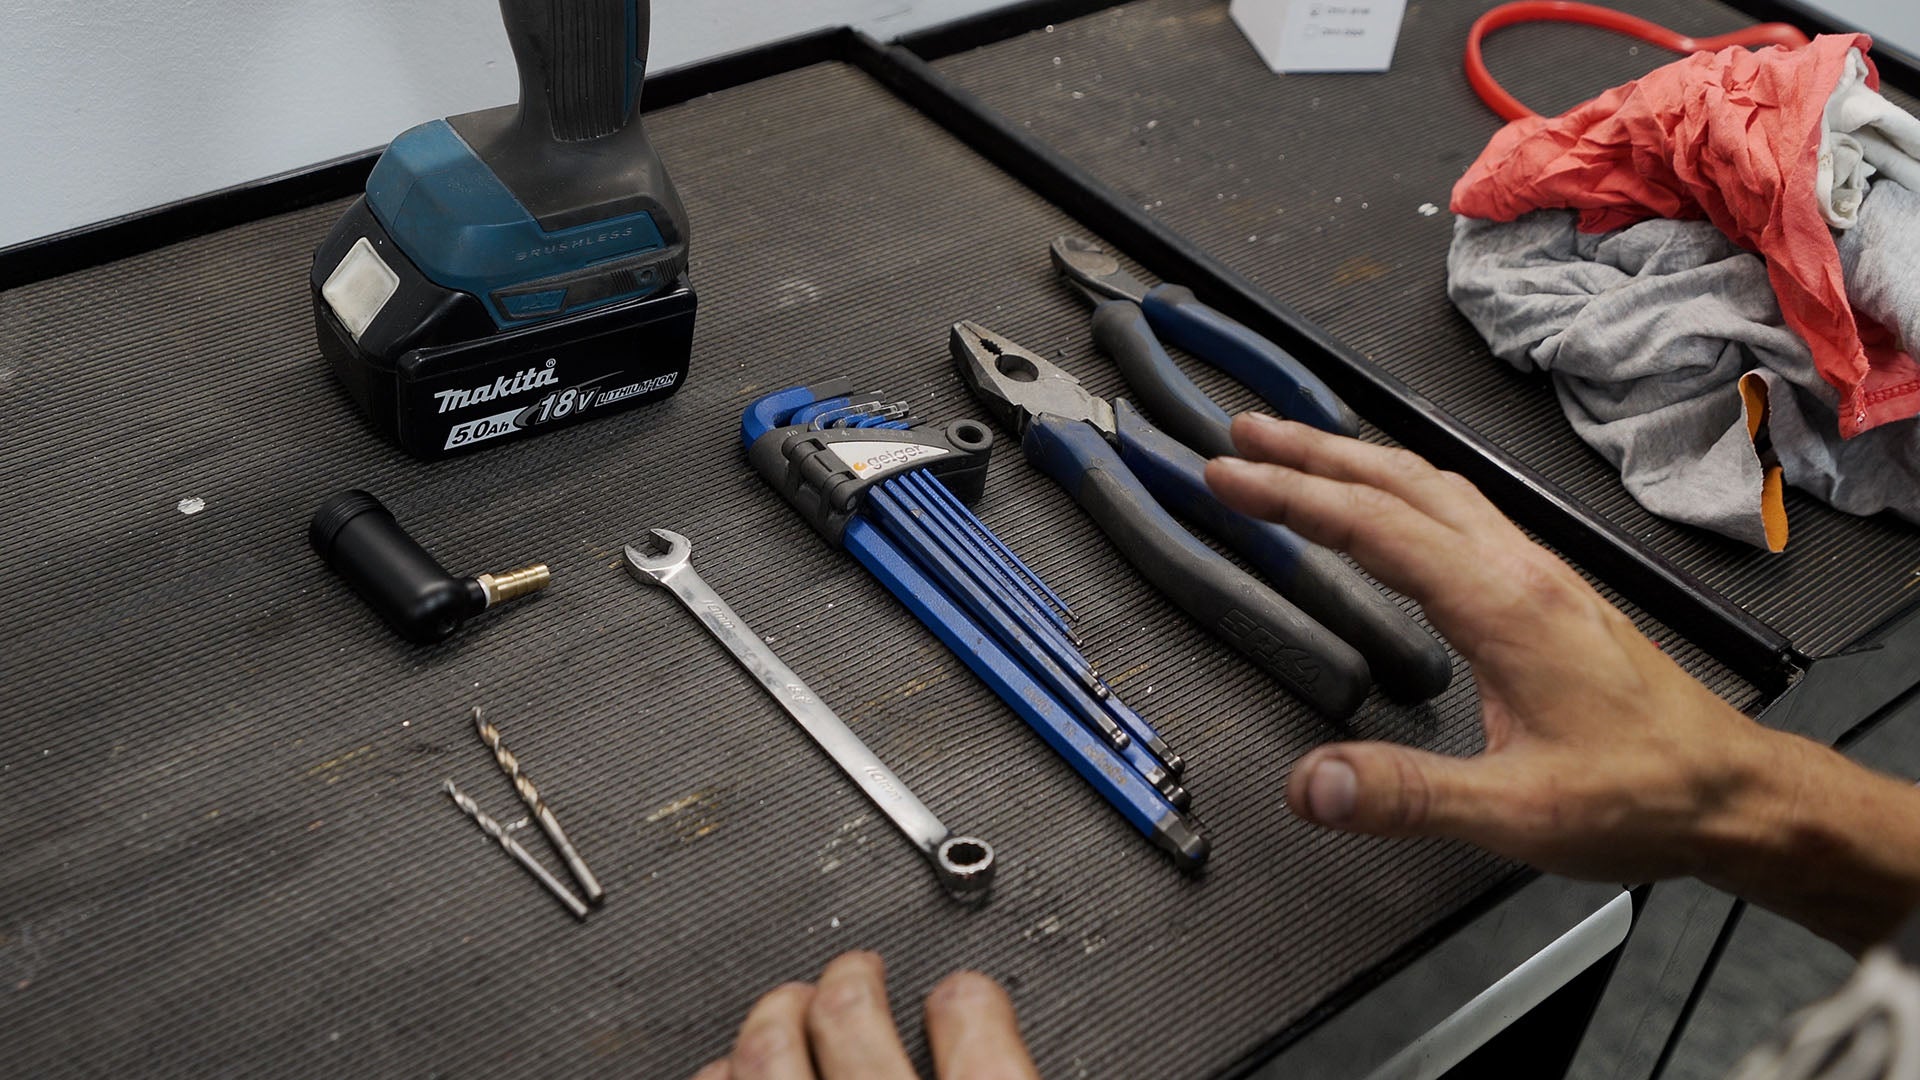
To get started, you’ll need some essential tools in your garage, hand tools, a set of battery tools that include a grinder, drill, sander. If you want to get further into fabrication a vice, welder and a good work bench will make your life easy.
On re-assembly a torque wrench and socket set is essential, but keep in mind if you cant do and buy all of these things, get involved with your local community to help.
The best thing you can do to make up for garage shortcomings (or patio, or living room if your partner is chill like that) is to join a local motorcycle riders group on Facebook. Connect with riders and builders, and get involved. You’ll often find a wealth of knowledge and workshop tools at your disposal if you’re willing to trade beer or lend a hand where you can. Motorcyclists are one of the few groups of people that are always usually keen to help.
Step-by-Step Guide To Saving Some Coin When You Are Building A Budget Café Racer Or Scrambler
Before we get into the tips, two important things:
- Buy a workshop manual: These detail everything you need to know about your bike. Spend the $30—it will save you endlessly in the long run.
- Believe you can do it: Take your time, and you will figure it out.
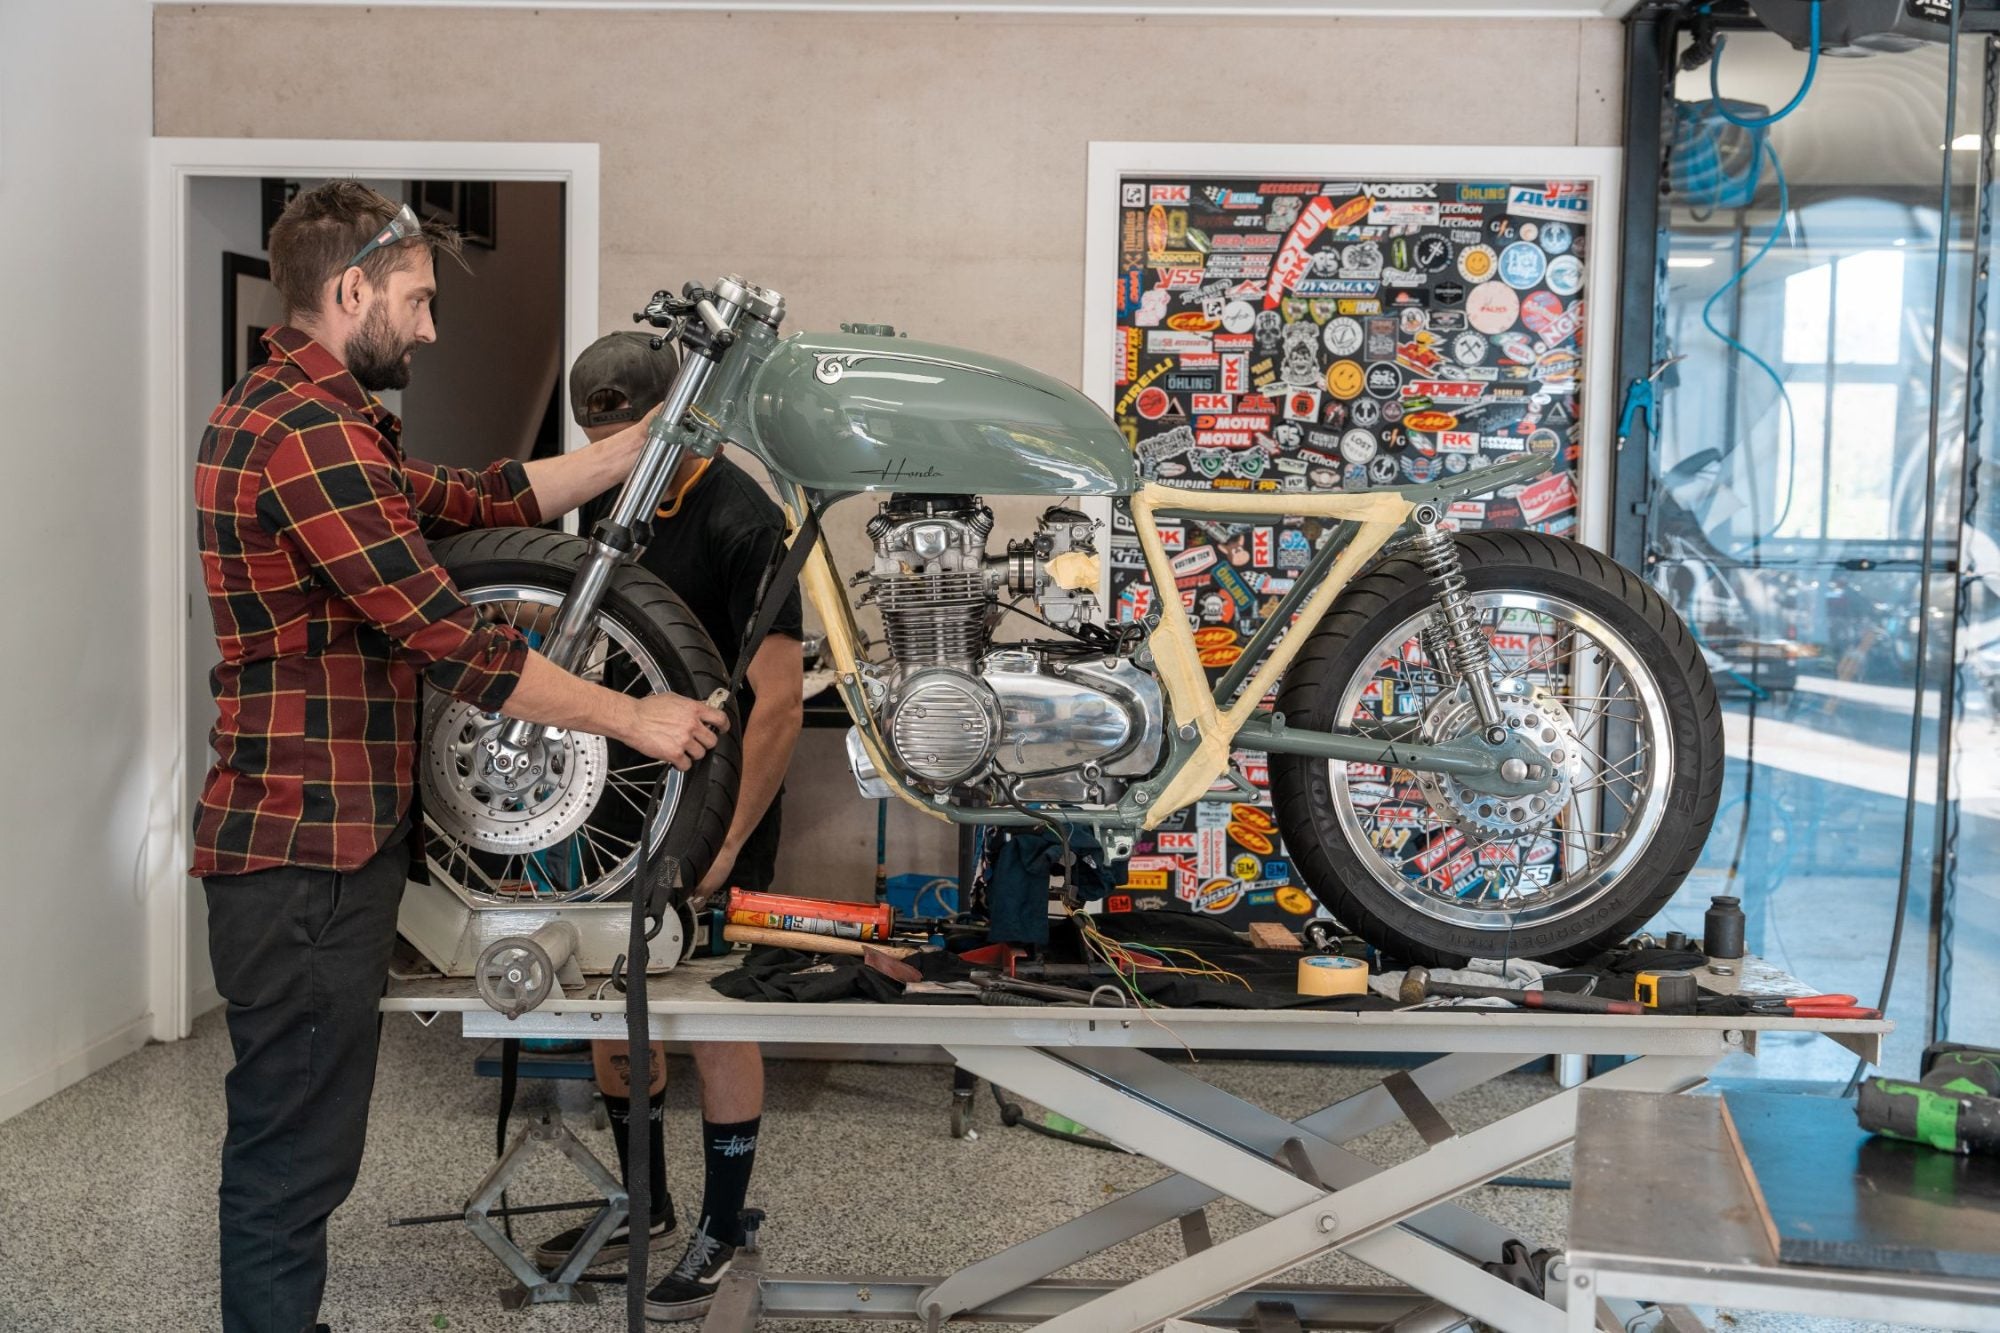
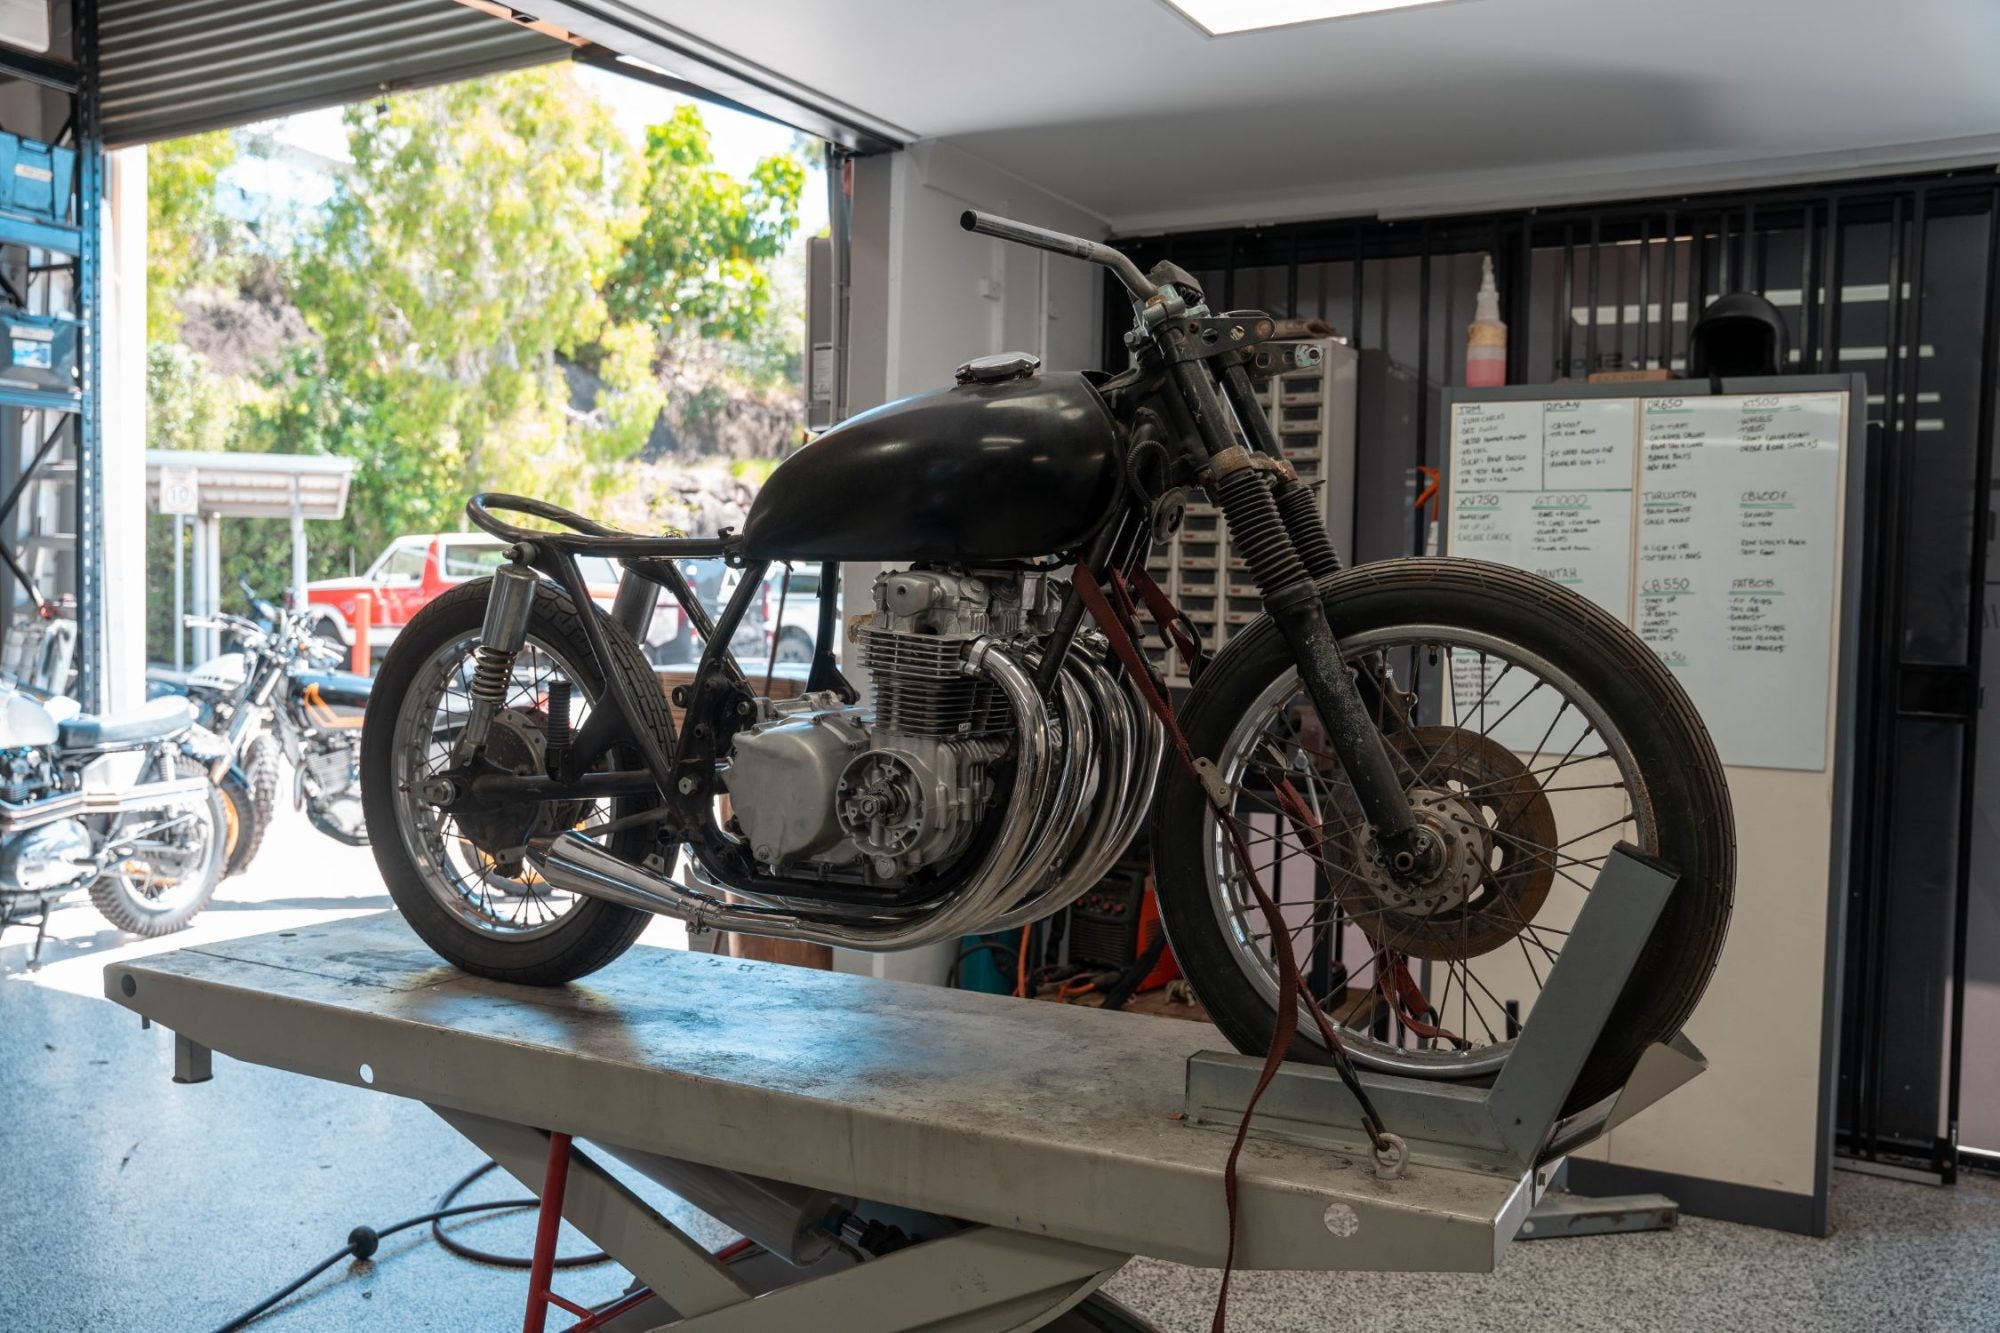
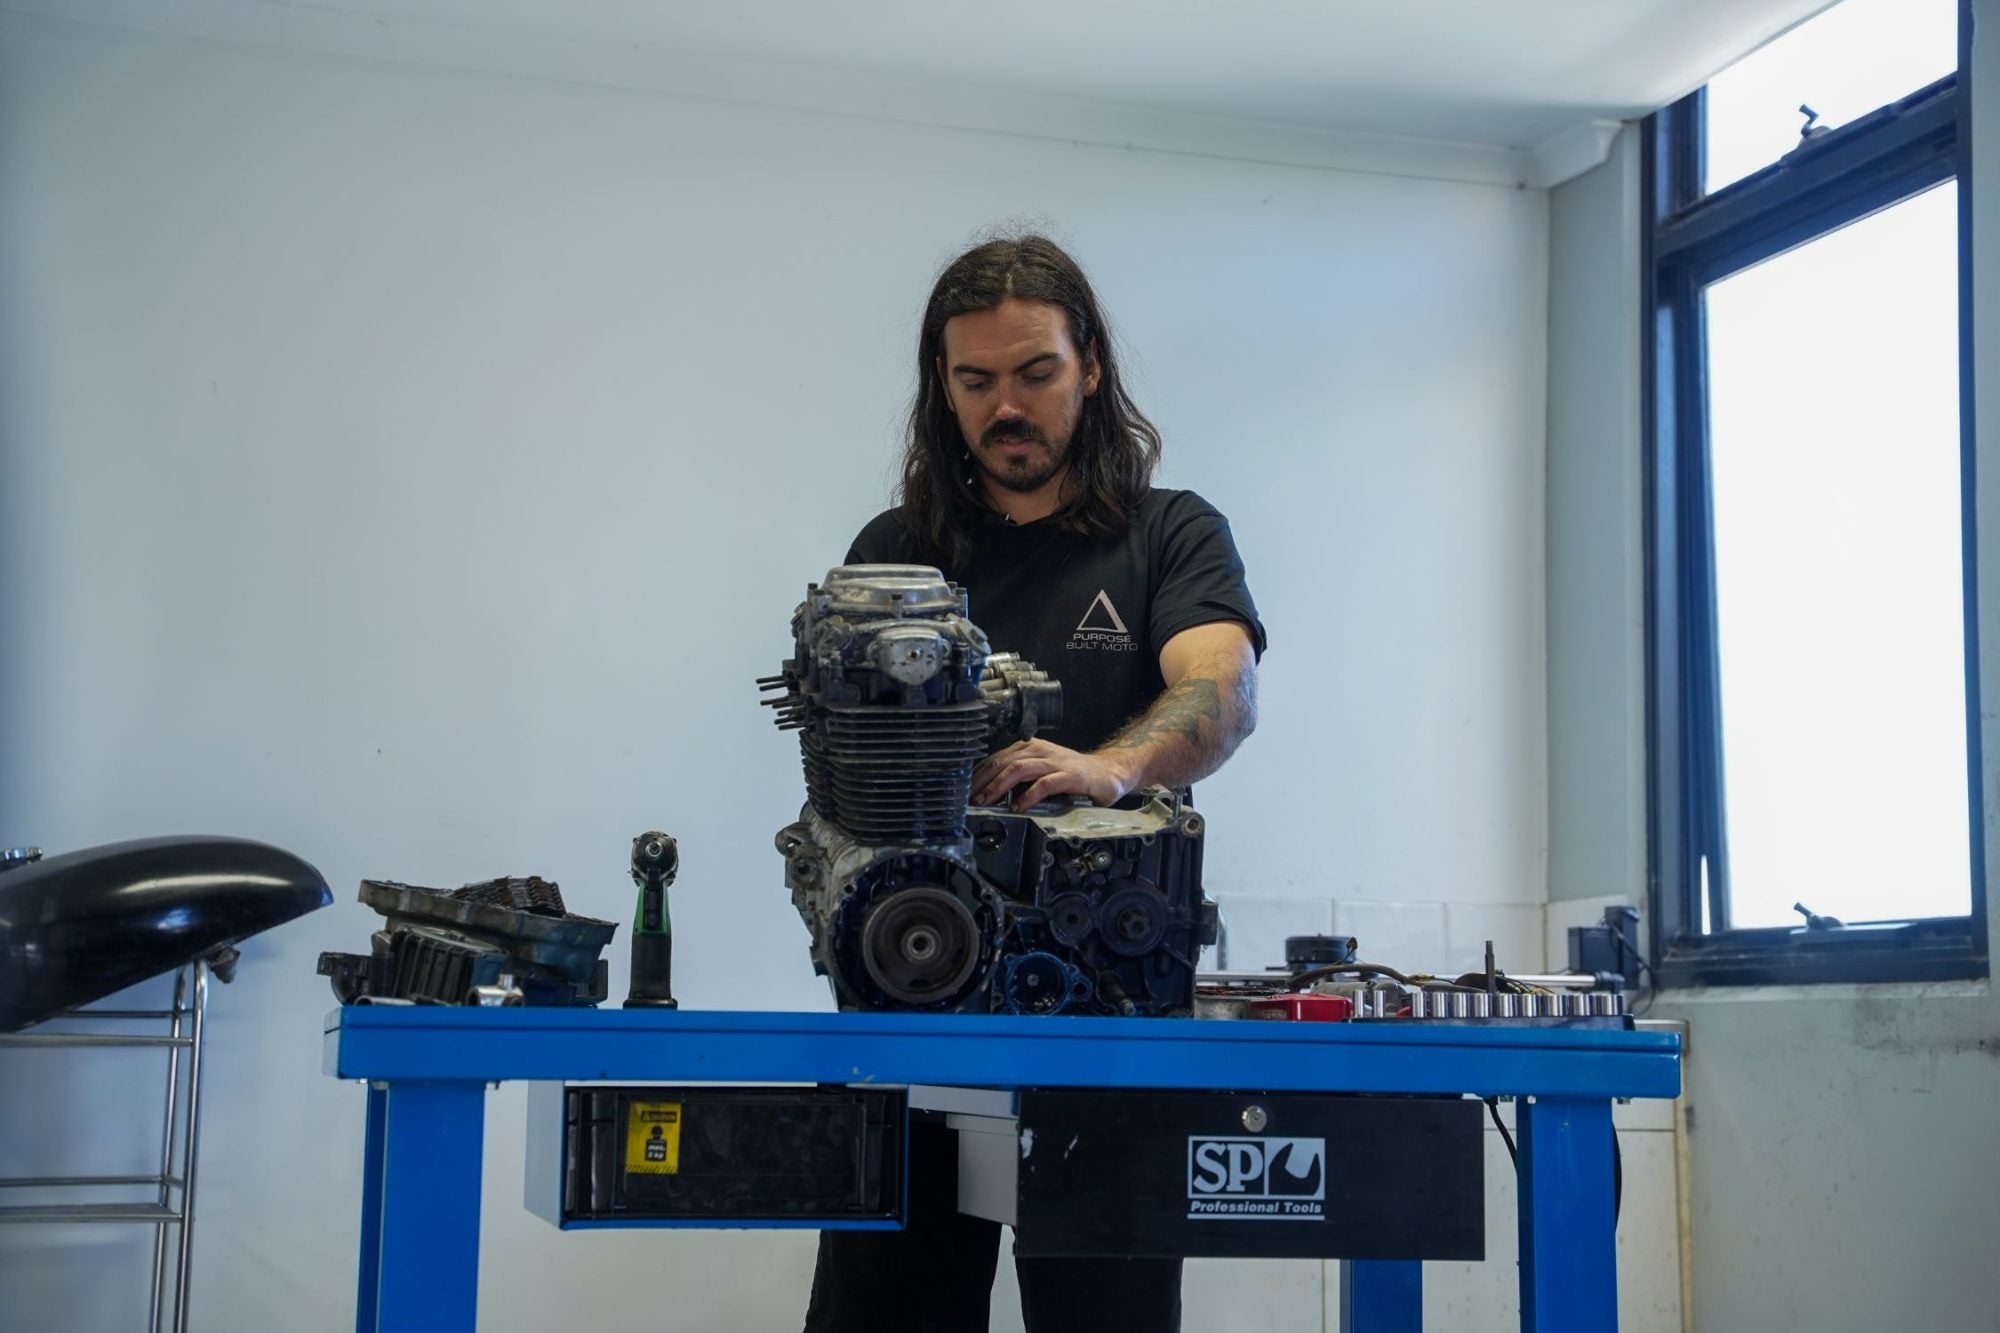
Tearing Down Your Bike
Start by tearing down your bike. If you need engine work done and can take the motor already removed to a mechanic, you’re already ahead. Buy cheap Tupperware containers to label and separate small parts and fasteners. Organize parts into groups (e.g., front brake, swing arm bushings, engine mount bolts, rear suspension). This makes re-assembling your bike much easier.
Rebuilding Small Components
While rebuilding the entire engine may be daunting, there are several smaller components you can handle yourself:
- Brake calipers: Buy a brake seal kit and/or replacement piston for your motorcycle model. Use a heat gun to help with the process.
- Wheel, swingarm, head stem bearings: Replace old bearings (a heat gun helps here). Avoid overpaying on eBay by getting bearings from a local shop.
- Fork seals: These require some special tools but are manageable. Many online articles can guide you through the process.
- Clutch: Follow your workshop manual to replace the clutch if needed. Replace fiber plates and check steel plates for marks and warping.
- Carburettors: Clean them thoroughly and replace gaskets and O-rings. Keep everything clean and organized during the process.
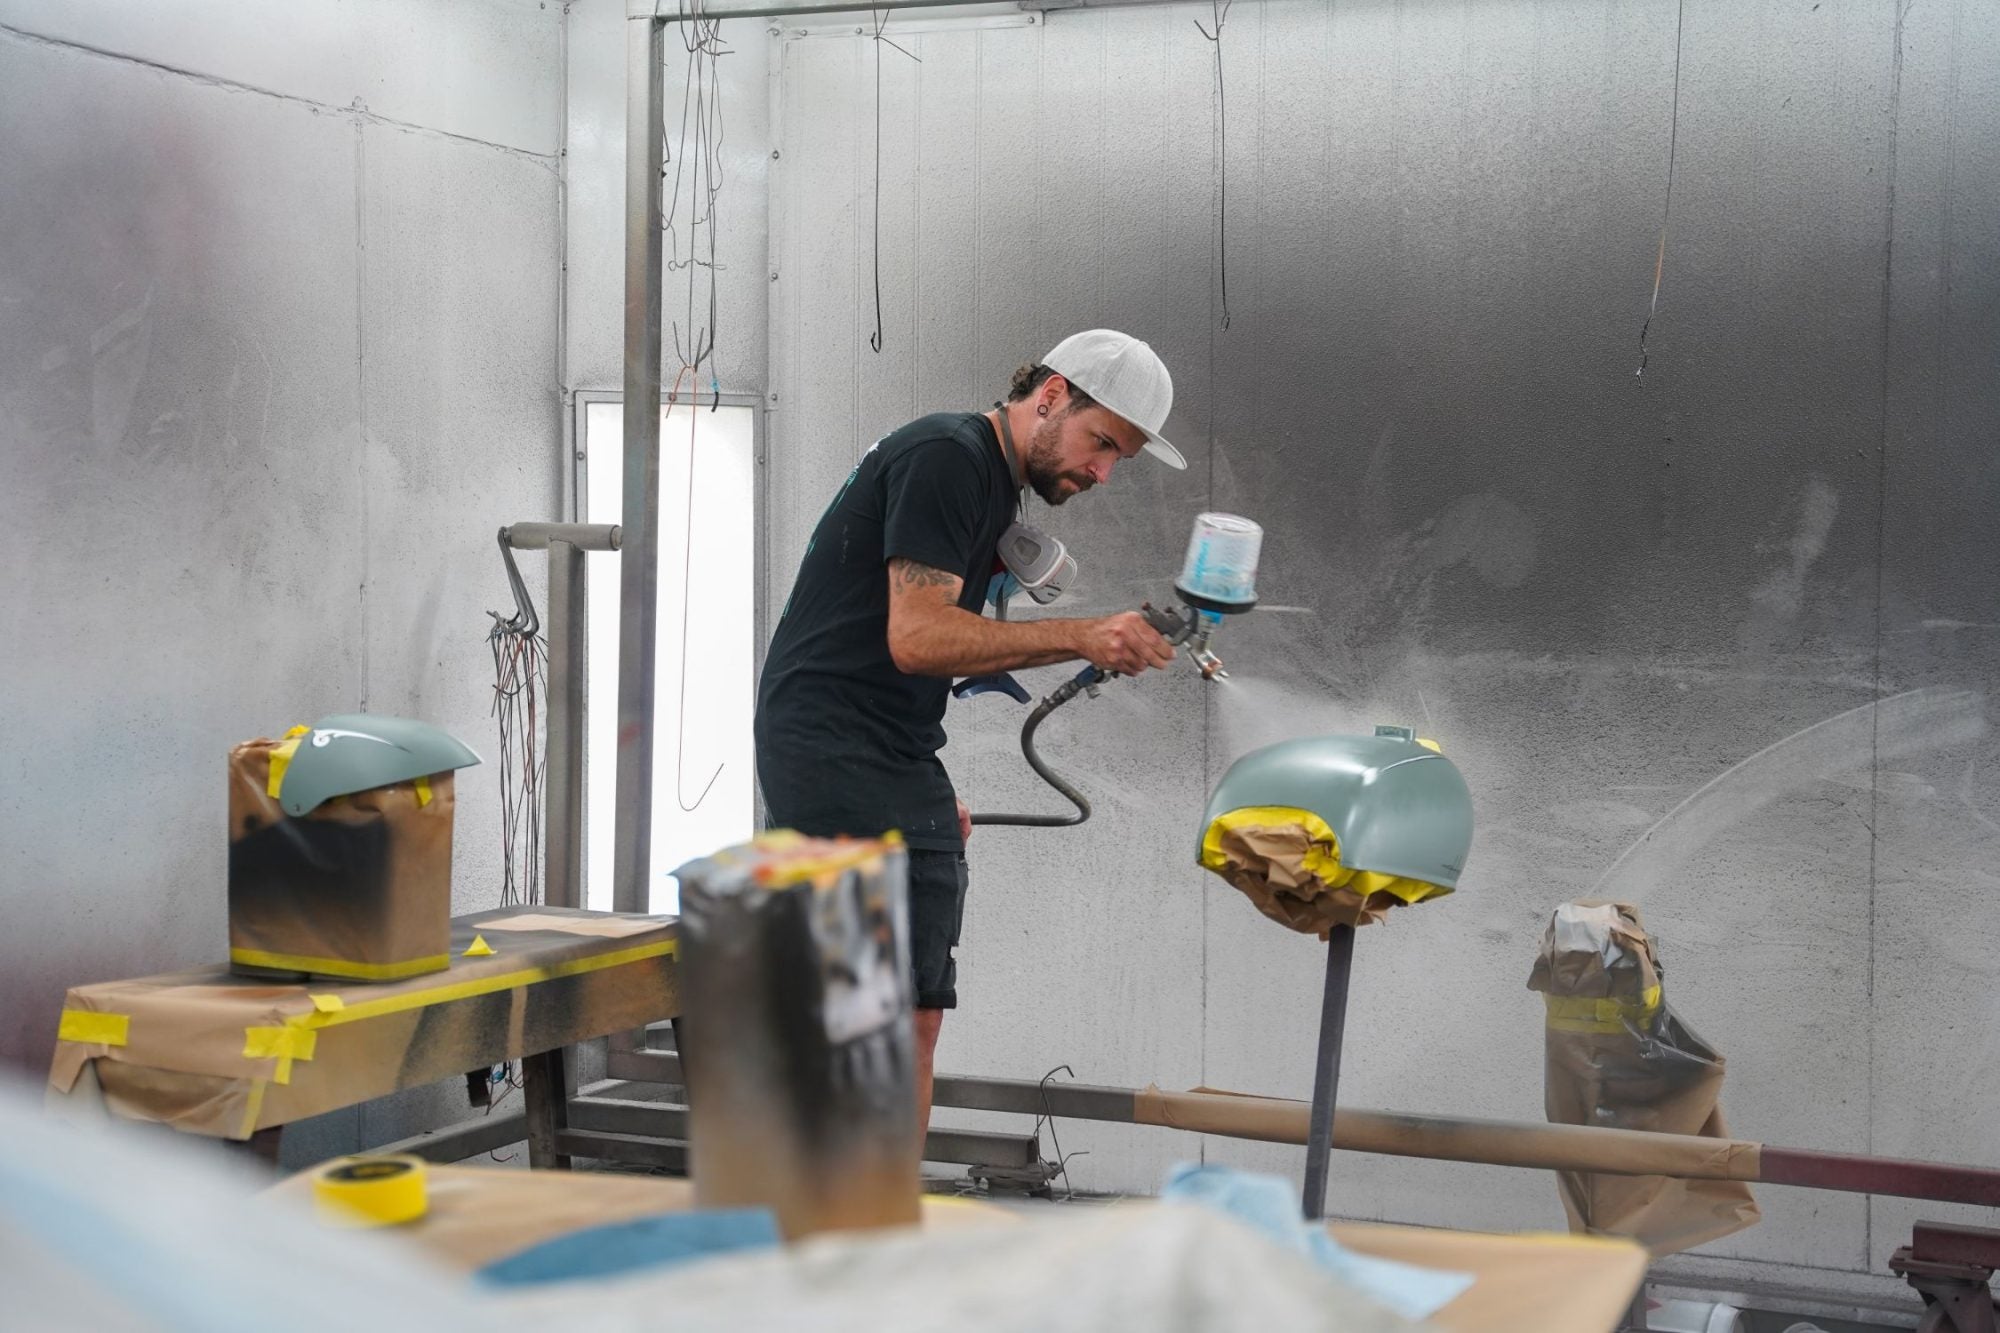
Painting Small Components On Your Bike
With some know-how and quality paint, you can achieve a great finish. Ideally, use a compressor and spray gun. If not, get 2-k spray packs from an auto paint supply store. Preparation is key: clean thoroughly and prime where necessary.
Recommended products:
- Engine: Bill Hirsch Engine enamel spray can
- Frame and small parts: 2-k Flat Black and 2-k gloss clear coat spray can
I personally always get the tank and fairings done professionally for a better finish.
Making Your Own Seat
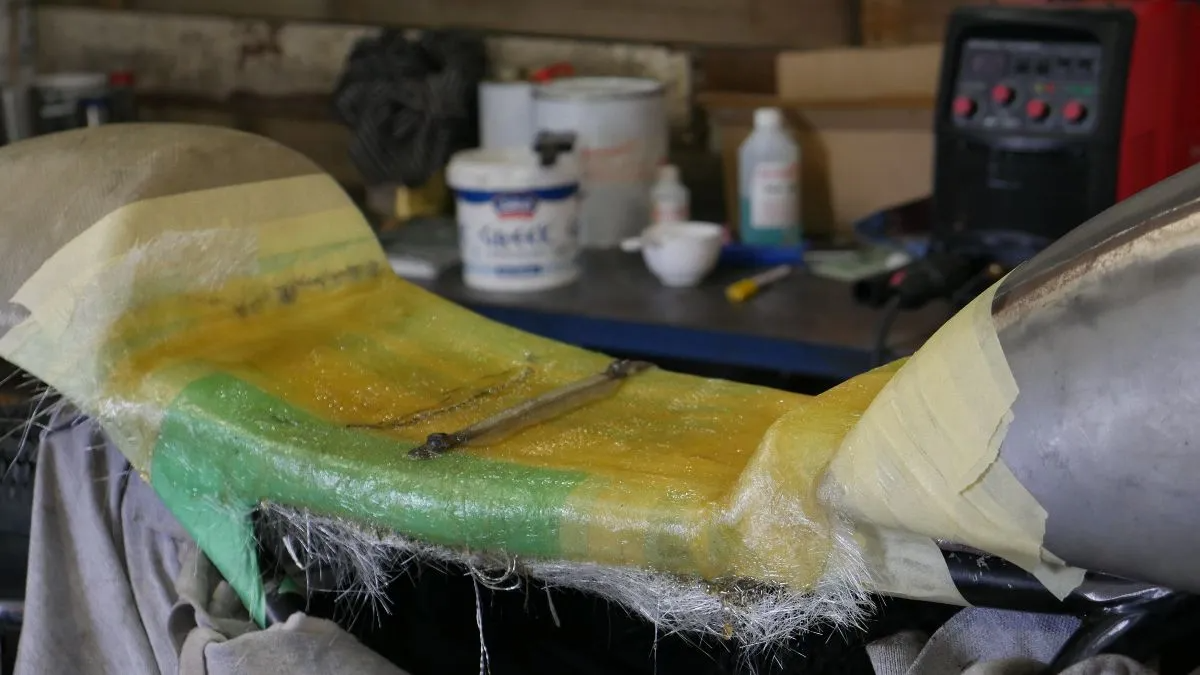
Fiberglass is cheap and easy to use. Visit a fiberglass supplier for guidance. Fiberglass works well for stock frames, while aluminum is more challenging for complex shapes.
Check out my guides on:
Rewiring Your Bike
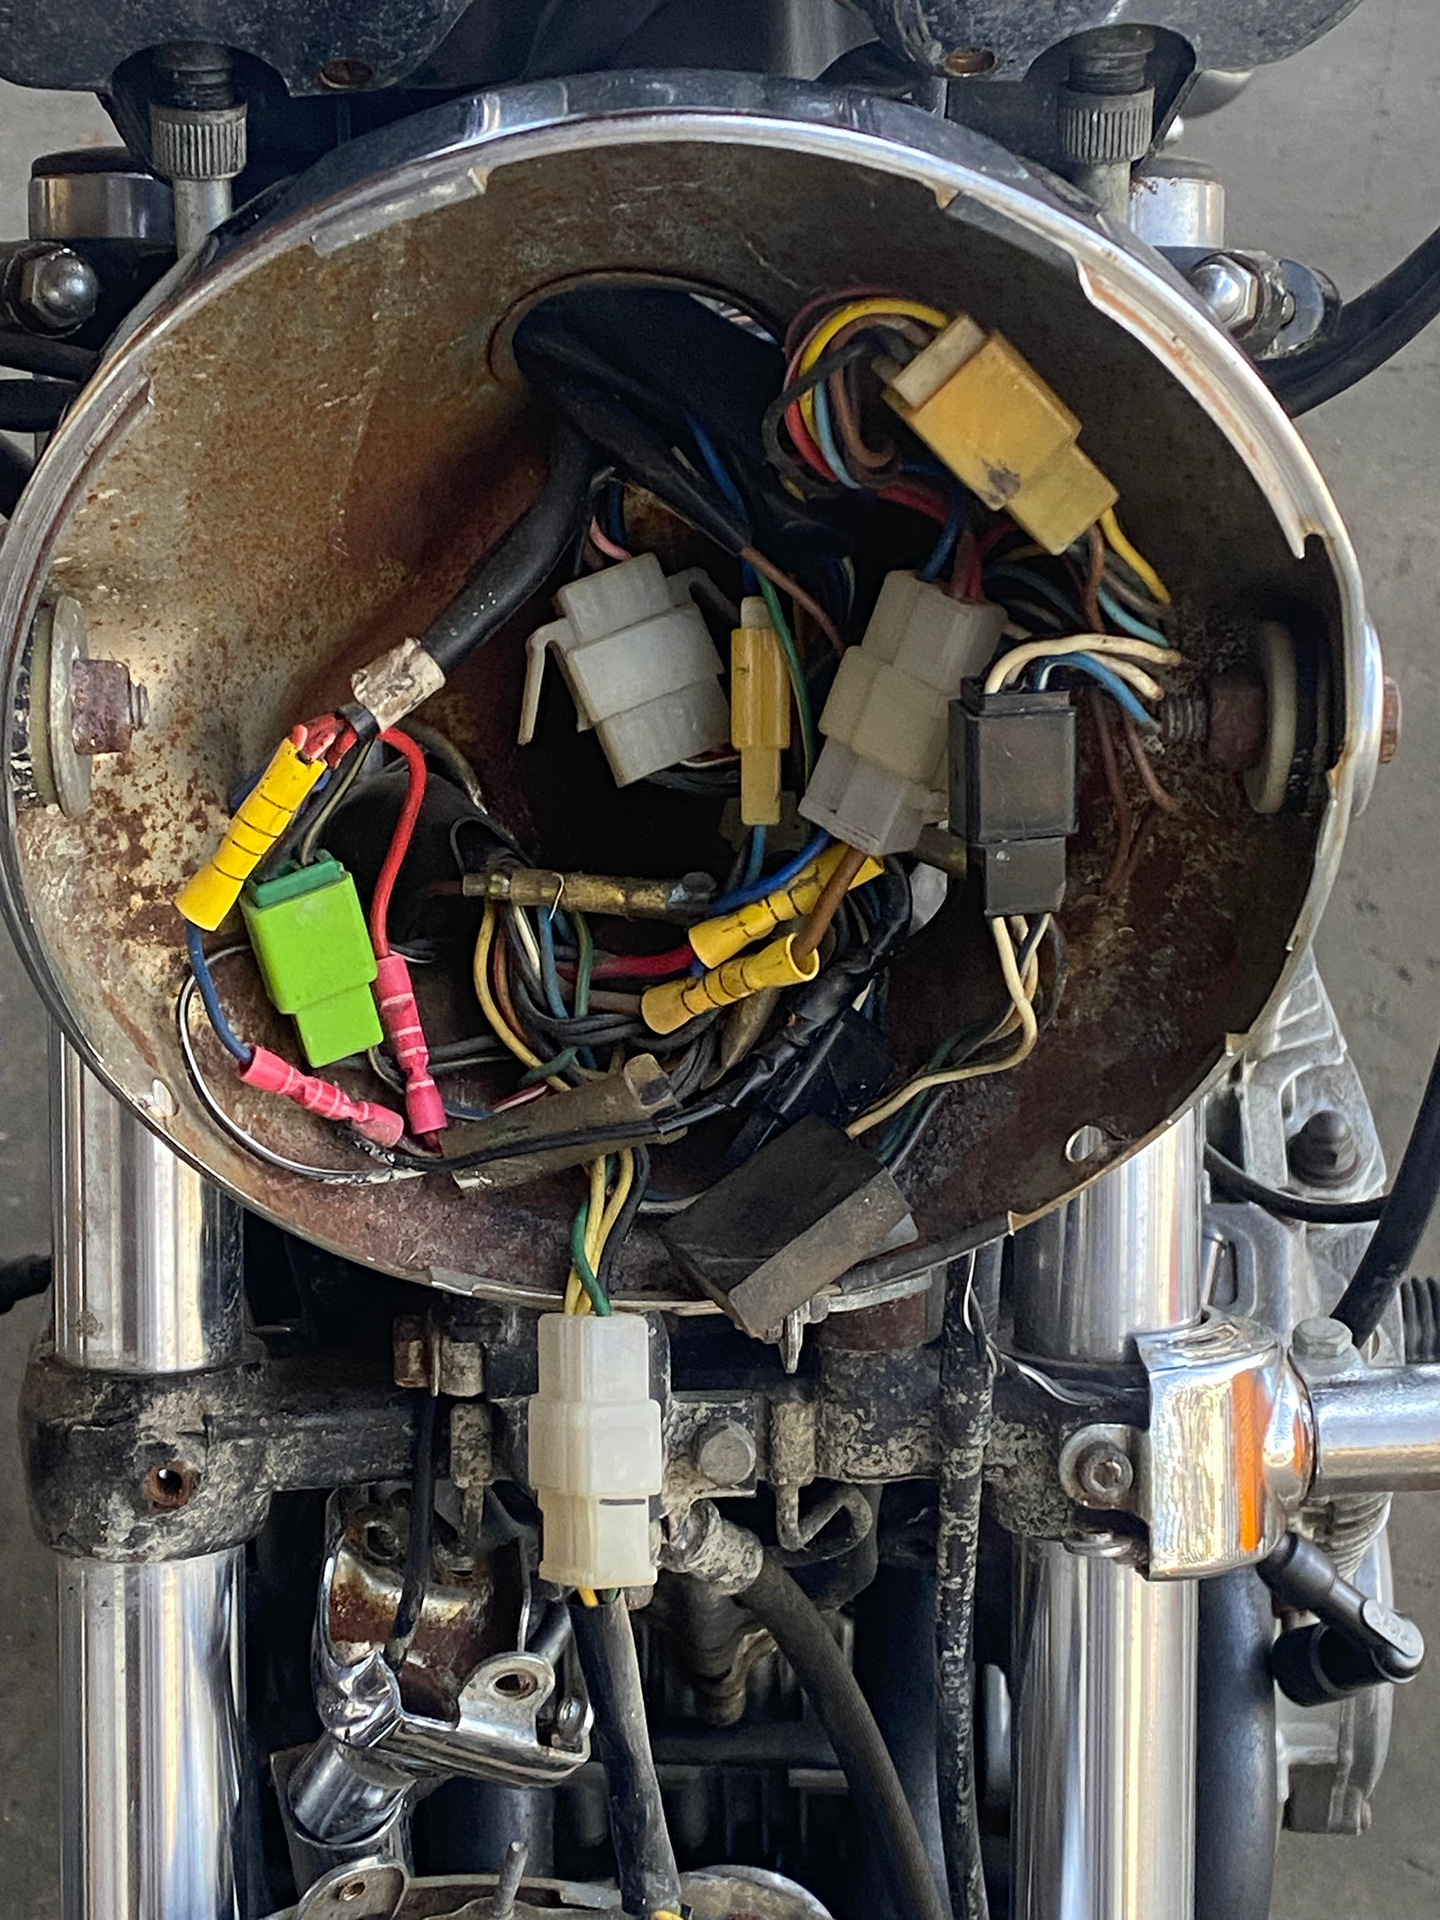
Depending on your skills, you may want help with wiring. Simplify the process using our Black Box System and buttons. Our control module is user-friendly and much easier than an M-unit.
Read more in our guides:
- Motorcycle electrics 101 – Understanding your bike’s electrics
- Top 5 wiring mistakes to avoid on your Café Racer
Reassembling Your Bike
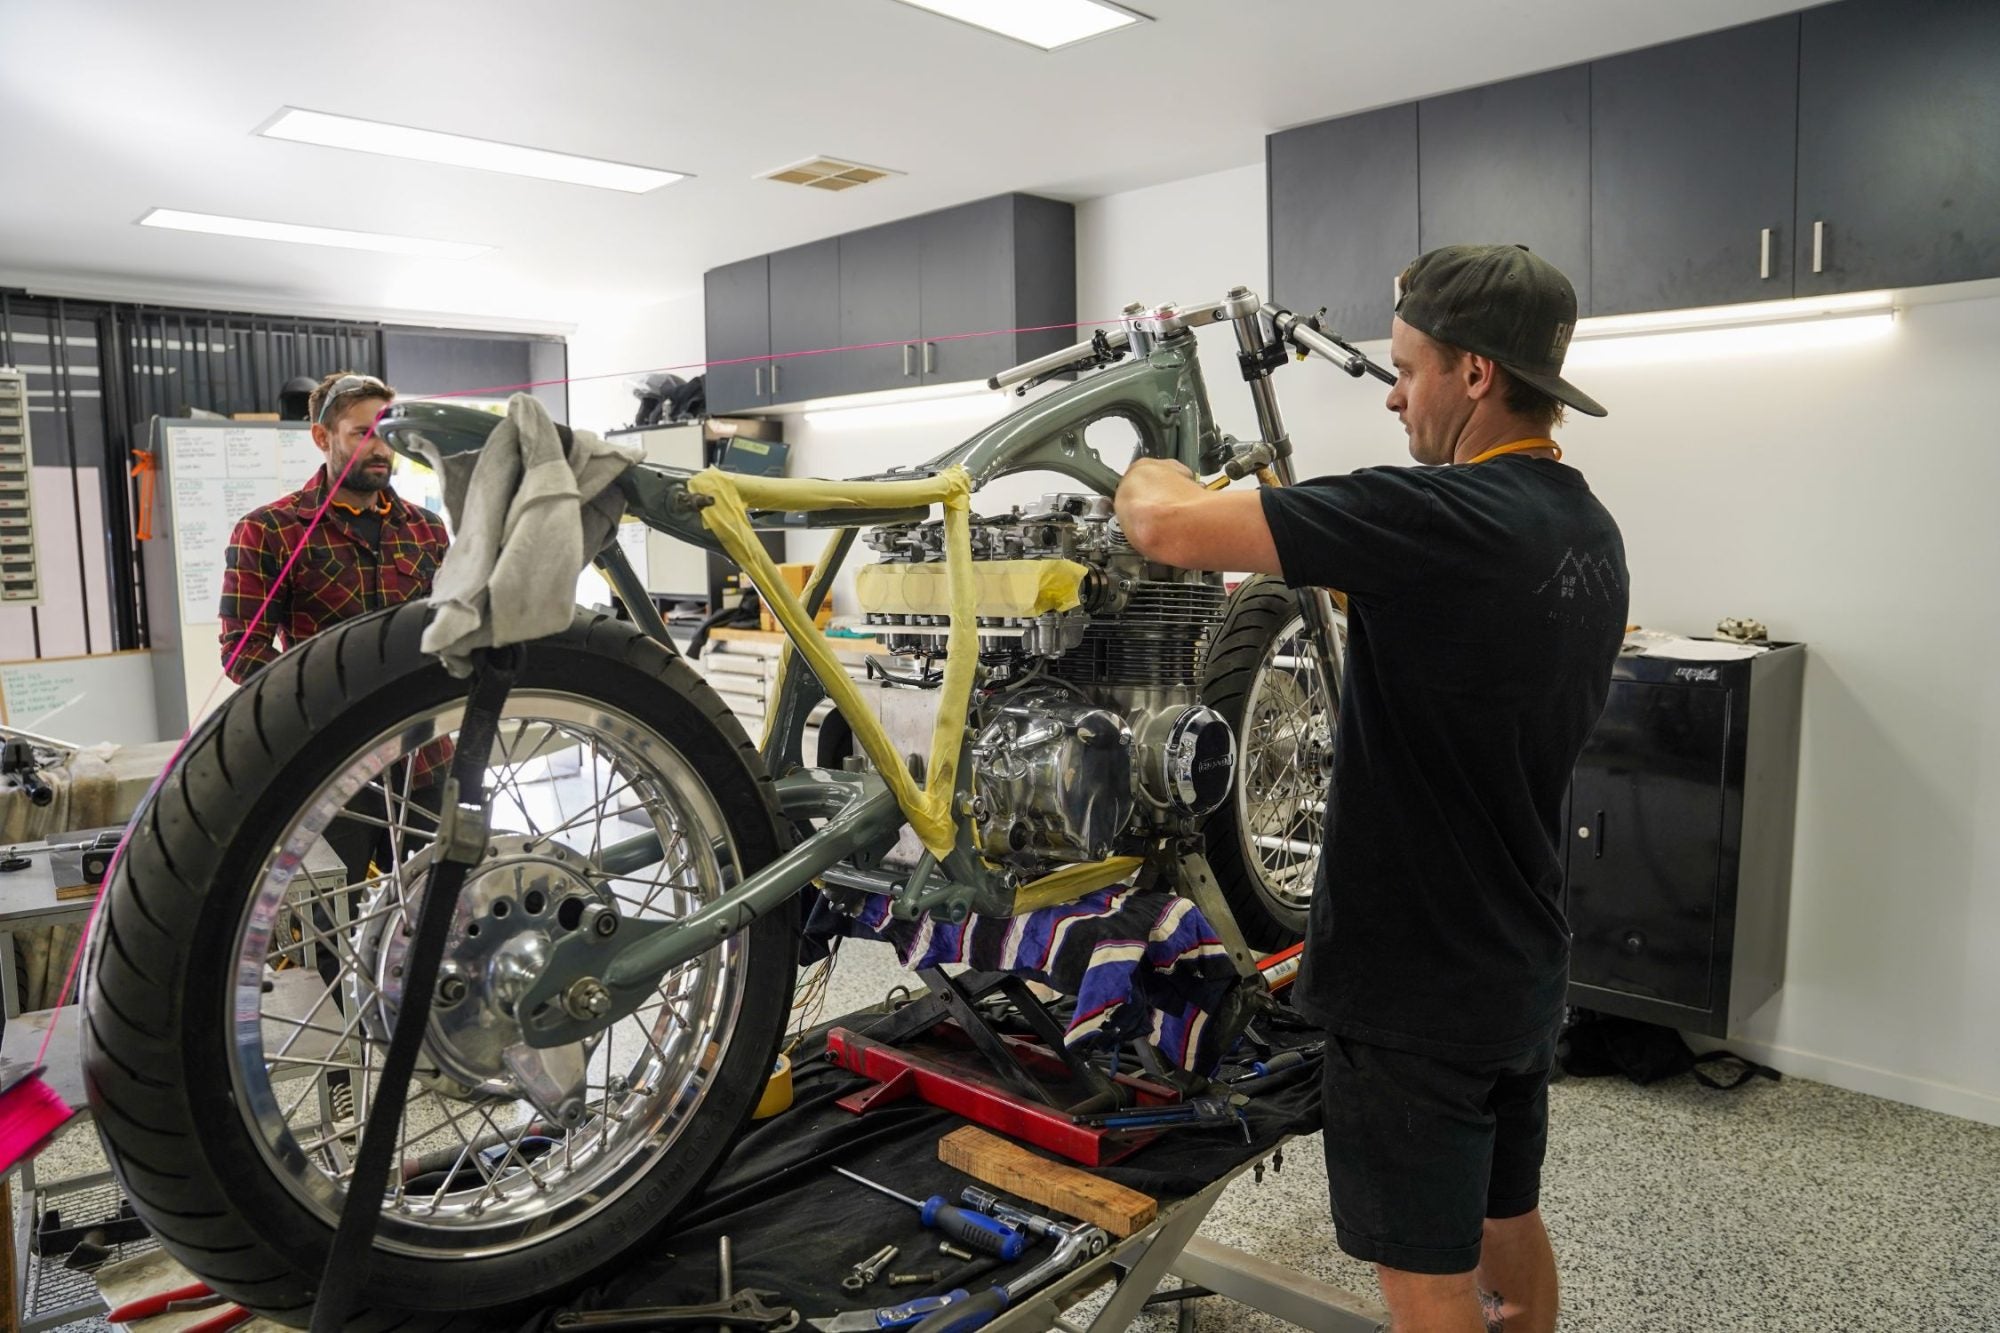
Use your workshop manual to guide the reassembly process. Organize your fasteners from the tear-down and use a torque wrench for critical parts. Be cautious with stainless steel components and use anti-seize compound where necessary.
If the bike runs rough after assembly, refer to your manual for tuning procedures. A quick re-jet and tuning at a mechanic may be necessary.
Building a budget café racer or scrambler is about smart spending and doing as much as you can yourself.
Remember the biggest part of sticking to your budget will be using your own time, and not paying for someone elses. Invest in critical components, avoid cheap parts that will cost you later, and support local bike shops. If you have any tips or questions, leave them in the comments below.
Thanks for reading,
Tom

WE BUILD BIKES WITH PURPOSE.
Purpose Built Moto is home for unique custom motorcycle builds. We offer a unique motorcycle customizing experience in the heart of the Gold Coast.


