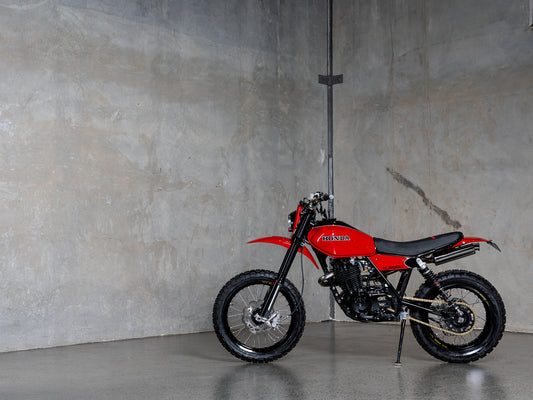
So, you've decided to build a café racer. Whether you're inspired by the classic look or the old school feel, building your own custom bike is a rewarding challenge. At Purpose Built Moto, we believe anyone can build a custom motorcycle with the right guidance. So in line with that, this step-by-step guide is designed to help beginners get started on their own café racer project.

Step 1: Define Your Vision
Before starting the build, it's essential to have a clear vision of what you want your café racer to look like and how you plan to use it. This vision will guide your decisions throughout the project. Consider these questions:
- What is the primary purpose of the bike? (e.g., short trips, off-road, display)
- What style are you aiming for? (e.g., minimalist, vintage, modern)
Create a "build bible" with three main points about your bike’s style and purpose. For example:
- “Low set – black – short trips”
- “Blue tank – dirt bike feel – loud!”
- “Hardtail – British style – chromed out”
Why Make a Build Bible?
Making a build bible is a crucial step in your café racer project for several reasons: It helps you stay focused on your vision and goals, keeping you on track amidst the many decisions you'll face. It ensures consistency in design and functionality, making sure every modification aligns with your overall vision. It keeps all your ideas, measurements, and plans in one place, making project management easier and preventing overlooked details. It speeds up decision-making, as you can refer to your build bible when choosing parts or modifications. Finally, it helps manage your budget by prioritizing essential modifications and avoiding unnecessary expenses.

Step 2: Design Your Bike
Once you have a vision, start planning the major changes needed. Here are the key areas we consider:
- Fuel Tank: Determine if you need a new tank that fits your style.
- Suspension: Decide whether to upgrade or modify the suspension for better performance.
- Seat and Riding Position: Consider changes to the seat and riding position for comfort and style.
- Frame: Think about whether you need a new sub-frame or seat hoop.
- Wheels: Decide if you should replace or rebuild the wheels.
- Air-box and Side Covers: Plan if you're removing them for a cleaner look.
- Exhaust: Determine if a new exhaust system is necessary.
Look beyond typical café racer builds for inspiration. Instagram and Pintrest are awesome places to start. Check old chopper magazines, custom car blogs, and international bike builders to get unique ideas. Again, it's extremely important to have a good idea of what your end goal will look like.
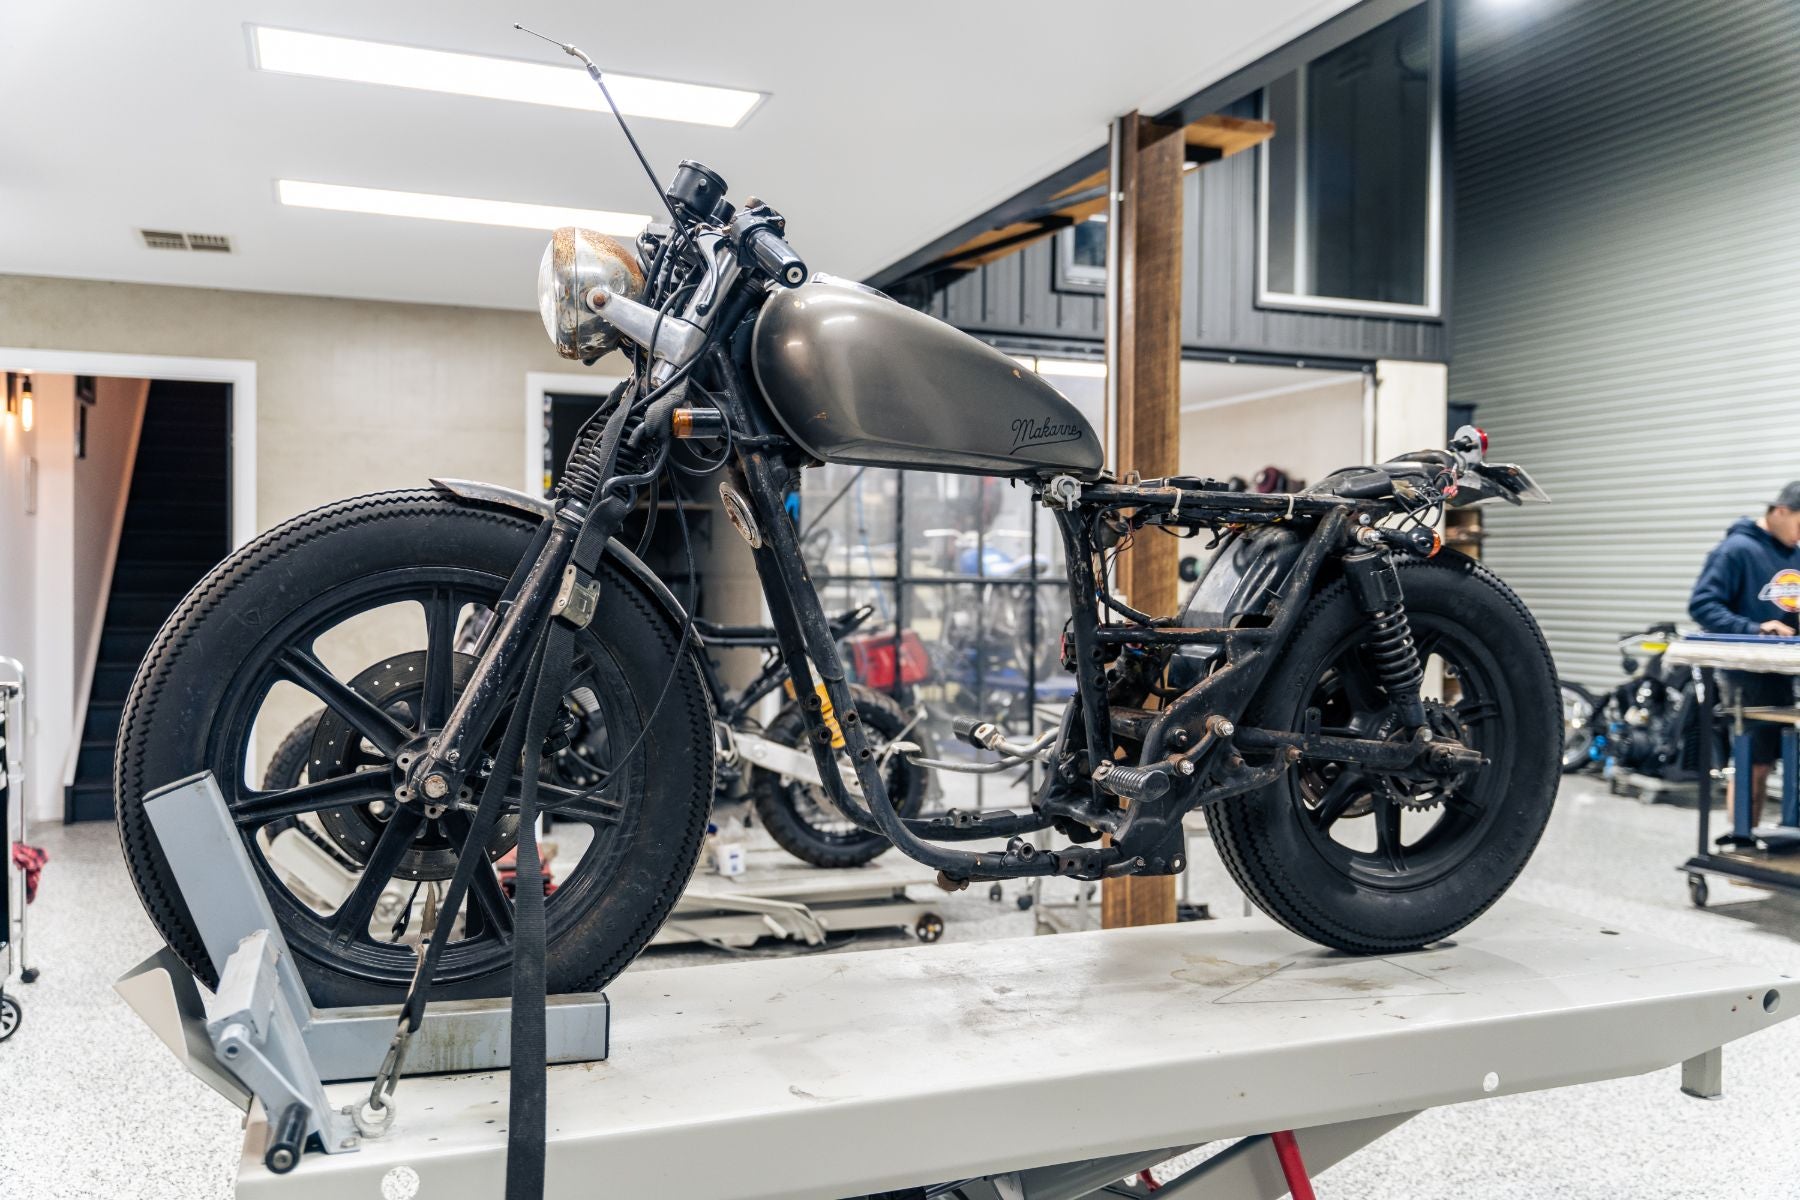
Step 3: Strip It Down
Start the disassembly process by taking your bike apart.
- Preparation: Begin by setting up a clean, organized workspace. Gather all necessary tools, including wrenches, screwdrivers, pliers, and any specialty tools specific to your bike model. A camera or smartphone can be handy to take pictures of the bike before and during disassembly. These images will serve as a reference when reassembling.
- Documentation: Take detailed notes and photos as you remove parts. Documenting the disassembly process will be invaluable when you need to remember how components fit together. Note any areas that need special attention or repairs.
- Labeling and Organization: Use labeled containers or bags to store bolts, nuts, and smaller parts. Label each container with the part of the bike they came from (e.g., "front forks," "rear wheel assembly"). This will save you a lot of time and frustration during reassembly.
- Sequential Disassembly: Start with the more straightforward components, such as the seat, fuel tank, and side panels. Gradually move to more complex parts like the engine, wheels, and suspension. Removing these components in a logical order can prevent damage and make reassembly easier.
- Inspection: As you take the bike apart, inspect each component for wear and damage. Look for cracks in the frame, rust on metal parts, and wear on bearings and seals. Identifying issues early allows you to plan for repairs or replacements.
- Frame Inspection: Pay special attention to the frame. Check for cracks, bends, or signs of previous repairs. The frame is the backbone of your bike, and any issues here need to be addressed before moving forward. If you find any cracks or weak spots, consider professional welding services to ensure the frame's integrity.
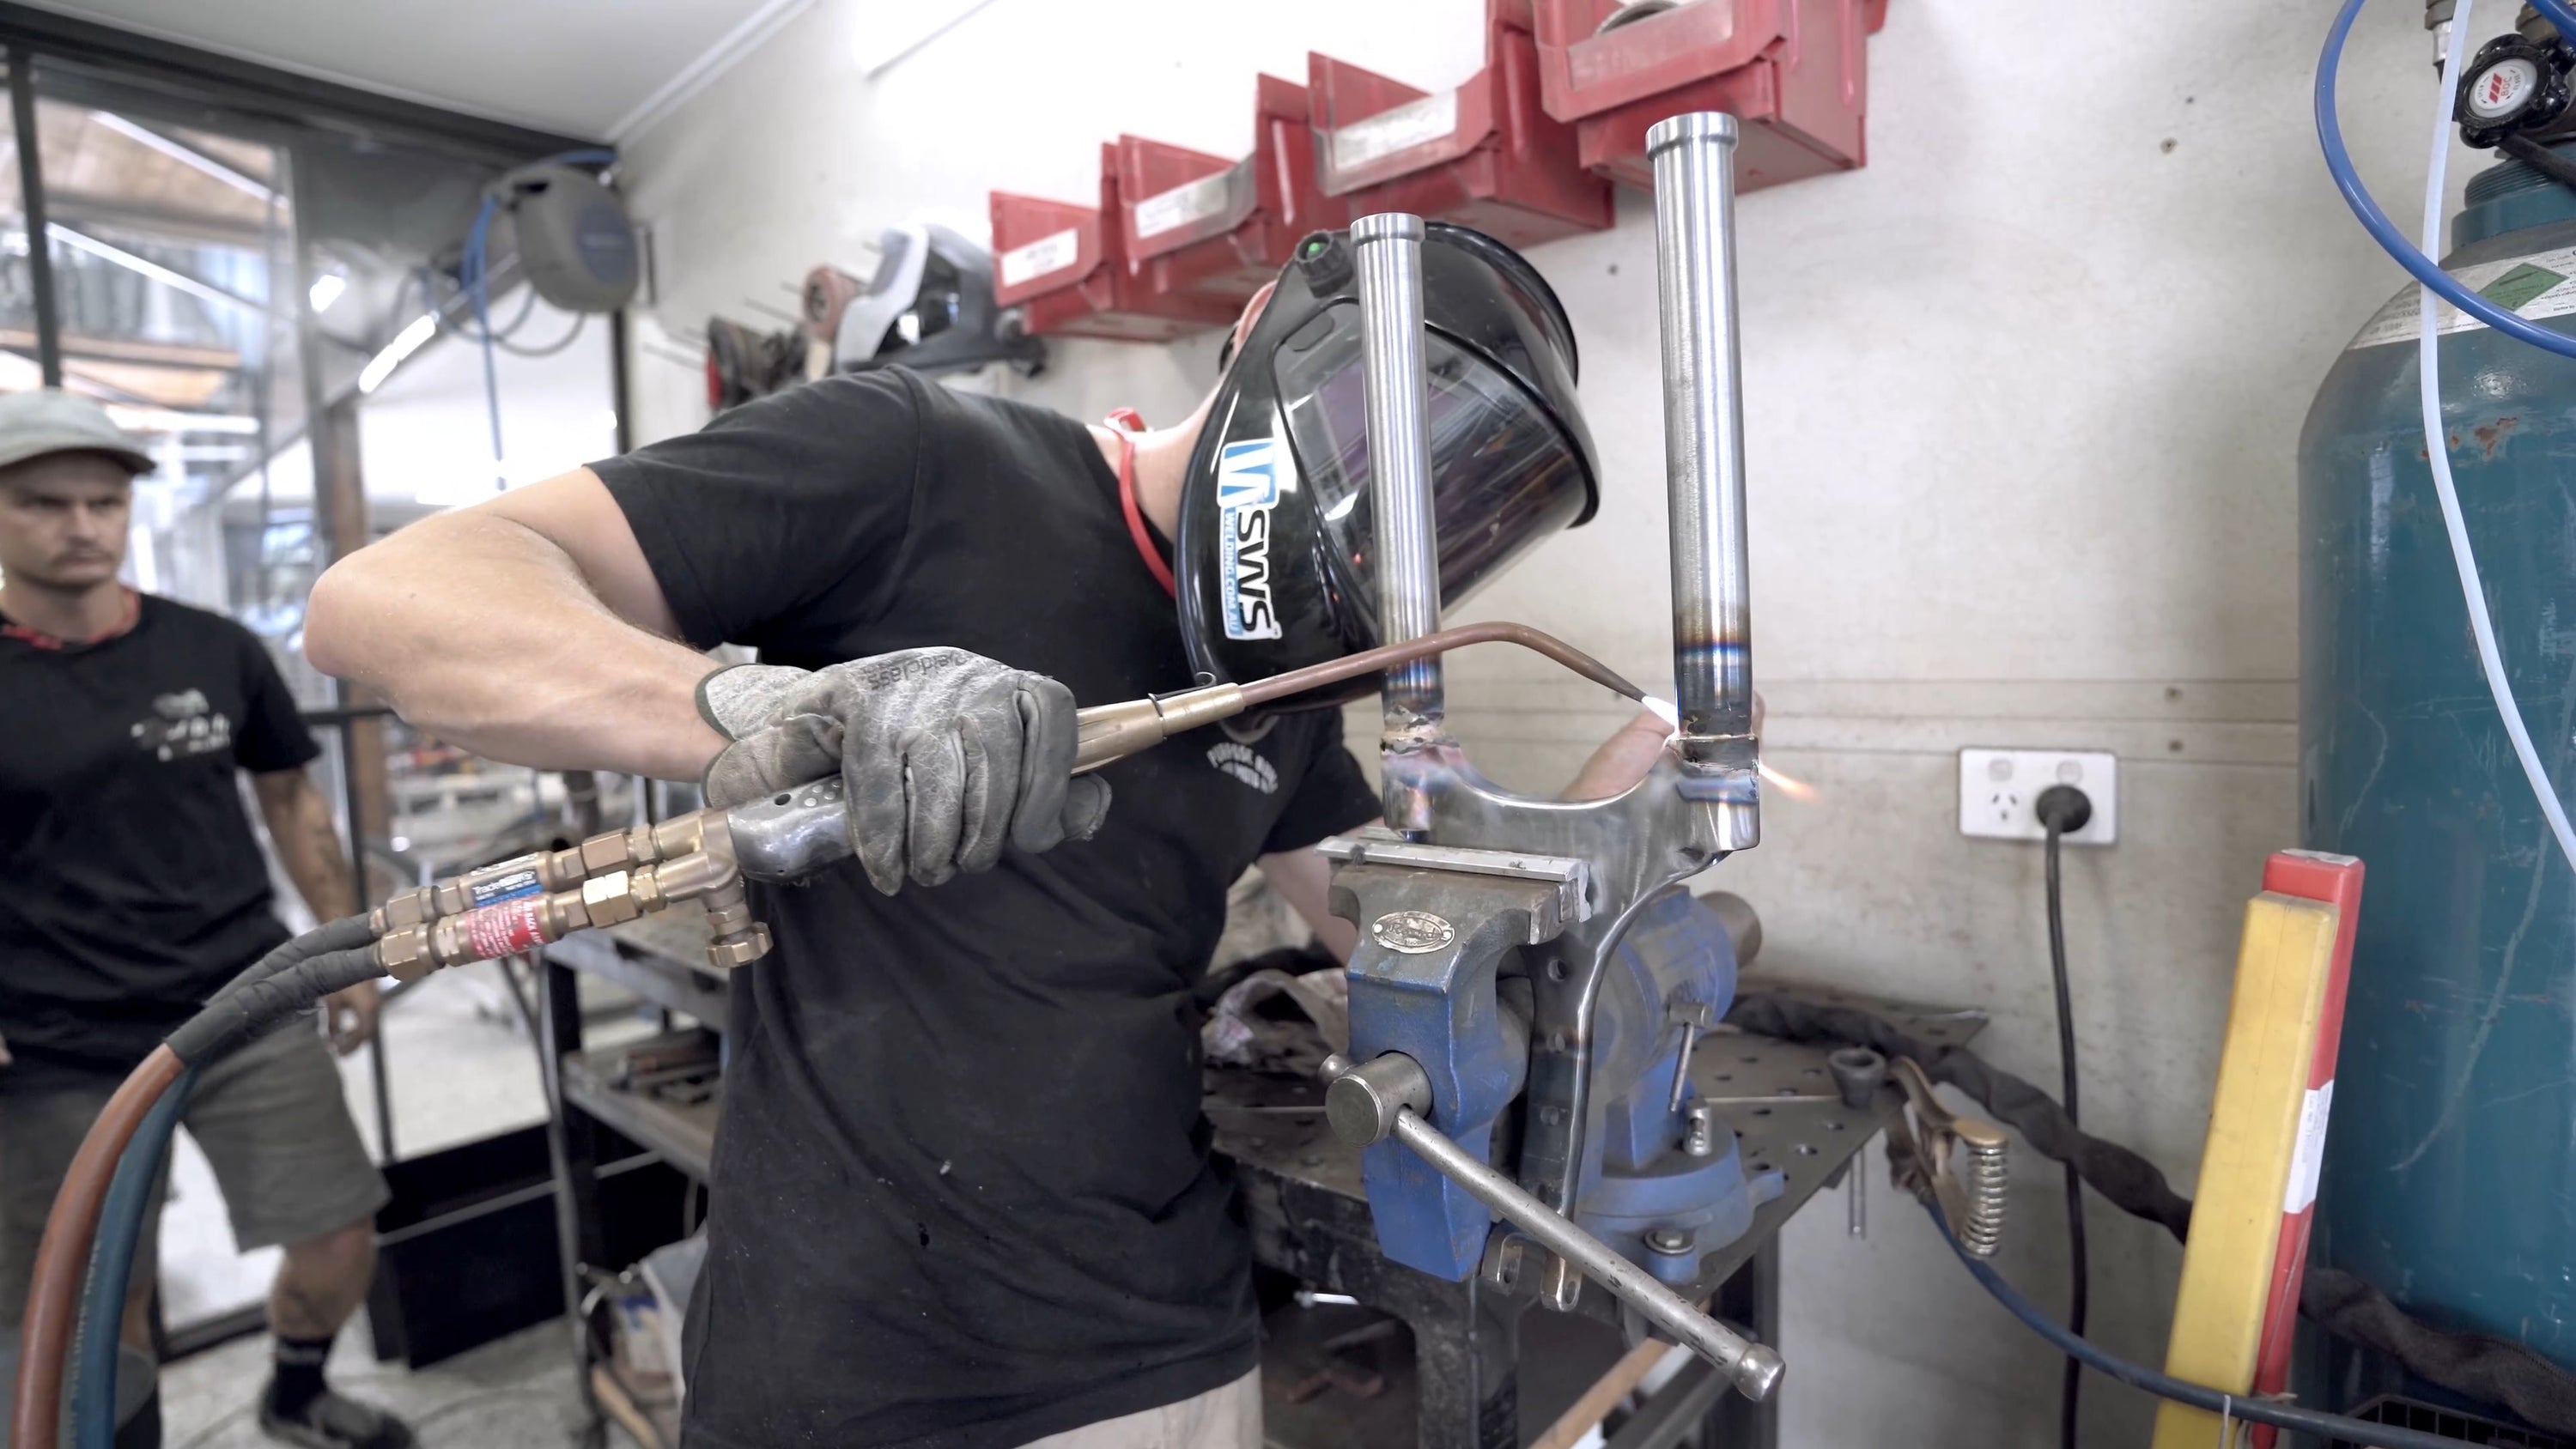
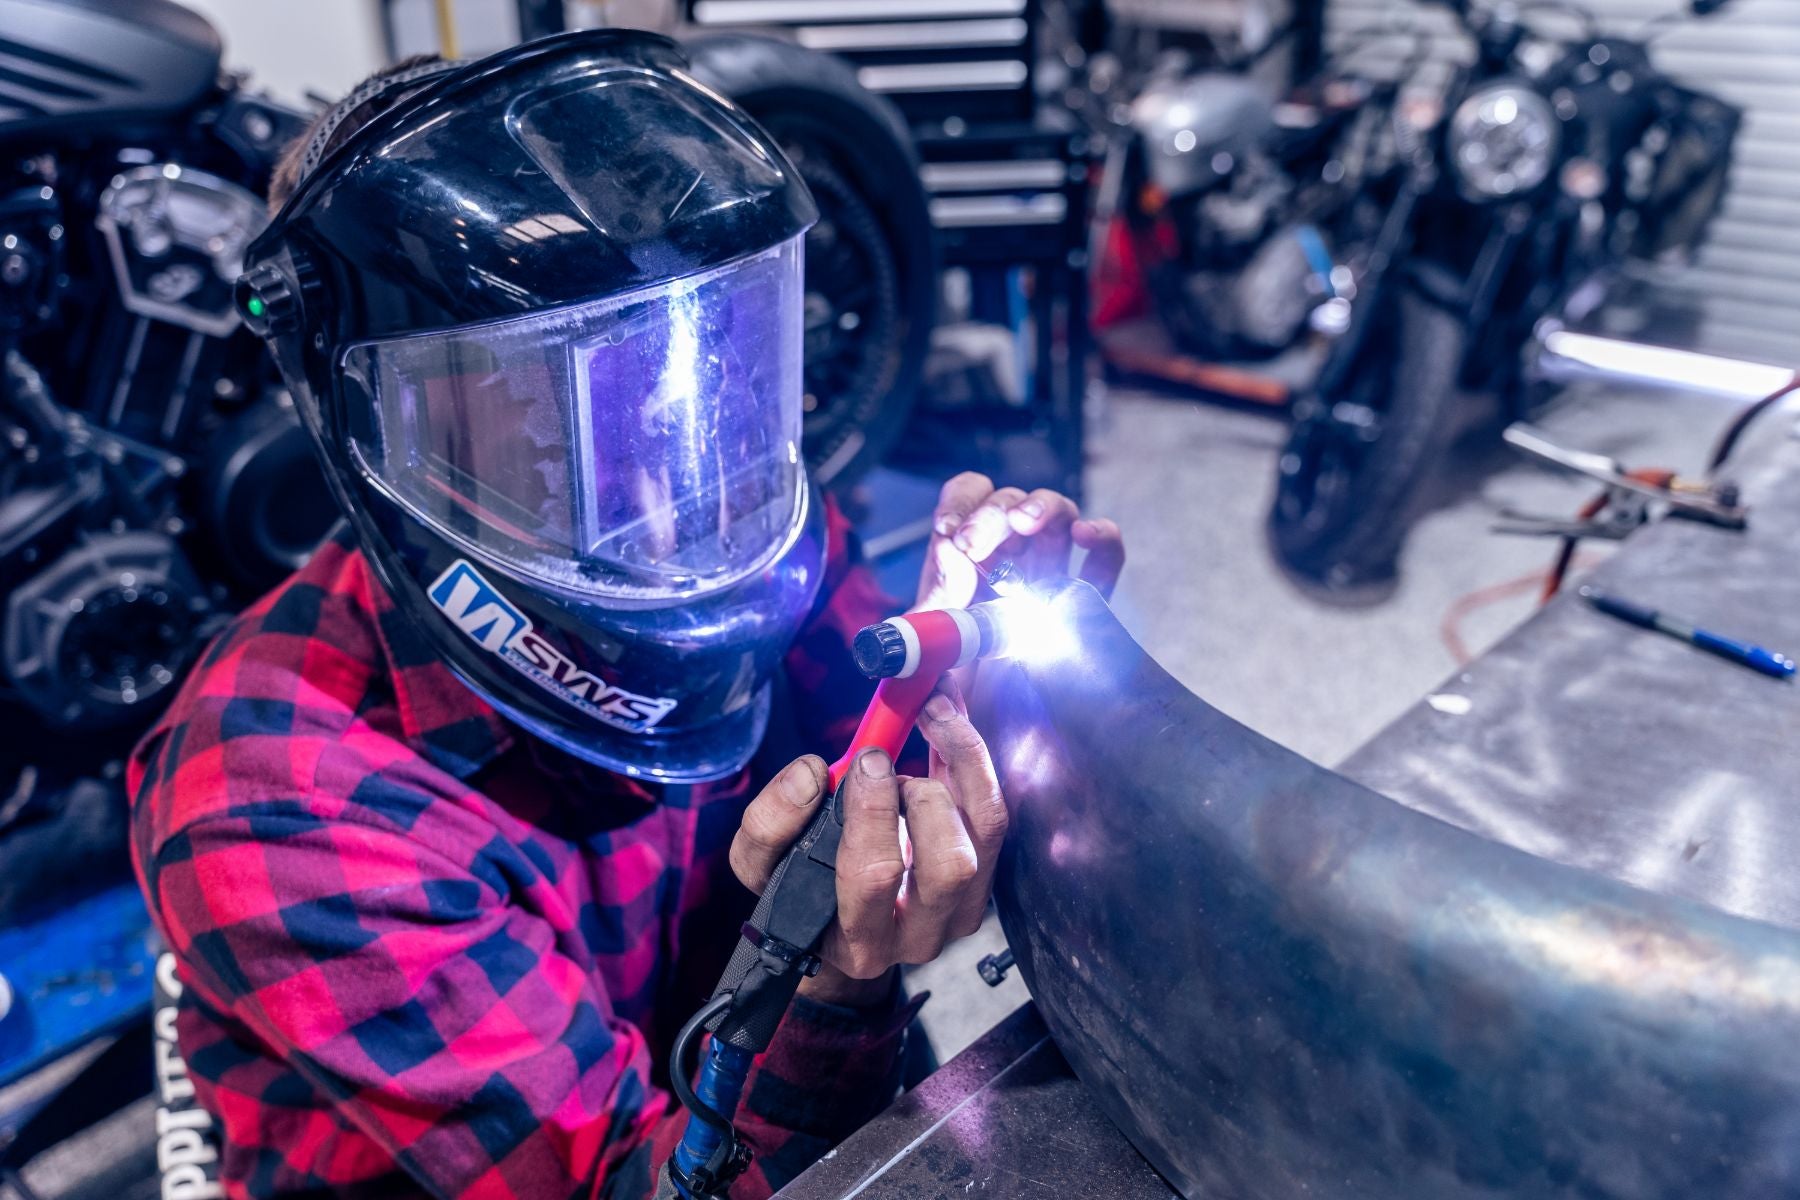
Step 4: Fabrication
Set the frame on a bench with the original suspension, wheels, and engine. This setup will help you visualize the modifications needed and ensure everything aligns correctly. Decide whether the bike needs to be lowered or raised, and determine the appropriate wheel and tire sizes. Quality suspension is crucial for a smooth and comfortable ride, so prioritize investing in the best you can afford. Fabricate the rear sub-frame and do any necessary welding. This allows for a custom fit and a unique look that aligns with your vision.
When fabricating or making changes to the sub-frame, consider the overall design and functionality, making sure it supports the rider's weight and integrates well with the bike's aesthetics. Will you be adding an integrated tail light? Check out this article.
Make the seat pan and foam the seat. A custom seat pan ensures a perfect fit and comfort tailored to your preferences. The seat is a critical component for both comfort and style, so take your time to get it right. Use quality foam and materials for the seat to ensure durability and a comfortable ride.
Set the handlebars and foot pegs to match your riding style. These components directly affect your riding comfort and control, so choose positions that provide both comfort and optimal handling.
Experiment with different positions to find what works best for you. If you’re not confident in your welding skills, seek professional help. Poor welds can compromise the safety and integrity of your bike, so it's crucial to ensure all welding is done correctly and safely.
- Professional welding services can provide the expertise needed to ensure your bike's frame and components are securely joined.

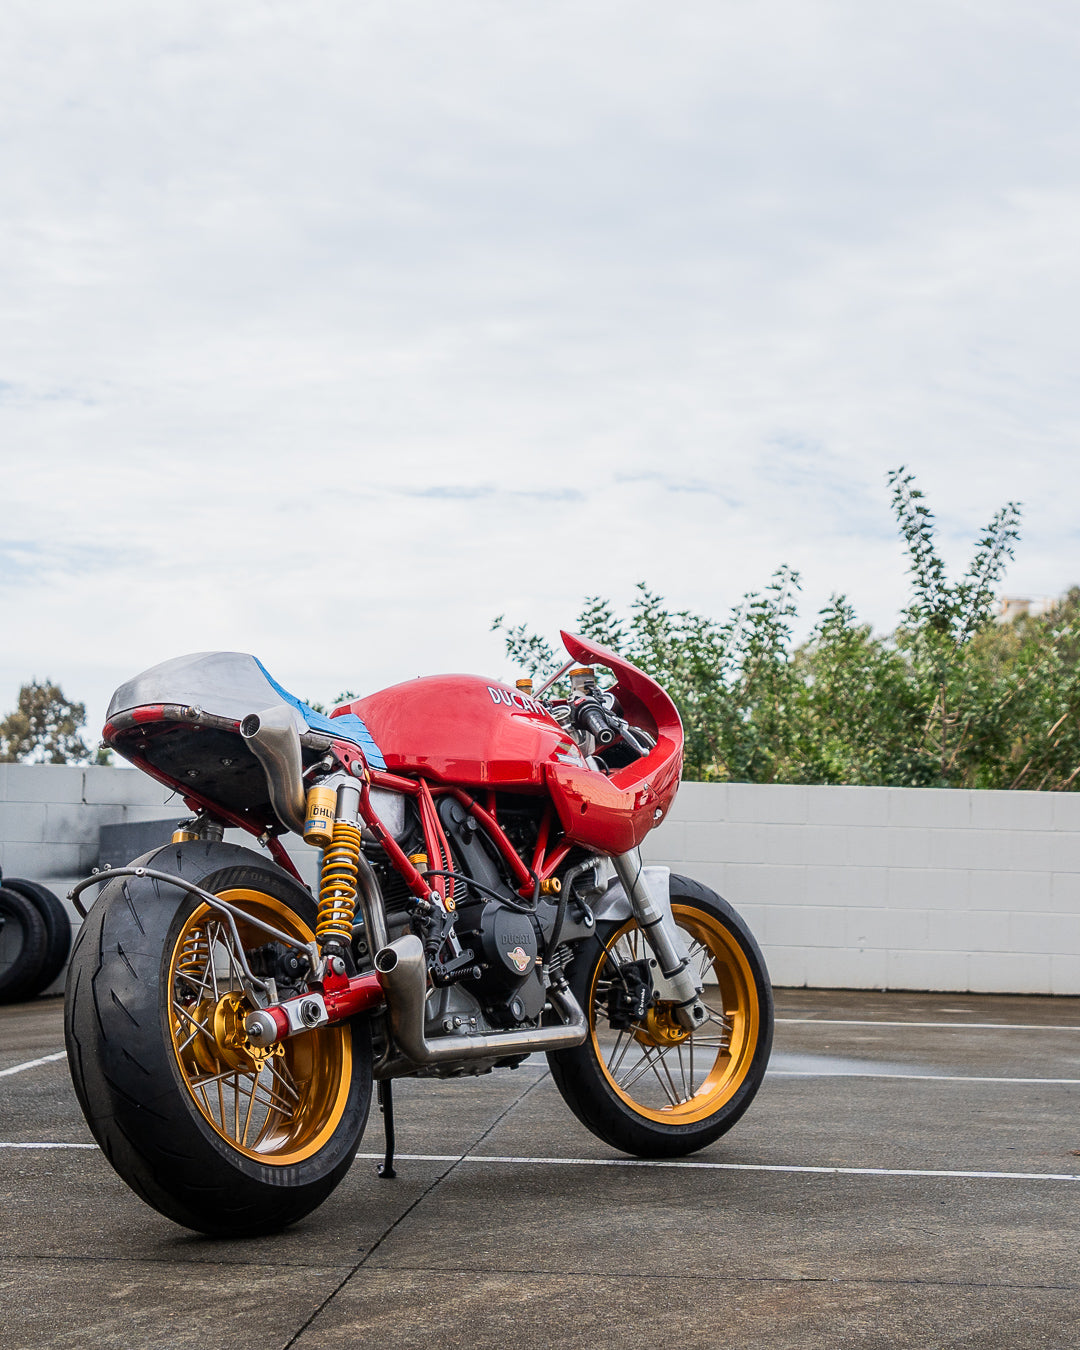
Step 5: Prepping for Paint and Polish
After fabrication, mock up your bike to confirm no further modifications are needed. This step is essential to catch any last-minute issues before painting and polishing. Ensure all components fit correctly and operate smoothly. Focus on the seat; a custom seat is usually better than a generic option. Custom seats can be tailored for comfort and style, providing a unique look that matches your bike's overall design. Show your upholsterer a picture of the desired seat shape to avoid miscommunication. Clear instructions ensure you get the result you want, with a seat that fits both your bike and your personal style.
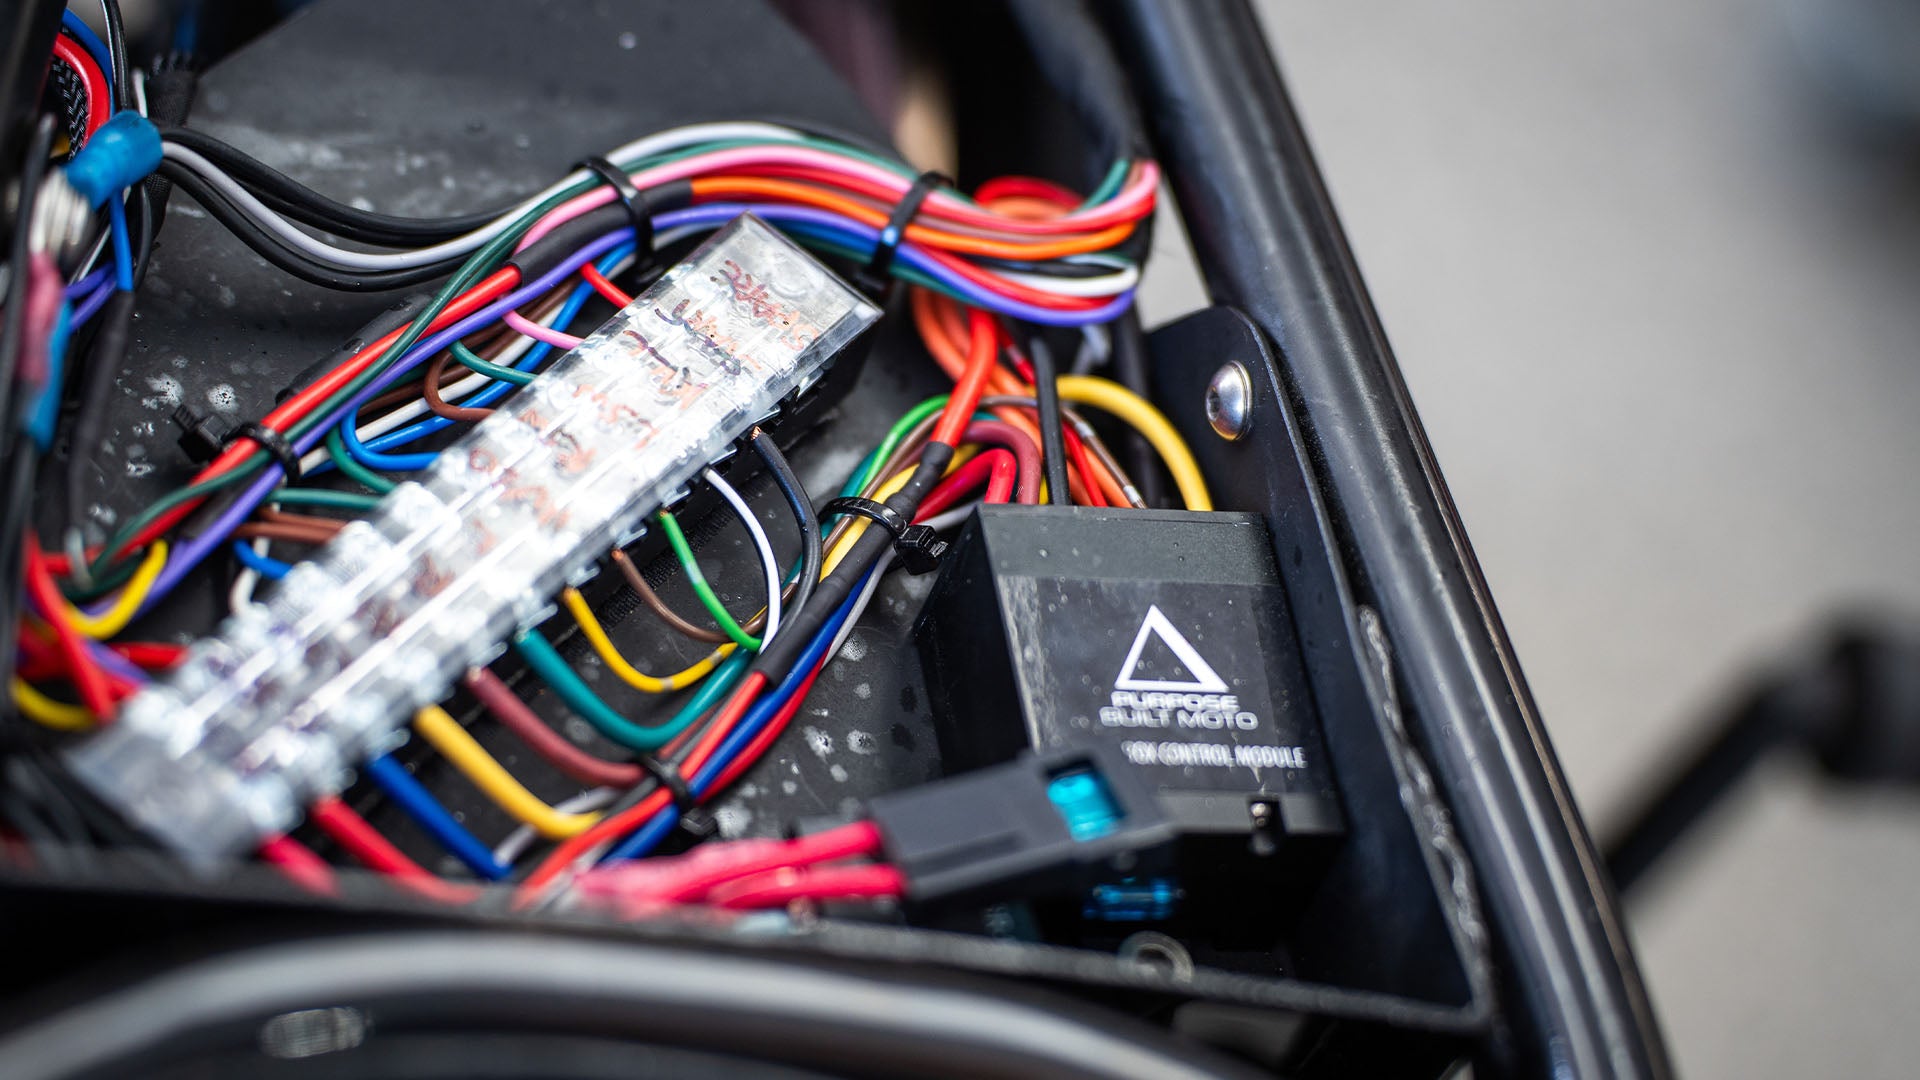
Step 6: Electrics
Once your fabrication and test fit are done, it's a good time to lay out your bike's electrics. Set everything out and build your loom, connecting all electrical components. This process involves organizing the wiring system to ensure that all electrical components such as lights, ignition, and digital displays are properly connected and functional. It's essential to plan the route of your wiring carefully to avoid any interference with moving parts or exposure to elements that might cause damage. For a detailed guide on building your wiring loom, refer to our blog Motorcycle Wiring 101.
Step 7: Assembly
Reassemble your bike using the newly polished and painted parts. This is where your bike starts to come together, looking like the finished product you envisioned. Follow your workshop manual closely and make sure all critical parts are torqued correctly. Proper assembly ensures safety and longevity, with each component securely fitted and functioning correctly.

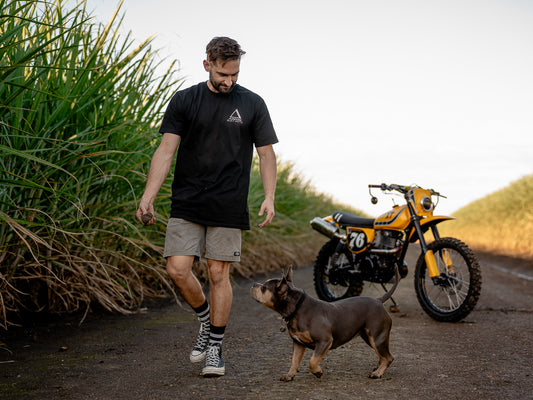
The Final Step: Riding Out
With your café racer assembled, it's time to hit the road. Remember, custom bikes require extra care and attention. Regular maintenance will keep your bike running smoothly and looking great. For more tips and guidance on maintaining and customizing your motorcycle, subscribe to our blog and newsletter.


Additional Resources
For more detailed information and more in depth guides, make sure to check out our guides:
- Building a Café Racer seat
- Making a Café racer tail cowl
- Trimming your front fender
- Re-building spoked wheels
- Re-wiring your project bike
Thanks for taking the time.
Tom
DIY PRODUCTS Shop All
-
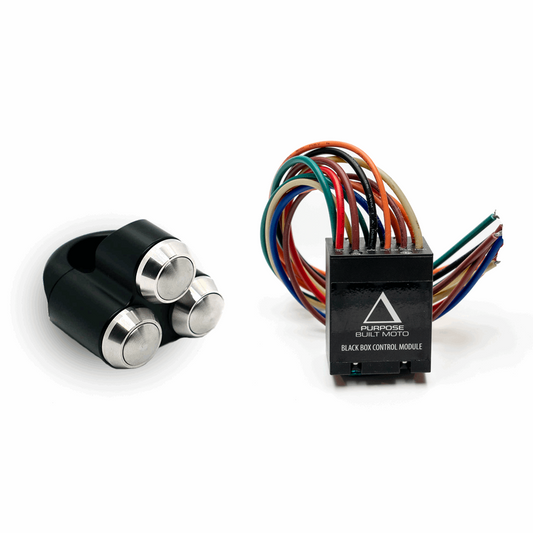
Black Box + 2 Switches Kit
Normale prijs $365.00Normale prijsEenheidsprijs per$365.00Aanbiedingsprijs $365.00 -
Bar End Mirror Kit
Normale prijs $145.00Normale prijsEenheidsprijs per$145.00Aanbiedingsprijs $145.00 -
Black Box + 1 Switch Kit
Normale prijs $280.00Normale prijsEenheidsprijs per$280.00Aanbiedingsprijs $280.00 -
Headlight Kit
Normale prijs Vanaf $370.00Normale prijsEenheidsprijs per$370.00Aanbiedingsprijs Vanaf $370.00


WE BUILD BIKES WITH PURPOSE.
Purpose Built Moto is home for unique custom motorcycle builds. We offer a unique motorcycle customizing experience in the heart of the Gold Coast.
Join our email list and receive exclusive updates.
Latest Stories ALL STORIES
-
18/12/2024
-
16/12/2024
-
09/12/2024