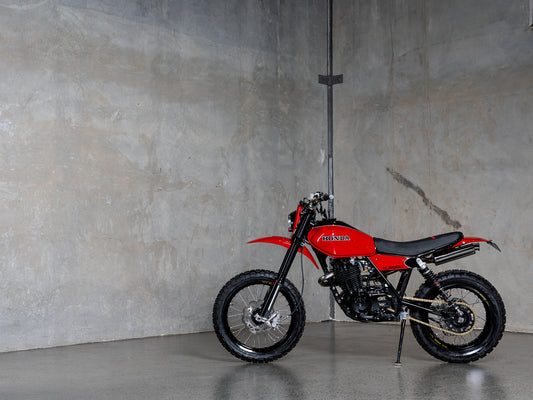
Creating a custom motorcycle seat is a great way to personalise your ride and improve its comfort. Whether you're building a café racer, a bobber, or a scrambler, the seat you design can transform the bike's aesthetics while tailoring the ride to your needs. In this guide, we’ll cover the entire process of building a custom motorcycle seat, from choosing materials to mounting the finished product. If you're looking for "how to build a custom motorcycle seat" or "DIY café racer seat," this guide is for you.
Step 1: Planning Your Custom Motorcycle Seat Design
Consider Your Riding Style
Before getting started, think about how you plan to use the bike. Your riding style will dictate your seat's design:
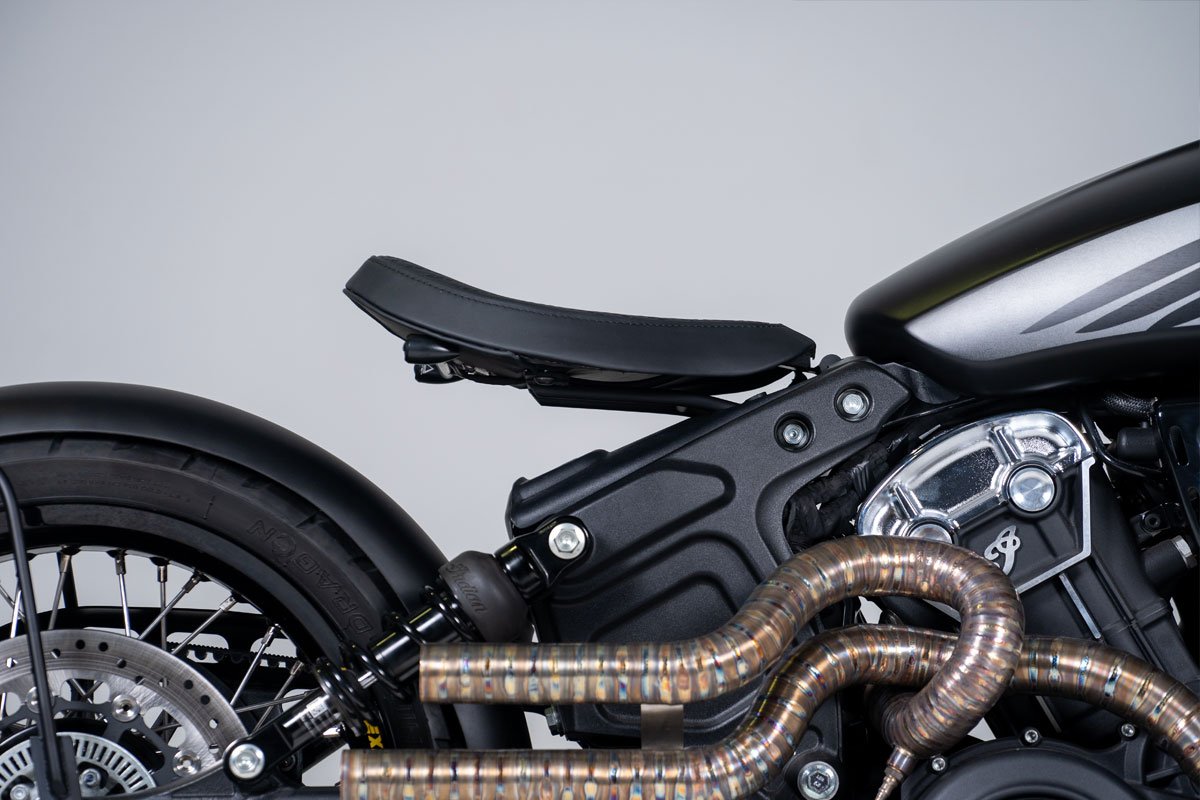
Café Racer Seat: Café racers typically have a low-profile seat with a minimalist, sleek design. They focus more on style than comfort, but you can add some padding for support without sacrificing aesthetics.
Scrambler or Bobber Seat: These builds often prioritise functionality, with wider, flatter seats for more comfort and control, especially on rough terrain or long rides.
By identifying your riding style, you can determine how much comfort you need versus visual appeal.
Sketching the Design
Once you know what you're looking for, sketch out your custom seat design. Whether you're going for a café racer with a rear hump or a scrambler seat that prioritises padding, ensure that the design complements your bike's frame. It may help to take a photo of your bike and print it out to scribble over. Consider how the seat will flow with the gas tank, rear fender, and side panels to achieve a cohesive look.
Selecting Materials and Tools for Your Custom Motorcycle Seat
Choosing the Right Seat Pan Material
The seat pan serves as the foundation of your custom seat, providing the structure you’ll build upon. Popular choices include:
- Steel: Strong and durable, though heavier than other options. Ideal for riders who prioritise durability over weight.
- Aluminium: A lightweight, corrosion-resistant material perfect for café racer builds where saving weight is important.
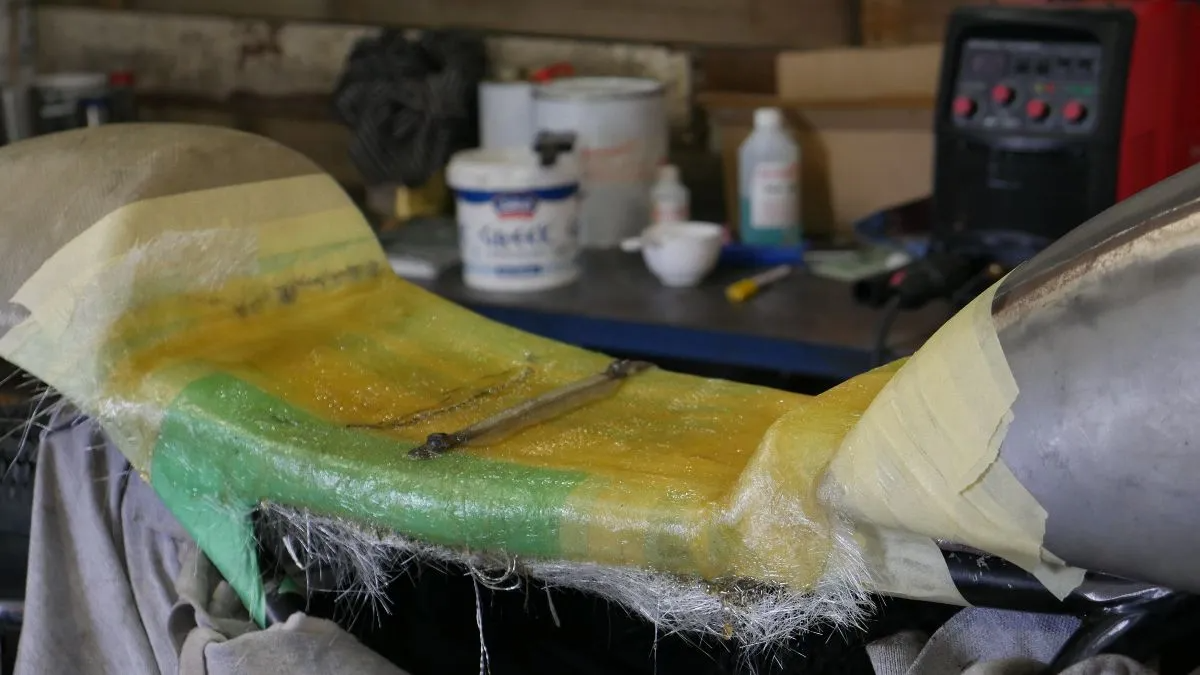
- Fibreglass: Easier to mold into different shapes, making it great for custom designs, but it requires some practice to work with.
Picking the Best Foam for Comfort
The type of foam you choose will significantly impact your seat's comfort level. Common types include:
- High-Density Foam: Offers firm support, making it perfect for sleek café racers where style is prioritised but some comfort is still needed.
- Closed-Cell Foam: Waterproof and very durable, this foam is excellent for off-road builds like scramblers that need to withstand harsh conditions.
Gel Pads: If you’re building a seat for long-distance touring, adding a gel insert underneath the foam can enhance comfort.
Crafting the Seat Pan
Measuring and Cutting the Seat Pan
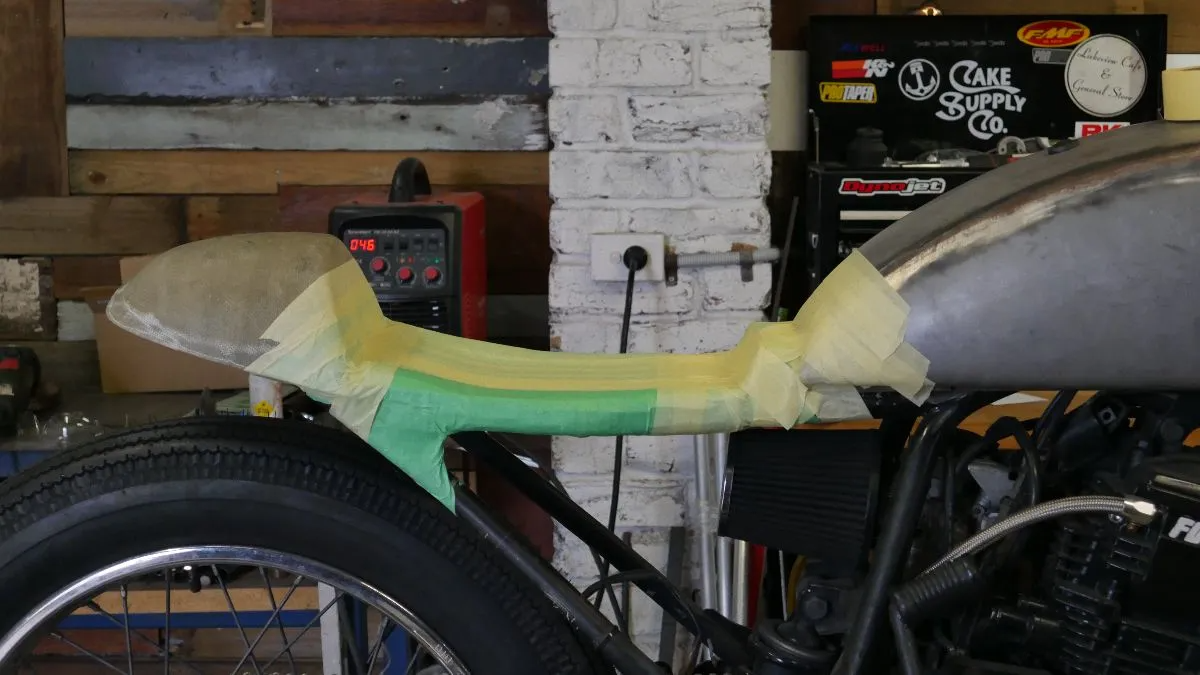
Before cutting any material, you’ll need accurate measurements. Use a measuring tape to determine the seat pan’s dimensions by measuring the width and length of the area on the bike frame where the seat will sit. Make sure the seat pan aligns smoothly with the bike's frame and doesn’t interfere with the gas tank or rear fender.
Once marked, use an angle grinder for metal pans or cutting tools for fibreglass to create the shape. If you’re working with fibreglass, you can create a mold to achieve the exact shape you need.
Test Fitting the Pan
After cutting the seat pan, place it on the bike and check the fit. This ensures the seat pan sits securely and complements the bike’s lines. Make adjustments as needed before moving forward.
Adding Foam Padding to Your Custom Motorcycle Seat
Cutting and Shaping the Foam
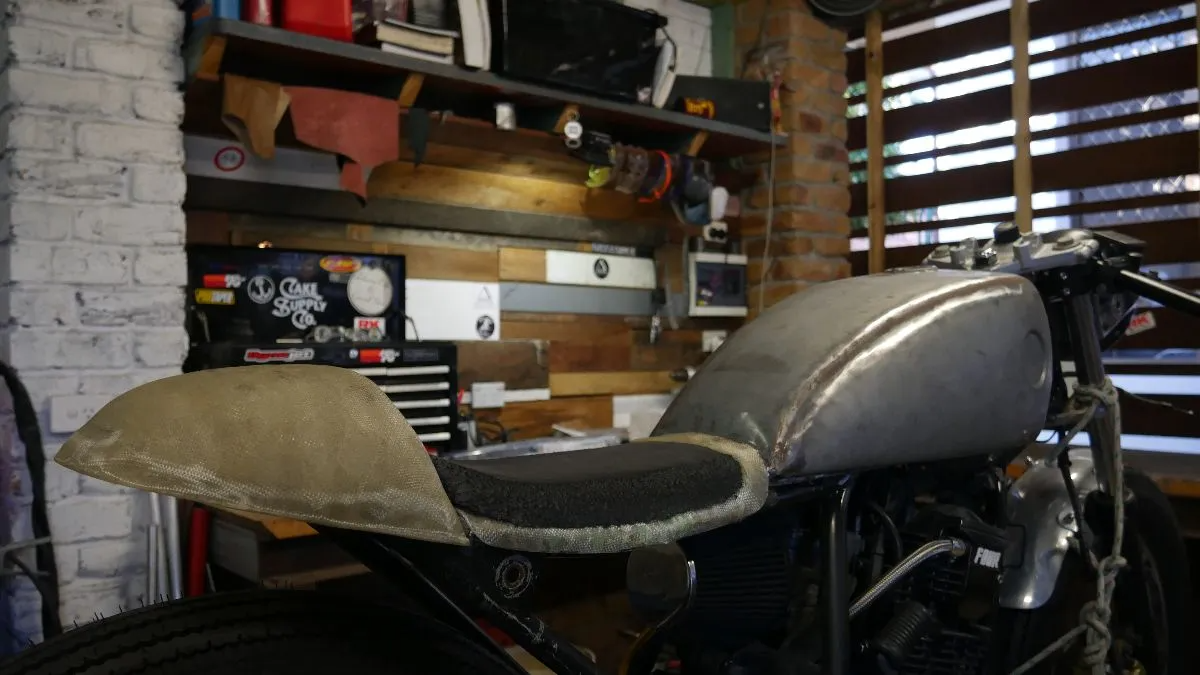
Now that the seat pan is in place, it’s time to add foam padding. Lay the foam over the pan and trace the seat pan’s shape onto it. Use a sharp utility knife or electric carving knife to cut the foam precisely.
To achieve the desired seat profile—especially if you're building a café racer—you'll want to shape the foam carefully. A sanding block or even a power sander can help you round off the edges and sculpt the foam into a sleek, streamlined shape.
Layering for Extra Comfort
For long-distance riding or scrambler builds, layering different types of foam can significantly increase comfort. For example, use a base layer of firm foam for support and add a softer layer or gel insert on top for cushioning.
Upholstering Your Custom Motorcycle Seat
Choosing the Upholstery Material
The material you choose for the upholstery will define the seat’s final look. Popular options include:
- Leather: A classic, durable option that gives the seat a premium, vintage feel. However, leather requires more maintenance to avoid cracking over time.
- Vinyl: More affordable and weather-resistant, vinyl is a practical alternative to leather and comes in various finishes that mimic leather’s texture.
Cutting and Wrapping the Upholstery
Cut the upholstery material to size, making sure to leave extra material around the edges for securing it underneath the seat pan. Start by stretching the material over the foam and use a staple gun or rivets to secure it to the underside of the seat pan. Make sure the material is pulled tight to avoid any wrinkles.
For more complex shapes, such as a café racer cowl, you may need to make small relief cuts in the upholstery to ensure it stretches smoothly over curves.
Finishing the Upholstery
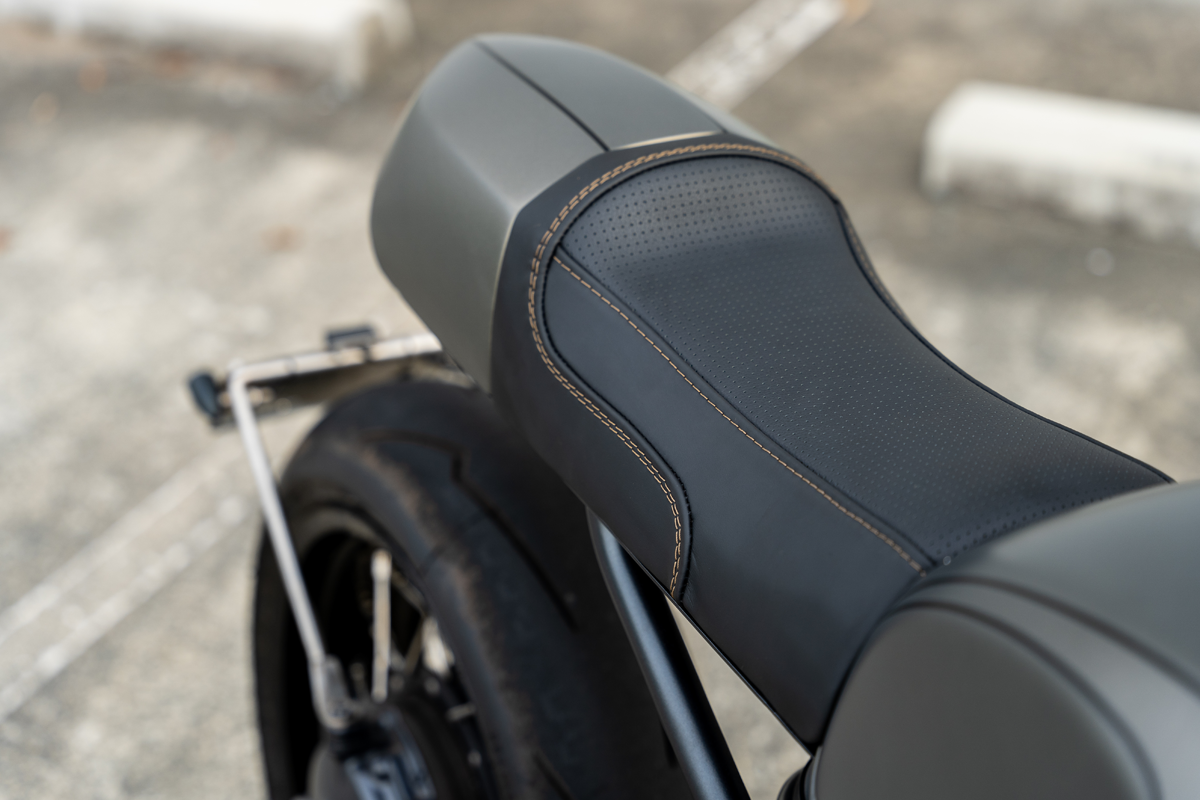
Once the material is secure, trim away the excess and ensure all edges are cleanly finished. You can also add details like piping or contrast stitching for a more refined look.
Just a tip: Have this part done by a professional. We often will build a seat including pan and foam, then have a professional upholsterer finish it for a cleaner look!
Step 6: Mounting Your Custom Motorcycle Seat
Securing the Seat to the Frame
With the seat fully upholstered, it’s time to mount it to your bike. The most common method is bolting the seat pan directly to the frame. Depending on your design, you may also need to fabricate custom brackets to support the seat securely.
Test Ride for Comfort
After mounting, take your bike for a short test ride to ensure the seat is comfortable and properly positioned. Make any necessary adjustments to the padding or mounting if the seat feels off.
Building a custom motorcycle seat allows you to personalise your bike and create a comfortable, functional ride. Whether you’re aiming for a café racer look, a rugged scrambler design, or a vintage bobber vibe, this guide walks you through every step of the process. From selecting the right materials to test-fitting your seat on the bike, you’ll have everything you need to create a seat that fits both your style and riding needs.
WE BUILD BIKES WITH PURPOSE.
Purpose Built Moto is home for unique custom motorcycle builds. We offer a unique motorcycle customizing experience in the heart of the Gold Coast.


