This is our methodical approach to restoring a motorcycle after long term storage that any garage builder could make a fun weekend passion project.
In our years of building and restoring motorcycles we’ve seen our fair share of hidden gems emerge from a lengthy hibernation and set to work on restoring them to something greater than their former glory. If you have pulled a vintage motorcycle out of long-term storage with the aim of restoring it, it can come with a set of challenges that from the outset can look like a pretty insurmountable task. But we’re here to tell you, it’s not. We’ve done it over and over with all kinds of bikes in all kinds of conditions, and the process is pretty much always the same.
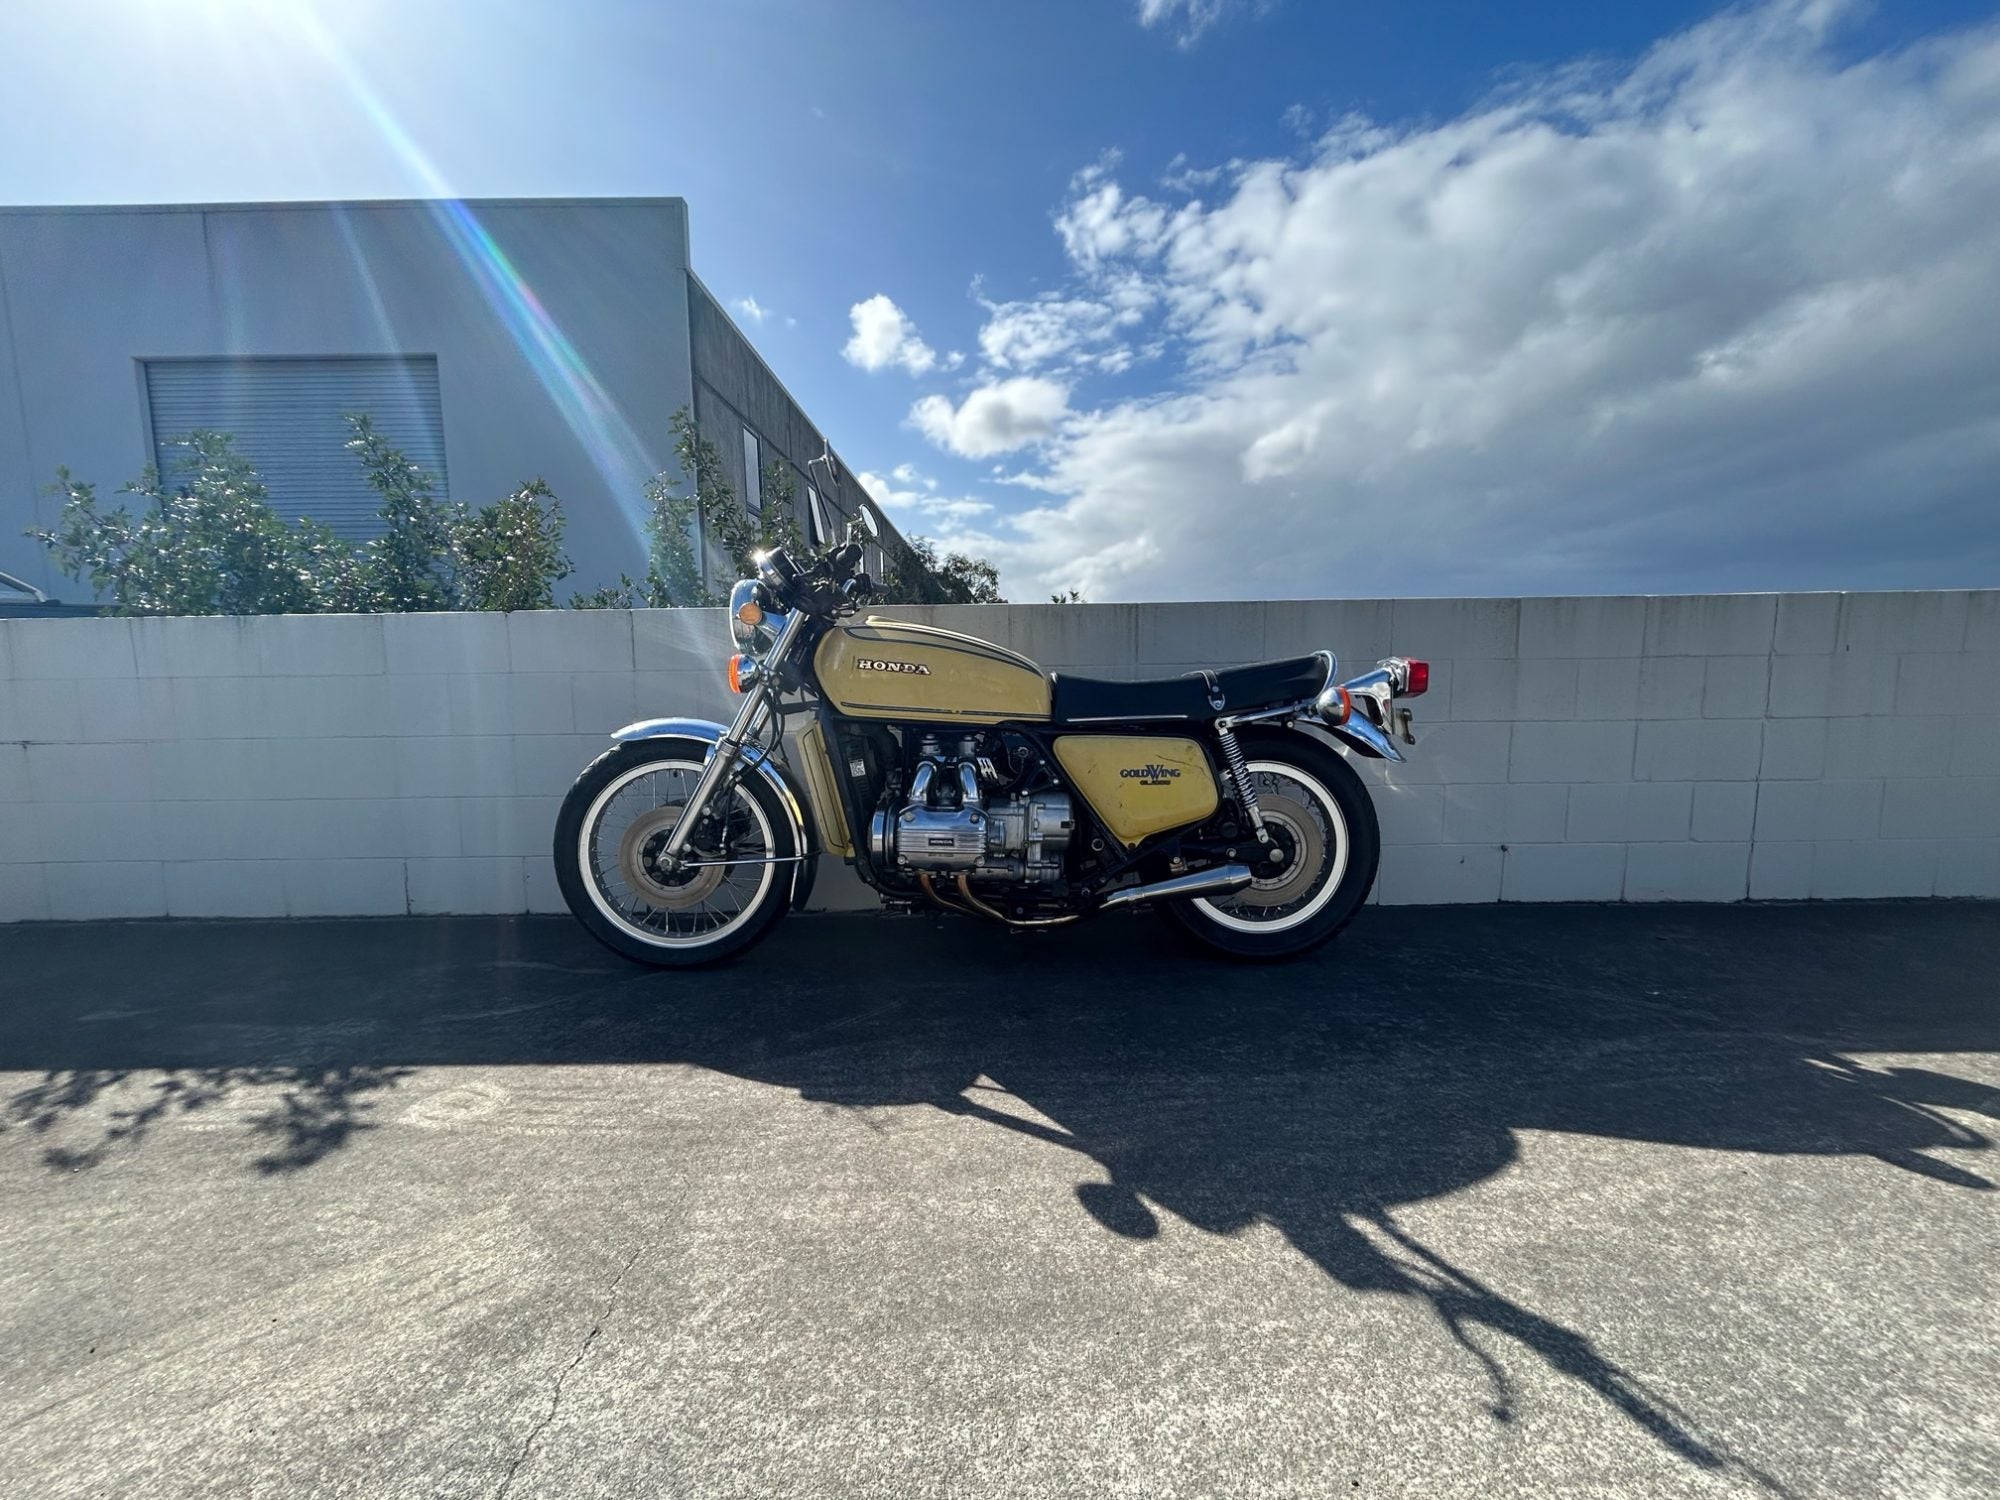
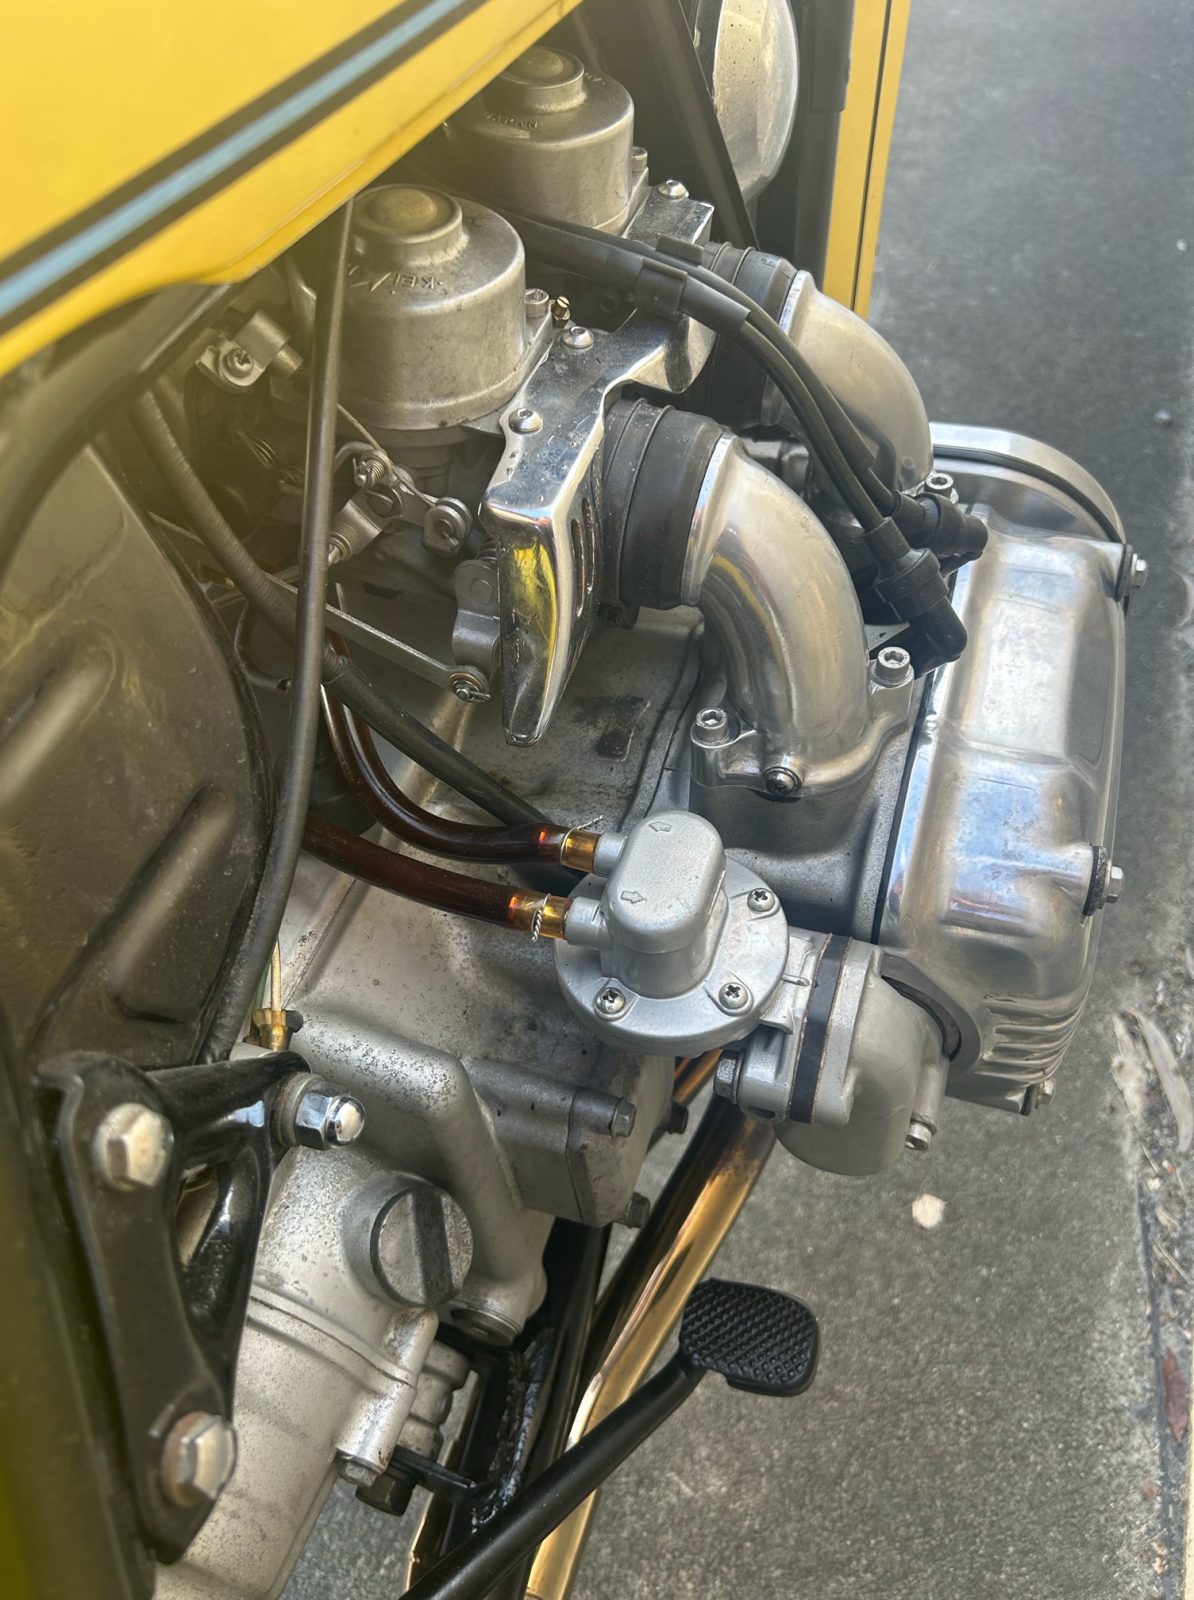
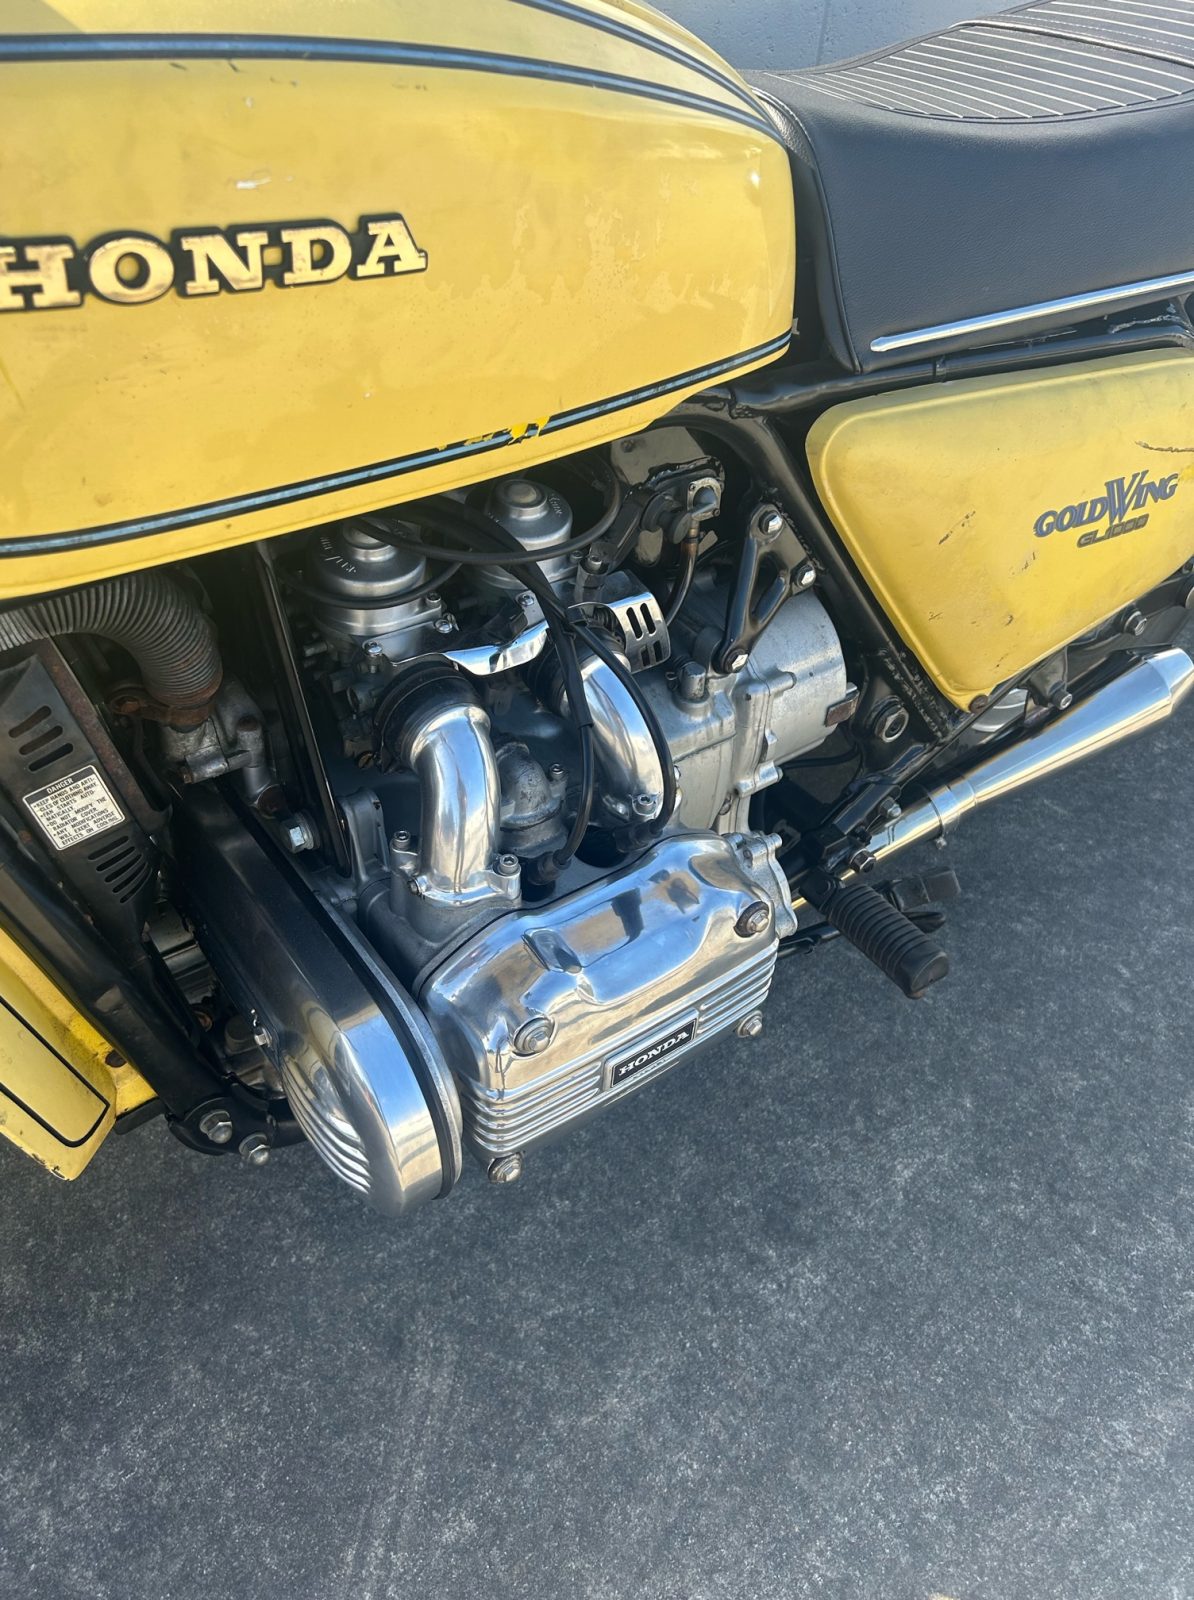
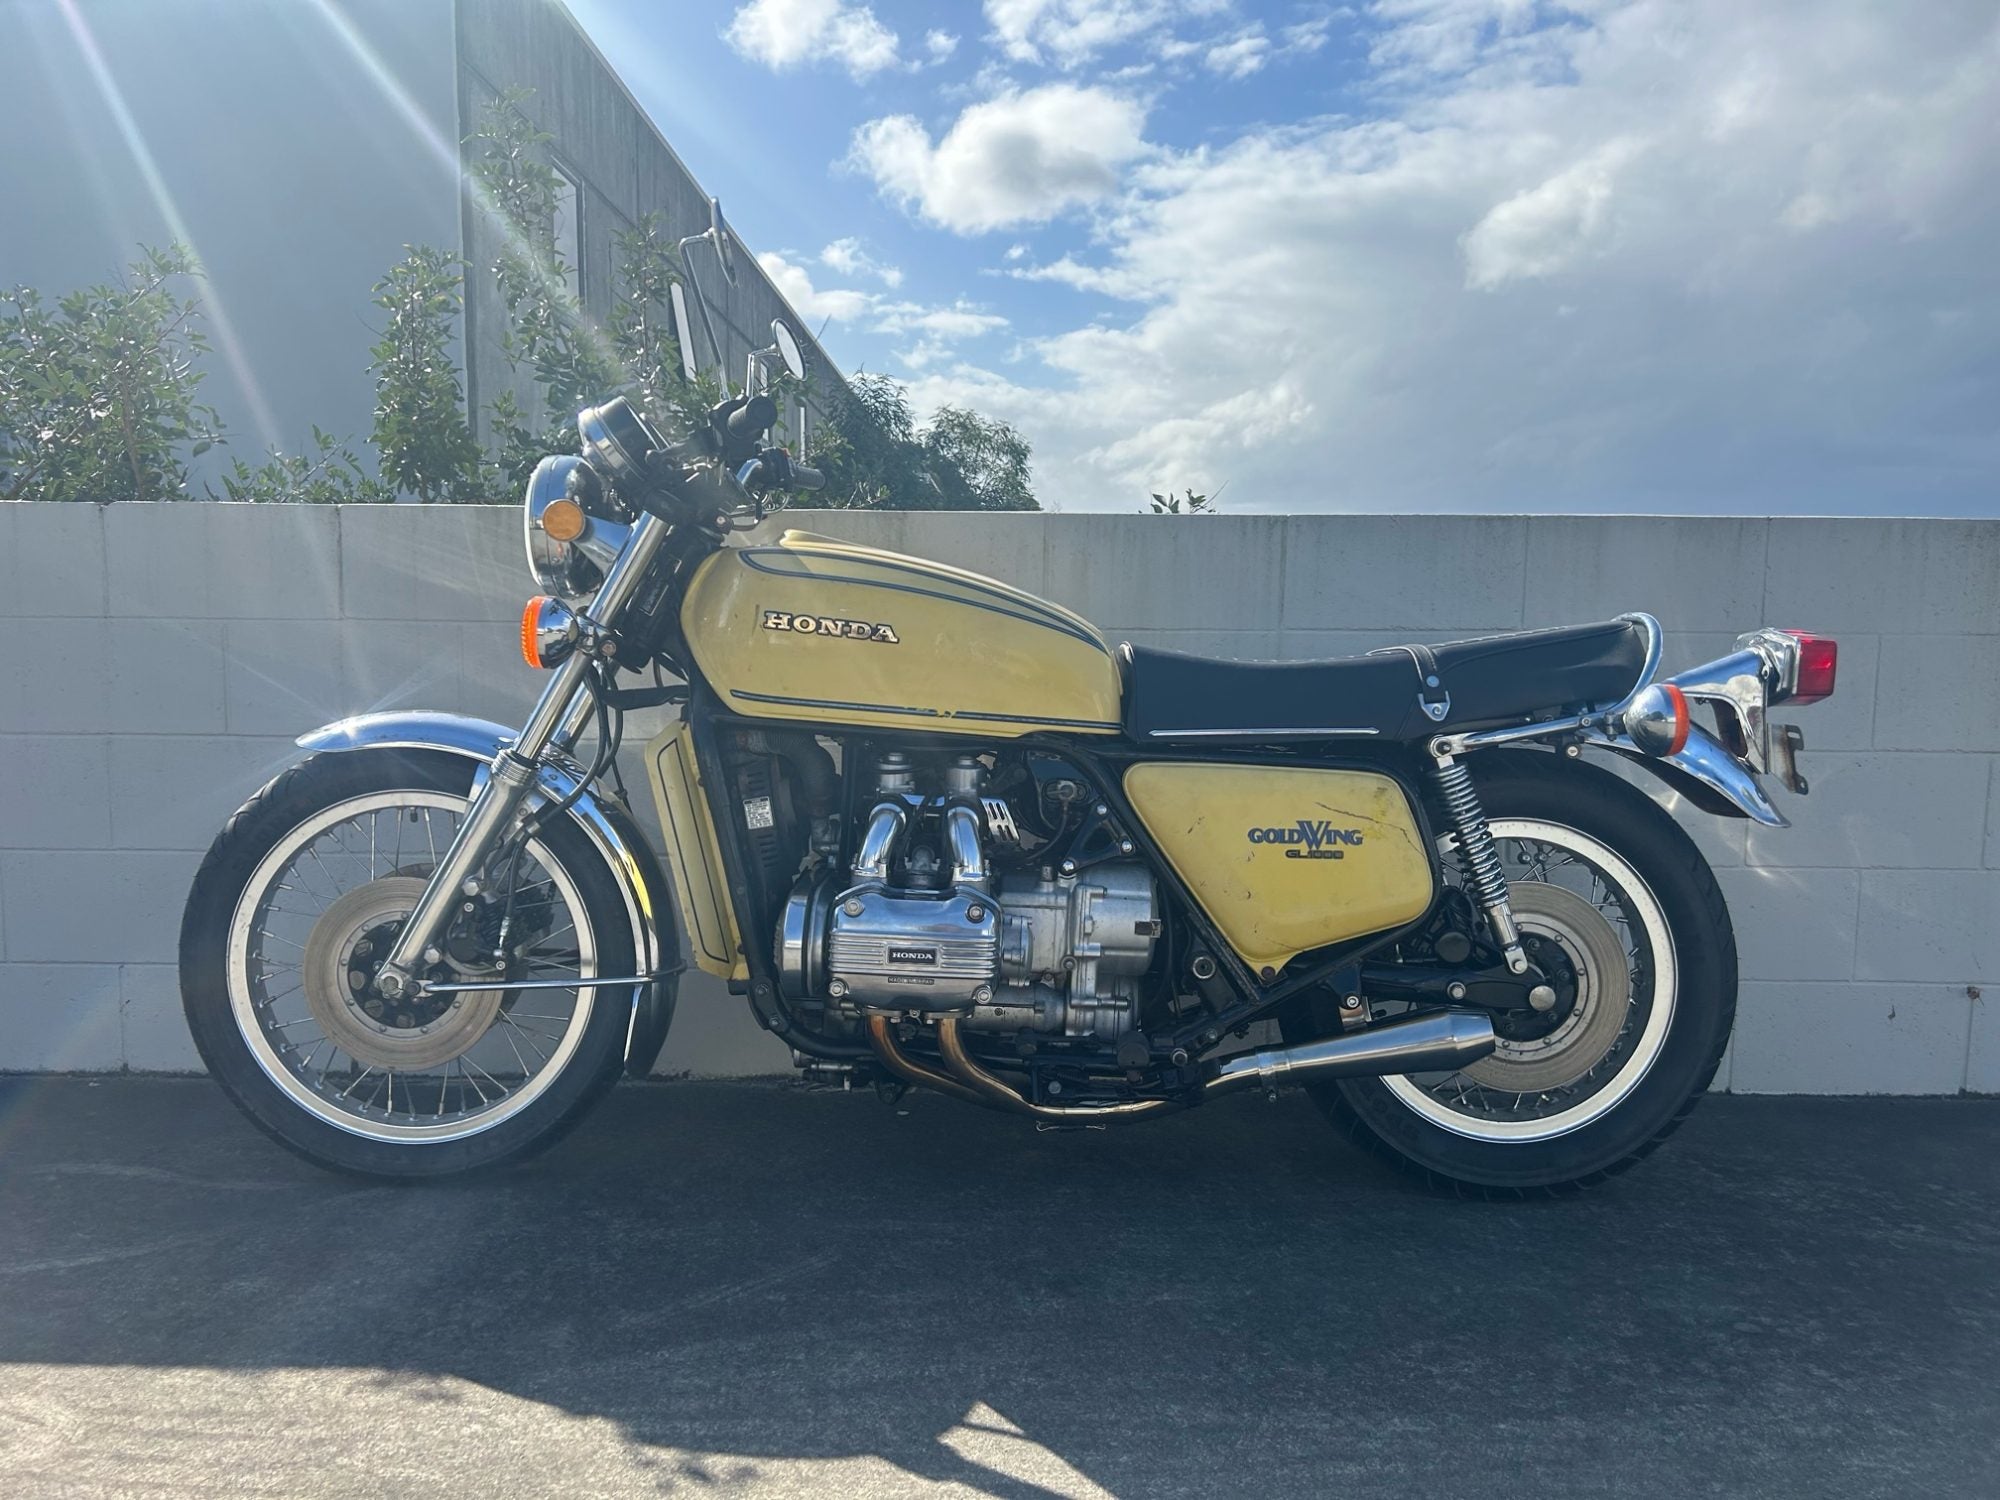
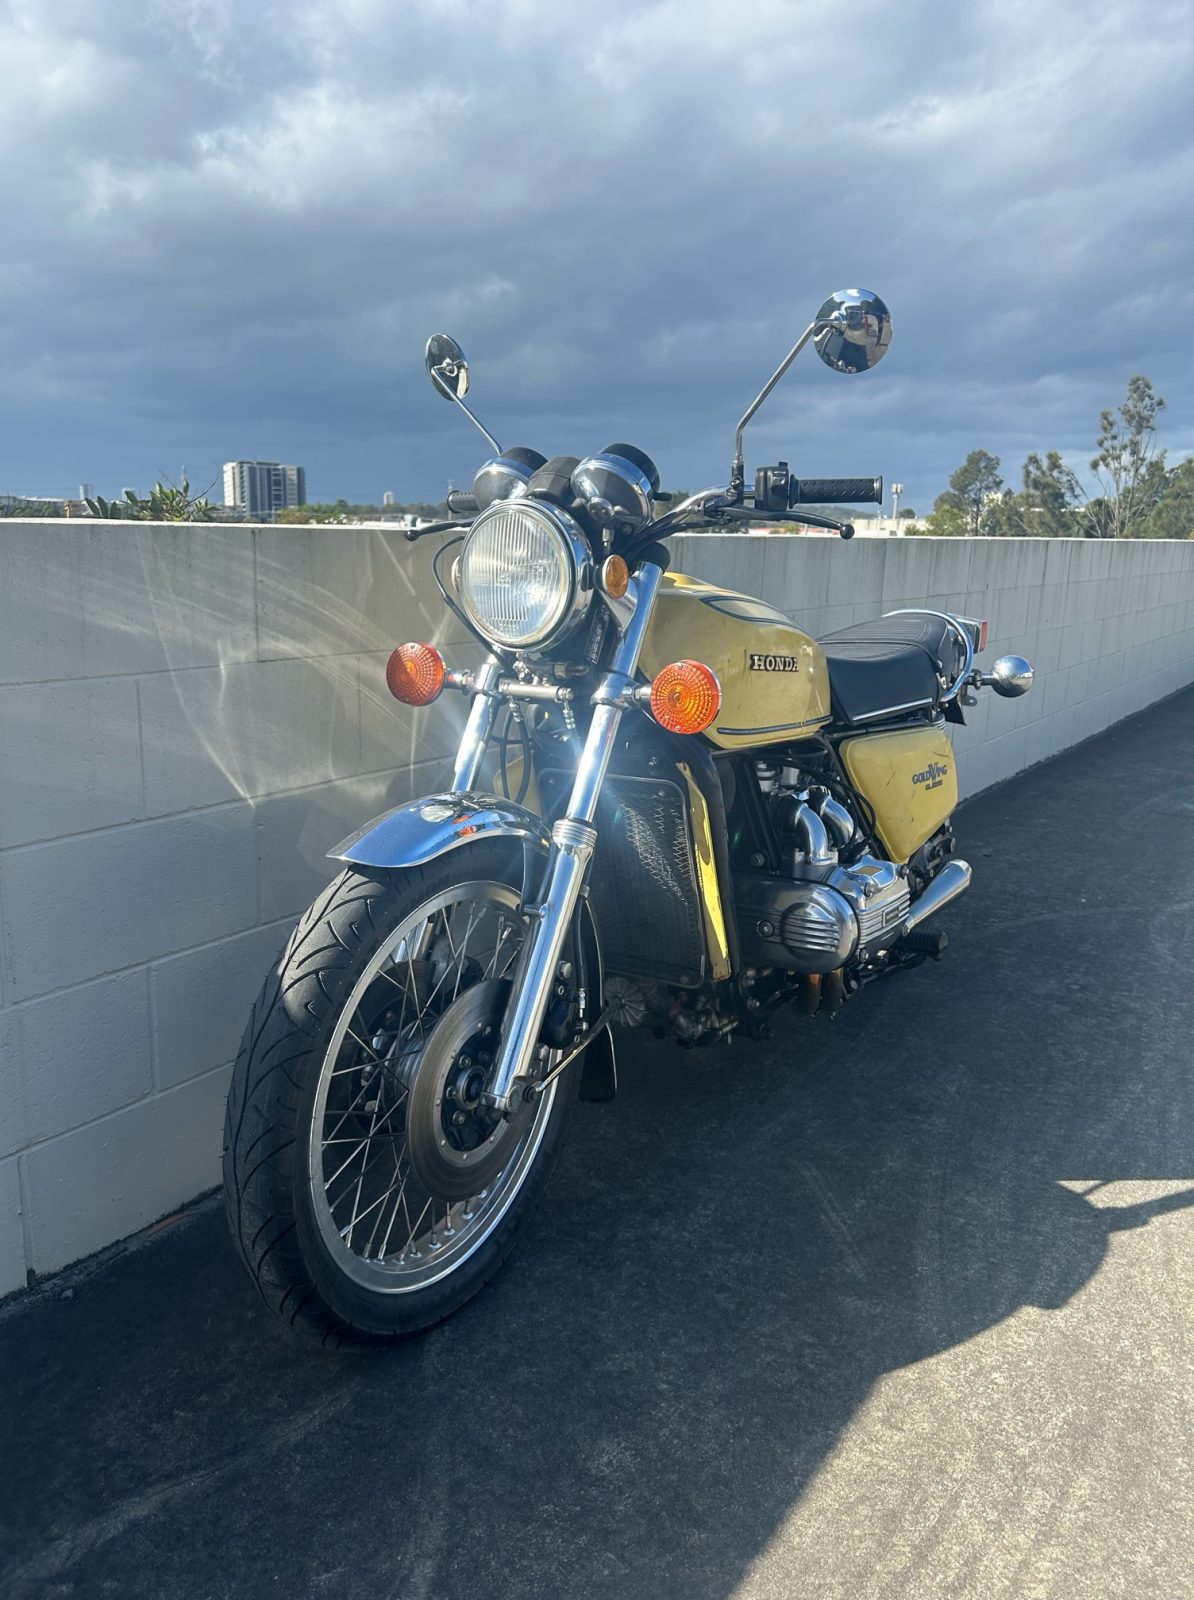
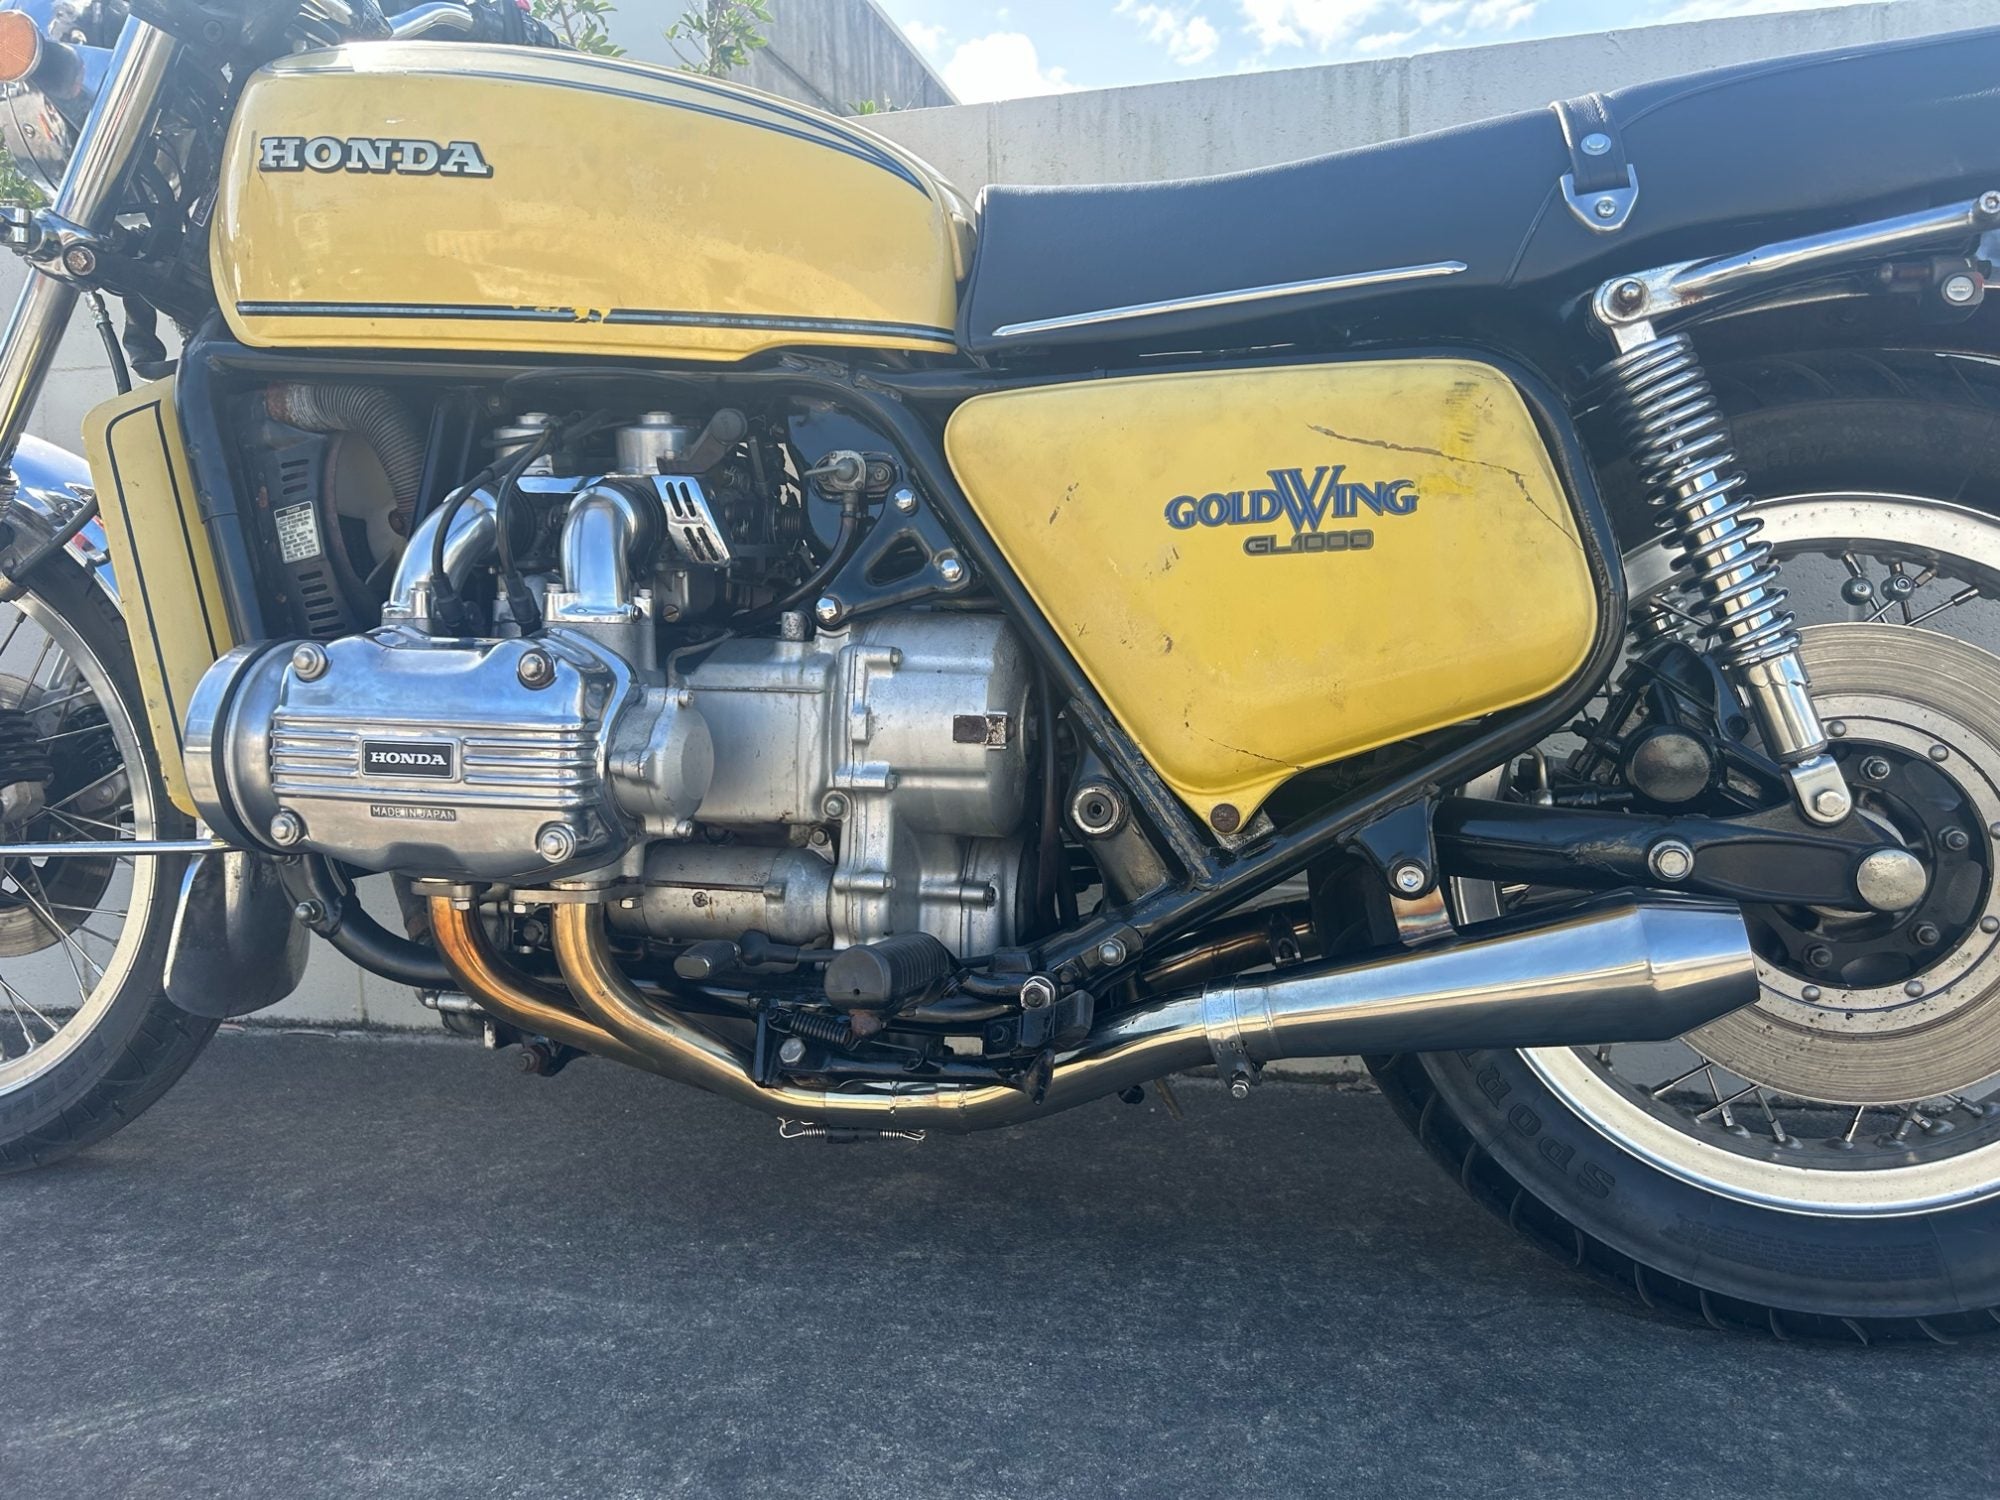
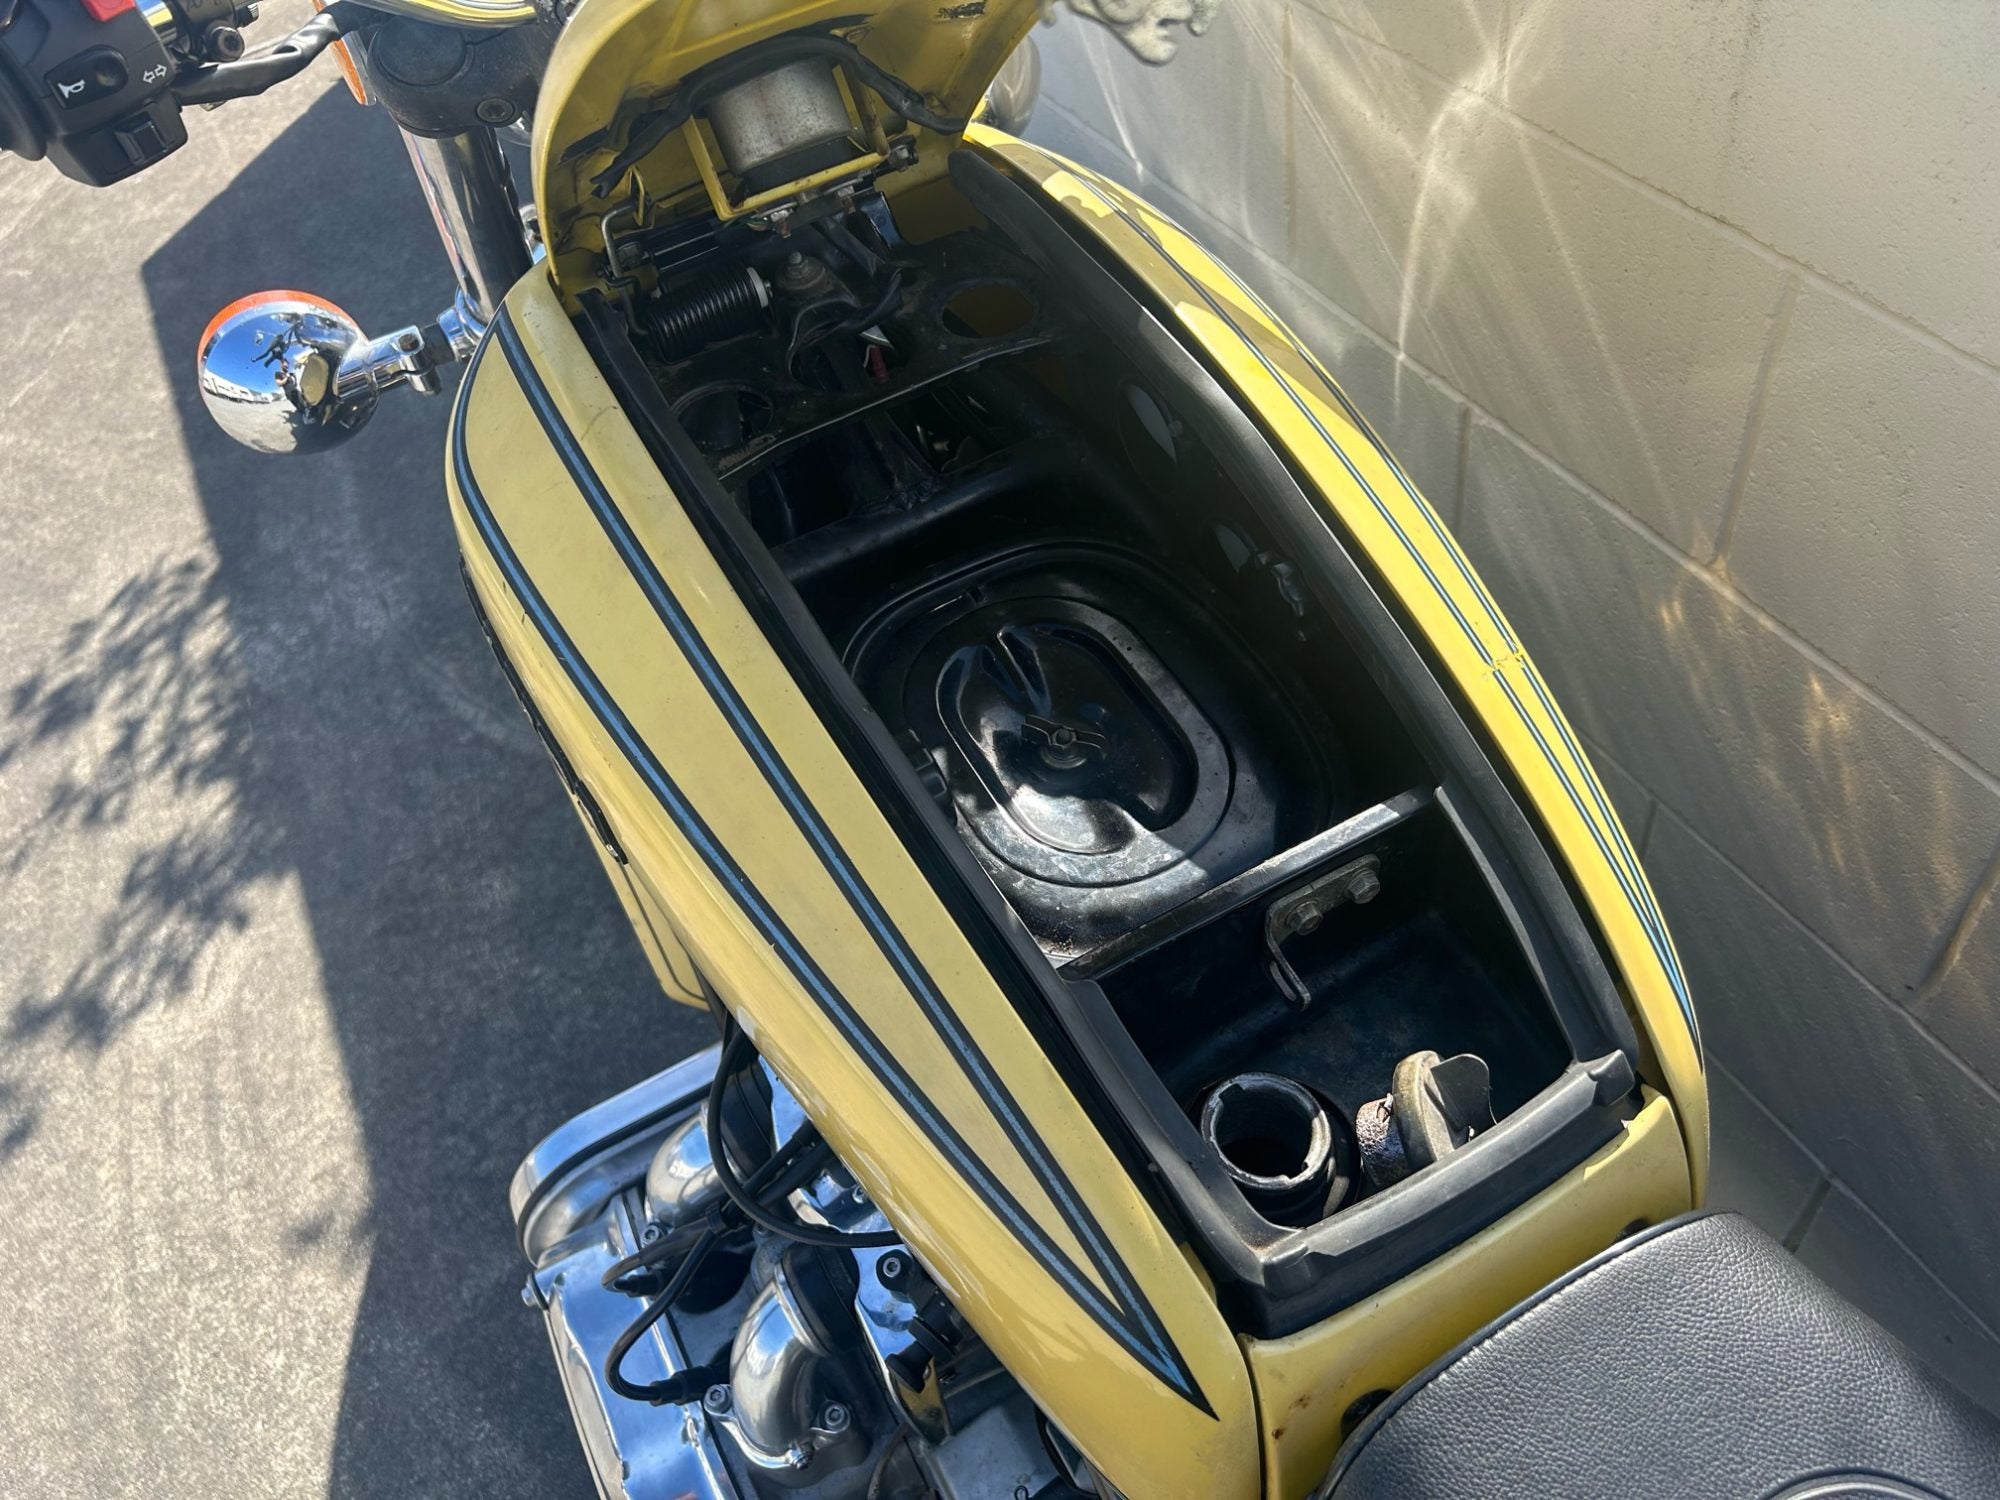
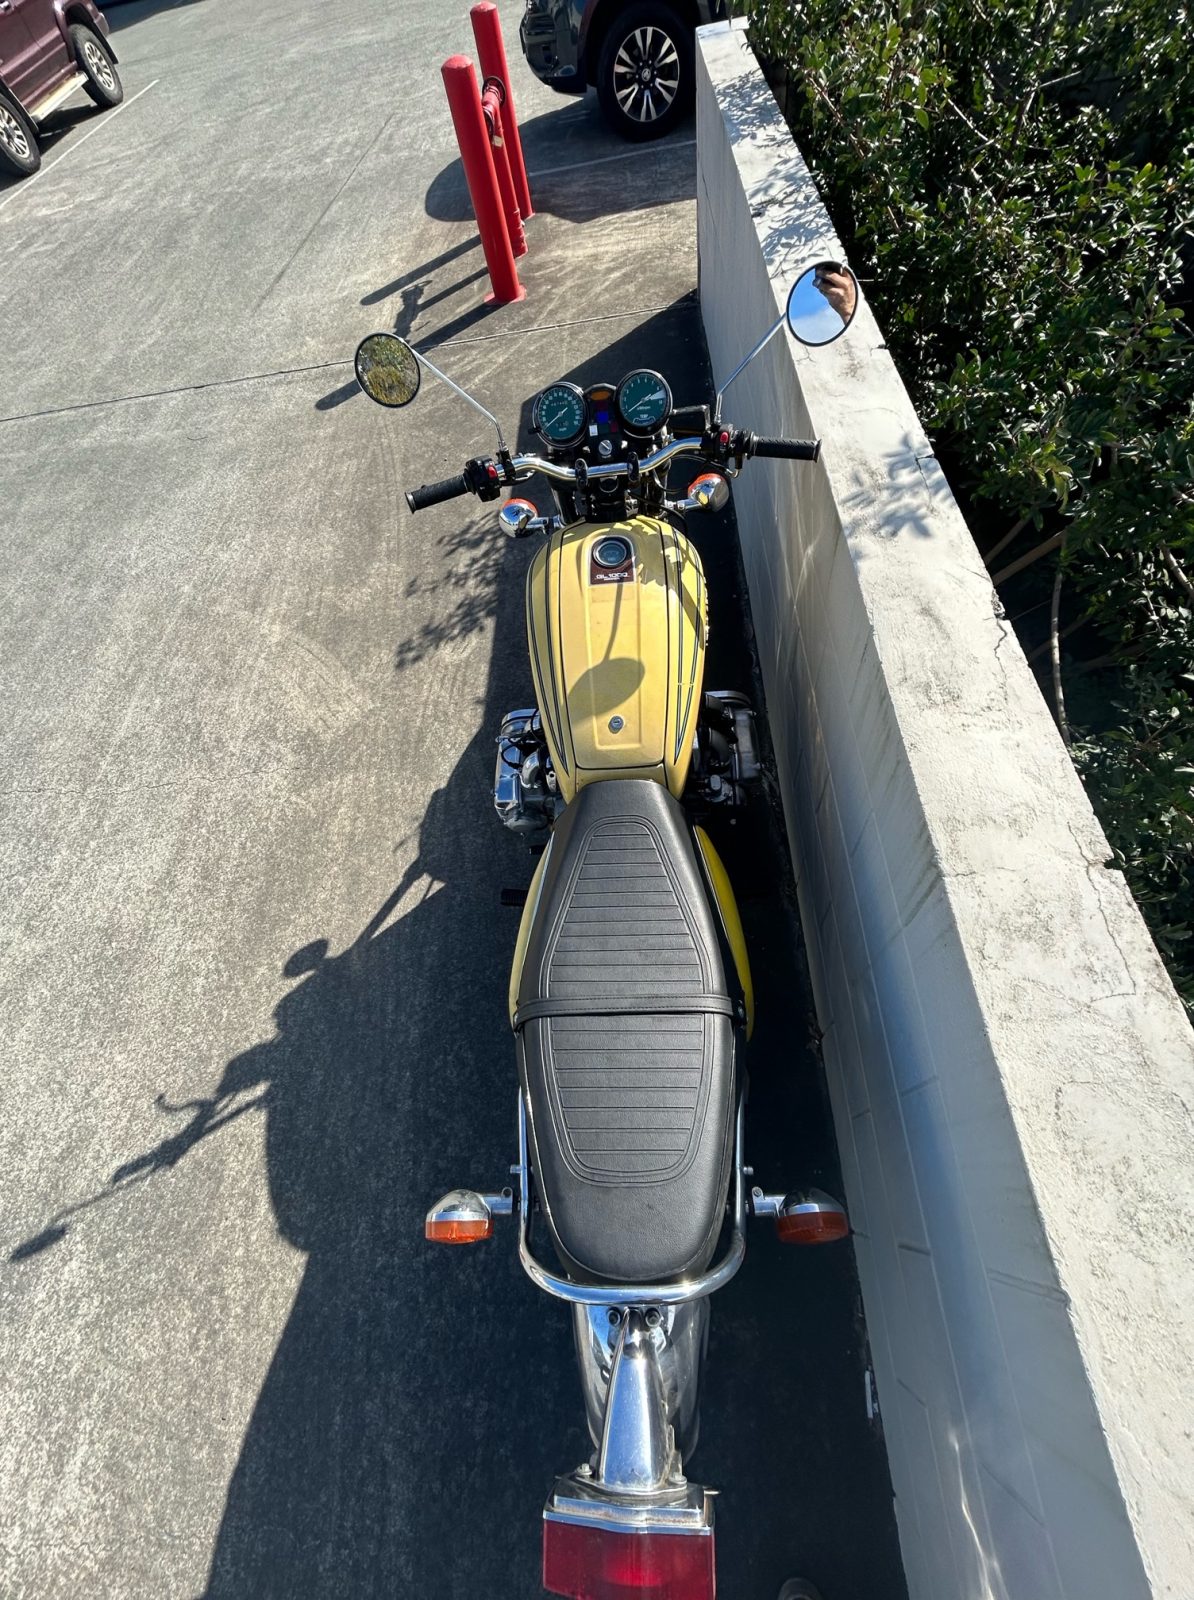
Pictured for the purposes of this article is a 1975 Honda GL1000, this bike was poorly stored and had slowly deteriorated over decades, the owner wanted it mechanically restored, but the paint left untouched. This bike went through a lot of mechanical repair and restoration to be ready for the road. Becoming the catalyst for me to write this article for those of you looking to tackle a job like this at home.
This approach is one that we have developed over almost a decade bike building. Following these steps, in this order will save re-work, and potential heartache (or wallet ache) if you just pull a bike out of storage and try to ride it then something goes wrong.
Here we have made a few assumptions: The bike is in complete condition, and ran when it was stored, meaning, the engine was not seized or in a state of disrepair. We will put a few checks and balances throughout the article to make sure of this, because often “it ran when parked” can be a bit of a myth…
1. Cleaning and Engine Degreasing
The first step is a thorough cleaning. Clearing away layers of dust and grime is essential before anything else. Focusing on the engine area, a detailed degreasing is in order. When we’re doing this in our shop we usually use either Motul E2 Moto Wash or the Quick Dry Parts Cleaner. This initial clean not only reveals the motorcycle’s true condition but also sets the stage for the entire restoration process. Giving a clean surface to work with and makes life easy when finding and fixing potential oil or fluid leaks. This step also limits the risk of having unwanted dirt fall into your engine or fuel system when you start disassembling.
2. Fuel System Resurrection
Years of storage can wreak havoc on the fuel system. Start by examining the fuel tank, fuel lines, and fuel pump. Rust and sediment accumulation are common culprits of corrosion and blockages. To combat this, a meticulous flush and cleaning regiment is required. Removing old, stale fuel is a crucial step, ensuring optimal fuel delivery and engine performance. At the very least you should flush some new fuel through the tank and completely drain it by removing the petcock allowing any debris or sediment to be drained out. On the heavy end of the scale you may need to clean, prep and line a severely rusty tank.
This cleaning process needs to be done methodically starting from the tank, then petcock or fuel pump, fuel lines and filters, and finally Carbys/EFI system. If you clean the carbs and connect them to dirty lines or a rusty tank you’ll fill the bowls right back up with dirty fuel.
3. Carburettor Rejuvenation
Vintage motorcycles are often equipped with carburettors that are prone to clogging and varnishing over time. Disassemble the carburettors, thoroughly clean each component with Motul carburettor cleaner, and closely inspect their condition. This step is best executed with a carb rebuild kit which will include gaskets, o-rings and often new jets and needle/seat. Carburettor cleaning can be a pretty tedious process – we wrote a guide on this process a while back that you should check out once you get to this stage. Click here to have a read.
4. Airbox Inspection and Restoration
The airbox can harbour debris and even unwelcome pests after years of dormancy. Careful inspection and a thorough cleaning are essential here. If the air filter is damaged or clogged, replacing it is a non-negotiable to ensure unobstructed airflow – a fundamental factor in the engine’s function. While the carbs are off, remove the airbox and give it a good clean making sure it’s free from dust and debris, ready for the replacement filter.
5. Brakes: From Seizure to Safety
Dismantle, clean, and rebuild the brakes. Braking components are particularly susceptible to seizing after extended periods of inactivity. A comprehensive brake overhaul is usually a necessity if your bike has been stored for an extended period of time. Being left unused and unmaintained can cause drying out and cracking of the seals, brake fluid to soak in moisture and corrosion of the components, especially your brake hose splitter. Old rubber brake lines can weaken and crack over time too, this can cause a soggy brake feel or in worse cases a split hose when braking pressure is applied. Make sure you hit the brakes with some high quality brake cleaner to get any debris and oil away from the rotors. Addressing these components ensures control and confidence when you hit the road.
6. Electronics Renewal
Replace the battery, a component that invariably succumbs to degradation from extended storage. Thoroughly inspect and clean earthing connections, clean electrical plugs and check the wiring for any visual damage. Take care to look for cracked or damaged plugs and heat damaged connections especially around your charging system and reg/rec.
Motorcycle electronics are one of our oldest specialties and something we have written a lot about over the years. If the electronics on your bike are something that makes you nervous, we have plenty of help to offer. From motorcycle electrics 101, through to rewiring and troubleshooting.
7. Ignition System Assessment
Ignition coils and leads should be tested for potential damage, ensuring the electrical system is primed for the next phase of the restoration. Take care to look for broken spark plug leads and caps or swollen ignition coils. If any of these issues are present, replace the parts. Some coils can have the leads replaced, others are a sealed unit and will require complete replacement of the coil, lead and spark plug cap.
A compromised ignition system can severely hinder the motorcycle’s performance. Identifying damage to your ignition system early on can save you a lot of banging your head against a wall.
8. Spark Plug Analysis
Remove the spark plugs and closely inspect them for signs of fouling. The most concerning thing to find here would be an oil fouled plug which would indicate you may need to look deeper at the head and barrel of the engine. This quick check provides insights into the engine’s condition and fuel ratios. If your plugs are showing a lean or rich condition, note this down for your tuning process later once you get your bike running again. We’d recommend replacing the spark plugs anyway as part of the maintenance. A quick Google search of how to read spark plug colours will come in handy if you’re unfamiliar with the process.
9. Engine Lubrication and Priming
Before you put the spark plugs back in, gently turn the engine over by hand. This prepares the engine for the next stages by making sure all the moving bits do so smoothly. I will usually put a few drops of engine oil into each cylinder barrel, lubricating the dry cylinder. Manually cycle the engine a few times to evenly distribute the oil. If your engine wont turn over easily by hand, your bike needs some deeper repair work. Check out our blog on the signs your engine needs a rebuild or just get in touch with us to rebuild your motor for you!
10. Fluids Revival
It’s recommended you run the bike to heat it up before draining oil, but here we won’t do that, instead draining the oil first and replacing with new oil before your old bike gets its revival run.
Drain the old oil, change the oil filter if there is one, and take this opportunity to clean any sump filters that may be in place. Check through a manual of your specific model for details on this. Thoroughly inspect for any debris that might hint at underlying issues with your bike. If your old oil is really thick, or full of grime you can flush your bottom end with a litre or two of diesel, this thins out any congealed oil. Dump the diesel in, cycle the engine over a few times and drain it out again.
After this initial oil change and getting your bike back running, put a few hundred K’s on the bike then go back for another oil change. This does a few things, first it gets the new hot oil flushing around your engine and clearing any old sentiment. Dropping the oil for the second time can show evidence of wearing parts if you see any metal shavings in the drained fluid.
Finally once you get your bike back running this second oil change is your opportunity to address any oil leaks that arise from bad o-rings or gaskets. Note down where your leaks are, get the replacement gaskets, seals or o-rings and use this second oil change to fix any of these pesky leaks.
You can’t just put any oil in vintage bikes, make sure you do your research on the correct oil for yours and only buy high quality motor oils, we use and recommend Motul oils to keep your engine running smoothly for years.
11. Cooling System Rejuvenation
If applicable, drain the coolant, flush the system, and replace it with fresh coolant. A functional cooling system is crucial to prevent overheating – a factor that can cause irreversible damage to the engine. When your cooling system is drained, open up the coolant pump and any other inspection points on the coolant system to check for corrosion and give them a good clean if you find anything out of order.
13. Timing and Clearances
We’re getting close to fire up, but before we get there we need to check your timing and valve clearances. Remove the necessary covers, and go through checking your valve clearances, cam timing and ignition timing. This might seem a little excessive but there’s always a reason the bike was parked and forgotten about and that reason isn’t usually because the bike was running like a dream. Refer to your workshop manual for your bikes specifics and get this dialed in before you go for that first start.
14. Spark + Ignition Testing
As part of the previous step, if all of that is correct you may need to give your points a bit of a clean and double check the clearances, or just inspect your ignition adjustment if applicable. Once done, cycle the starter with the spark plugs removed, checking for spark generation. This step identifies potential ignition issues before reassembly. Cycling your starter also gives your oil pump a chance to start lubricating the engine.
15. The Grand Finale: Firing It Up
With the spark plugs back in place, the fuel tank filled with fresh fuel, and all components checked and restored, it’s time for the moment of truth. Crank the engine and hear your hard work roar to life, triumphing over years of storage-induced decay.
On its initial run you should check a few things. Loosen any oil line banjo bolts to double check you have oil pressure where it needs to be, set your idles correctly, check for any exhaust leaks and listen for anything that doesn’t sound right. Take time to check your charging system is working by testing your voltage at the battery while you give the engine a rev, you should see the voltage climb as you rev from idle. Have a quick look for any bad oil leaks and let the bike run and rev on the bench for a few minutes. After that you should kill the engine and check your oil levels before taking it for that initial test ride so you can start your tuning.
We won’t deny that undoubtedly there could be (most likely will be) things that pop-up during the restoration that you wouldn’t expect and require a more experienced hand. However, like we said at the outset, the steps we’ve laid out here give you the absolute best chance of getting back on the road with a reliable and well running machine.
With a careful, attentive and methodical approach to restoring your motorcycle after long term storage, it shouldn’t be long before you’re back out on the road again. Trust us when we say that there’s nothing quite like the satisfaction of hearing your old bike roar to life again and hitting the road with something you’ve rebuilt with your own two hands. Purpose Built Moto is committed to guiding enthusiasts through this restoration journey, reviving these hidden treasures, preserving the legacy of vintage motorcycles and pushing the boundaries of what motorcycles can do.
WE BUILD BIKES WITH PURPOSE.
Purpose Built Moto is home for unique custom motorcycle builds. We offer a unique motorcycle customizing experience in the heart of the Gold Coast.


