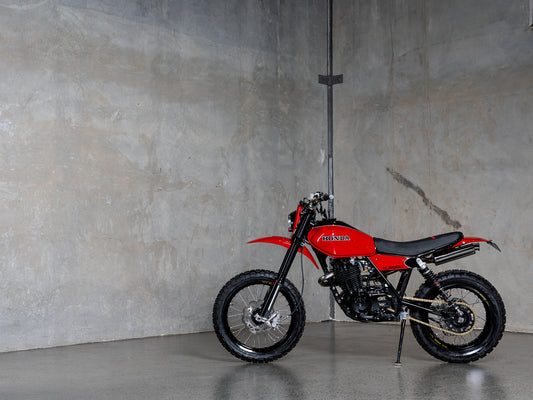
This is the method we use to swap fuel tanks on Café Racers, Scramblers, Bobbers, Choppers and most of our custom motorbikes.
With the rise of popularity in custom motorcycles and a subsequent explosion in cheap aftermarket parts, tank swaps are becoming more and more common. It’s not the easiest of mods to pull off, it does require some careful measuring, a bit of fabrication work and more often than not a little luck too.
You may luck out and find a custom tank specifically made for your model bike, or you could be in the 95% of other people tackling this job and buying something online or from a swap meet and hoping for the best.
This blog will run you through a few mounting types we use, some tips and tricks on how we achieve custom mounts on a lot of our bikes and discuss some things to look out for when it comes to frame types and tank swaps.
Before we dive in, I’ll say that anything is achievable. Of course you can take the shape of a tank you like, completely gut the underside and fabricate new to suit your bike, but if you could do that chances are you wouldn’t be reading this. What I want to shed light on here is for garage builders that may have a bit of welding experience but may not be overly confident on sheet metal welding or are just looking for a simple way to change the look of their project bike.
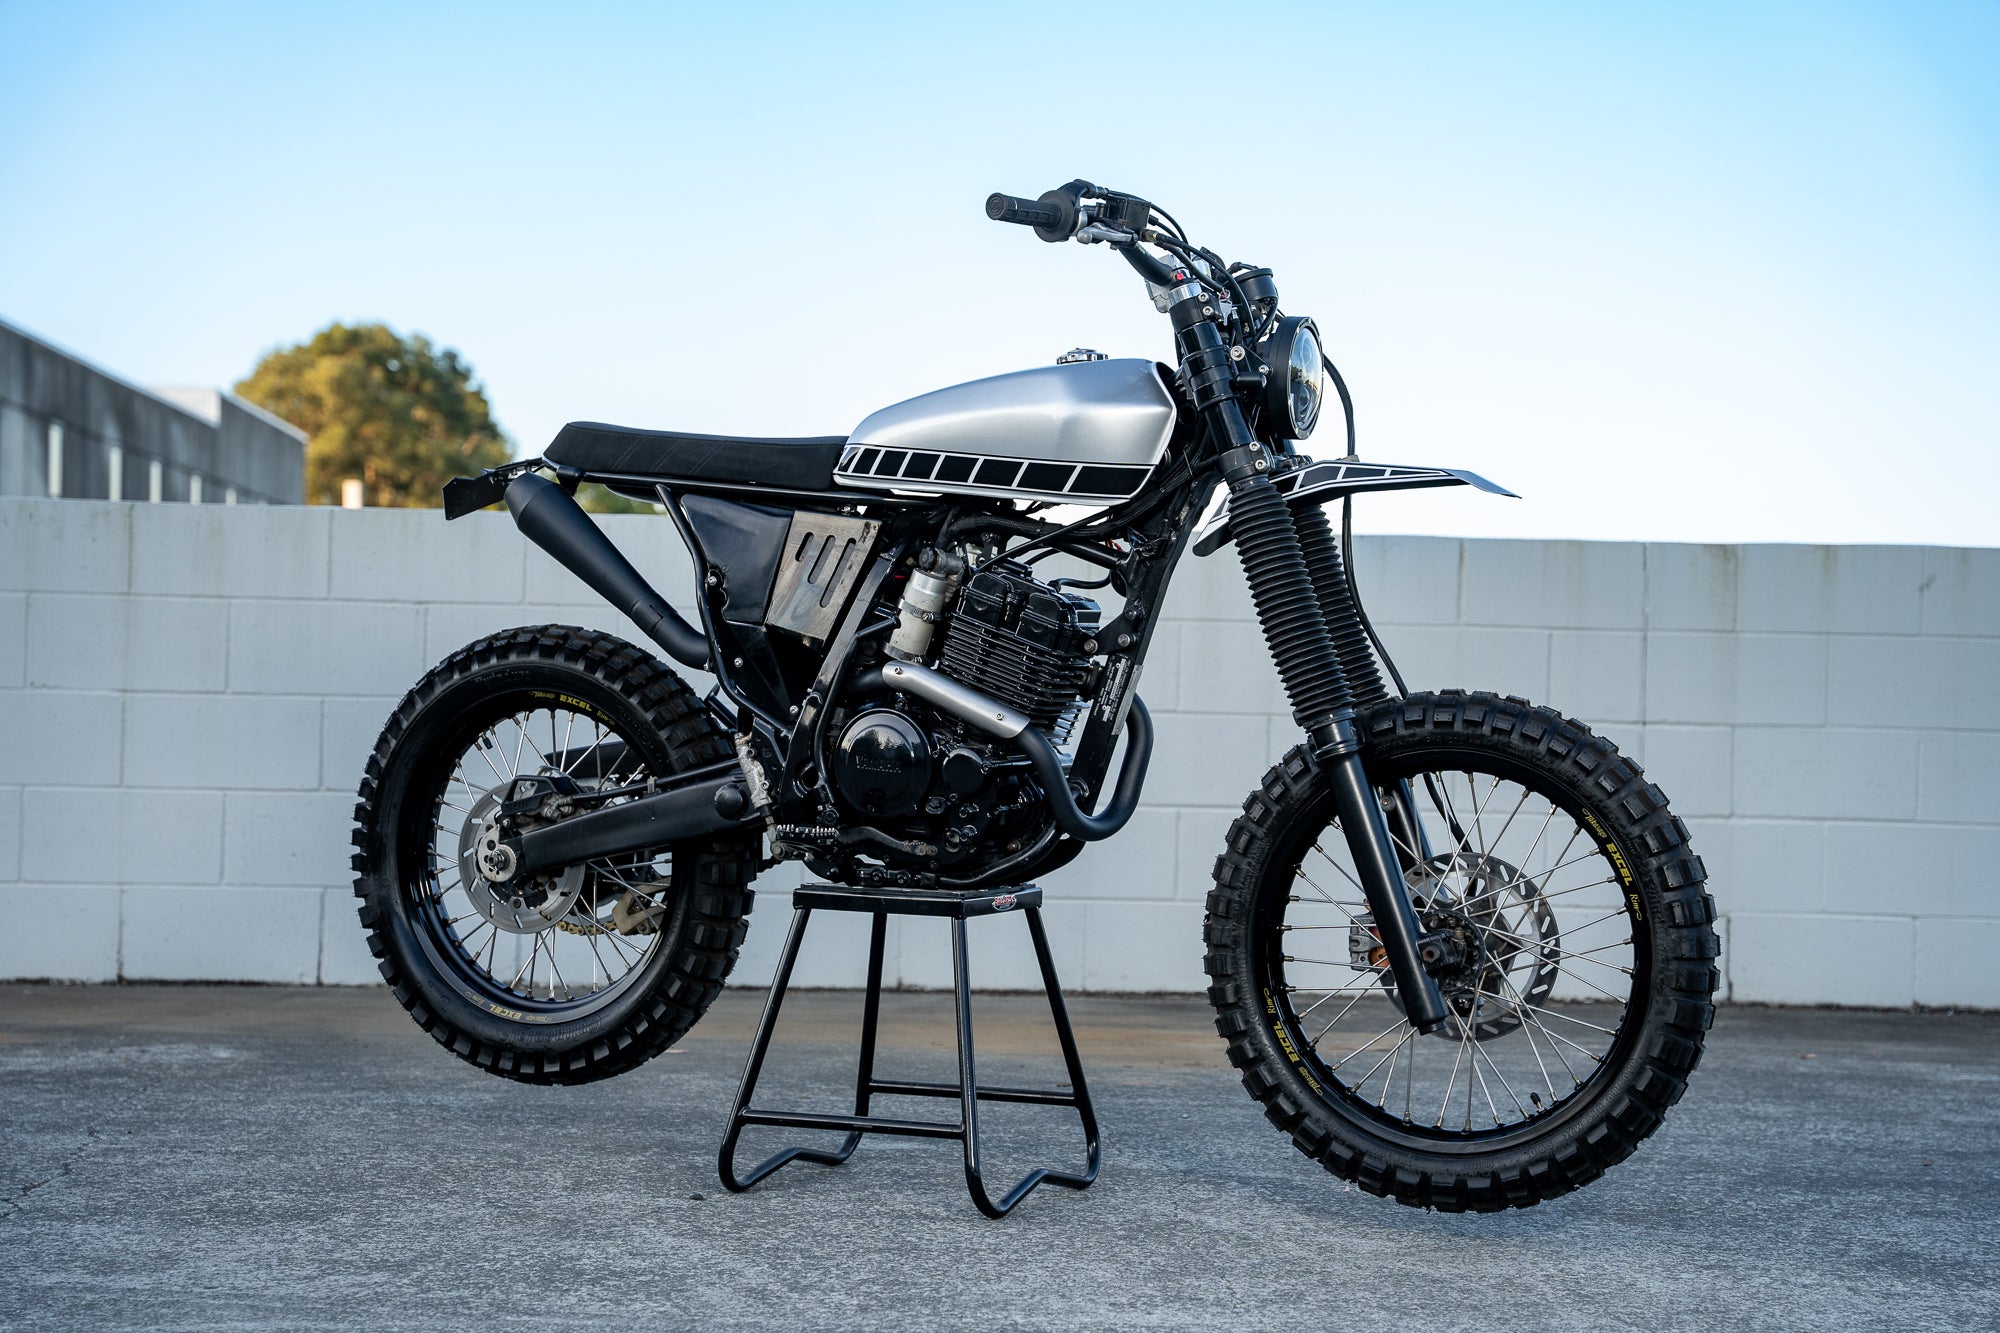
How to mount a custom motorcycle tank
First thing to check will be if your tunnel is the correct size or close to it. Measure the back bone of your frame and the tunnel in your new tank. Or just try fitting the tank up loosely on your frame. If it sits right or close to where you need it right away you’ve got lucky.
If not, some modifications may need to be done. If you pull your old tank off, and you’ve got something more than a dingle-backbone to the frame, the job may be a little more involved. Jump ahead to the different frame type section to learn a little more.
Depending on how close your tank is to fitting will determine what you do next. Is it a matter of heating some sections of sheet metal under the tank and gently tapping to create clearance? Do you need to cut and patch a section of the tank to make it fit, or simply remove some mounting brackets that are touching the tank off of your frame? Or is your tank way off and going to need major surgery to fit up?
All of this can be answered with a quick look while the tank is sitting on the frame to see what’s touching and where. Mark the sections out and take a good look at what else may stop you from getting the tank sitting where you want it before getting to cutting and sheet metal work.
If you do need to go this route make sure you test the tank for leaks before painting. You can do this by way of a bubble test with the tank under pressure or with some cleaning alcohol or fuel. If you see pinholes leaking, clean the tank out and repair, and if you want an extra piece of mind just run a tank liner through it as well.
Now we know your new tank can sit where you want it, most of the time you’ll want to rubber mount your tank. There are some cases where they will be hard mounted but usually on really old bikes or motorcycles that don’t vibrate much at all.
Most tanks will have 3 mounting points, 2 up front inside the tunnel of the tank, and one towards the rear of the tank. The front mounts will be some variation of 2 rubber pucks mounted on the frame or on the inside of the tank and 2 saddles on the other side.
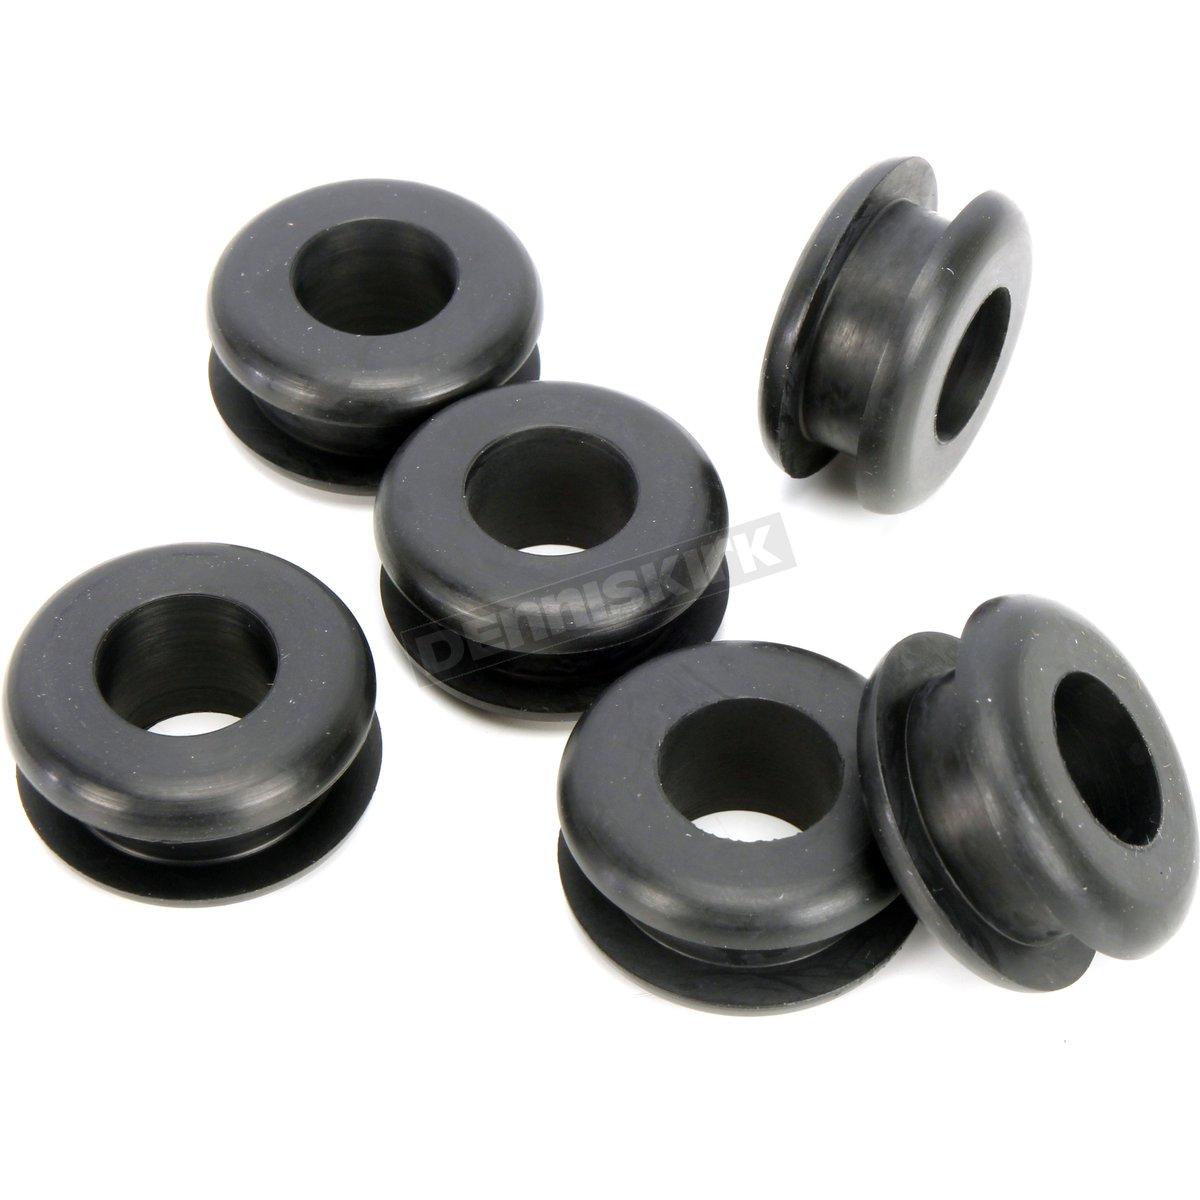
When you buy your tank you’ll need to find what size the rubber pucks are and order a set of them. If you know what bike your tanks come from search for that, if not measure them and go hunting or just make some yourself. Here’s a picture of that I’m talking about:
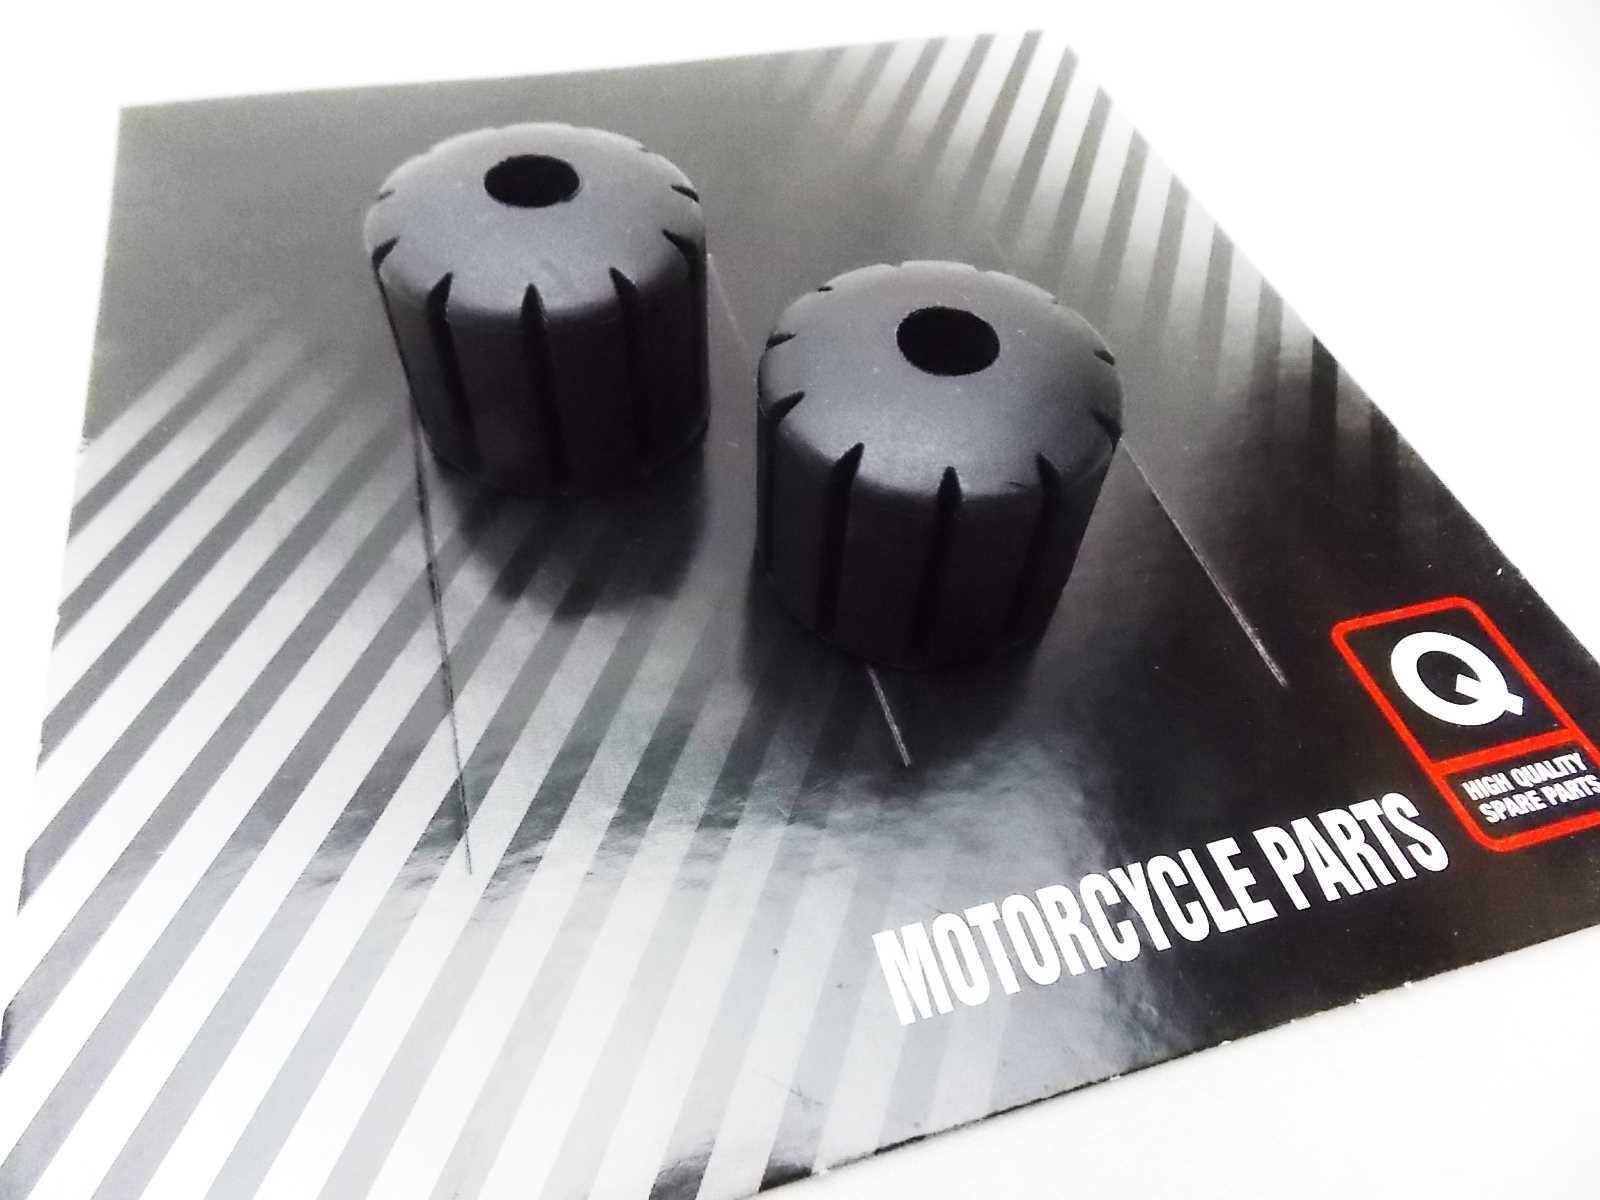
Once you’ve got a set of these, put them onto your existing mounts (if you have them) and see where the tank sits. This will tell you how far you have to move them, does the tank need to go down 30mm on the front and forward 50mm? use your existing mounts as a start point and measure from there.
At this point you’ll need 2 more studs to mount your rubbers on, usually a 10mm rod, or failing that the shaft of a 10mm bolt if you want to get really dodgy. Before welding these on, check the width of your tank and the width of your new mounts to make sure they correspond correctly. If the mounting point has moved the width may be different and the new rubber mount studs could hit the inside of your tank tunnel.
Tack the new studs in place and fit the rubbers and tank on, to make sure it’s all lining up and nothing is fouling before finishing the welding.
Take special notice of your fuel tap location, and new fuel hose route, location of the rear mount and double check that apart from your new mounts no part of the tank is touching the frame directly. If it is, you’ll need to create some clearance.
With the front mounts done, get to fabricating your rear mount. Line up your tank angle and take measurement on the height and where you need it to be. I’d say the most common materials we use for this is a 30mm x 3mm flat bar, shaped to suit with an M8 thread either welded to the back, or fixed with a Rivnut. Your standard rubber rear mount will look something like this and be fixed to the tab on your tank.
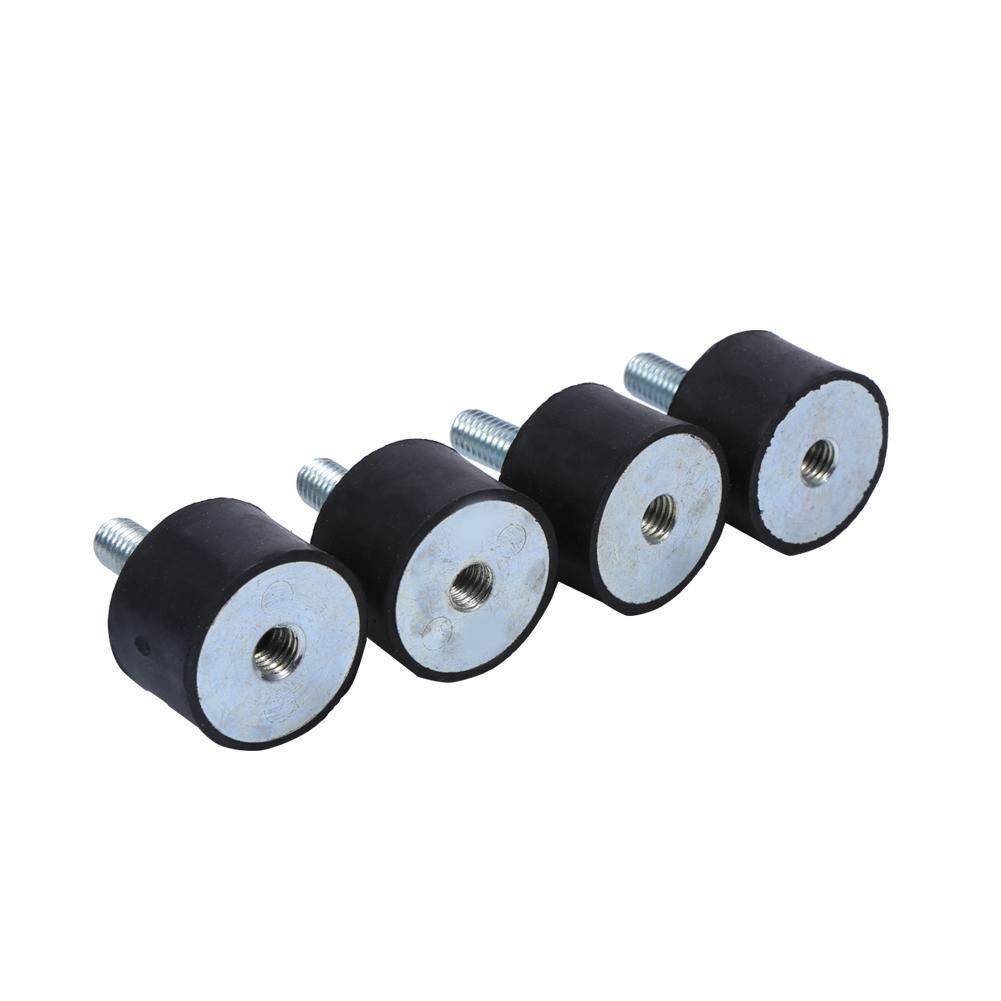
Or you may not have a rear rubber mount in which case I would use an M8 rubber isolator which will do the same job.
With this above method in a few variations you’ll be able to mount 90% of tanks. If you find it too difficult using the above described there are a couple of other ways to get it done which I’ll list below:
- Rubber isolator mounts all round.
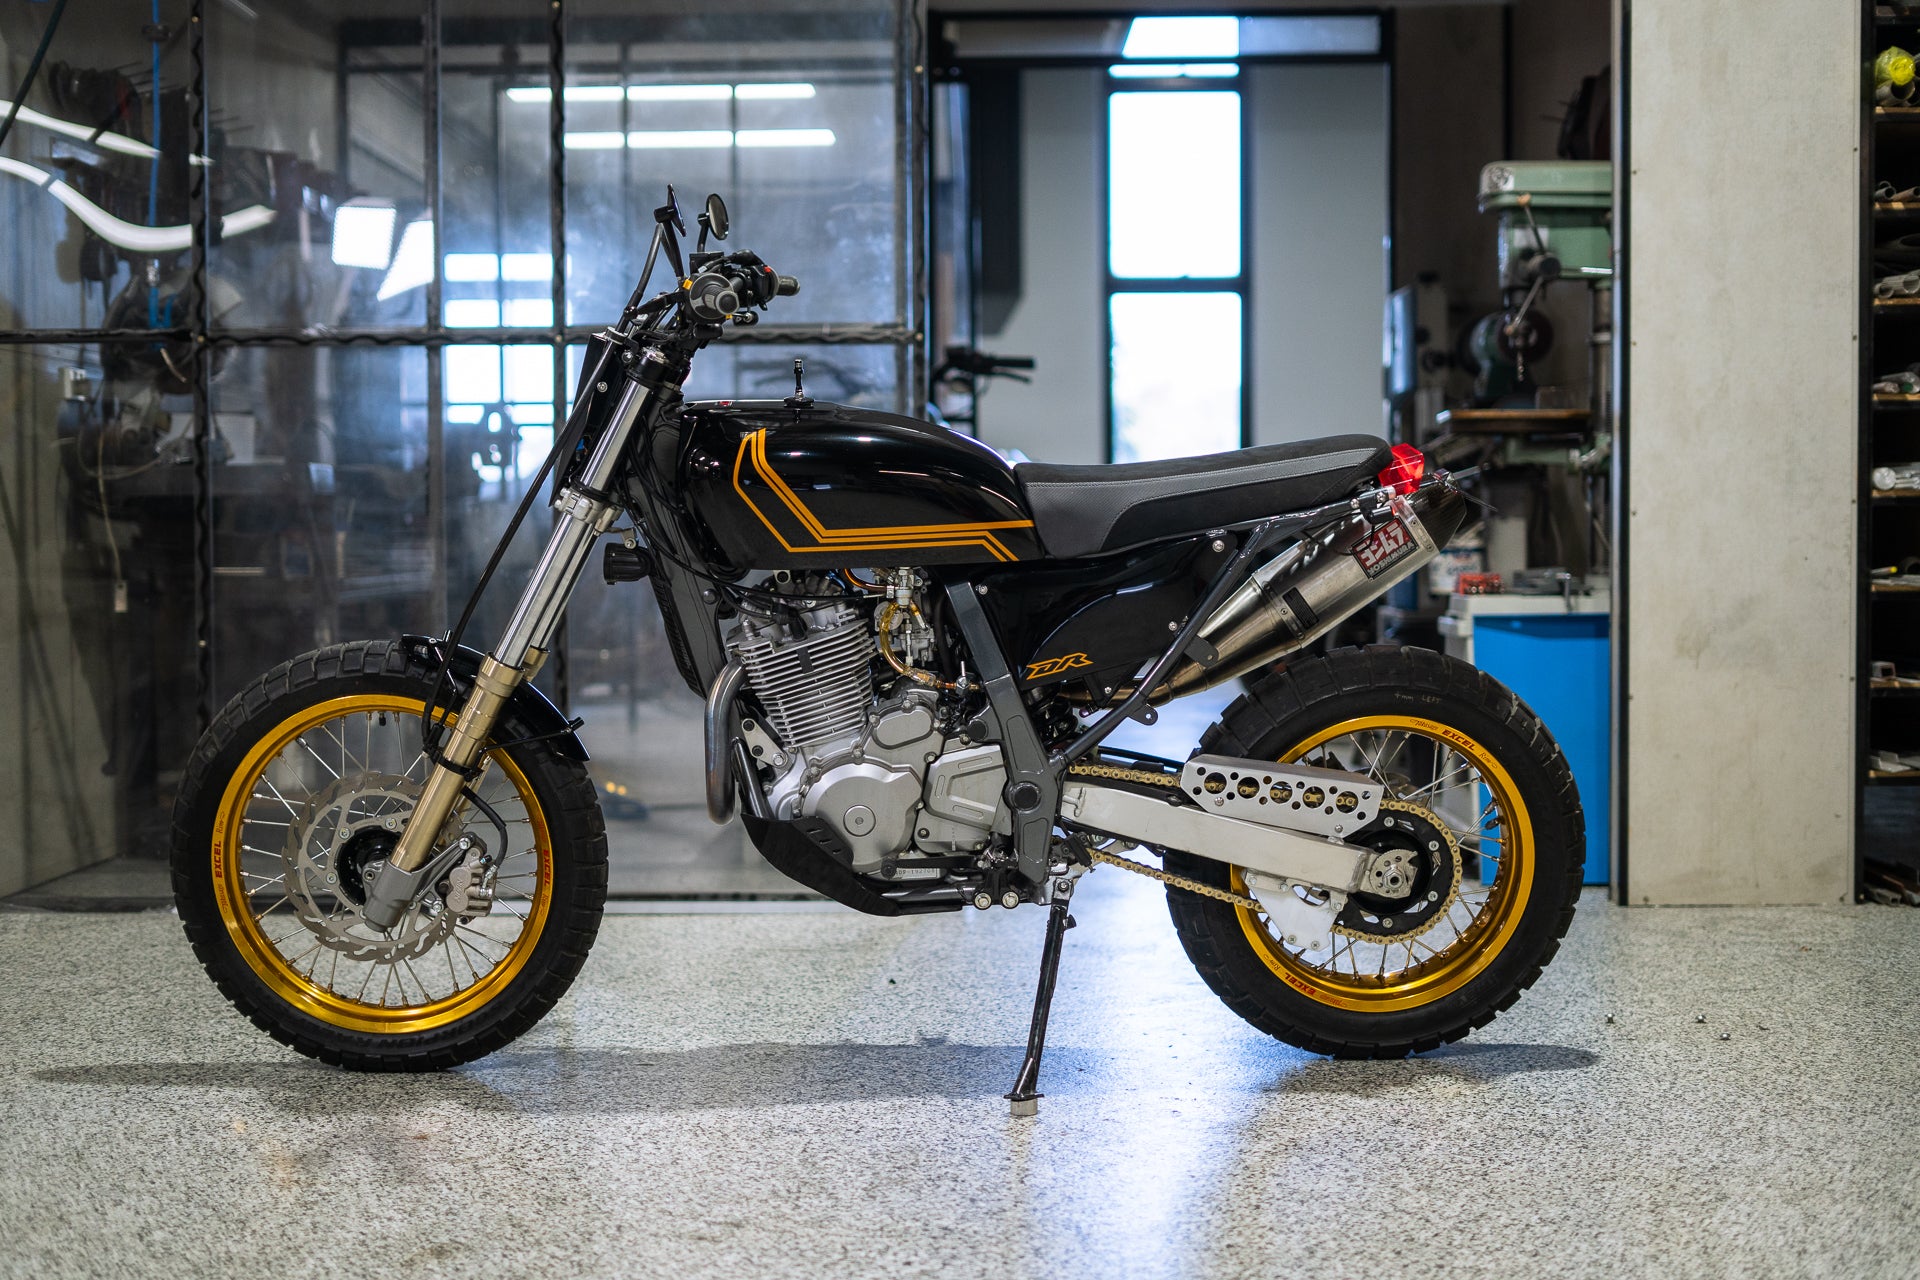
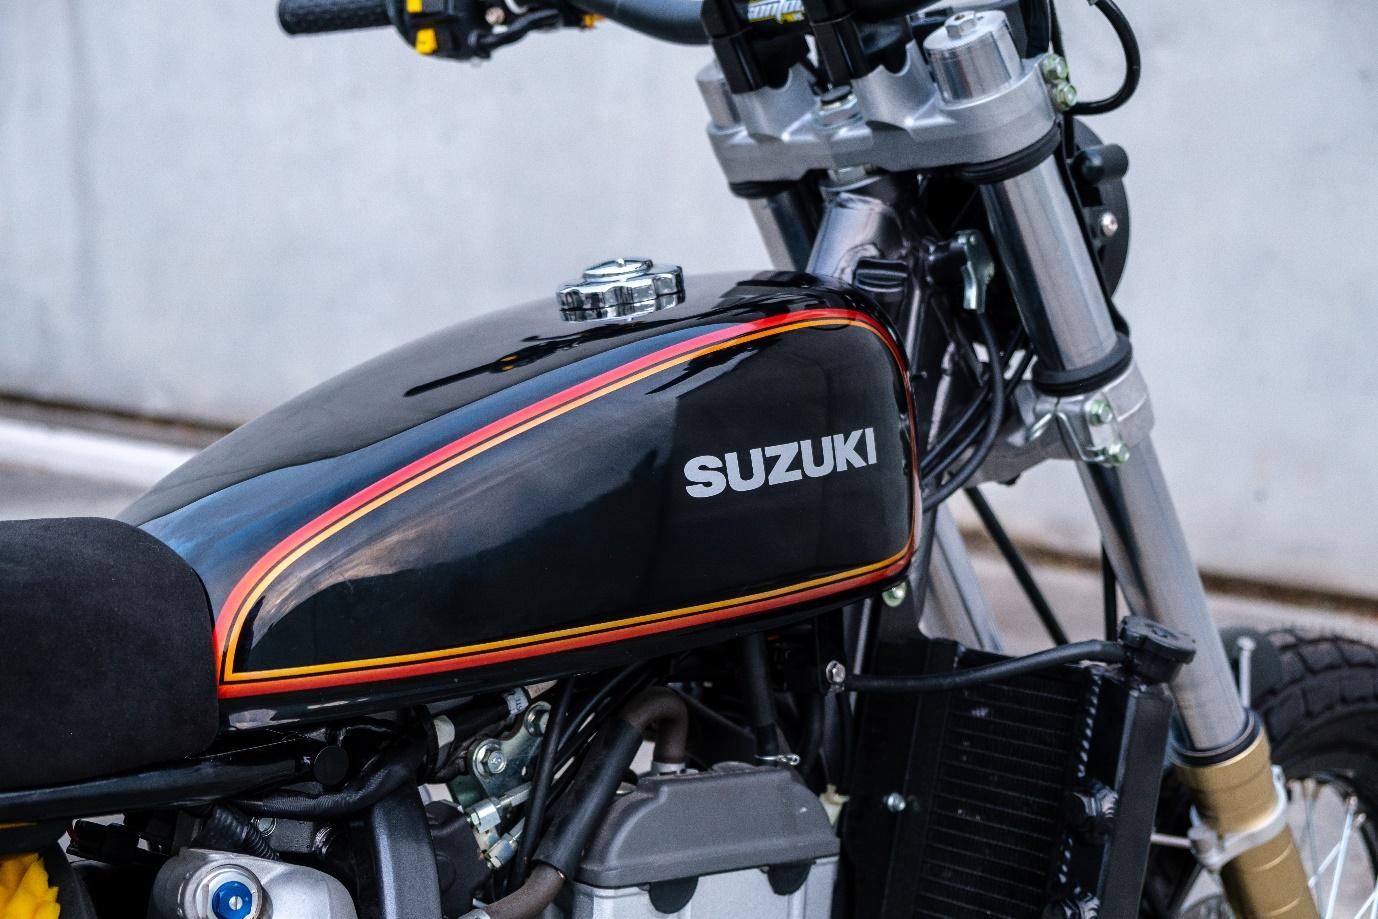
Using the isolator mounts shown above you can weld on a couple more threads nearly anywhere under your tank and make brackets off of your frame. This ones handy if you have no backbone under your tanks tunnel, like on our DRZ400 scrambler build. We’ve used isolator mounts on the sides of the tank and made brackets off of the radiator mounts to get the job done.
2. Flat bar, clamp mounts.
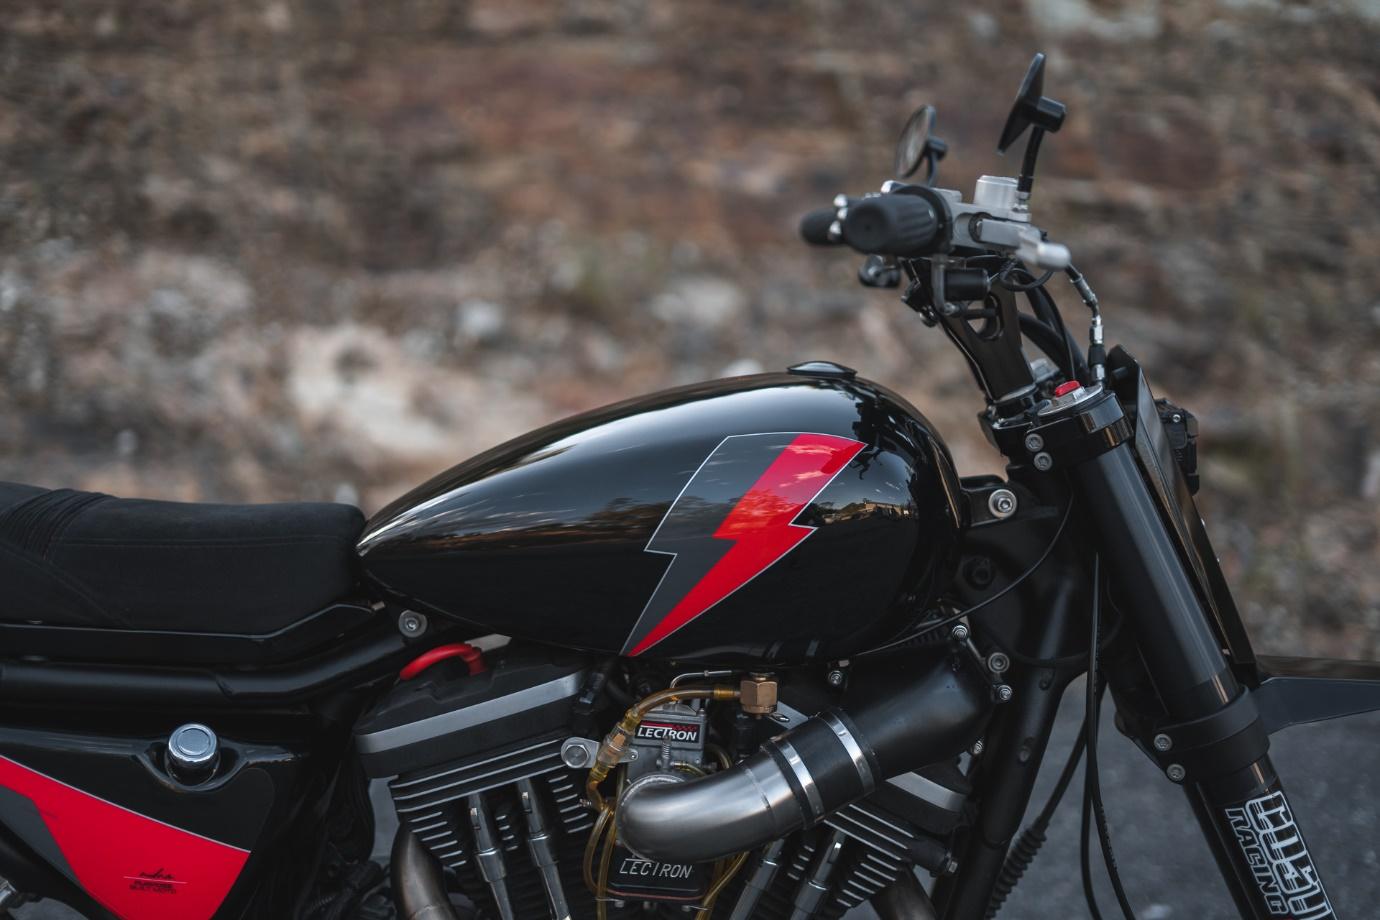
These are used on a lot of older Harley tanks where the mounts pass all the way through the frame to mount the tank. As seen on our HD sportster scrambler we’ve used the standard rear mount, and fabricated a new front mount section. This essentially hard mounts your tank with a bit of isolation through some rubber washers.
Different Frame Types:
There’s a few frame types I’ve come across that can be a little more difficult to find tank swap options for. There are options for each of these but you just need to search for them, or similar frame types to get the right fit, or close to it.
Japanese four cylinder frames:
No Idea what this frame type is actually called, but I’ve seen them on a lot of bikes. Honda CB750’s and 900’s, Kawasaki fours, the Suzuki GS model range and more. With a larger central back bone and 2 other rails that run down the side making a sort of triangle shape under your tank a lot of universal tanks won’t sit right on these frames without serious modification. Shown here is a Honda 750 K2 frame
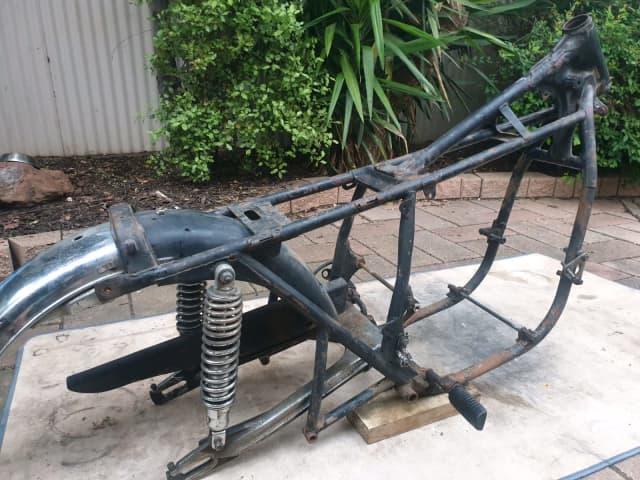
Your best bet is to search for other similar era model bikes like I’ve mentioned above for tank swap options. One that comes to mind that we’ve done was a CB750 F2 tank onto a Suzuki GS650 café racer.
Feather Bed frames:
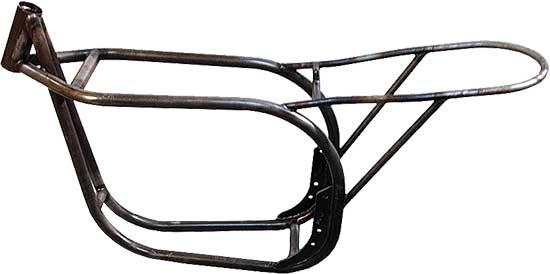
An old British style of frame used a lot in early road racing with no central back bone, just 2 large tube loops on either side of the head stem. There are a number of aftermarket aluminium tanks available for this style frame as they’re popular with the race restoration crowd. They’re often a lot more expensive to purchase off the bat, but generally you can count on them fitting well.
Shown below is a featherbed frame example
Pressed Metal frame
The one that stands out for me in this sub category is the XV750 frame. It’s ugly as sin and can be difficult to find tanks to fit outside that family. These frames often will be a lot wider across the backbone and can be square in shape which presents its own issues.
While cutting out the underside of the tank and making a new tunnel can be done it doesn’t make for an easy job if you’re a novice builder just having a go.
Twin spar or Trellis frame
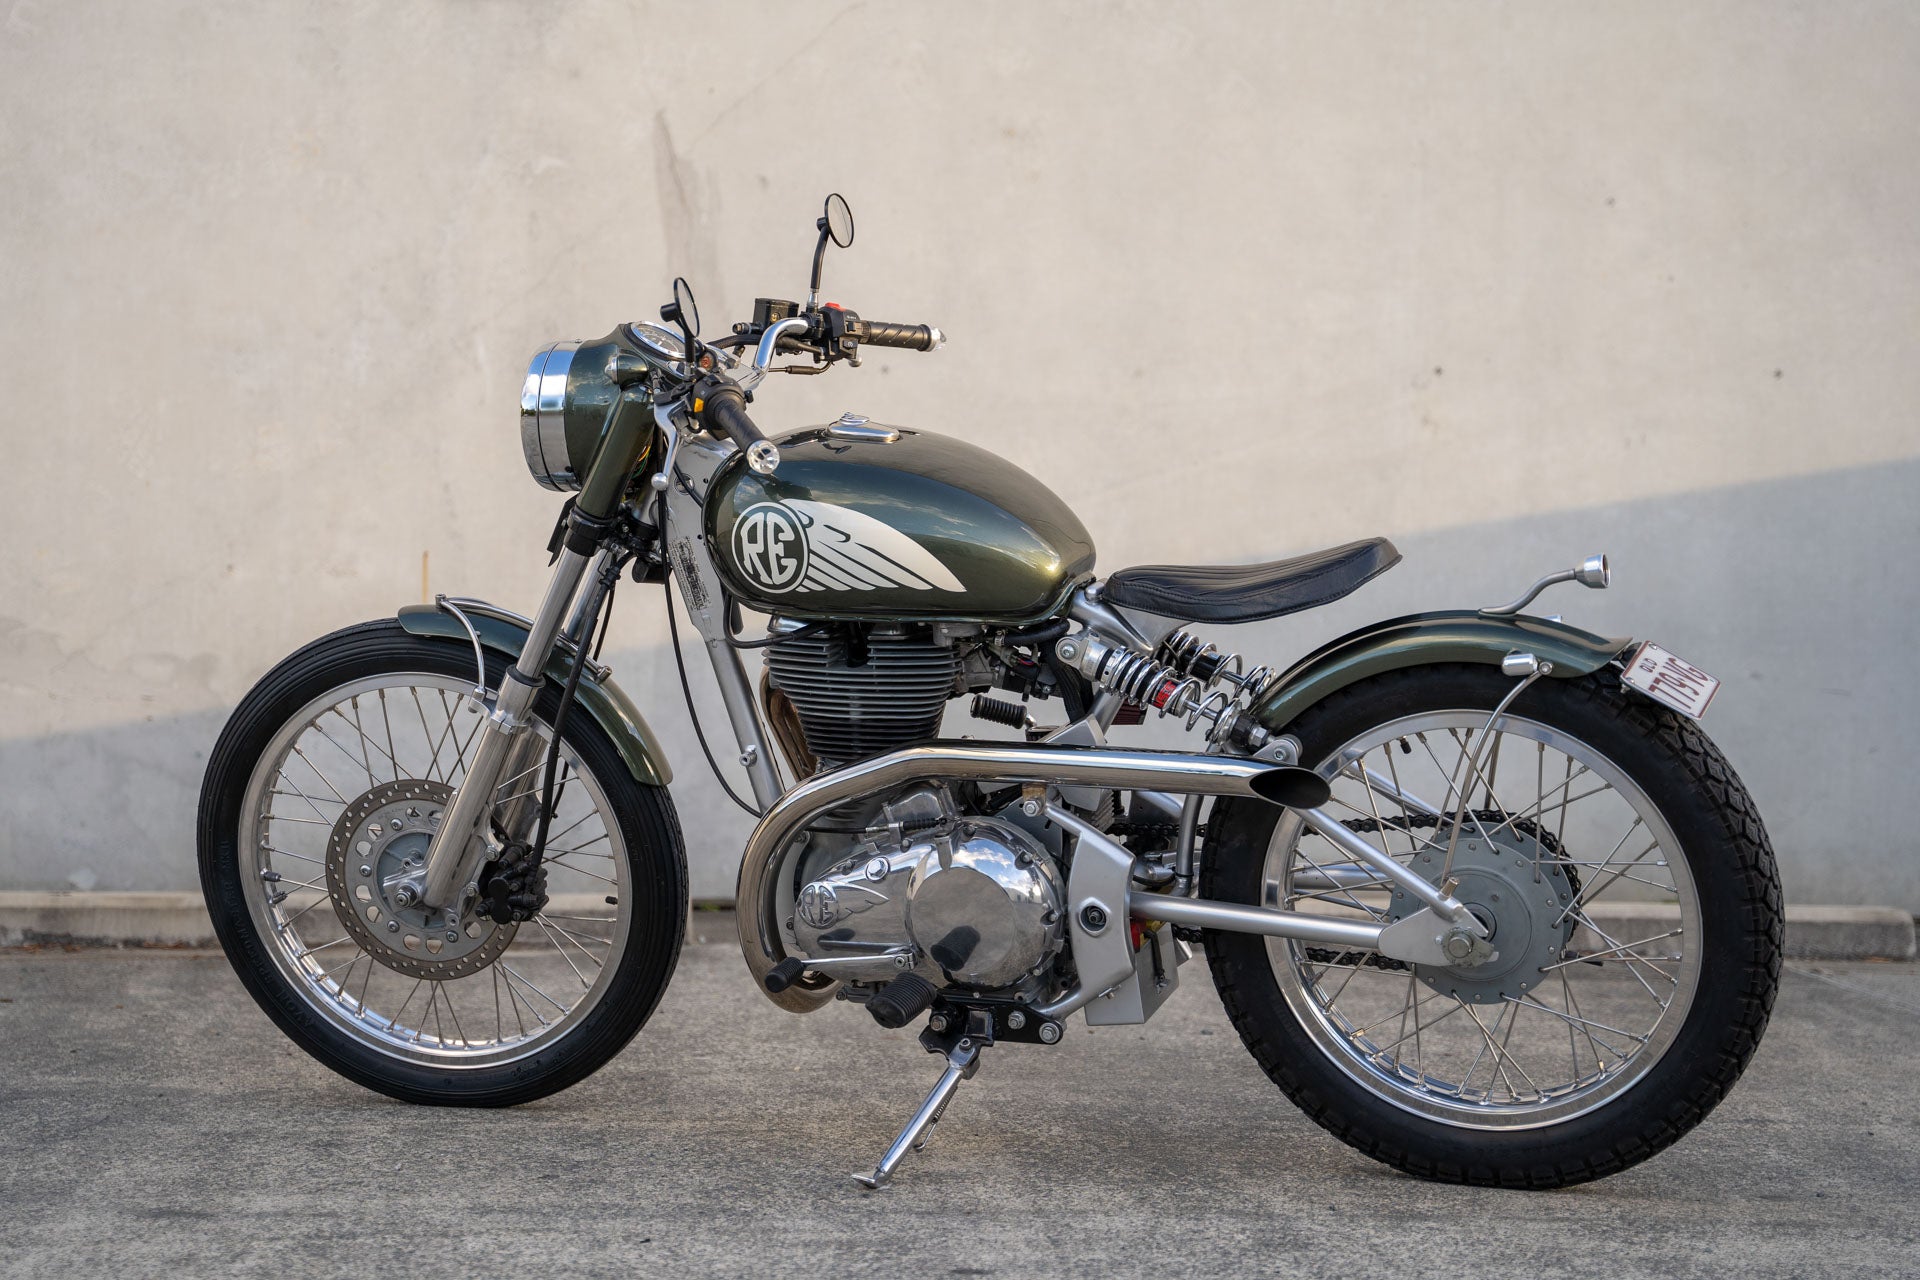
I’ll lump these two types together, while I know they are very different frame types for the purposes of fitting another tank they are very similar. These types of frame were developed because engineers needed more room for larger airboxes and steeper intake angles. So when fitting tanks on these bikes it’s not the frame you need to work around, it’s the airbox usually. I haven’t done many of these at all, in fact instead of tank swapping on our Ducati GT1000 build I just built a custom tank from scratch. As with the Honda four tanks, if you really want to tank swap these I would just start looking at similar model bikes and maybe take your standard tank into a wrecker’s to get some ideas flowing around.
I hope you’ve pulled some good shreds of information out of this article that will help you on your way. If you have any questions that I haven’t covered here drop me a comment and we will get around to answering or adding some more info onto the blog.
WE BUILD BIKES WITH PURPOSE.
Purpose Built Moto is home for unique custom motorcycle builds. We offer a unique motorcycle customizing experience in the heart of the Gold Coast.


