We had so much fun making our last build series, I though we better do another one. This time around I’ve picked up a Husqvarna Vitpilen 401 that will be the subject of the customisation. During pre-release these bikes caused a stir that echoed through the custom bike world, capturing the attention of a lot of media outlets that built a huge hype around the bikes release.
Coming with both a 401 and 701 size, Vitpilen and Svartpilen are re-defining a genre of commuter motorcycles with sharp European styling and a future focused design DNA. I really enjoy looking at these bikes, they just hit a little differently. When I had the opportunity to buy one, I figured I’d better take it. Riding the 401 Vitpilen is a great experience. The single has a power curve that begs to be tested, really picking up through the 4-7000 RPM range.
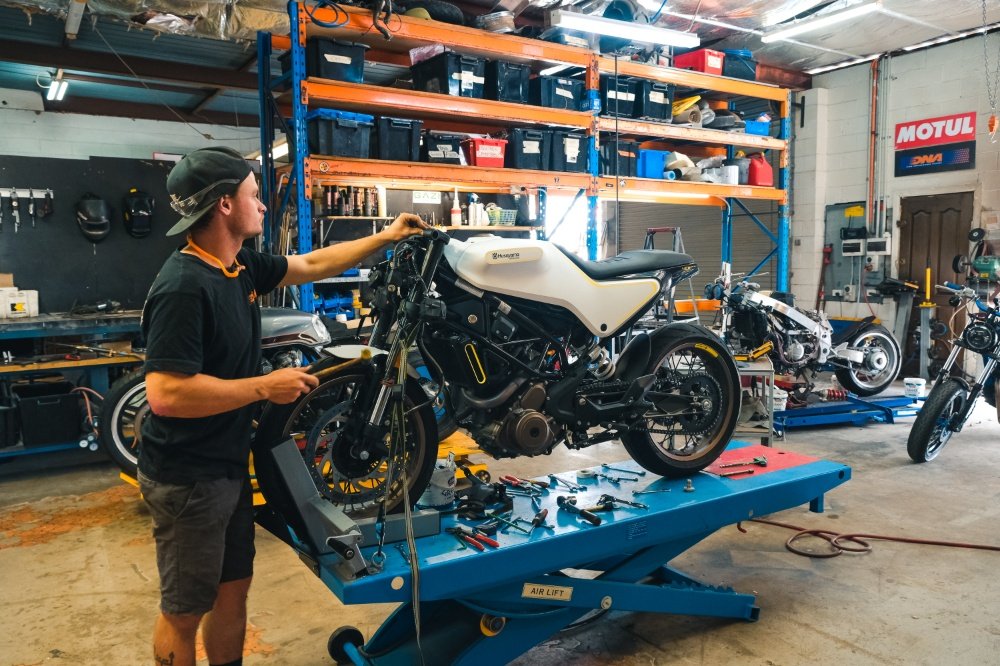
I put about 700 km’s on the Vitpilen before I was ready to start modifying it. I had to learn the bike a bit first to figure out where to focus my attention. The time in the saddle taught me a few things about the bike I wasn’t a big fan of. The engine and handling is incredible. Everything is fun on this bike. The riding style however is a juxtaposition with nearly everything else on the bike.
Let me try and lay this one out clearly for you.
- 400cc water cooled single cylinder
- 17” spoke wheels front and back
- Mid range gearing (top comfortable cruising speed of around 110km/h)
- light weight – 150kg wet
- reasonably high seat height – 835mm
All of these things seem like I’m laying out specs for a super motard, but then you sit on the bike.
The clip on bars, and rearset pegs don’t make sense.
The motorcycle seems disjointed from the way it looks and performs with how you ride it. Being laid over the bike didn’t feel right. That was the catalyst of the project. I wanted it to feel like a Supermotard in disguise. So we ripped into the first set of mods on the husky. The challenge? Transforming the Vitpilen from stock to street tracker.
Let me take you through it.
In this episode we’re going to tackle:
- Tear down
- LED turn signal upgrade
- Custom MX bars fitted with scrambler style mirrors
- Modification of the footpeg mounts for a better riding style
- Custom fabricated tail light
- Tail tidy build
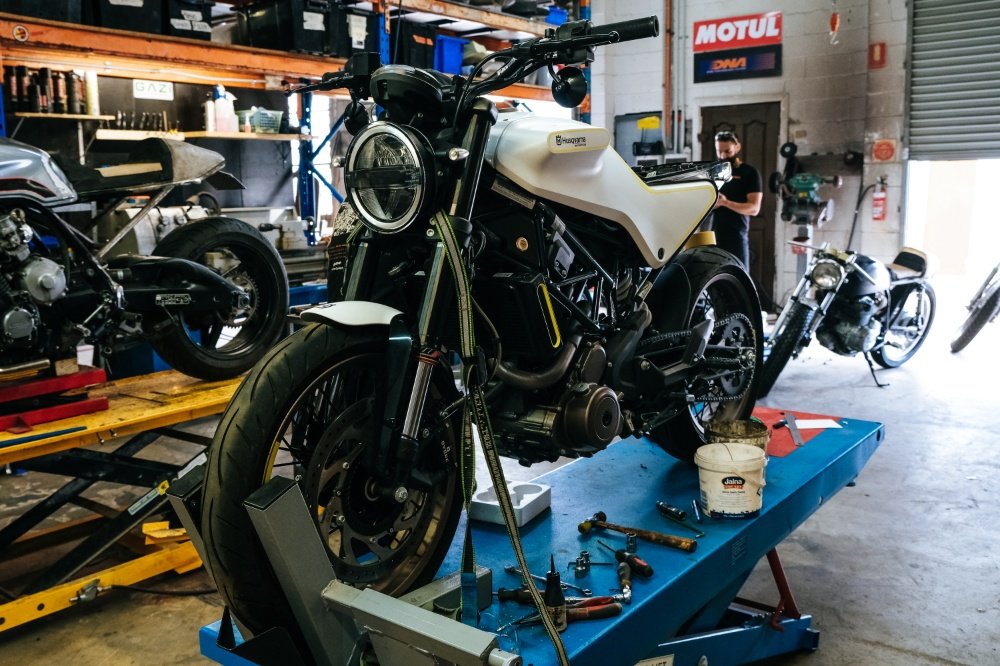
First up Dylan and I stripped the bike down, removing the exhaust, swing arm mounted tail tidy, and taking off the top triple clamp. The triple clamp is casted with a set of clip on style bar holders which we quickly removed.
Cleaning it up and making way for the set of mid rise renthal handlebars and bar risers to be welded on. As Dylan was welding the new bar mounts on I got into the electrics, mounting the Purpose Built Moto LED indicators on the front, and extending the wiring to suit the new, higher bars.
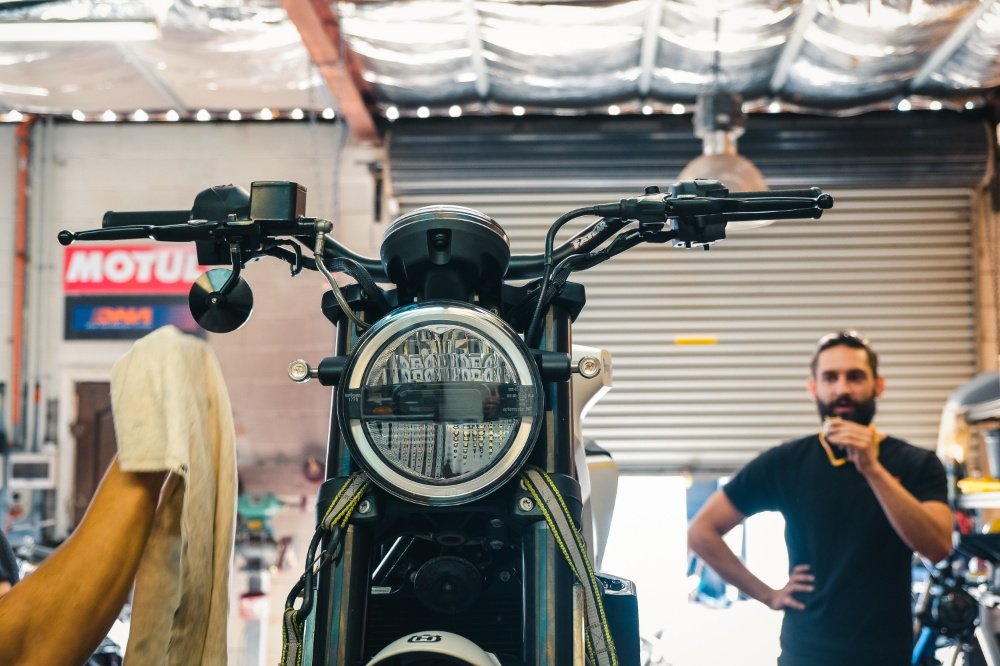
Dylan then fitted a set of Scrambler style mirrors mounted underneath the levers on the bars. Another original PBM idea that we’ve since put a blog out on doing it yourself with some readily available parts you can buy online.
The LED headlight would stay, and as the bars were fitted to the modified triple clamp, the front end was buttoned up and I moved onto the rear. The Vitpilen comes stock in Australia with a swing arm mounted read fender, and plate mount. We’re removing to strip a bit of weight, and to clean up the bike a bit more. Fabricating a custom tail tidy and fixing the rear turn signals to the tail fairings. Tucking the Hollowtip LED’s in nice and tight for a super clean finish.
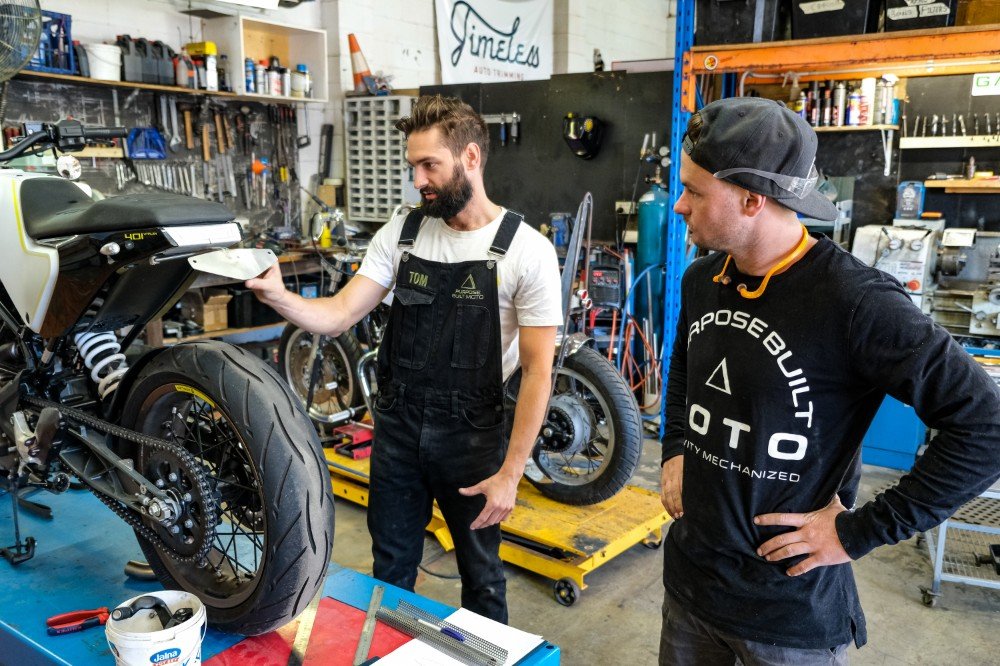
To further improve the riding style, we’ve moved the footpegs forward about 40mm, this takes you from a rearset position, to a more mid mount foot peg which better suits the higher bar set up that we’ve now completed. This was a matter of sectioning out some of the casted aluminium footpeg mounts, and welding them back up. After that was done it was just a matter of correcting the shift and brake linkages so everything worked as normal and finishing it back to be anodised black. If I didn’t tell you we did it you might not ever notice but things like this make all the difference in the feel of our bikes.
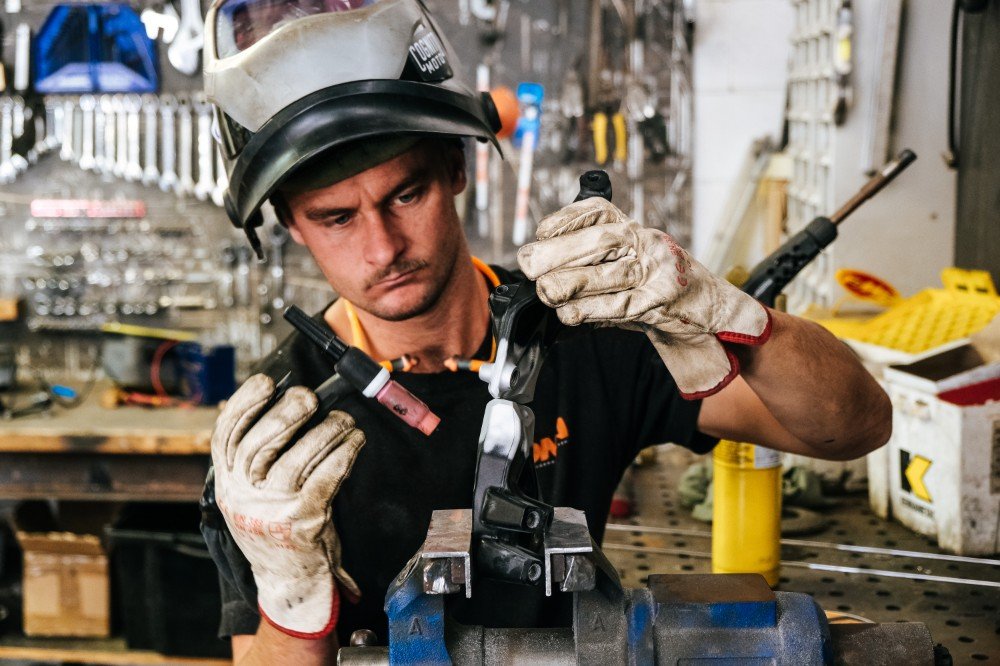
My last job on episode one of the Husky Svartpilen build is the brake light and tail tidy. The stock tail lights look great, but that’s not to say I cant make something by hand that will better reflect my ideas for the bike. I’m going to test out a new method of brake light on this one being a backlit acrylic light, so I need to fabricate a housing first.
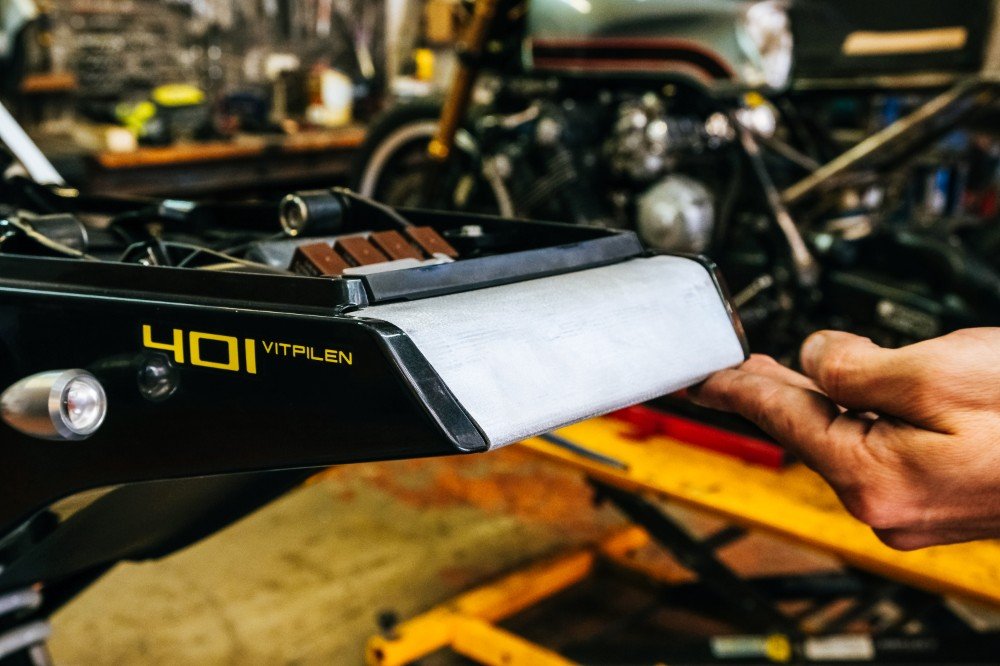
Using some template cardboard to get the lay of the idea transferring it to some aluminium, and folding it up on the finger break. The brake light box was a nice simple job. From there I’ll sketch some ideas on design and make the call later down the track.
Under our new brake light will be a stainless bar tail tidy, using some of our PBM fabrication slugs, stainless round bar and my trusty tig welder I fabricated a simple and tidy plate mount for under the tail of the bike.
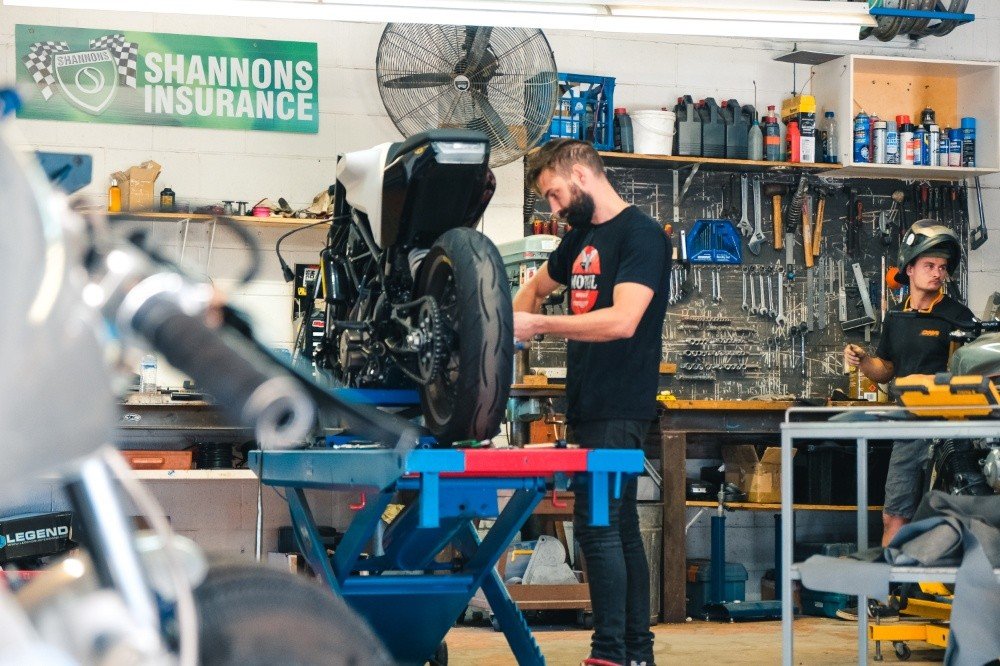
Episode 1 has already seen some major changes to the Husqvarna Vitpilen 401, MX bars, new mirrors, LED blinkers, and the beginnings of a super stylish tail.
Next time around we’ll get into the hand made exhaust, finish the footpeg mod off and start to develop a more clear design idea for the project.
Thanks to our sponsors for making this motorcycle build project possible: Makita Australia, Pipeburn, United Tools Burleigh, DNA Performance Filters, Motul Australia, and Ninefivers.
And to everyone reading, thanks for getting on board with the build, looking forward to bringing you more real soon!
WE BUILD BIKES WITH PURPOSE.
Purpose Built Moto is home for unique custom motorcycle builds. We offer a unique motorcycle customizing experience in the heart of the Gold Coast.


Комментариев: 2
Hi there !!
I have a vitpilen 401 2023
and would love to maje it more upright and get my legs less crouched
besides moving to different handle bars ( the swart pilien’s type + risers easy 1 beard ) and foot controls forward need experienced tig bike custom craftsmen) are there other options that would make it more upright and higher less cramped or tank hugger style riding?
Shocks or wheel size?
seat mods?
Thanks for any more advice?
Sincerely yours
G
This customisation is amazing! Could I know the type of this Renthal bar?