Installing Purpose Built Moto LED Indicators
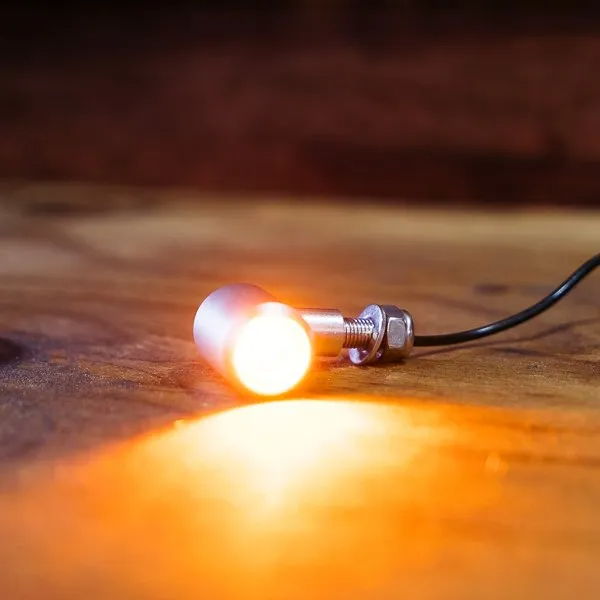
This Article will give you step by step instructions on installing your new Purpose Built Moto LED turn signals / indicators.
As every bike is different this will be a general guide only however I will endeavor to explain as much as I can about the “standard” setups I have seen on most bikes I come across.
Tool’s & Materials you need to install your LED indicators:
- Pliers
- 13mm Spanner/Wrench or Socket
- Wire stripper
- Soldering Iron OR Bullet connectors (male and female)
- Soldering Wire
- Heat Shrink OR Electrical tape
- Load balancing resistors OR replacement LED flasher relay


Step 1.
Remove the old Indicators, take note of the plugs/connectors used to join them into the circuit, I recommend marking the +ve at a minimum. Depending on the set up your bike has, you can either replicate the connectors or possibly cut them off the indicators you have removed and re-use them later.
Step 2.
Install your new Purpose Built Moto LED Indicators. Start by bolting on the light with the M8 Nylock nut and Washer provided. Although M8 is the standard size for most bikes if your model has M10 mounting holes you may need a slightly larger flat washer to make sure they stay mounted as intended. Tighten your LED turn signals down to 15Nm, making sure they’re on the right angle to be visible.

Step 3.
Connect Your LED Turn Signals. Using your +ve marking connect the red wire there and the black to the ground wire. This can be completed by way of either:
- Using the connectors removed from your Old Indicators and joining them with a soldering iron and covering with heat shrink or tape.
- Using standard Bullet connectors and crimping the wire. This is more common on older model motorbikes
Take care when stripping the cable back as it is far smaller than your standard bulb type indicator wire. LED lights use a lot less power and therefore operate with smaller cables. Double back the wire before you crimp the connectors to give it a bit more purchase. After connecting give the cable a gentle “tug test” to make sure it’s connected properly and plug in.
Step 4.
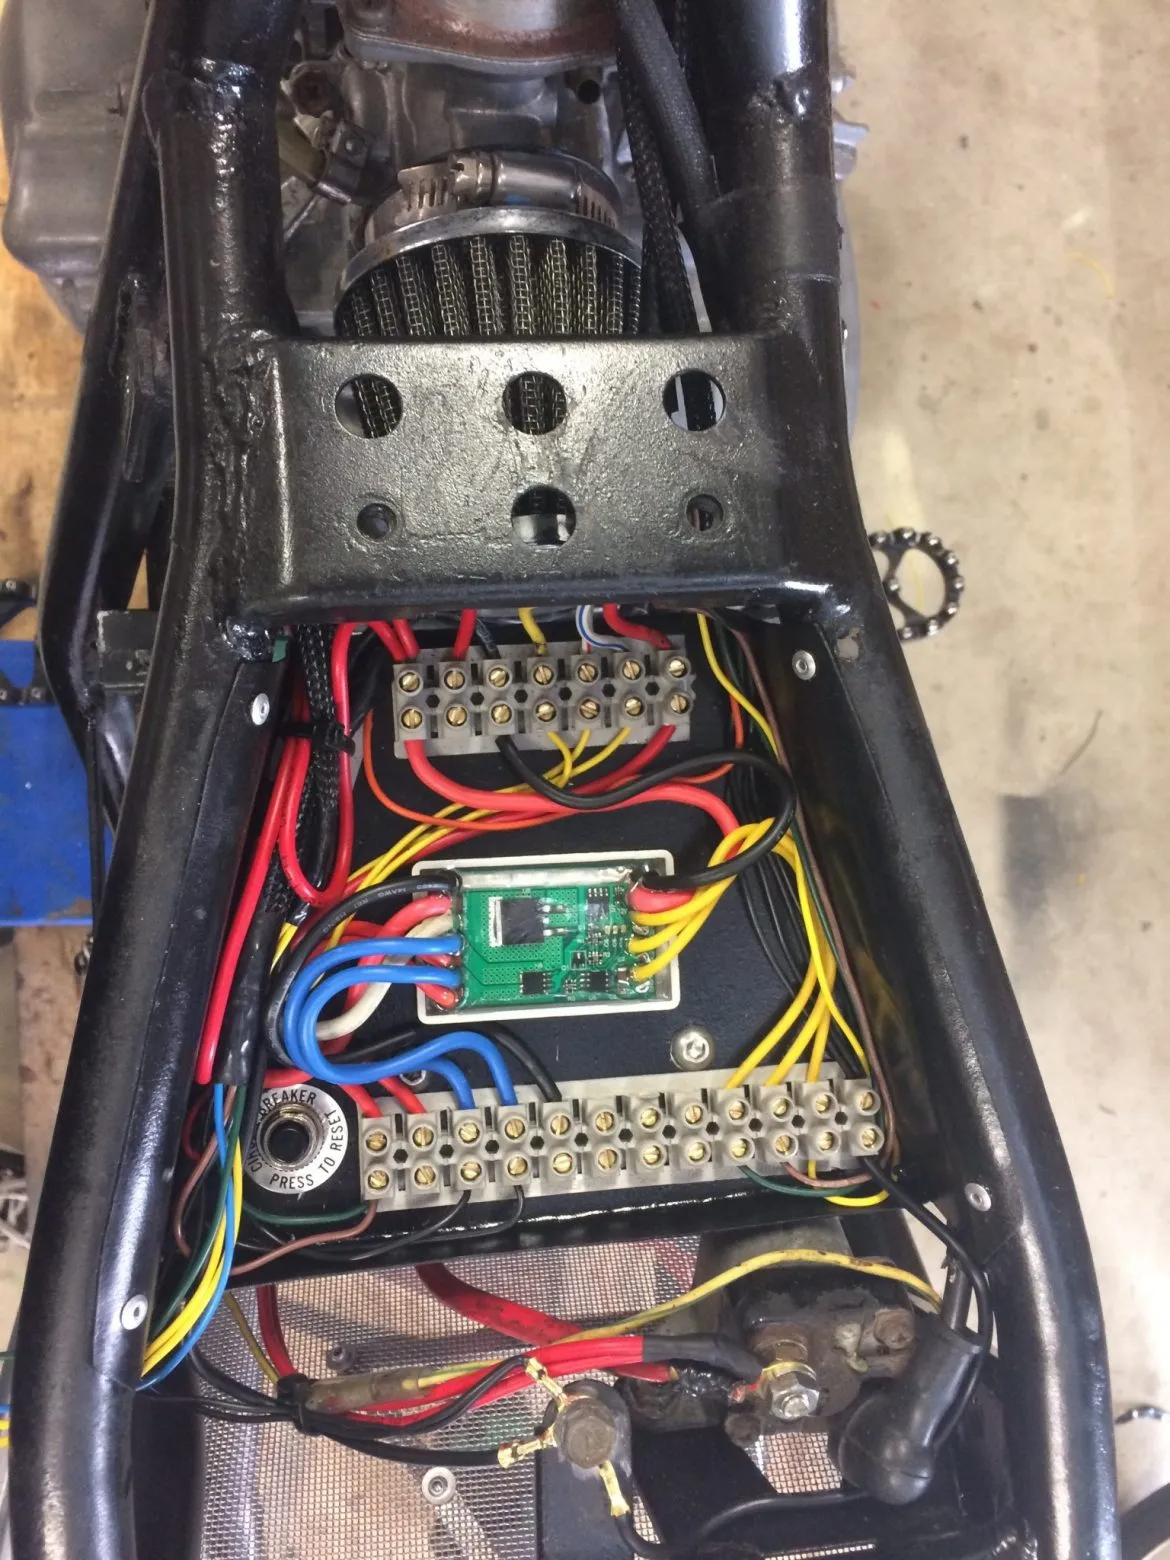
Making your LED lights flash properly. If you turned the key and hit the switch 80% chance that your LED turn signals would enter a “hyperflash” state. This is because most bikes run on an analogue capacitive timer relay. In times of old these were analogue timing circuits, with a capacitor. Your indicator flashes on draws 30-46 watts and slowly charges the capacitor, once charged it turns your indicator off and repeats. With new LED lights, they draw 3-6 watts, this charges your capacitor a lot faster. This results in a very quick flash or a flicker in some cases, adding a load balancing resistor slows this back down to a normal pace. Newer flasher relays use MOSFET switching which is a digital solid state unit that is not load dependent and will flash at the same rate regardless of what lights you use.
I explain more about this in my Motorcycle Electrics 101 Blog if you want to learn further, read that. The long and short of it is, if that’s the case you will need to modify or replace it.
- Modify: Head down to your local electronics store and buy 4x 5Ω 20 Watt resistors, They shouldn’t cost you more than $0.50-$2 each. Connect these at each light between the +ve and –ve connections. Generally if you search for LED load balancing relays you’ll end up paying way more than you need to, being informed saves you $$$.
- Replace: At the same electronics store you can buy a replacement LED flasher relay, these come in 2 or 3 pin depending on your bike. They will cost your around $10-15 and make the job a lot easier and neater.


The Above options will work for all older model motorcycles guaranteed. However on some newer bikes (post 2011) some have all mighty CPU’s that don’t much like modification. Chances are they will work straight away with your new LED headlights (I know Ducati’s do without any modification). If not you can run a new circuit to control the lights with a Purpose Built Moto Black box or similar control unit, which is super simple to install. Failing that ask your local dealer and they should be able to help.
I hope this makes the installation of your new LED Indicators as easy as possible. If you have any questions leave a comment or shoot me an email.
For more guides on installing Purpose Built Moto parts, check out our Installation Guides
In our online store, you can also check out our full range of lighting options for your bike.
Thanks for taking the time.
WE BUILD BIKES WITH PURPOSE.
Purpose Built Moto is home for unique custom motorcycle builds. We offer a unique motorcycle customizing experience in the heart of the Gold Coast.


4 comentários
Hey Dave,
The lights can be supplied with a splitter that gives you Brake, tail and turn functionality if you want to use them like that.
You can check the details for that here:
https://purposebuiltmoto.com/products/3-in-1-brake-tail-light-splitter
So it’s a 3 in 1 light but with 3 wires
I can get indicators and running light but no brake light am I missing something?
Or are they only a 2 way light indicator and running light
Hey Jo,
Shoot us an email with a few details and we will try help you out!
tom@purposebuiltmoto.com
Hi guys
I’ve installed your hollow tip indicators to my XSR900.
They work fine, only issue is I’ve got one flashing amber and 3 flashing red?!
Pretty sure they are all wired the same. Any pointers please? Thanks!! Joe