Sol Invictus Nemesis 400 Adventure Bike – How to build an adventure scrambler Ep5
Here we are, episode 5 with no signs of slowing down on this adventure bike. I’ve been putting a lot of blood, sweat and tears into this Nemesis 400 Scrambler for our upcoming film project, so if you’ve been enjoying this series head to Instagram and follow @wideofthemarkmovie to keep track of what we’re up to, or sign up for the newsletter at www.wideofthemark.com.au for regular updates in the new year. Enough of the admin stuff, let’s get to the bikes!
I’m right back into fabrication this week and I’ll be tackling…
- Running the headers linking up to the muffler
- Fitting up the Lectron carburetor and DNA pod filter
- Handlebar grips and switch wiring

We plan on putting this bike through some absolute adventure madness, so when designing the twin headers, I set them high for ergonomics and to keep them out of harm’s way. Snaking around the engine the headers join at a 2-into-1 collector which darts into the frame and spits out the back to a Purpose Built Moto 43mm Torpedo Muffler which will also sit high next to the rear shocks. To get everything to sit close, I cut a scallop out of the muffler and used some large diameter pipe as a template to make it fit around the rear shock comfortably.
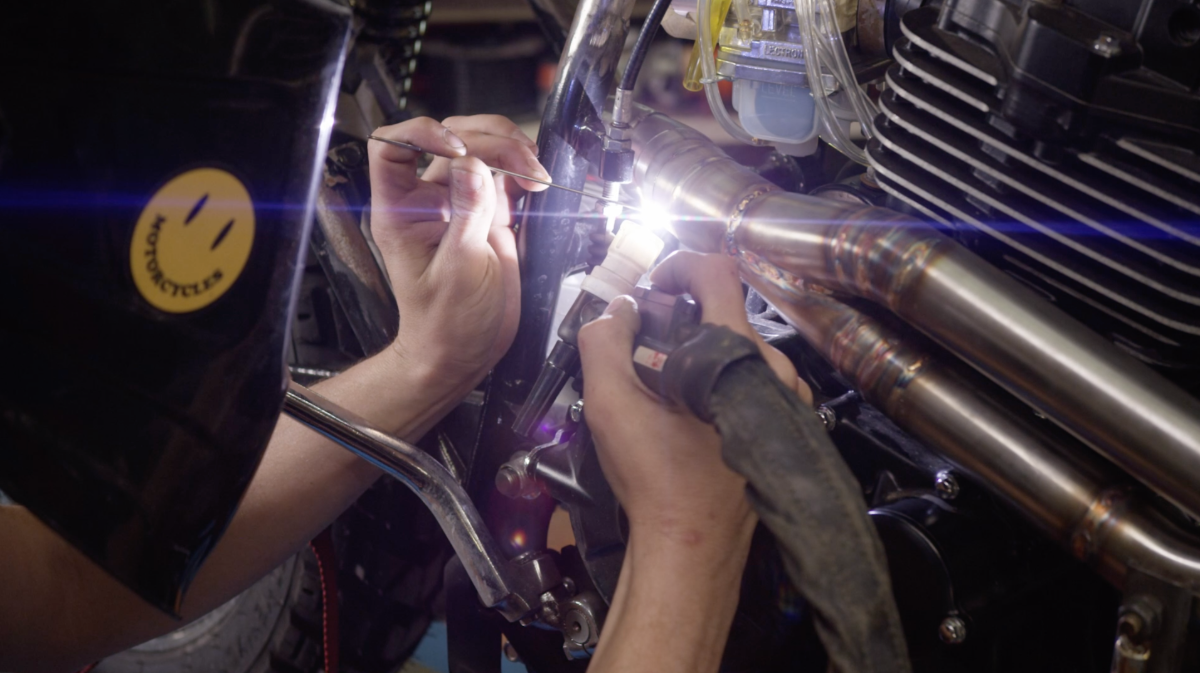
After tacking the headers together I break out the purge set up for my tig welder. This feeds the inert gas both to my TIG torch and into the pipe section. Allowing me to get full penetration of the material, without having the weld contaminated on the backside. the pro’s call it “sugaring” where the weld becomes porous and therefore weaker. This set of pipes, however, done properly is as strong as anything.
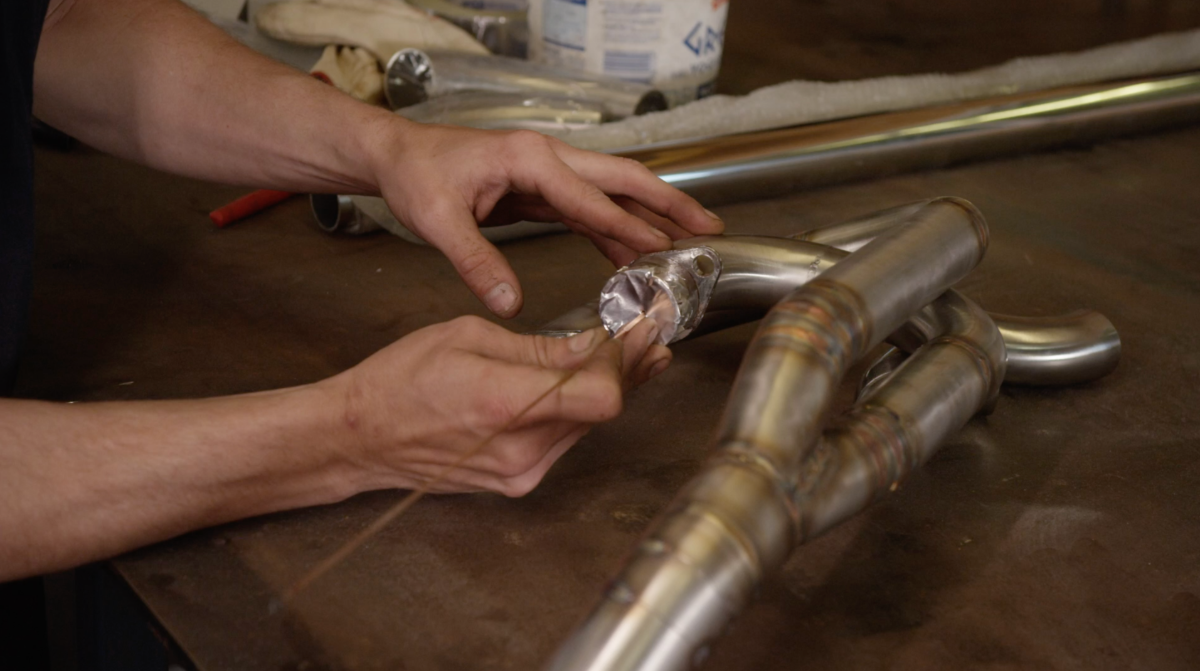
There isn’t much space to work with when fitting the headers and muffler to this bike so I had to make sure that everything welded together with precision. I really like the raw, industrial look of weld joints, so I was careful as possible to make the joints look clean. After I brushed off the heat marks I’m happy with how it all looked.
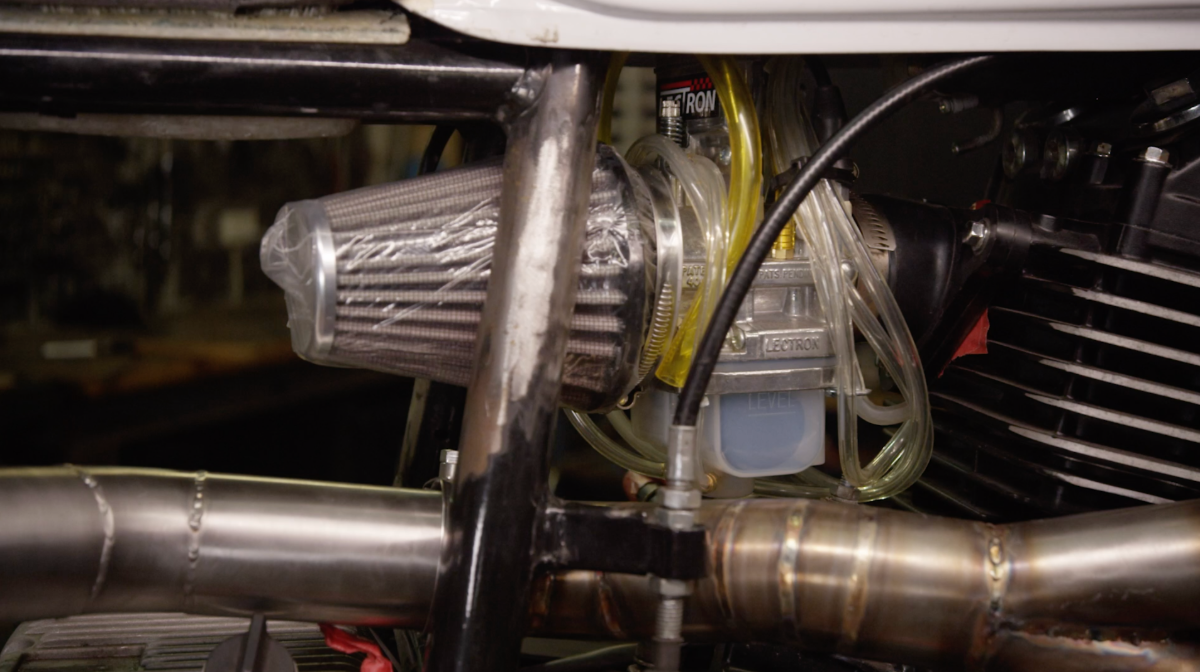
As with all of our projects, we fit performance DNA filters. This one is coupled with a really exciting bit of gear. Lectron Carburetors are an American fuel systems manufacturer that has been around since the 1940s. Focusing heavily now of performance race carburetors. I’ve got this one set up for enduro/dual sport riding and coupled with our high flow exhaust we should see some great power gains.
These Lectron carburetors work on a metering rod fuel delivery system over conventional jets, this meant once the carb is set up for your bike, changes in temperature, altitude and conditions are accounted for internally by some well thought out wizardry. I won’t pretend to be able to give you more info than that, but I’m hoping the proof is laid out for us when we hit the road.
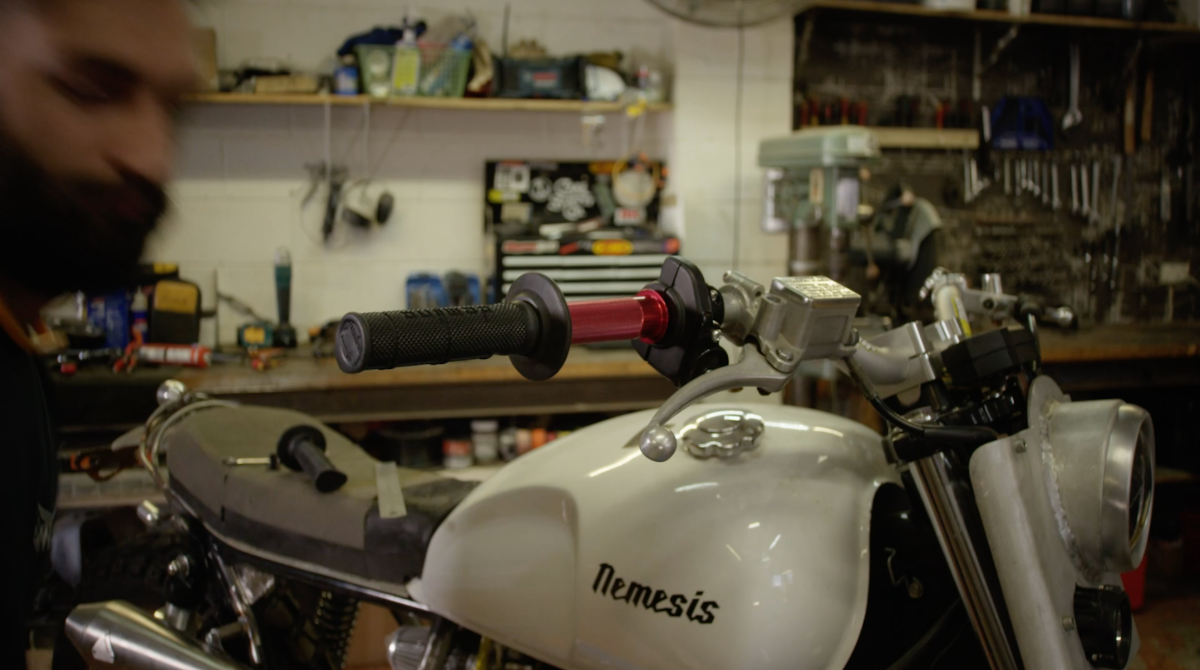
Moving on to the handlebars, I’m installing a set of PBM 3-button switches along with the grips and lever guards. Installing the switches is easier while the bars are stripped because you have a bit more room to play with. After I set my clutch lever in place, I left about 130mm for my grips and then disassembled the switch block to use it as a template and marking the drilling points for internal wiring.

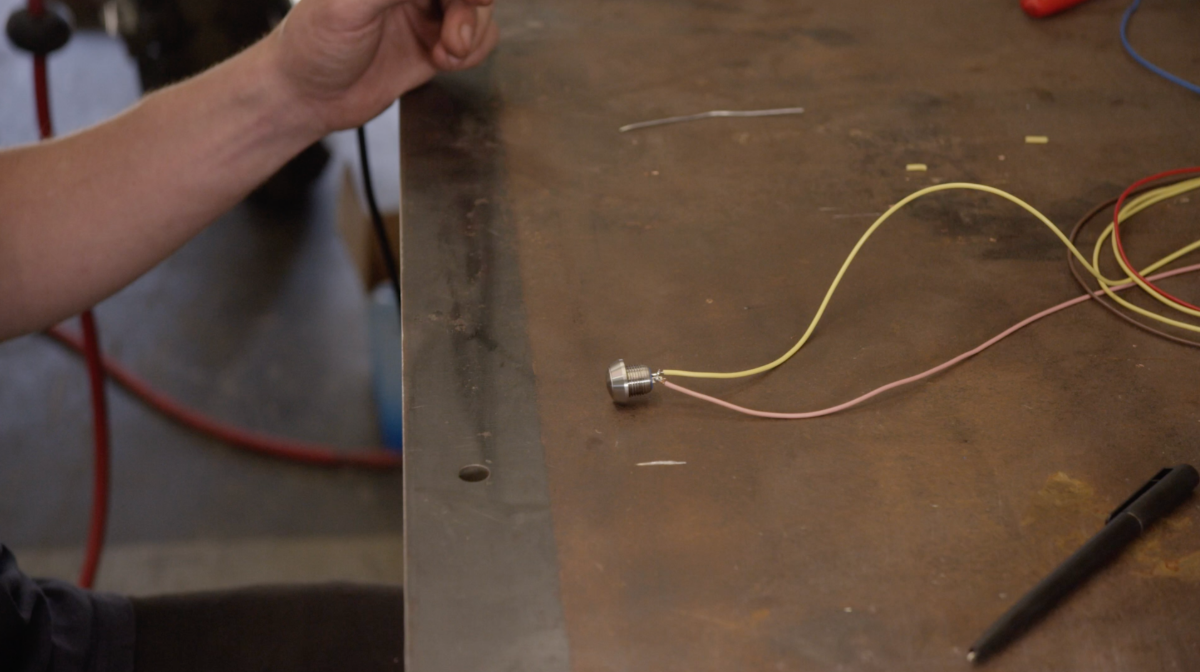
I was a sparky for many years, so I’ve had a heap of practice when it comes to soldering wires and switches. I always make sure to be extra careful when wiring the PBM switches because of their small, minimalist design. A bit of advice when it comes to this process, make sure you take your time to prepare first and make sure your solder joints are nice and small.
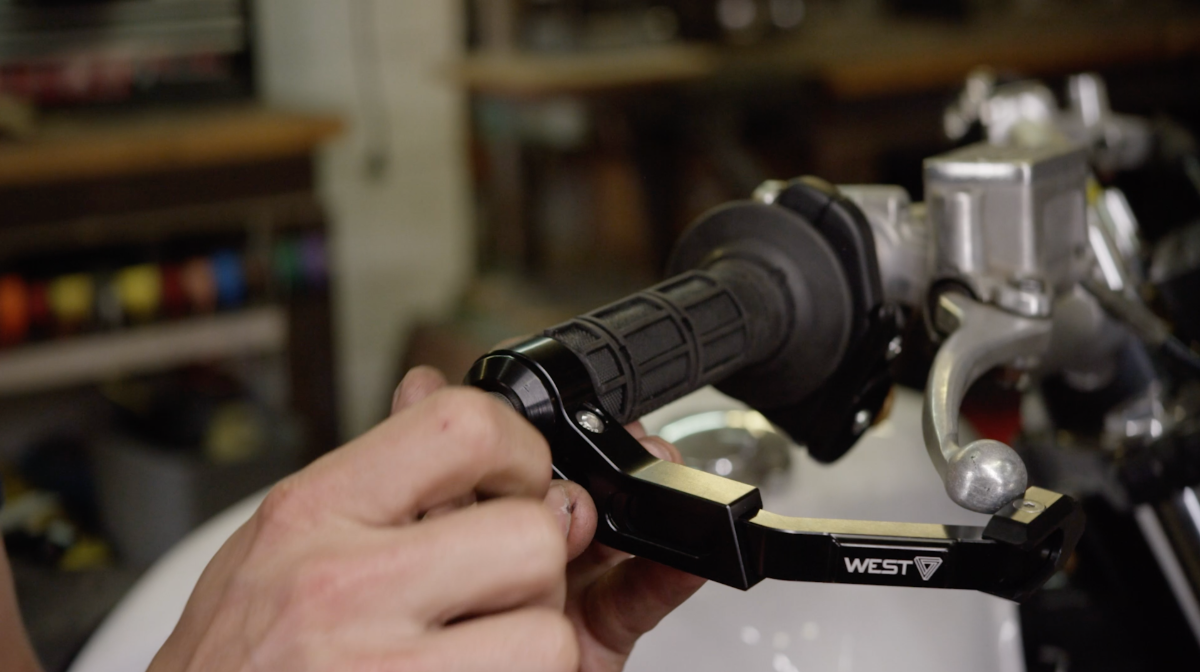
After the switches were mounted I installed a Domino throttle tube that came with the Lectron Carburetor. I had a mate from motoproducts.com.au send me some West Sliders which are great additions to adventure bikes. I couldn’t count the amount of brake/clutch levers I broke as a kid riding dirt bikes, the sliders will provide extra protection not if, but when the bike gets thrown around.
That’s it for this episode, we’re making some serious tracks on this Scrambler and in the next episode we will be tackling the final stages of fabrication. I’ll be mounting a bag rack, an aluminum battery box and then we’re tearing down and sending off for paint.
As always, thanks for taking the time and make sure you check out the other bike I’m building alongside the Nemesis 400, the Harley Sportster Scrambler.
Tom
WE BUILD BIKES WITH PURPOSE.
Purpose Built Moto is home for unique custom motorcycle builds. We offer a unique motorcycle customizing experience in the heart of the Gold Coast.