Harley 1200 Sportster Scrambler Episode 5– The Purpose Built Moto YouTube series
We’re into the tail end of the Harley Sportster Scrambler build. I’ve put a lot of sweat and creativity into this bike and I can’t wait to show you all what we put it through for the Wide of the Mark project.
In the last episode we wrapped up the last few bits of fabrication and we were ready for powder coat. Between episodes, we got the frame, swing arm, triple clamps, etc back from the powder coat and it looked killer.
I slapped it back together and put the carburetor on, along with the footpegs, started hanging all the accessories and linked back all the stock electronics. In this episode, we’re going through modifying the existing wiring loom to suit our custom application and get all the electrics working correctly.
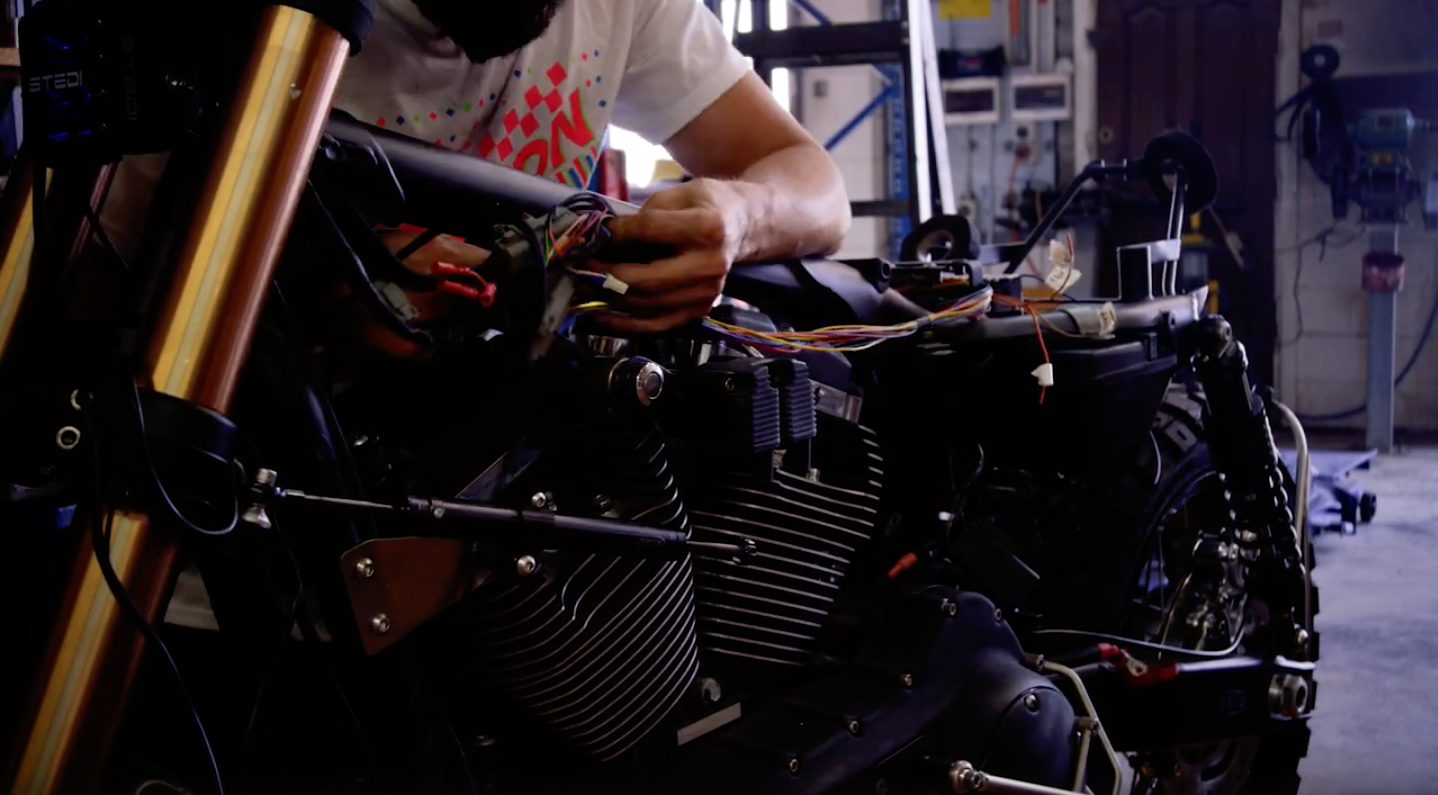
The challenge with the wiring on this bike was integrating the existing wiring loom with the new custom electronics we have for the bike.
The Sportster usually runs on a system called TSR which acts as the flash relay. The tricky bit with these systems is that they have a security system built in. Because we installed the PBM handlebar switches we had to get rid of it, and switch it out with the Purpose Built Moto Black Box, which we use for all of our bikes.
I took a new approach to wiring this bike because it had so much going on with a modern wiring system. If you want to know my best approach to motorcycle electrics and rewiring old bikes, check out these blogs…
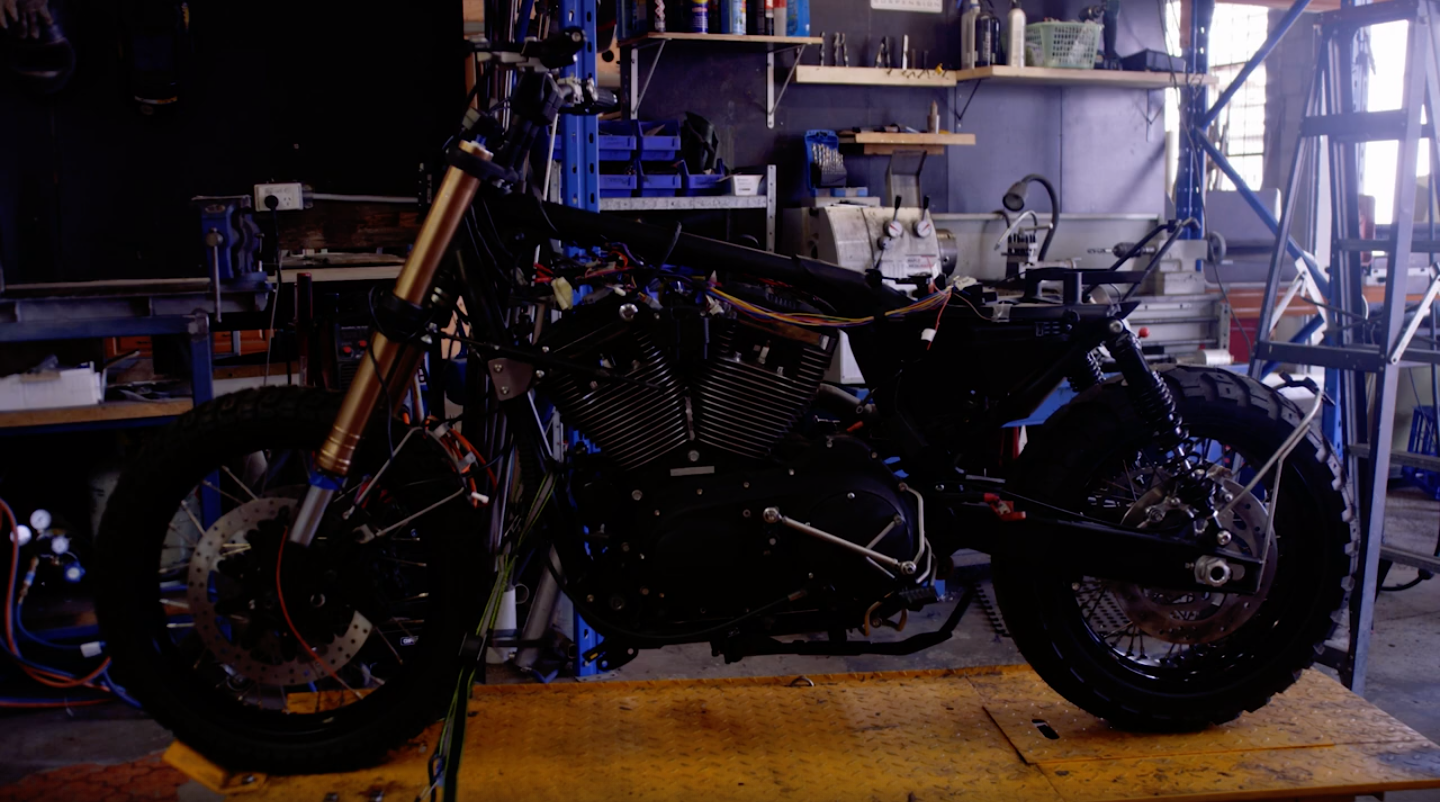
For the purposes of the Wide of the Mark trip, I’m using a split loom and installing everything under the seat, so if something goes wrong on the trip I’m able to easily access and identify what the problem is, and then work on fixing it from there.
A good tip when it comes to wiring up your bike is to make it as logical and user friendly as possible. It takes a bit of extra time, planning and intricacy when you’re wiring it up in your garage, but you’ll thank yourself if you’re ever on a trip and something goes wrong.
For this scrambler, I installed the existing loom which handles the ignition, CDI, and Coils on the right-hand side, and on the left-hand side I installed the new loom which handles the headlight, indicators, and speedo. So this way, if I’m stuck in the middle of nowhere and I have a problem with my spark plugs or ignition I know to check everything on the right, and if I have a problem with my lighting or anything like that, I know to check the left. And all of that runs back to under the tail.
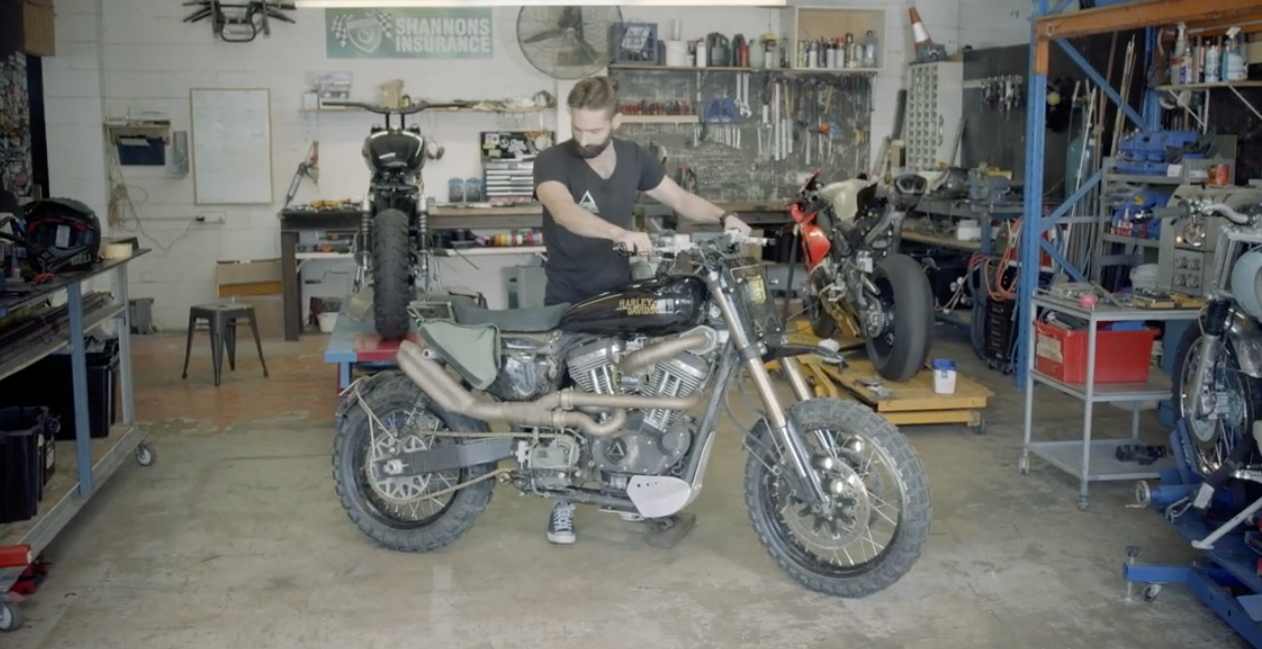
Once all of the wiring was connected and I was happy how everything worked, I wrapped all the wiring neatly, made sure all the circuits worked and then guess what… THAT’S IT! Done! Finished! The beast roared to life.
As a quick wrap up on this epic adventure scrambler build, here’s a quick run-through on everything we did for the Harley Sportster.
The front end
One of the most pivotal pieces on the bike, I wanted something that looked aggressive but was still super functional.
- Triumph heavy capacity Tiger front end
- Upside down 56mm forks with the Triumph triple clamps modified to suit
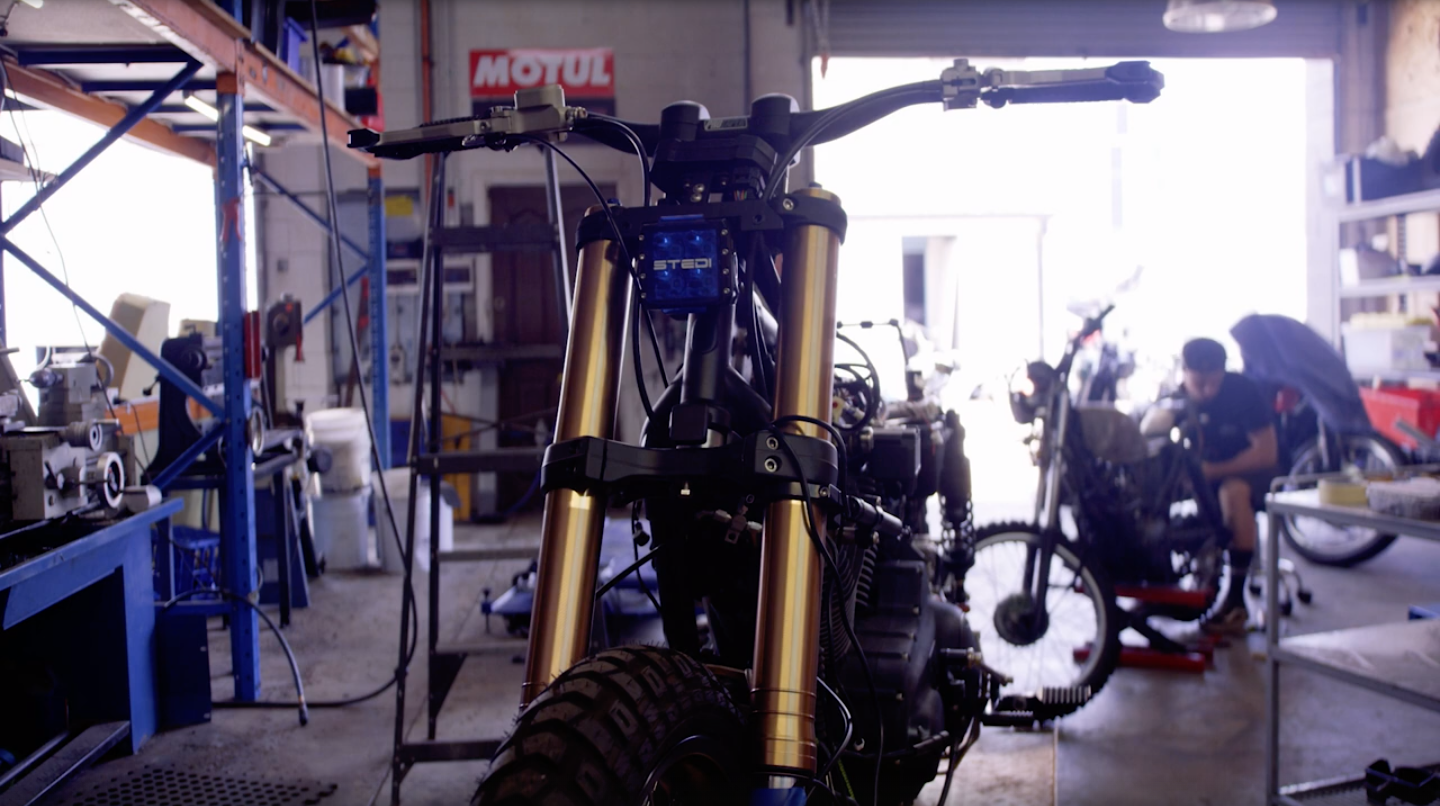
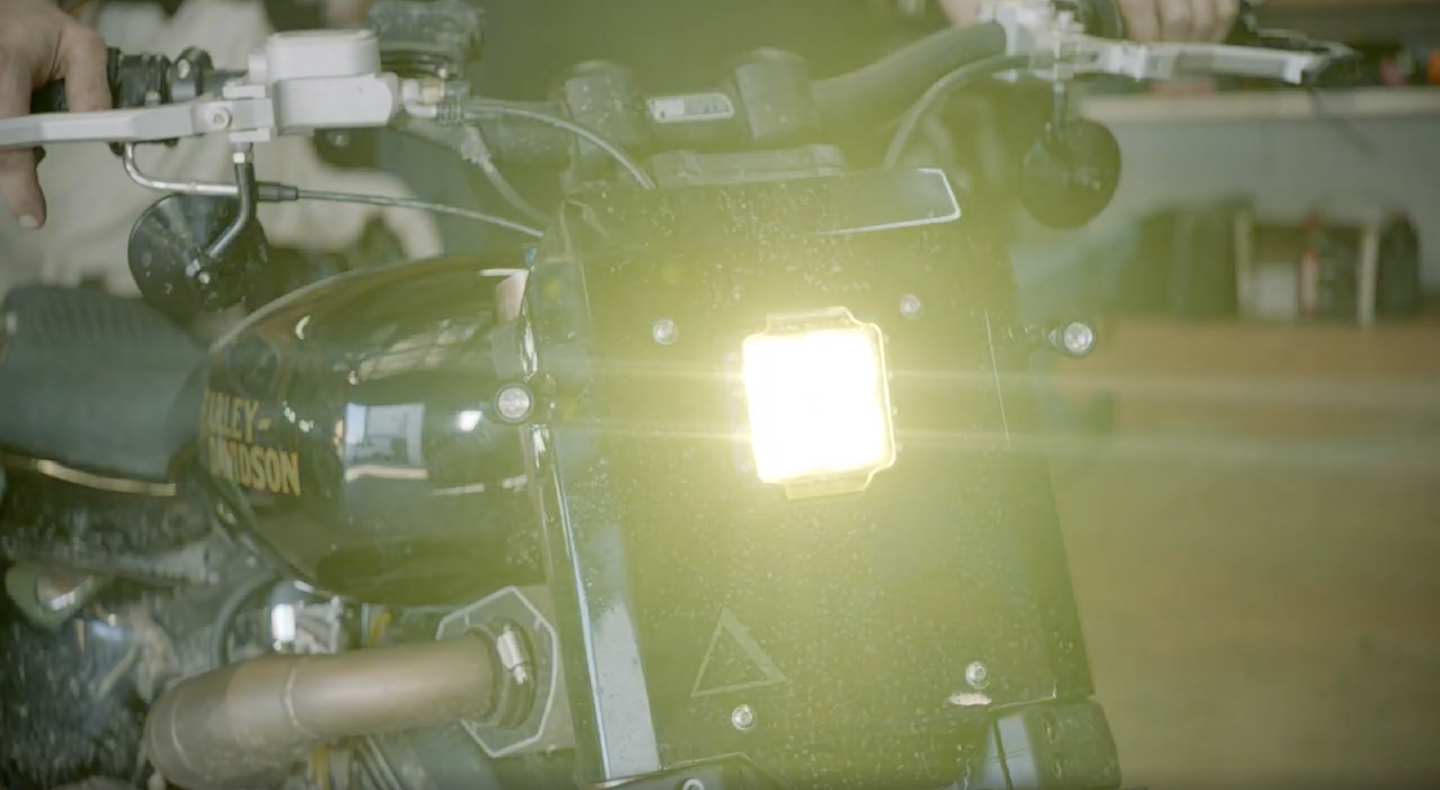
- A custom front scrambler number plate with Stedi LED
- A handmade aluminium front fender inspired by a Motocross fork guard with integrated low-beam headlights
- Alloy rims and twin disc-set up to lighten the bike and give it incredible brakes linked up to an ISR front master cylinder and an ISR clutch lever.
- Pro-taper outlaw handlebars with Vance style grips, Built Well throttle and West lever guards
Chassis + Body
- 1200c tank with good fuel capacity with vintage Harley Davidson graphic detailing
- Handbuilt 2-into-1 Sportster exhaust header
- Stainless steel handmade muffler, sandblasted and Oxy’d for styling
- Integrated Lectron carburetor with a custom DNA performance air box under the engine, rather than sticking out the side, all linked up with a stainless steel intake manifold that’s bolted to the carbie
- Coils shifted to the opposite side of the engine
- Custom mounted stainless steel foot-pegs
- Onboard air compressor
- Track dynamics aluminium swingarm
- Aluminium sprocket
- Custom aluminium crash bars
- K-tech suspension on the rear
- Custom chain tension to move with the suspension
- Anti-gravity battery along with storage space for spare parts adjacent to the seat
- Extended stand
- K-tech steering damper
- Aluminium bash plate
Tail end
- Custom tracker tail allowing space for tool kit and small storage space
- Stainless steel Exoskeleton for protection, bag racks, and removable sissy bar
- Custom made leather seat from Timeless Auto Trim
- Number plate bracket that doubles as a roost guard
- Huge rear wheel, 17-5½ rim, 170-17 tyre with good off-road grip
- Billet proof rear brakes
Thanks for sticking with me through this epic Sportster scrambler build, I hope you picked up some good tricks for your garage builds at home. Make sure you keep with the Wide of the Mark project so you can see what all of this hard work is heading for.
Thanks so much for taking the time.
Tom

WE BUILD BIKES WITH PURPOSE.
Purpose Built Moto is home for unique custom motorcycle builds. We offer a unique motorcycle customizing experience in the heart of the Gold Coast.