
The Honda CX500 was what we call a “rescue build”.
It’s always a tough job to take on a half completed build. We’ve had it happen before, a deflated customer comes in after a bad experience wanting their dream bike built how they imagined it. The bike they’ve received isn’t up to scratch and now we are tasked to fix it.
You might recall we completed a similar rescue on a CB900 Chopper in 2019, that job showed me just how appreciative these customers can be when they’re treated properly and get the bike they deserve.
A lot of shops would turn them away, but in the interest of seeing this guy and his bike happy on the road I couldn’t do it. So here’s a fairy tale ending to what could have been a nightmare that our rider Joseph never woke up from.

The Honda CX500 Café Racer came in looking pretty nice, a lot of tidy fab work, some trick parts and a few really expensive upgrades. As it rolled in my door I was left wondering why it was here. I asked “So what needs to be fixed?” I was hit with a laundry list of tasks the v-twin Honda needed in order to be rideable and that was just what the owner had picked up on.
The previous mods done on this Honda CX500 racer included:
That’s just running over the big ticket items. What we had to do was make this thing work. After a thorough check over the list grew significantly. The repairs and modifications that I’ll run you through are as follows:
- Rebuild incorrectly laced rims
- Fix the USD conversion
- Correct the rear suspension with a custom built shock
- Fix the rearsets so the rear brake and shifter linkage worked (CX500’s can be tough)
- Repair the lighting and starter circuits
- Fault find and fix the ignition wiring
- Rebuild the tail section, make the seat rideable
- New tail tidy, LED lighting upgrade all round
- Replace the carburettors and DNA filter upgrade
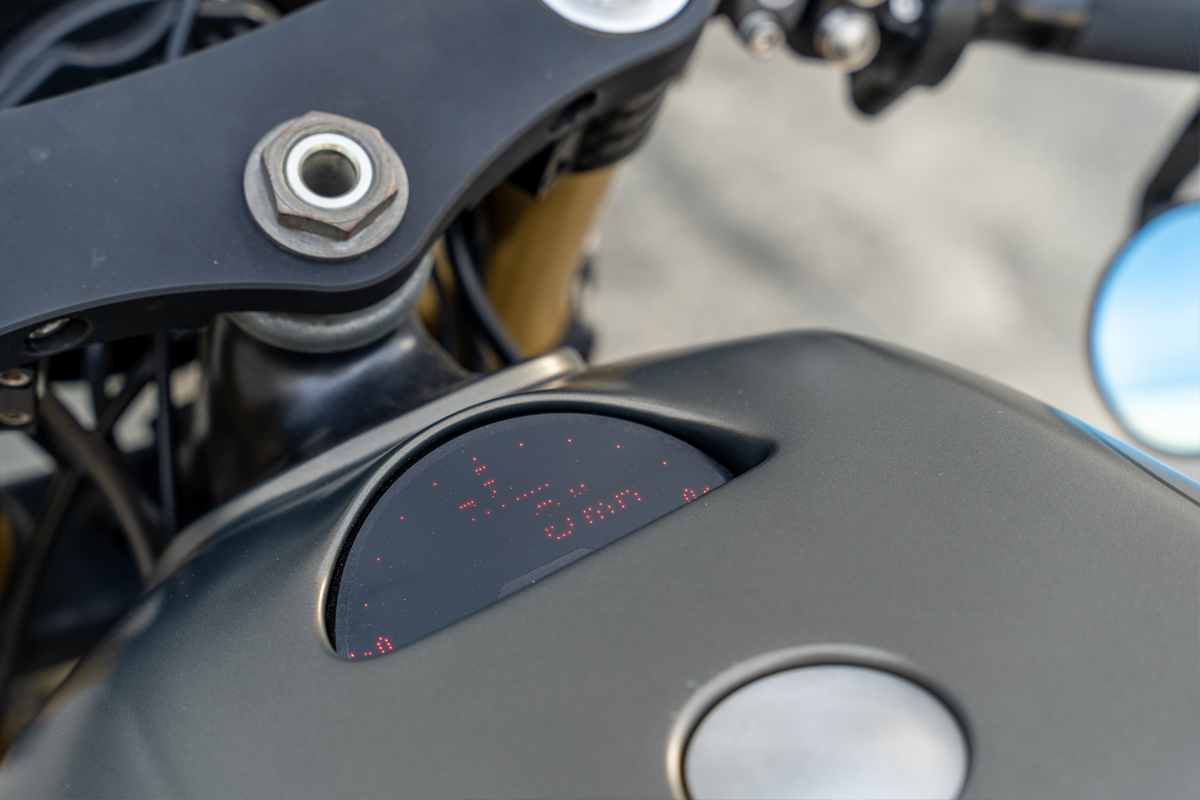
- Replace faulty Oil temp gauge
- Re-spray tins, anodise parts, touch up the frame.
- Repair the water cooling system and build an overflow can
As you can see this was no quick fix. But when you want a hand built bike that works, it takes time, effort, patience and grace…. Well, maybe not grace.
So we got to work. Firstly tackling the fab jobs. Getting the shifter linkage sorted following my tried and trued method that you can learn about in this blog. Then moving onto re-shaping the tail. The riders complaint was the seat felt like a brick, and it did. The tail also didn’t really fit my ideas for the style on the bike so I got to sorting one out that did.
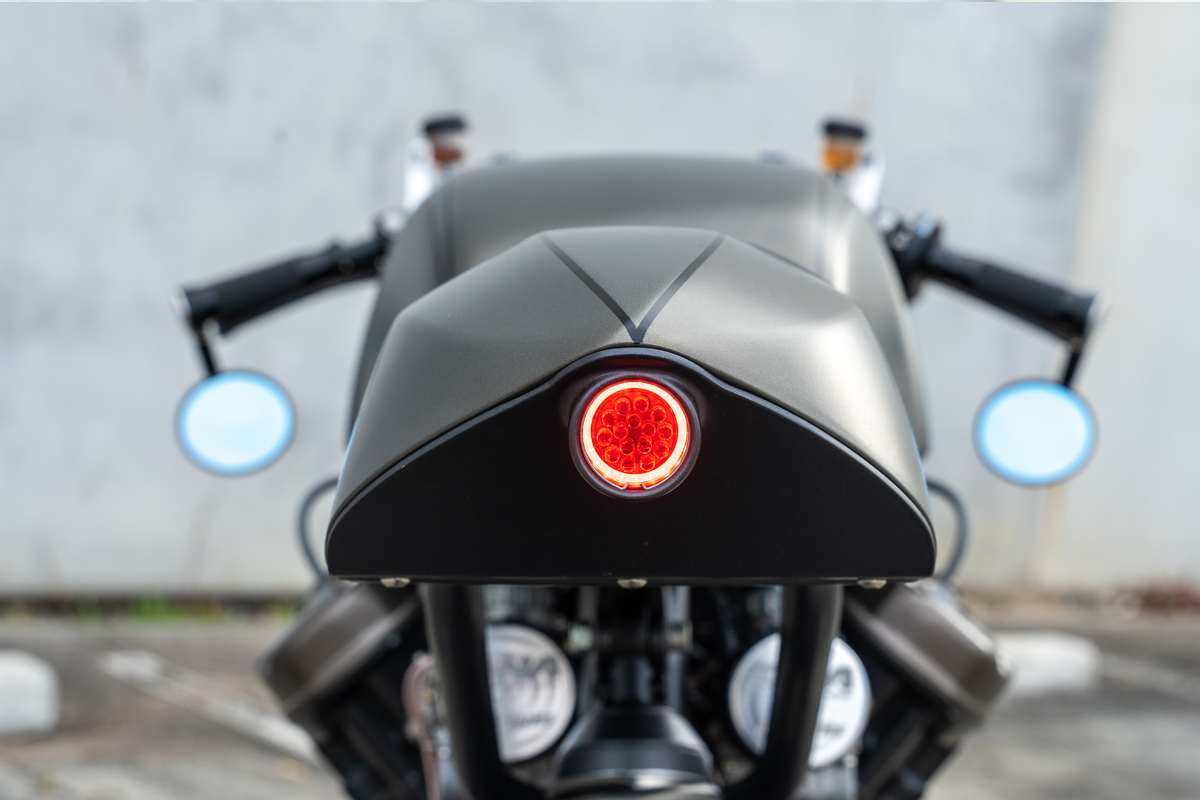
I had Dylan sort out the under tail plate and integrate one of our Orbit LED brake lights into it. Creating a clean upsweep from the custom subframe, detailed perfectly by that bright red glow.
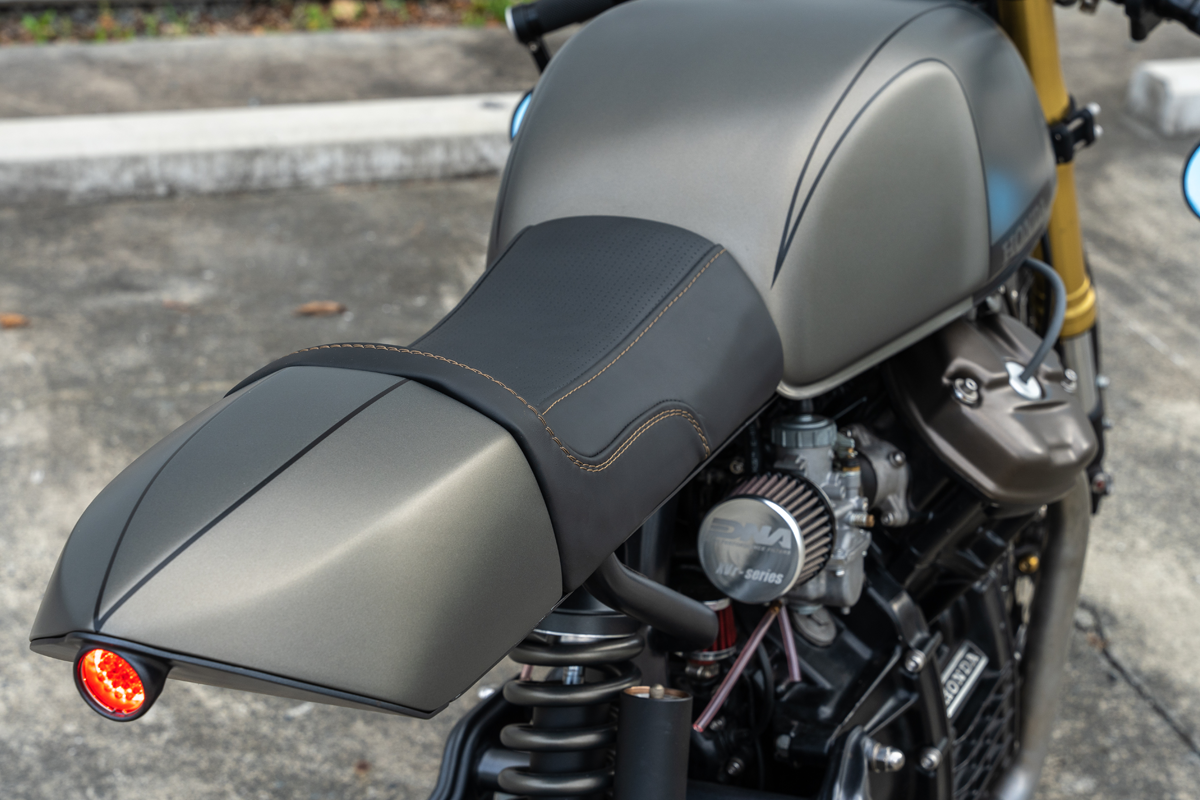
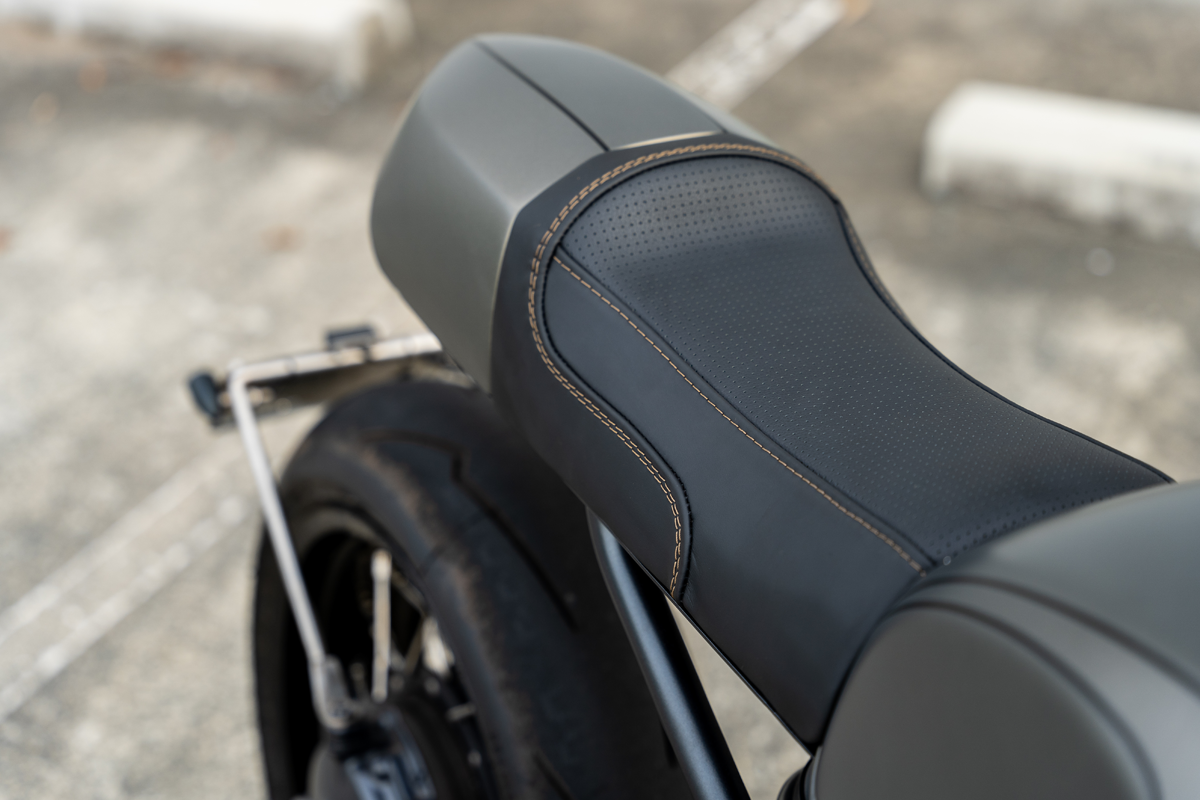
Using some plug foam to carve out a nice shape I worked on a few sharper lines for the tail, then taking that shape and fibreglassing it. Bumping the height up a bit that allowed me to make a new seat that was thicker (read: more comfortable) without compromising the style.
The tail section houses the battery, starter coil and fuses, while under the seat sits the brains of the electronics. This also needed some work, with the seat not having enough room under it initially to house the electronics module and wiring its all a bit tight.
Those items ticked off, I focussed my attention to the wheels and suspension. The lacing pattern was out of whack and the rims drilled incorrectly. Those were sent away to be made to suit and re-built with new stainless spokes on the refreshed rim.
During that time the suspension was sorted. The rear was mushy as a wet paddock and the front was so stiff rolling the bike around my shop made my wrists hurt. We needed to start from scratch. Firstly was swapping out the flogged headstem bearings, correctly spacing the triple clamp and fitting it back up. Read as many forums as you like on Honda CX500 monoshock conversions, you’re never going to get it right with an off the shelf rear shock. The spring rate required for that suspension ratio is sky high. From experience I knew this was a custom job. A used Showa rear shock was sourced, fitted with a modified heavy duty spring and reconditioned with the correct valving to suit our application. Our mates at Ride Dynamics nailed this one again.
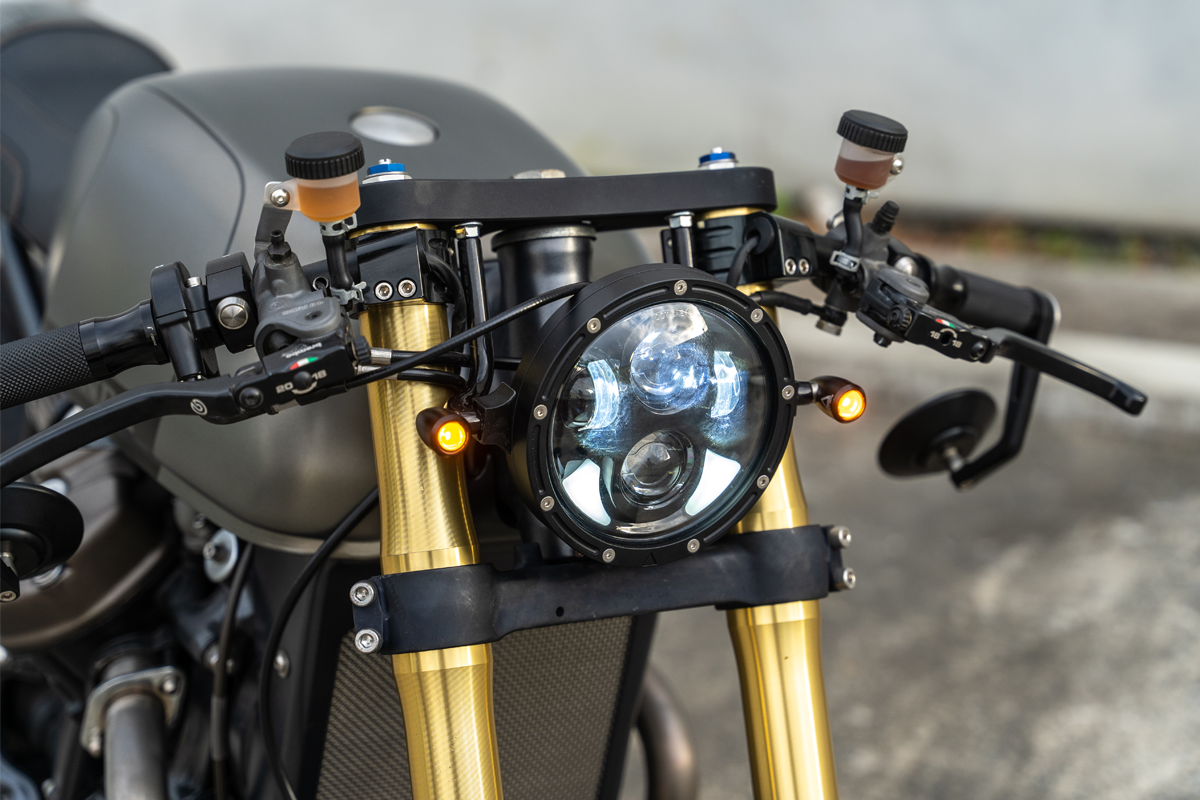
The lighting was sorted out front to back with our LED headlight and 3 in 1 LED blinkers, all mounted on custom fabricated brackets.
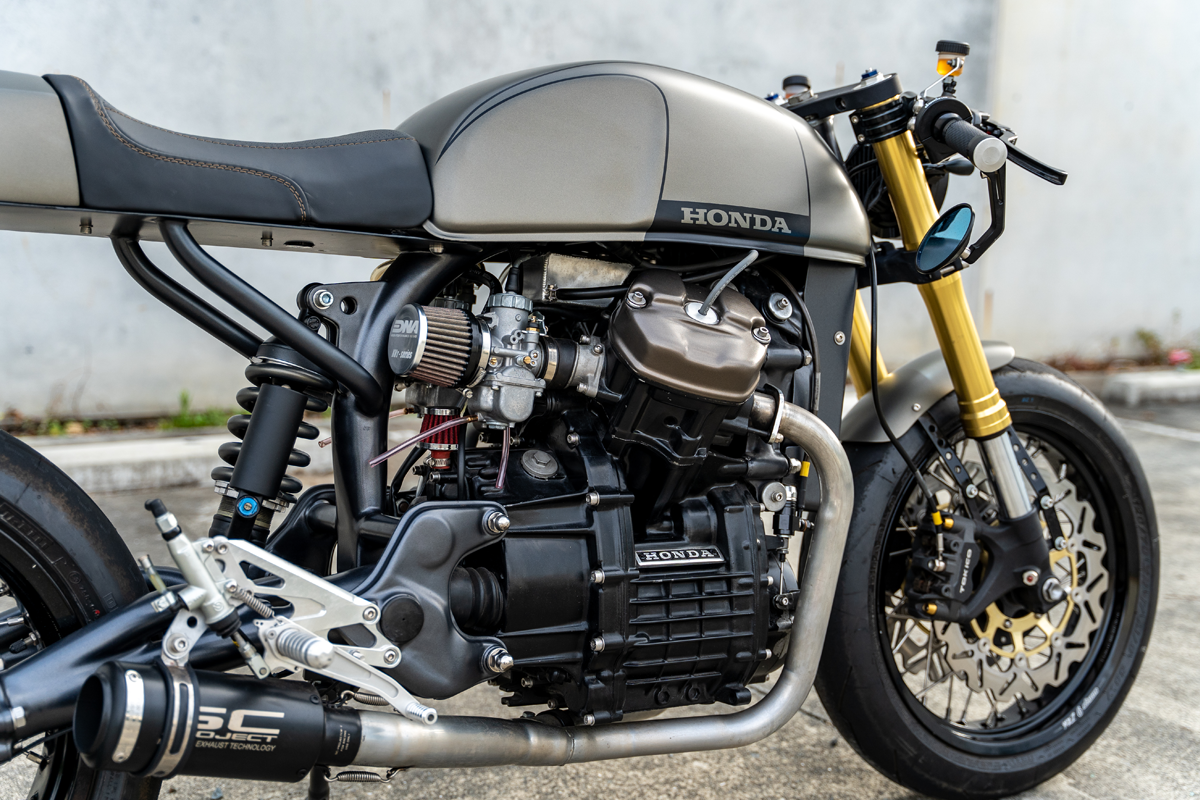
With that came a fair bit of electrical tidy up including an incorrectly wired ignition that had the CX500 running like a hairy goat. With that sorted and a fresh set of Mikuni roundslide carbs kitted with DNA filter the CX500 is purring like it should.
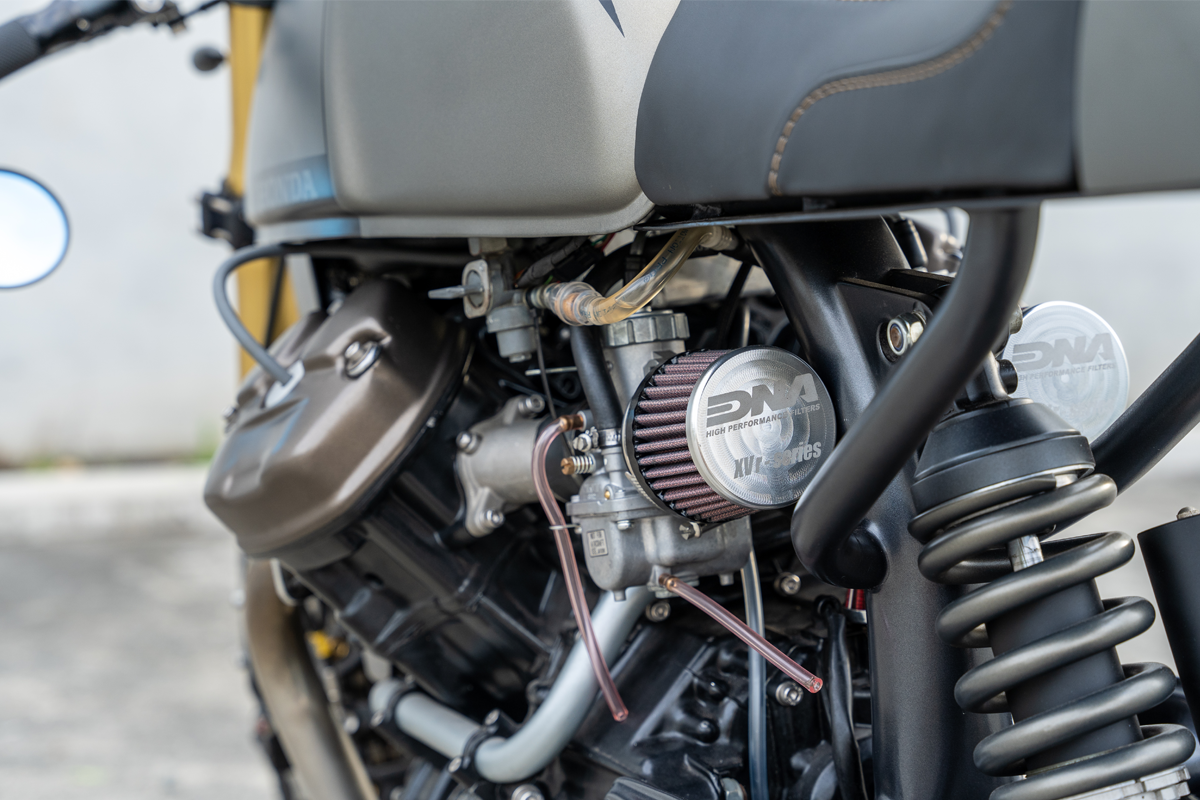
I began the tear down to get parts sent for paint and I felt like something was missing from this bike. Which it was: a catch can for the radiator. With the expansion hose just running out to ground, the cooling system was half full after leaking out on the ground every time the coolant expanded under high temperatures. Note: you need an overflow can- even if it’s a small one. So we mapped out an area under the tank, fabricated a small aluminium catch can and plumbed it in. Another problem solved.
The paint scheme was kept simple, to let the shapes we’d created do the talking. A deep satin bronze, highlighted with some black body lines did the trick. With the tins being complimented by a clean perforated leather design on the seat. Stitched up by Jamason at Timeless.
With all the pieces of this puzzle back together, finally fitting as they should I’m stoked to say we saved another bike from gathering dust in the corner of a garage. Hopefully now it will see the stretches of road it deserves.

WE BUILD BIKES WITH PURPOSE.
Purpose Built Moto is home for unique custom motorcycle builds. We offer a unique motorcycle customizing experience in the heart of the Gold Coast.


2 reacties
Bonjour. Le rendu est vraiment tres beau. De quel reservoir s’agit-il? Merci
I love deths bike