
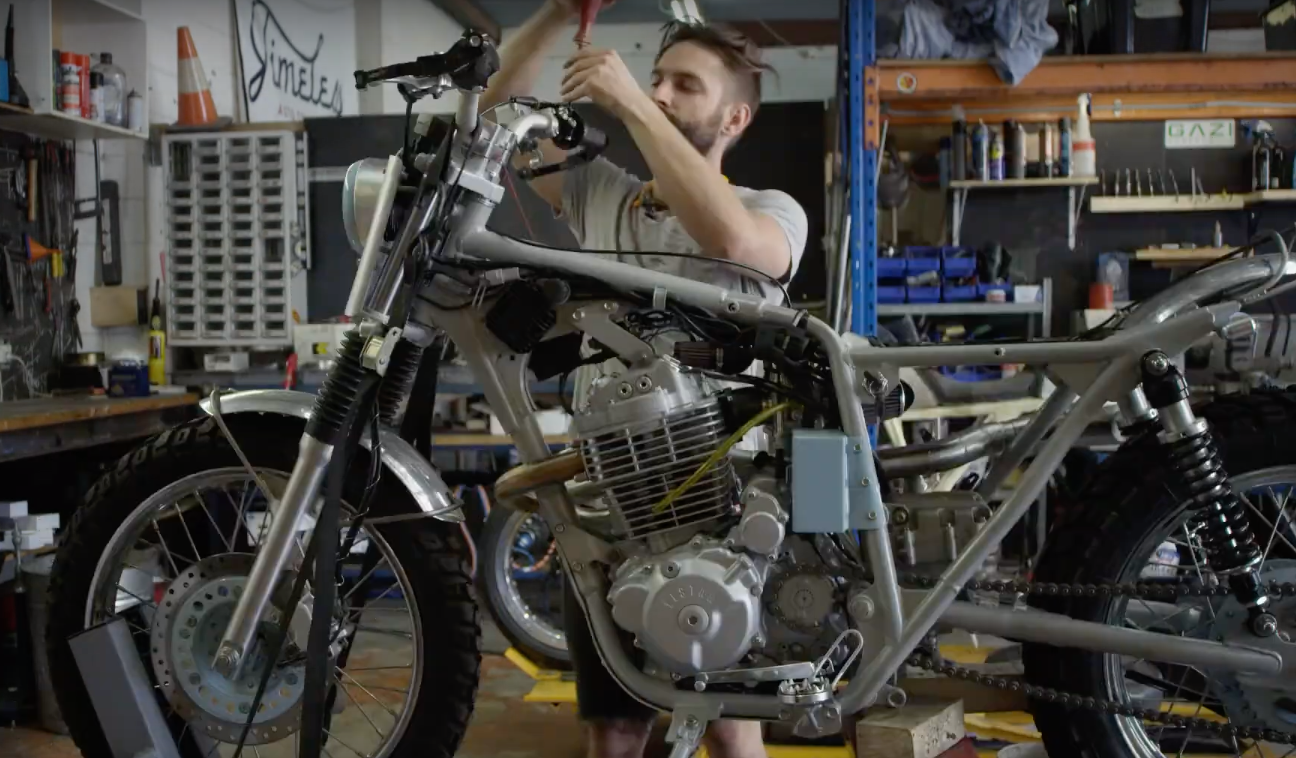
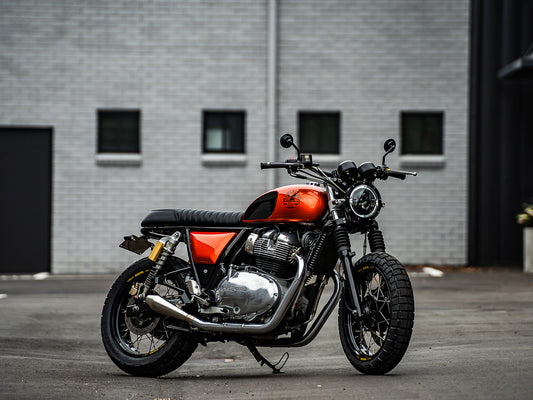
Episode 8 of this scrambler build is here and the bike is just about wrapped up. All the modification and fabrication has been completed and the bike is now a roller.
From here we need to make sure everything is working as intended, torqued up and to complete the wiring ready for our Wide of the Mark adventure to Tasmania. In this episode, we will cover
It’s easy to get excited at this stage of the build, the bike looks complete and you’ve been working on it so long you just want to ride the thing already! Truth is, there’s still a large portion of important work to do to ensure your bike is completed properly and will go the distance.
Ask anyone who’s ever worked on an old or custom motorcycle, I’d say most of them will tell you 80% of the issues people have with these bikes are electrical in nature. That’s why I always try to take special care when doing this part of the build.
Making sure your electrics are protected, wired correctly, and set out in a way that’s easy to maintain and fault find if the need arises.
On the Sol Invictus scrambler build a few key points to the electrical system are as follows…
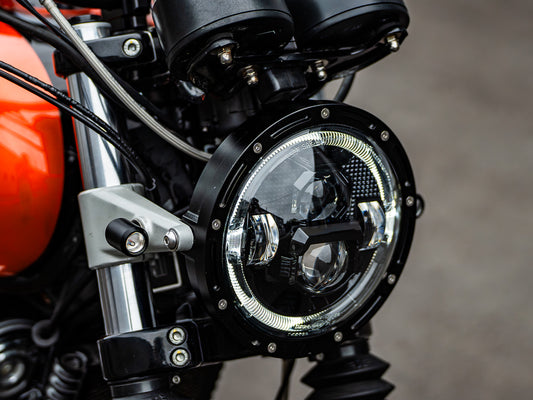
- Making the headlight, speedo, and turn signals easily unplugged and removable.
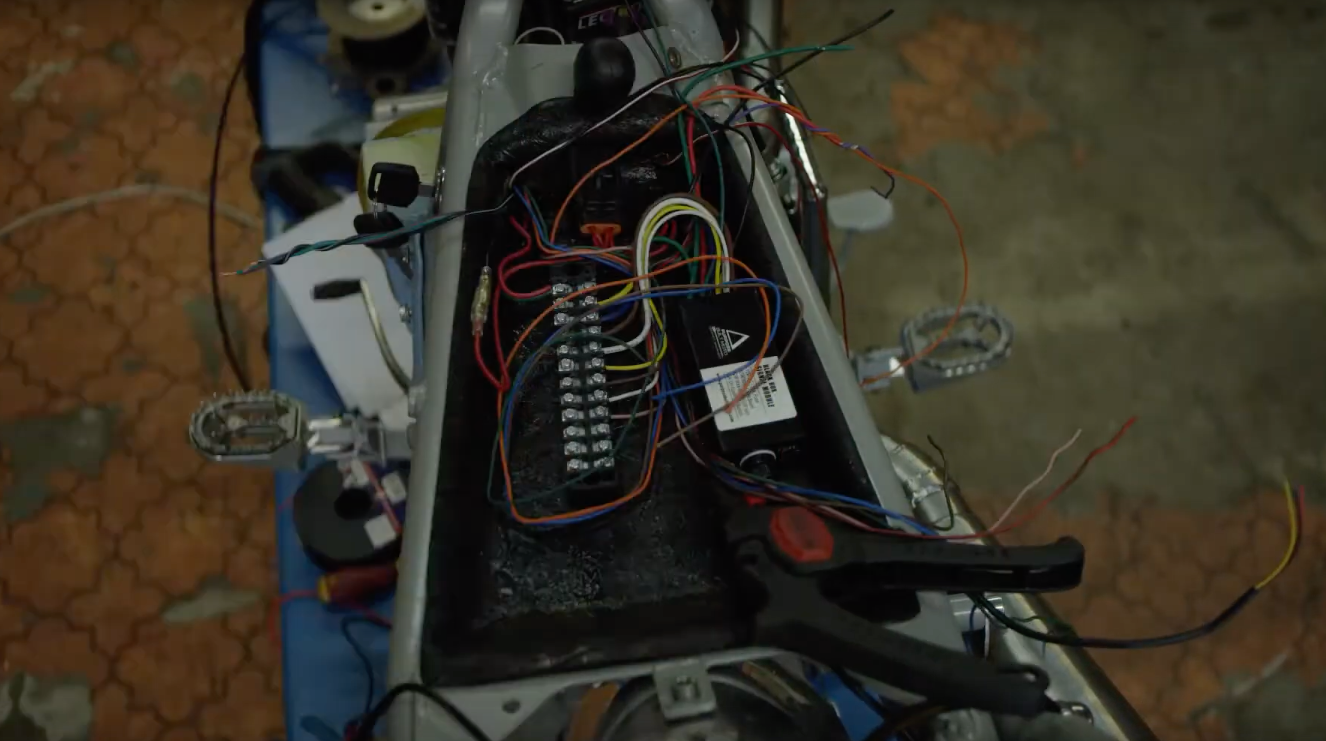
- Having all major connections quickly accessible and labeled to make sure we can do trailside repairs easily if needed.
- Protecting the electrical connections from water and weather.
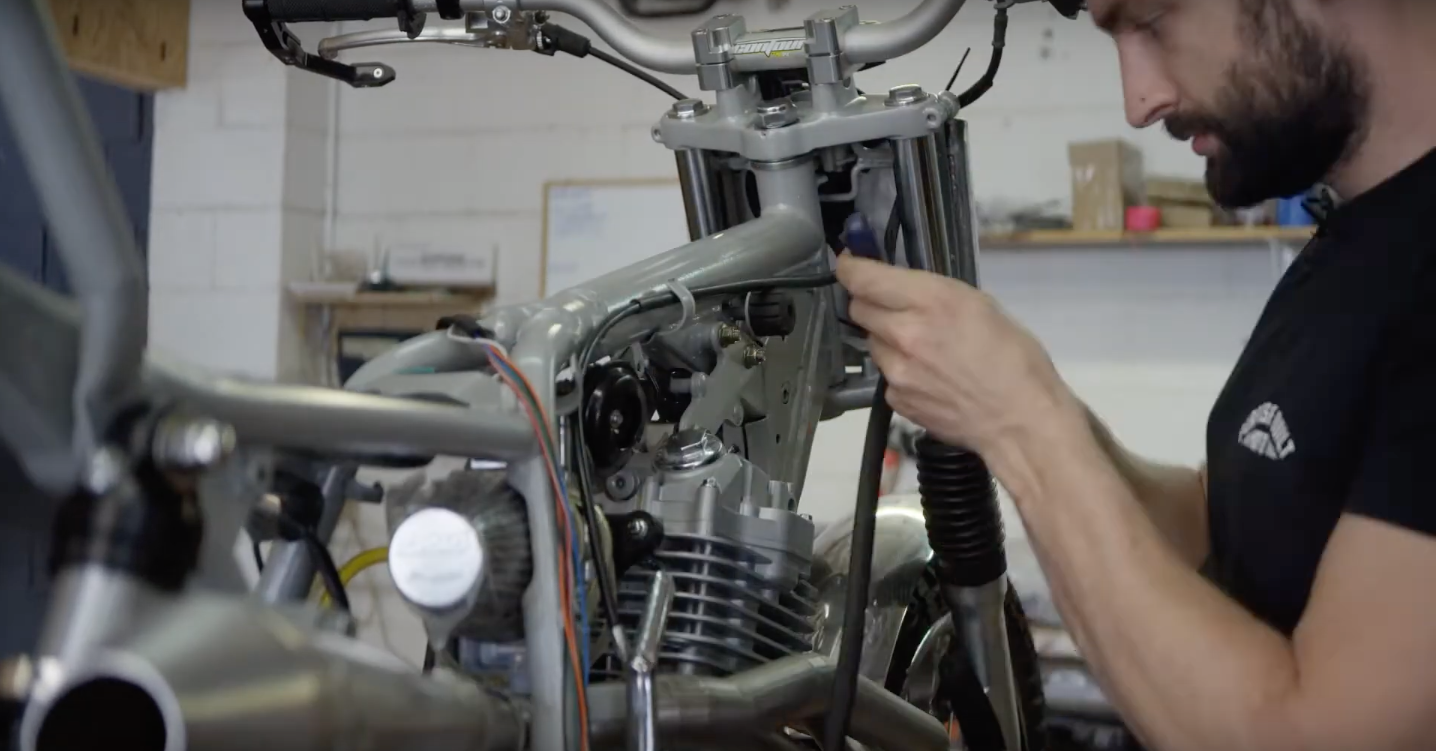
Generally, my bikes aren’t built for creek crossings, mud, and sand riding. The bikes for Wide of the Mark are, so that means changing my thinking a little bit on how it’s all laid out electrically. Tucking everything up as high as possible and trying to make sure they’re out of the way of heavy water splashes is key.
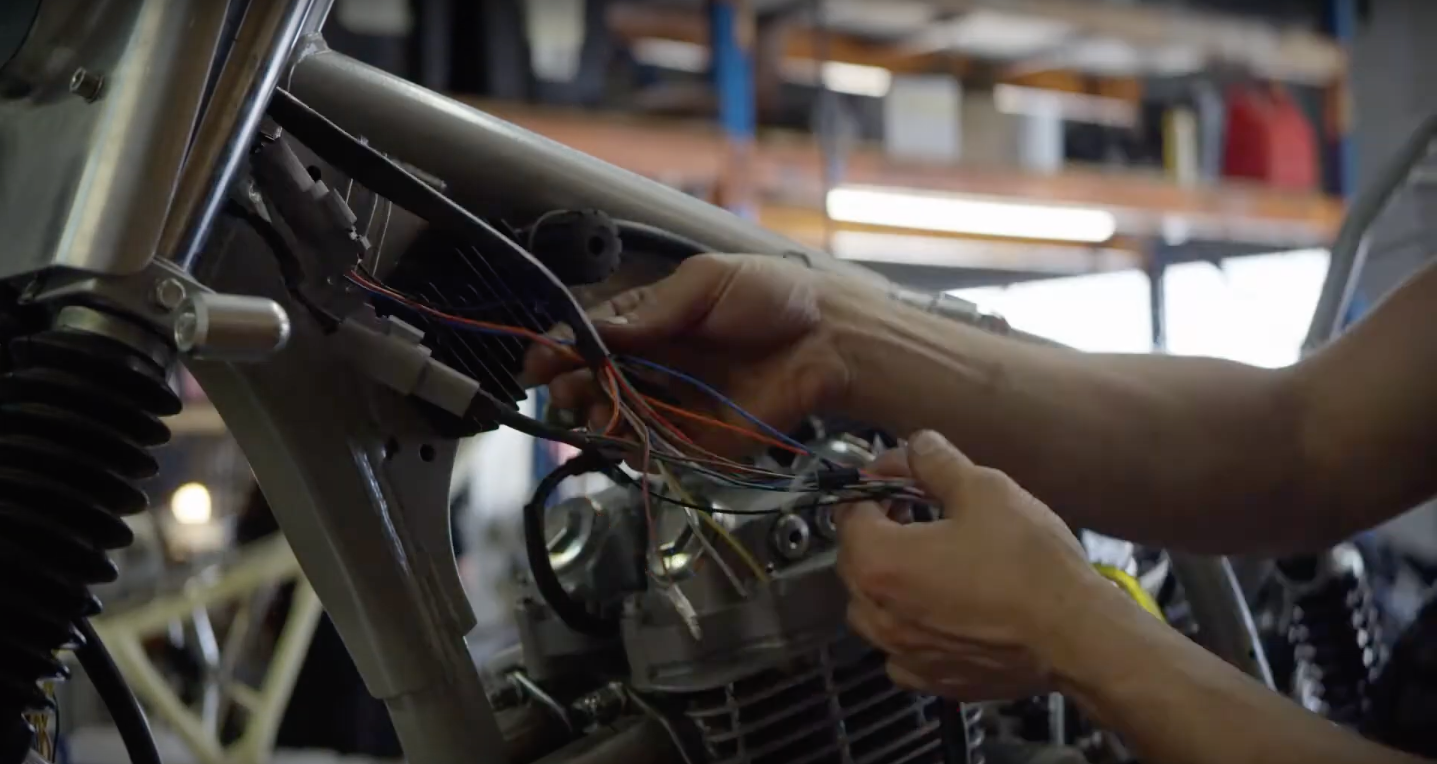
As per usual the black box and lighting connections are tucked neatly under the seat, and the loom has been modified to accommodate the new locations of equipment like the CDI, Reg/Rec, and the stator + Timing signal connections. All completed using the factory connection plugs.
For the lighting and push-button controls, they’ve been terminated using Deutsch plugs, a waterproof plug type used on a lot of factory motorcycle looms. Reliable, easy to terminate and fairly small. These plugs take a little more time up-front but can save you heartache down the track over standard 12V plugs with no weather protection. Linking back to the Purpose Built Moto Black Box unit for the flash on switch functions needed.
For a more detailed overview, check out our specific product install blogs on the buttons and black box module.
With the electrical buttoned-up, fluids checked, and the bike assembled I always take the time to go over the bike from end to end with the bike manual and a torque wrench handy. Making sure all major (and minor) fasteners are tightened to spec. I mention this a few times that instead of doing it as I work through assembling the bike, my approach leaves all bolts mildly tightened until the end where it’s gone over completely and methodically to check each bolted connection. It’s my way of removing my own forgetfulness from the equation. After the first 20-30kms on the bike, I’ll go over again and double-check everything again.
With those checks out of the way the last thing to do is take a deep breath and start her up! Fuel tap on, fill the Lectron Carburettor, turn the key, hit the starter and the Nemesis 400 burst to life.
The 400cc thumper bellowing out a nice smooth note from the custom-built exhaust and PBM Torpedo Muffler.
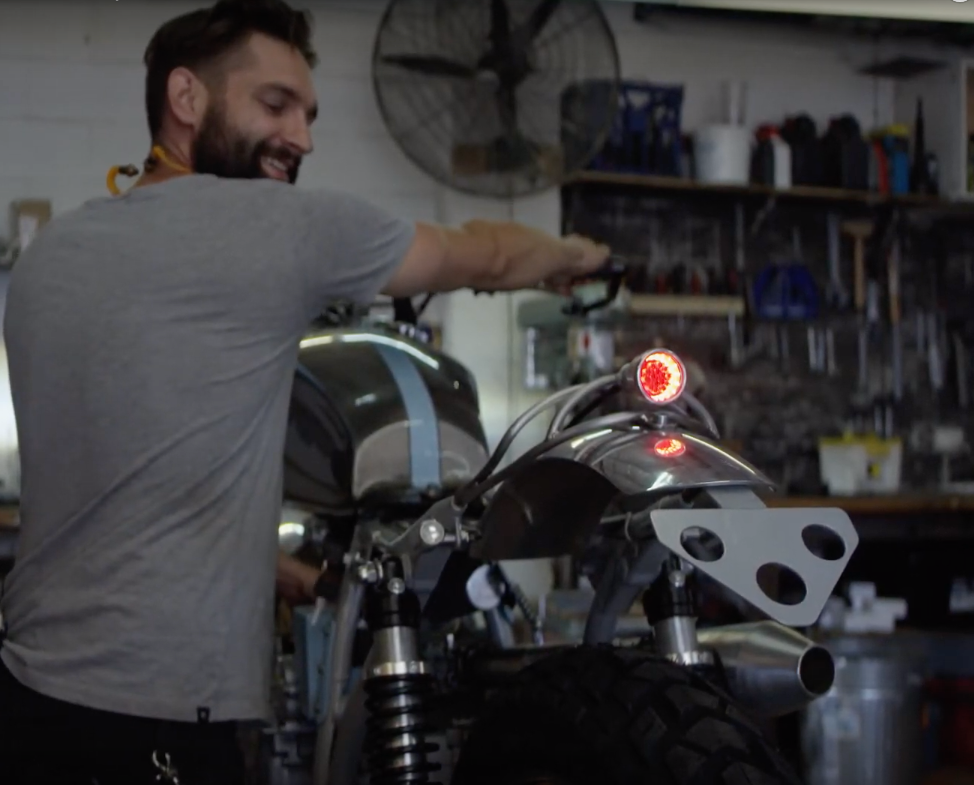
Having the owner Jake here for the first startup was pretty special, he’d been behind the camera watching me build his bike piece by piece and to share the first start with him was great. We both got so pumped on the final product! A quick test ride up the street and a few laps around the block in the coming days showed up no issues, we were ready to ride!!

In the next episode, we will be running over a complete build summary on the desert sled styled adventure bike and heading out for a heavy offroad test ride through a local sand track.
Thanks for being part of the journey and we’ll see you on the next episode.
Tom.

WE BUILD BIKES WITH PURPOSE.
Purpose Built Moto is home for unique custom motorcycle builds. We offer a unique motorcycle customizing experience in the heart of the Gold Coast.
2 comments
I’ll email you mate
I’m interested in your build
I like to own 1 of this
Can you send me 1
I’ll pay for it