
Customising your bike can seem overwhelming at first—there's a lot to consider, and if you're not mechanically inclined, it might even be a bit intimidating. But what if I told you there's a simple, impactful way to start your learning journey with bike modification?
Swapping out your stock indicators is one of the simplest modifications you can make. It's a straightforward project that doesn't require a garage full of tools or a degree in engineering. Plus, it's a great introduction to the basics of motorcycle wiring, giving you a foundation for any future projects you might take on.
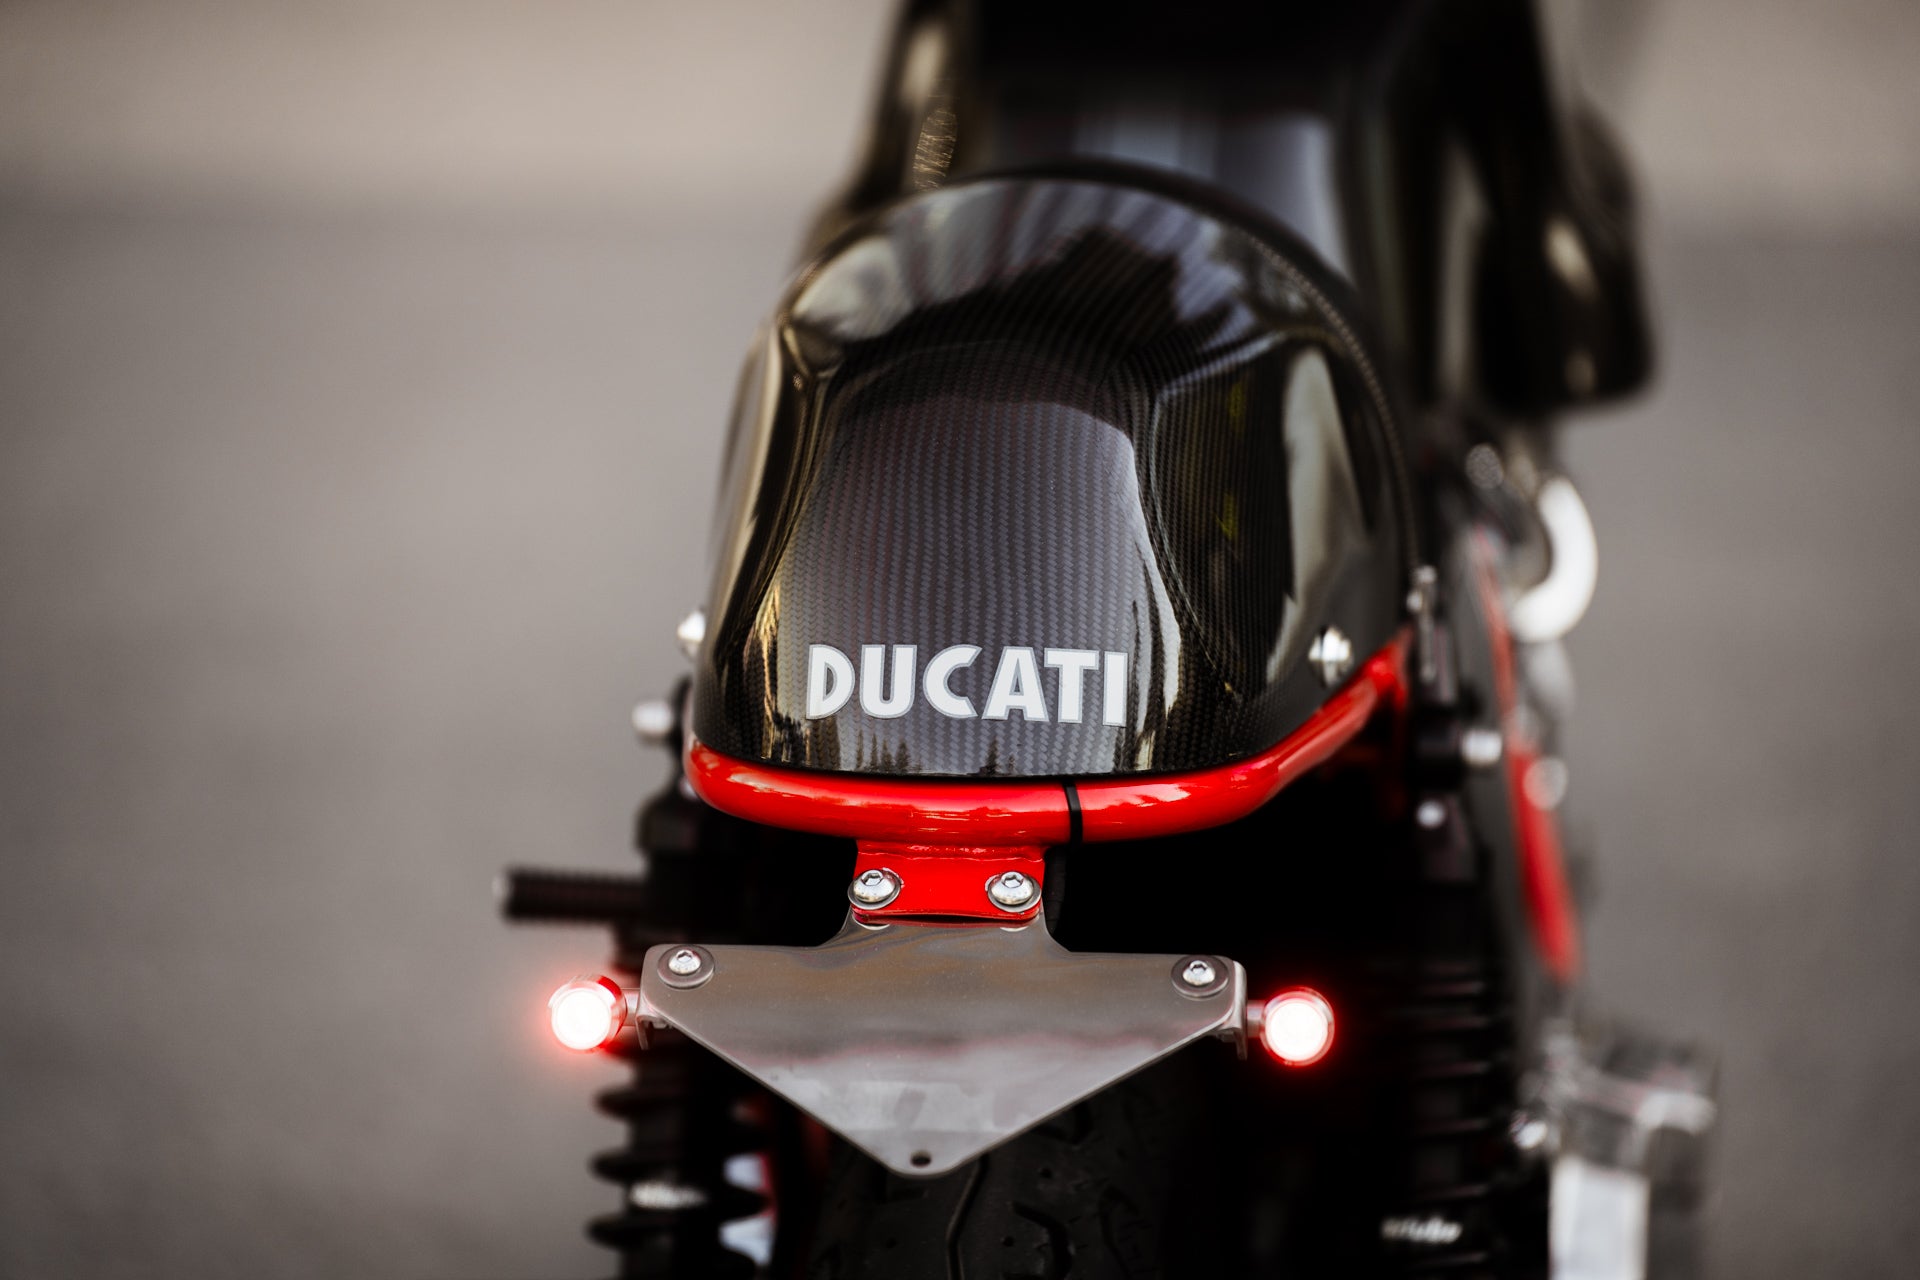
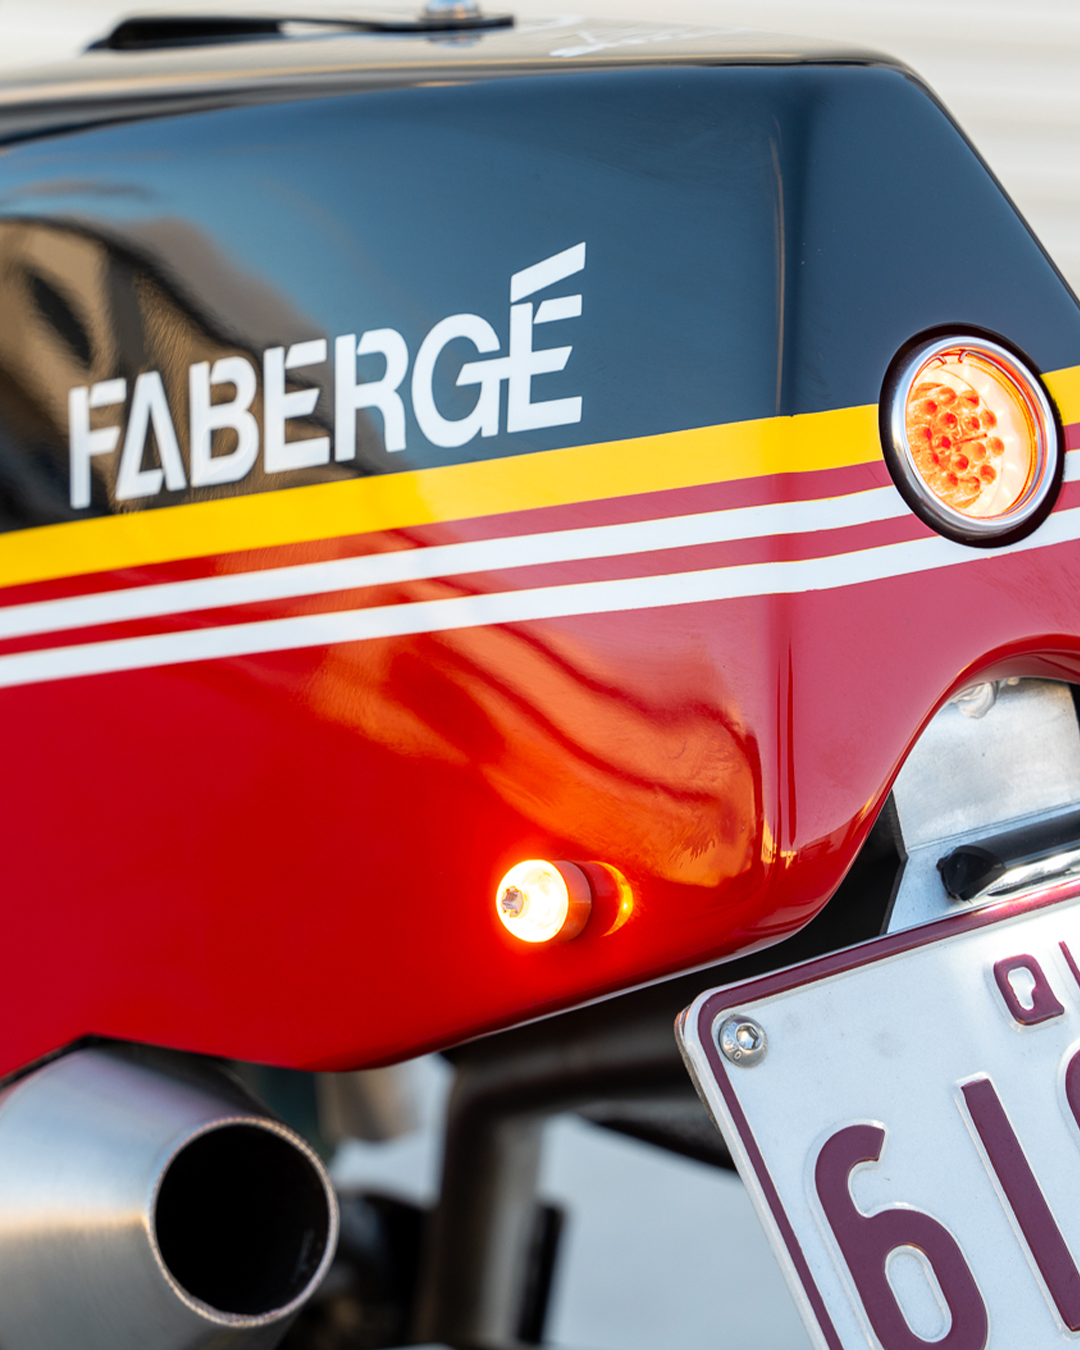
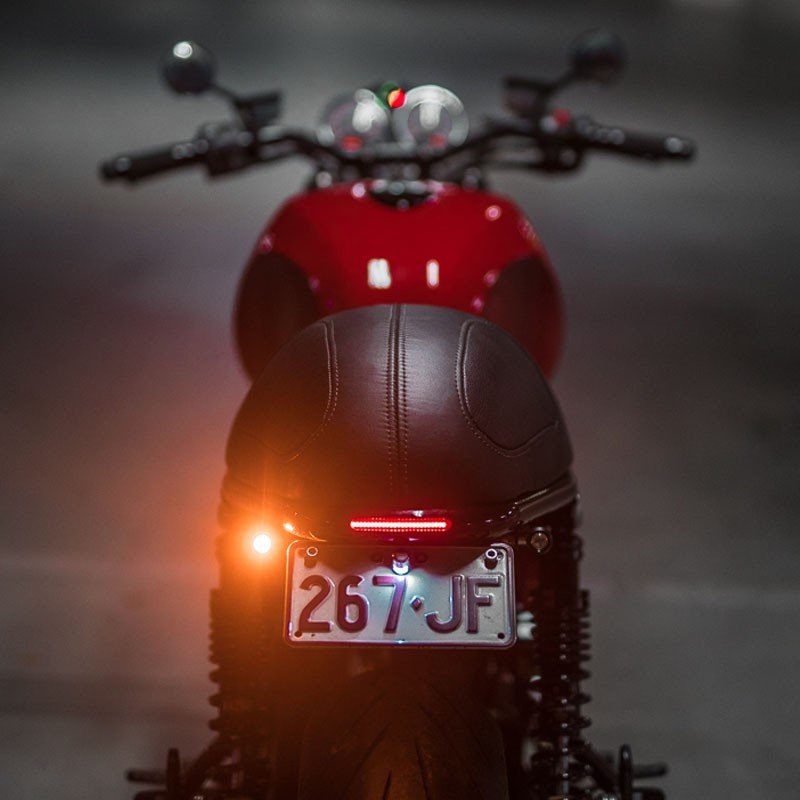
At Purpose Built Moto, we've developed a range of indicators designed to enhance both the look and safety of your bike while being easy to install.— even for beginners.
The Value of Starting Small
It's easy to feel overwhelmed by the vast world of motorcycle customization. There are countless possibilities, and it's tempting to dive into complex projects right away. However, starting with something manageable like indicator installation has its advantages.
This modification requires minimal investment in terms of both time and money. It allows you to test the waters without committing to a major overhaul. You'll get immediate results that enhance your riding experience, and the sense of accomplishment you feel can be a powerful motivator to tackle more ambitious projects in the future.
The Installation Process
You might be wondering what installing new indicators actually involves. Here's a straightforward overview to give you an idea of what's involved.
Preparation
First, ensure you have the basic tools: screwdrivers, wire strippers, electrical tape or heat shrink tubing, and possibly a soldering iron if you're comfortable using one. It's also wise to have your motorcycle's manual on hand for reference.
Removing the Old Indicators
Begin by disconnecting the battery. Locate the indicators and carefully remove them, taking note of how they're attached and how the wiring is connected. This might involve unscrewing a few bolts and gently pulling apart connectors.
Understanding the Wiring
Motorcycle indicators typically have two wires: one positive and one negative. The colours can vary, but the manual should help you identify them. This is a great opportunity to familiarise yourself with basic wiring principles.
Installing the New Indicators
Unpack your new Purpose Built Moto indicators and prepare them for installation. Connect the wires from the new indicators to the corresponding wires on your bike. If you're comfortable soldering, this can provide the most secure connection. Otherwise, crimp connectors will suffice for a beginner.
Testing
Before finalising everything, reconnect the battery and test the indicators to ensure they're working properly. Check that they light up correctly and flash at the appropriate rate. If they flash too quickly or not at all, you might need to install resistors or an LED-compatible flasher relay—components that regulate the electrical flow to the indicators.
Securing and Finishing Up
Once you're satisfied that everything is working, secure the wiring to prevent any loose ends from interfering with moving parts. Reattach any components you removed during the process. Stand back and admire your work—you've just completed your first motorcycle modification.

Embracing the Learning Curve
Taking on this project is not just about the end result but also about the journey. You'll gain a basic understanding of your motorcycle's electrical system, which demystifies the machine and makes you a more confident rider and owner. Learning how to identify wires, make secure connections, and troubleshoot minor issues are valuable skills that can save you time and money in the long run.
Don't worry if you're not an expert right away. Everyone starts somewhere, and this is a low-risk way to begin. There are plenty of resources available, including our own installation guides, to help you along the way. And remember, the motorcycle community is full of enthusiasts who started just like you—many are happy to offer advice and support.
Looking Ahead
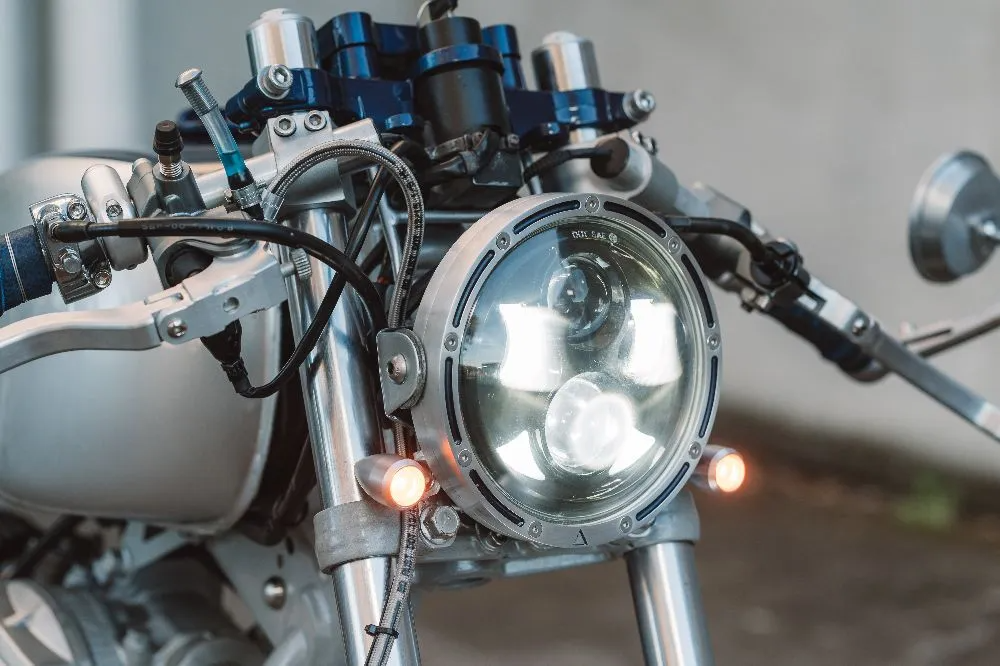
Once you've successfully installed your new indicators, you might find yourself eager to continue customizing your motorcycle. The skills you've learned will serve as a solid foundation for future modifications. Perhaps you'll consider upgrading your headlights for better night visibility, or maybe you'll look into swapping your brakes. You've started now, why stop?
Final Thoughts
Upgrading your motorcycle's indicators is more than just a simple project—it's a gateway drug for bike modification. It's about taking ownership of your ride and making it an extension of who you are. The process is accessible, rewarding, and sets you on a path toward greater understanding and appreciation of your machine and hopefully more customisation.
At Purpose Built Moto, we're here to support you on this journey. Our products are designed with riders in mind, balancing style, functionality, and ease of use. We're passionate about motorcycles and the community that surrounds them, and we're excited to see how you'll make your mark.
Ready to start your modification journey?
Explore our range of indicators:
Happy riding, and we'll see you out there.

WE BUILD BIKES WITH PURPOSE.
Purpose Built Moto is home for unique custom motorcycle builds. We offer a unique motorcycle customizing experience in the heart of the Gold Coast.


