
In our penultimate episode we bring together the final pieces of the Honda CB550 Dream Bike Build.
Things are really heating up with our Honda CB550 Dream Bike. Right now all the puzzle pieces are on the table, we just have to carefully place them in the correct order and make this handcrafted Cafe Racer whole.
During the assembly stage there are a lot of small parts that need to be finished and polished. They’ve been done before, but after sitting around in the shop they can dull out as the rest of the parts come together. All they need is a quick run on the buff to bring out that gleam again and we can start assembly.
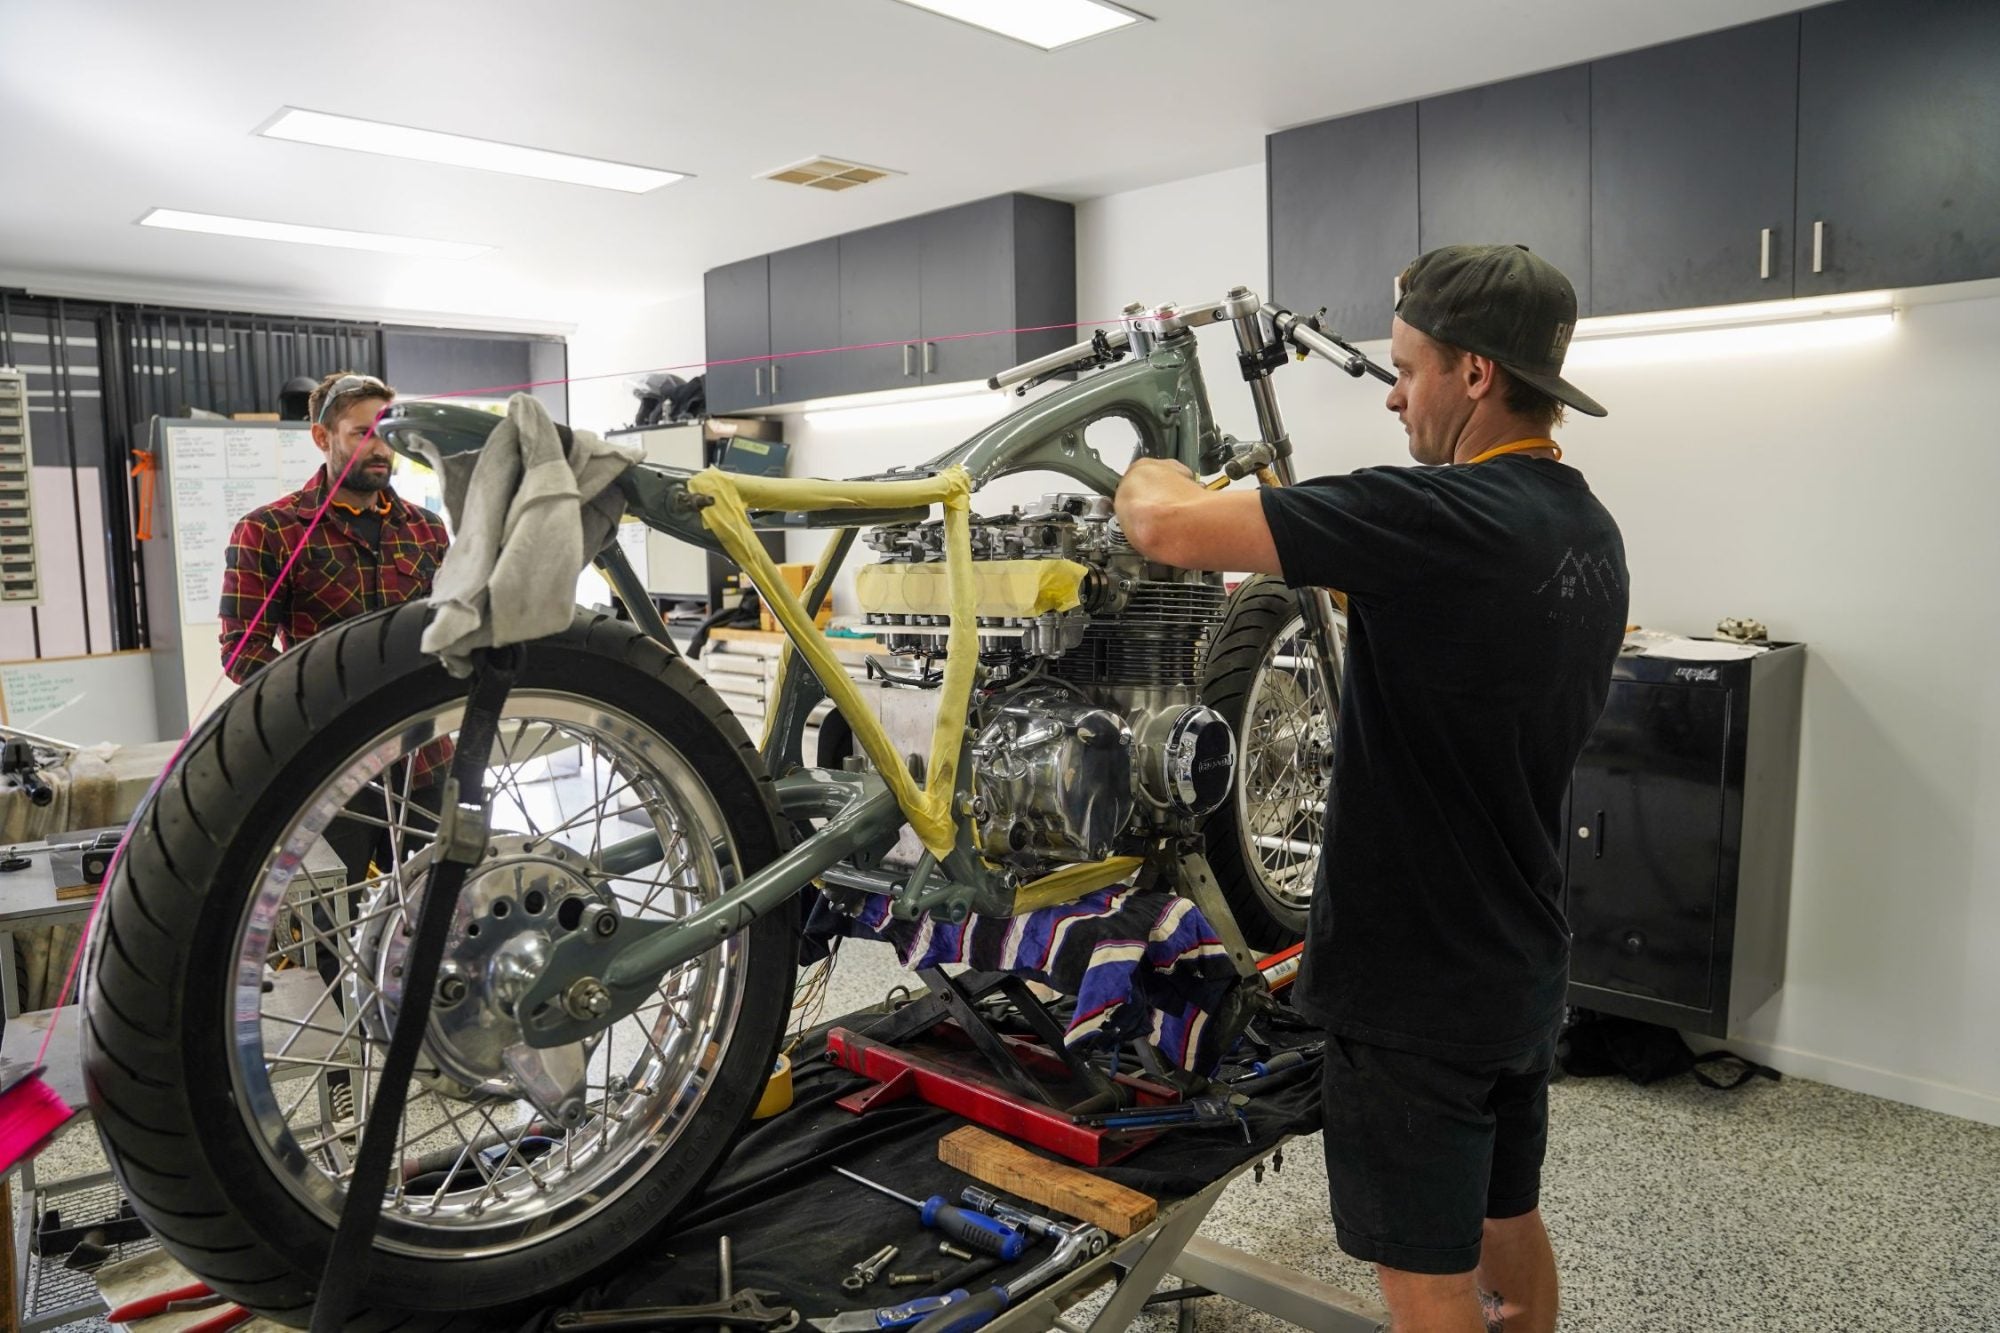
Our first job is getting the engine into the frame, which is scary considering how nice this paint has turned out. The Shannons Dream Bike Build is a symphony of fine finishes and we want to make sure we don’t mess any of that up during the assembly. Here we will usually lay the motor on its side, remove the sump and slide the frame over the engine. Once a few of the engine bolts are in, we can lift the frame onto a jack and start building the rolling chassis.
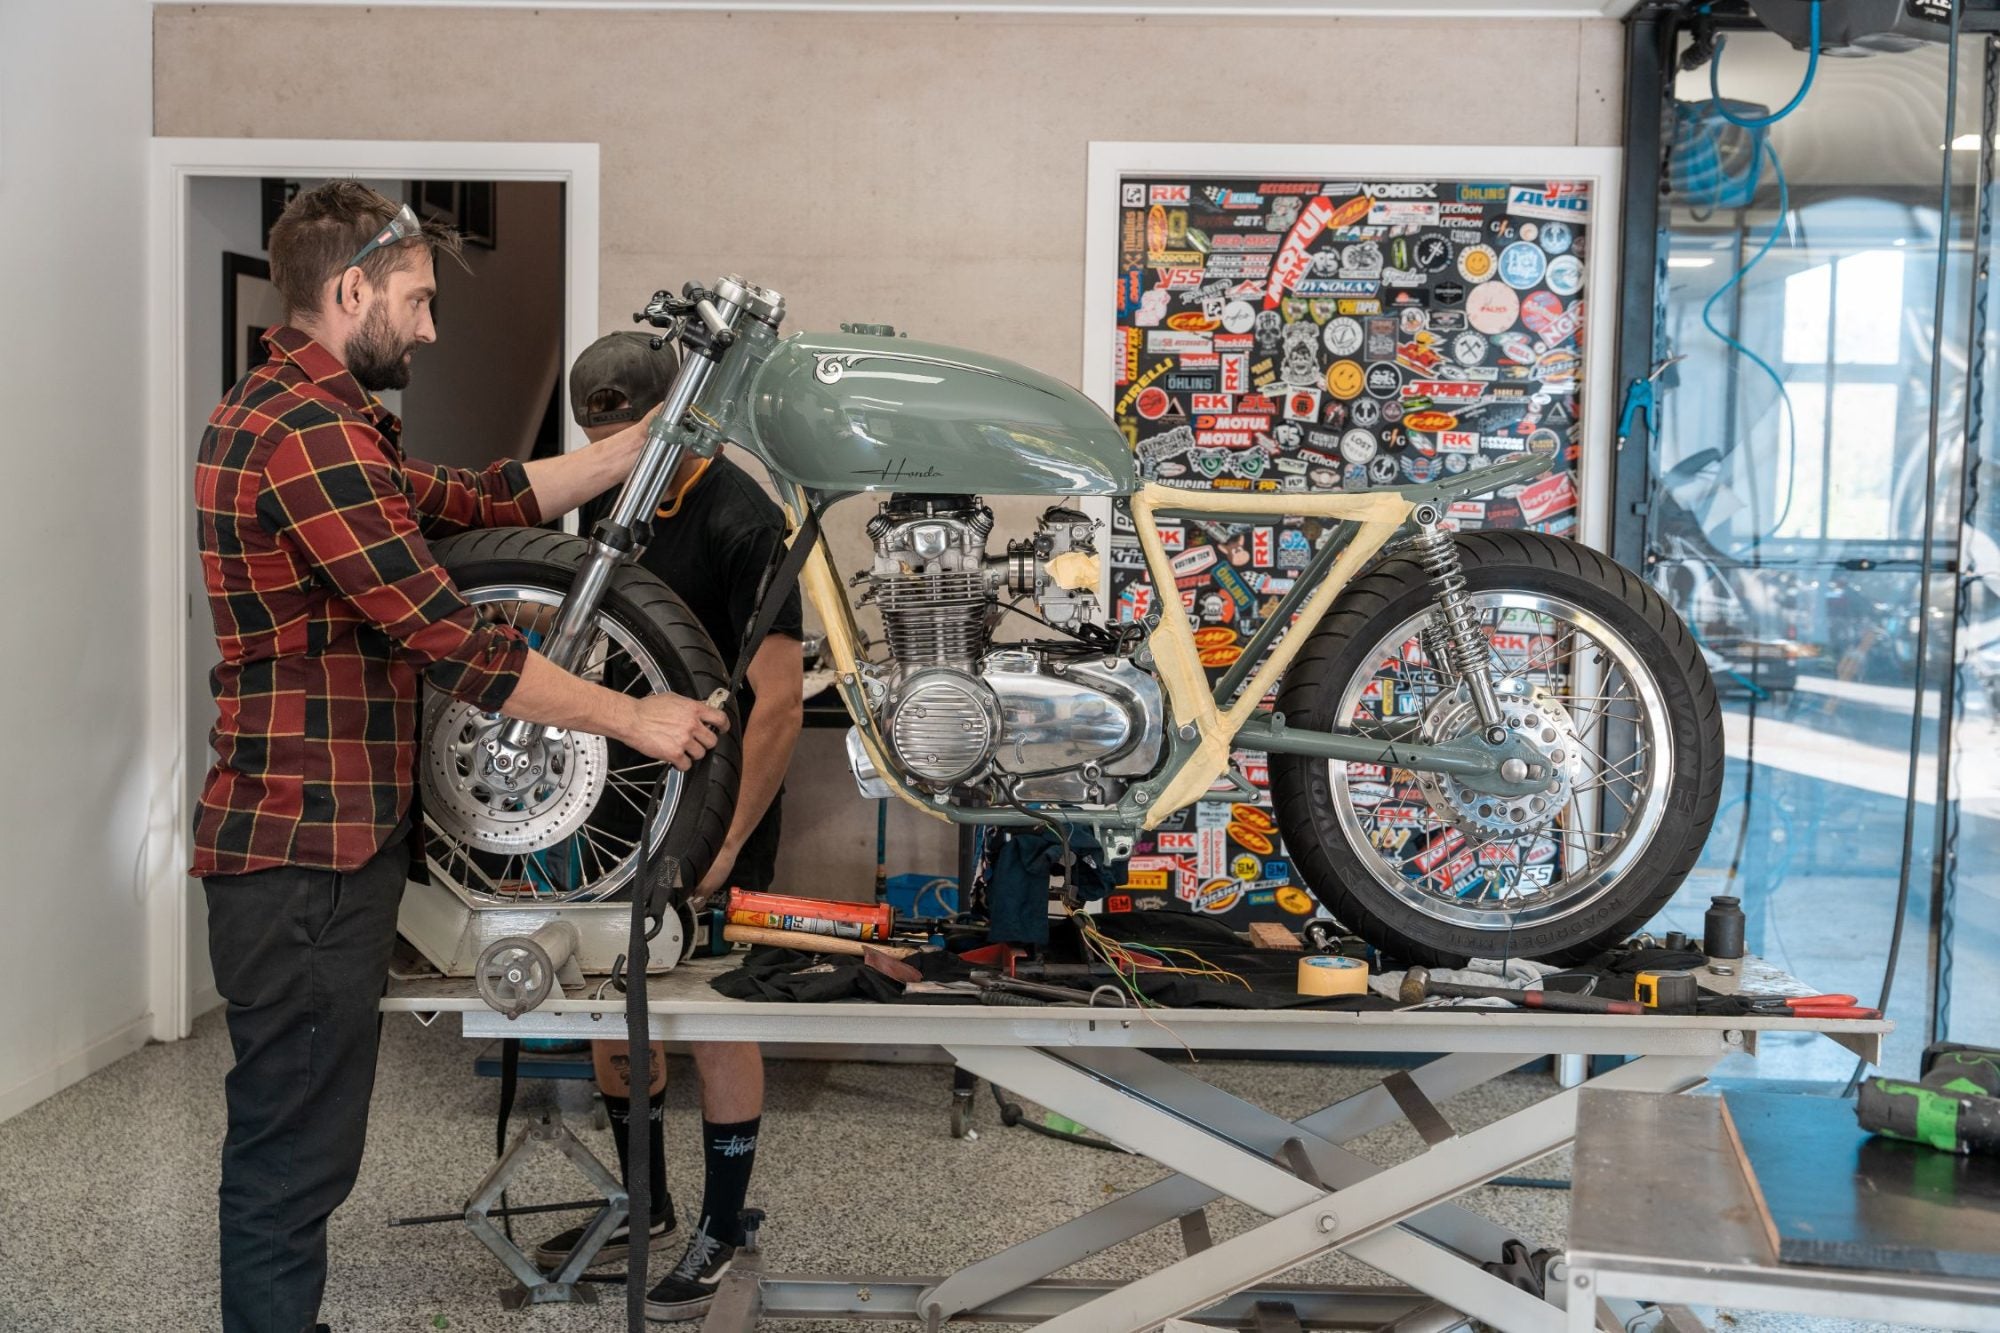
As the front end goes on, we can see all of the ingredients start talking to each other. The polished rims, brand new forks, and the polished headlight and bracketry against the vintage grey really start to show the colour combo that we’ve chosen is going to work beautifully.
As the guys were going through the motions of assembly, and making sure every T is crossed and I is dotted, we went through a rigorous commissioning checklist to ensure that nothing was missed and when our rider heads out the door he’s not coming back anytime soon with issues. This is something we developed from my experience in the industrial electrical game. Everything must be perfect. So we put processes in place to ensure that. This is something a lot of mechanics and workshops are missing. You cannot rely on people alone for perfection. That’s why the phrase “human error” is a thing. Now we are far from perfect, but we try to get a little closer with every bike we build and our 100 point commissioning checklist has been a great step in achieving this.
It does, however, take time. It can take 4-5 days straight to assemble one of our custom motorcycles properly and get it running. We put the time in up-front to save ourselves and our clients heartache later.
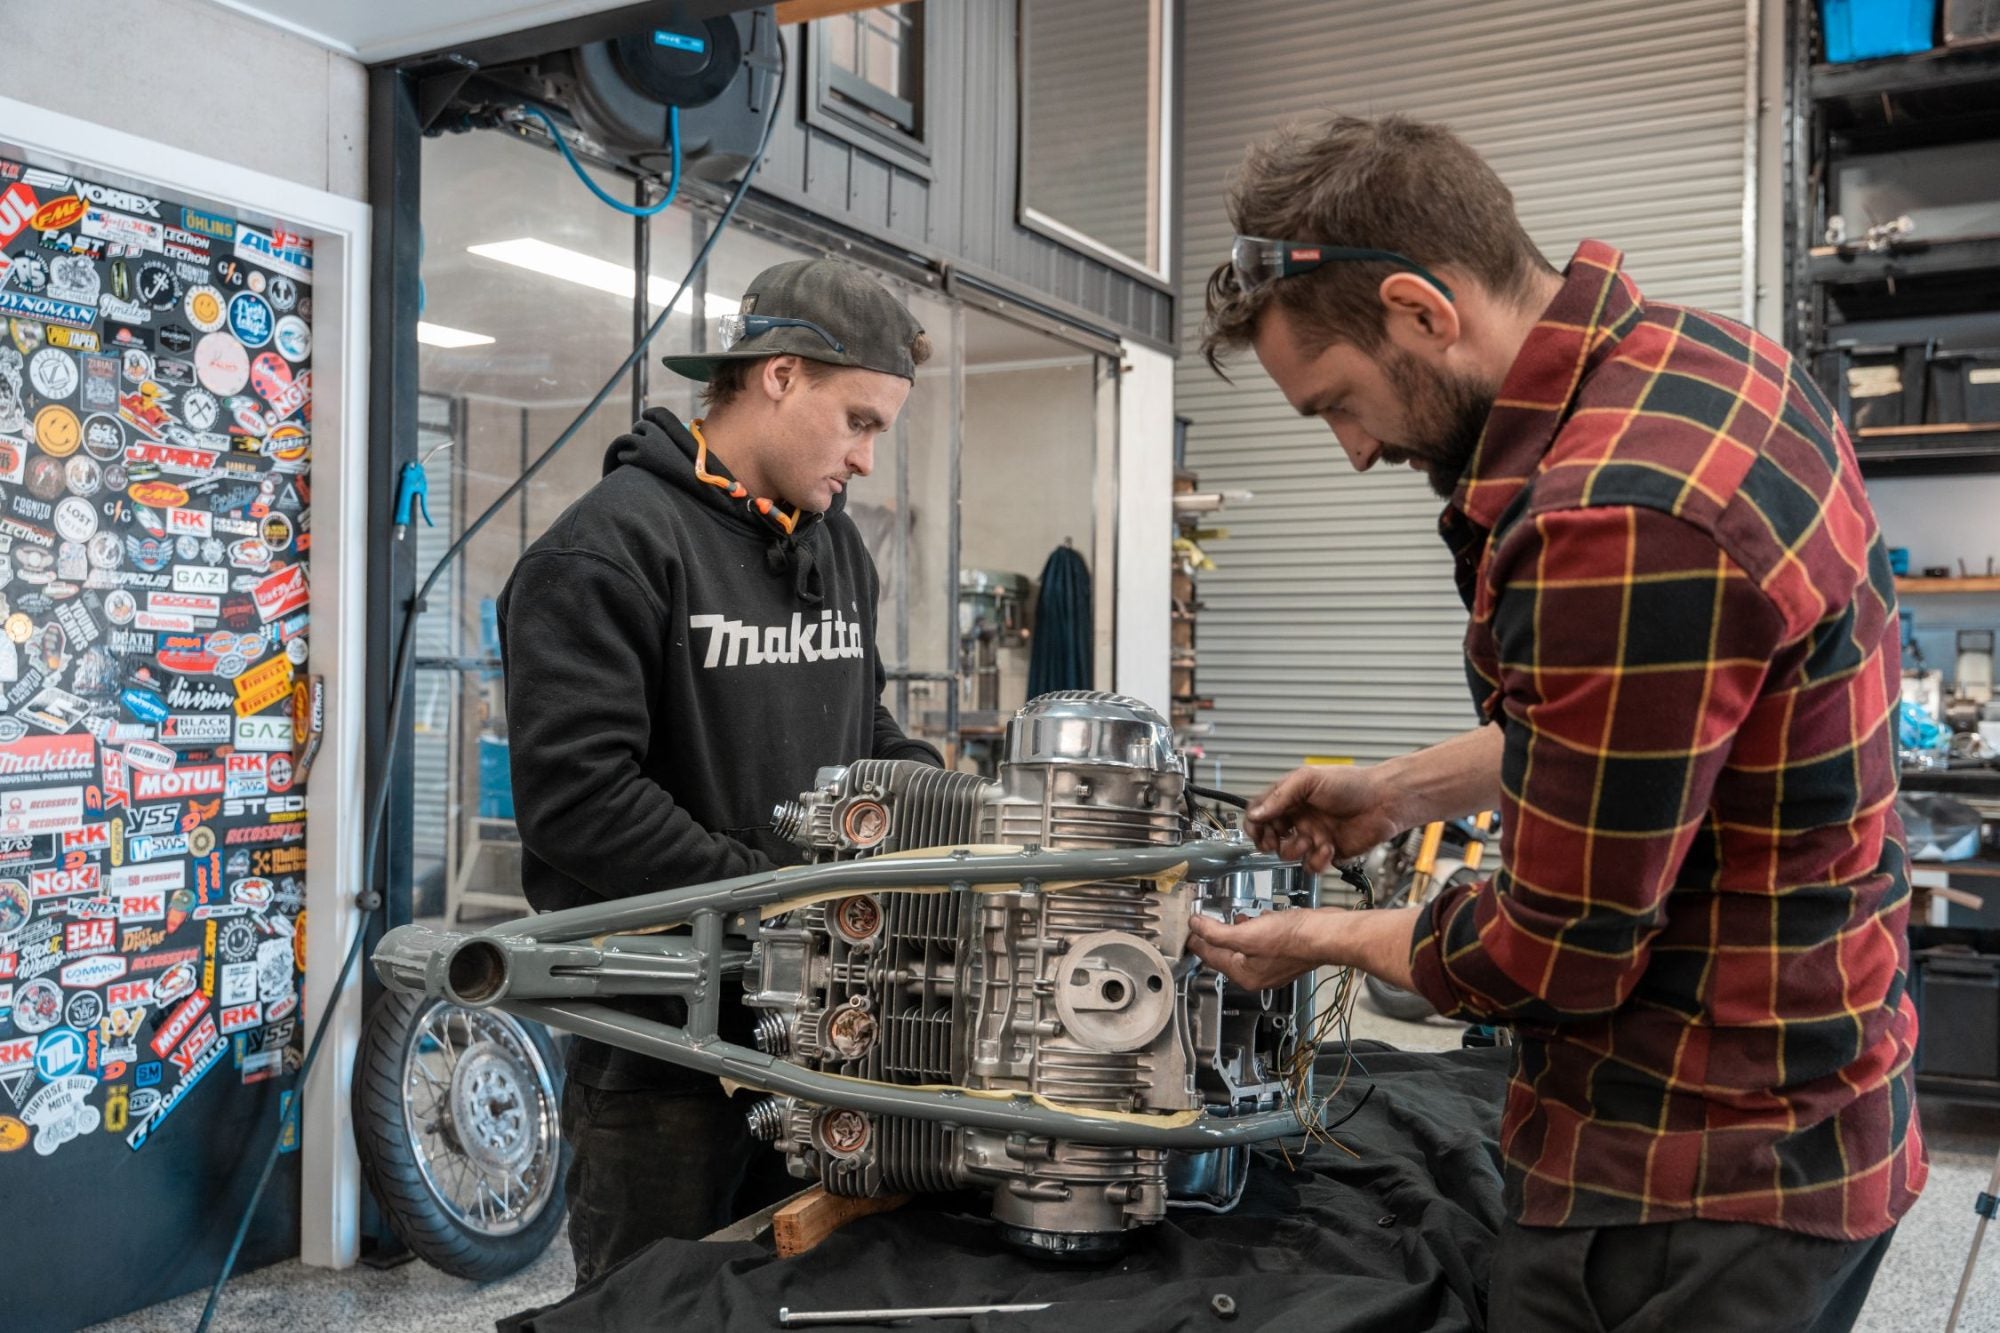
Wiring the bike up was made simple by some good pre-planning in having all of our lighting and electrical pieces laid out through assembly. The 3 button switches were linked up to the lighting control via our Black Box module, and a new charging system was hidden under the swing arm. A new reg/rec and lithium battery are a very common feature on our bikes and although they can get a bad wrap, if installed correctly we’ve never had any issues with reliability or battery swelling that we commonly see on other customs. Hint: it’s usually operator error that gets blamed on a faulty product.
The wiring on the CB550 four was completely renewed all the way through the ignition system, warning lights and charging system. Making sure everything would operate as it should for decades to come. We’ve used a 2 in 1 tacho/speedo combo called a W-gauge available in our online store. These are great units. We love making specialty brackets for. These give your cockpit modern functionality but retain a vintage feel.

We have a completed bike that was ready to fire and, after fluids and a few final checks, it did just that. On the first hit of the button, the CB550 rumbled to life with barely a splutter. After 50 odd years, the Honda four was singing again, better than the day it left the factory. With a few tweaks to the new Mikuni RS carburettors, we were ready to start testing and tuning. Over a few road tests, Jesse was able to get the CB550 four dialled in and humming. After a few more road tests and heat cycles, we were ready to really stretch its legs.
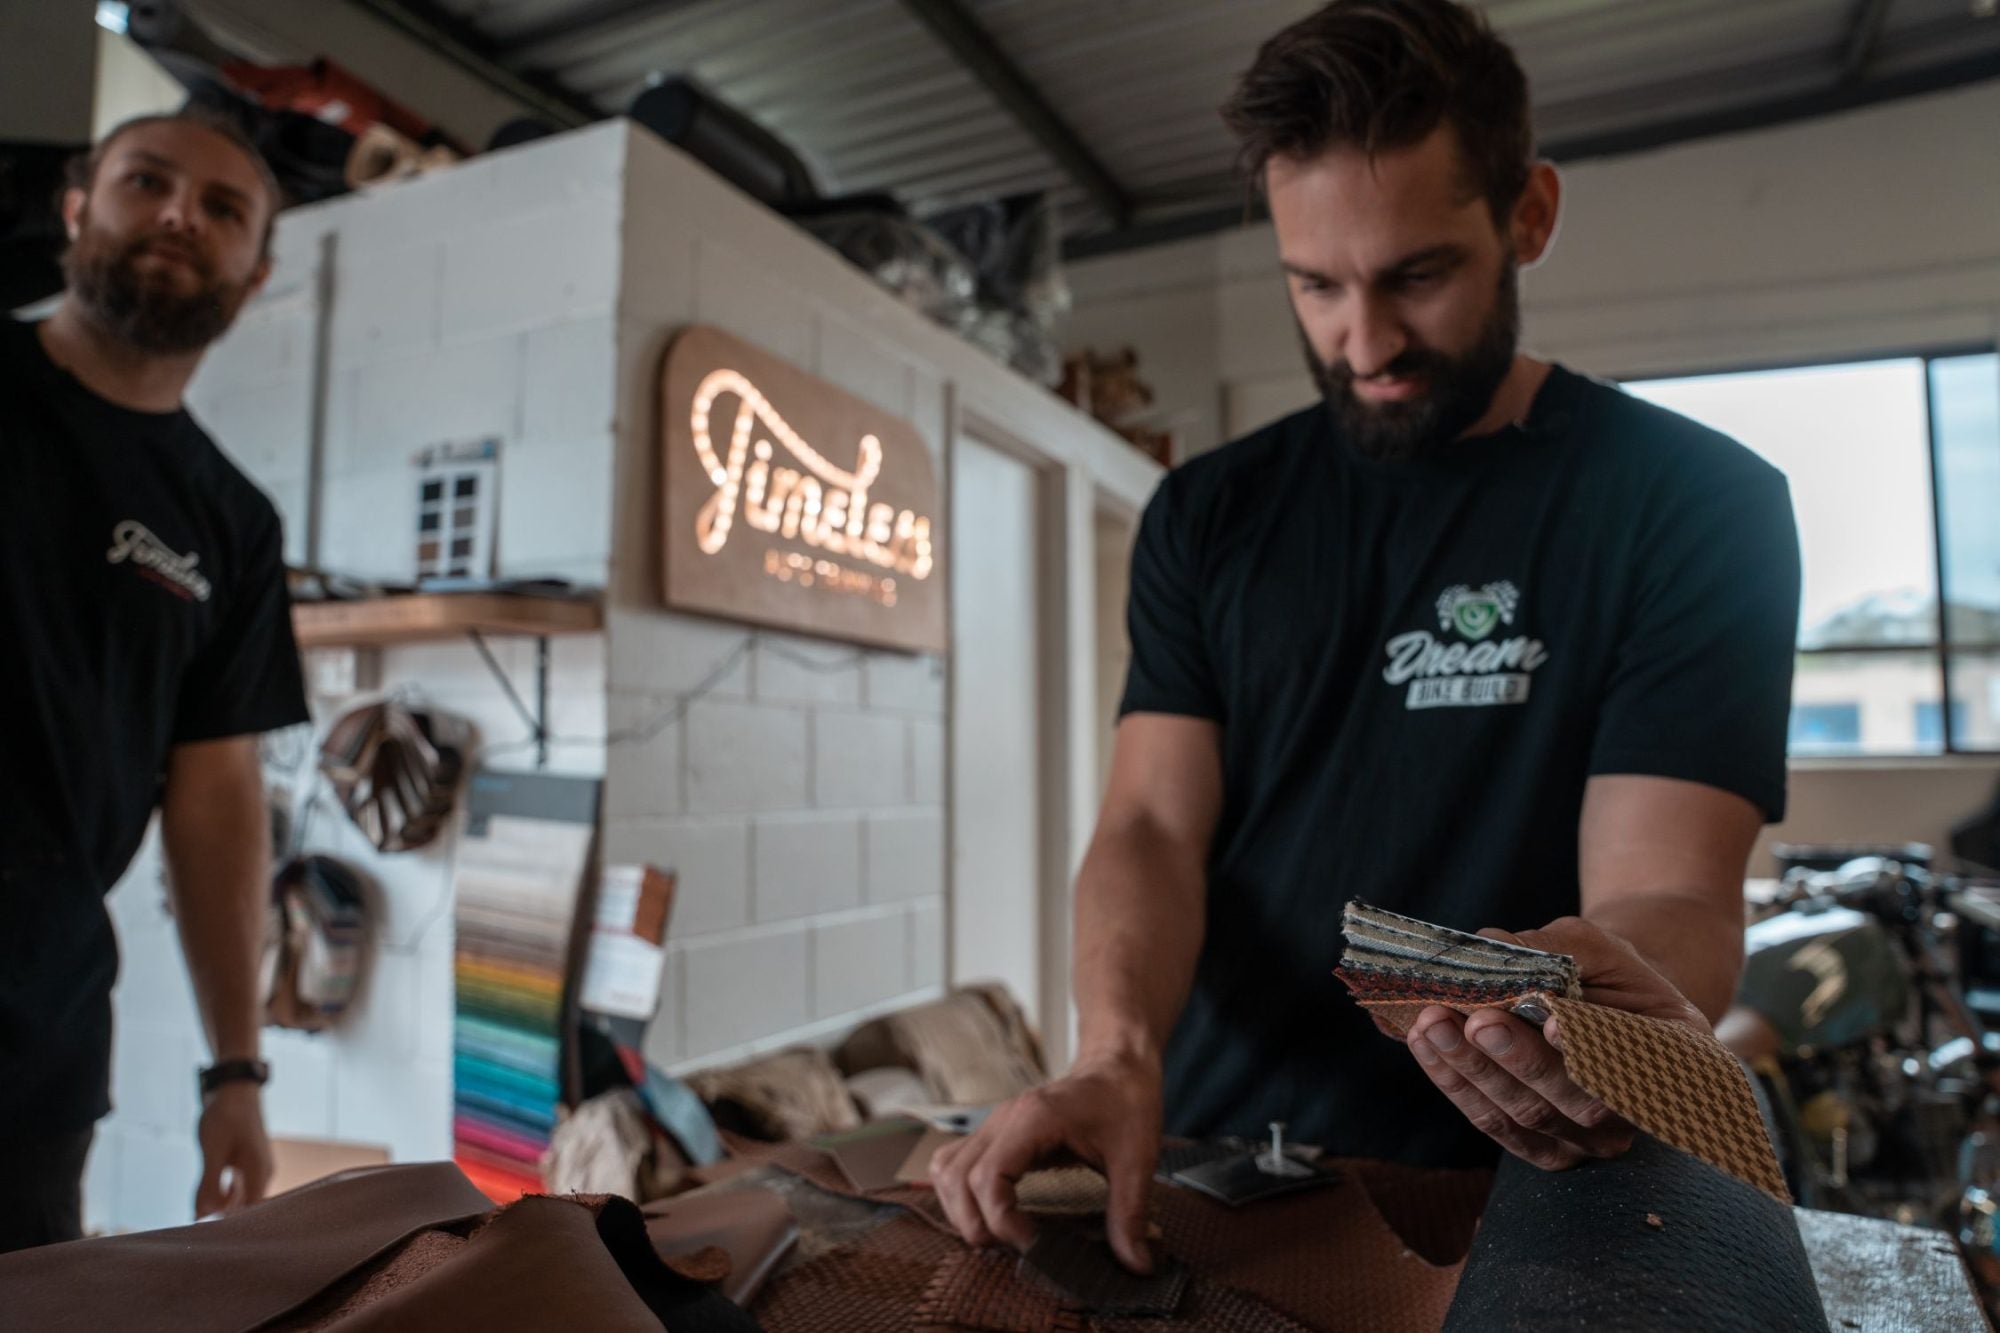
But not before one final piece – upholstery. In the episode, we head over to see Jamason from Timeless auto trim and run through a myriad of colour options to find that perfect pairing with our high gloss, classic grey colour. In the end, we went with terracotta brown leather, accented with some woven sections of detail. Pulling the materials from a singer-style Porsche interior. It took a while for us to land on the design and colour but the effort was worth it. With the Brat style double seat and tail cowl both receiving some finely tuned leather work. That was the very last aesthetic piece to go on the bike. Now we can get out and ride!

WE BUILD BIKES WITH PURPOSE.
Purpose Built Moto is home for unique custom motorcycle builds. We offer a unique motorcycle customizing experience in the heart of the Gold Coast.


