The Royal Enfield GT650 scrambler has been gaining in popularity lately. We’ve started seeing them all over the place. I knew it was only going to be a matter of time before we saw one roll into the garage, and here it is.
We quite often see a lot of riders that have picked up their bike from the dealership, and head straight to the PBM garage to add on a few custom touches to make their bike uniquely theirs. We’re more than happy to oblige in that kind of situation, because quite often it turns out to be a great simple custom bike. Just because we haven’t spend weeks on intricate fabrication and off the wall mods, doesn’t mean our customer is any less satisfied with his new ride.
Jefferson, the rider, came in to us because he liked the look of our lighting set up, so we started there and then added on a few more common sets of modifications that really set off this GT650 scrambler.
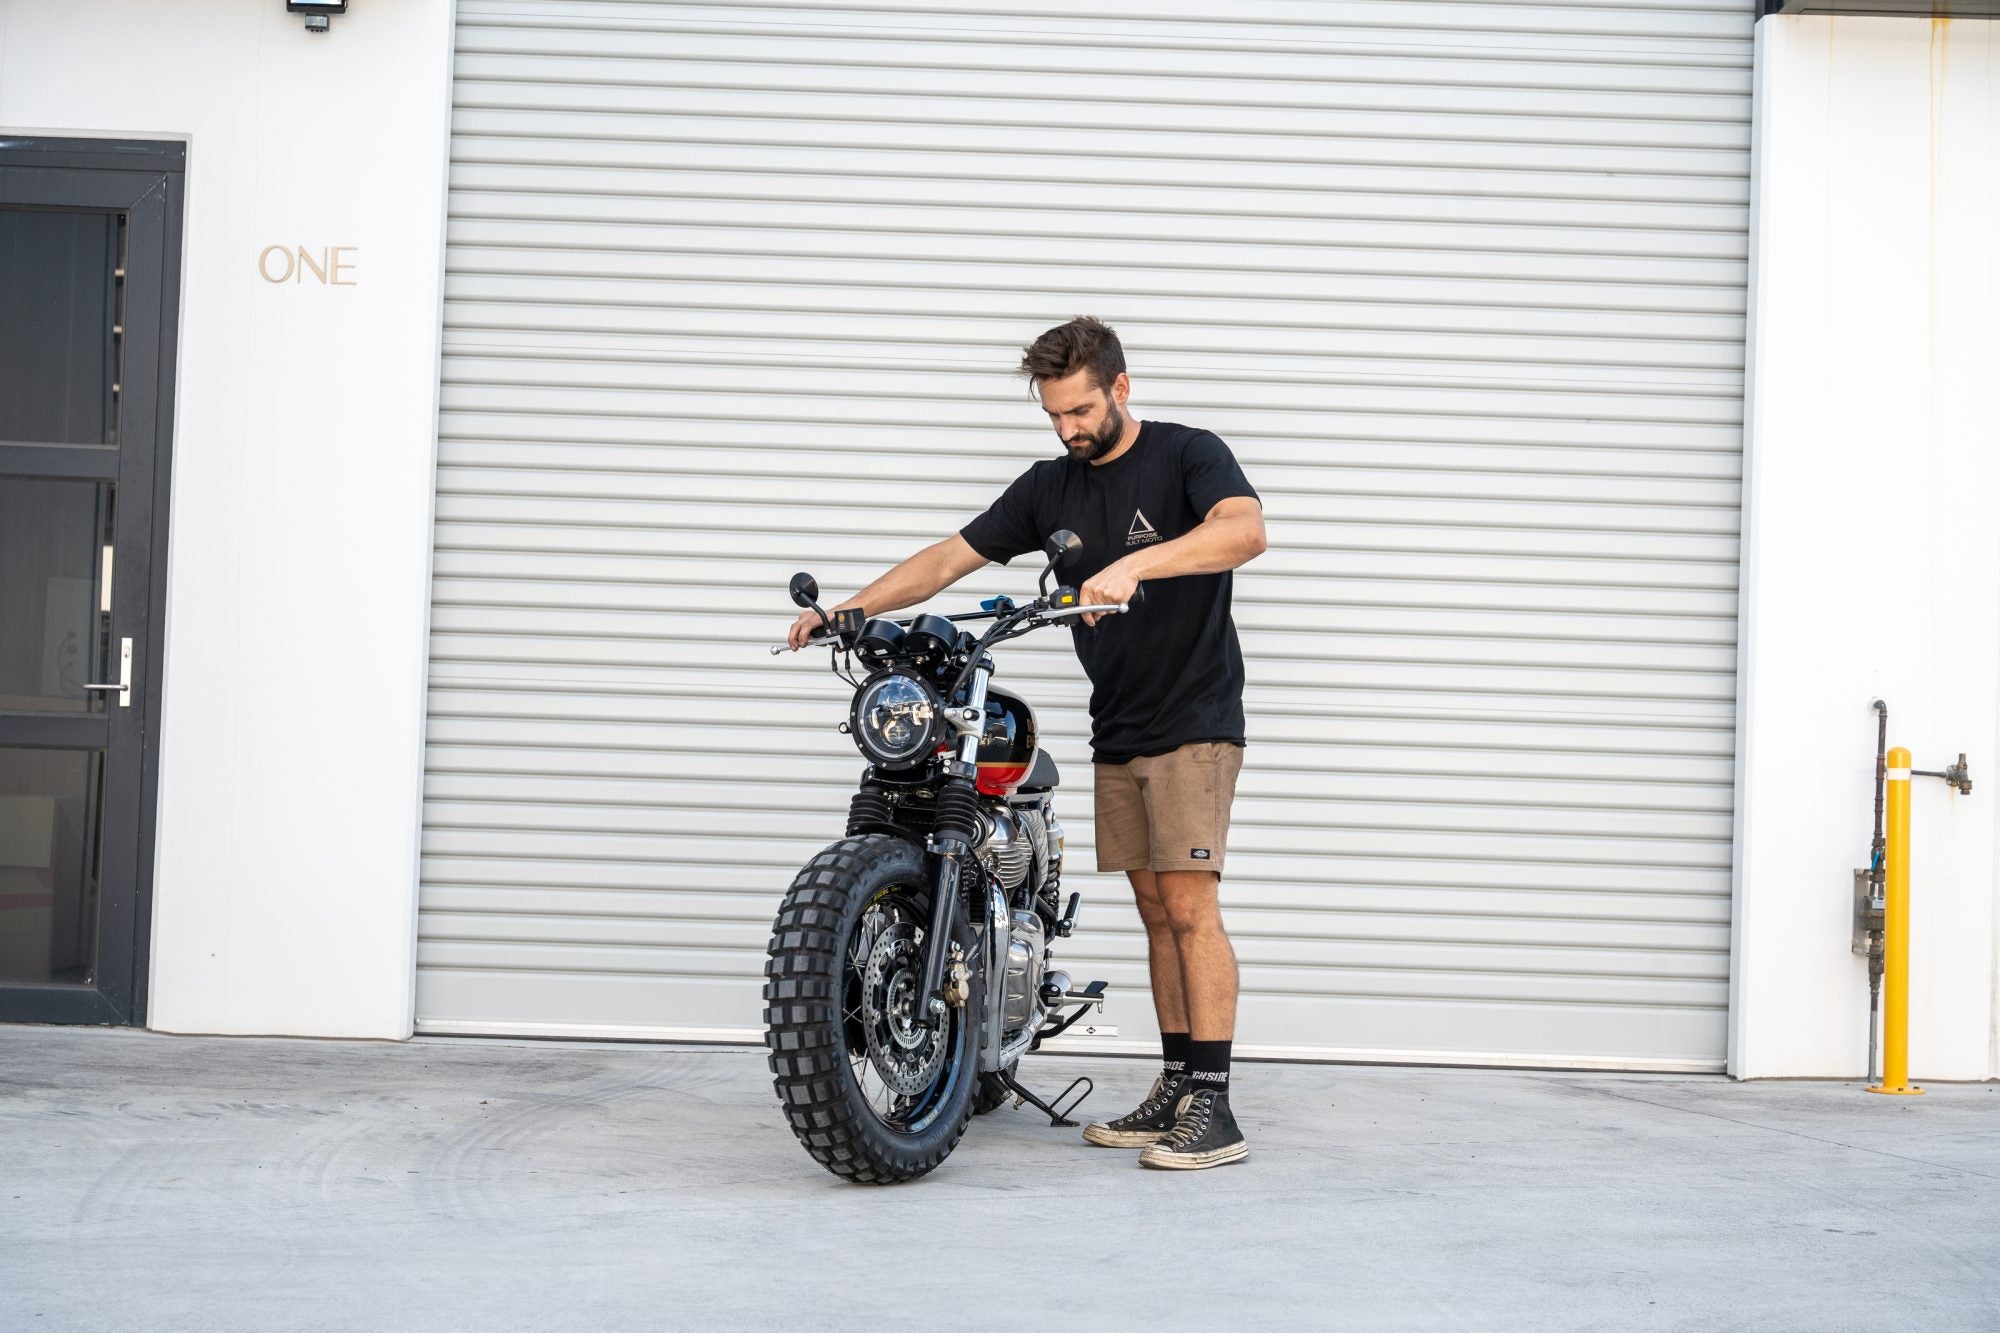
The first major thing that you’re going to notice on this bike is the wheel set. These have been based off the standard Royal Enfield hubs. The bike came to us with skinny factory 19” and 18” setup. Jefferson wanted something a little bit bolder, so we’ve stripped the standard wheels and re-laced them to a 17” front and back. Now we’re running a 130 17” on the front here and a 170 17” on the rear.
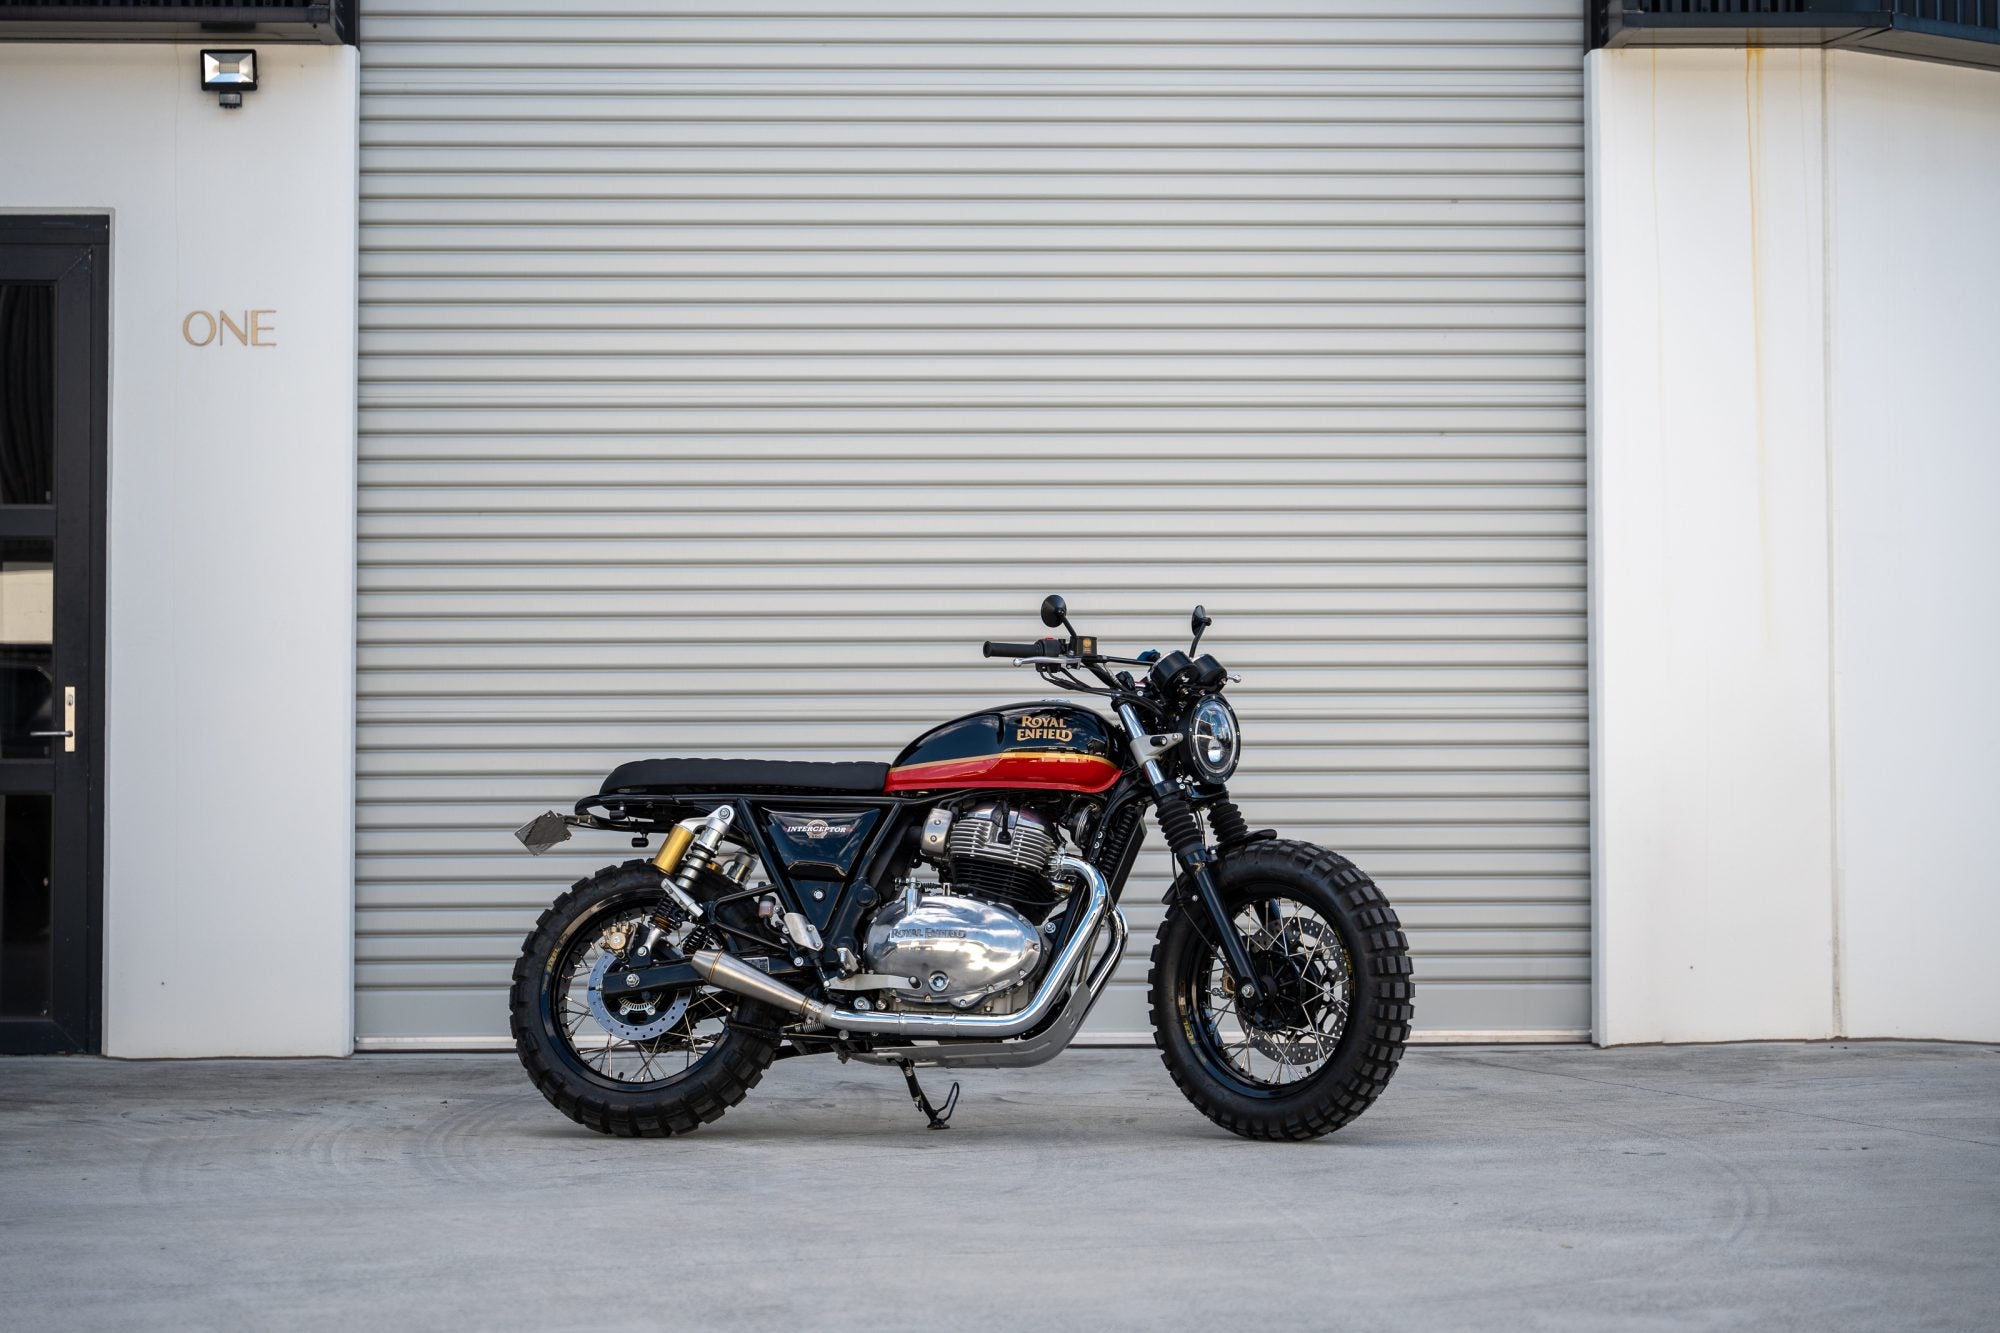
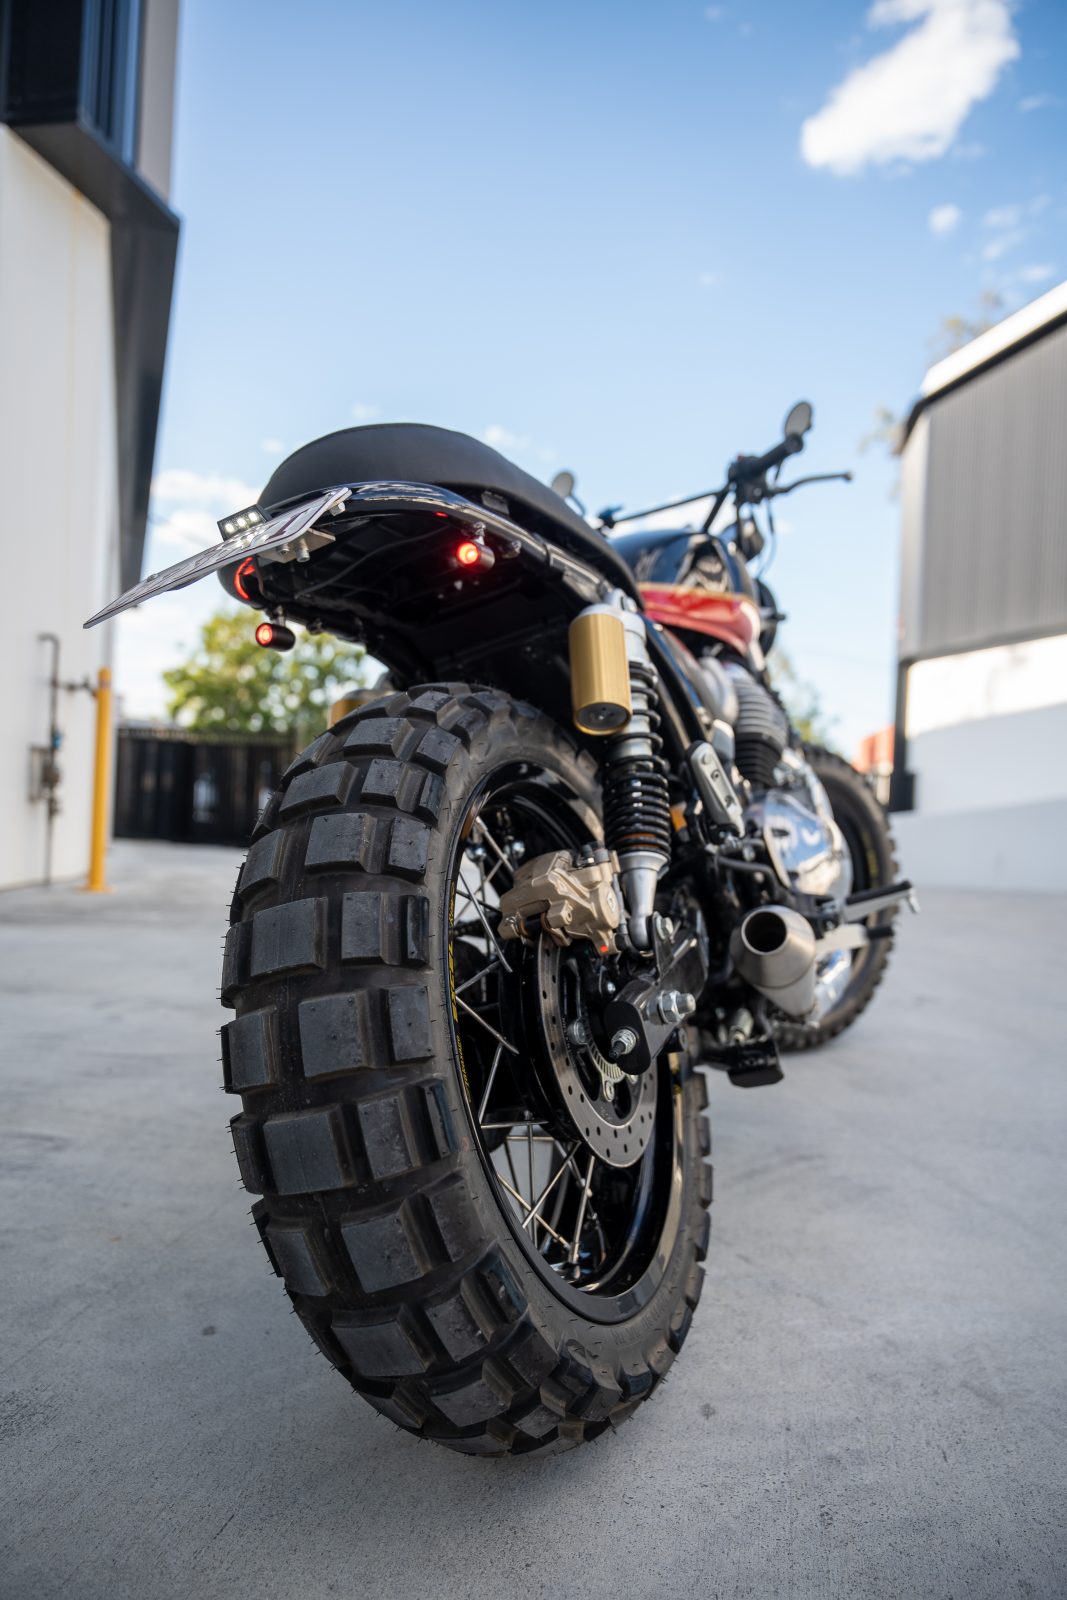
This achieves two things, we’ve got the absolute biggest tire that we can fit into the forks without going with a custom triple clamp, and the same with the swing arm. We haven’t had to do any major modification there and we’ve also been able to lower the stance of the bike, dropping the front from a 19” to a 17”. You get a bit of a lower profile on the front and it gives the GT650 Scrambler a bit more of that low and mean look.
The tyres that we’re running are the Continental TKC80 and with that mod we’ve had to change a few bits and pieces, especially on the front end. The standard front fender was scrapped and we’ve rebuilt a custom piece using our rear fender kit. This is a wider fender that we’ve released, fitted over the big bold front wheel that utilises the factory mount. It wasn’t difficult to fabricate and fit, it’s a pretty easy mod if you know what you’re doing with the welder and a grinder.
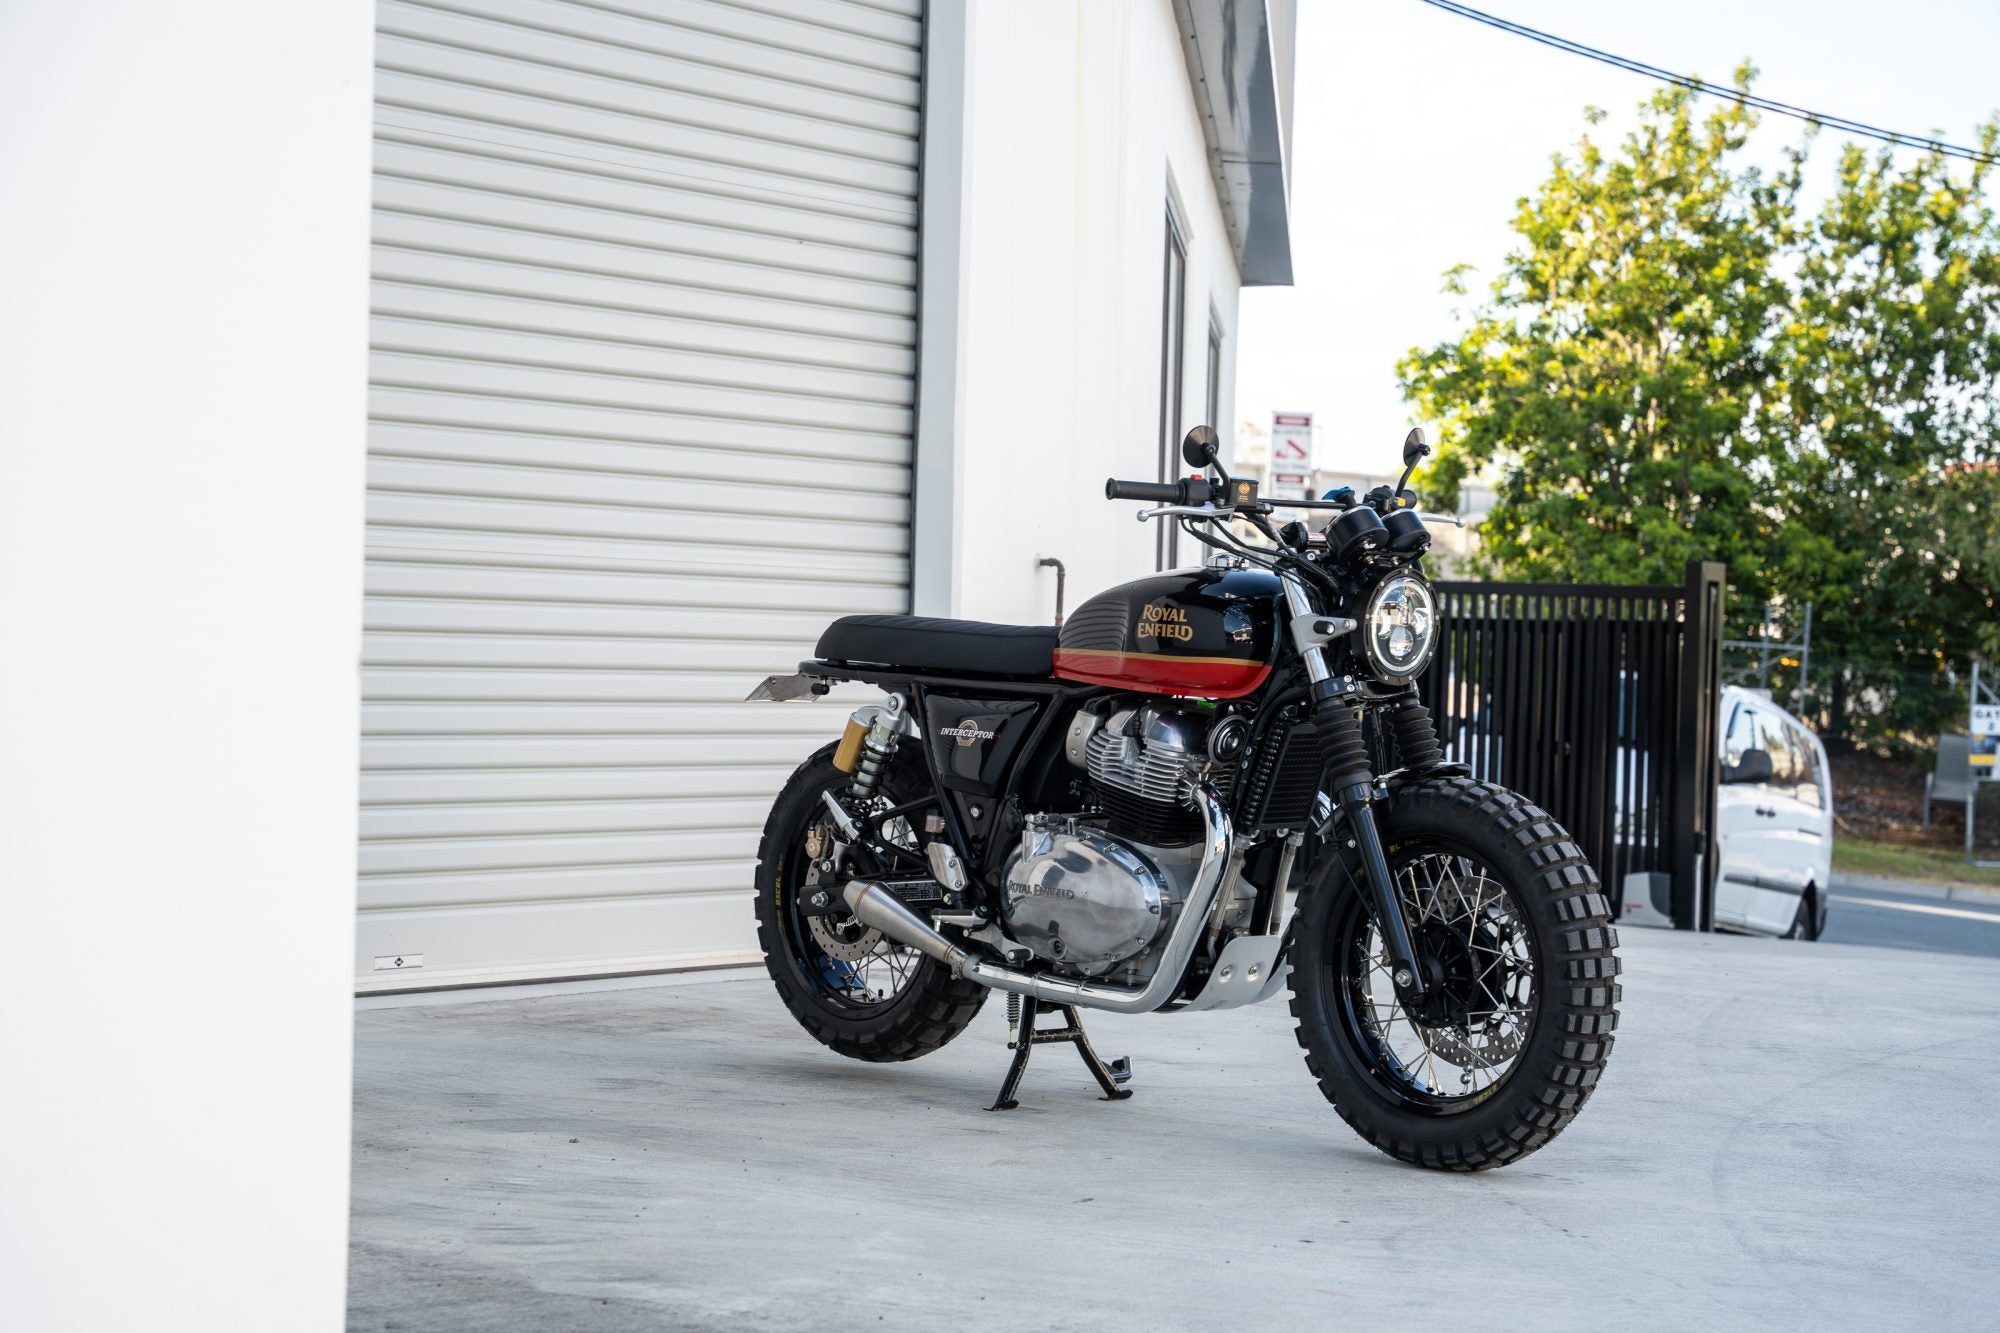
We’ve gone with the 7” Flashpoint headlight on the front end of the GT650, this was one of the catalysts that Jefferson came in for. He loves our lighting gear so we got the job in we’ve run the headlight on the standard factory mount. The factory mounts on the Royal Enfield’s are nice and neat so we didn’t have to work too much to get the headlight to fit. We were also able to run our 3-in-1 Dome indicators on the headlight mount as well.
On the handlebars we’ve used a similar bend to standard in a black powdercoat finish. Jefferson is a pretty tall guy so we wanted to make sure he had enough room when he was sitting on this Royal Enfield GT650. All the standard switch gear, levers and master cylinder have been retained. The only thing that we have done is fit a quad lock phone-mount and then a set of our Scrambler mirrors on the bars.
Coming down the side of the bike we’ve modified the standard headers to suit, a set of our Torpedo mufflers and the sound we get out of the twin engine now is absolute magic. Make sure you check out the build video to hear it. Dropping the standard mufflers saves a lot of weight, I’d guess about 5-6 kilos on each side which can make a big difference in your handling and performance.
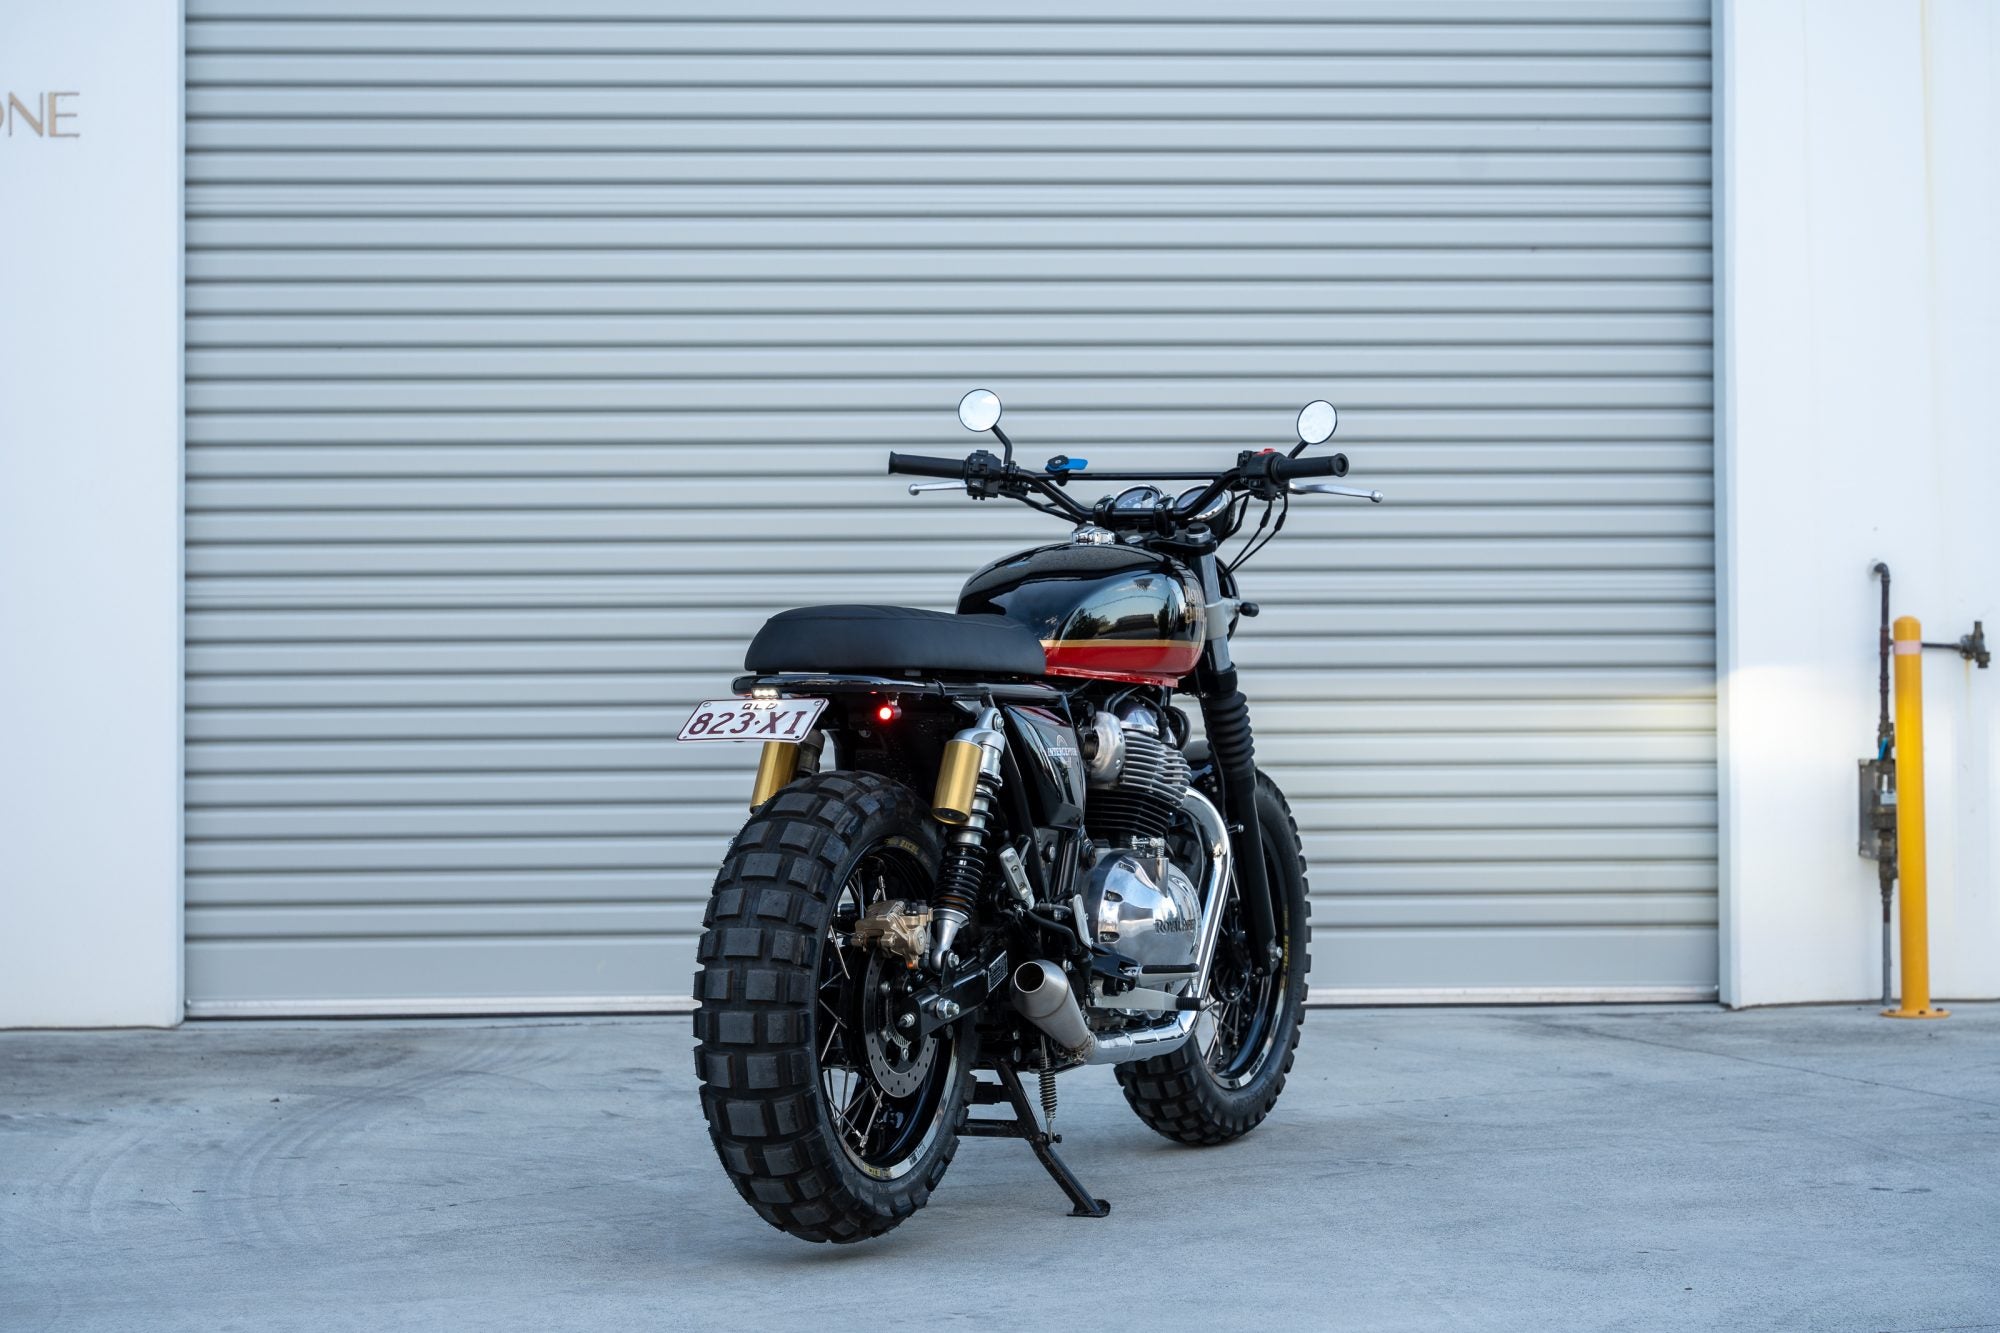
With the removal of the GT650’s rear fender, we’ve fit up a PBM Tail Tidy Kit and then used a set of our Dome 3-in-1’s to act as the tail brake light and indicators. These were tucked up on a factory frame mount. Removing the large fenders reveals a better view of huge wheels and tyres jammed into the GT650’s frame. The decision was made not to cut the frame to shorten it, purely in the interest of keeping the job simple and allowing our rider the option of replacing the factory guard.
Another small mod that we made was to reshape the factory seat. They tend to come with a little bit of a duck lip on the back and because Jefferson said he likes to ride with his girlfriend on the back from time-to-time we wanted to flatten that out to add a bit more comfort on the rear. We also went with a higher density foam, so that’s been flattened out and then just given to Timeless Auto Trim for some clean and simple leather work.
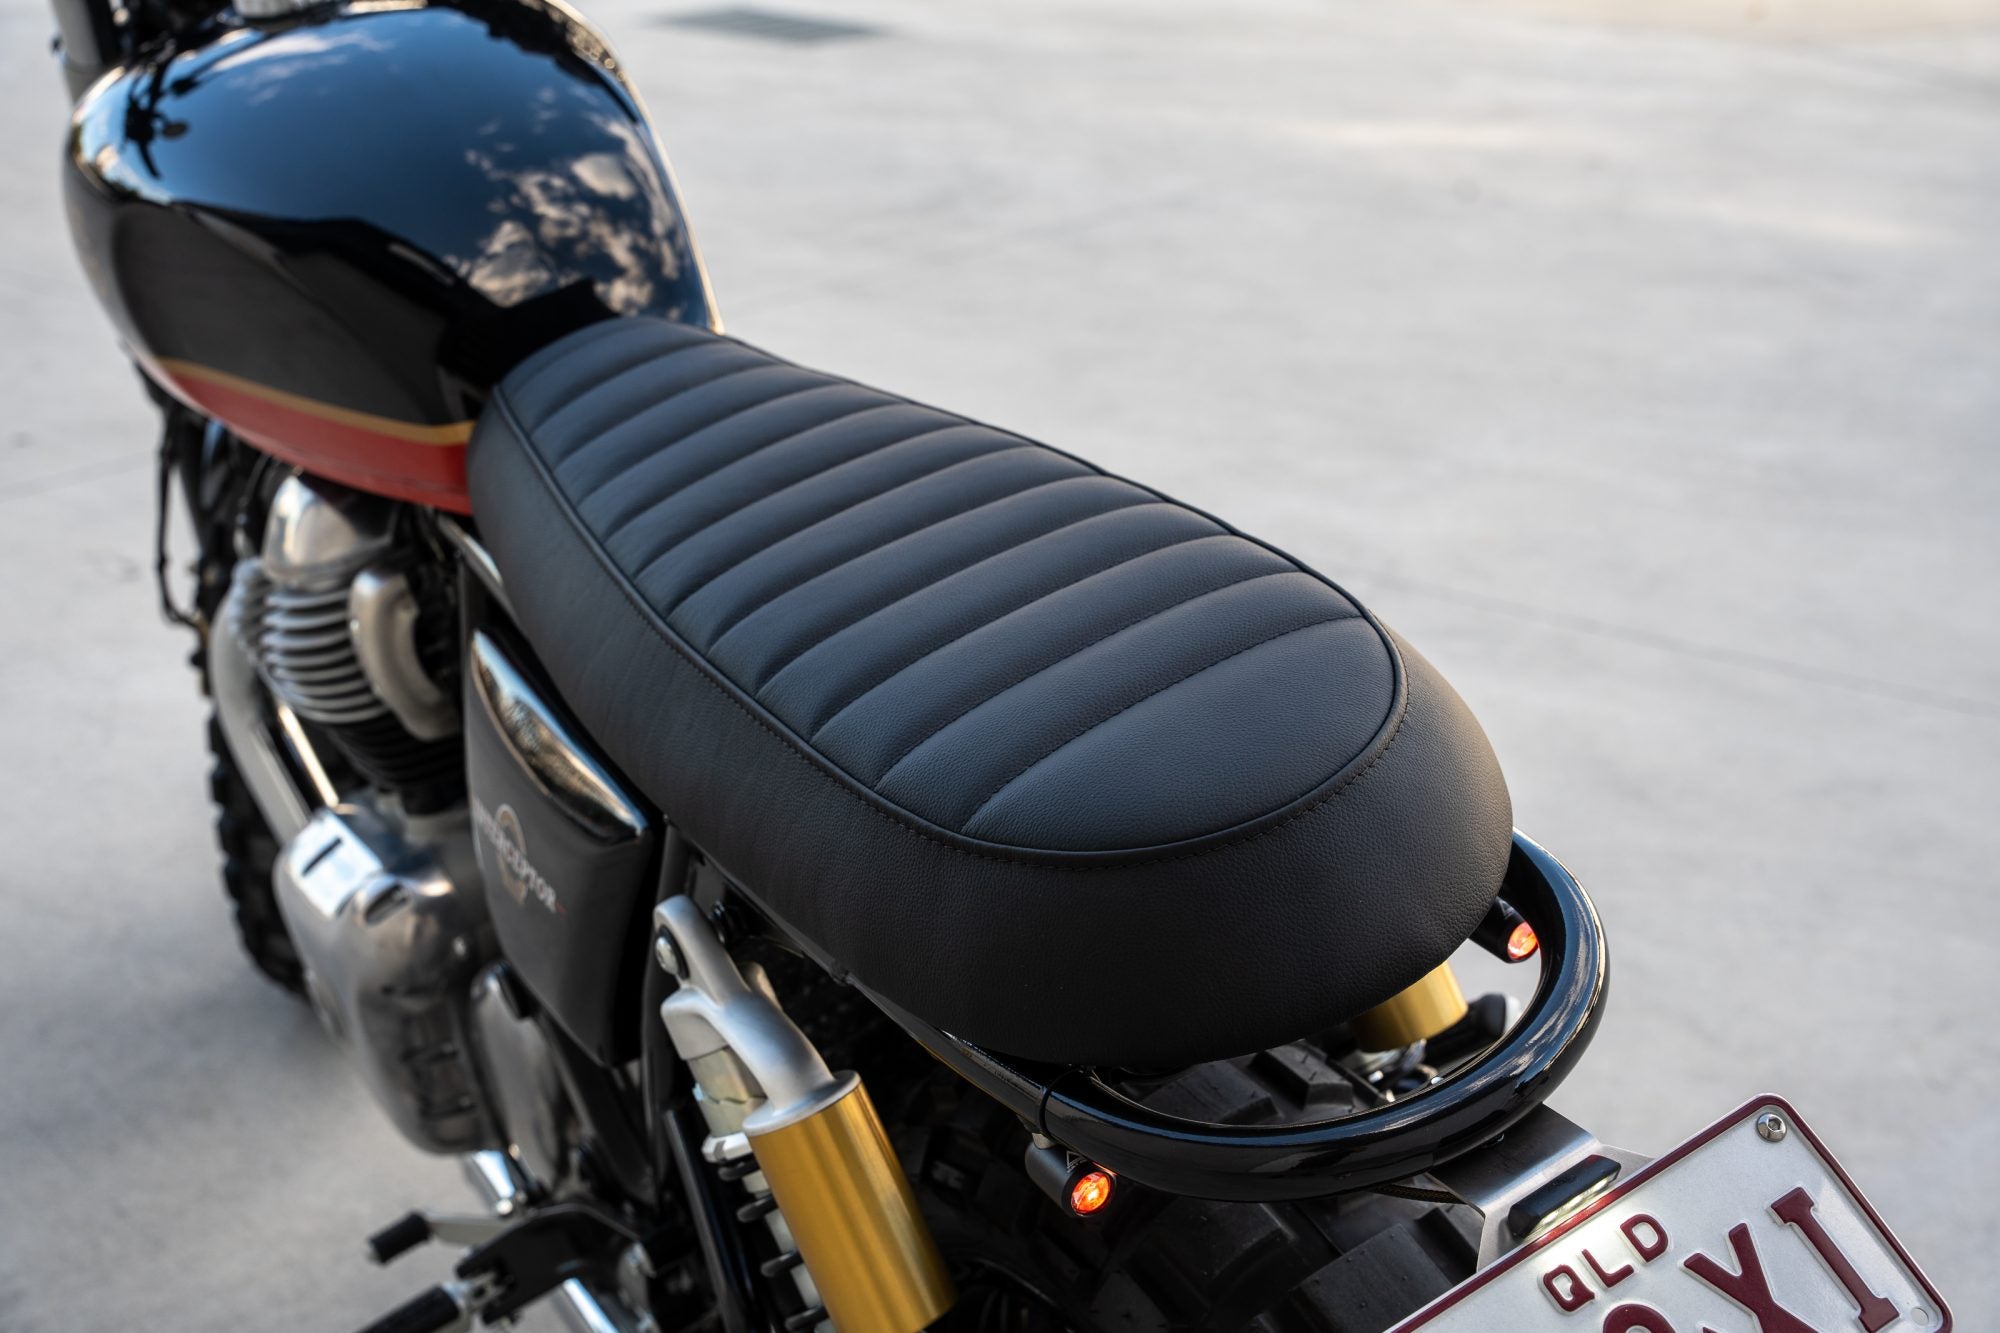
It’s awesome how a few small customisations can make all the difference, even to a brand new bike. This Royal Enfield not only looks great with the custom pieces, but is a lot more of a comfortable ride for Jefferson and his girlfriend. Now with only 300km’s from new, its up to our rider to find his feet with his new bike before we take it back in and go searching for horsepower.
With the select work completed on this GT650 scrambler we’ve managed to streamline the look of this bike and edge it toward a more pure motorcycling experience. Dropping weight, simplifying the aesthetic and refining the functionality for our rider. This one was an easy task, but still very much a Purpose Built Moto, tailored to our rider.
Make sure you check out the build video for this bike, and if you want to add a few custom pieces to your motorcycle, check out the PBM online store and get your tools out.
Catch you on the next one.
WE BUILD BIKES WITH PURPOSE.
Purpose Built Moto is home for unique custom motorcycle builds. We offer a unique motorcycle customizing experience in the heart of the Gold Coast.


6件のコメント
Hey Arun, Its probably better to check out our youtube, the wheel swap is explained in that video.
Can you please explain how you installed the 17" tyres on the GT. Can you please help. I am based out of India and also looking to install bigger tyres on my GT 650 ?
Hey Darren,
Yes we use a rear tyre on the front. for more info check out our youtube videos and the other Royal Enfields we have built.
I really like this, not thought of replacing and know little about rims. Please can you advise what size were the new rims. Also, in the UK the 130/17 tyre is a rear, the front only goes up to 120, or did you put a rear on the front? Thanks in advance and keep up the great work!
There’s enough length on the cables to route underneath the tank, same situations for the triumph Bonneville models.
How’d you stash the wiring that would normally be in the stock headlight bucket?