How to make a motorcycle fender – a guest DIY blog from Keeley Pritchett
I know a thing or two when it comes to making a motorcycle fender but sometime’s you need an expert. An initiative I’ve wanted to kick off for a while is the Purpose Built Moto guest builder series. I learn a lot from my customers and friends in the custom motorcycle space, and I wanted you, the garage builders to be able to as well. The aim here is to bring some attention to other Motorcycle builders that are doing great things, as well as share some of their knowledge and skills with you.
In this new series, I want to feature bike builders that have a certain skill that we can all learn from. The true value of knowledge comes when you share it. So I’ve found some bike builders I know, respect and admire for their craft.
First in the series will be my mate, Keeley Pritchett. He’s got a pretty interesting history in bikes, including a land speed record and a win at the Machine show for Best Builder. He’s also about to launch off on his vintage triumph for our Wide of the Mark film.
Aside from all that he’s a total badass, and loves to shape aluminum.
In this article, you’re going to learn the process of beating out your own fender from the man himself.
I’ll let Keeley take it from here:
Steps to shaping aluminium:
- Annealing
- Shrinking
- Stretching
- Planishing
Tools you’ll need:
- 1.6mm aluminium sheet
- Metal cutting tool
- Shrinker/stretcher (or stump or leather bag)
- File – coarse cut (aluminium is a lot softer and tends to bind up in finer cut files)
- Oxygen acetylene torch (or permanent marker and propane torch)
- Hammer and dolly
- English wheel (Not essential)
- Rubber mallet
- Orbital sander
- Block of wood
- Leather sack
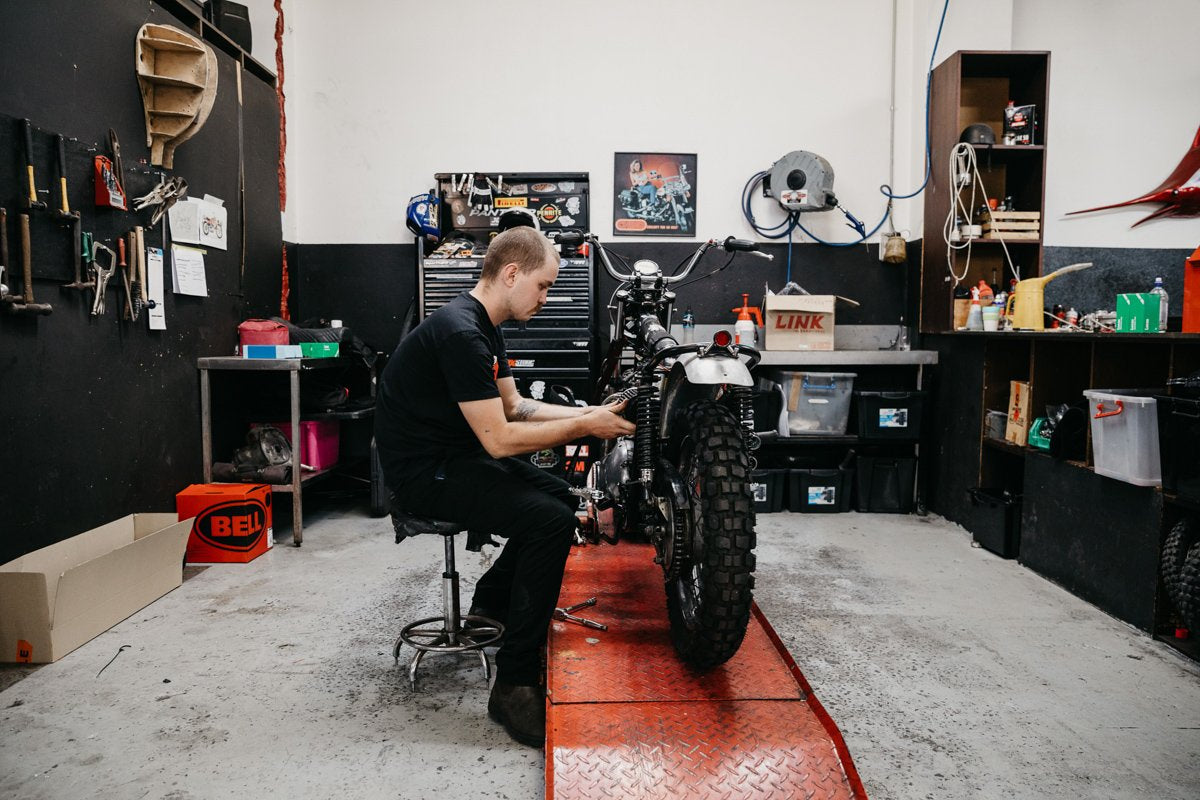
If you’ve ever been interested in learning how to shape metal, this is where to start. Here I’ll show you how I shape a motorcycle fender using my 1972 Triumph Trophy 650. I am customizing this into a scrambler for Wide of the Mark.
Before you go diving into shaping a dustbin fairing that has more complex curves than a 10-year-old has coins stashed in his motorbike piggy bank, it’s best to start with the basics.
Two principles that are essential to the metal shaping process are shrinking and stretching. By helping you to understand these principles, you will be able to learn techniques and use them to make any size fender that your crazy motorcycle heart desires.
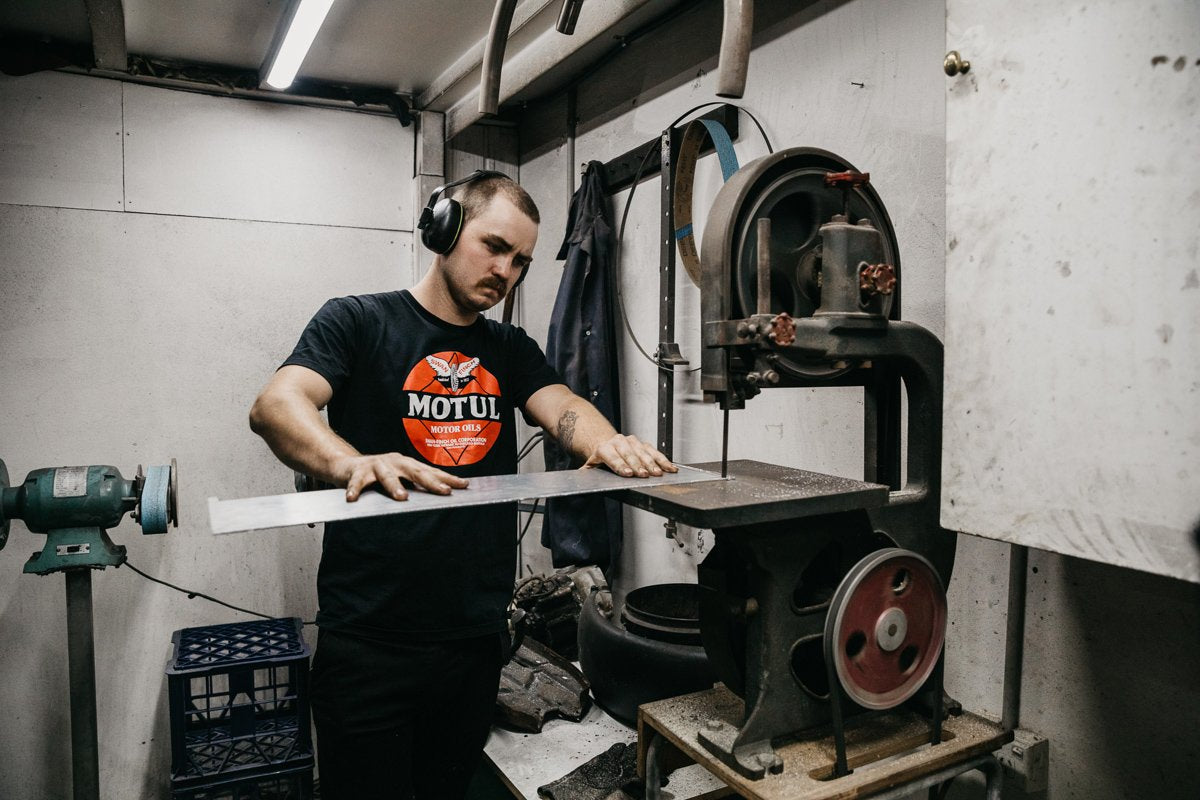
To start off, take a 1.6mm thick aluminum sheet. This is a good thickness because it’s strong, but not too stiff. As a general rule, I start out with a 600mm x 180mm sheet, which will be ample for a fender to fit a wheel with a front tire size of 100/90-19.
Always remember it’s easier to remove metal than it is to add metal, so if you’re unsure, always go bigger. Once you have cut your piece to size without losing a digit, make sure to deburr the edges, as you will be manhandling it quite a bit throughout this process.
1. Annealing
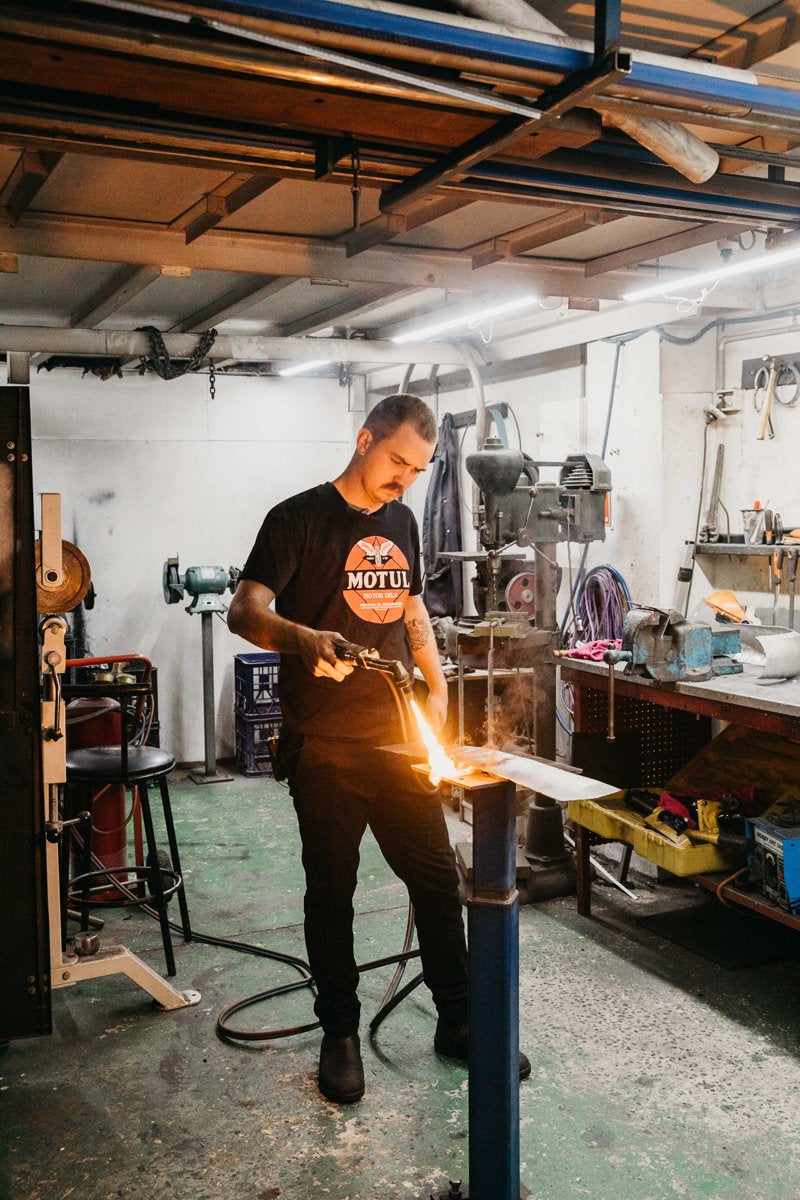
In order to create the shape you want, the aluminum has to go through a process called annealing. This involves making the metal soft and hard again with the use of heat. Aluminum ‘work hardens’, which means it gets harder when you work with it (that is when you apply hammer blows).
First, heat the aluminum in order to relax the structure of the metal, allowing it to become soft. I prefer to use an oxygen-acetylene torch to heat the metal. This torch works by producing a red flame (straight acetylene) that applies a partial layer of carbon to the metal. Alternatively, you can use a black permanent marker pen to scribble over the sheet and use a propane torch as your flame. This allows you to tell when the metal is at annealing point (when the carbon layer or permanent marker disappears).
Next, turn your oxygen on, to create a blue flame – this will produce more heat. I use a large head on the torch in order to reach a larger surface area – this will allow the aluminum to heat more evenly. Once the metal is at annealing point, let it sit for a few minutes until it is cool to touch – you are now ready to move on to the shrinking and stretching processes.
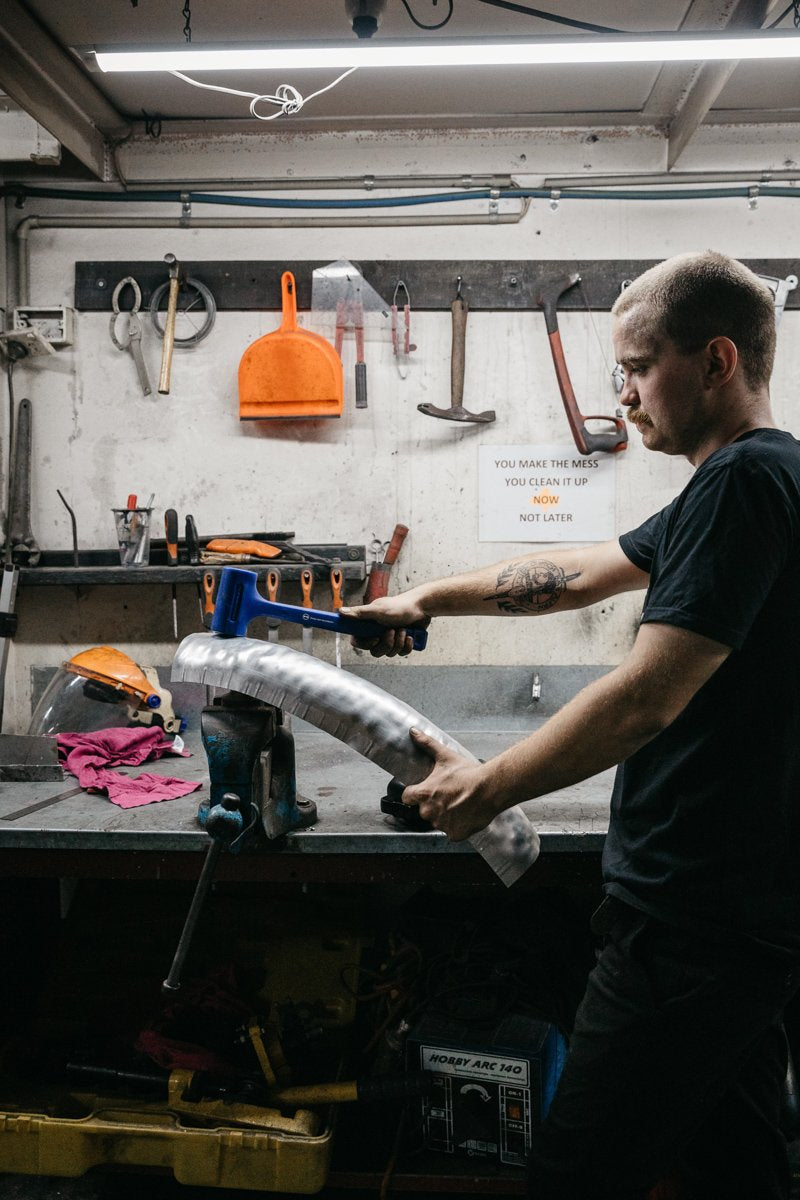
2. Shrinking process
First, in the shaping process, you need to shrink the outside edge to create the curve. That’s shrinking plain and simple. In order to work efficiently, I use a shrinker/stretcher – this works by producing bites on the piece where the machine comes in contact with the metal. I shrink along the edge, overlapping my bites, in order to create a consistent and evenly shrunk piece.
If you don’t have access to a shrinker/stretcher, you can also achieve the same results using a stump or a leather bag. Use consistent hammer blows, starting from an inch from the edge on both sides, working your way out to the edge. You will notice the metal starting to wrinkle, this is the metal trying to shrink, which is a good sign that you’re on the right track.
This is a hard process to read about – the best way to learn will be to get a practice piece, and the tools required and start hammering to see how the metal reacts. Also, YouTube tutorials can be a good help.
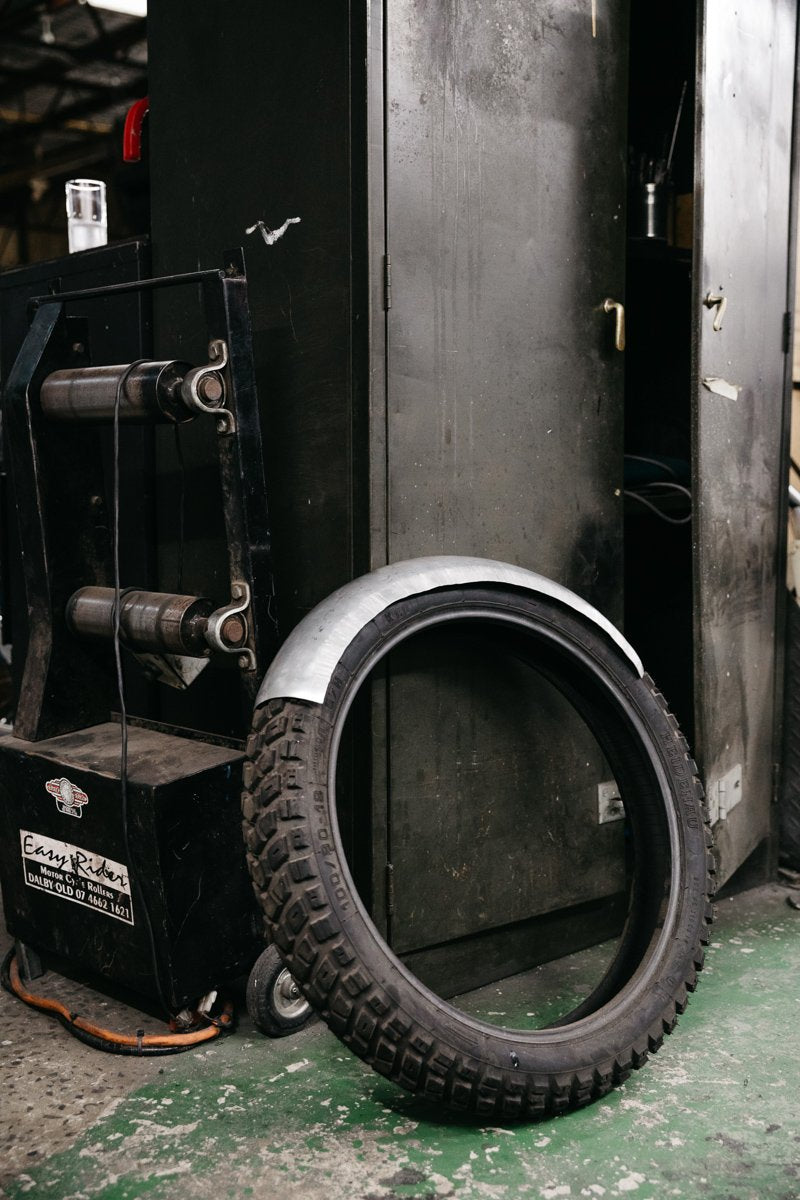
After the first round of shrinking, I check the piece against the tyre – how you know you’ve done enough shrinking is based on the gap between the fender and the tire at both ends of the fender – you’re aiming for a 1-inch gap at both ends. I repeat this process, constantly checking the radius of the fender until the 1-inch gap at both ends is achieved. You do not want to over shrink! You can always keep shrinking, but it’s a lot harder to go backward.
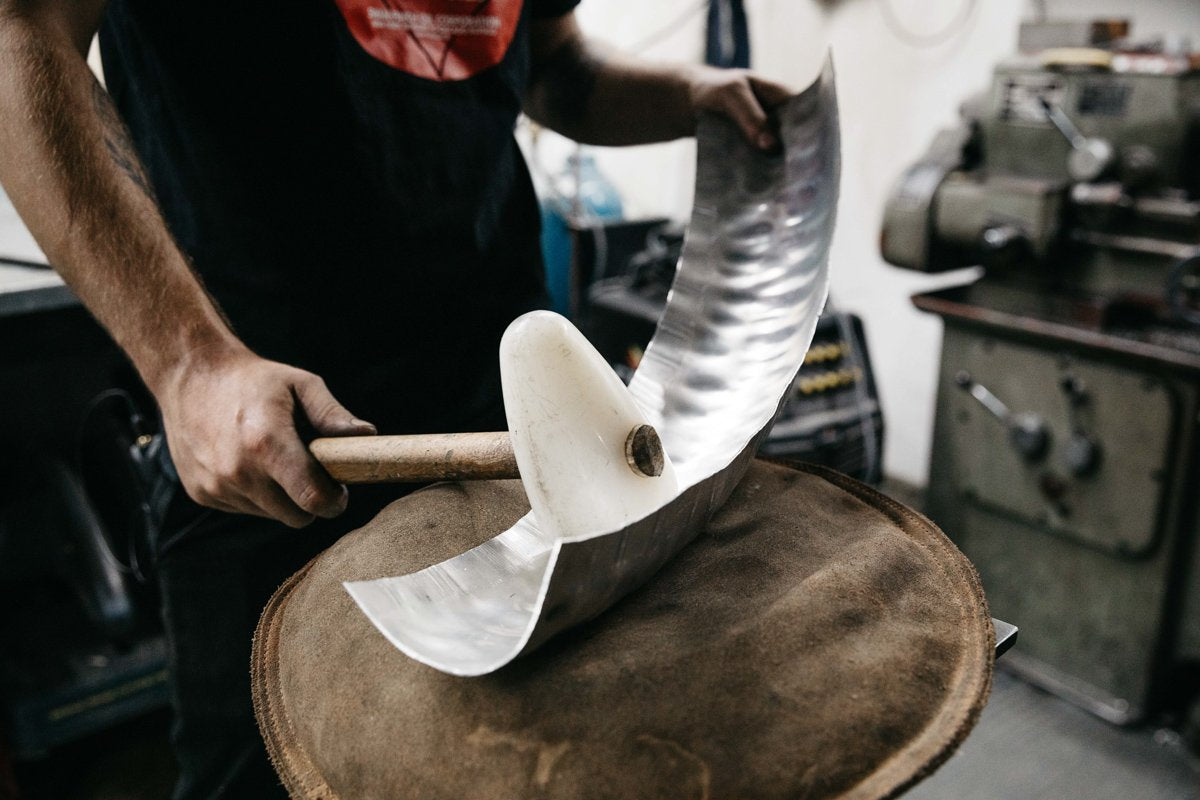
3. Stretching process
The stretching process begins with hammering into a leather sack using a blocking hammer. Your hammer blows should be from left to right, starting in the centre, working your way out. They should overlap one another, and these blows should be quite hard.
In order to create a nice arc, by hammering in the centre of the piece, the metal stretches on the inside, whilst shrinking on the outside. Imagine punching a blanket – as you punch the centre, it has a depression (stretching) but around the depression is lots of wrinkles (shrinking). Make sure to keep stretching your work back out in order to make the fender less curved. Do this by using your leather sack underneath the fender, and using both forearms, push down on either end of the fender (firm but not too hard). This will stop the overall radius from getting too tight.
If the motorcycle fender arc is starting to come around to a good fit on the tyre, and you’re happy with the curve, then it’s time to smooth out the larger golf ball dents that you created with your hammering. Take a block of wood, and place it on the leather sack (so that it doesn’t fall off the bench). Using your blocking hammer, repeat the same hammering technique that you used in the stretching process earlier (but a little bit lighter – you don’t have to go crazy). I then take a rubber mallet and a dolly suited to the curve – I hold the piece over the dolly and use the mallet to hammer into the piece. Feed the piece through, whilst hammering evenly and consistently over the whole piece.
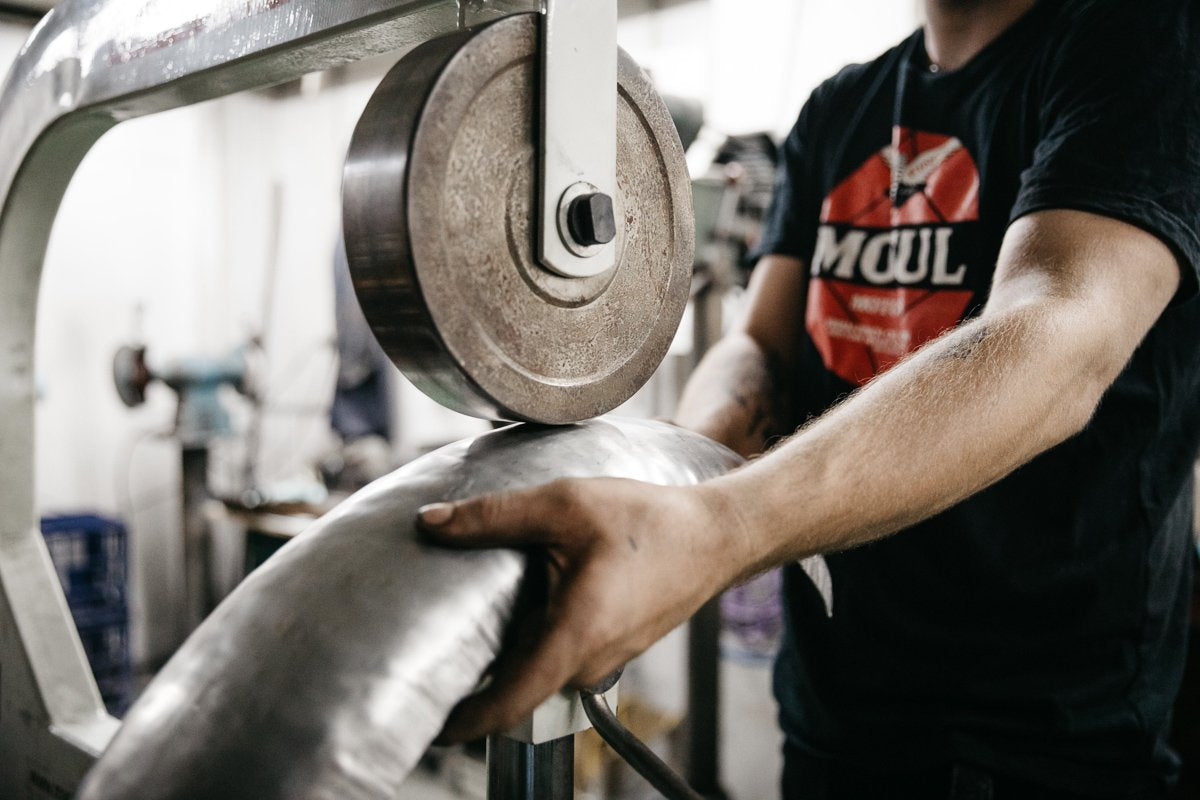
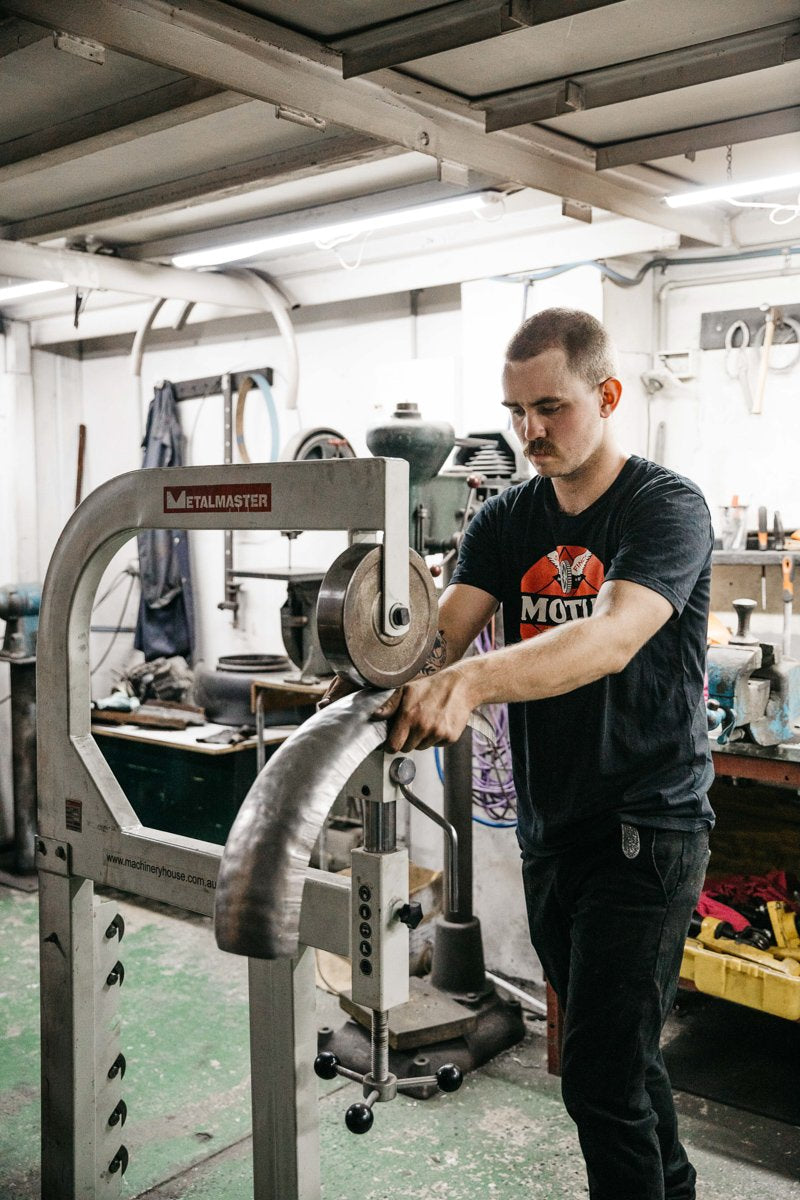
4. Planishing
Now to planish – this is to take out the highs and lows left from the shrinking and stretching processes. This can be very tricky if it’s your first time.
I use a planishing wheel, more commonly known as an English wheel. If you don’t have access to a planishing wheel, you can use a hammer and dolly, which is still reasonably fast. Find the wheel best suited to the profile of your fender (the curve at the end of your piece, that molds to the shape of your tire). Lightly run the fender through the middle of both wheels – be patient, don’t use too much pressure.
By feeding the fender through the wheels, the smoothing of the bumps is achieved by lifting the lows and knocking down the highs. You will notice that it is quite noisy. This is the wheel hitting the bigger bumps within the metal, it will quieten down as you smooth them out – this is when you start to slowly apply more pressure (and I mean slowly).
If using a hammer and dolly, the principle remains the same – but to find the highs and lows, I use a file. Try to keep the file as flat as possible, running it along with the piece – you will see the different heights of the metal (where it is filed is high, and where it hasn’t is low). Use the crown of your dolly to lift the lows and the flatter of the dolly to knock down the highs.
Once the motorcycle fender is planished to perfection, I run an orbital sander over the whole thing. This will turn up any pesky highs or lows that I’ve missed, and create a more uniformed finish to be ready for painting or polishing. The only way to get good at these techniques is by practising – don’t go into it thinking that you will get it right the first time. Just keep at it! Congrats on your first metal shaping experience, and thank you for reading!
Cheers, Keeley
That wraps up this DIY tutorial on how to make a motorcycle fender. The first in hopefully a long run of articles I can bring you from outstanding blokes doing great things in the motorcycle customising and fabrication world.
If this seems a little outside your grasp, check out our off the shelf fender options for your custom project
Thanks for taking the time to read this, and make sure you go check out Keeley’s bikes on Instagram and show him some love
Instagram @Keeley_pritchett_
Photography Captured for Wide of the Mark – Documentary by Alexandra Adoncello
instagram – @lexcello
WE BUILD BIKES WITH PURPOSE.
Purpose Built Moto is home for unique custom motorcycle builds. We offer a unique motorcycle customizing experience in the heart of the Gold Coast.