
Blocked carburettors are one of the most common issues we see plaguing older motorbikes, or bikes that have just been left standing for a while. Either the bike won’t start, tick over evenly, sputters when you hit the throttle – or all of the above.
If there are any riders out there who aren’t sure what the carburettor does, I have a simple equation that will help you understand how it works.
(Fuel + Air) x Fire = Fun
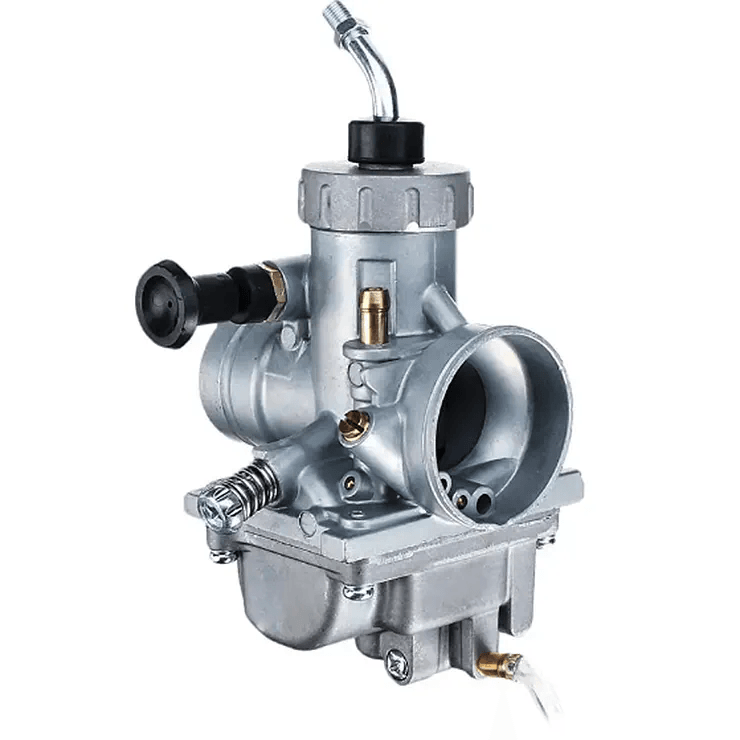
The carburettor is the piece of your engine that’s responsible for mixing fuel and air before sending it through to the combustion chamber in a very specific ratio. There are some pretty telltale signs that your carbie is behind your engine troubles so let’s run through them.
Signs your carburettor needs cleaning
It just won’t start
Now this could just as easily be an electrical fault. But if your bike has been standing there for a while without any use and you’ve been staring at it long enough that the guilt has finally got you out to the garage to take it for a ride, only to find it’s not starting – a dirty carburettor could be your culprit. The main giveaway is usually when the engine turns over or cranks but doesn’t actually start. It may splutter or not try at all.
Carburettor is running lean
Running lean is what we call it when the ratio of fuel to air is off, pumping too much air into the combustion chamber not giving enough fuel. The golden ratio for most carburettors is 12:1 or 15:1 of air to fuel. When there’s too much air your engine starts making popping sounds or sputtering like my pack-a-day grandfather. Lean condition can also cause a high or sticky idle, a tell tale sign of lean condition is a really hot engine and white spark plug colours.
Carburettor is running rich
This is the exact opposite of running lean. Fuel alone isn’t enough to create the combustion reaction needed to power your bike, which is why you need the right amount of air in the chamber. The tell tale sign that your carbie is pumping too much fuel is heavy black smoke shooting out the exhaust, a very strong exhaust smell and blackened plugs.
The carburettor is flooded
The smallest bit of rust, steel or debris in the bowl can cause some serious issues for the carbie, it can jam the needle valve which stops fuel flow fully closing. This means that fuel overflows into the carburettor and gets the spark plugs wet. Which means you won’t only be up for a carby clean, but to replace your spark plugs as well. This can be a very obvious one to spot or very tricky, let me explain. If you have pod filters fitted you’ll see fuel dripping from the filter, if you have an airbox you may not notice unless you have the covers off. Another situation can be catastrophic if your carburettors run downhill into the head of your engine causing hydraulic lock, this is where your piston chambers fill up completely with fuel and when you go to start lock up your motor and can damage all sorts of internal components due to the stress. Another reason to turn your fuel taps off when putting the bike away.
-
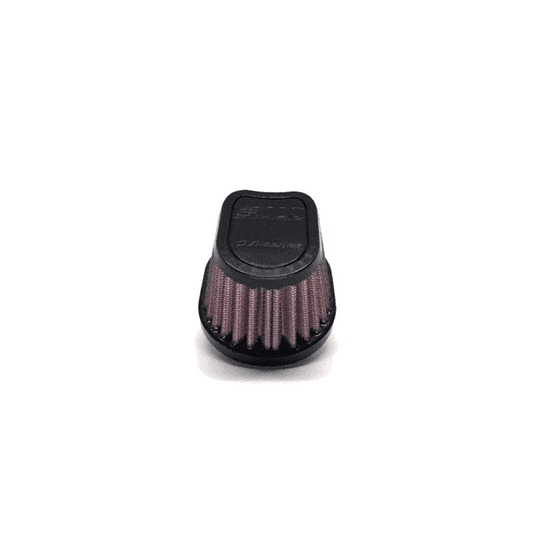
DNA V - Hexagon
Regular price From $42.00Regular priceUnit price per$42.00Sale price From $42.00 -
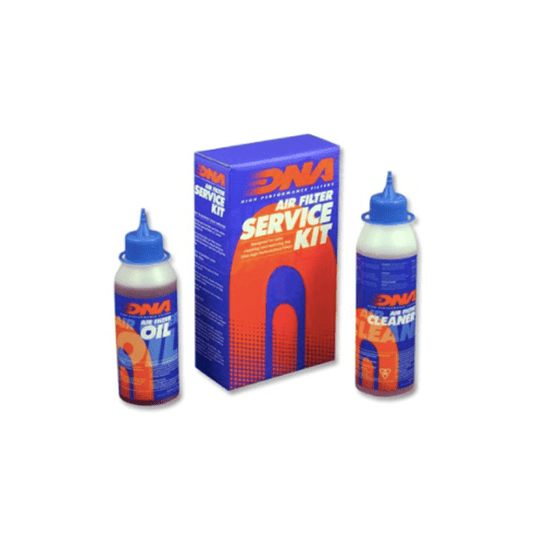
DNA Air Filter Service Kit
Regular price $35.00Regular priceUnit price per$35.00Sale price $35.00 -
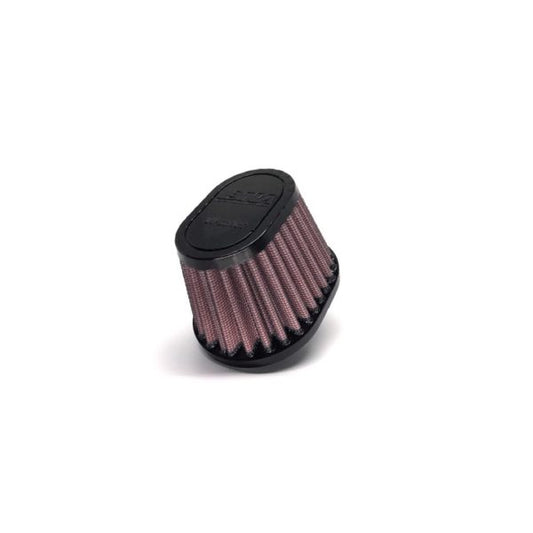
DNA OVI - Special Oval - Clamp On
Regular price From $59.00Regular priceUnit price per$59.00Sale price From $59.00 -
DNA OV – Oval – Clamp On
Regular price From $53.00Regular priceUnit price per$53.00Sale price From $53.00
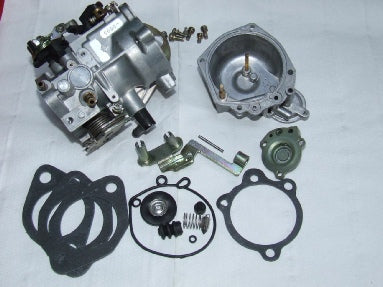
How to give a carburettor a basic clean
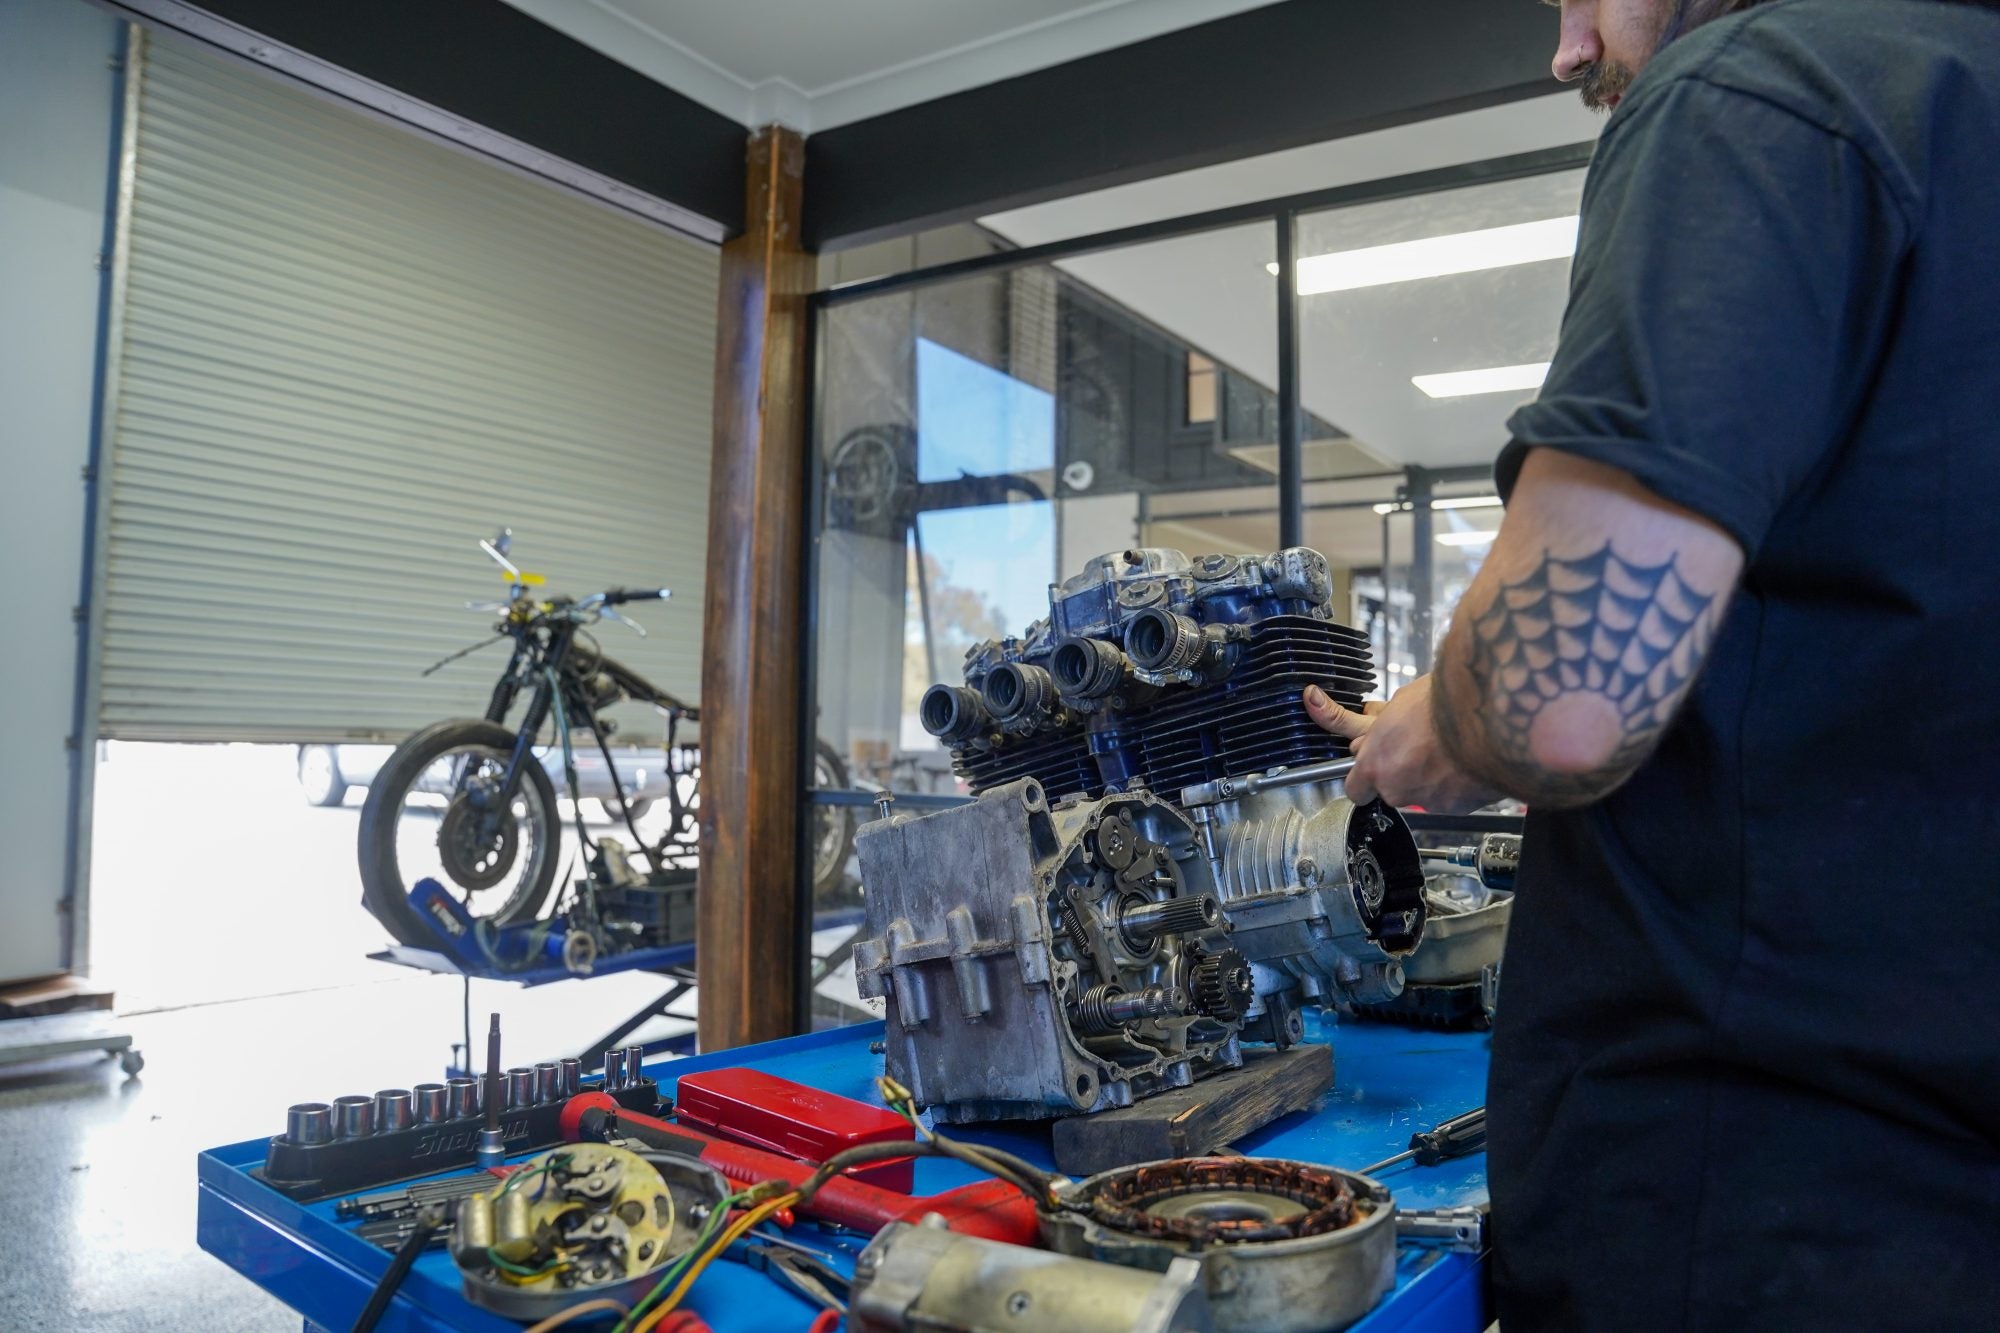
The hardest part about carburettor cleaning is getting the bastard off. The rubber seals can be an absolute pain to take off and refit, and if you only have to do a basic clean count yourself lucky, because a deep clean involves taking off the throttle cable and other pieces which can be a complex job. This can be aided by the use of a little head to soften the rubber. Here I’m going to list out the process for taking off and giving the carbs a basic clean step-by-step.
1. Turn off the petrol, you don’t want that leaking while you’re trying to do this, and make sure the bike has been off for a while and cold. Petrol leaking on to a hot exhaust isn’t a good time. It’s also a good idea to drop a few rags on top of the casings below the carb to absorb any fuel that might leak. Set down another small rag beside where you’re working to keep all the bolts and screws that are about to come off the carb.
2. Wear a pair of hearty gloves and some eye protection – carb cleaner is nasty stuff.
3. Remove the rubber clamps, heat up the rubber boot if necessary and work the carbs loose. at this point you can remove the throttle cable if needed or just hang the carb out the side for ease of access.
4. Undo the single bolt at the base of the carb slowly – you’ll probably see a bit of fuel leak out here, and again – make sure your fuel line is turned off.
5. Remove the float bowl by undoing the four Phillips head screws and check it for debris, gunk, rust etc. Give it a good spray with carb cleaner. At this step if there’s any considerable amount of dirt or debris, it may point to a dirty fuel tank and call for the installation of an inline fuel filter
6. Remove the float. This piece is usually held in place by a small pin that can just be pushed out. Take care here while you’re tapping it loose not to damage the mounts. There should be a little valve (the float needle) that the float pushes on to stop fuel flow when it’s at the right level – this should come off with the float. Give this all a good clean.
7. Have a look for the jets under the carb, they look like two bolts with holes in the middle. This is usually where you’ll find a lot of debris and is usually the main blockage culprit. Spray your carb cleaner into the jets and let that soak for a few minutes. if there’s a significant amount of gunk in there you may want to remove the jets carefully one by one and clean off the bike.
8. Use an air compressor or a can of pressurised air to blow through the jets. Repeat this step until you can see all the build up has cleared.
9. Work your way back up this list to put the carburettor back together. Once reassembled and bolts tightened you can turn your fuel line back on. This should have cleared up what was causing the issue.
If you’ve finished the basic cleaning steps above, reassembled the carburettor and you’ve noticed a slight improvement in the problems you were having, it might be time for a deep clean.
It’s worth mentioning here that if you’ve run through all of the steps below and you’re still experiencing sputtering, your issue could be somewhere else – spark plugs, ignition coils, ignition timing etc. If you don’t to go down the deep clean route, most motorcycle mechanics would handle the job.
How to give a carburettor a deep clean
1. At this stage you should order yourself a carburettor service kit. You could find these online and they’re not too expensive, just make sure you’re ordering the correct kit for your bike/carb type. With a carb kit you’ll be able to replace the jets, gaskets seals etc.
2. Remove the carb. For most bikes this also means removing the throttle cable and airbox/filter. You’ll have to take off anything that’s either in the way, or holding the carb in place.
3. Clear a space on your workbench and find yourself a plastic container. You’re going to be dealing with small parts and don’t want to lose anything. also take note of any adjustment locations, and needle position and idle adjustments as you tear down. using these same settings will aid in getting your bike back together and running.
4. Give the whole carb a good general clean to stop any filth getting into the crucial bits as you work, and then remove the float bowl and float going through steps given above.
5. Remove the jets and by holding them up to the light you’ll see how blocked they are. Squirt some carb cleaner and leave to sit for a few minutes while it works. If you can still see a blockage, take a bristle out from a wire brush and poke it through the jet. Do this gently, the jets are usually made of brass and scratch easily. If that doesn’t work, soak the jets in carb cleaner and repeat until cleared.
6. If you’ve got an older bike an ultrasonic cleaner can come in handy. A lot of mechanics that deal specifically with older models will have these in their shop and may help you out for a few $$ or a carton of beer.
7. Reassemble the carb. As you’re reassembling, use the service kit to replace any gaskets, seals etc. that you’ve been provided. Take care here to put the carburettor back together with the same settings you took note of when you’ve torn it down.
8. Refit your motorcycle, secure all the pieces you removed to get to the carb and give it a fire. Now after a deep clean your bike may need to be tuned again, we wont go into that here as its a bit of skill and a little black magic. you can do your own research for your specific model or get a pro involved.

If you’ve completed all these steps and it was a carb issue you should be set to go. If not, kick your workbench and swear a bunch – it helps. But it also might be time to start looking at your ignition or take it to a professional. I hope this guide has helped you on your way to moto glory and the satisfaction of fixing it yourself,
Purpose Built Moto have an inhouse performance mechanic that specialises classic and retro motorcycle engine rebuilding, servicing, fault finding and reconditioning – contact us to book an appointment at our Gold Coast garage.
Featured collection Shop All
-
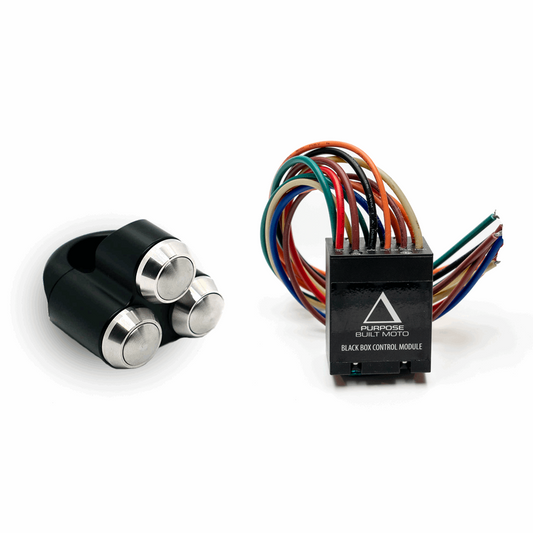
Black Box + 2 Switches Kit
Regular price $365.00Regular priceUnit price per$365.00Sale price $365.00 -
Bar End Mirror Kit
Regular price $145.00Regular priceUnit price per$145.00Sale price $145.00 -
Headlight Kit
Regular price From $370.00Regular priceUnit price per$370.00Sale price From $370.00 -
Black Box + 1 Switch Kit
Regular price $280.00Regular priceUnit price per$280.00Sale price $280.00


WE BUILD BIKES WITH PURPOSE.
Purpose Built Moto is home for unique custom motorcycle builds. We offer a unique motorcycle customizing experience in the heart of the Gold Coast.


1 comment
Tried this once, not sure if it completed.
So, great clear information, now to have at my ’77 cb750 (the joy/nightmare of four carbs.
Cheers