
Motorcycle wiring can be a very simplistic job – but there are some common mistakes people make when trying it at home.

I enjoy wiring motorcycles for the simplicity I can achieve. Comparative to the normally excessive wiring techniques used in the factory there are a few easy ways you can simplify your motorcycle wiring while making sure you get the reliability you want.
For those of you that don’t know, I wasn’t born a bike builder. I earned my stripes in the fast paced and glamorous world of electrical contracting for 13 years to date. This means two things:
- I can talk on my mobile phone, while reversing a trailer in a manual ute while eating a meat pie.
- I know my way around electrical systems
Listed below are the five most common mistakes I find myself fixing and a few lessons I learned the hard way.
Top 5 wiring mistakes:
- Grounding
- Edge protection
- Use of proper joins + lugs
- Over complicating
- Wire size and fusing
First though, make sure to select the right cafe racer parts.
1. Grounding
“Grounding” or “Earthing” is the number one reason why people have electrical issues on a custom bike, especially if it’s been stripped and painted. Put simply, grounding is the system used to make sure that every metallic component that isn’t linked to a positive voltage, is linked to the negative side of the battery or “ground”.
After the bike has been stripped and painted, often the ground points are insulated by the paint and give a bad connection. This can result in batteries not charging, lights/instruments not working and ignition problems. Whenever you have an electrical problem on your bike, start by checking your grounding on the faulty component. You can check this by connecting a multi-meter set to OHMS between your negative battery terminal and any metal part on your bike. The reading shouldn’t be above 1.5 ohms from the battery to any part you test.
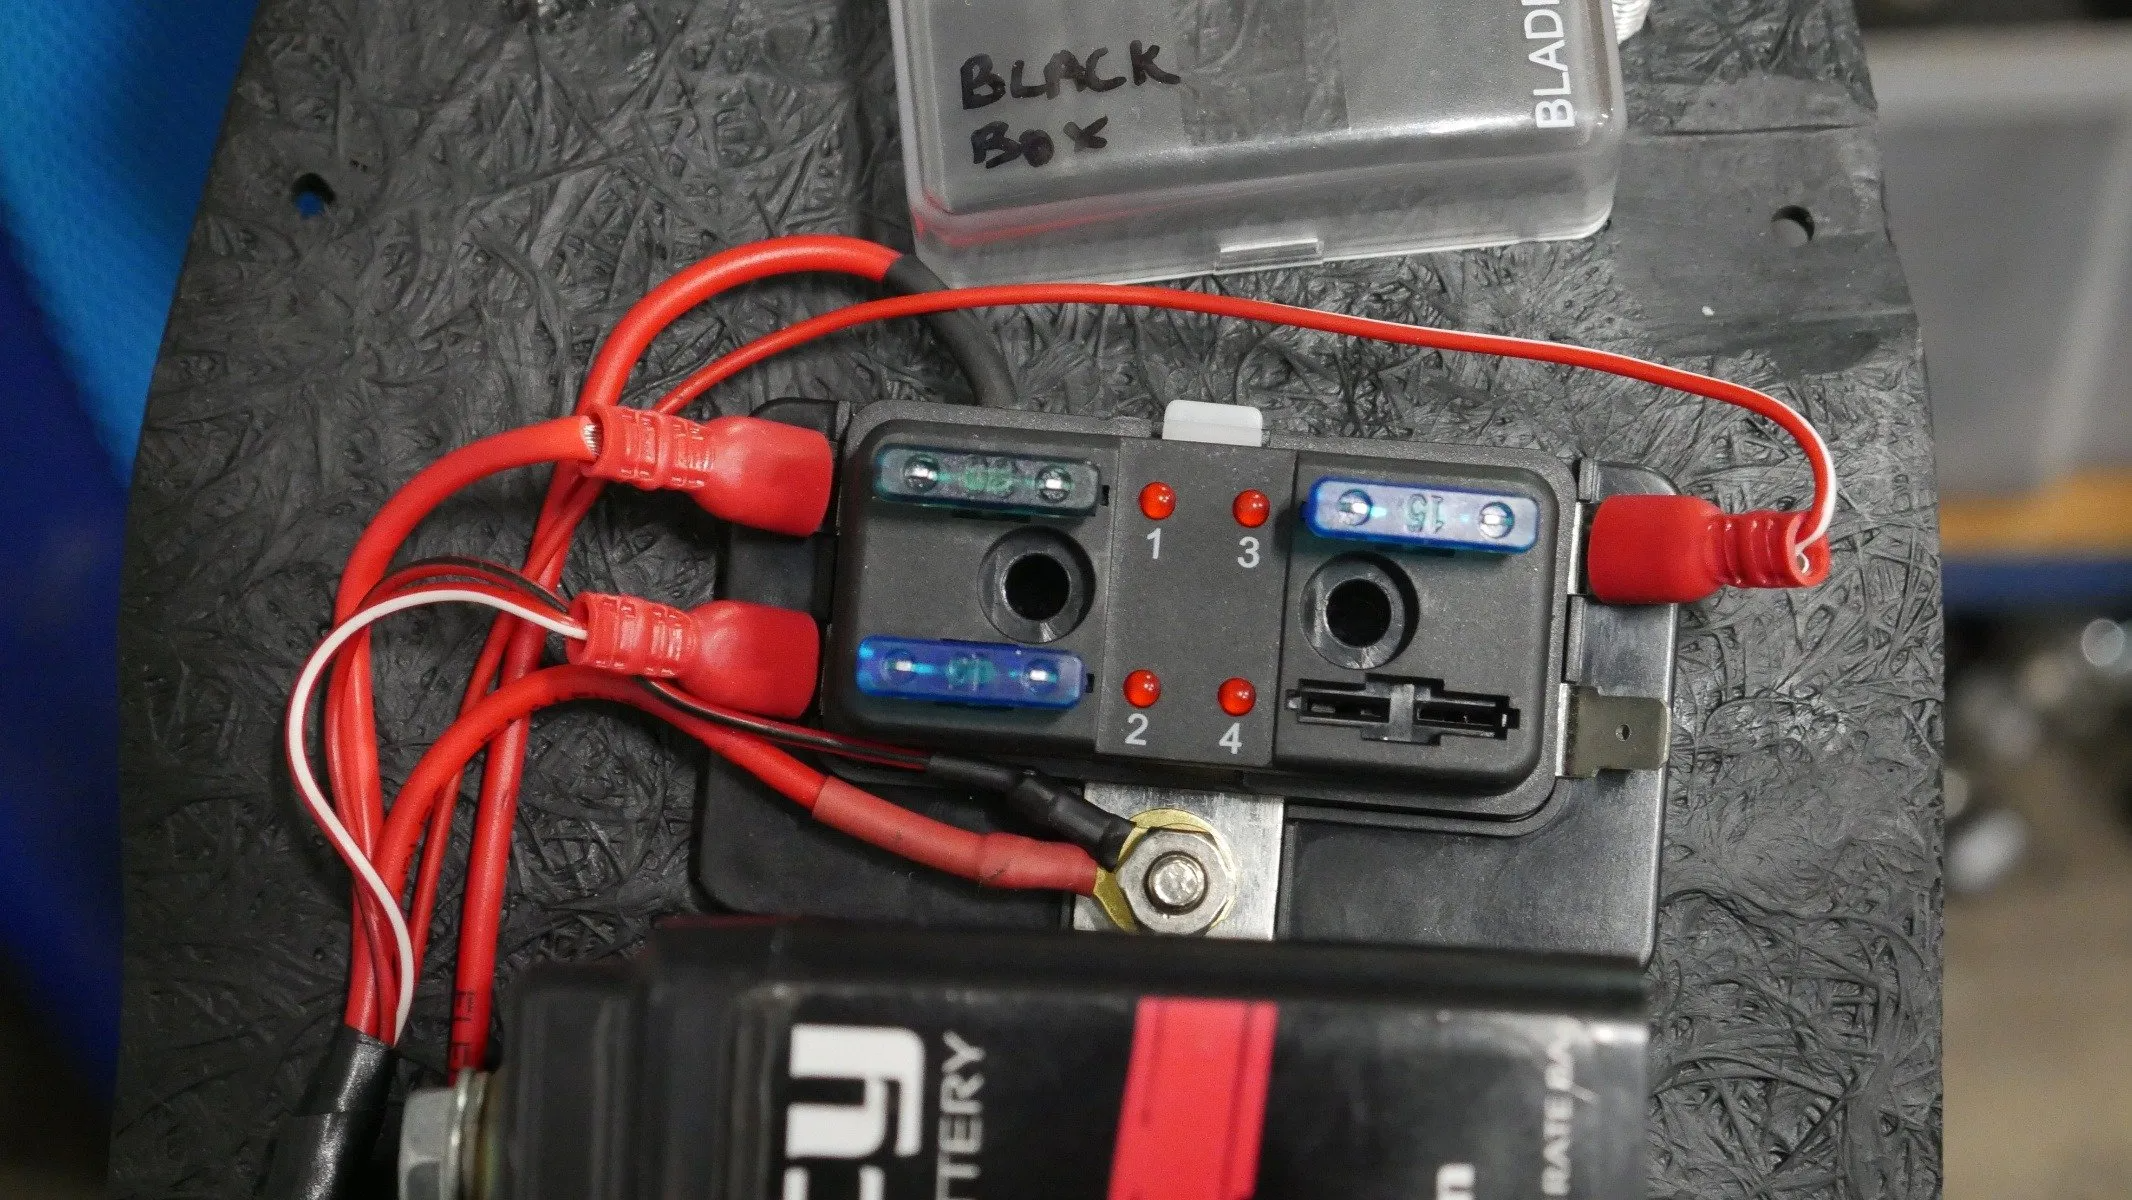
When wiring I will make sure I generally have 3 direct earth points using 2.5mm wire and one large gauge cable directly to the battery:
- Front of the frame (6mm bolt with lug)
- Mid or rear of the frame (6mm bolt with lug)
- Motor (lug on engine case bolt)
When connecting these make sure you remove a small part of the paint directly under the lug so it’s a metal on metal connection.
2. Edge protection
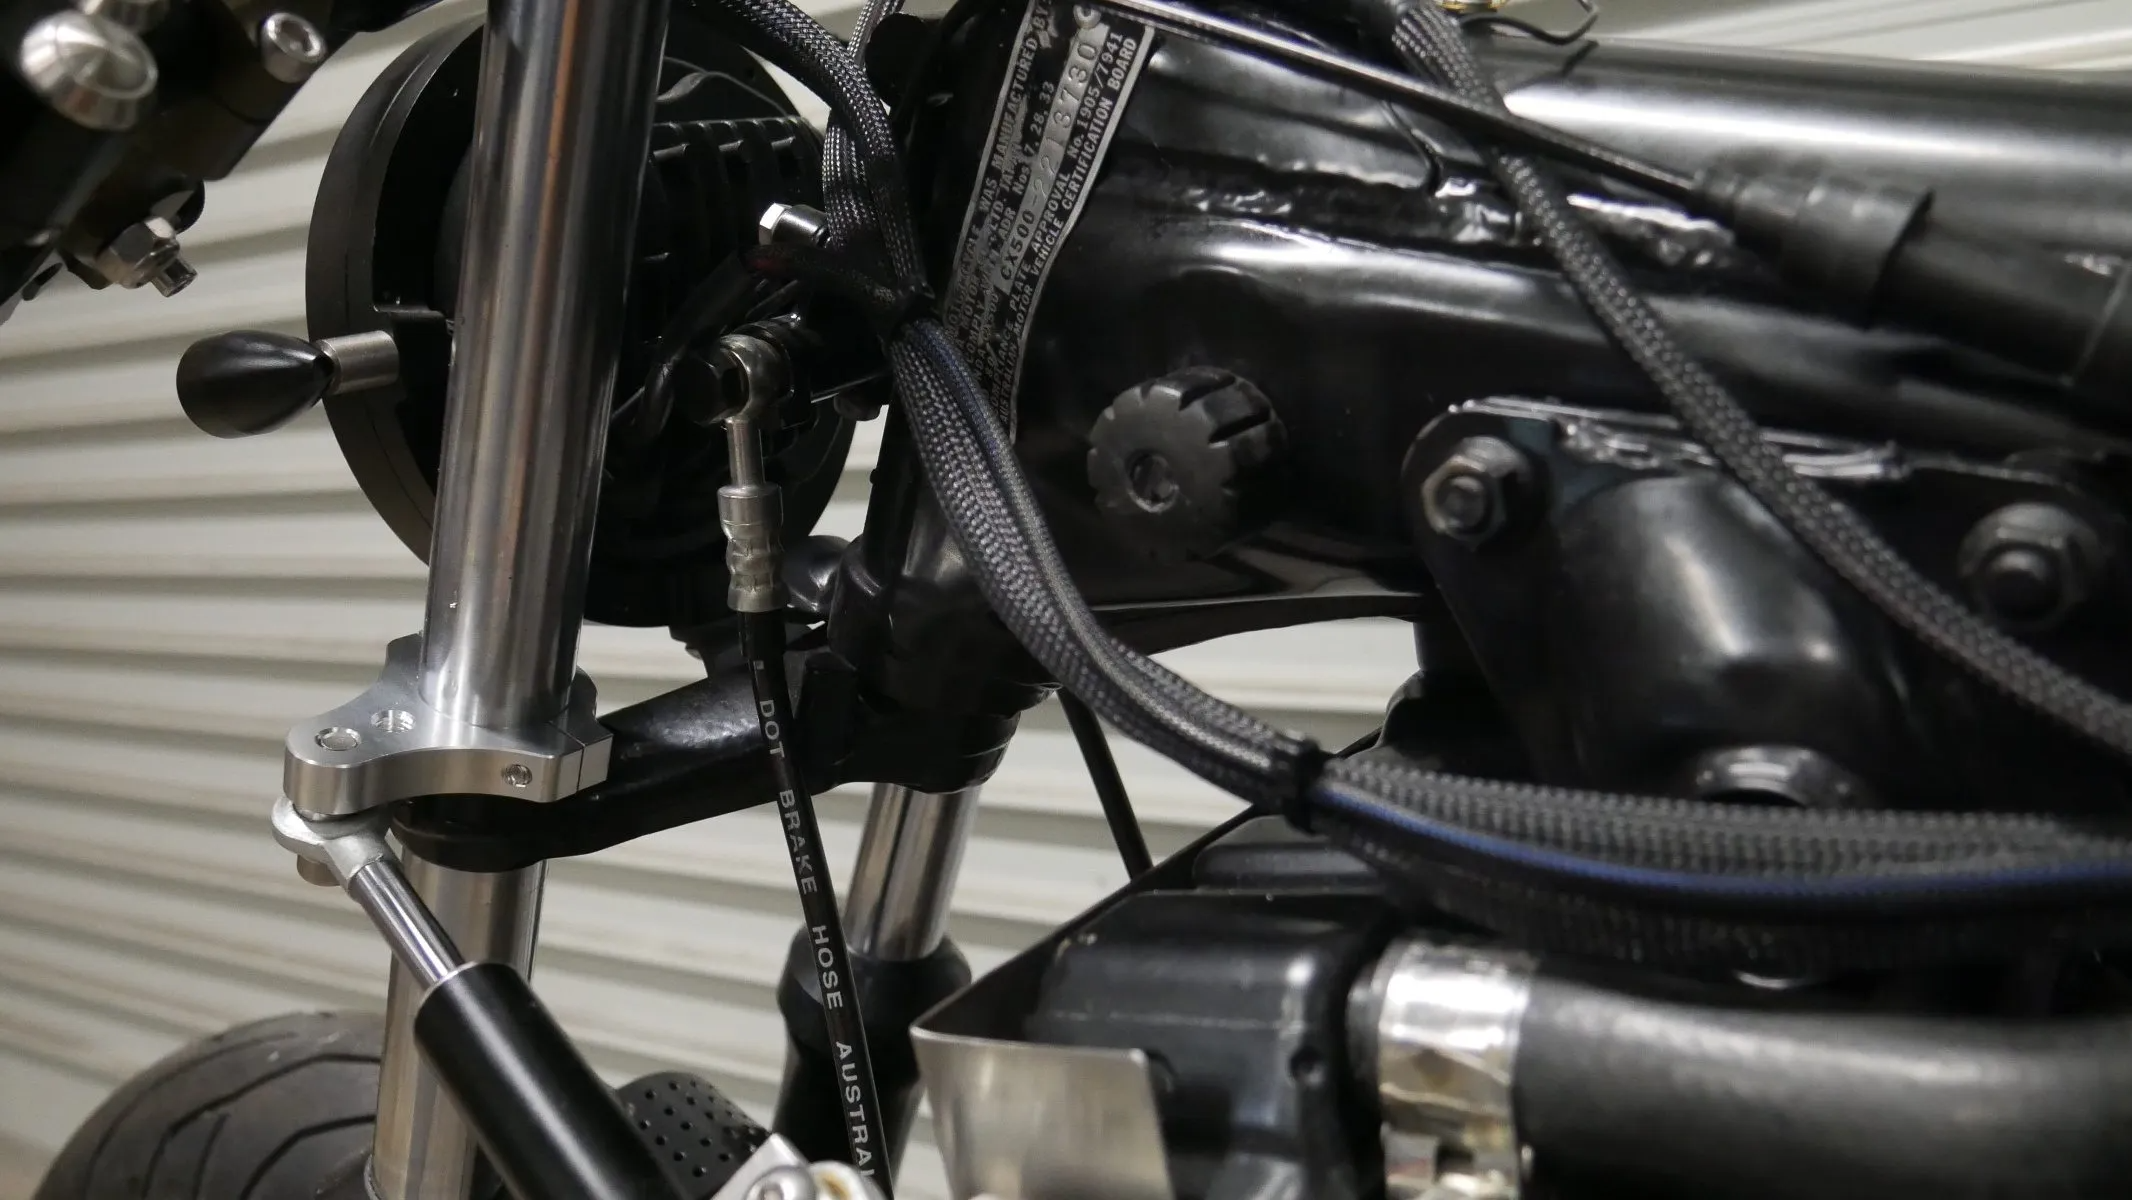
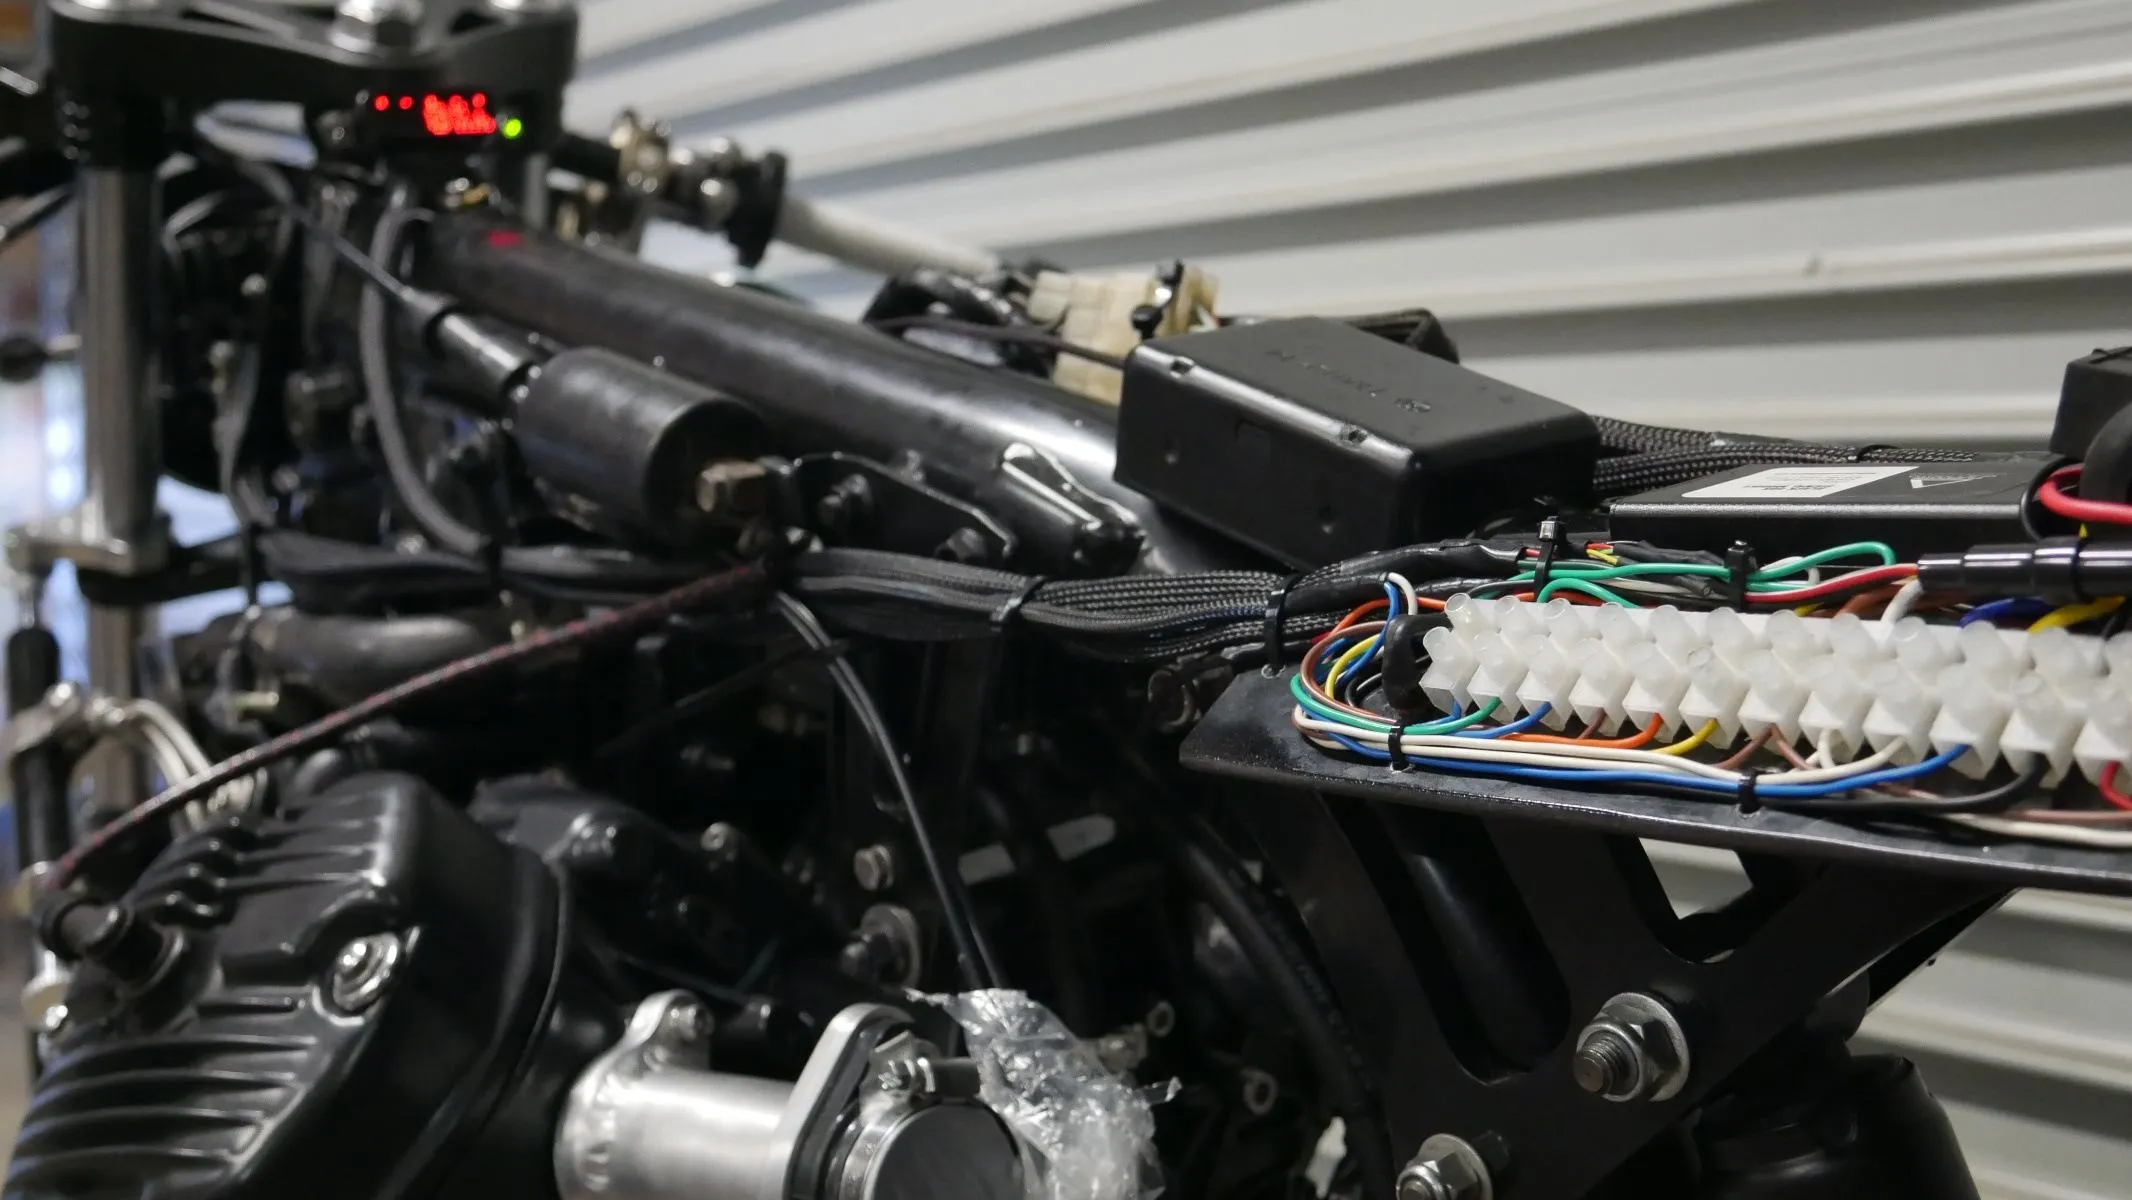
The next 2 points are tied for second place and can sometimes go hand in hand. Edge protection means having all of your cables sleeved, or protected from sharp edges and pinch points on your bike. This can be particularly common on bikes with a lot of vibration, big v-twins and single cylinders beware!
Common places for edges + pinching include:
- Steering stops and where the cables flex when handlebars are turned
- Between the frame rails and the seat
- Fixing points and underneath the tank
Having a pinched or worn through cables can result in a blown fuse, intermittent problems that pop up and seemingly disappear or in the worst case an electrical fire. Having the cable worn through and shorting out on the frame or other grounded parts will cause endless headaches.
To make sure this isn’t an issue on your café racer or custom, firstly be smart about where you run your cables, second use a good quality cable sleeve or “snake skin”. It’s a flexible woven plastic protective sleeve, it’s not bullet proof but it’s a shit load more durable than a solo cable flapping around.
3. Use of proper joins + lugs
There are 2 parts to this issue. First off in principle, you should avoid unnecessary joins in all electrical systems whether you’re working on a transmission line that links Mainland Australia to Tasmania, or your Vintage scooter. It’s a universal law.
If a cable is too short, pull it out and replace it instead of creating a join. If you can’t at least make sure your join is a good soldered join covered in heat shrink sleeve.
Second, use of the correct lugs and crimps when you do need to join or terminate a cable. Personally I very rarely use bullet connectors for my lights, I prefer to solder the joins and heat shrink over the top. The last note on lugs + crimps is to invest in the correct crimping tool for the job. I had an SR400 that I re-wired that has been a nightmare with chasing electrical issues due to using the wrong crimp tool for the bare brass lugs. Lesson learned!
4. Over complicating
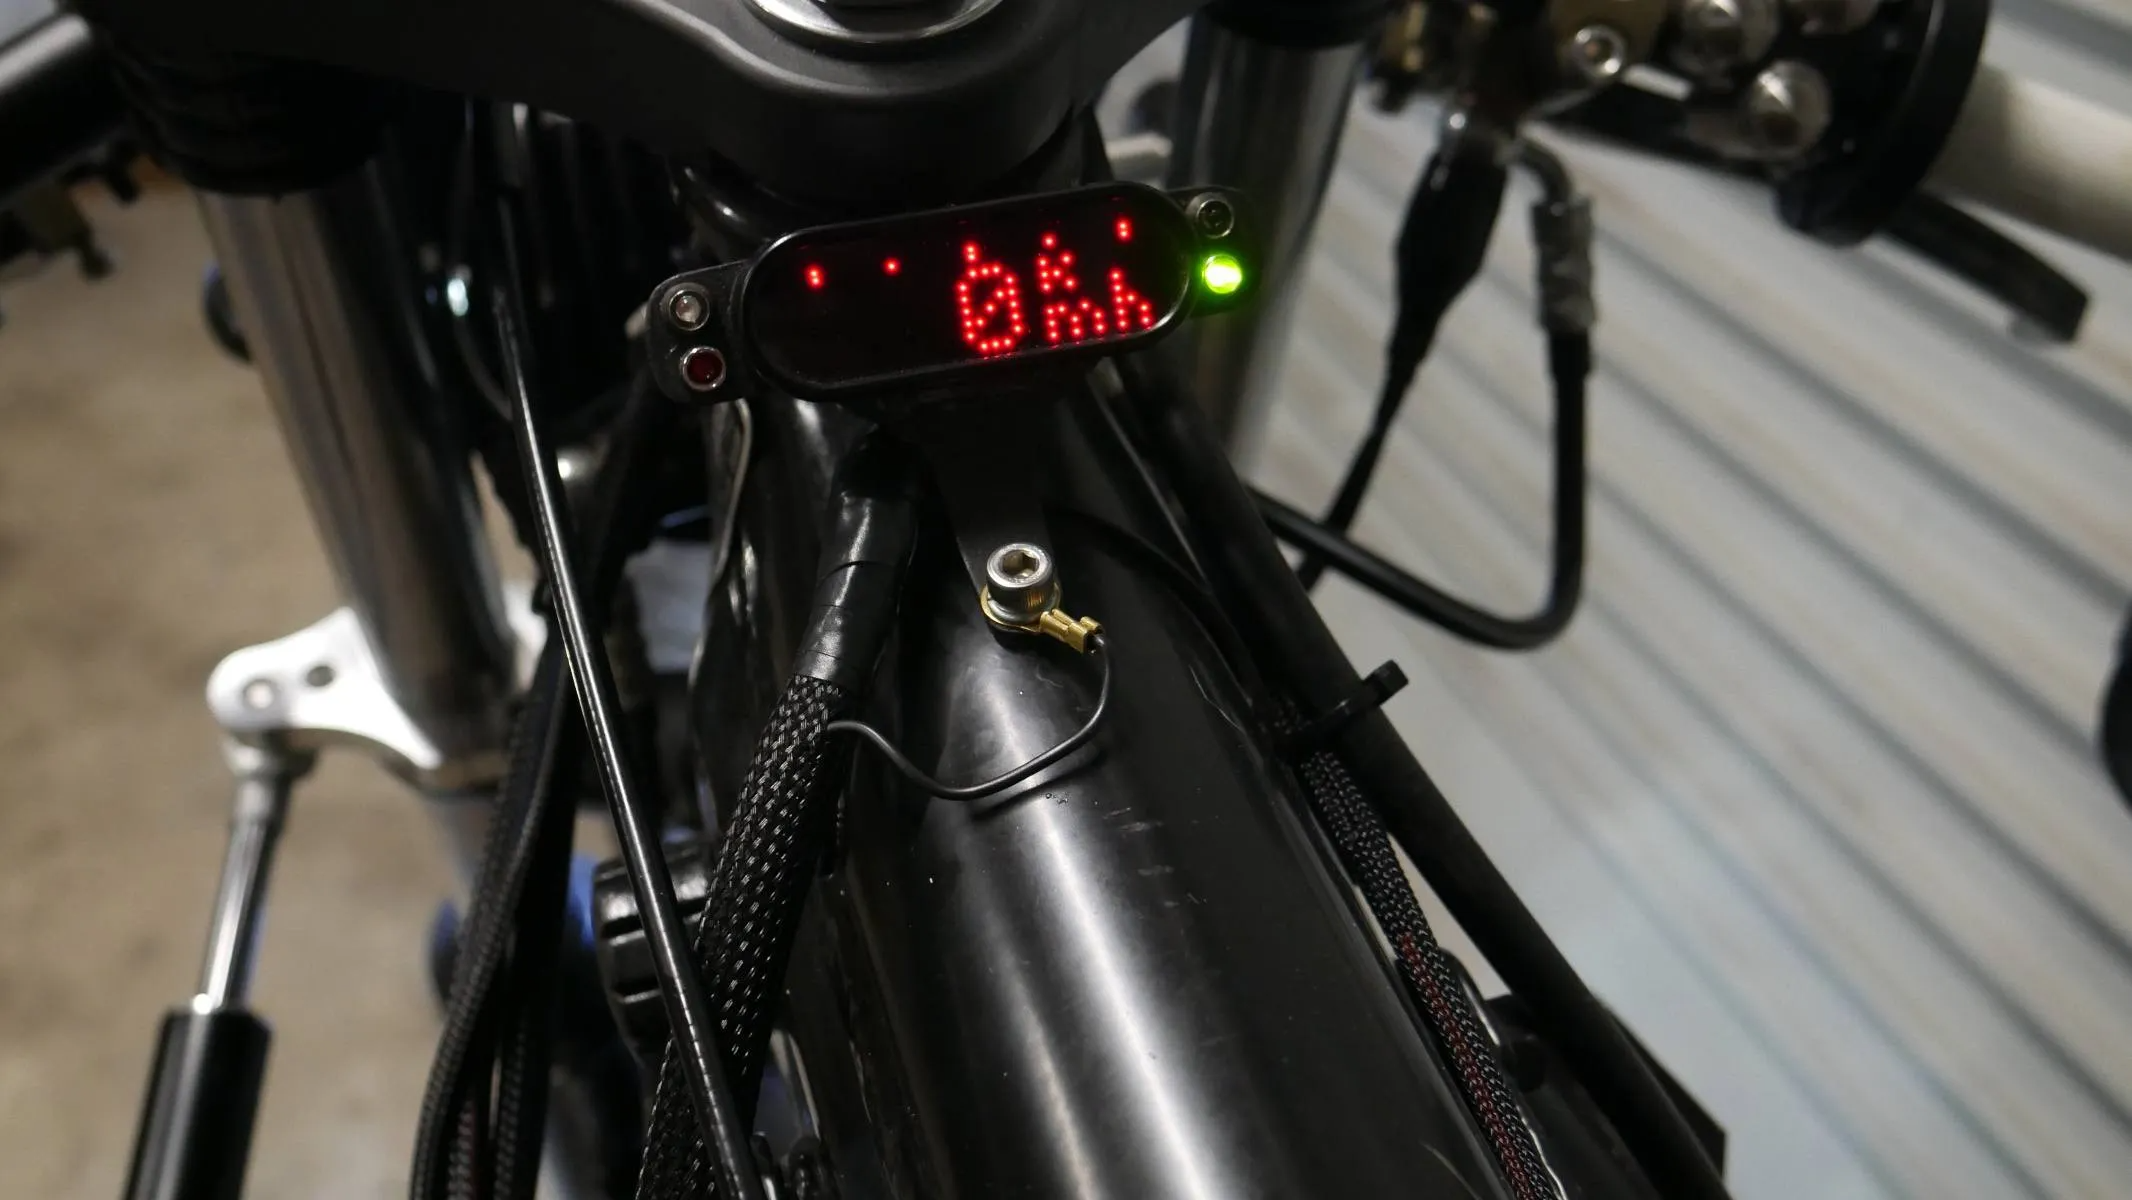
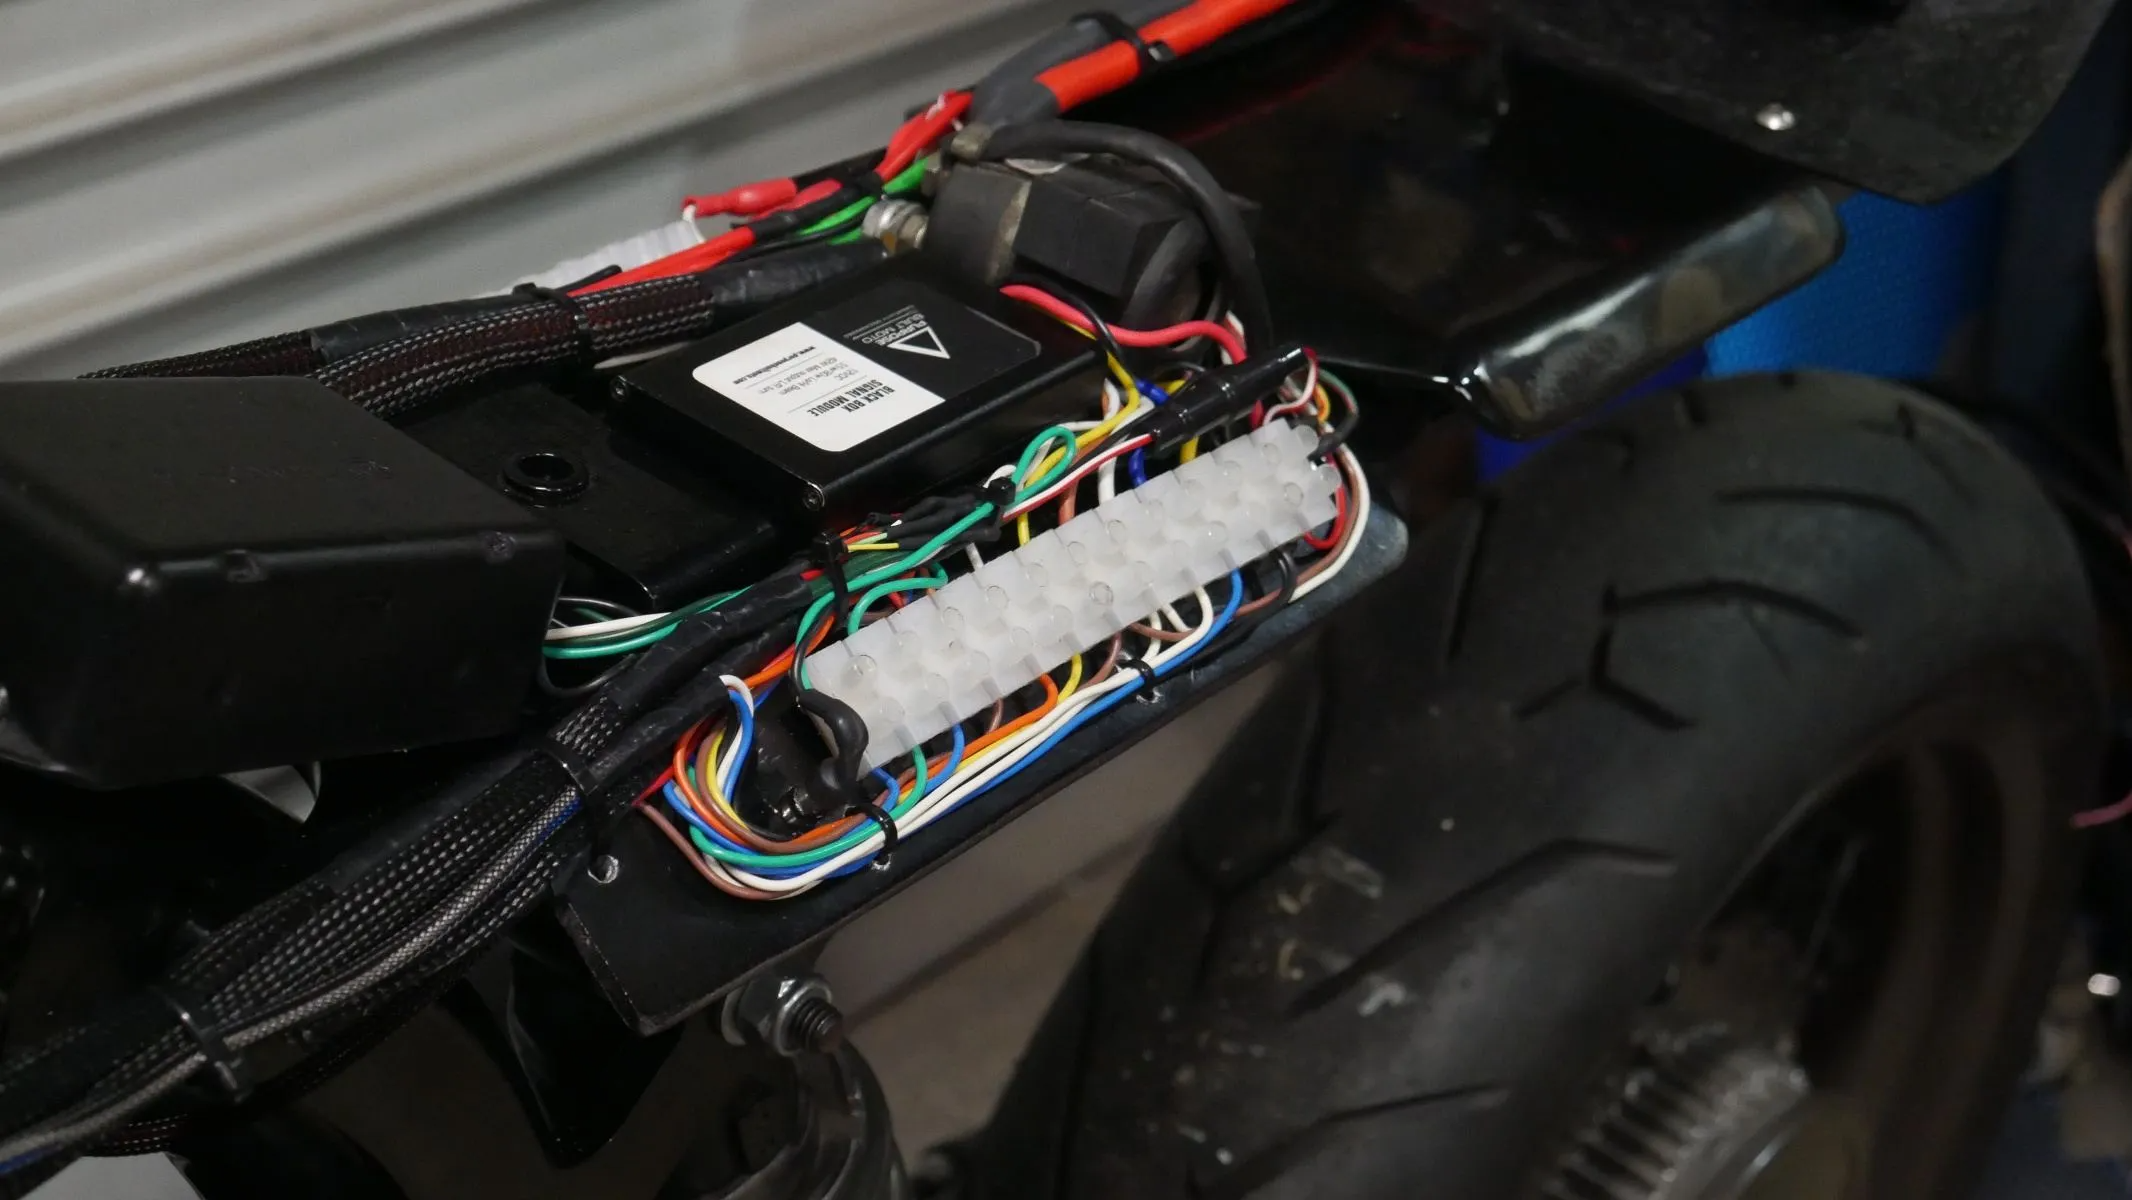
This one is usually due to poor planning. I’ve found the simplest way to wire a bike is to have all your connections in one place. This helps to save you running wires up and down the bike unnecessarily, and if in the event there is a problem, you limit yourself to one place to look.
I’m so shit at drawing I still haven’t got my pen licence, but before wiring a café racer up, I sit down, draw out my electrical components and lighting then work out how to best link them up. Avoiding birds nest wiring and confusion if ever you need to repair or modify something.
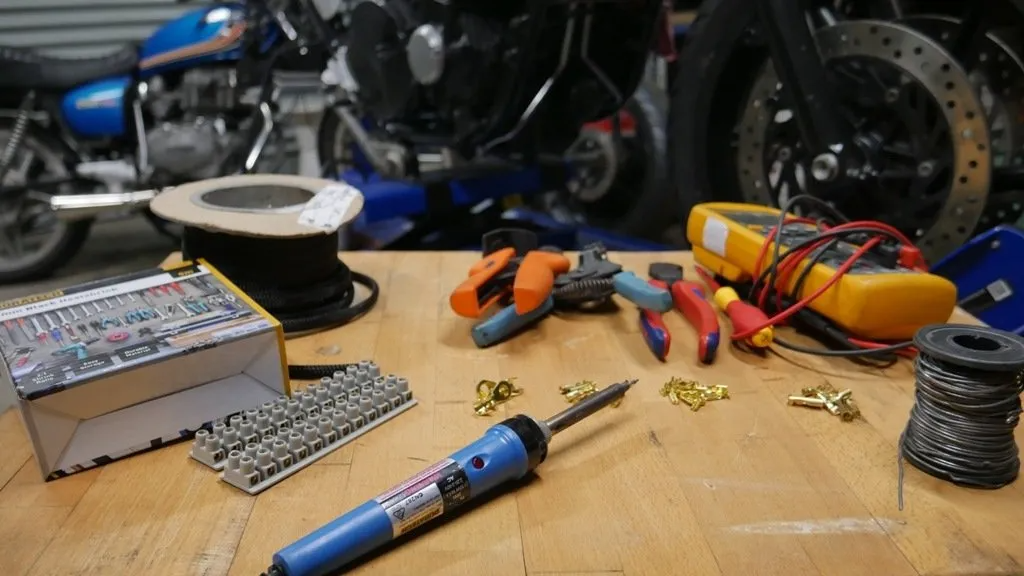
Simplicity is so important to me I designed a component specifically to help you out when wiring your bike, the Purpose Built Moto Black Box will get those tidy handlebar switches and nice new lights working with just a 9 wire connection. Check out the details here.
5. Wire size + fusing
Last here is an often seen but rarely critical dilemma. You’re out riding and the fuse blows, you check it out and can’t see an issue, so you just whack the next size fuse in and hope for the best. This could work for years… or it could burn your bike to the ground. Normally there will be an underlying issue, and most likely one of my 4 suggestions above. It’s important to use the right size wiring for the job, and importanter to select the right fuse.
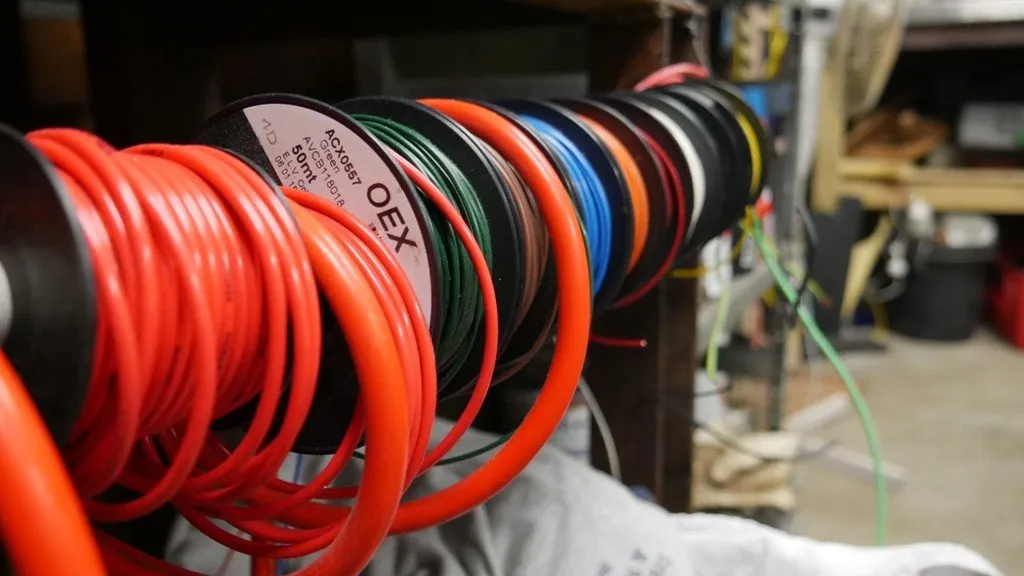
Here are my commonly used wire gauge + fuse sizes with applications, your bike may be totally different so you’ll need to work it out for yourself using Ohms law and adding up the combined light wattage etc.
|
Component |
Wire Gauge | Metric |
|
Ignition switch |
11 or 12 |
4.17mm² or 3.31mm² |
|
Main fuse feeds |
11 or 12 |
4.17mm² or 3.31mm² |
|
Lighting + Ignition fuse feeds |
12 or 13 |
3.31mm² or 2.63mm² |
|
Ignition coil feed |
13 | 2.63mm² |
|
Handlebar switches |
15 or 16 |
1.65mm² or 1.31mm² |
| Lighting | 15 or 16 |
1.65mm² or 1.31mm² |
| Brake switches | 15 or 16 |
1.65mm² or 1.31mm² |
|
Circuit |
Fuse size |
|
Ignition switch/ Main feed |
25A or 30A |
|
Lighting |
10A or 15A |
| Ignition/running |
15A |
If you’ve found this article because its late at night and you’re chasing electrical demons on your project bike, I hope this helped. If you’re reading this in preparation to re-wire your bike or get your electrical system up to spec before there’s an issue, I know this will help!
You can take a look at our other wiring tutorials here. You can also directly download a PDF wiring diagram to help guide your project along.
OR
Check out our Youtube channel for regular videos on all this stuff.
Thanks for taking the time
Tom.
WE BUILD BIKES WITH PURPOSE.
Purpose Built Moto is home for unique custom motorcycle builds. We offer a unique motorcycle customizing experience in the heart of the Gold Coast.


15 kommenttia
Thanks for reaching out mate, Appreciate the feedback.
Make sure you check out our other wiring blogs and diagrams on the site.
Here’s one, and if you look around there are a few more.
https://purposebuiltmoto.com/motorcycle-electrics-101-re-wiring-your-cafe-racer/
I want to go ahead and thank you in advance, i’m turning my 2nd hand 1986 GPz into a street fighter and have been really gun shy about the wiring fuster cluck that I’ve gotten myself involved with. this article will be my bible as i set out to get my bike going
Hey Adrian,
I’m not a typical Automotive electrician, These cable sizes I worked out with the load on gear I typically use on bikes I build.
I do tend to over estimate rather than under.
Tom
Honest Question and I know this article is is 6 months old.
The wire sizes you are suggesting are quite a bit larger than what is typically suggested. what is your reasoning for this?
Hi Joe,
Ive used a 19mm cable sheath here I beleive.
From the front of the bike I usually have 2 seperate looms going back to the electrics tray.
1 for the Speedo and lights
1 for the switches on the bars.
Hey Tom! What size cable cover did you use featured in the build above? Looking at rewiring my bike as you’ve done above!
We have plenty of guides on the website to get you going mate, Good luck with your project.
Tom