Harley-Davidson Sportster 3 in 1 LED turn signal install.
Purpose Built Moto’s 3 in 1 turn/brake/tail lights have been immensely popular with Harley riders. In particular Sportster riders have taken a liking to these tiny ultra bright 3 in 1 LED turn signals. Opting for the cleanest finish possible on the rear fender, and often using it in conjunction with the Orbit Brake light.
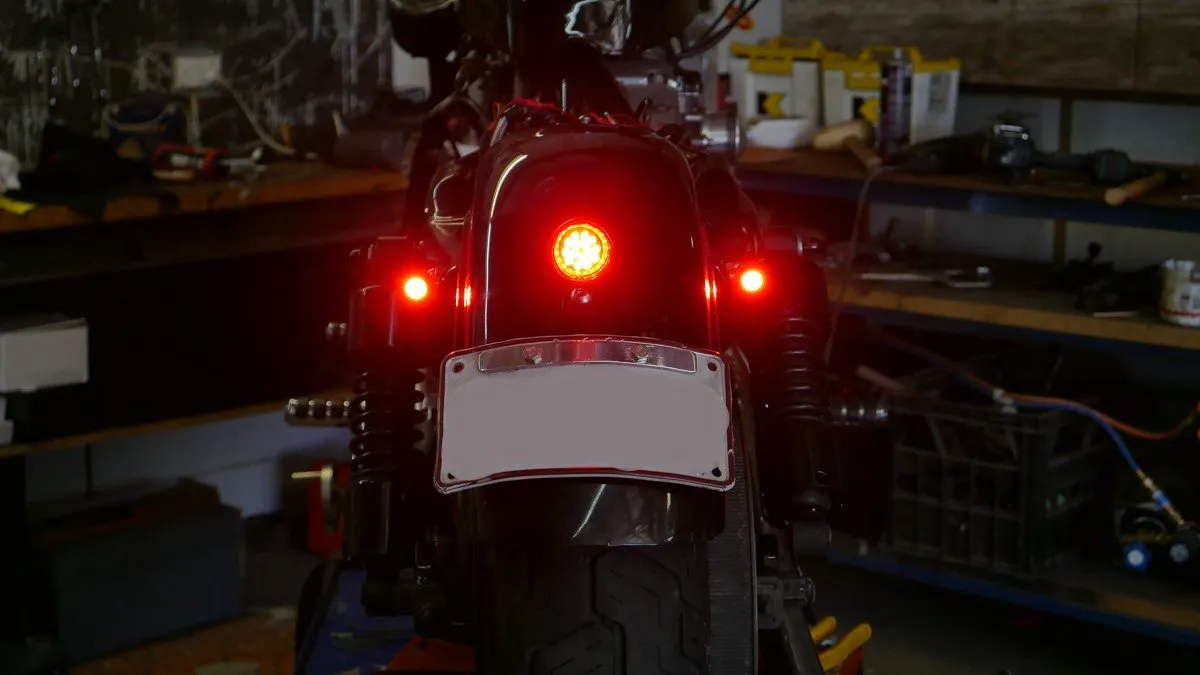
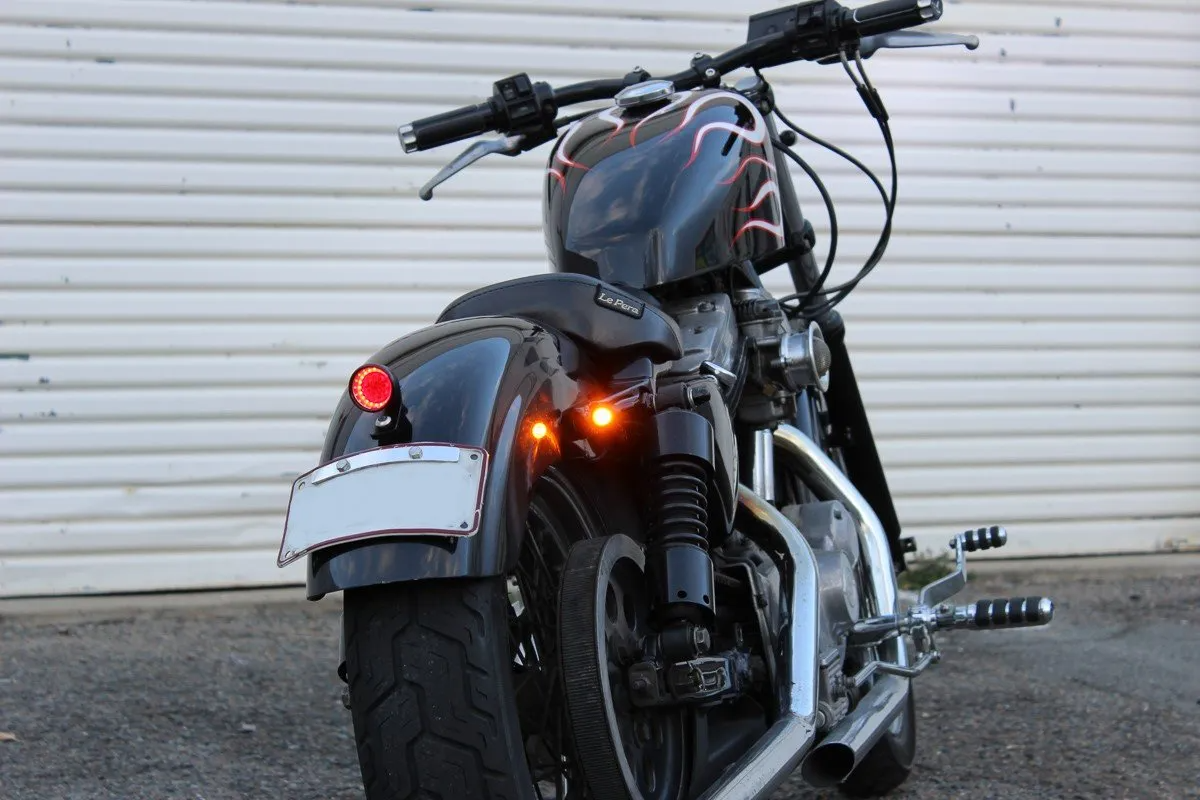
Here I’m going to run you through an Install I completed on a 1993 Sportster 1200 that received an all round lighting upgrade from our product range.
What you need:
2 x Purpose Built Moto Dome X 3 in 1 turn signals
1 x Orbit Mini LED brake light
Bullet crimp connectors
Brake tail splitter (optional)
2 x 2 pin LED flasher relay (optional)
General hand tools will be needed as well as a crimp tool for the connectors.
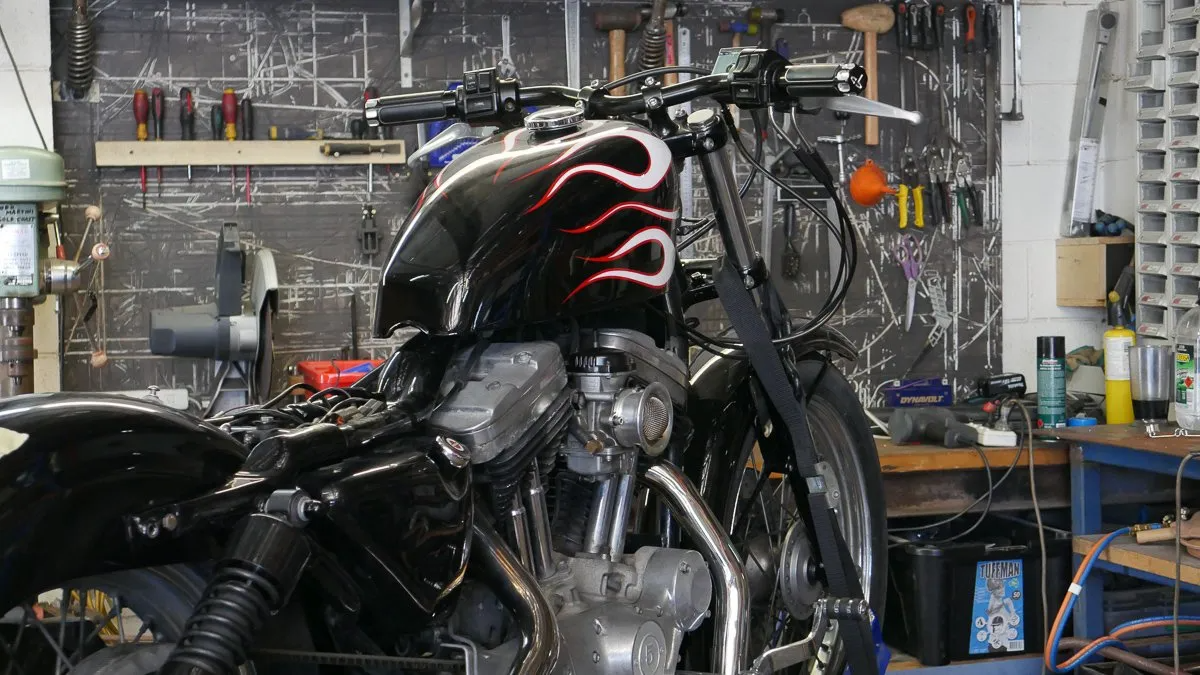
If you’re replacing the brake light start by removing the seat and rear fender. A simple bracket can be made up to mount the Orbit LED brake light. The Factory cable stays can be used to secure the wiring.
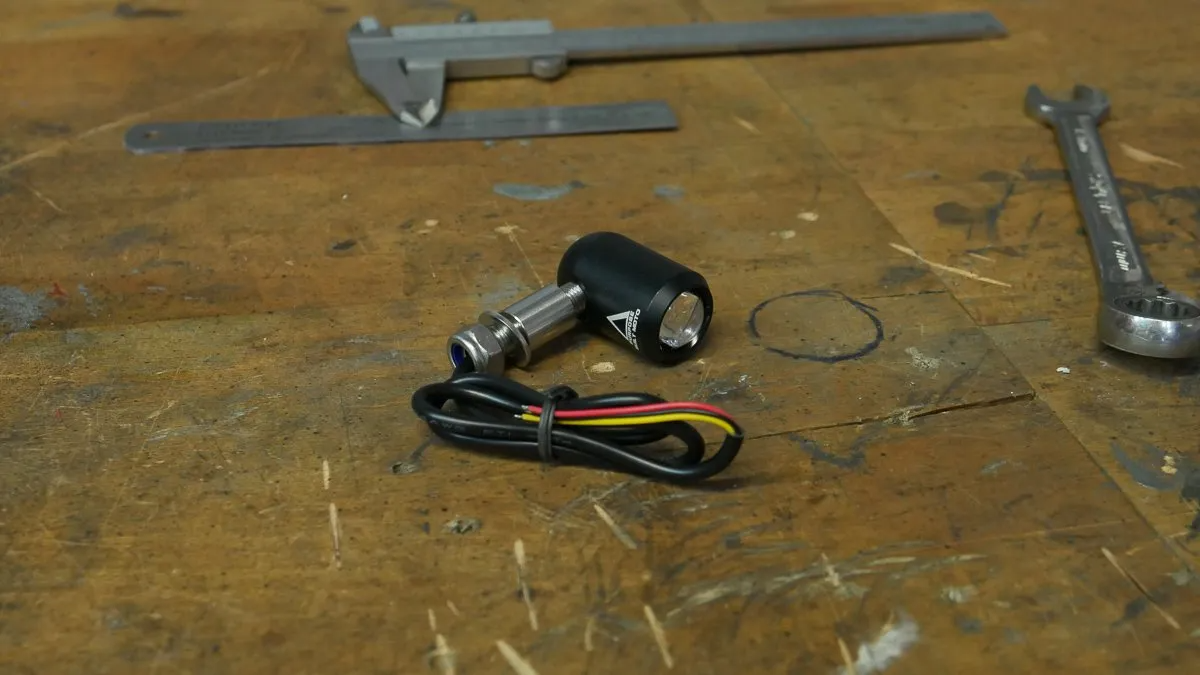
Onto the LED turn signals for your sportster, remove the standard lights and unplug the wiring under the seat. The factory mount point can be used without any modification. On this bike I wanted to hug the rear fender with the turn signals which meant trimming the spacer. The new Dome X design has a 3 piece spigot design which allows easy modification for any custom situation. Here I wanted about 6mm offset so the out of the box 15mm spacer was trimmed down.
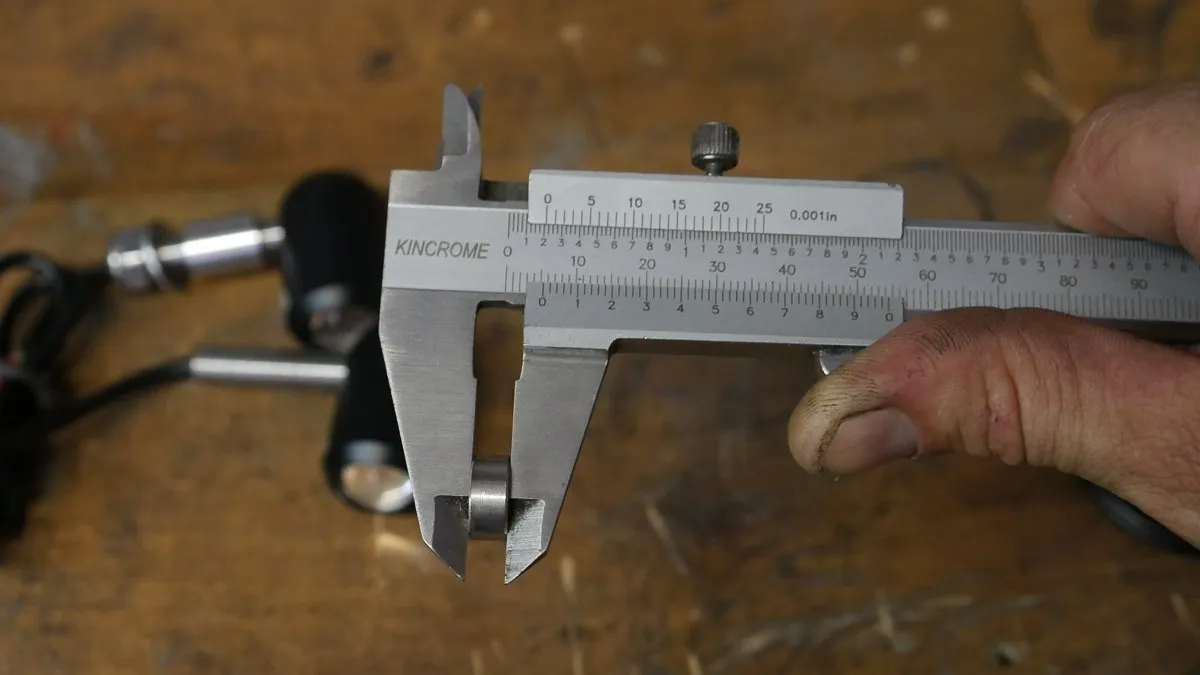
Next steps are as simple as bolting the 3 in 1 LED turn signals up and Aligning them to suit. You can also run the cable back to the under seat connection and secure it now.
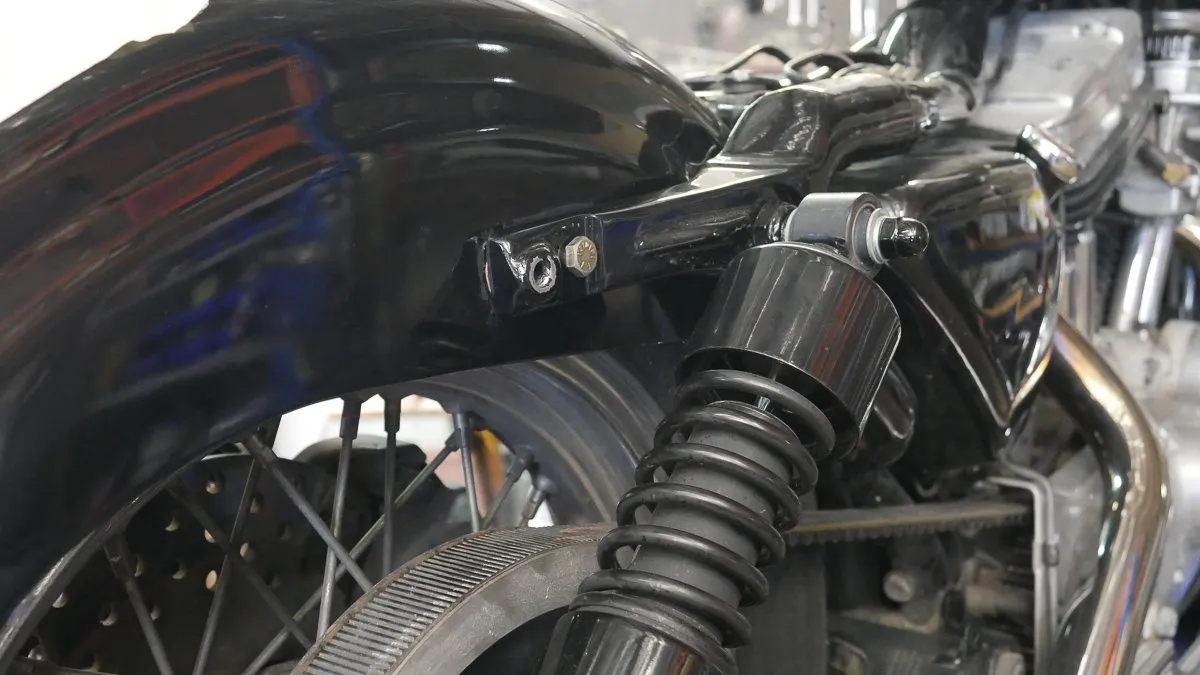
Connecting the lights is like for like on the factory loom, purple goes to yellow for the turn signal, black to black. For the older HD sportster models (I’m going to guess and say pre-2009) you’ll need to update the flasher to make the LED’s function. These are available from any auto store for $5-10.
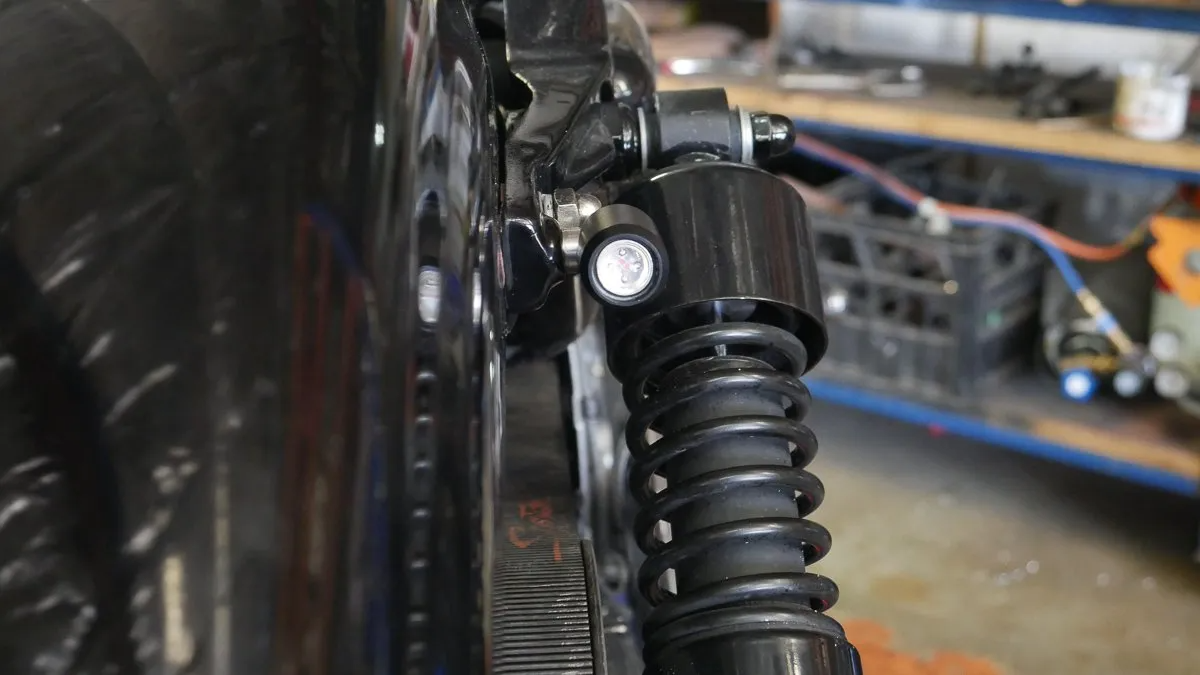
Locate your turn signal cancelling module, and splice a 2 pin LED flasher relay on both the Purple and the Brown wire. Its simple to do and far better than loading it up with resistors.
I’ll take you through the brake/tail light options.
Option 1: Brake light only
This requires no Brake/Tail splitter, and simply functions as an extra brake light. The red cable from your Dome X 3 in 1 LED turn signal get connected to your brake light cable. The turn signals will still function as per normal. The LED will show a secondary red light when the brake is applied.
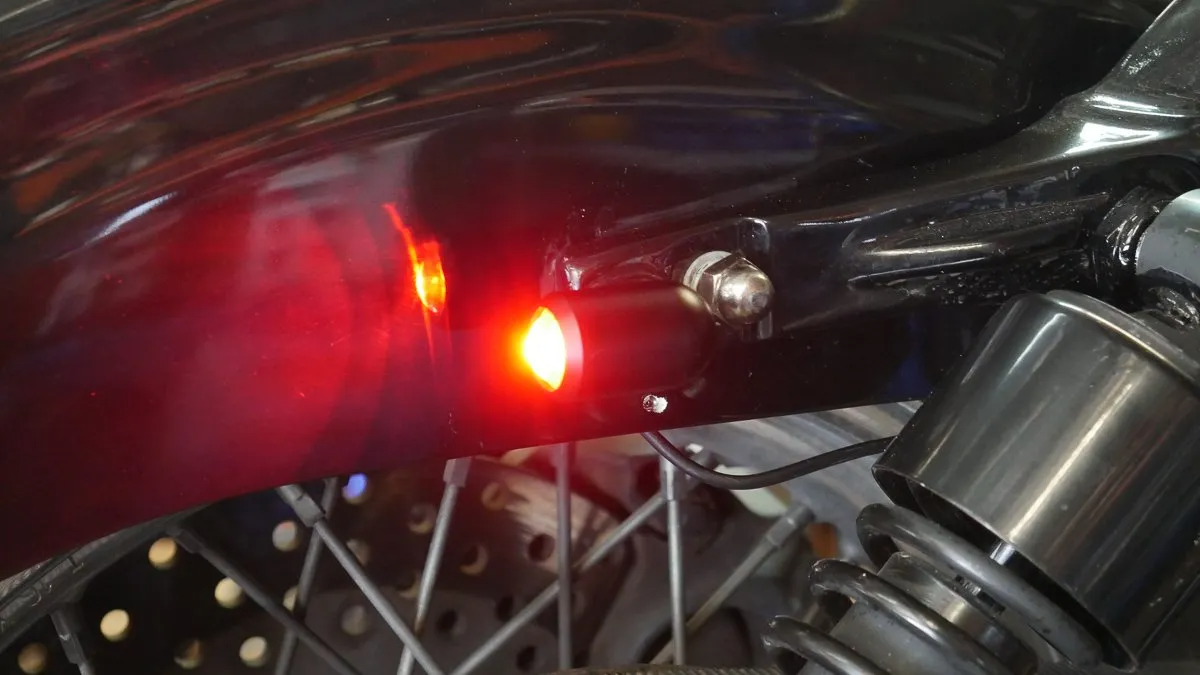
Option 2: Brake + Tail light.
With the addition of the Brake/tail splitter, you can turn the Dome x 3 in 1 LED blinkers into a complete tail light. This allows Running light, Brake and turn in one tiny package. Installing the Brake/tail splitter is simple. The red is connected to the brake light, yellow connected to the running light, and the single red is connected to the Red wire on the Dome X light.
1 brake tail splitter will feed 2 x Dome x or Hollowtip x LED lights.
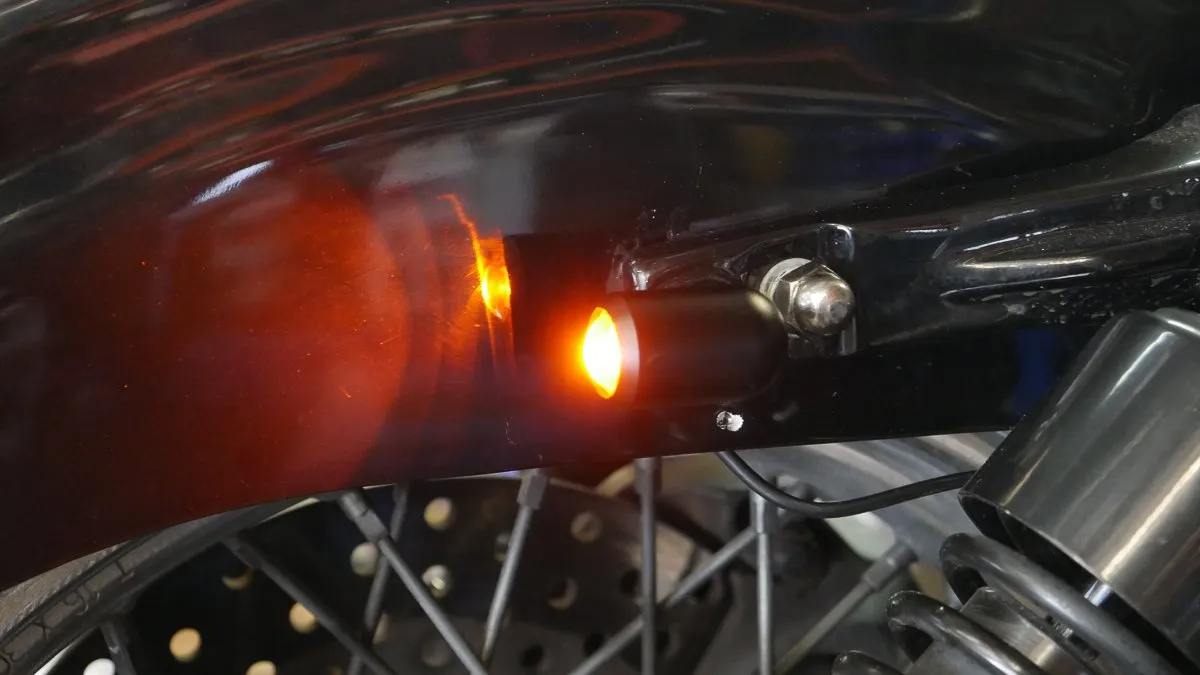
Now the LED light wiring is completed, throw your bike back together! At this point I would recommend to hit the ignition key on, switch the turn signal on, and stand at a distance of about 10-20 feet away from the bike. At this time, its best to get a clean rag and rub the dirt off your hands while nodding at your motorcycle with accomplishment. The more expert among us may replace the rag with a cold beer but that’s up to you.
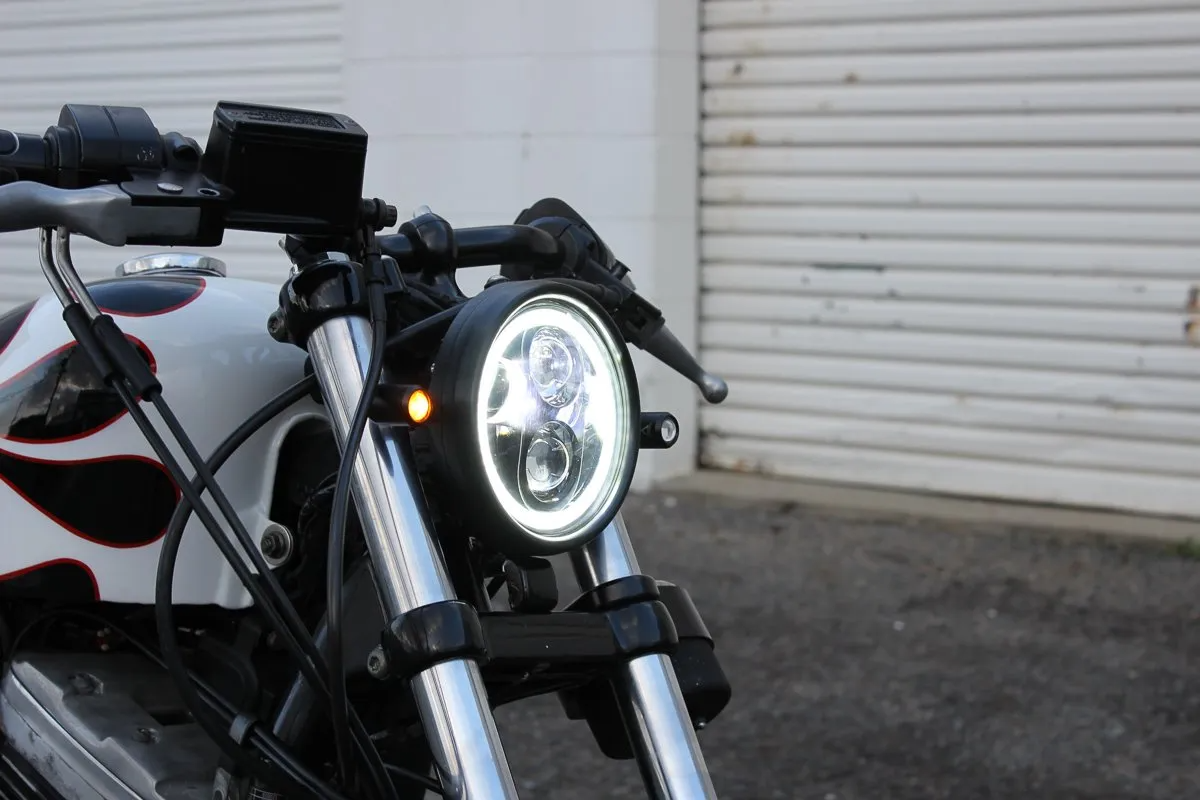
This Sportster also received a 5.75” classic headlight, with Dome x turn signals up front too. You can check out how to get the best finish on the front end of your bike here.
WE BUILD BIKES WITH PURPOSE.
Purpose Built Moto is home for unique custom motorcycle builds. We offer a unique motorcycle customizing experience in the heart of the Gold Coast.



6 kommenttia
Its a shame you didnt leave your details so we can get in touch about this.
Thats never been an issue before if you see this send us an email so we can help out.
Just got a set of the dome tail lights from you guys. Great lights, super bright. But the nylon nut, hollow thread set up isn’t great. Got one turn on the nut and it pulled right out the light, other one looks like same will happen, now it’s stuck half tight and I’m gonna have to grind it off. Normal nut and spring washer might be a better go for this
What make and model rear fender is that on the Sportster?
Thanks Tom
Yes, OUr LED signals have the E-13 homologation cert.
Are these UK legal?