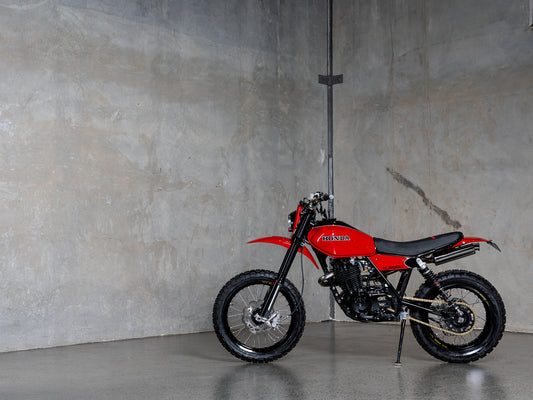
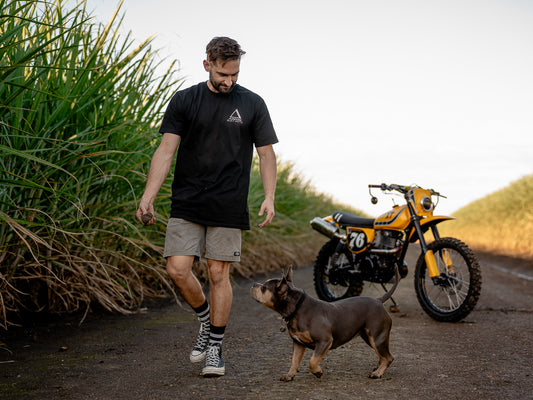
Scramblers have exploded recently and with good reason, What’s more fun than an awesome looking custom bike that you can thrash through a paddock or down a dirt road? Not much. In my “How to build a scrambler” blog We covered off the step by step process that I use when approaching a bike and a big part of that is your Scrambler parts. Going into what defines a Scrambler, where they originated and some key points to keep in mind when building your bike.
While the market is still catching up with specific off-road custom parts, there is still a lot available. I think part of the appeal of these off-road fun dispensers is the idea that you can take a bike never meant to have a spec of dust on it, mod it properly and get it covered in mud. Here I’ll cover what parts you will generally need to take a stock ride into a roost throwing dirt eater. Assuming the mechanicals are ok, I’ll start with the absolute essentials and as we progress down the list it will get into the finer details that really help separate the nice bikes from the all-out custom Scramblers.
1. Upgraded suspension-
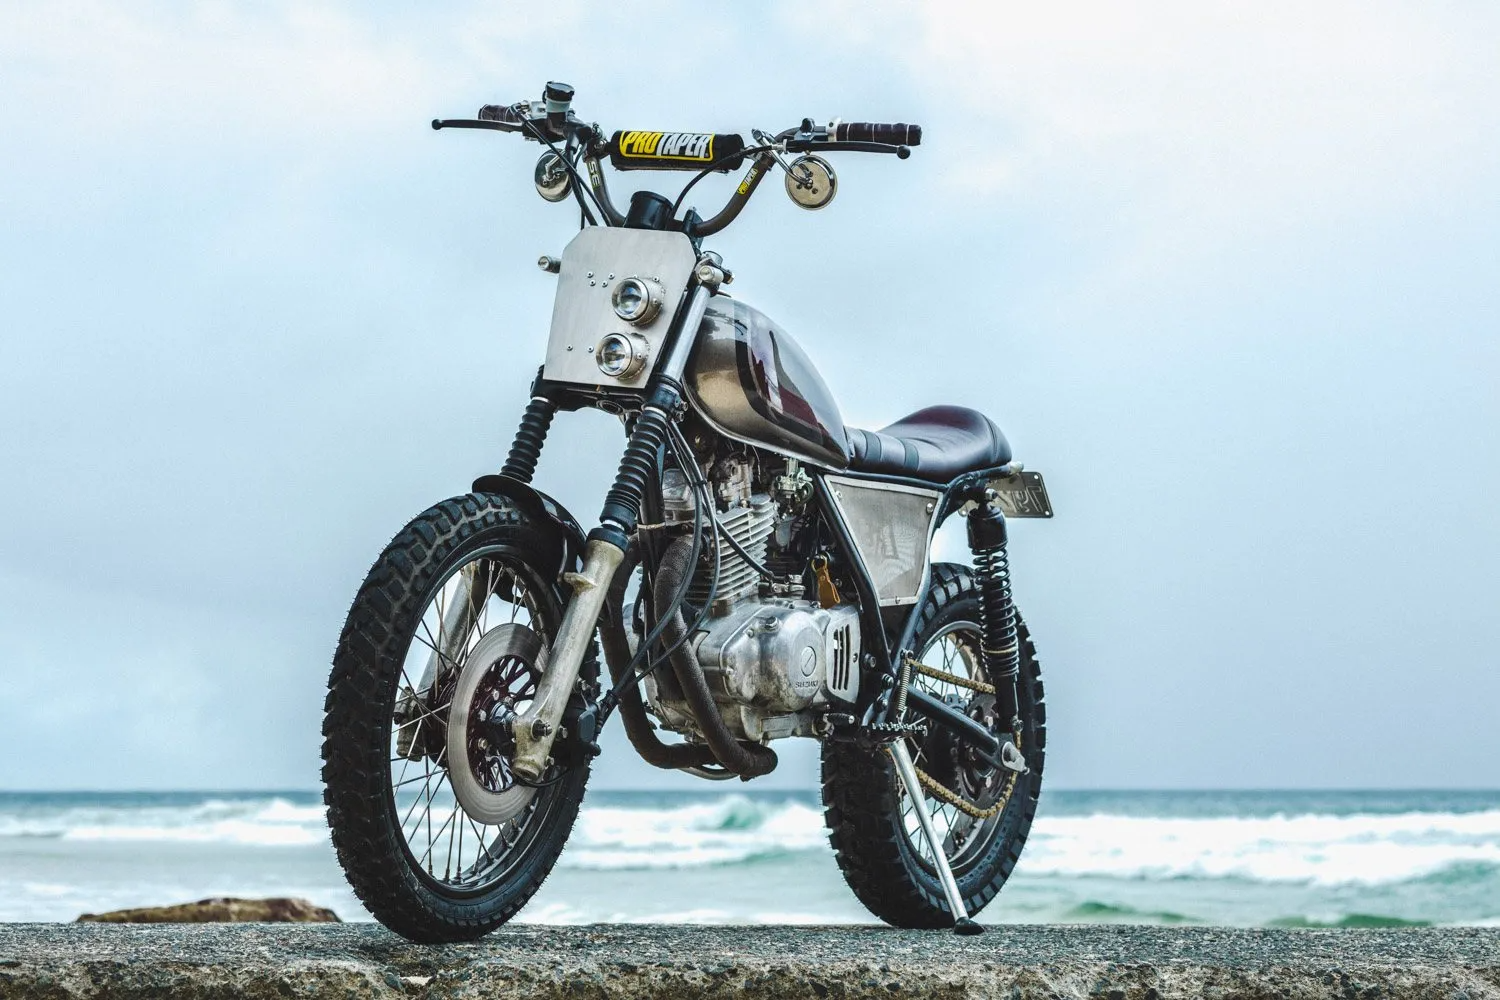
Possibly the most important component of a scrambler parts list, Usually the bike won’t be equipped with long travel suspension, spend your money wisely on quality parts, Gazi suspension make some true to era shocks in all shapes and sizes.
2. Tyres-
Both functional and aesthetic, just don’t go too wild on the knobby unless you don’t mind it being horrible on the road. Hiedenau Tyres offer a pretty good range of Road/trail tyres and Continental also have some good ones on the market.
3. Custom Seat-
I’m a big advocate of handmade seats (as you probably know). Scramblers will generally have a simple roll stitch seat, and I build them with some extra padding. I tend to shy away from the super slim seat on these things due to trying to get my bikes as a good cross between function and style. If you’re interested in one of our custom bike seats, get in touch. A big seat can still look great if done right!
4. Tail hoop/Cowl-
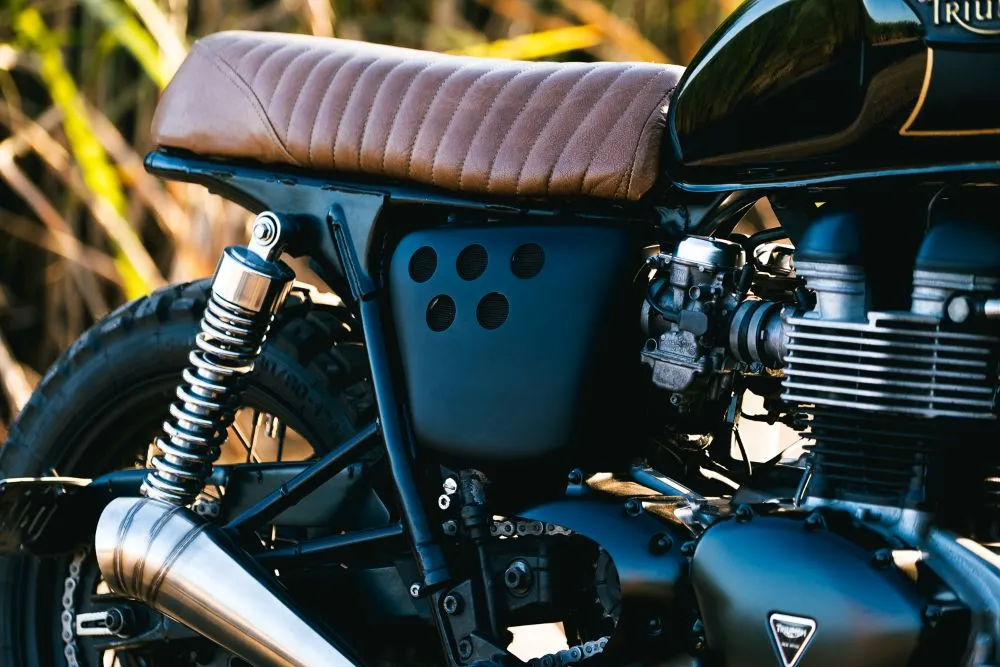
With a scrambler seat you normally shorten it up, and have the subframe exposed with a kick up at the rear. Traditionally this was for rear tyre travel and doubled as a grab bar if you got stuck! Heaps of options available online for tail hoops, just get one that fits!
5. Handlebars-
I use a lot of Pro-taper gear on my bikes. The style is great but I don’t tend to stick to traditional norms. If you want a more Classic style check out “Tracker bars” a heap of retailers sell them dirt cheap and they look awesome!!
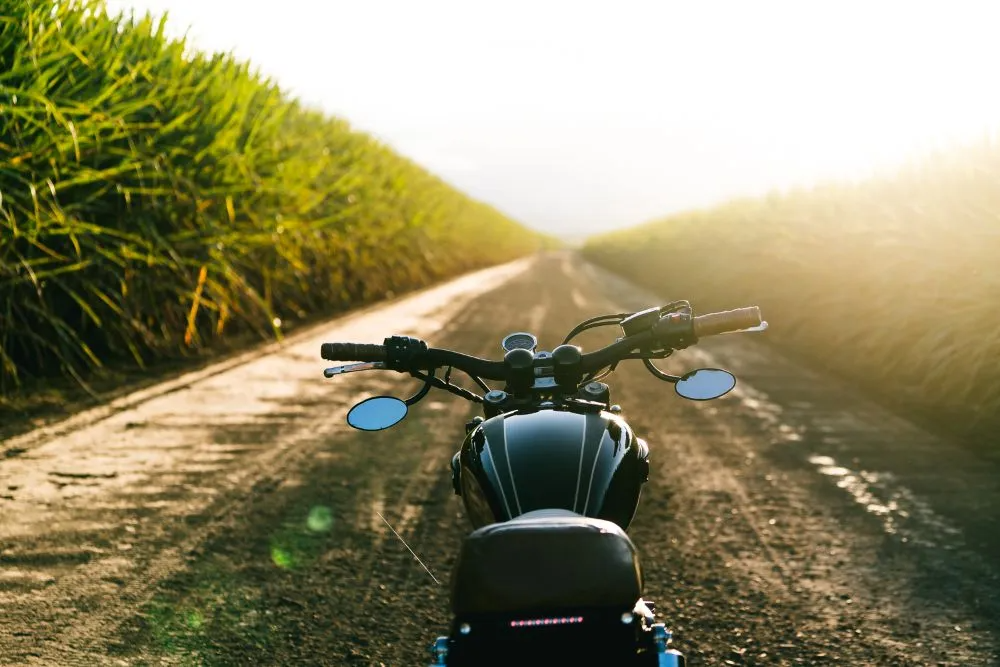
6. Updated Headlight and Tail light-
Minimised and tucked away is the order of the day here. Recent Tracker and scrambler customs have been using a lot of Headlight grills and Headlight plates with LED projectors recessed. LED lighting has seen a huge amount of options introduced with LED headlights and slimline LED strips becoming the norm. Get something that suits your style, My personal pick on tail lights is Custom dynamics LED strip and After Hours choppers other than that I haven’t found one that’s really grabbed me, so I’m in the process of making my own. You can check out our Purpose Built Moto Headlights, indicators and taillights on our online store.
7. Pegs-
Often overlooked but really important in my eyes. You’re ripping off road with your mates, in the mud, boots are covered and wet and all you have to stomp on is your standard smooth rubber peg? No thanks mate! It can be hard to find a specific peg for your bike, and universal pegs can be scarce. Most of the time I’ll buy pegs to suit Modern Suzuki RM/RMZ motocross bikes, they will usually be able to be simply modified to suit your road bike peg mounts with a spacer added.
8. Speedo/Tacho-
Your standard set-up is normally always huge and ugly, get yourself some nice gauges! I prefer running a speedo only so I can listen to my engine rev and not watch it but that’s just me, There are some really great options around from KOSO and Speedhut and even some killer mini digital set ups too.
9.Custom Exhaust and Mufflers-
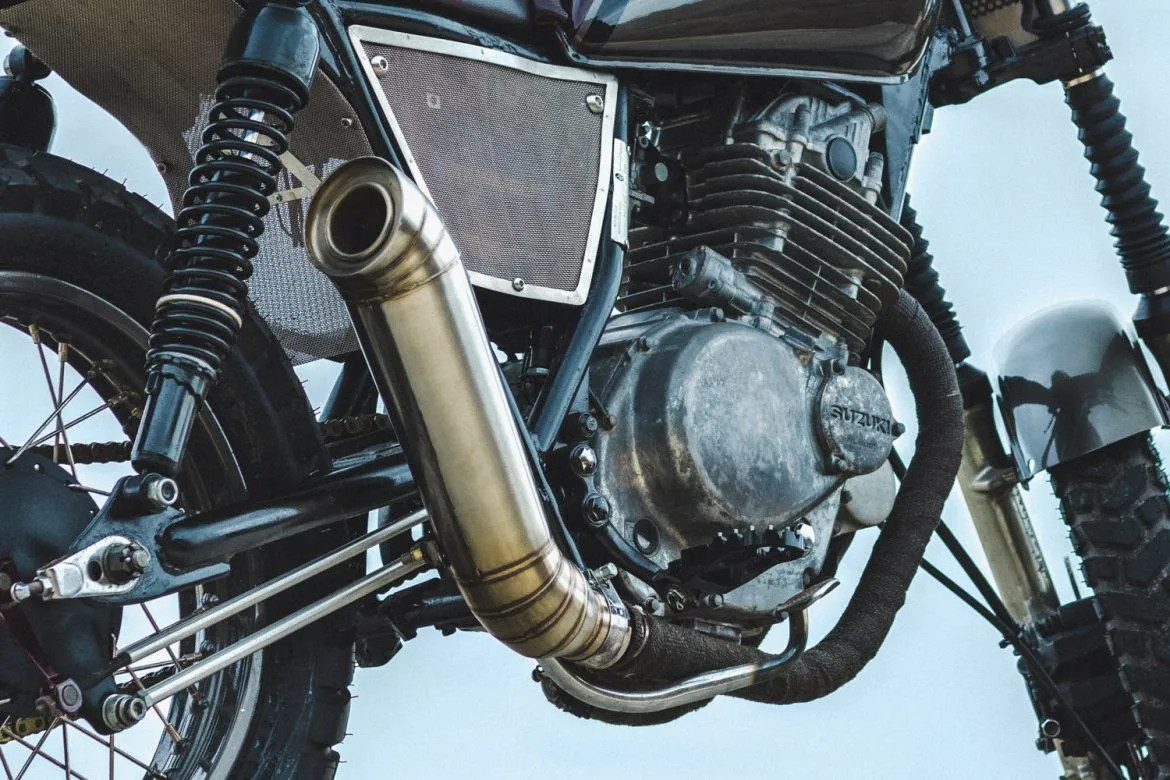
Everyone’s favourite, the noise making parts. You can spend $200 or $2000 on an exhaust. If the budget permits I highly recommend a set of custom or performance headers and a good muffler. If possible get them up and out from under the engine just make sure to include heat shields! We fit the bike in the picture below with one of our Highball Cone Mufflers. Check out our full range of mufflers here
10. New electrics
old bikes have been plagued with a reputation for bad wiring, while re-wiring your bike its worthwhile updating your electrics, new handlebar switches, battery, reg/rec LED indicators and flasher units are all good to get, then it’s a matter of re-wiring it all and having fun hiding it all out of sight.
11. Air filters
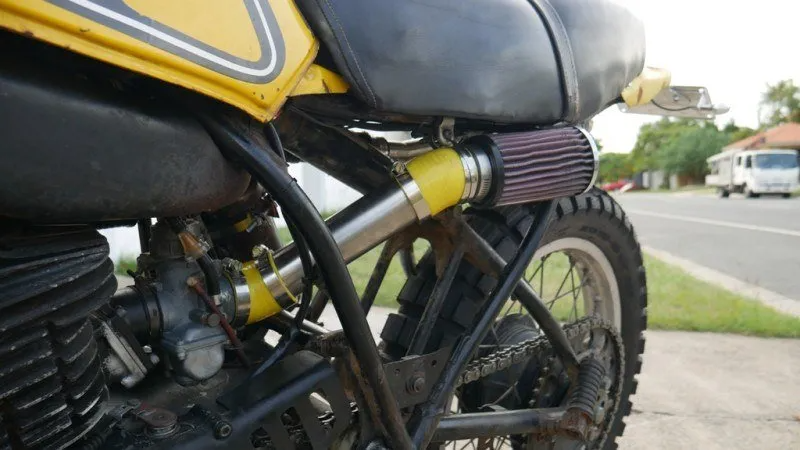
Removing the airbox is still an option but can be dangerous if you’re serious about off roading, at the least protect your filter from direct mud and dust with some guards. DNA and K&N offer either universal fit Pod’s or straight replacements for most bikes.
12. Custom Triple clamp-
Now were getting into the nice to have but not essential catergory. My first pickn after a full custom exhaust, for any room in the budget is a nice top yoke on your triple clamp. Keeping with minimizing your electrics a custom top yoke can be made to include an integrated speedo analogue or digital.
13. New spokes-
Another finer detail often overlooked, stripping your wheels and getting stainless steel or powder coated spokes is another great touch on your custom project. Re-lacing your wheel also allows you to play with your rim size if you want/need to.
14. Custom made tank-
If you have the dollars to put down on a Custom made tank, it will really take your bike to the next level, this is when people start really scratching their heads and asking, “What is it??”
So there you have it, I hope you’ve been madly scribbling down all the parts you’re going to buy as part of your project bike adventure, Be sure to also check out the Café Racer Parts Checklist if you’re street riding only!
Thanks for taking the time,
Tom
WE BUILD BIKES WITH PURPOSE.
Purpose Built Moto is home for unique custom motorcycle builds. We offer a unique motorcycle customizing experience in the heart of the Gold Coast.


