Trimming your Cafe Racer, Bobber or Scrambler front fender- get it right, every time.
Most Jobs are simple, this means it’s easy to do, but there is a little more to it when you want to do it right.
Whether you’re building a café racer, bobber or scrambler cutting your front fender down can add to your bike’s naked feel and minimal look. Our Universal Motorcycle Fender has been created with this in mind, but there are a few points you should be looking to hit when doing it yourself.
- The right size and angle of the fender, this both keeps the law off your back (in Australia) and the road spray off your face if you’re ever riding in the wet.
- Symmetry of the radius of the fender to the tyre
- A clean and smooth edge with no damage to the fenders face.
This tutorial was done on a 2007 Triumph Bonneville, these have plastic guards, which makes it nice and easy. The same technique can be used for any front fender. The Triumph has a nice central mount which removes the need for fabricating any fender mounts. If you do need to make some fender mounts Krank Engineering has a good video on the ins and outs of that. Check it out.
Tools you need to cut down your fender:
- Masking tape
- Marking pen
- Ruler or measuring tape
- Linishing belt or sandpaper
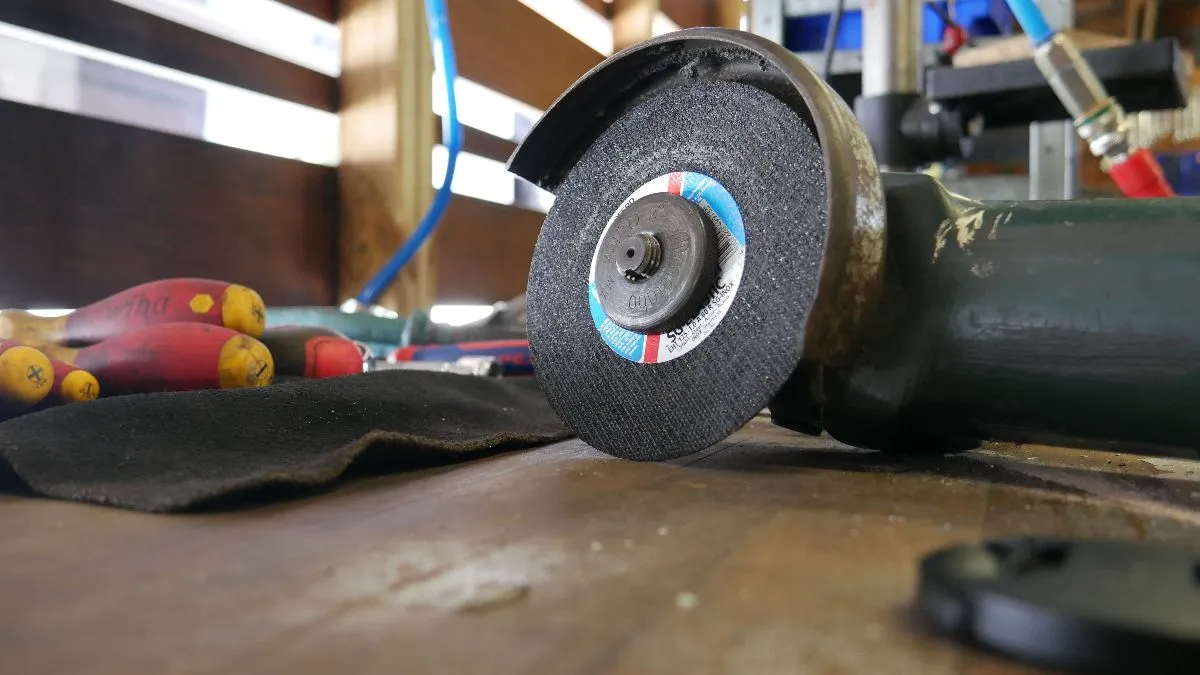
- Grinder with cutting disc
- Safety glasses
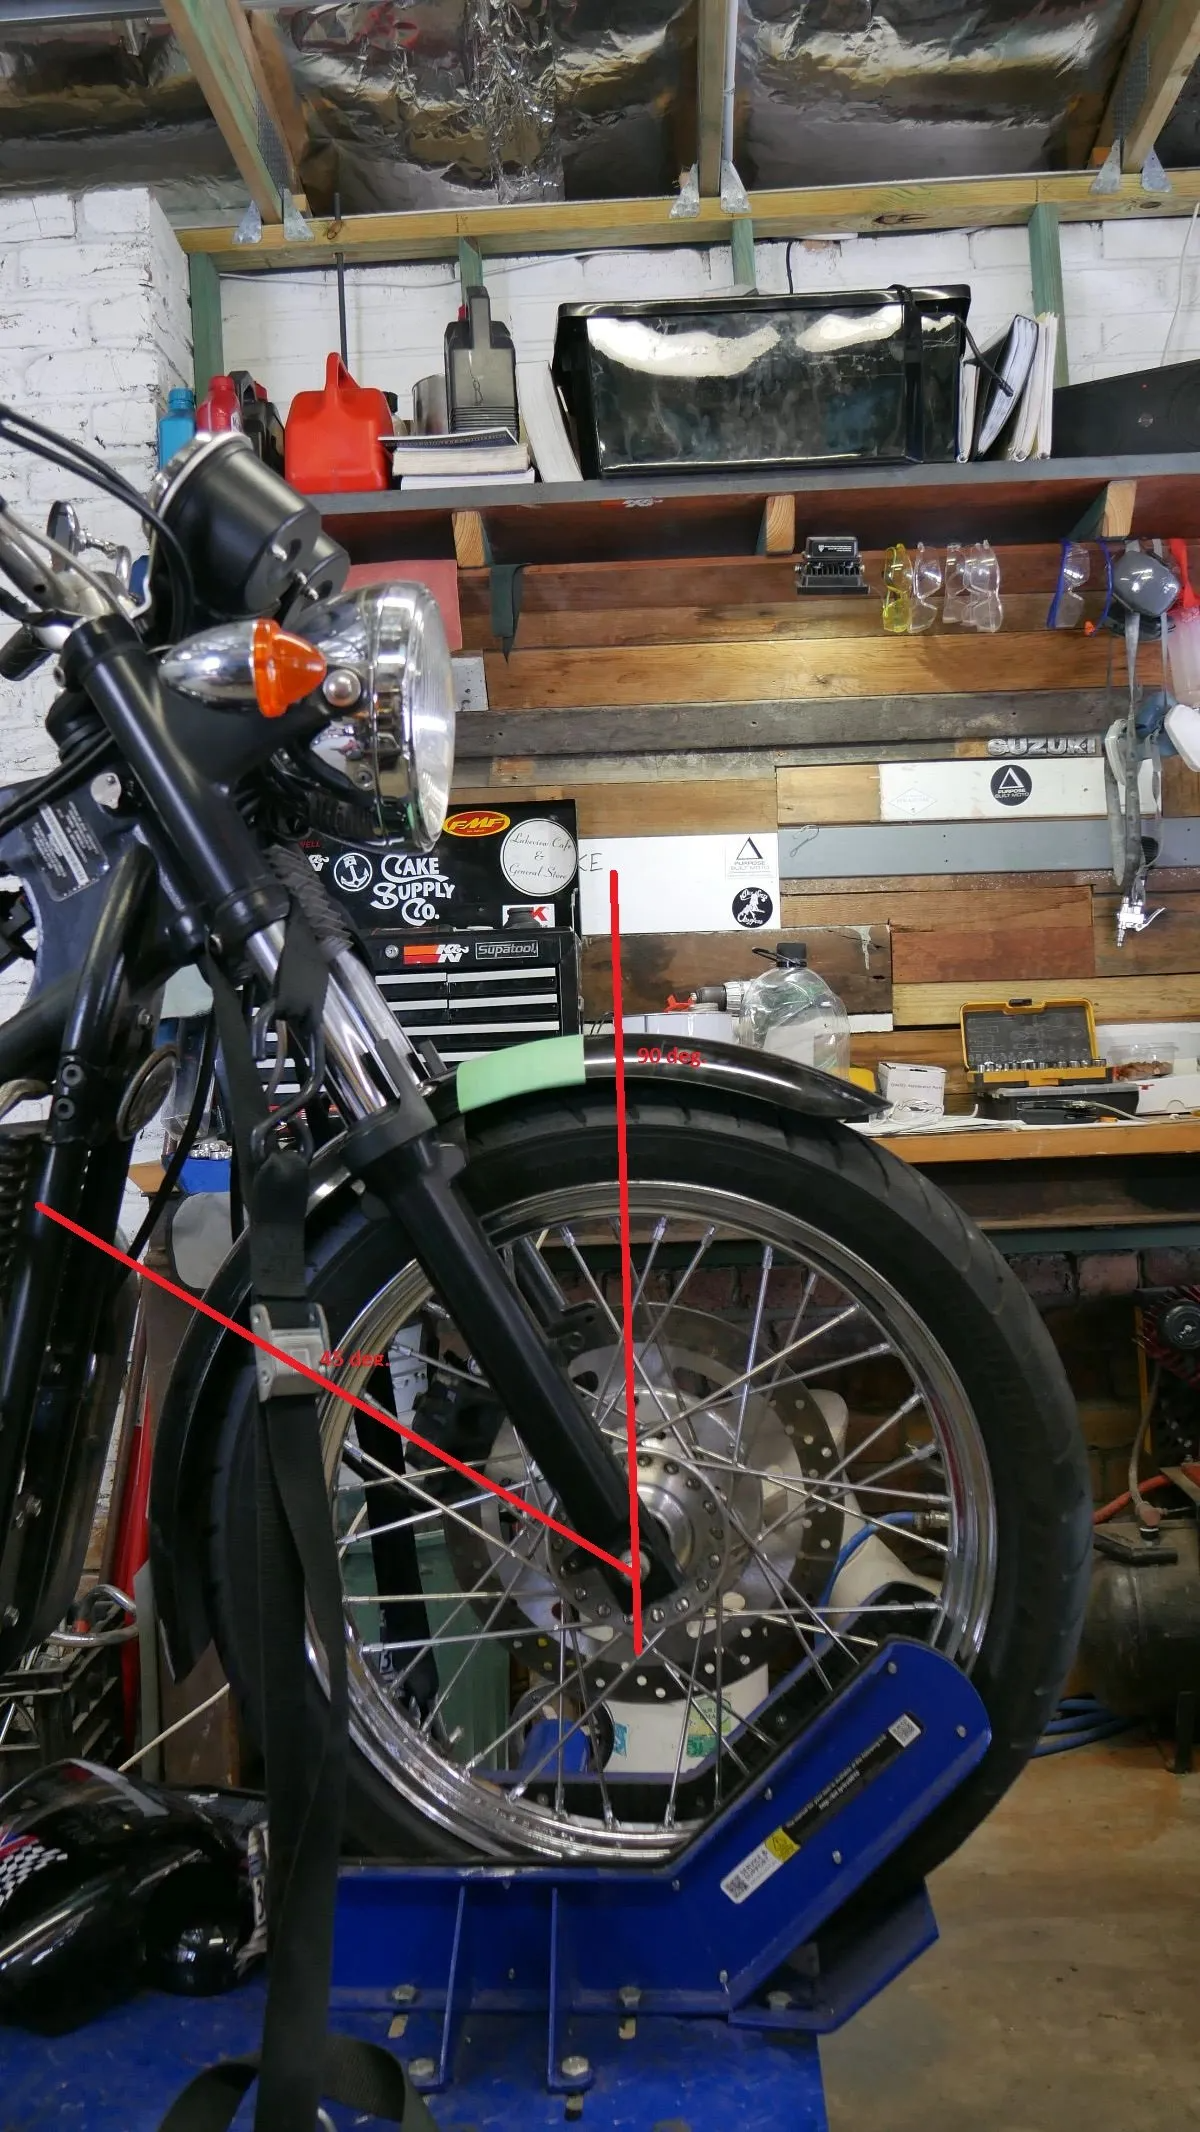
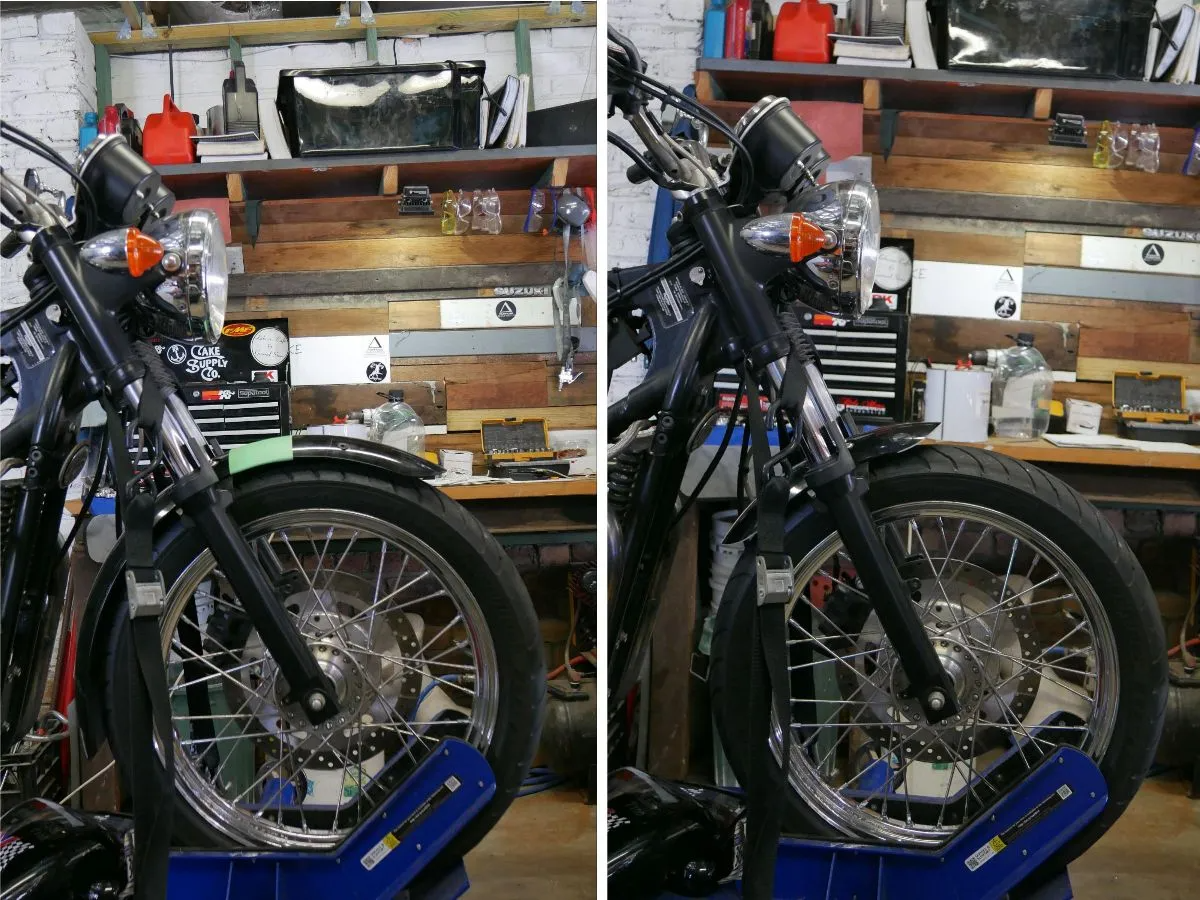
You want to start with the fender mounted on the bike I will run a level or lazer vertically from the front of the wheel axle. Make a small mark where it meets the fender. Then from the axle run a 45 degree angle toward the engine make a mark where the fender meets your angle. 45 degree is a general rule of thumb, I went a little less on this one because it looked better. Feel it out for your own motorcycle.
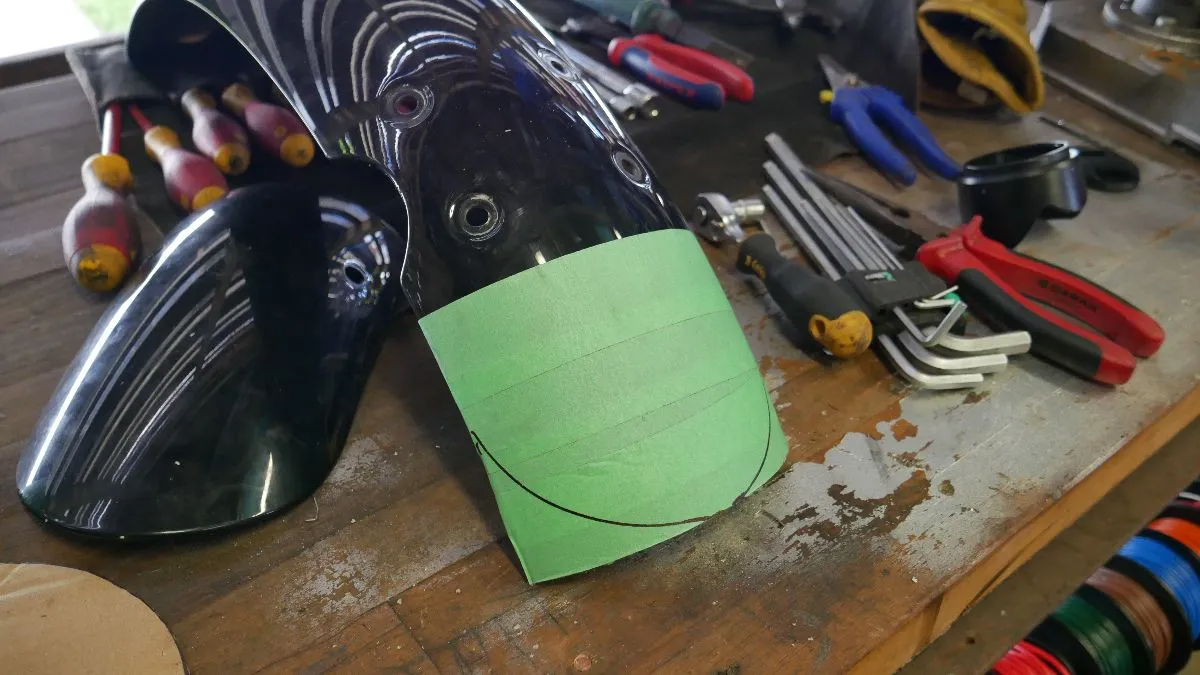
Next, you want to tape up the area where your cut will be firstly to protect it from any damage while cutting and second so it’s easier to mark. Use a flexible ruler to run a line from your mark across the front fender.
This next step can be done 2 ways.
- Cut twice on each end, first cut straight across the line and then using the off0cut trace your fender radius and cut that out.
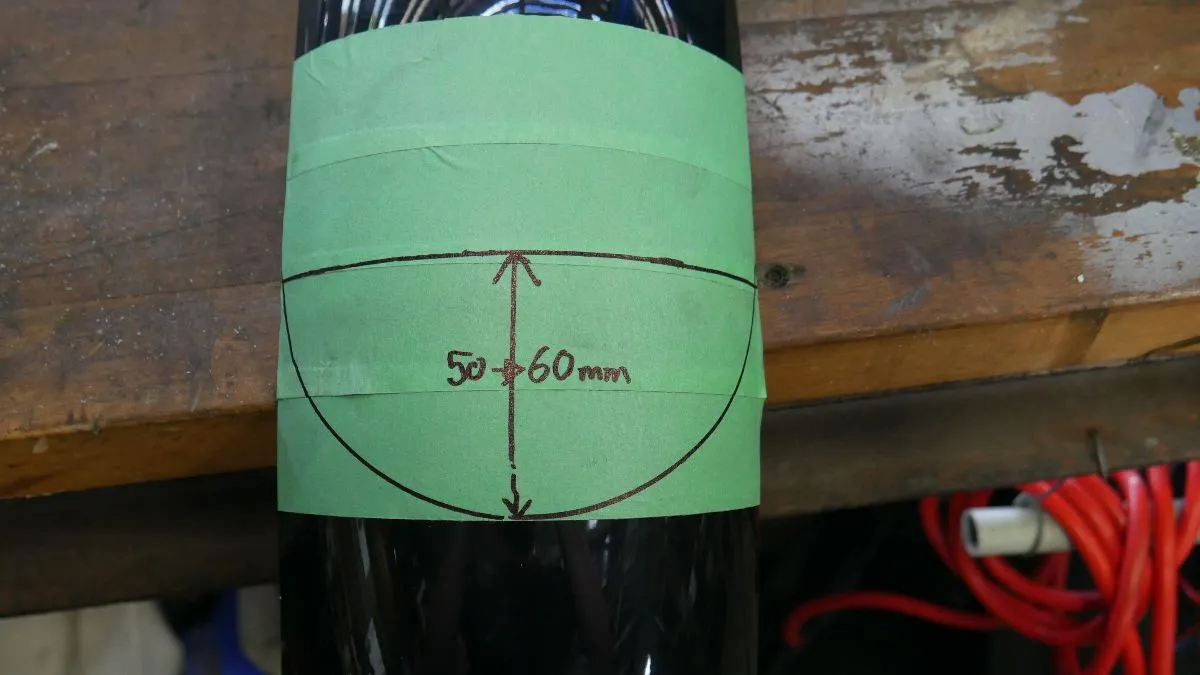
- Use the below measurements to get a nice even curve on a cardboard stencil and use that to mark on the fender before trimming it up.
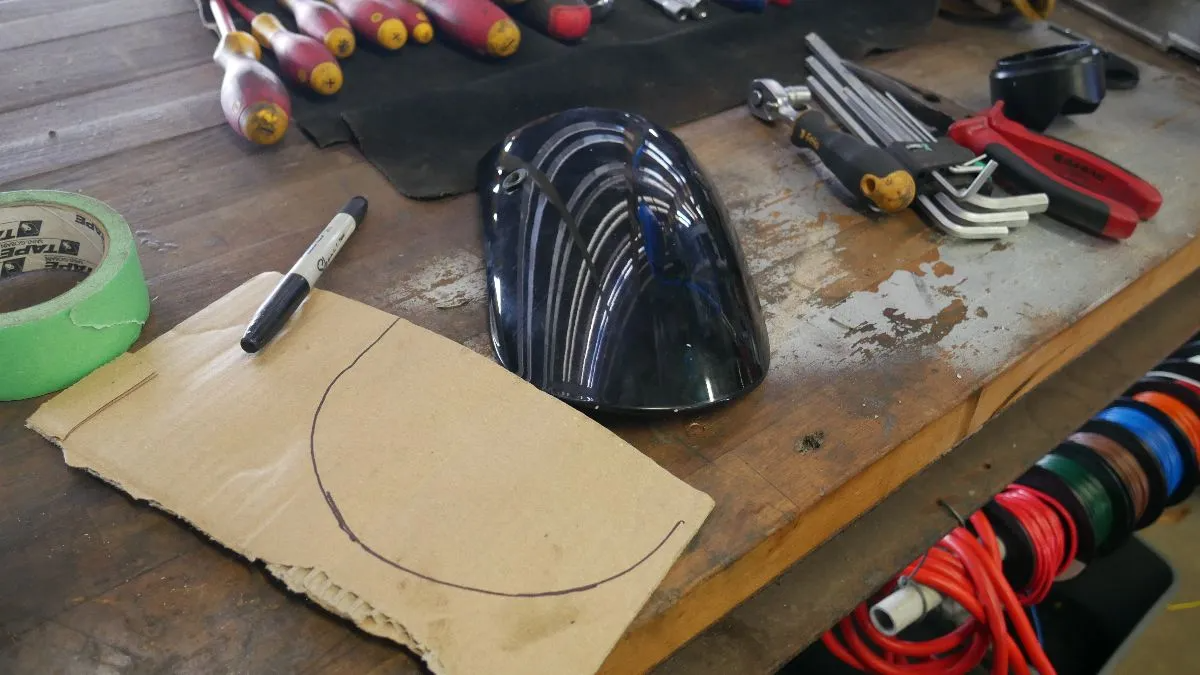
A good rule to use with these measurements:
Whatever the width of your fender, use ½ to ¾ of that for the radius of your curve.
Ie: if your fender is 100mm wide measure 65-70mm back for the curve.
Again, up to your discretion.
Once you’ve made the cuts, sand the edges smooth and clean. If you don’t want to totally re-spray the fender leave the tape on and hit the edges with some primer and top coat. Once that’s done you’re ready to rip the tape off and bolt it back on!
Hopefully you can now rip into your front fender and get that nice mini fairing you’re after.
If you’re going all in on a bike build make sure you check out our other blogs on bike customisation.
Good luck and thanks for taking the time!
WE BUILD BIKES WITH PURPOSE.
Purpose Built Moto is home for unique custom motorcycle builds. We offer a unique motorcycle customizing experience in the heart of the Gold Coast.



6 comentarios
This method can be applied to any front fender, if you follow the paper template mathod that will probably be your best option.
Thanks for reading!
tom
Nice article, but I have a bit more of a challenge. I have an 83 Honda Goldwing GL1100 (naked) I am interested in cutting that gigantic front fender down. Any suggestions ??
Thanks
Hey Dustin,
Glad our Article helped you out a bit mate.
Thanks for reaching out!
Tom
So happy I stumbled across this article .
Could really use some pointers somebody gave me 09 650 V* with 1900 miles on it that had a small front end wreck
After getting a set of forks off eBay and ordering a tire The bike is back to original and I’m close to selling it never thought of chopping and bobbing To keep it. With a bunch of Harley riders in my family they just turn their nose up at the bike ( None are offering to buy one)
Hey John,
Apprecaite you reading the blog! if you found it helpful I’d love a share on your facebook :)
The ducati rear on my GS550 is a 748 swingarm, with a custom build shock.
Happy building mate
Tom
Loving what you do. Doing my own 1982 GSX 750 soon and I definitely will be getting some of your electronics kits in the future. Would love talk to you about what Ducati rear end you ended up using.. FTW ( Forever Two Wheels )