Sol Invictus Nemesis 400 Adventure Bike – How to build an adventure scrambler Ep6
Here we are back in the workshop for 2020 – new year, same adventure bike. We’ve been hammering our way through fabrication over the last few episodes and we still have a ways to go before this adventure bike is ready to be put through hell for Wide of the Mark Tasmania.
In this episode we will be running through…
- Mounting a baggage rack
- Starting the creative juices flowing for the tank design
- Mounting dirt pegs
- Making and mounting a battery box
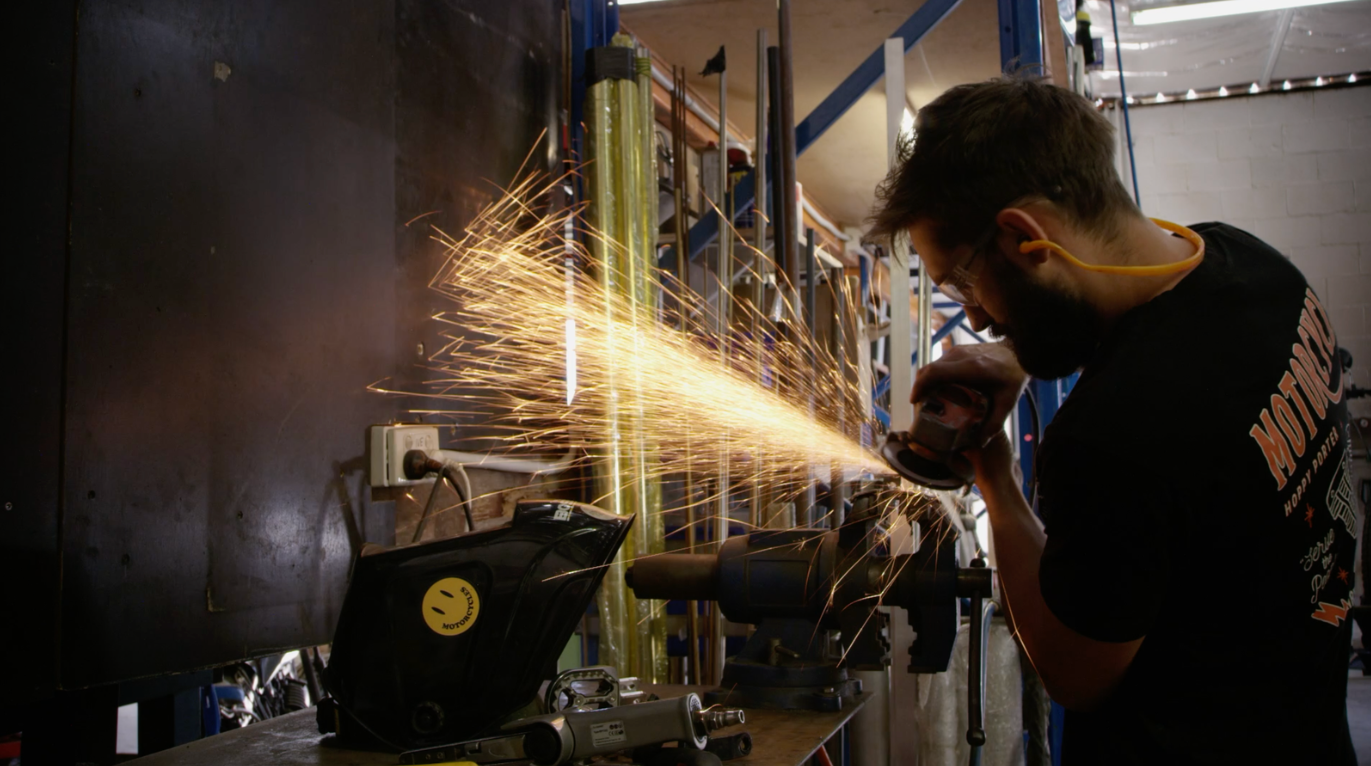
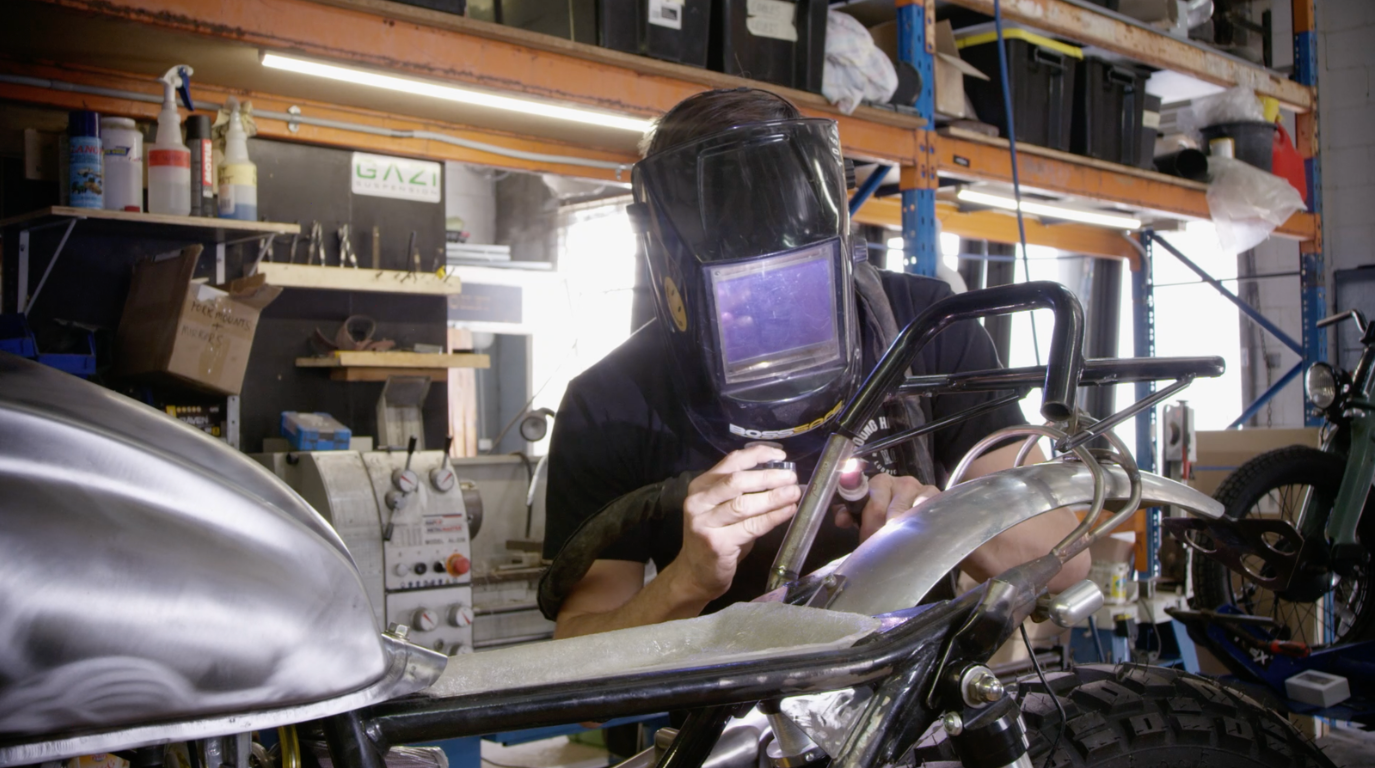
The stock bag rack that came with the Nemesis 400 served as a good starting point because the bike’s subframe is now a lot tighter I had to cut off the old mounting legs and shorten the whole rack. I decided to keep the mounting points simple so all you have to do is loosen the bolts and it slides right off.
In the past, when I’ve built bag racks on a bike, I’ll pull it off, finish welding and then stand there scratching my head because it won’t fit. During welding the metal can warp and distort to the point where it won’t go back on the way it did before. The easiest way I’ve found to get around this is to always do more tacs than what you need. This will hold the part in place to keep it from warping too much.
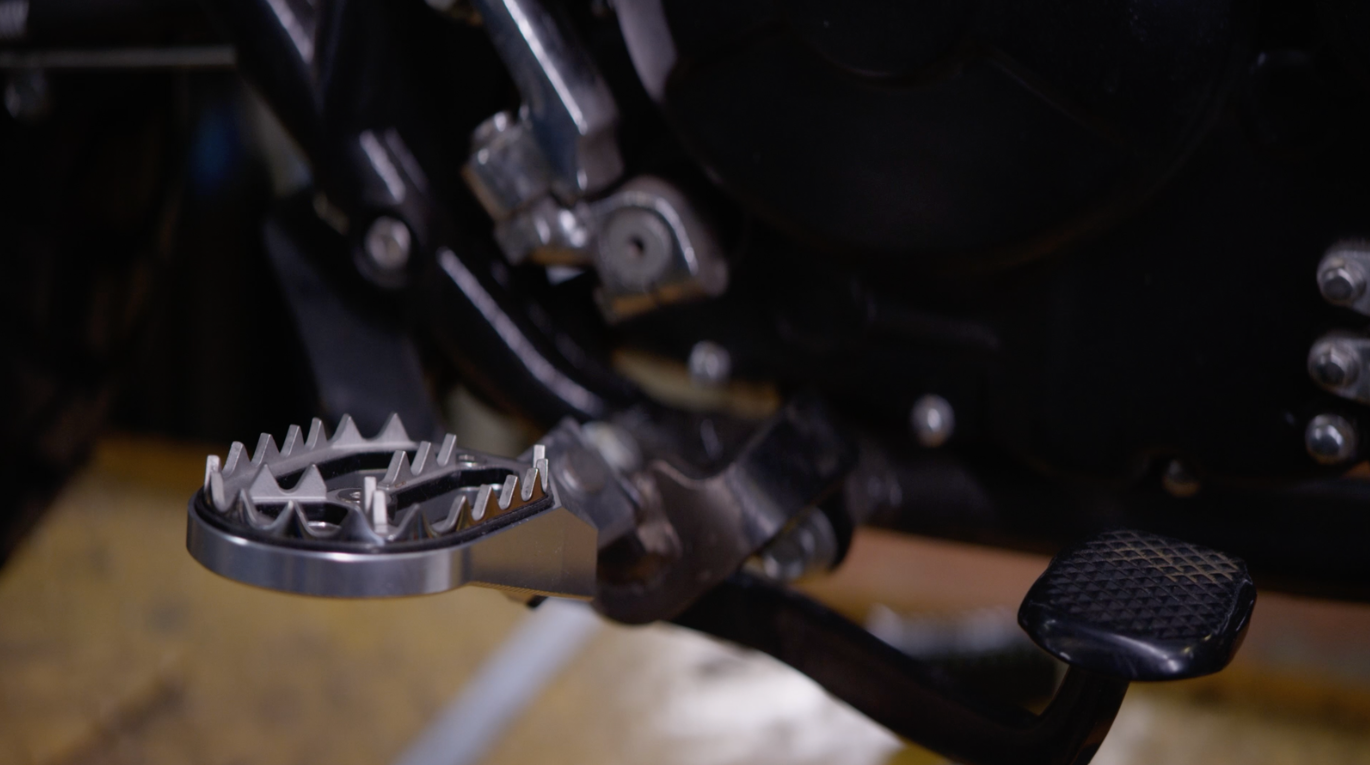
Moving on to the footpegs. I’ve found that most footpegs and rear sets on the market are only really designed to take the weight under a resting foot, but if we’re going to be taking this thing off the beaten track and through heavy terrain, the pegs have to take the full weight of a person standing on them.
I fixed some extra stainless steel cross bracing to the subframe, and that gave me the strength I wanted to make sure the pegs will take the weight I wanted them to. It may have been fine the way it was, however, I don’t want to be halfway up a mountain in Tasmania when I find out it wasn’t.
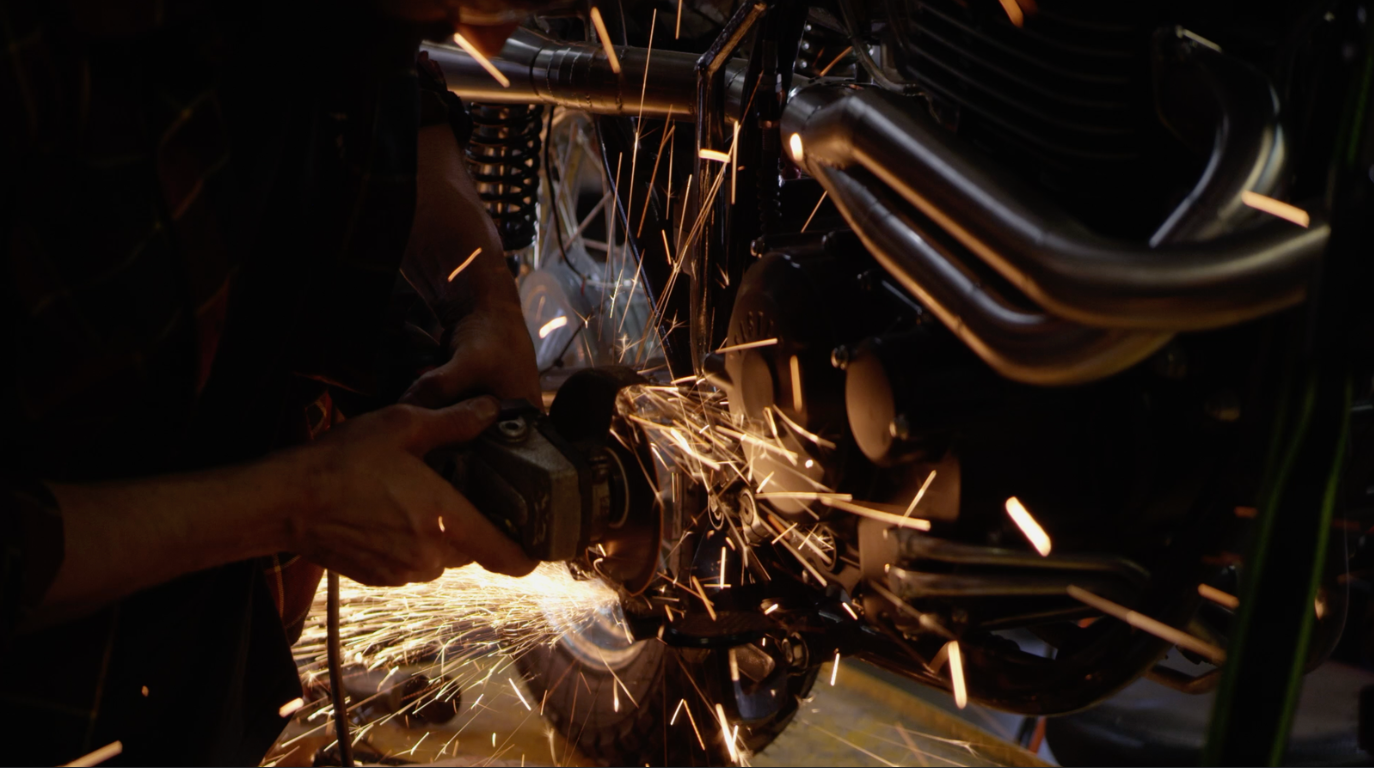
I bought these universal fit MX pegs online, but as I suspected, it didn’t fit. I cut out a bit of 12mm flat bar went at it with my welder and grinder, drilled a hole to mount, problem solved. Using a bit of round bar, I was also able to fix some extra support to the footpegs from where the foot sits to the bolts.
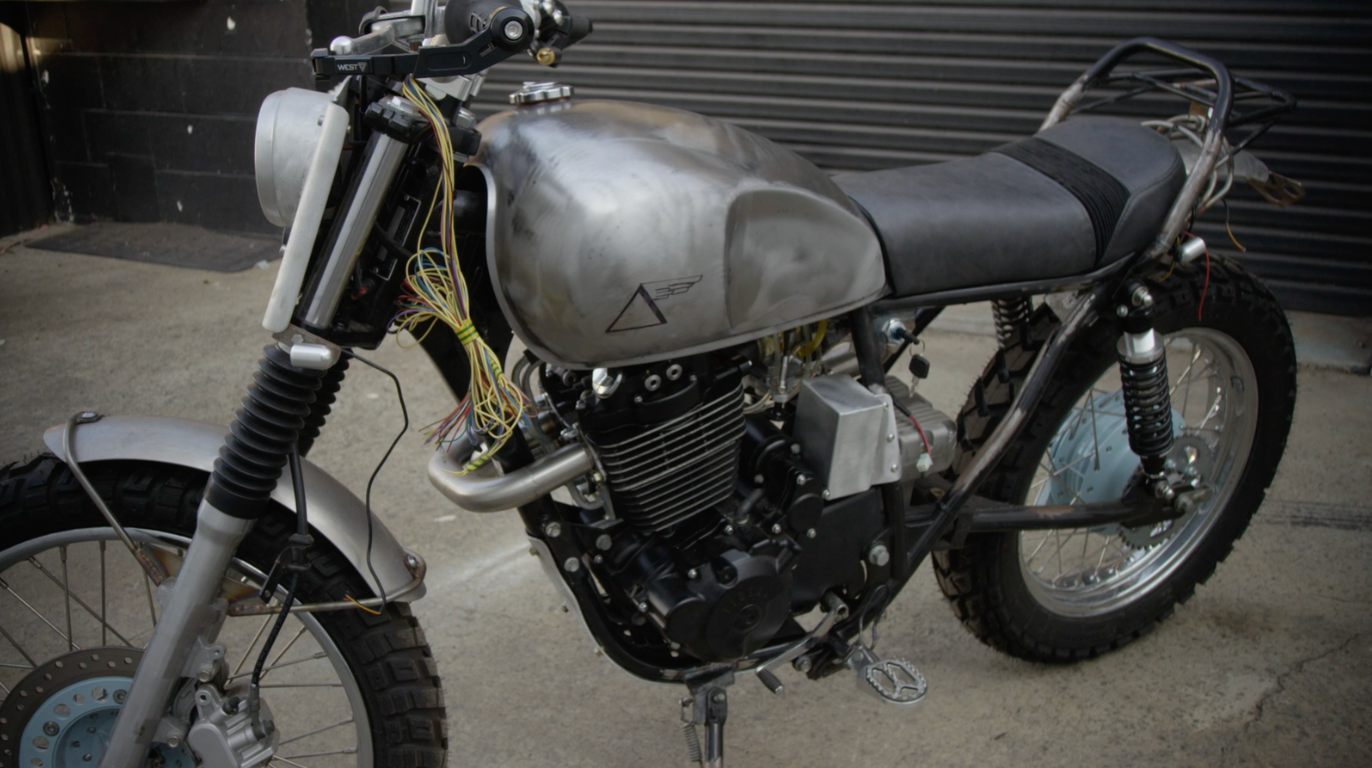
Moving on to the tank detail, I really liked the bare metal finish but I sketched some detail on to the tank just to mull on the idea. I’ll keep the tank around the workshop for the next week or two letting the design sink in. I’ll adjust or maybe even completely scrap the idea in that time – but when it comes to design details like the tank, I’ve found it best not to rush the creative process and taking your time to love an idea is important.
I’ve also managed to get time to mount the ignition just under the front of the seat. When building the font end, between the MX handlebar swap, putting in the lights and the speedo we ran out of room real quick. Mounting it under the seat kept it clean, easy to wire and easy access.
Next on the list is the battery mount. Usually, with cafe racers the battery can be mounted under the tail, sometimes with scramblers, you can chuck them under the seat if it’s a small battery, we could have also mounted it under the swing arm – bad idea for an adventure bike that will be heading over rocks, trees, and rough roads. I decided to build a battery box that would mount next to the carburetor.
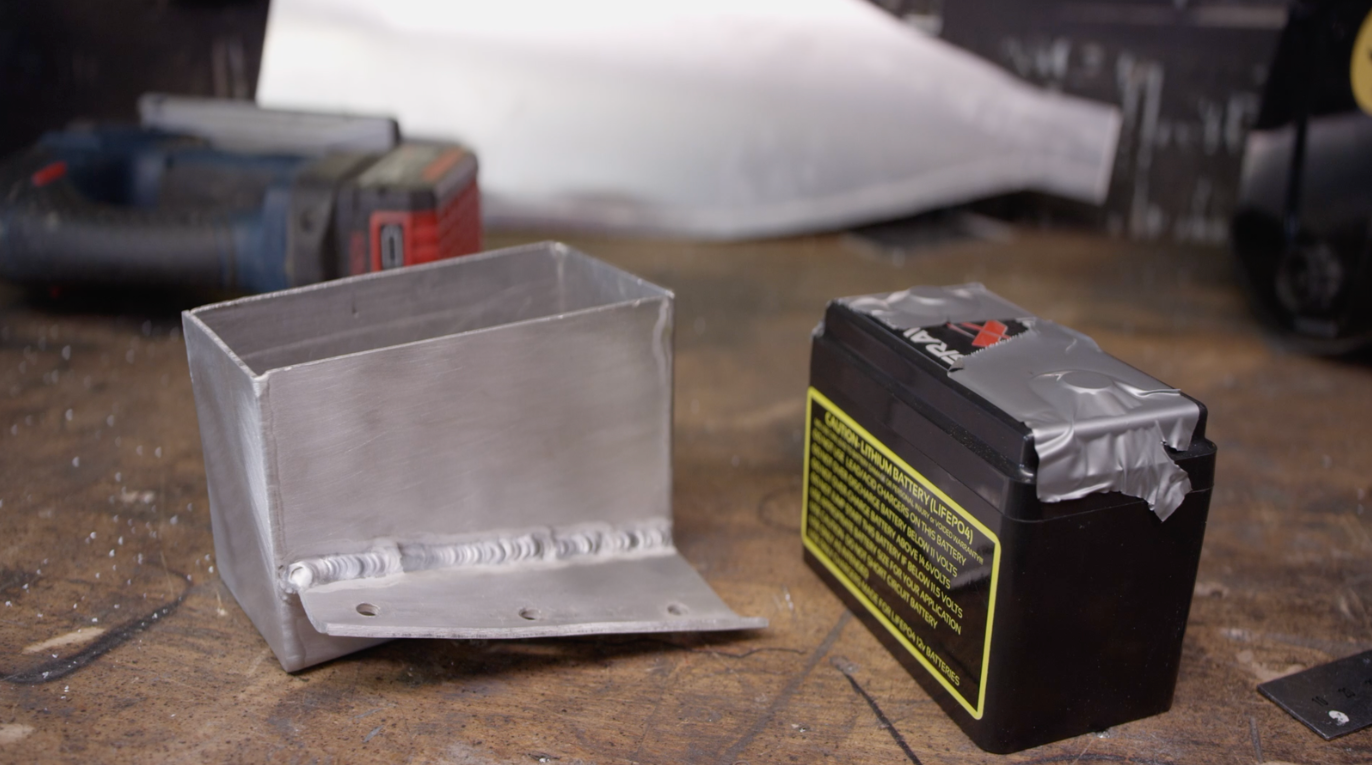
I’ve used Antigravity batteries for a long time, they’re small but pack a punch. The battery I’m using for this bike is the 8-cell, admittedly it’s bigger than what the bike needs, but being able to charge a phone or a GPS will definitely come in handy. I welded up an aluminum box to hold the battery comfortably, fixed a rubber strap to hold it in place, and then welded the box in place with some PBM slugs.
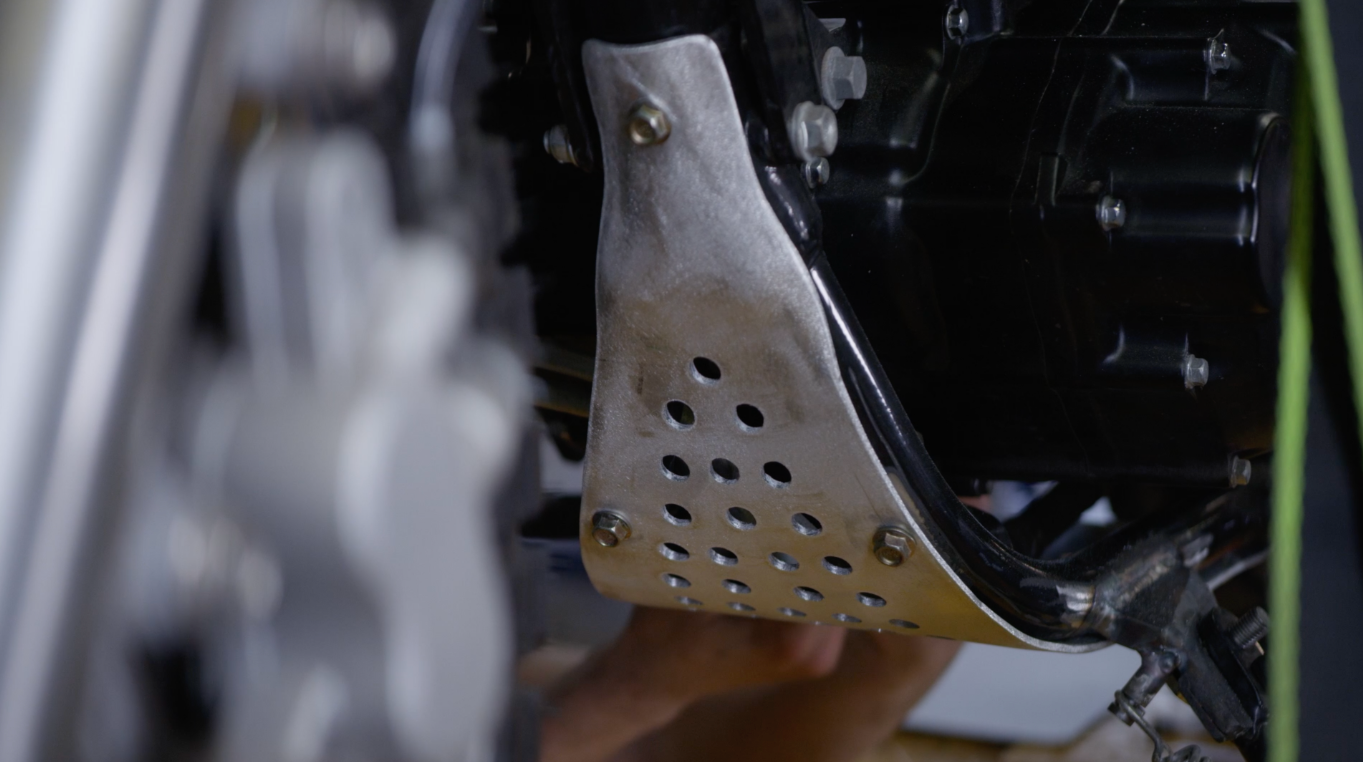
The final job for this episode is shaping the aluminum baseplate. I laid out a pattern and drilled some speed holes, which I could say were for airflow, speed, and protection – but honestly, I just think it looks rad.
That’s it for episode 6 on the Nemeis 400 Scrambler build. I got through more than I expected with this one, and only a few jobs left before we head to tear down and paint.
Make sure you’re keeping up to date with the Wide of the Mark project on Instagram and sign up to the newsletter for regular updates.
WE BUILD BIKES WITH PURPOSE.
Purpose Built Moto is home for unique custom motorcycle builds. We offer a unique motorcycle customizing experience in the heart of the Gold Coast.


