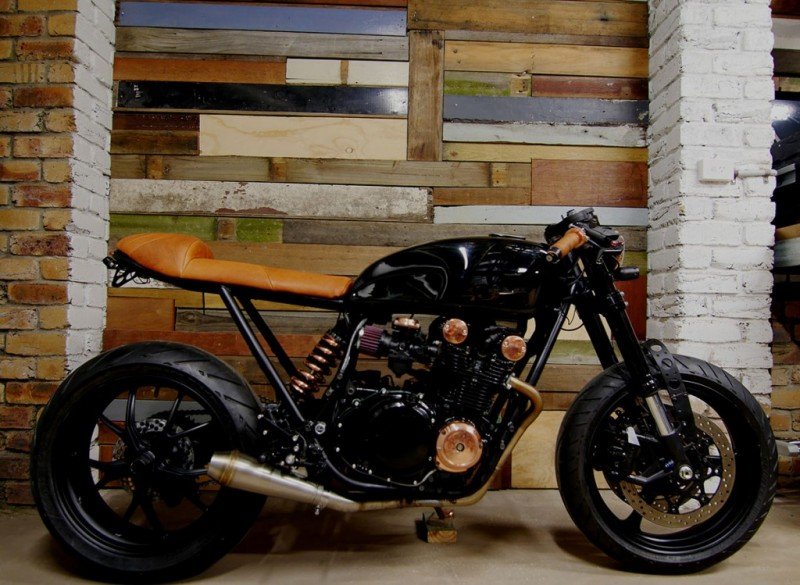
I have a steady flow of emails coming in from all over with motorcycle enthusiasts always asking that one fateful question. I want to build a Cafe Racer – where do I start? So this one’s for the Weekend warrior, the garage builder, the first timer and the guy who got sick of his characterless sports bike and traded it in for something older than he is. Now I Know the title states Cafe Racer but these steps can be applied to any custom bike no matter what your style, Bobber, Chopper, Scrambler, Brat or Tracker. We will never discriminate here, if its 2 wheels, the love is the same.
Picking out the right cafe racer parts, building a cafe racer or any custom motorcycle can be extremely daunting for any guy who wants to try his hand at it. The truth is, it’s not a hard job, it’s a constantly growing series of them. This guide will be the start of a series of articles to walk you through the process I take when approaching a build. I will aim to keep it general in nature so it can be adaptable to whatever project bike or style it may be that you’re undertaking and at the end you’ll have all the tools you need to start your own bike build. I’m certainly no Guru but I have been around the block enough to have picked up a few tricks that will help you out. This Article sets out to be a general guide only the rest of it will be up to your own discretion.
Our first blog will start with getting an idea of what it is you’ll be building up until you strip your now semi-custom motorbike for polish and paint. Let’s go!
First lets map out the steps you’ll need to take during the entire project, then in the blogs to come, we’ll break down those steps in more detail as you follow the progress of a bike in the Purpose Built Moto garage.
- Game Plan – What do you want and why do you want it?
- Design – Get your ideas together and start to write them all down.
- The Breakdown – Strip your bike and prep for fabrication
- Fabrication – Building your bike, from welding to foaming the seat and fitting your new parts.
- Final Breakdown – Sending your parts to be painted or polished and starting on your engine.
- Assembly – Now your puzzle pieces are shiny, getting it all together and making it work.
- Ride Out! – you’re done! Get on the road but remember a custom bike will always need a bit of extra attention.

1.”What do you want!?”
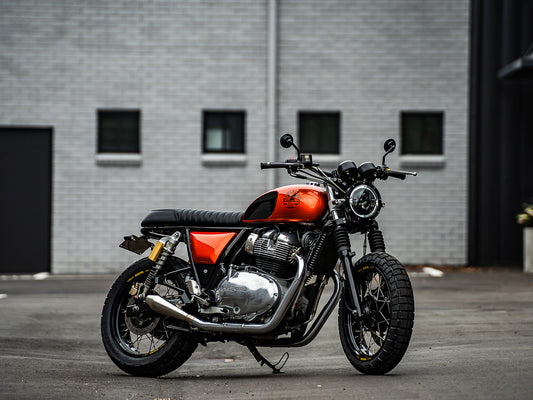
So you’ve scoured the local classifieds and found a “bargain”, it’s rusted, there are birds nesting in the air box and what little pressure is left in the tyres was put in before you were even thought of. But it’s yours, in all its epic mediocrity.
The first thing I ask anyone I’m working on a bike with is “What do you want to do with it?” This question will set up the entire idea of the finished product, because at the end of it all, if it looks great but can’t go on the rides you wanted to take it on, what’s the point?
I tend to build with purpose/function in mind at all times.
If you want to shoot up the beach for a spot check or ride on weekends around your local area, then sure put a tiny seat on it. If you’re wanting to head up the mountains with mates overnight make sure you can ride it for that long, or if you just want a flat out showpiece that’s a pain in the ass to ride go with that!
My advice is to start with three main points in your “build bible”. It may be…
“Low set – black – short trips”
“Blue tank – dirt bike feel – loud!”
“Hardtail – British style – chromed out”
Whatever stands out to you as most important for this bike.
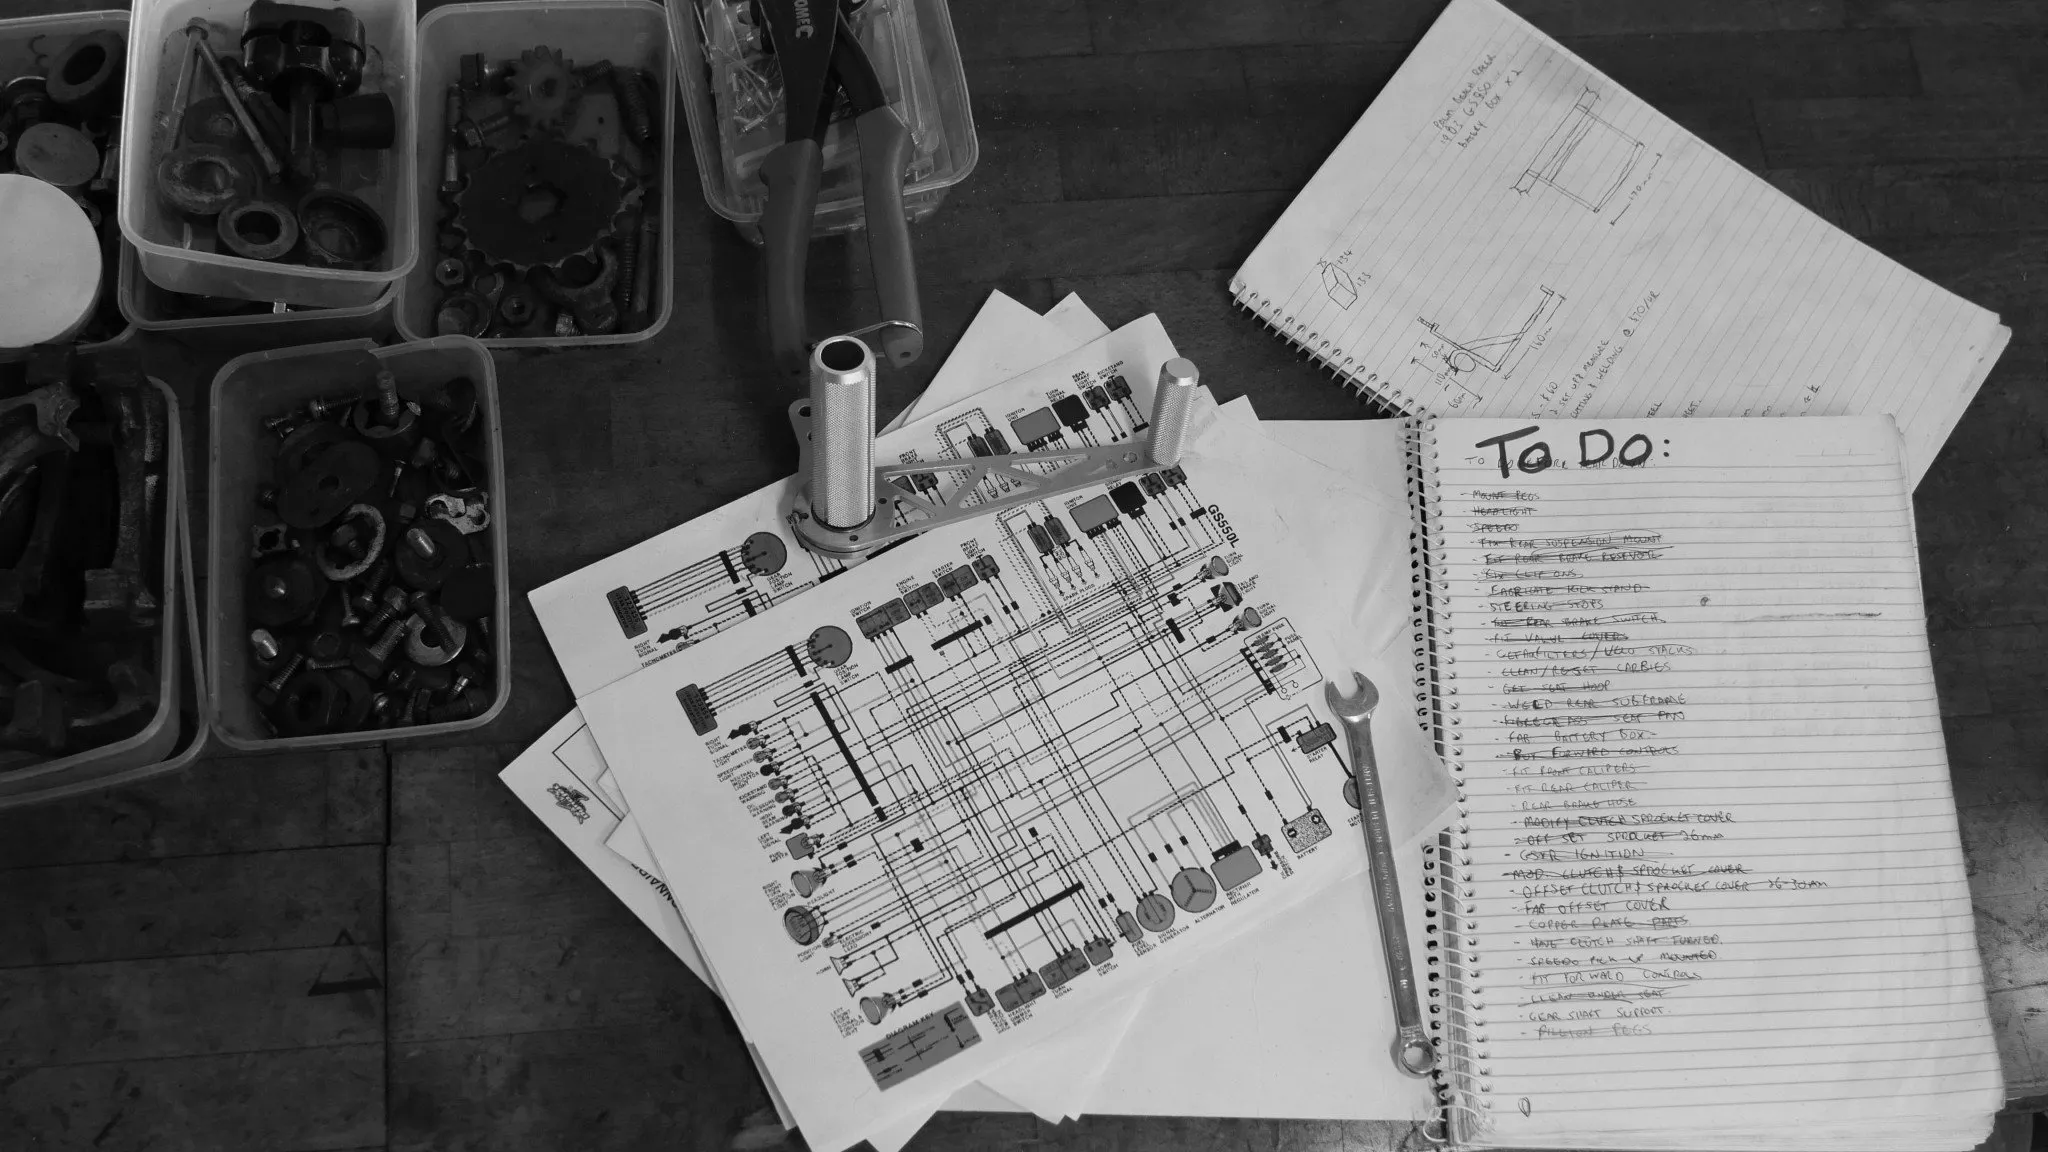
Your “Build Bible” should be just as it sounds, a holy grail of info on your bike. Jot down measurements, suspension settings, jetting sizes, the mechanic’s number, details of custom fabrication, EVERYTHING… You’re in for the long haul here and writing this stuff down means you don’t have to rely on dodgy memory alone.
2. Getting creative, then technical, then creative again.
Once you’ve figured out what you want from your future dream ride, the next step is to think about any major aesthetic or structural changes to the original motorcycle you want to make. Keeping in mind that frame modification is not something to take lightly, if you don’t know what you’re doing find someone that does!
Some questions you should go through are;
- New tank?
- Suspension swaps or modification?
- Different seat and riding position?
- New sub-frame or seat hoop, tail cowl/rear fender?
- Replacing or rebuilding the wheels?
- Removing the air-box and or side covers?
- New exhaust?
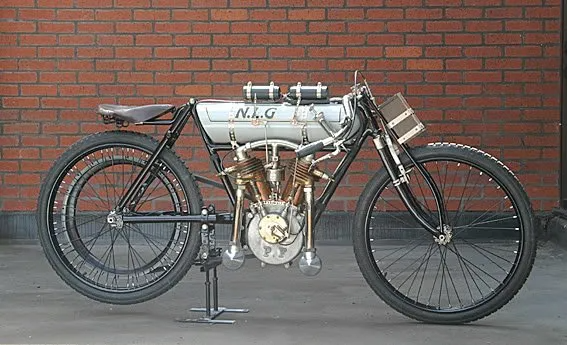
If you’re lacking inspiration, DO NOT Google “insert bike model cafe racer” what you’ll see is a barrage of things that have been done before by someone in your position 6 months ago. Look elsewhere, check out old chopper magazines, custom car blogs, salt flat racer books, Japanese or Indonesian mini bike builders, there are a million sources of creative mechanical geniuses out there you just have to get loose on the Internet. One of my personal favourites is the complete history of motorcycles page on Wikipedia before people had a pre-conceived idea of what motorcycles should be, they had some wild ideas!
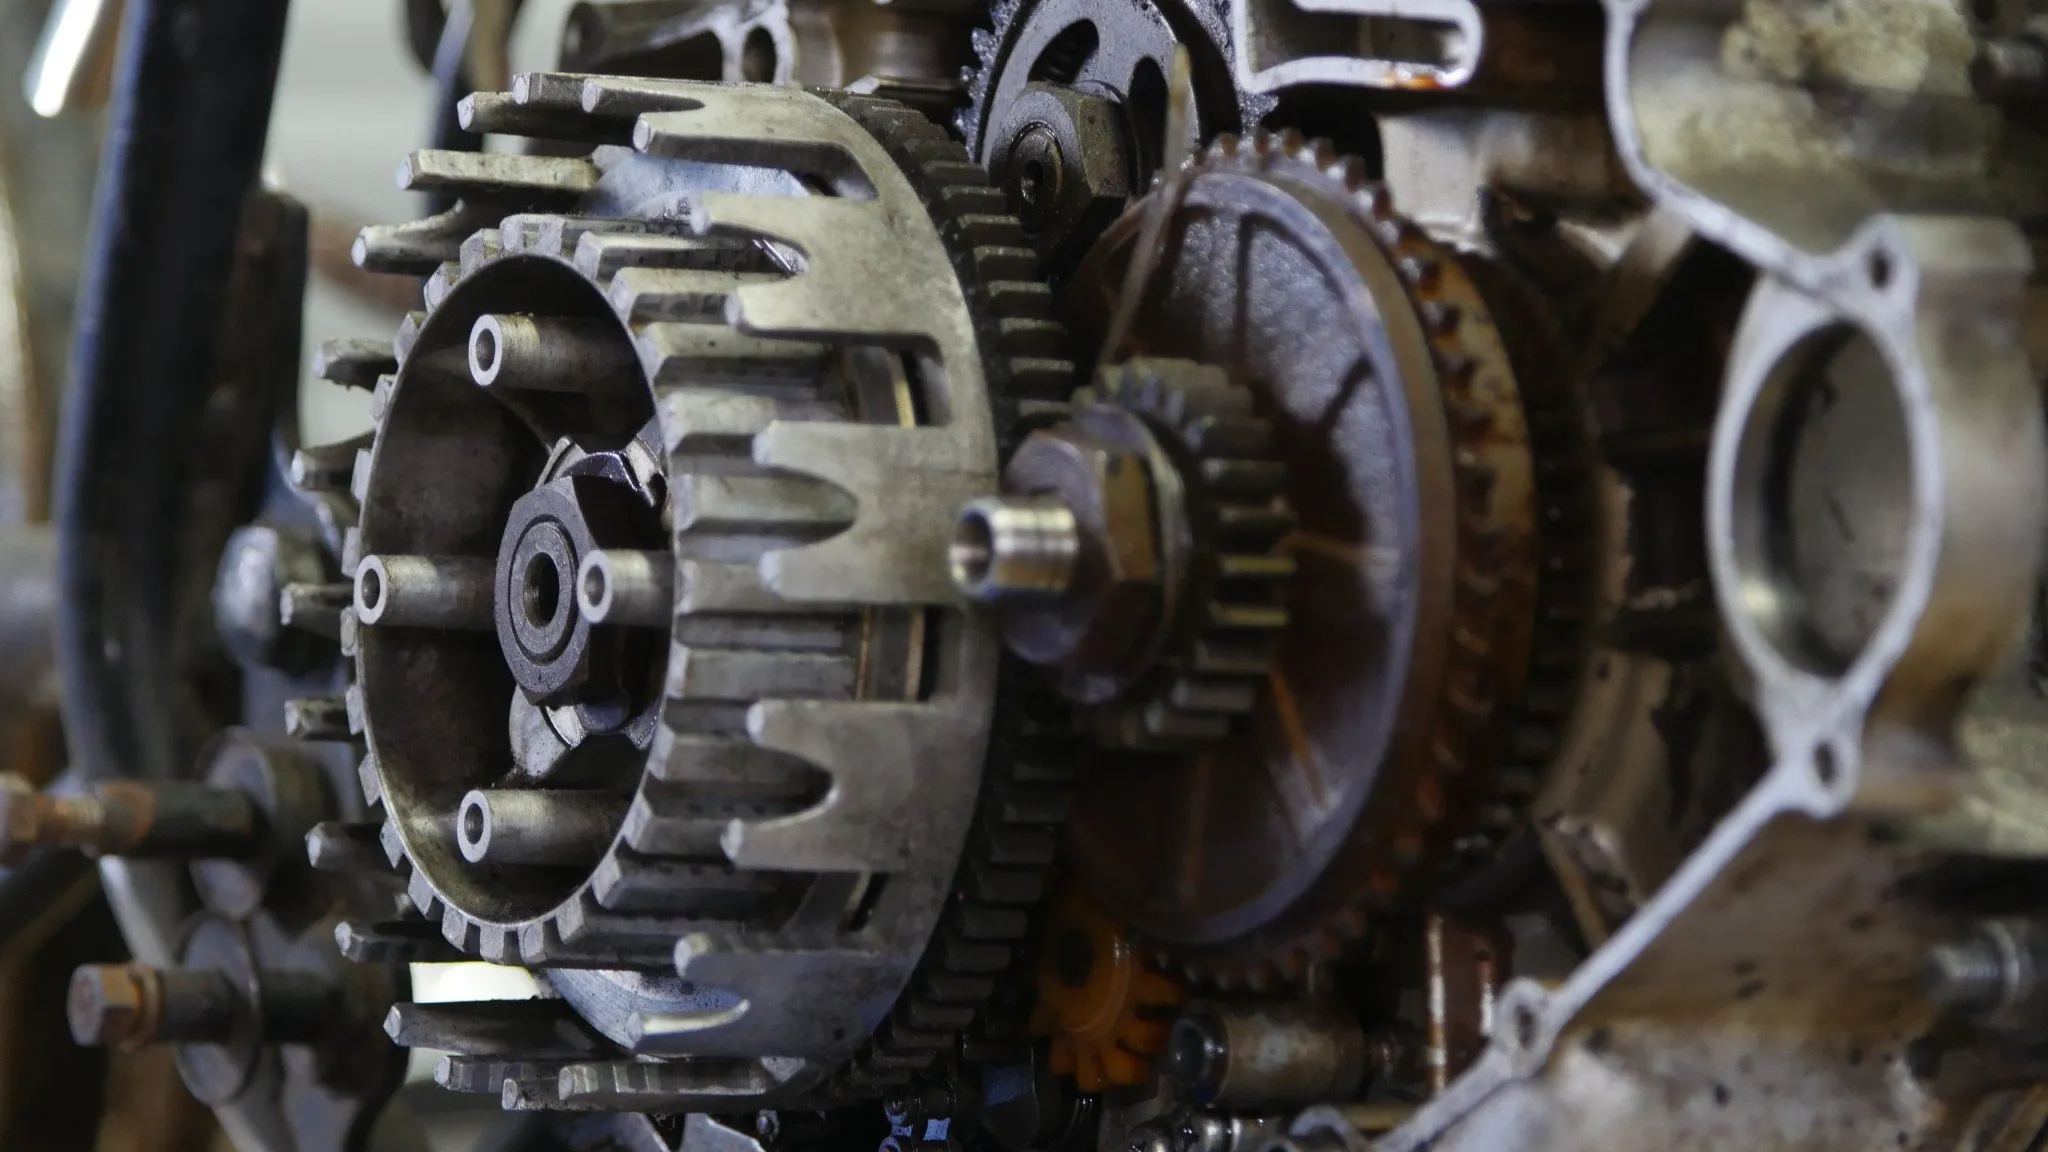
Next is the engine and running gear.
- Does the engine need rebuilding or checking over?
- Do you want to get more out of the old motor or leave it as is?
- Are the carburetors ok?
- Do you want a new digital ignition?
- New clutch?
- Suspension rebuilt or replaced?
- Are the callipers/discs or brake shoes ok?
All these questions and plenty more should be getting asked at this point.
Get yourself a factory workshop manual, warm the thing up (if it runs) and run a compression check, check the valve clearances and your cam chain tension. Guides to all these things can be found on forums all over the place. These things should be thought of and written down before you strip the bike. The more effort you put in on this end, the less you’ll cry and throw spanners later. Having a good list written out will help to break down this seemingly huge project into small manageable steps and stop you from getting overwhelmed or distracted.
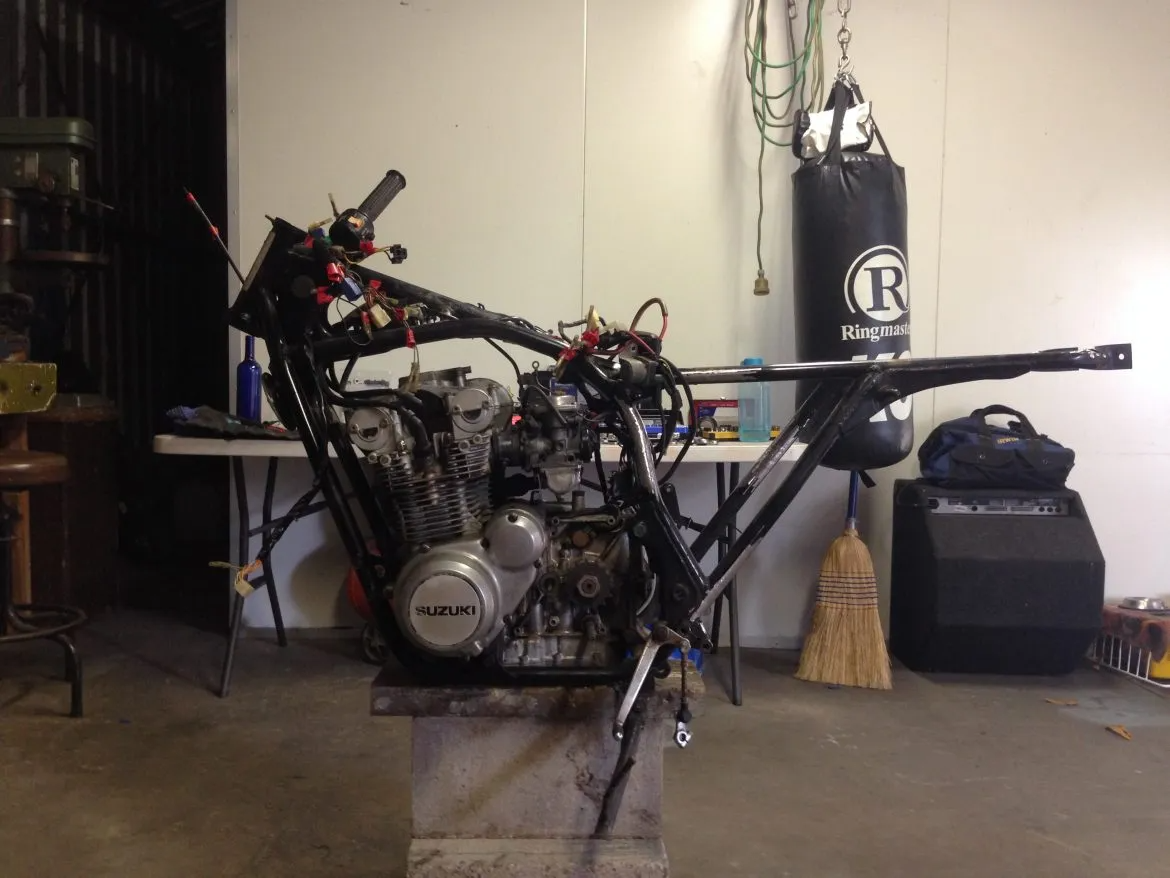
3. The Breakdown
The next step is the fun part, but be careful not to go at it too hard, losing essential parts unknowing of what they do or what they’re for. During the strip of your cafe racer build, have more tubs handy than your grandmothers Tupperware drawer. Separate your bike’s parts into sections and label them accordingly. Don’t throw anything out that you’re not 100% sure you don’t need AND keep all your bolts, even if they do look shitty. You’ll need them when it comes to going down to your local fasteners store and making the poor guy wish he was hit by a bus with your list of the 1500 different bolts and screws you need.
Once the bike is stripped I like to give it a once over and de-tab the frame; cutting off any excess you don’t need including the removal of the old tail section if you’re going that way. Depending on the age and condition of the bike, you should also be keeping an eye out for cracks in the frame or welds.
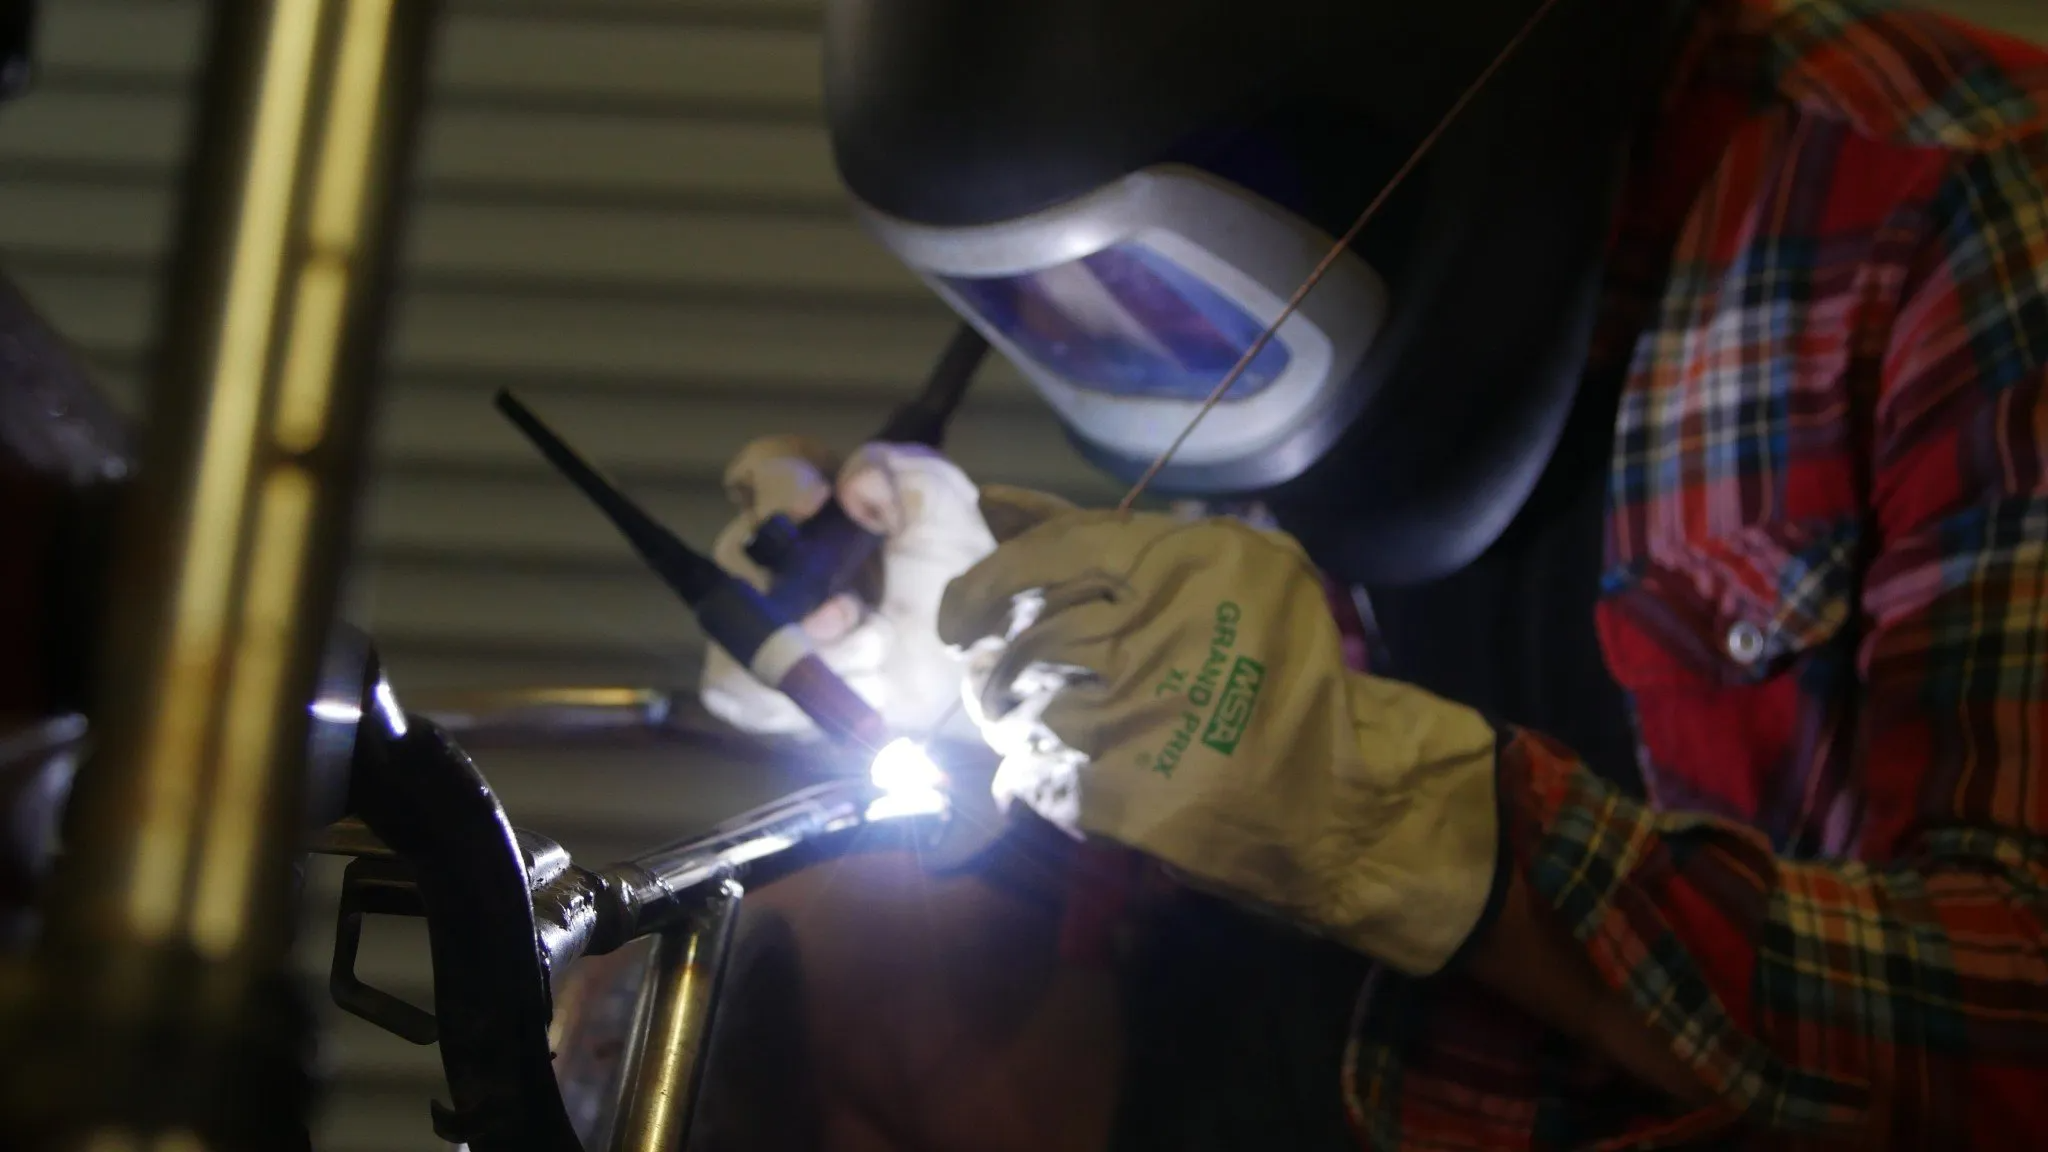
4. Time to build
This is where you really get familiar with your project. By the time you’re done, you’ll be able to remove and replace the suspension and engine before your 2-minute noodles are done (because your partner kicked you out for living in the garage). Set the frame on the bench with the original suspension/wheels on and engine in. Will it need to be lowered or raised? Are you changing the size of the wheels or tyres? This is really starting from the ground up. Get your wheels and tyres sorted here then figure out your suspension and ride height.
One thing everyone seems to cheap out on is suspension. You’ll spend $800 on a nice paint job but when it comes to the mechanism that holds you on the road the $80 eBay special will do? AAAAEEGH wrong! Make sure you get this part right, you don’t need to break the bank but get quality gear and make sure your suspension suits your clearance. I use a local suspension technician which can be found in any local grease monkey hub, but there is a world of knowledge online. Progressive suspension has some really good suspension tables available and Gazi Suspension from Brisbane does some great made to order work.
Once the wheels and suspension are sorted, I would fabricate the rear sub-frame and do any other welding needed . Make the seat pan and foam the seat then set the handlebars and foot pegs. If you don’t have the skills or tools to do this yourself ask around or take your bike to a fabrication shop. You don’t want that weld your friends neighbours buddy did letting go on your first ride and causing you harm. This is a critical step in both the looks and the actual structure of the bike, if you’re going to make any major changes, get a professional involved.
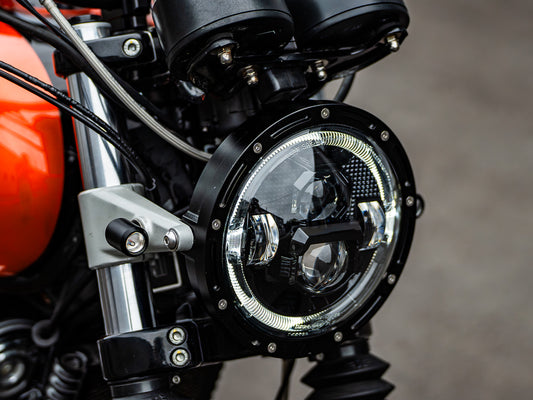
Now you’re starting to have something reminiscent of the idea you had in the first steps. Take a minute to think of your electrics and where all that gear will be hidden. There are a huge amount of products available to help with this stuff from electrics trays to digital control systems the size of a cigarette packet. All worth looking into.
Something on your mind during the design and fabrication of your bike should be the local police. I’m all for having the cleanest bike possible and generally see transport compliance laws as a pain in the ass (Australia can be incredibly stringent), but worse is going for a ride and being pulled over each time so the boys in blue can look over your bike and pick apart any small deviation in the transport rules on your ride. In my experience all you need to do is not make it a police attractant device, put the necessary work in to make it legal in your area and as long as it’s not ridiculously noncompliant you will generally get away with a few minor details. There are enough trick parts available for this to happen and your motorcycle to still look great. It happened to me once towards the end of my Suzuki build…But because I had done everything right the first time, every little thing the officer tried to call me on I had an answer for – no one knows that bike better than I do.
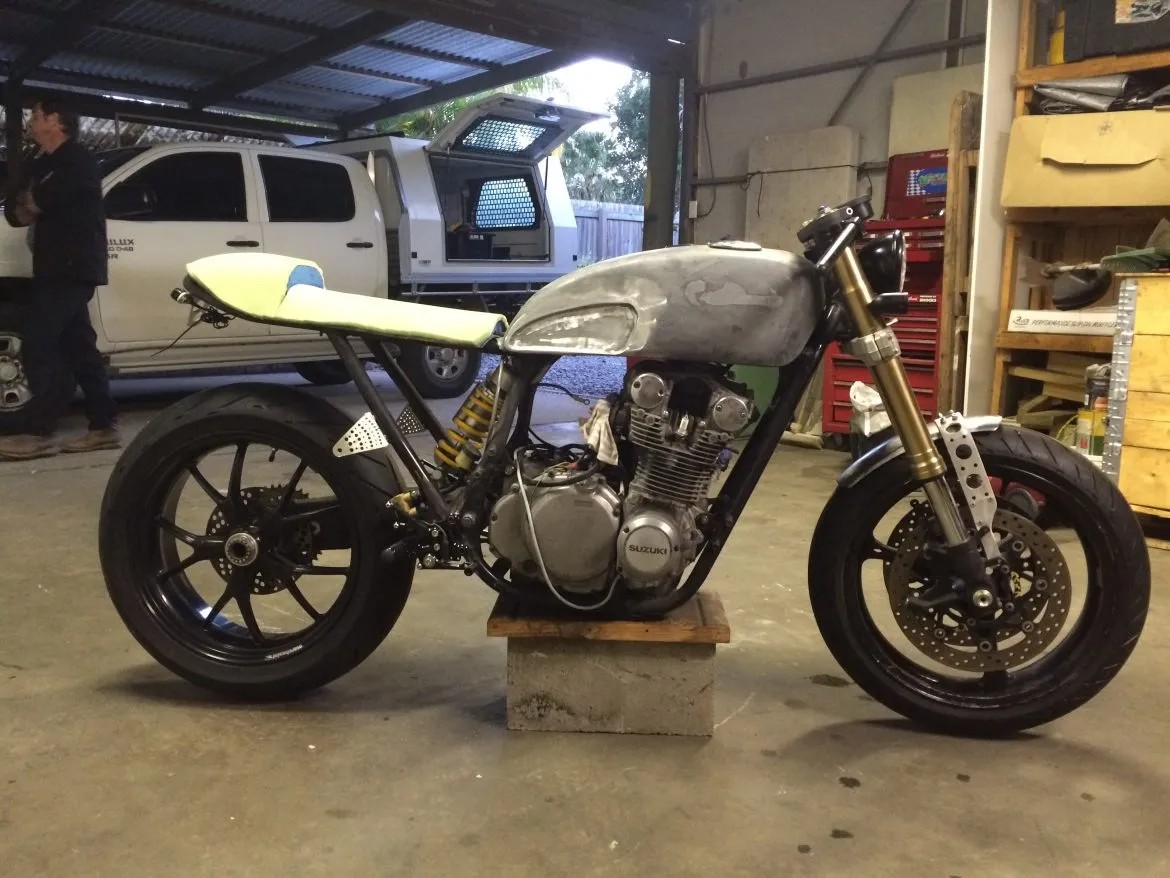
Once you’re sure that your fabrication is complete, mock up your bike to the point where you can have a mate push you down the street on it. Go through your list and be sure there is no more cutting or welding to do.
Put it back on your bench and figure out what you want to do with the seat. I always encourage people to go the custom seat route rather than an online special, they never fit right and you’ll end up with a $200 paper weight. If you aren’t game enough to do it yourself, find a bike builder or shop to help you out, most will knock out a custom seat no problems. If you do it yourself , snap a picture of the bike, print it out and sketch on your seat shape for the upholsterer to get an idea of what you want. There is nothing worse than playing the guessing game. If you give them a picture you’ll get exactly what you want!
The picture will also come in handy when bragging to your mates about how much of a rad dog bike builder you are now. Now you’ve got all excited, strip your project bike back down again…
Your café racer project has come a long way, and from here on out things will start picking up fast. I wish I could tell you the hard part was over but I could be lying if I said that.
Make sure you subscribe to our blog and newsletter below for Part 2 of our “how to build your own café racer” series.
Part 2 contains the final 3 steps in getting your bike on the road and having gawkers drooling at your new custom ride. Click Here to check it out
More detailed info can be found on the following subjects:
Thanks for taking the time. Tom
WE BUILD BIKES WITH PURPOSE.
Purpose Built Moto is home for unique custom motorcycle builds. We offer a unique motorcycle customizing experience in the heart of the Gold Coast.
11 comments
thank you for the help. you gave me a good start point. im sure ill be back for more help but if im going to do somthing im going to get all the info i can get first. again thank you. if i can ill update you on my project. and post pics if i can.
ok thank you for the great info. im sure i will be back here asking about more but the more info and ideas the better i will be and il keep you posted on how its going. and if i can il post pics if i can again thank you for the start.
I would suggest you get an inexpensive single cylinder bike. there are a lot available just do your research and figure out what type of bike you like.
Tom
hi im a very green guy when it comes to bikes. im 48 just working on learning to ride and i dont own a bike but imm crazy and i want to start of really crazy i want to build my first bike i love to looks of the cafe racer and thats what i want i have alot of ideas. but i need help what is the best bike for somone like me to start with? please help
Hey Grahame,
NO worries with your seat and bike.
Just shoot me an email when you’re ready.
The AJS project sounds interesting. I’ve never done anything like that before, but I can say that about all of my projects. I try my best not to repeat myself.
My email is tom@purposebuiltmoto.com
Hi Tom,
I emailed you a month or so ago about building a pillion backrest for my 2017 Ducati Monster 1200S. Ducati Has since come out with a bolt on pillion grab handle kit which I think will make a great mounting point for a custom backrest as well. As soon as we are able to move around again without incurring a massive fine I will come and see you about it.
On another subject I have a 1927/29 AJS 350 H6 Big Port, or at least 90% of it. I’m really keen to retro mod it into a tough but sophisticated period “streetfighter” type of bike. This model has a lot of IOMTT cred. Have you ever done anything like this?
Cheers, Grahame.
Thanks my dude!!