Sol Invictus Nemesis 400 Adventure Bike– How to build an adventure scrambler Ep4
I’ve been working on this adventure scrambler for weeks now, so in this episode, I was happy to take a back seat to let Jamo from Timeless Auto Trim, the Purpose Built Moto upholsterer, take the reigns.
Since I started building bikes I’ve always paid special attention to the design and style of a custom seat. I believe it’s one of the most important aesthetic touches you can add, and making sure you’re seat is comfortable can make or break the rider experience.
If you’ve been following this series you know we have some big plans for this bike. We had to consider comfort over long distances, the manoeuvrability of the rider as well as fitting in with the overall style of the bike.
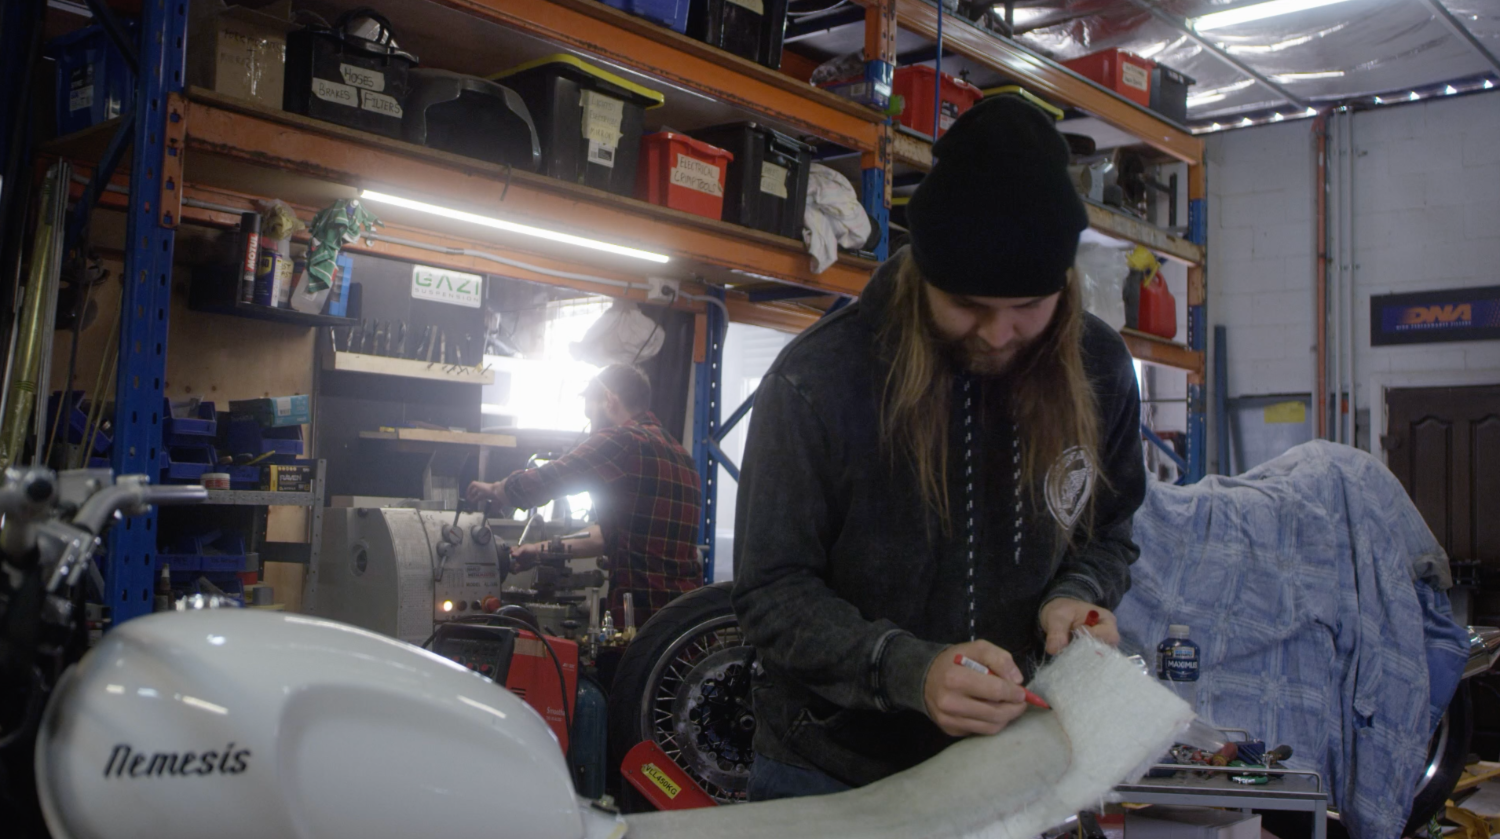
To form a base for the fibreglass we used a simple 3mm corflute template out to sit above the electrics tray and some masking tape, you can use cling wrap for this process as well, but we use masking tape because it’s rigid, easy to use and flexible.
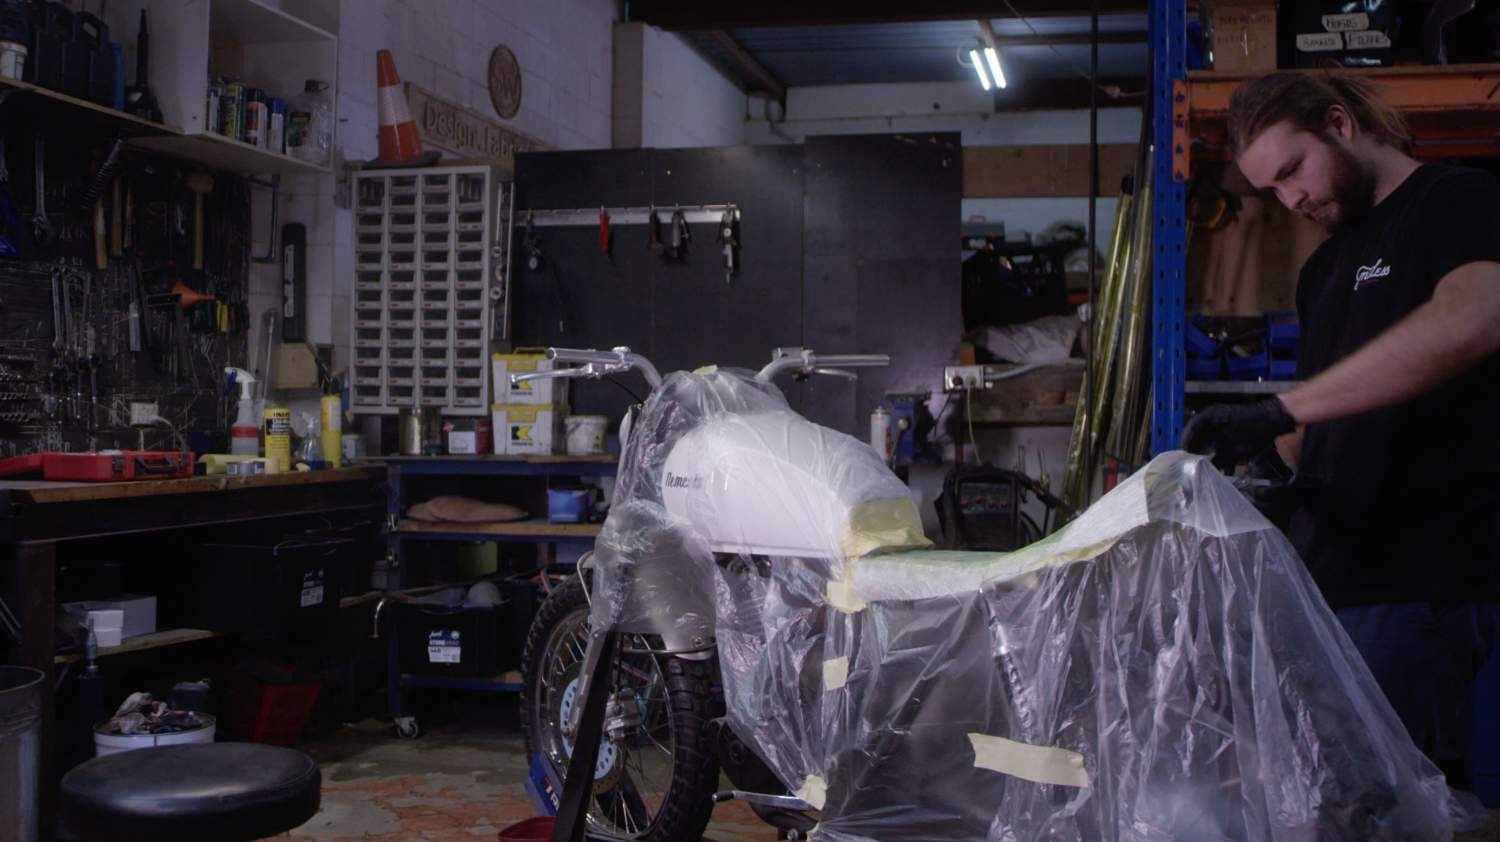
Before you start taping up the seat pan, take a look at where it’s sitting and think about how you’re going to mount it, for this seat we were able to comfortably fit in some nutserts just past halfway and then at again at the front, this will make sure the seat secures easily when we’re finished. You also have the option of welding in a mounting piece to the frame, but it changes from build to build.
When we finished taping the seat pan we smothered the thing with beeswax furniture polish and some PVA release on top once it dried. If we were to try fibreglass straight on top of the tape without getting that beeswax in there, pulling off the fibreglass after it sets is an absolute nightmare.
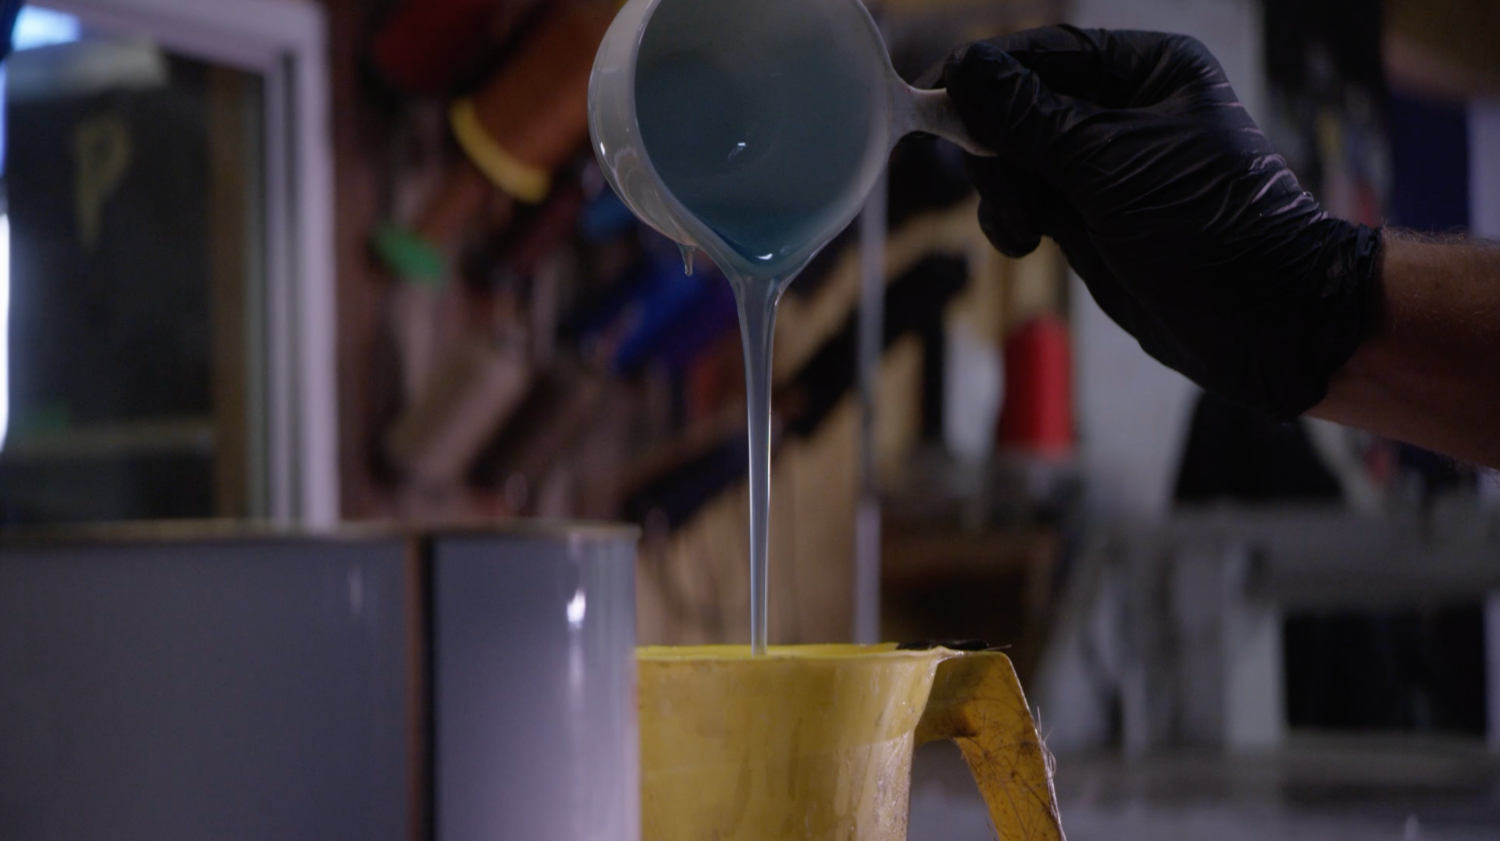
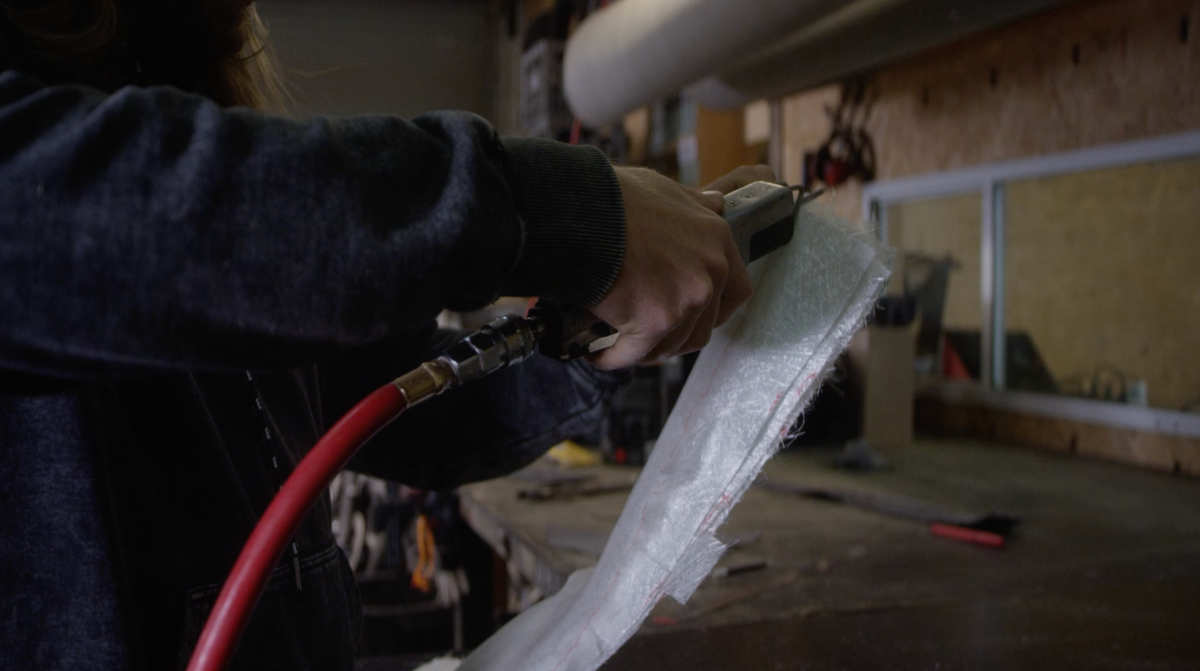
Next, we grabbed some heavy gage chop strand mat with some all-purpose resin and catalyst to form the seat pan. Usually, we use three layers of the fibreglass mat with smaller strips woven in through the centre for support, nothing wrong with a bit of extra strength.
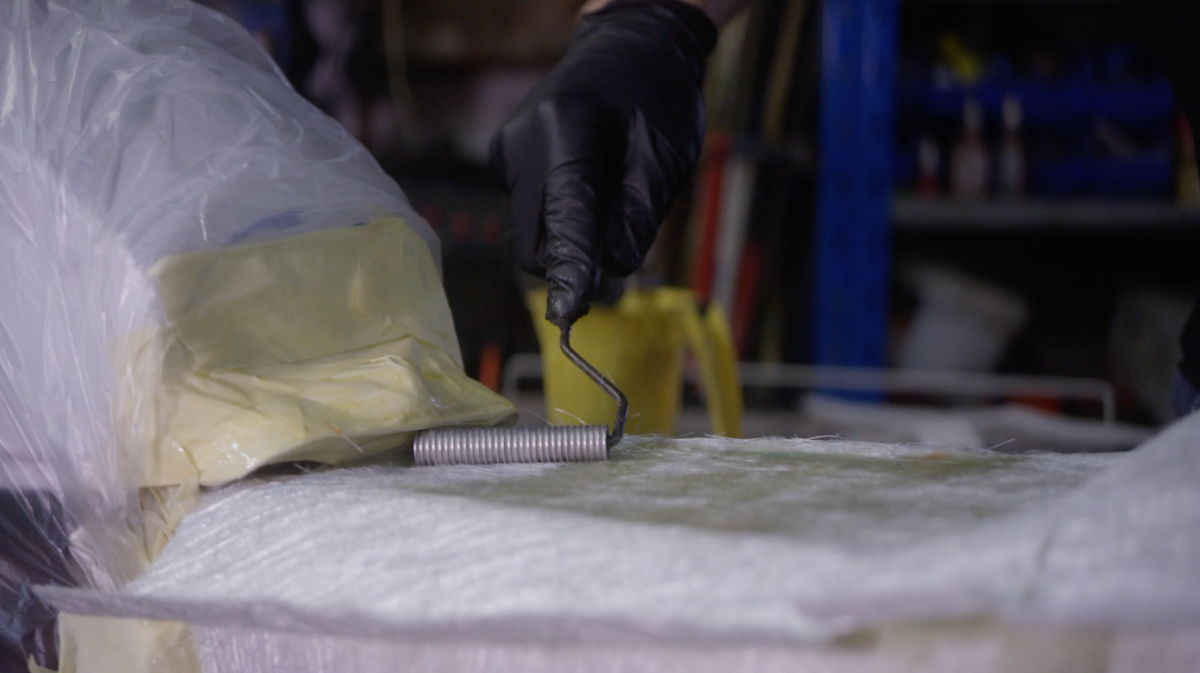
Watching Jamo prepare to mix the resin and start laying down the fibreglass on the bike is like watching a doctor get ready for surgery. Make sure you have all your tools and materials laid out before you start this process because once you start with that first layer it’s a race against the clock. Resin also has a tendency to get everywhere, lay some plastic down because if you drip any, forget it.
Leaving the fibreglass to set overnight we came in to check on how everything set. It can be a bit of a tricky situation peeling the fibreglass off, this is where you’ll be grateful that you used the beeswax polish to keep the tape together bonded together. We were stoked that the seat pan came off the bike pretty perfectly, a testament to preparation and attention to detail.
Using the seat frame as a guide, we outlined where the fibreglass needed to be trimmed, leaving wiggle room by cutting outside the outline, remember, you can always recut, but you can’t un-cut – I learned that the hard way. Once we trimmed it back a bit, the seat pan was done.
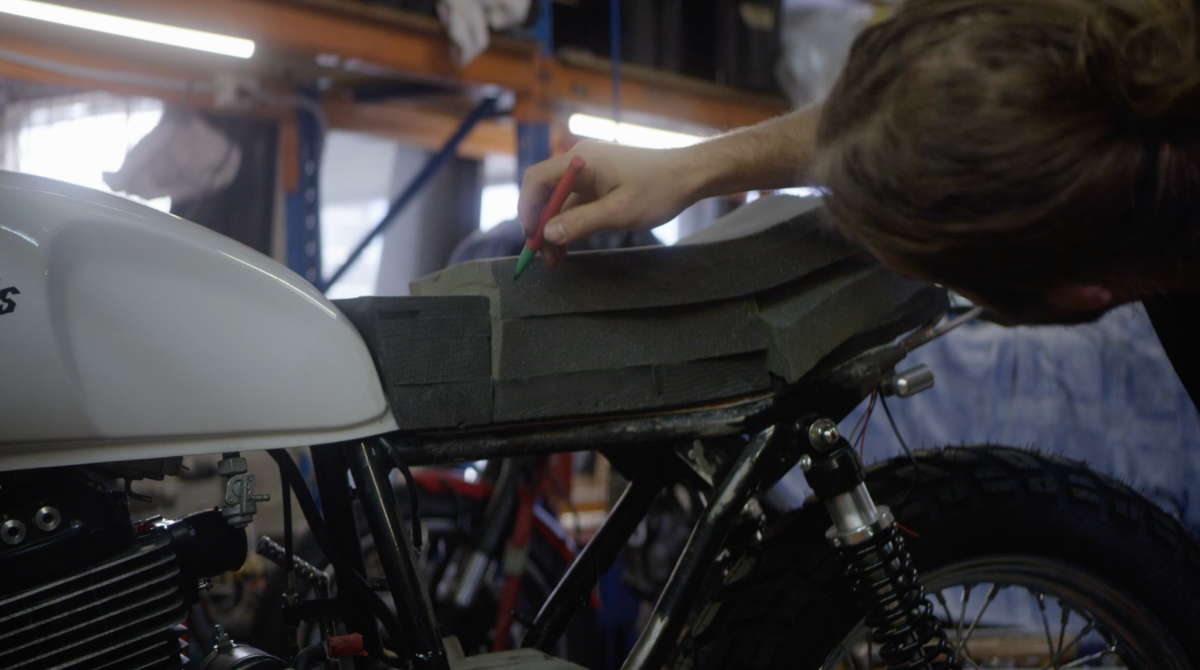
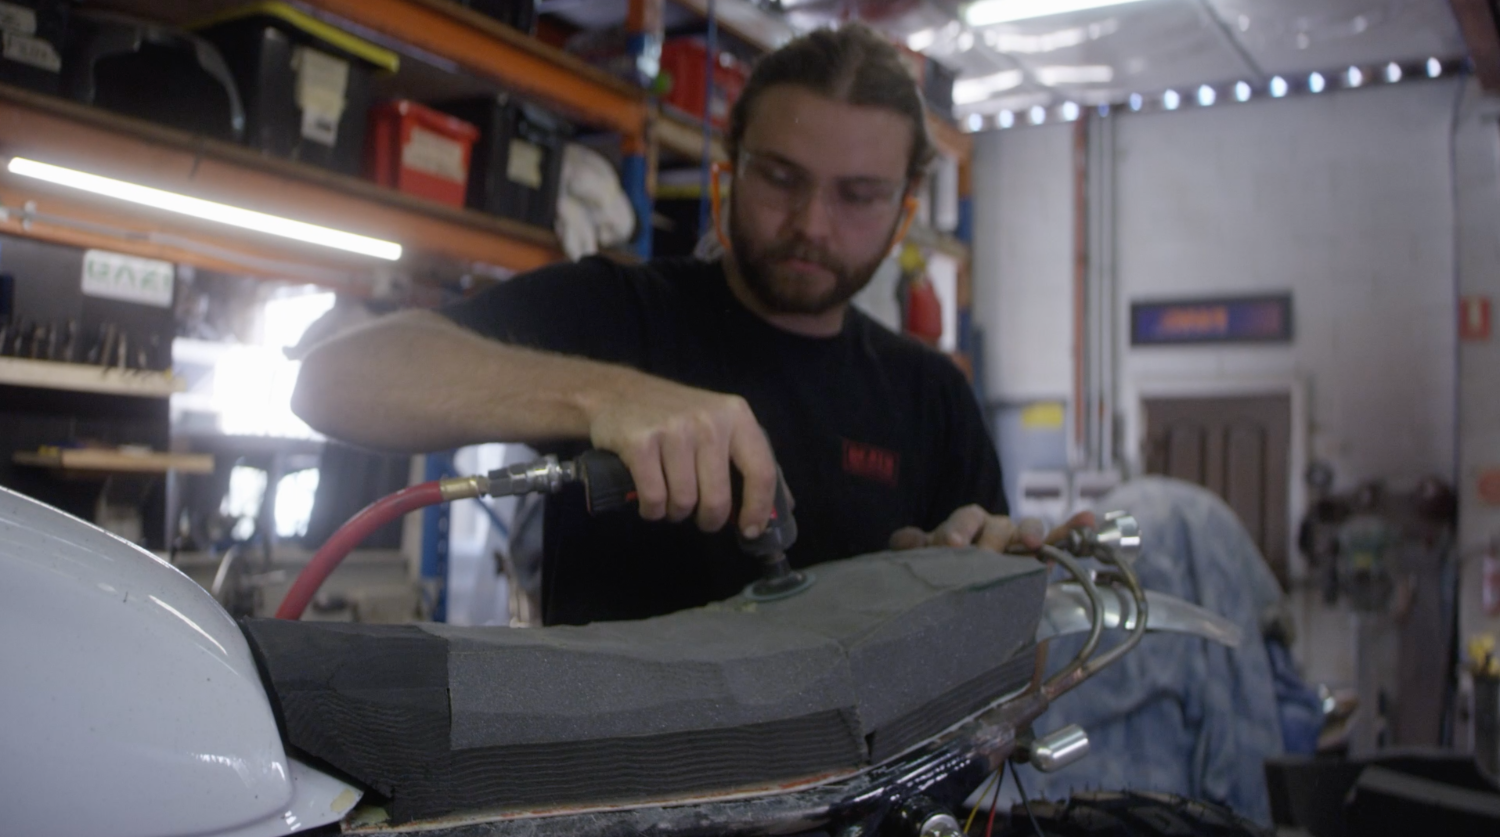
Next is the foam, we stacked the foam blocks on the seat pan with industrial bond like a bunch of lego bricks. Once we tetrissed them all together Jamo got to work sculpting back a perfect fit.
When it comes to leatherwork and upholstery Jamo and I butt heads a bit. Mostly because I come up with weird, crazy ideas that Jamo then has to figure out. He always pulls through though. For this seat I decided to go with downplayed neutral colours, however, I wanted to use textured leather because it looks really interesting. The accordion panel really draws the eye to add an extra bit of style, and also doubles as a bit of extra grip on the seat for the rider.
I’m stoked with how the seat turned out and once again Jamo from Timeless Auto Trim came through with the goods.

That’s it for this episode, in episode 5 we’ll be diving into more major fabrication work including the exhaust.
If you haven’t gotten on board already, this Sol Invictus adventure scrambler build is one of two I’m currently undertaking for an up and coming film project Wide of The Mark. Jump on Instagram and check out @wideofthemarkmovie to keep up to date with this epic adventure.
As always, thanks for taking the time!
Tom

WE BUILD BIKES WITH PURPOSE.
Purpose Built Moto is home for unique custom motorcycle builds. We offer a unique motorcycle customizing experience in the heart of the Gold Coast.