Helicoil inserts are a godsend for repairing stripped, damaged, or worn-out threads in metal parts, ensuring your motorcycle parts remain secure and reliable. Installing a Helicoil might seem daunting at first, but with the right tools and this guide, you'll find it a straightforward and satisfying task.
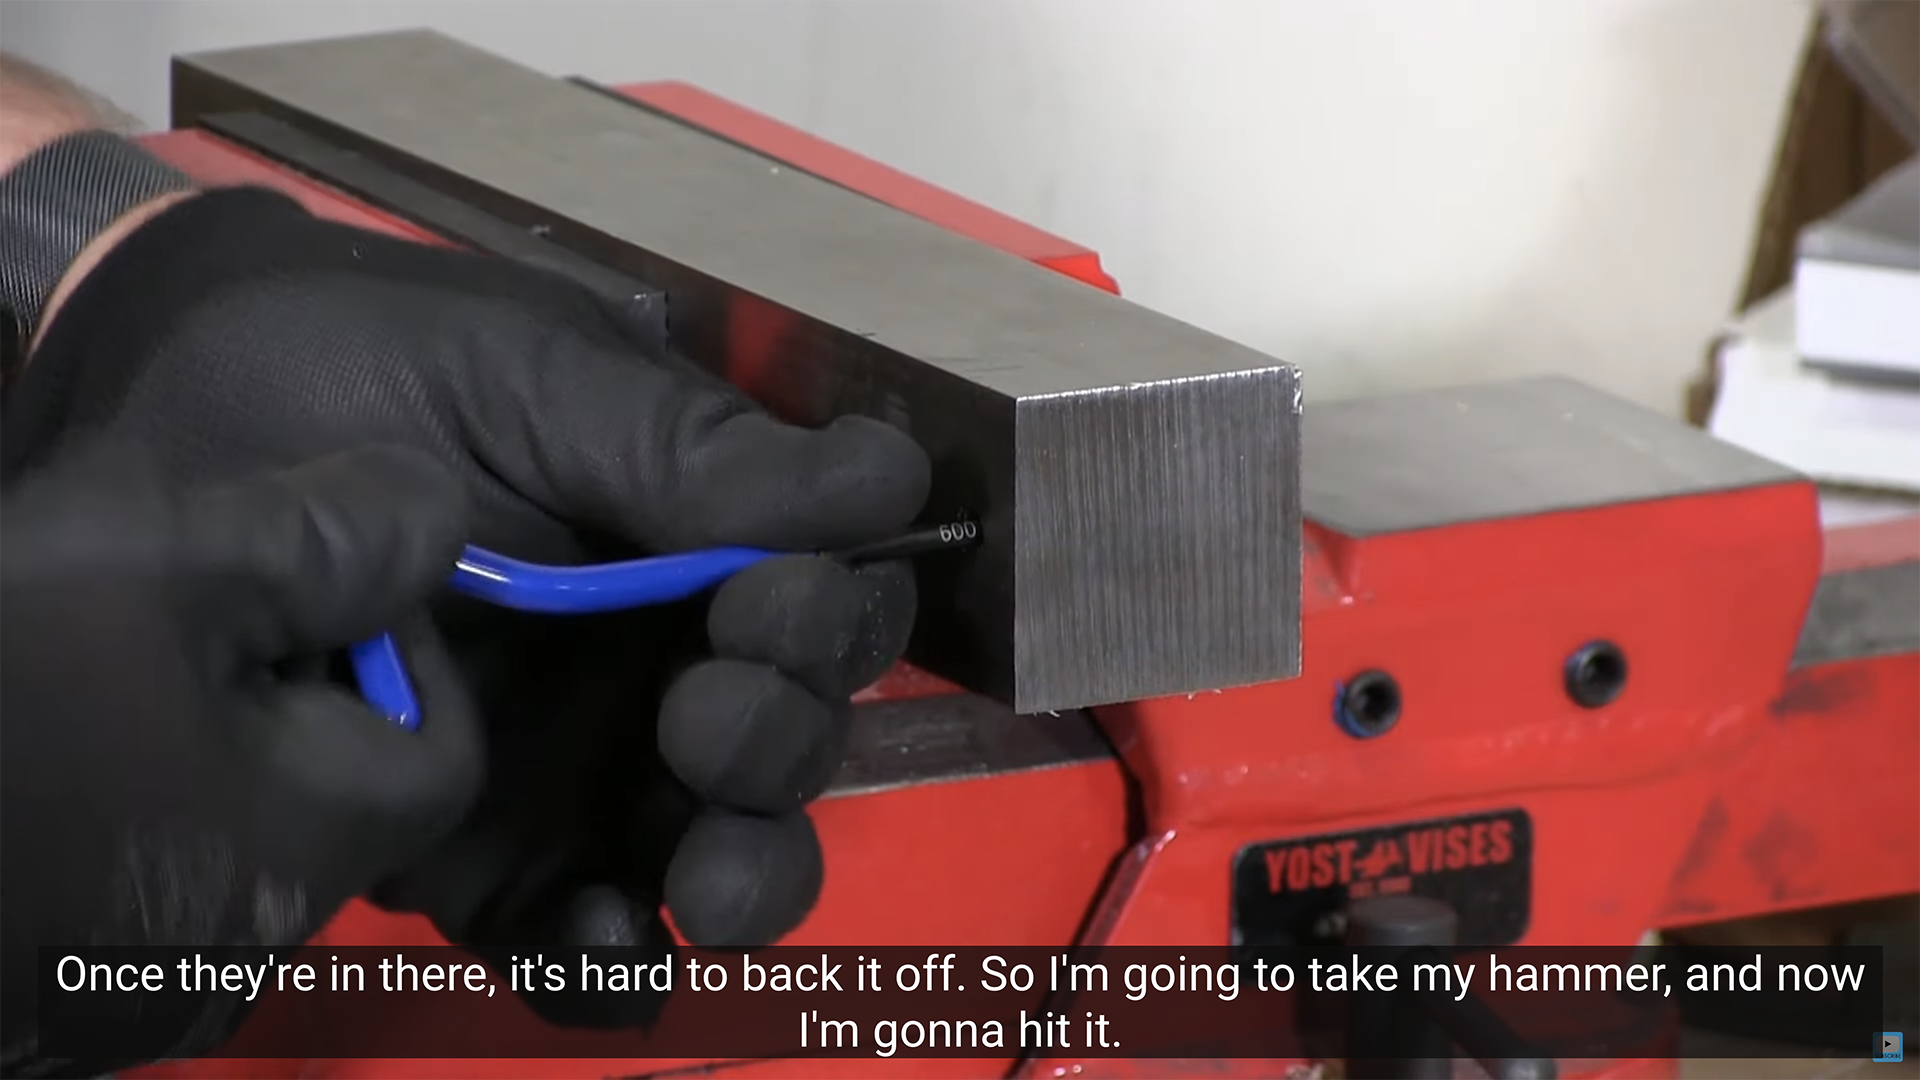
Check out this video by Albany Country Fastners on youtube to see how to do it, or read the rest of this blog.

What You'll Need:
- Helicoil insert kit (appropriate size for your thread)
- Drill and drill bit (size specified in the Helicoil kit)
- Tap handle
- Helicoil installation tool
- High-strength threadlocker (optional)
- Safety glasses
Step 1: Determine the Size
Identify the size of the thread that needs repair. This will determine the size of the Helicoil insert and the tools you'll need. Helicoil kits come in various sizes and include the necessary drill bit, tap, and installation tool.
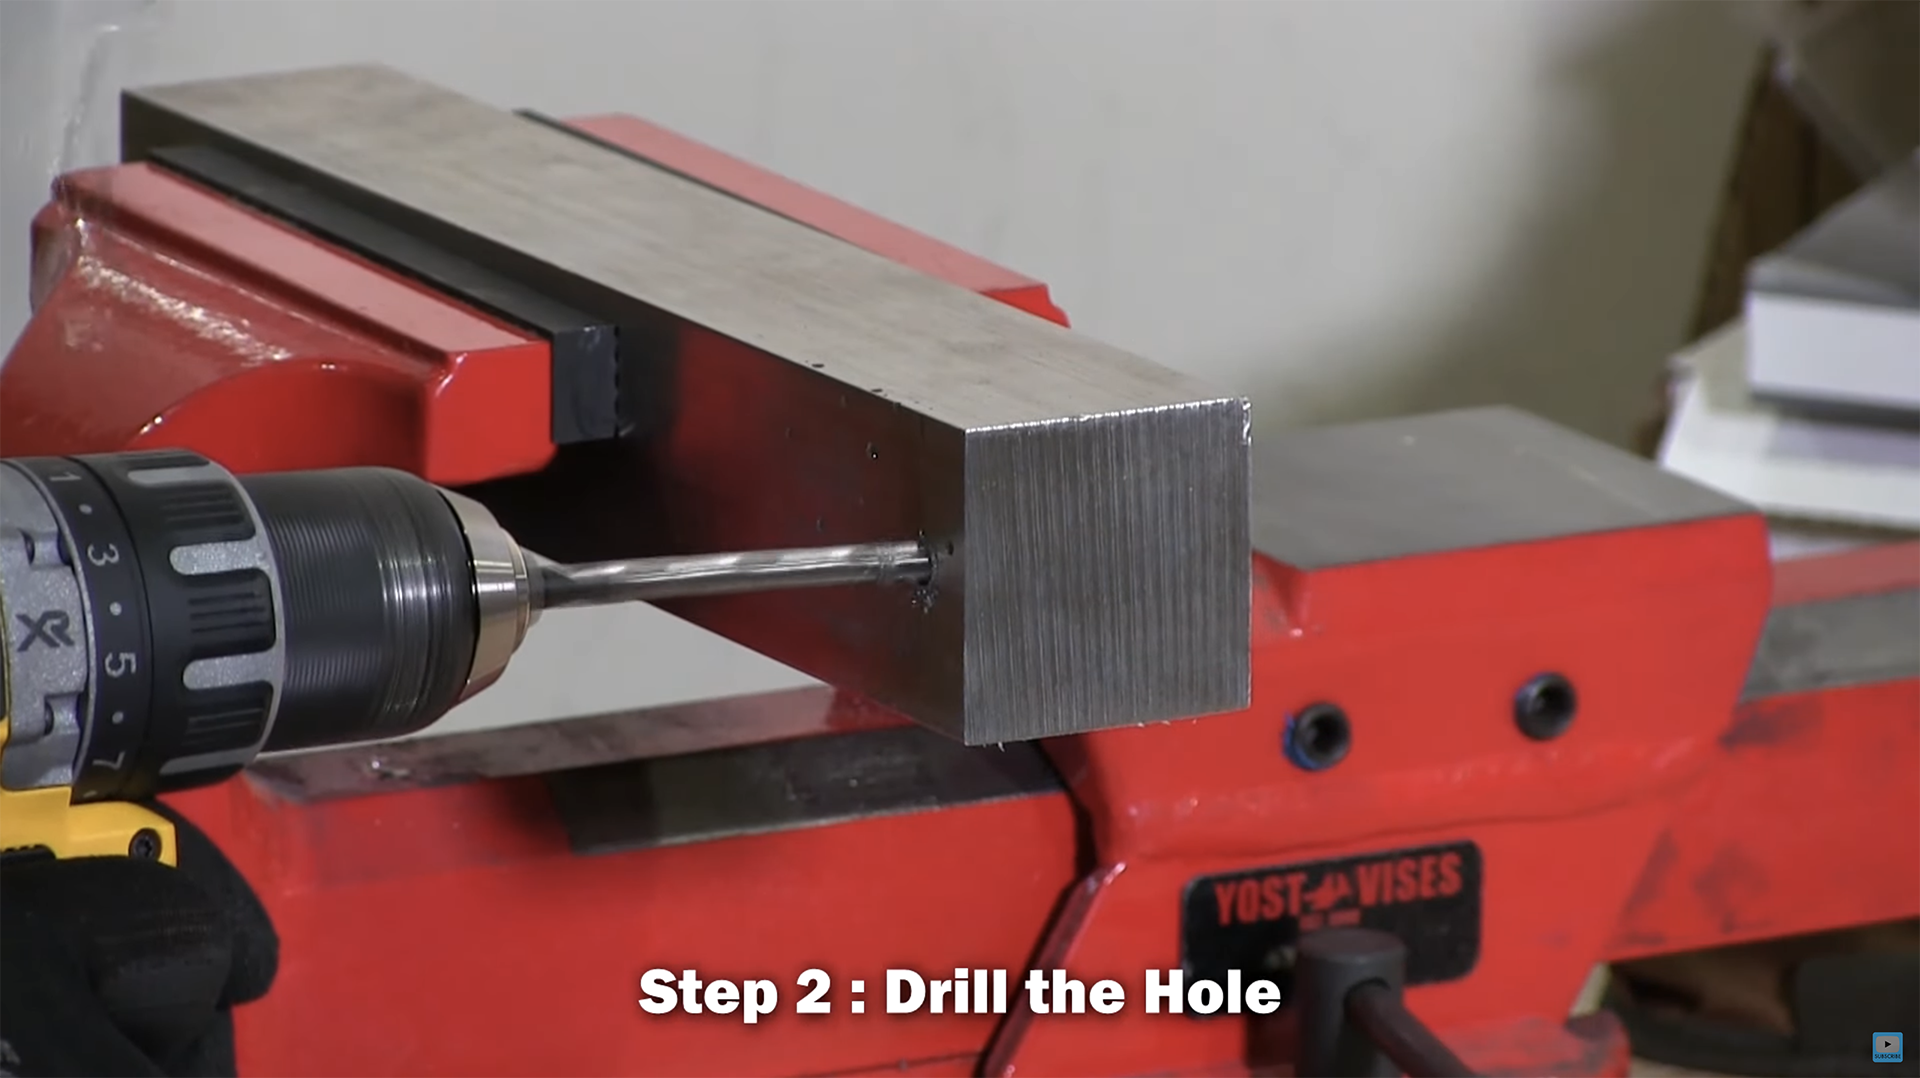
Step 2: Drill Out the Damaged Thread
Secure the part firmly and drill out the damaged thread with the specified drill bit. Ensure the hole is clean and free of debris. This step prepares the metal for the new thread.
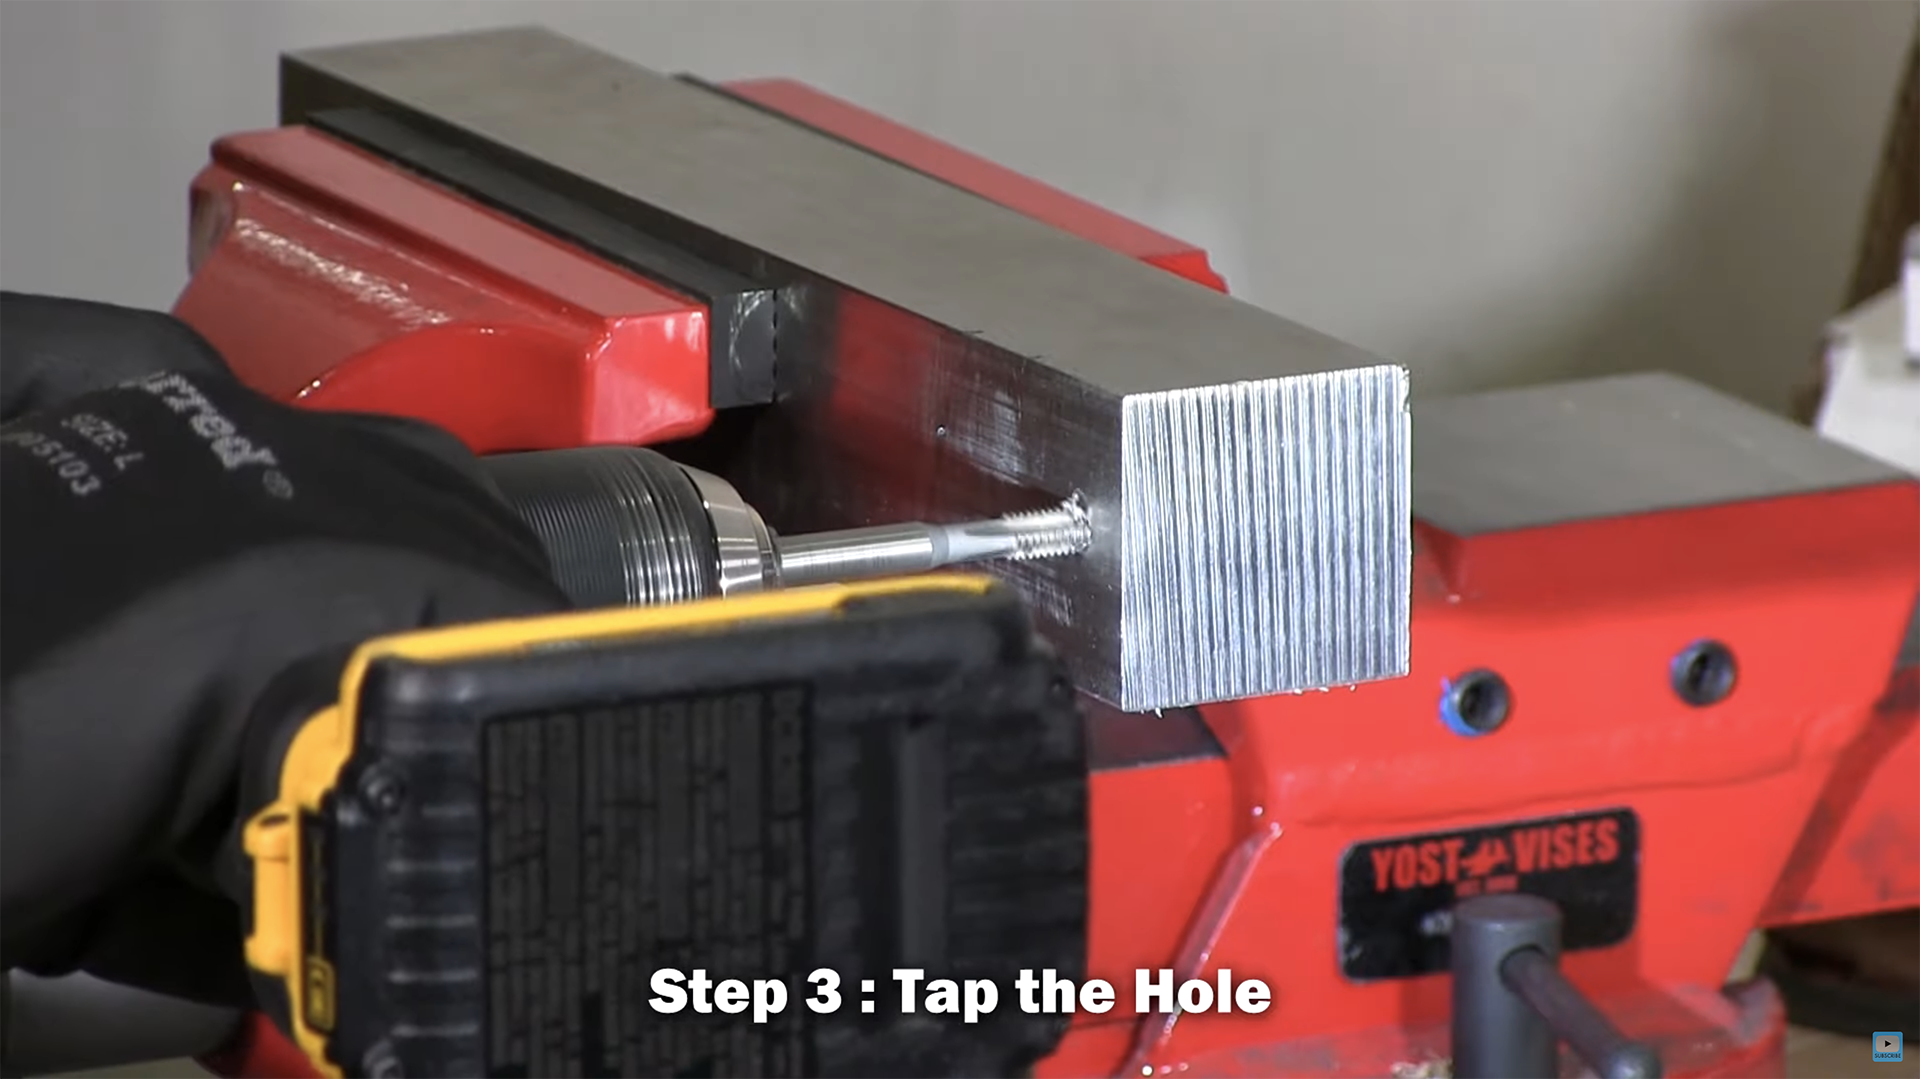
Step 3: Tap the Hole
Attach the tap to the tap handle and carefully cut new threads into the hole. Use cutting fluid to ease the process and prevent the tap from breaking. Follow the kit's instructions for the correct depth.
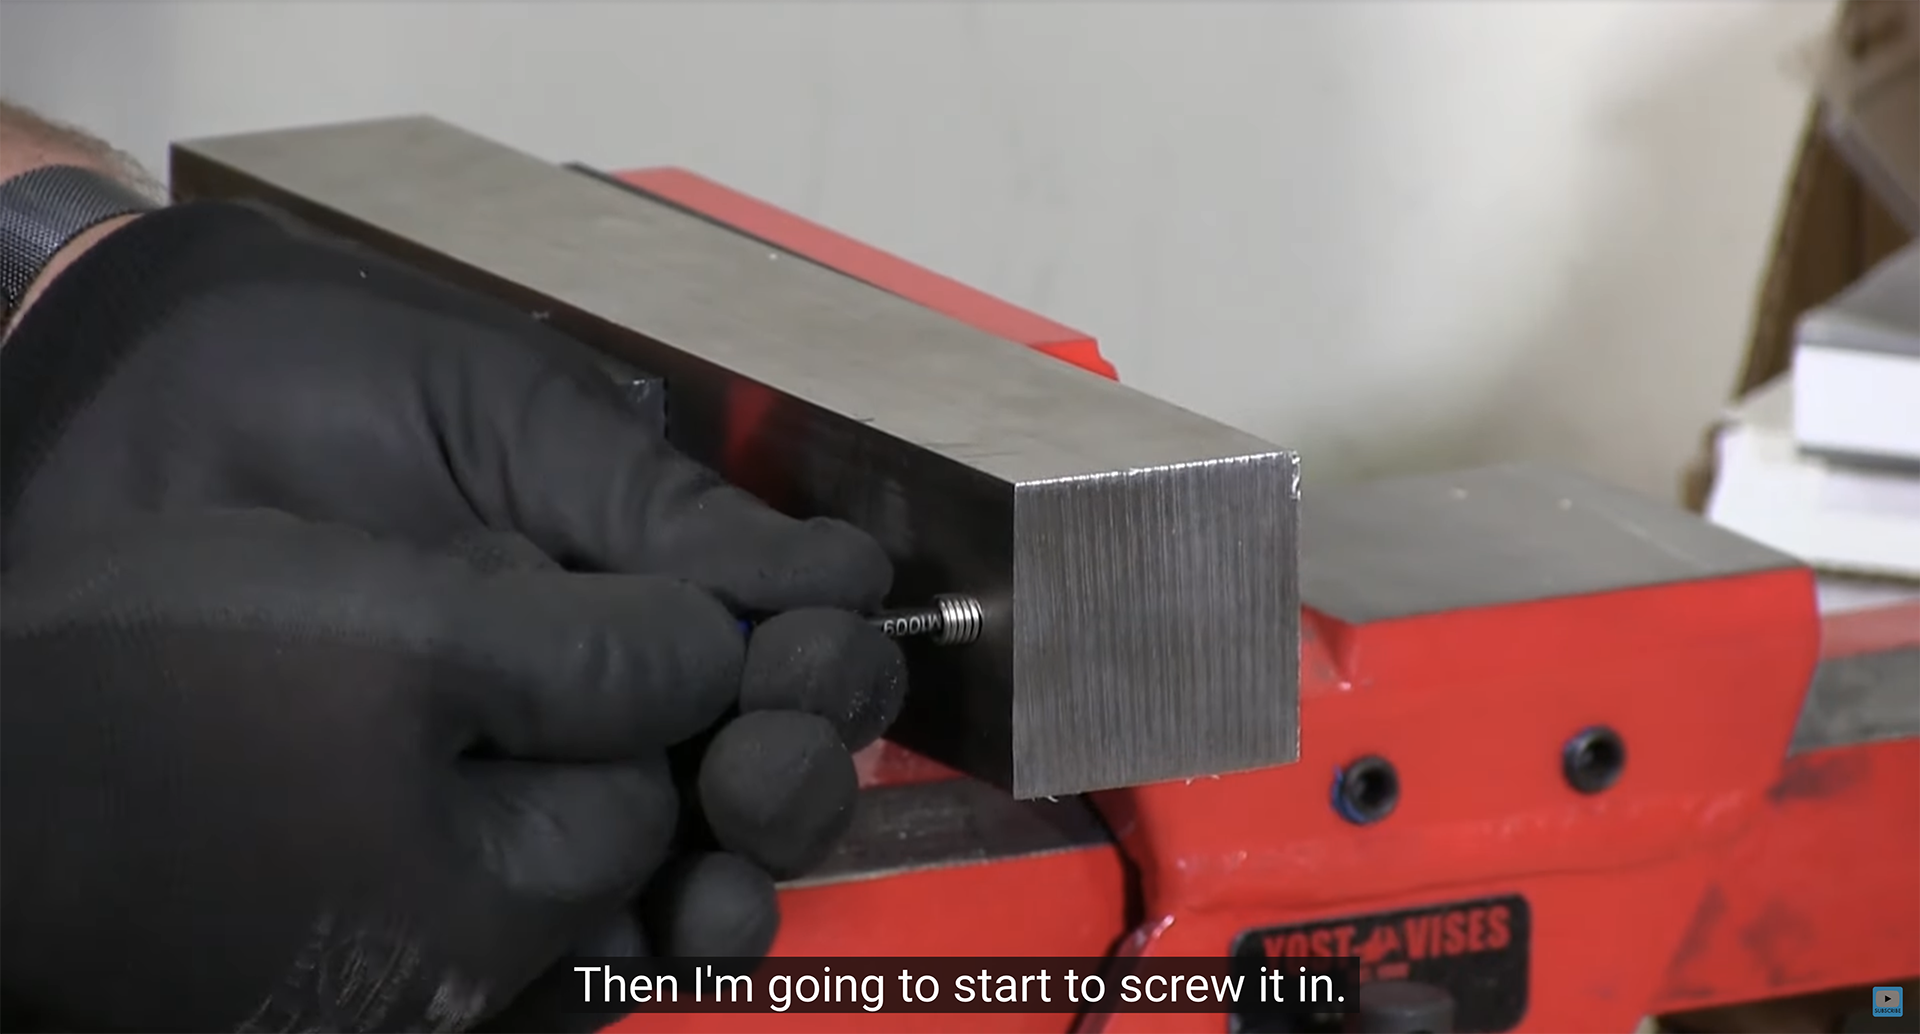
Step 4: Install the Helicoil
Thread the insert onto the installation tool, apply a small amount of threadlocker to the outer threads of the Helicoil (optional), and then screw it into the newly tapped hole. Once in place, the tool's tang will break off or can be removed, leaving a perfectly threaded hole.
Step 5: Final Checks
With the Helicoil installed, you can now screw in the bolt or part that was previously loose due to the damaged thread. Ensure everything fits snugly and securely.
Installing a Helicoil is a practical skill that can save you time and money, extending the life of motorcycle parts and other metal components. With patience and precision, you can achieve professional-level results in your garage or workshop.
Remember, always wear safety glasses when working with tools and follow the Helicoil kit's instructions closely to ensure the best outcome. Happy wrenching!
WE BUILD BIKES WITH PURPOSE.
Purpose Built Moto is home for unique custom motorcycle builds. We offer a unique motorcycle customizing experience in the heart of the Gold Coast.